
Hi friends,
It’s September! That means it’s time to be thinking about Fall decor…pumpkins, leaves, all those rich, vibrant colors…I love Fall!
I have a fun Farmhouse Thankful Wood Sign for you today. It’s super easy to make and will look great in your home this Fall!
I picked up the raffia, burlap ribbon, and metal words at my local Dollar Tree. And, yes, the metal words package has 3 words (thankful, harvest, and welcome) for just one dollar!!! The wood sign and burnt orange chalk paint came from Michaels. I used this chalky finish paint from Americana Decor in Everlasting to paint my sign.
You’ll also need 3 mason jar lids, a little green felt, and a cinnamon stick. For adhesives, I used transparent E6000 craft adhesive, Art Institute Dries Clear Adhesive, and foam tape.

Brush a thin coat of the Everlasting chalky finish paint on the sign. As you can see in the photo below, I feathered it out toward the edges and kept it thin enough for some of the wood to show through.

You’ll also need to paint the mason jar lids with the burnt orange chalk paint. I painted 3 coats, letting it dry completely between coats. It took 3 coats so the words stamped on the lids didn’t show through.
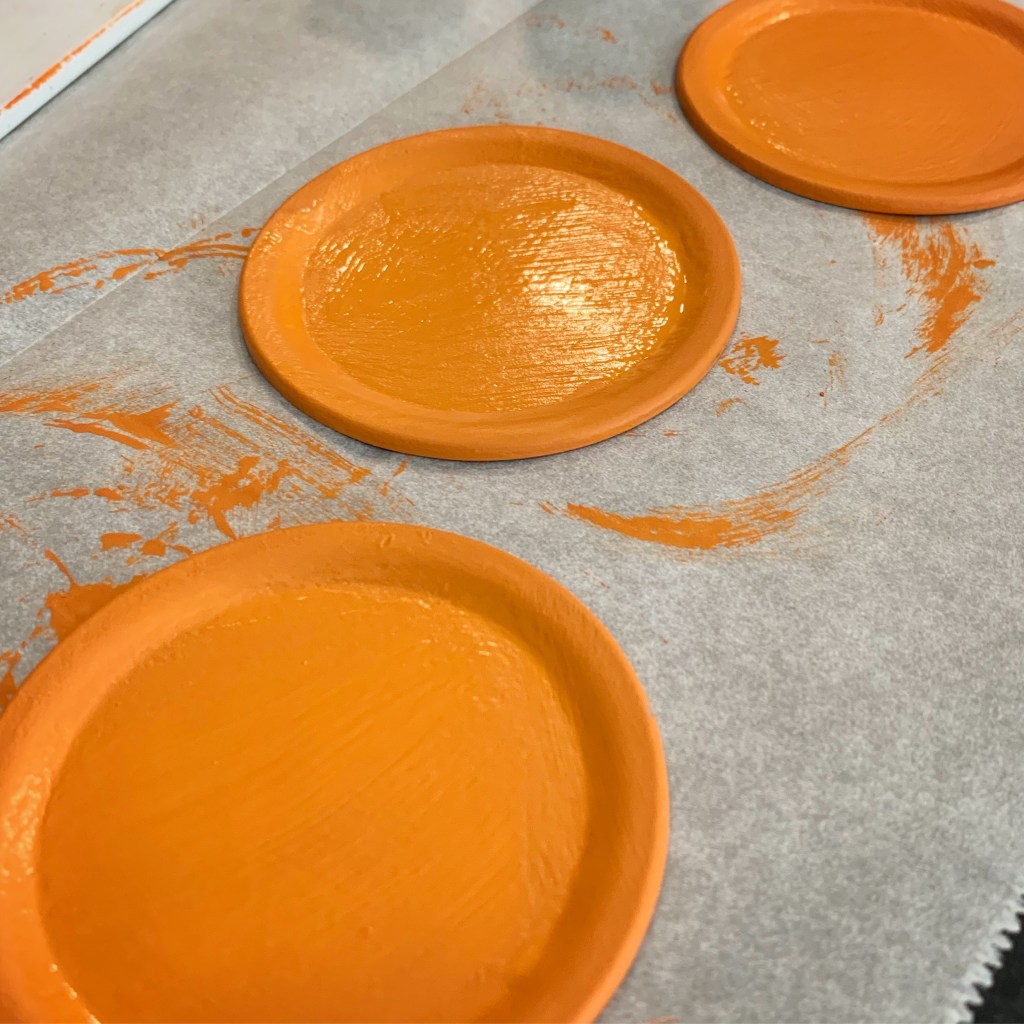
Once completely dry, use the E6000 adhesive to glue the lids together. The bottom 2 are overlapped, and then the 3rd one is glued to the top. Make sure to let the glue dry for a couple of hours before going on to the next step.

Hand cut or die cut 2 leaves from the green felt. I used a die from the Simply Stamped Leaves set by Taylored Expressions. Using the E6000 adhesive, glue them to the back of the pumpkin along with the cinnamon stick. Let dry for a while. Cut several pieces of the foam tape and layer them on top of each other on either side of the cinnamon stick. You’ll want to build up the height so it is even with the cinnamon stick.

Cut a piece of the burlap ribbon to fit across the sign. Attach it to the sign with the Art Institute Adhesive. Using several strands of raffia, tie a bow around the sign. Attach “thankful” using the E6000 adhesive – you may need to hold it in place for a few moments to make sure it adheres. Using the same adhesive, apply a small amount on the cinnamon stick and the 2 pieces of foam tape and place it on the sign.
And here it is all finished!

This is such a fun project! It takes longer waiting for paint and glue to dry than it does to make the actual sign. 🙂 I love the way it turned out!!
Happy Crafting!
Anita


Love this !
LikeLike
Thank You!
LikeLiked by 1 person
so adorable! Thanks for this simple yet very attractive
LikeLike
Thank you!
LikeLike
Super cute! Going to try today. Can I use hot glue?
LikeLike
Thanks! Yes, I think hot glue would work. 😊
LikeLike
what did you make the pumpkin out of?
LikeLike
The pumpkin is made from 3 mason jar lids that are painted and then glued together.
LikeLike
What size was the wood
LikeLike
It measures approximately 12 by 5 inches and is about 1/2 inch thick. Hope that helps.
LikeLike
That is real pretty!
LikeLike
Thank you!
LikeLike