Magnolia Bakery’s (in NYC) Vanilla Birthday Cake Cupcakes

There is the cutest little bakery on Bleecker St. in New York City. It’s called Magnolia Bakery and we discovered it several years ago during a trip there. (They also have several other locations in NYC, Chicago, LA, and even internationally.) We stood in the line which wound around the corner to order these amazing Vanilla Birthday Cake Cupcakes with Vanilla Buttercream icing. We loved them so much that we had them for breakfast every day we were there! Vacations are so much fun!!

They had so many yummy looking sweets, but we never did try anything else – just couldn’t get past those amazing cupcakes! ๐Ÿ˜‰

I was so excited to find that they had a cookbook with many of their wonderful recipes – including the cupcakes and icing – so of course I bought it. And the sad thing is I still haven’t tried any of the other recipes after all these years! ๐Ÿ˜• I need to be more adventurous…

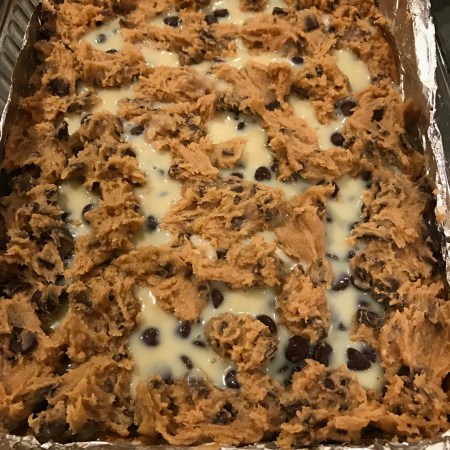
I recently made these yummy cupcakes once again and discovered that the recipe can be found here on Food.com

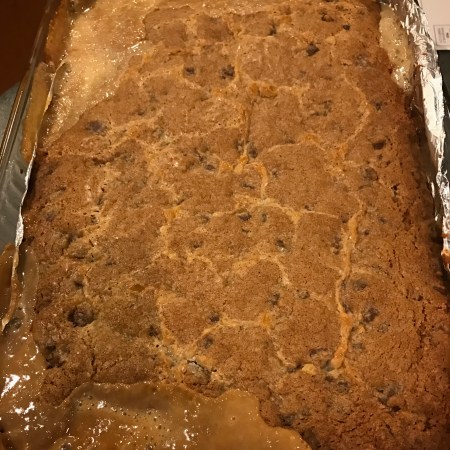
Here they are fresh from the oven…and I highly recommend investing in one of these 24 count cupcake pans. You can find them at Hobby Lobby, Michaels, and other craft stores in the baking section. They are around $20, but use a coupon and they are even more affordable!


With the Vanilla Buttercream Icing and red sugar sprinkles…

img_7866

Oh my…just so good!!!


Make up a batch of these and I promise you won’t be disappointed!!!!!! 

Thanks for stopping by,

Anita

Posted in Recipes | 1 Comment

A Day in Chattanoogaย 

We had a beautiful day on January 14th – 70’s in the middle of winter!! And it just happened to be the 40th anniversary of the day my husband and I met, on a blind date ๐Ÿ˜Š. (Yikes!! 40 years!!) So we took a day trip to Chattanooga to celebrate and enjoy some time together. 

We’ve been to Chattanooga lots of times, but decided to do something we’d not done yet. We rode the Incline Railway to the top of Lookout Mountain. Heights are not my favorite, so I was a little apprehensive about riding this thing – especially because my husband wanted to sit in the front row!! But I’m so glad we did! It’s a mile up to the top and you are literally going through people’s backyards as the car slowly goes up to the top of the mountain. The first picture is as we were nearing the top of the mountain – the second one is the car at the top waiting to make the trip down.

Couldn’t help but snap a picture of these chairs on this outcrop overlooking the city. My husband noticed them in the backyard of one of the beautiful homes on the mountain. He thought it would be fun to sit there – a little too close to the edge for me! ๐Ÿ˜ณ

img_7850

Speaking of the beautiful homes, I snapped pictures of a couple of them. So many gorgeous old homes on the mountain…

A short walk through the neighborhood and you’ll reach Point Park – a park that commemorates the Battle Above the Clouds during the Civil War. It is a very beautiful and peaceful place with sweeping views of Chattanooga. These are a few of the pictures I took while we enjoyed the park.

After a quick stop at Julie Darling Donuts (you seriously need to go there!!) for a yummy treat, we took a leisurely stroll across the Walnut Street Pedestrian Bridge. As we headed back to the car, I snapped this picture of the Market Street Bridge with the sun setting behind it.

img_7791

A perfect end to a perfect day…

Thanks for stopping by,

Anita

Posted in Travel | 2 Comments

Happy 1st Birthdayย 

A sweet little girl turned one this month!! The year has passed so quickly – and we are making a trip to the PNW soon to visit her and the rest of her family…can’t wait to see them. ๐Ÿ™‚

This is the card I made for her special day. 

This cute little elephant is Sweet Elle from Unity Stamp Company. I love that she is holding one balloon – perfect for a first birthday!! ๐ŸŽˆ

Elle is stamped with brown ink on white card stock and colored with Copic markers. The background is lightly sponged with blue and green ink to make the sky and grass. “Happy Birthday” is stamped with brown ink. This is an older stamp from Hero Arts – just use your favorite one in your stash. Layer the stamped panel to pink and gray card stock and attach the panel to a white card. I added a little clear glitter glue to the heart on the balloon to finish the card.

Happy Birthday sweet girl – we’ll see you soon!!!

Thanks for stopping by,

Anita

Posted in Cards | Leave a comment

Double Decker Cookie Gooey Bars

Need a yummy, gooey dessert to take to a potluck or just as aย special treat for your family? This might be just what you’re looking for! Peanut butter cookie dough, chocolate cookie dough, chocolate chips, sweetened condensed milk…How could you go wrong?!?!?

You can findย the full recipe here on the Krusteaz website. It’s really simple to make and using the cookie mixes from Krusteaz is a real time saver – not to mention that they taste great!

This is the peanut butter cookie dough pressed into the bottom of the pan with the chocolate chips sprinkled on top…

img_7829

Add the sweetened condensed milk…

img_7830

Top with the chocolate chip cookie dough…

img_7831

Fresh and warm from the oven…

img_7832

Great with a cup of coffee or a big glass of cold milk!

img_7833

Careful…it’s hard to eat just one!!ย ๐Ÿ™‚

Thanks for stopping by,

Anita

Posted in Recipes, Uncategorized | Leave a comment

Love To Go

Happy Valentine’s Day! โค๏ธ I hope you Feel the Love today!

img_7846

This is such a fun stamp set from Unity Stamp Company – it’s called Love To Go. I stamped the coffee cup with brown ink on white card stock, colored it with Copic markers, and punched it out with an oval punch. I stamped the sentiment with red ink on white card stock, punched it with an oval punch, and inked the edges with red ink. I embossed a panel of kraft card stock with the heart embossing folder from Stampin’ Up and attached it to a kraft card. I attached a strip of red patterned paper and attached the coffee cup with foam tape. To finish the card, I attached the sentiment to the bottom of the card and then added the heart button.

This stamp would also make a great birthday card for your favorite coffee lover – just change the color scheme!

Happy โค๏ธ Day!

Thanks for stopping by,

Anita


Posted in Cards, Uncategorized, Valentine | 2 Comments

I’ll Always Love You

This is the sweetest little cupcake stamp from the I’ll Always Love You set from Unity Stamp Company. I loveย the way this Valentine card turned out – not theย traditional colors, but really sweet and soft.

img_7845

I stamped the cupcake withย brown ink on white card stock, colored it with Copic markers, and punched it out with aย circleย punch. I lightly inked the edges of the circle with turquoise ink and attached it to a scalloped circle punched from pink card stock.

I stamped theย sentiment included in the stamp set with turquoise ink on white card stock, punched it with a scalloped oval punch, and inked the edges with turquoise ink. I stamped a strip of pink card stock withย one of the edge stamps from the Delicate Details stamp set from Stampin’ Up (the set is from this year’s Sale-A-Bration catalog) using turquoise ink.ย 

To put the card together, I embossed a panel of turquoise card stock with the Falling Petals embossing folder from Stampin’ Upย and attached it to a pink card. Then I attached the stamped strip of pink card stock and attached both the cupcake and the sentiment with foam tape.

Have a sweet Valentine’s Day!ย 

Thanks for stopping by,

Anita

Posted in Cards, Uncategorized, Valentine | Leave a comment

Easy โค๏ธ Treat Bags

I found these cute little burlap bags on clearance after Christmas at Michael’s. They came in packs of two and I got them for 75 cents each-score!! I wasn’t sure what I would use them for at the time, but I just couldn’t pass them up. ๐Ÿ™‚

So now it’s almost Valentine’s Day and I remembered my cute little red burlap bags – perfect size to share a little treat with friends.

img_7834

I made little tags using a tag punch and white card stock. (Or just cut your tag shape with scissors) Then I stamped a heart and “sweet treats” with red ink on each tag. After punching a little hole at the top of the tag, I used the drawstring on the bag to tie the tag to the bag. Each bag is filled with a few chocolate kisses.ย 


Super quick and simple – but a sweet way to share a littleย โค๏ธ.ย 

Thanks for stopping by,

Anita


Posted in Gifts, Valentine | Leave a comment

Pom Pom Garlandย 

I picked up these 1-inch pom poms on clearance after Christmas. Do you shop for Valentine decor in the Christmas clearance section? You can find great red and white things that can be used to craft and decorate for Valentine’s Day. Put it on your calendar to remind you to look for fun stuff after Christmas this year! ๐ŸŽ„โžก๏ธโค๏ธ

I already had the red and white baker’s twine. I simply used a needle to string the pom poms onto the twine. I left a little space between them so the twine could peek through.img_7816I hung my pom pom garland on my fireplace along with my Valentine Garland that I made last year.img_7817
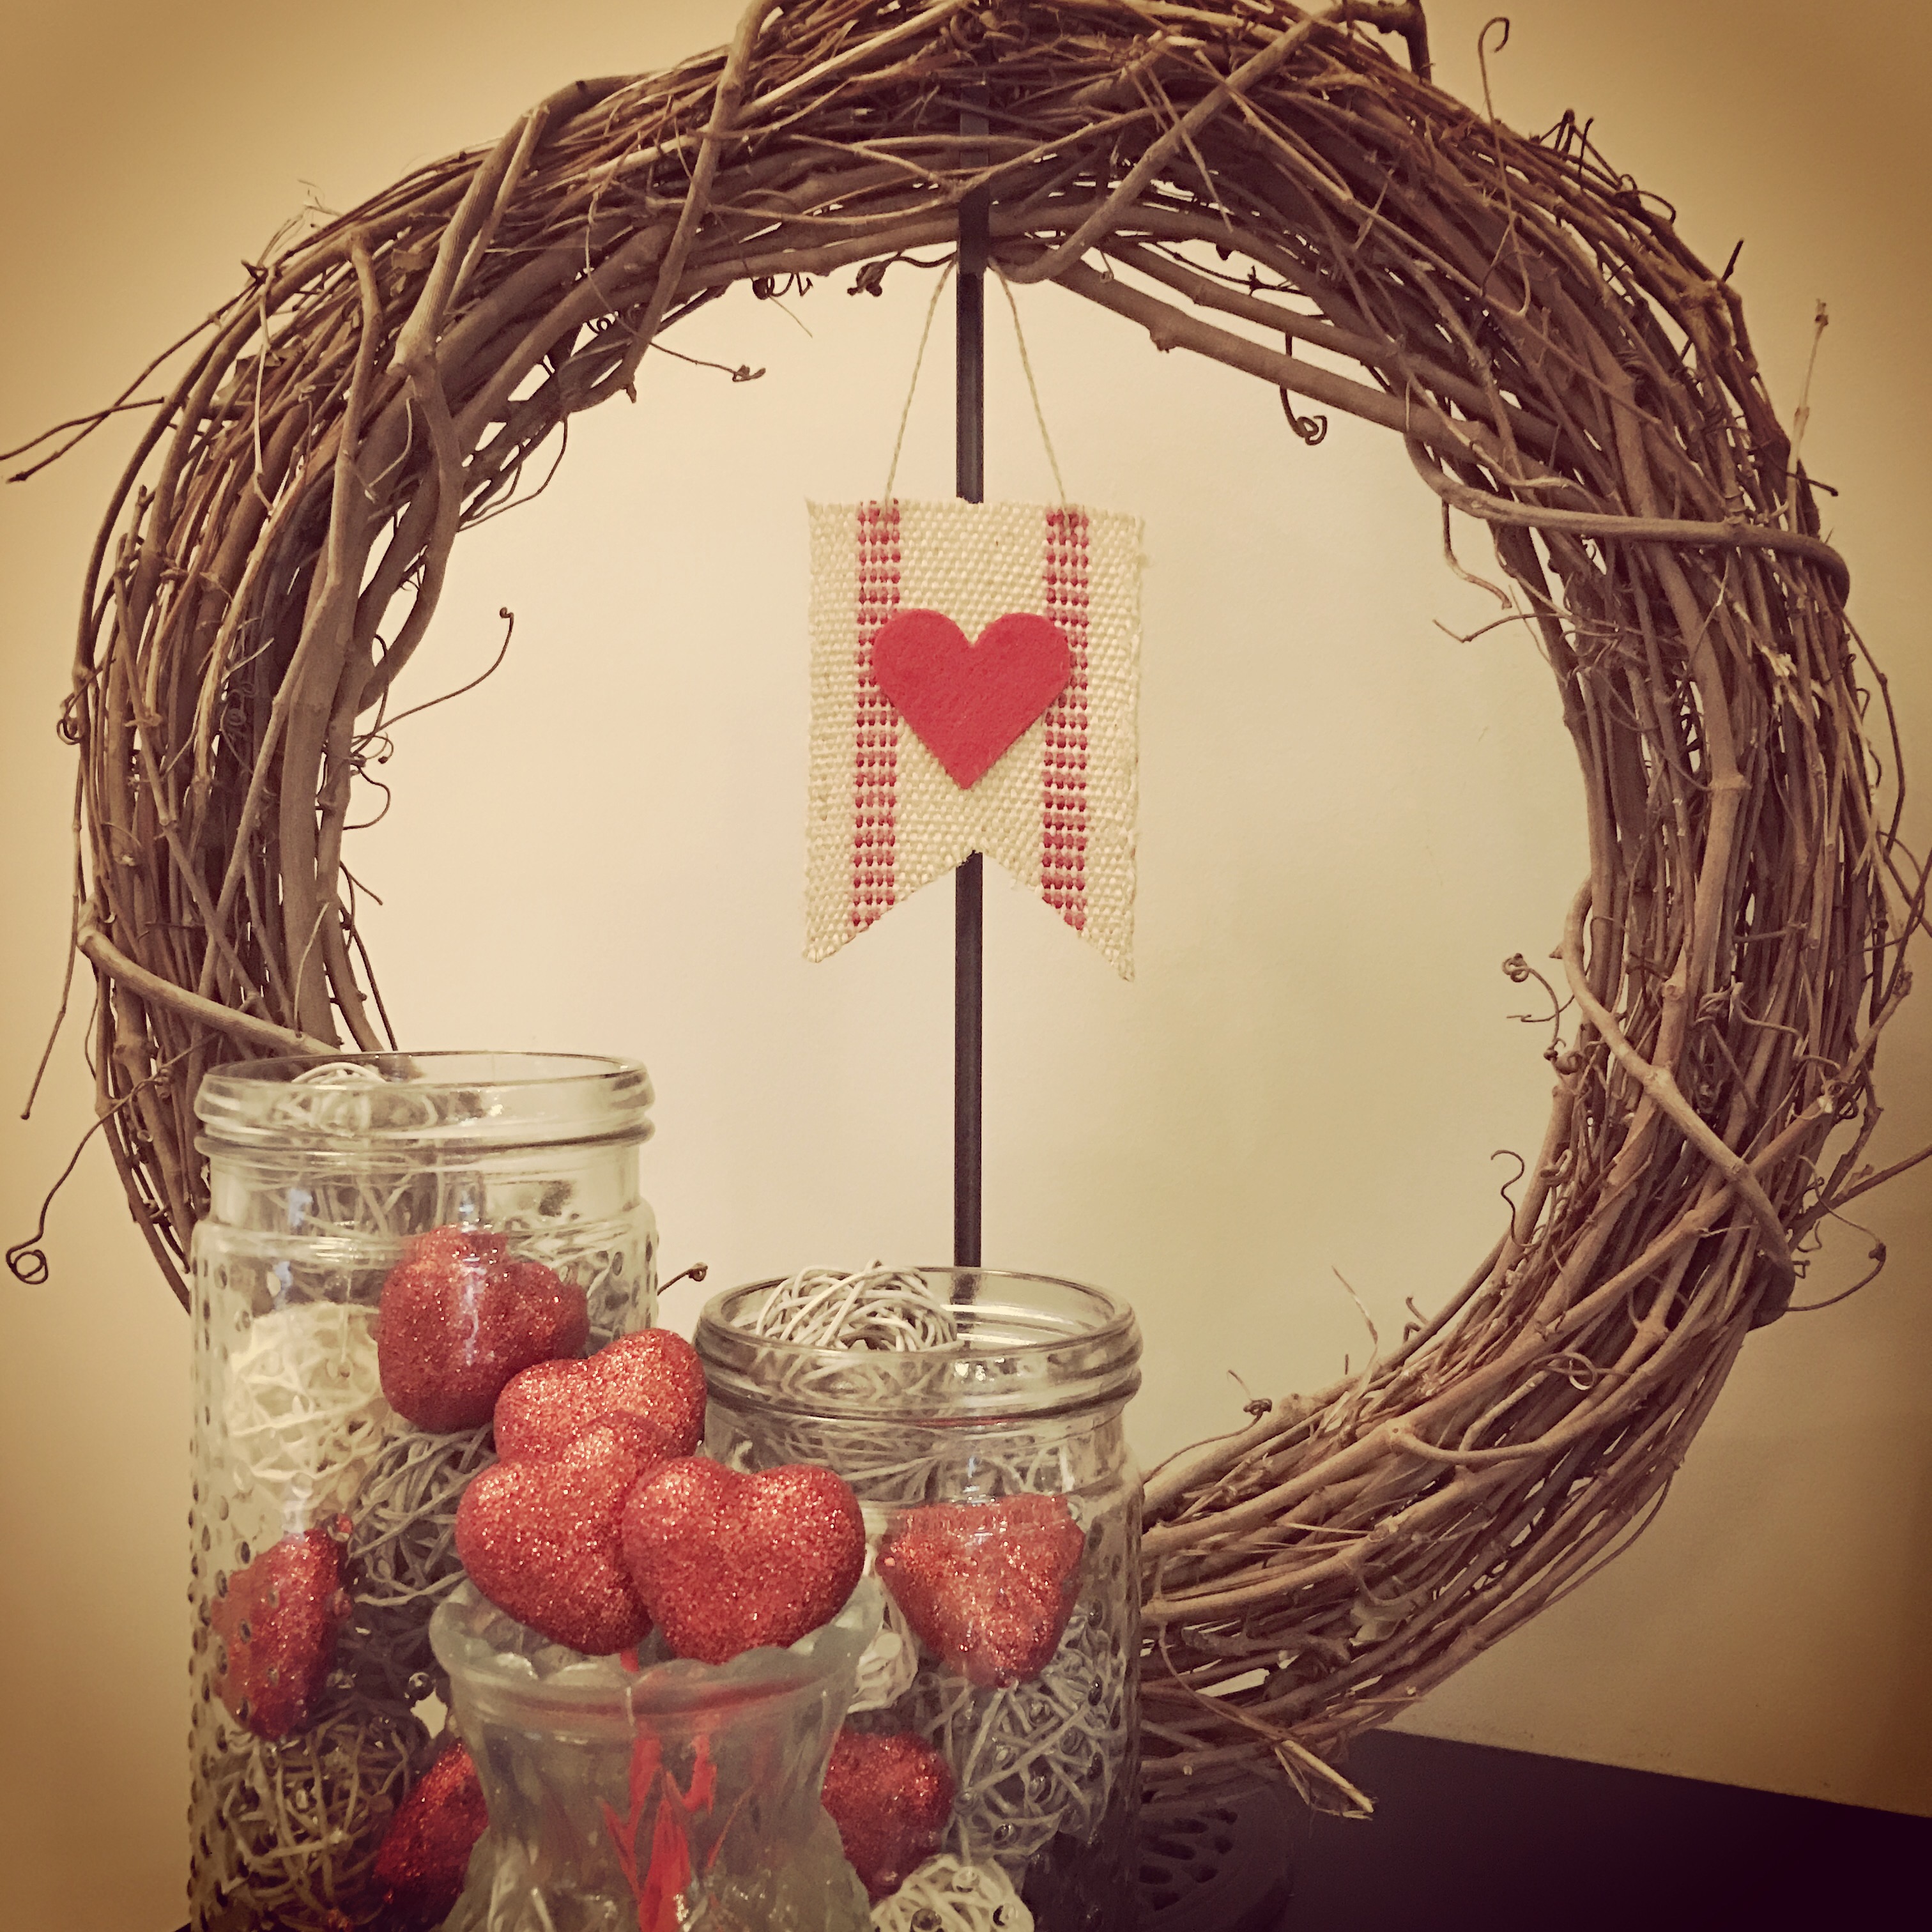
I still had plenty of pom poms left, so I strung them onto the twine and wrapped them around my grapevine wreath along with the little Valentine banner from this post.img_7818Decorating for different holidays throughout the year doesn’t have to be expensive – use what you have and be creative with things you can find on clearance after each holiday has passed. You might surprise yourself by thinking a little outside the box! Thanks for stopping by,

Anita

Posted in Decor, Valentine | Leave a comment

Time for โค๏ธโค๏ธโค๏ธ

I ย โค๏ธdecorating for Valentine’s Day! (See what I did there ๐Ÿ˜‰) It makes me feel like the end of winter is near – and it doesn’t hurt that red is one of my favorite colors.ย 

I have this big roll of jute webbing (it’s 3 1/2-inches wide!) with red stitching, a roll of twine, and red felt just waiting for me to play. (This is a link to the jute webbing on Amazon – you can probably find it in your local craft store, too.)


I cut a piece of the jute webbing into a banner shape, punched a couple of holes at the top with my crop-a-dile from We Rย Memory Keepers, and added some twine by tying knots on the back. I used my Spellbinders heart die to cut a heart from the red felt and glued it to the front of the little banner. So easy!! ย You could also make several little banners and string them together with twineย to make a garland for your mantelย or window.


I hung my banner on my wreath stand with my grapevine wreath for just a little touch of โค๏ธday. But I needed something else…

I found these glittery heart pics at the dollar store. They are made of styrofoam and the pick just slides out.ย 


I pulled out the picks and added them to my hobnail glass vases with some gray and cream grapevine vase filler balls. I left 3 hearts on the pick and put them in another vase. And here’s the result…ย 


A little corner of โค๏ธ’s for Valentine’s Day!

Thanks for stopping by,

Anita

Posted in Decor, Valentine | 1 Comment

Crochet Newborn Baby Beanies

These are so tiny!!! I made these sweet little beanies for a precious little boy who will be joining us soon. They match the blanket I made for him that I shared in this post.

img_7759

I used the Parker Crochet Newborn Hat pattern that you can find here. They are stitched from the same Caron Simply Soft yarn that I used to make the blanket and an H hook. They worked up super fast because they are just so tiny! ๐Ÿ™‚

This is a great way to add a little something extra for the new little one and also use up yarn left from making other projects.

Thanks for stopping by,

Anita


Posted in Crochet, Gifts | 3 Comments