
Hi friends,
I’ve been doing some organizing in my craft room lately. Just a little at a time because it can be so overwhelming! And I’d rather create. 😉
Anyway, you can see what I’ve done with my card stock here and my 6 by 6 inch patterned paper pads here.
Disclosure: Some of the links on my site are affiliate links, meaning, at no additional cost to you, I will earn a small commission if you click through and make a purchase. As an Amazon Associate I earn from qualifying purchases.
Today I’m sharing how I’ve organized my stencil collection. Taylored Expressions has this great binder for storing their stencil sleeves that fit 6 by 6 stencils. They also have a set of 6 by 6 dividers that includes some printed labels along with blank labels to organize your stencils into categories.

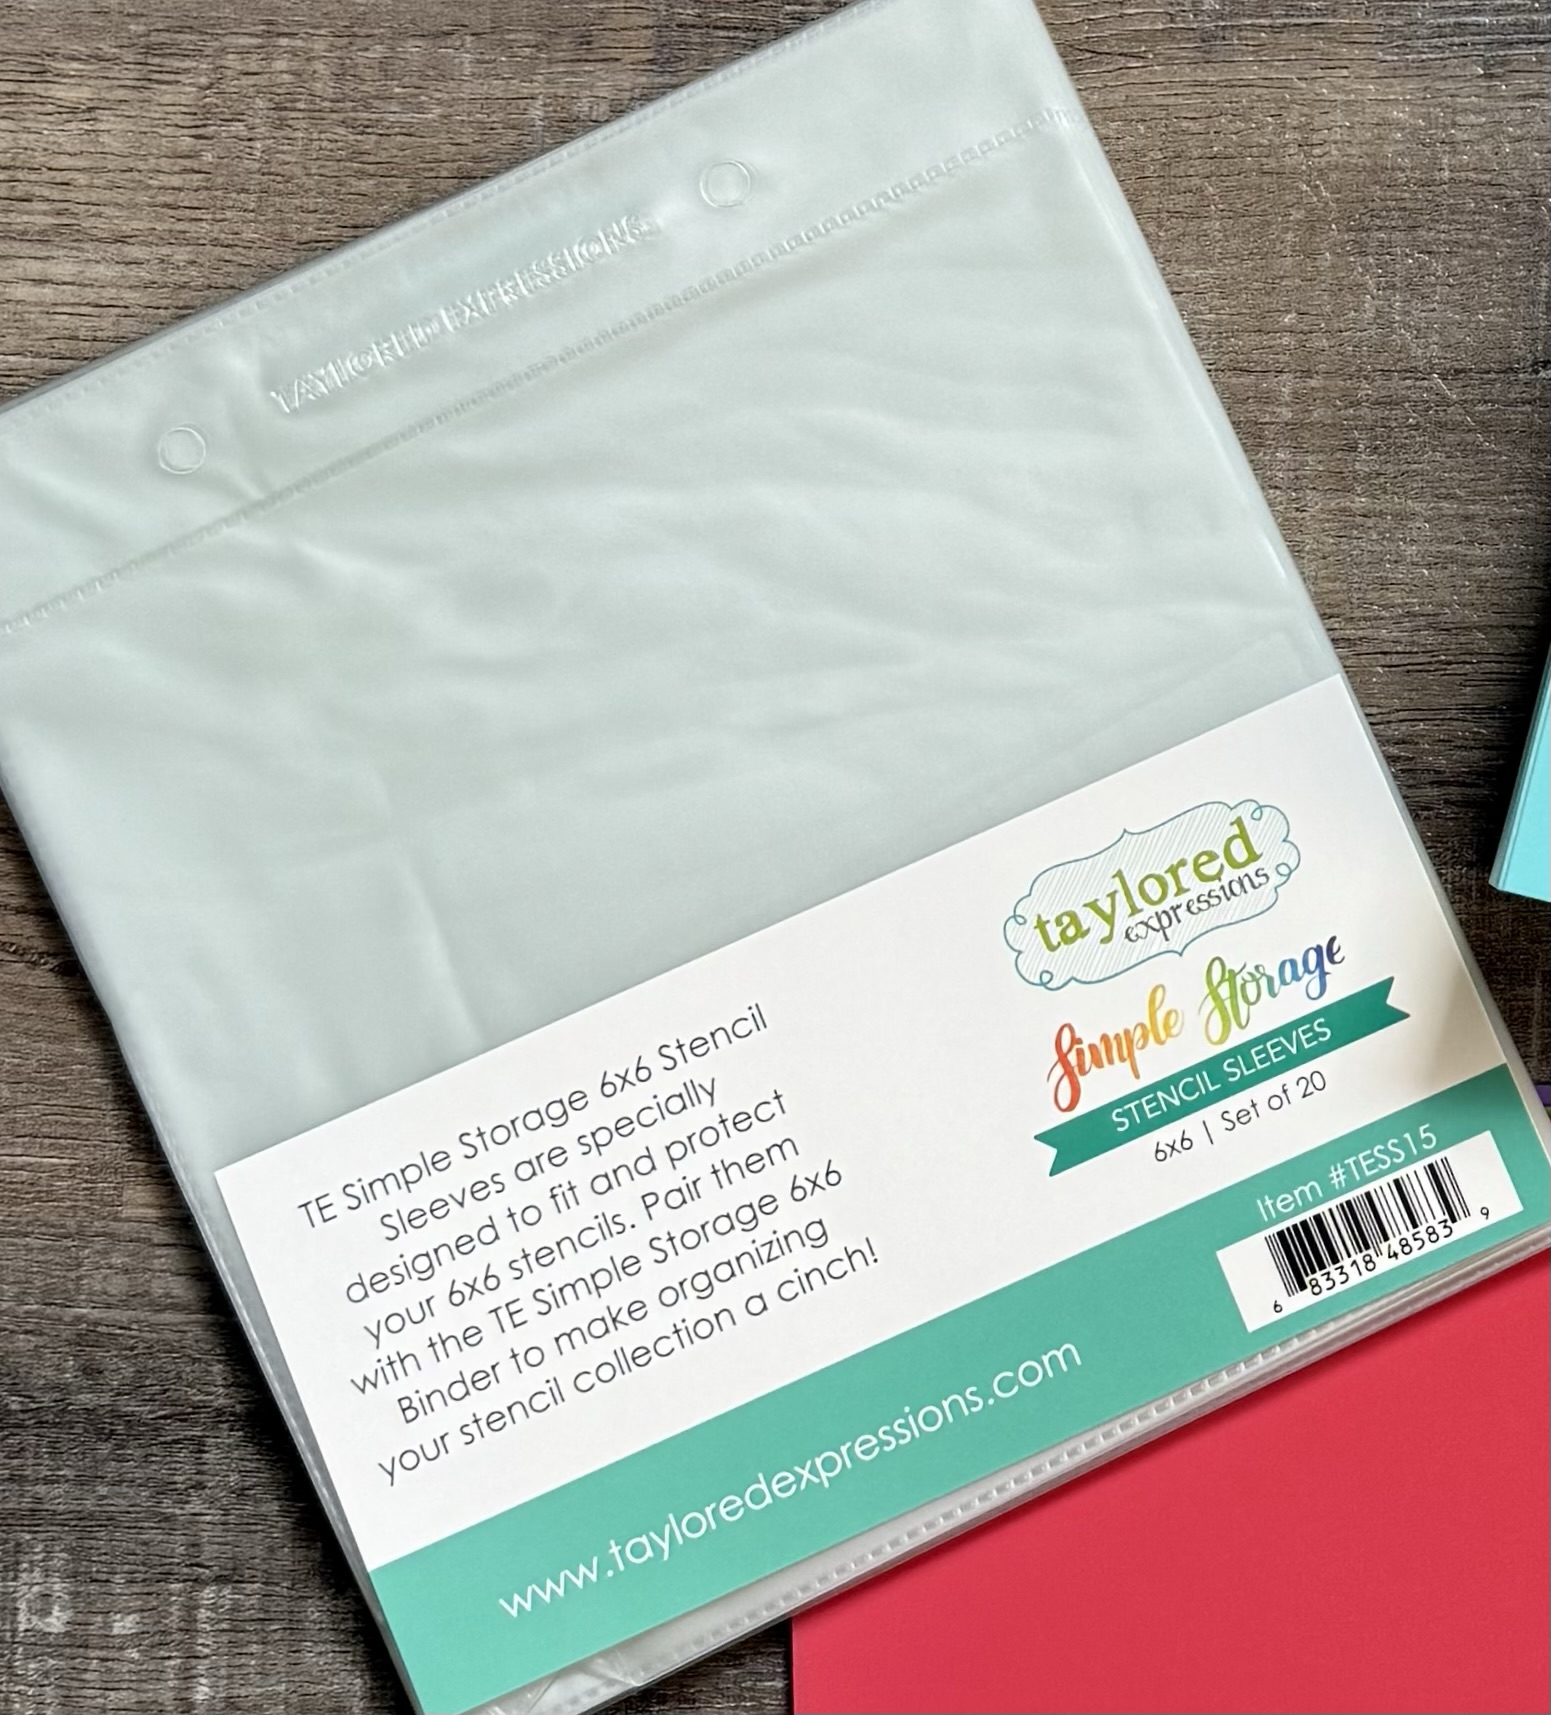

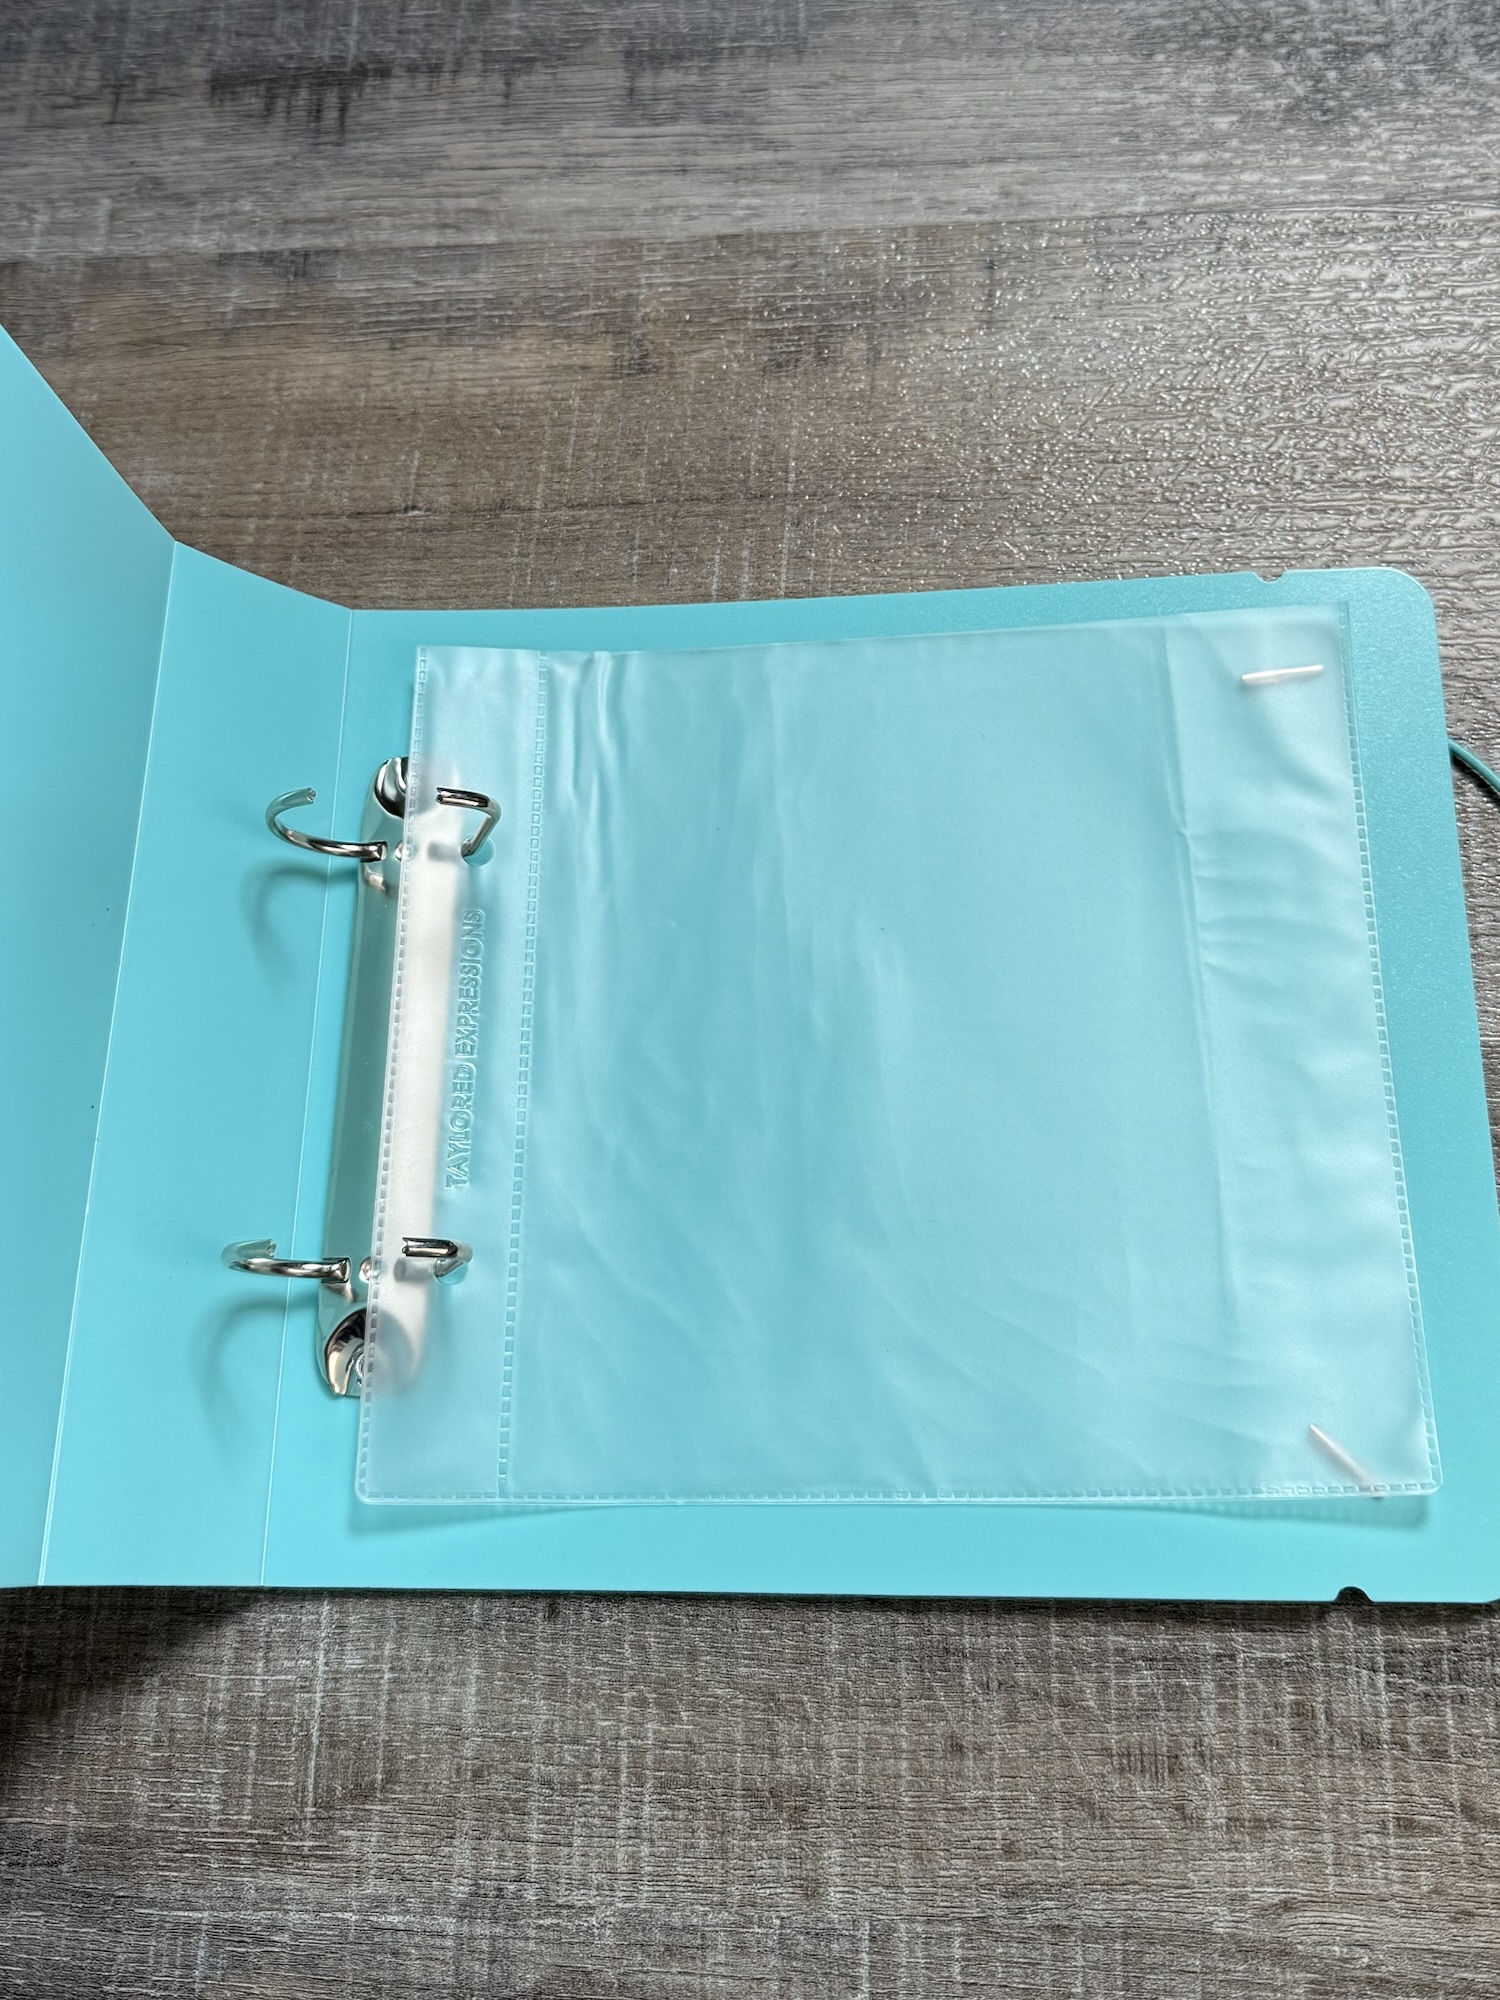


The binder will hold up to 40 stencil sleeves and I think you could easily put 2 stencils in each sleeve. I cut gray card stock to 6 by 6 inches to slip into the sleeve behind the stencil to make it easier to see what it looks like. I also have labels for each stencil attached to each sleeve. I need to redo the labels so they are at the bottom of the sleeve instead of the side. I had them stored a different way when those labels were applied and now I think it would be better to have them at the bottom. I’ll use my Brother P-Touch Label Maker to make the new labels. I guess that will be my next project. 😊
I have a few slimline stencils that measure 6.25 inches long, but because the sleeves are open at the top I’ve still been able to include them in the binder. You can see them peeking out at the top of the photo on the right above.
This is a great way to keep all of my stencils in one place and the binder takes up very little space on my shelf.
Anita


