Disclosure: Some of the links on my site are affiliate links, meaning, at no additional cost to you, I will earn a small commission if you click through and make a purchase. As an Amazon Associate I earn from qualifying purchases.
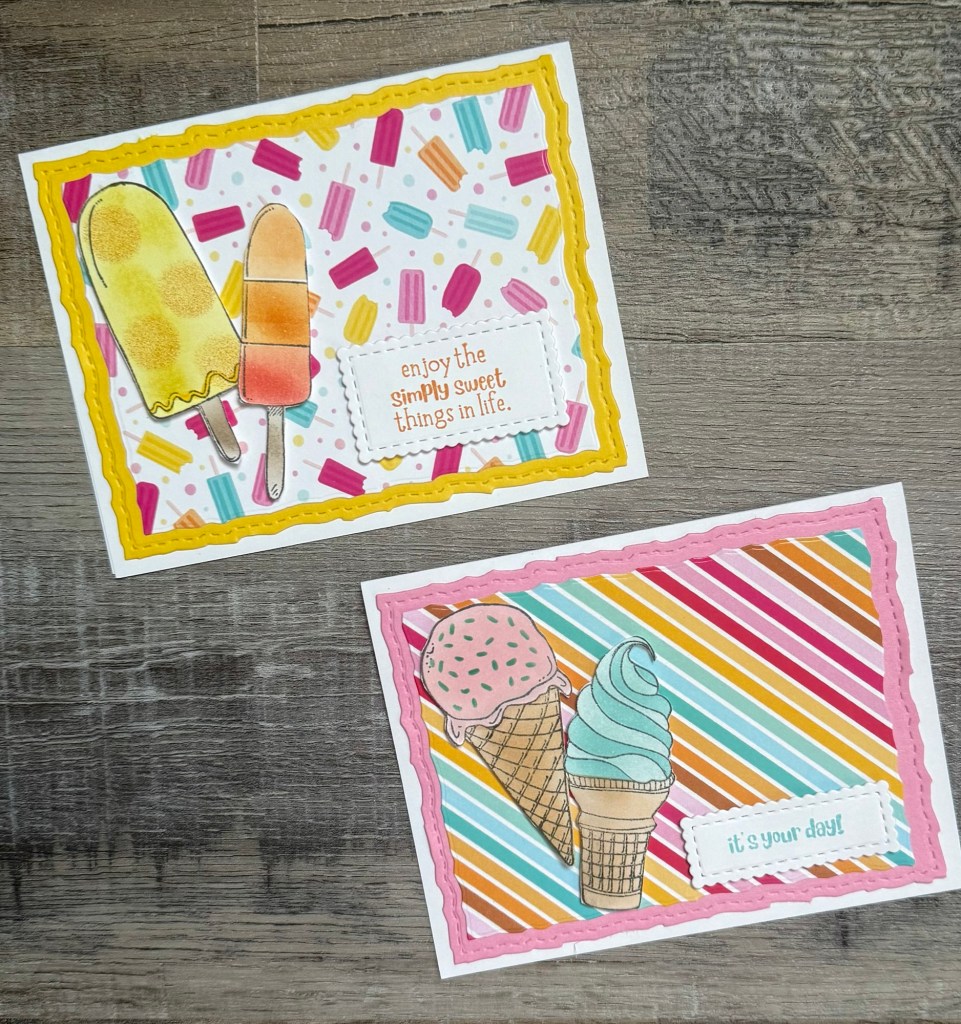
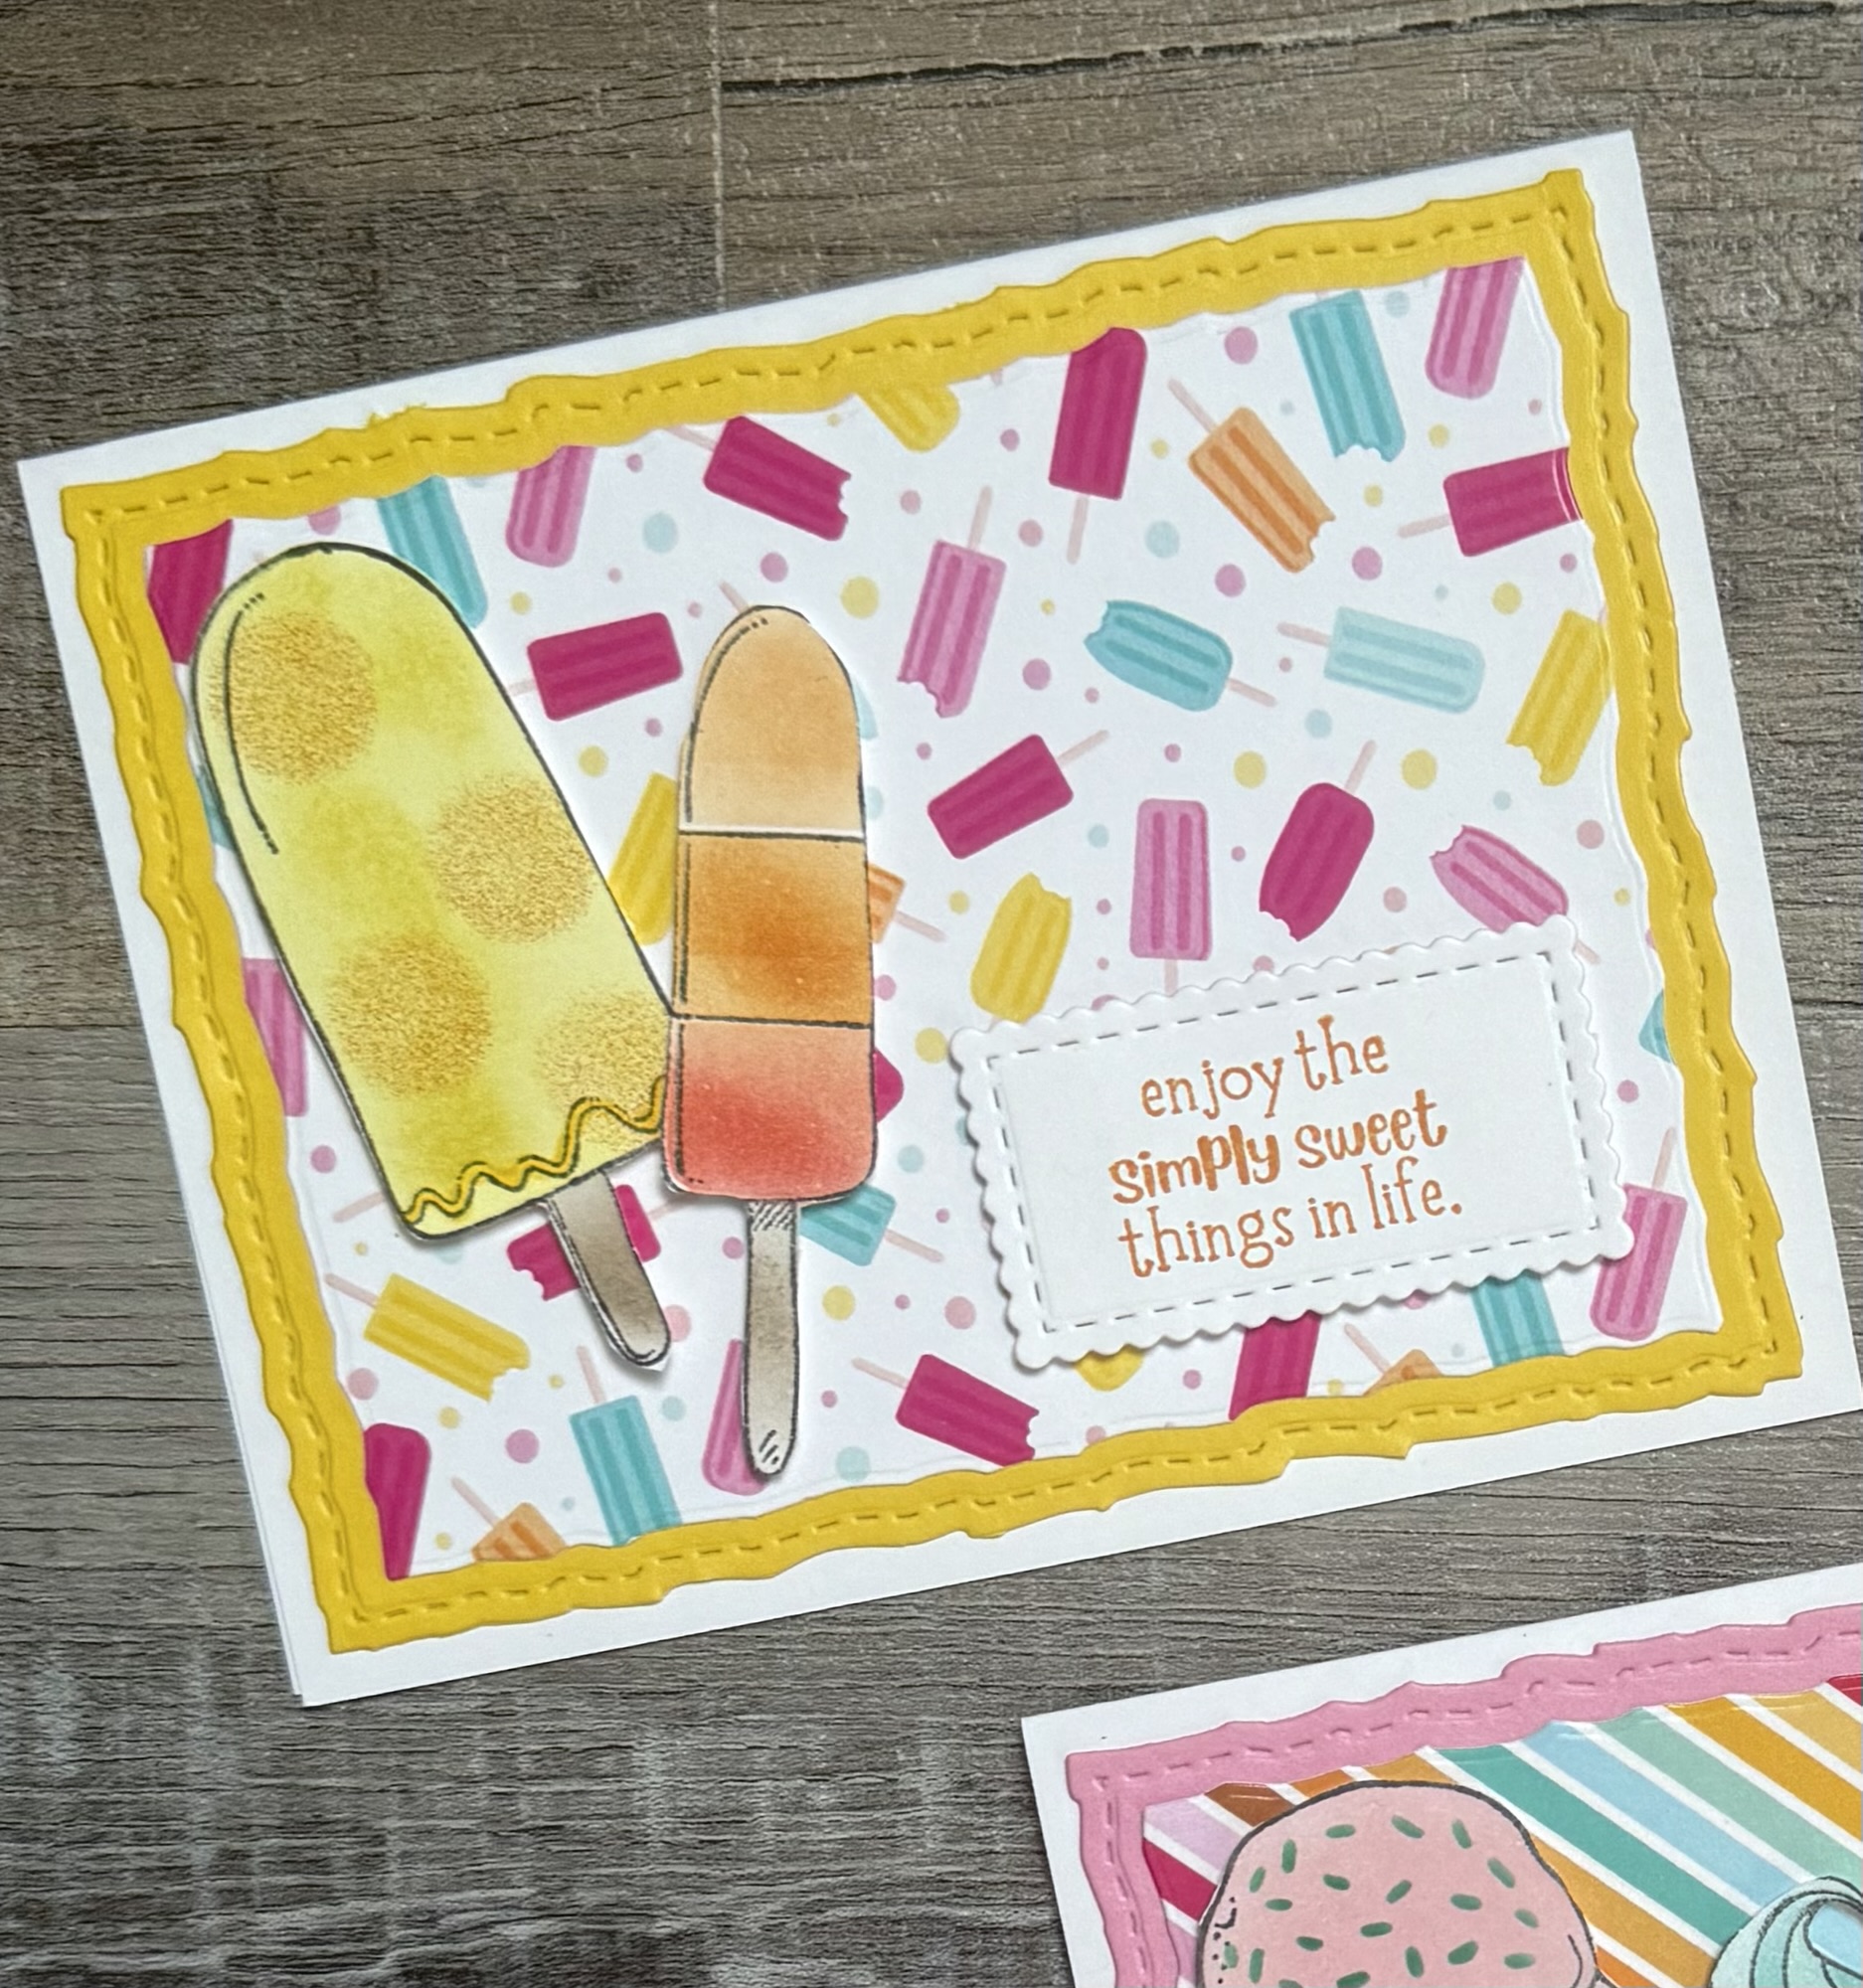
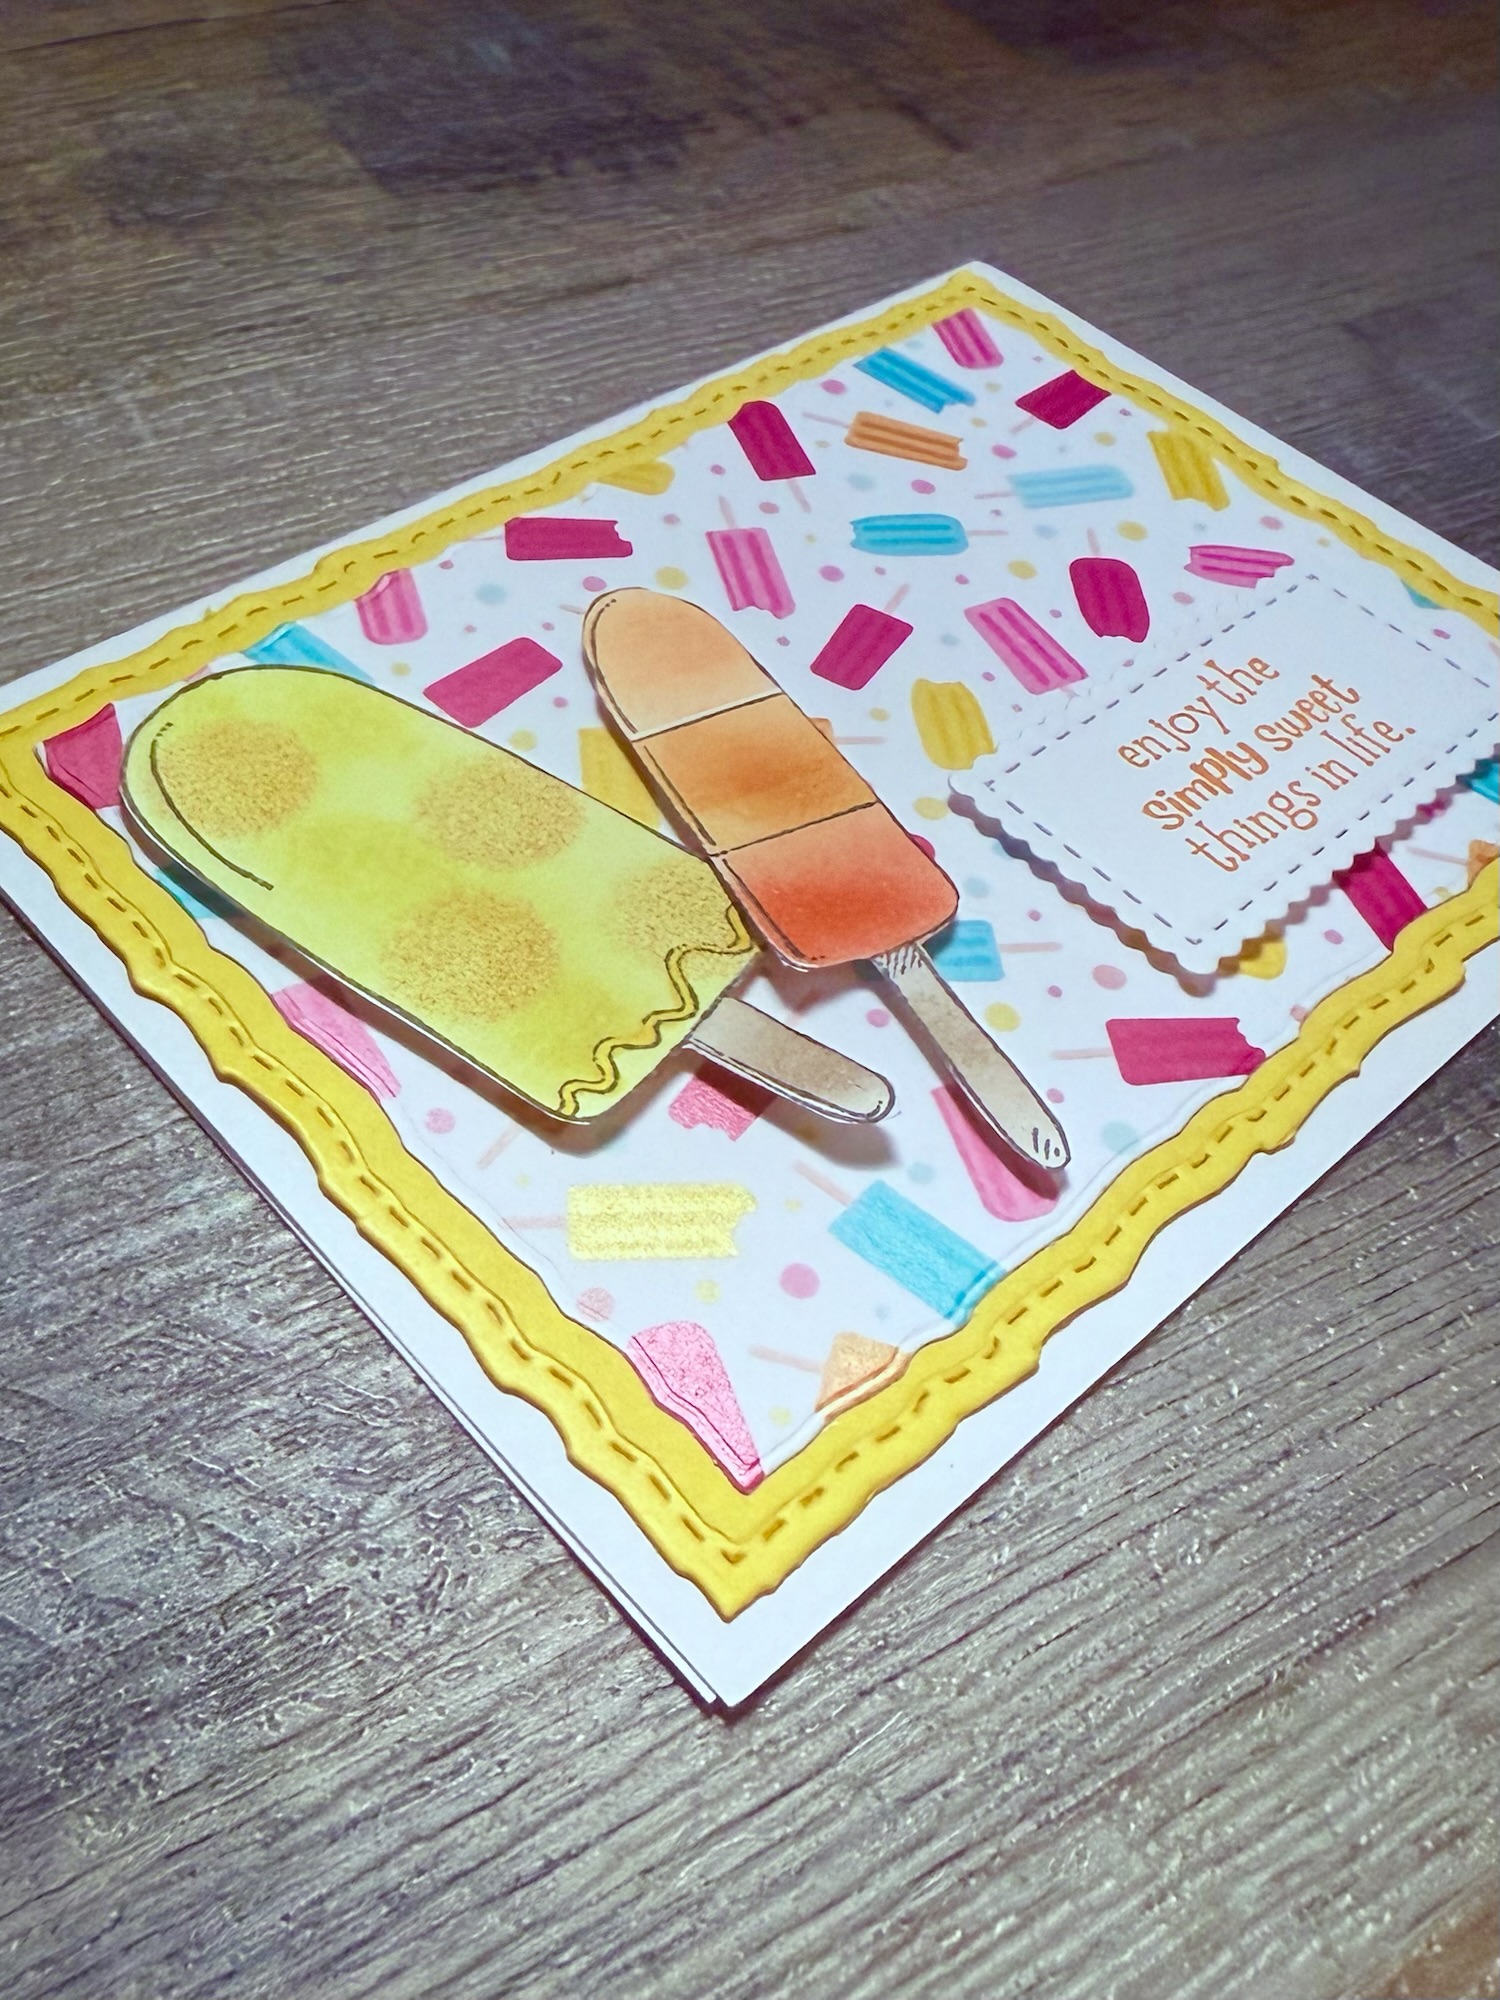
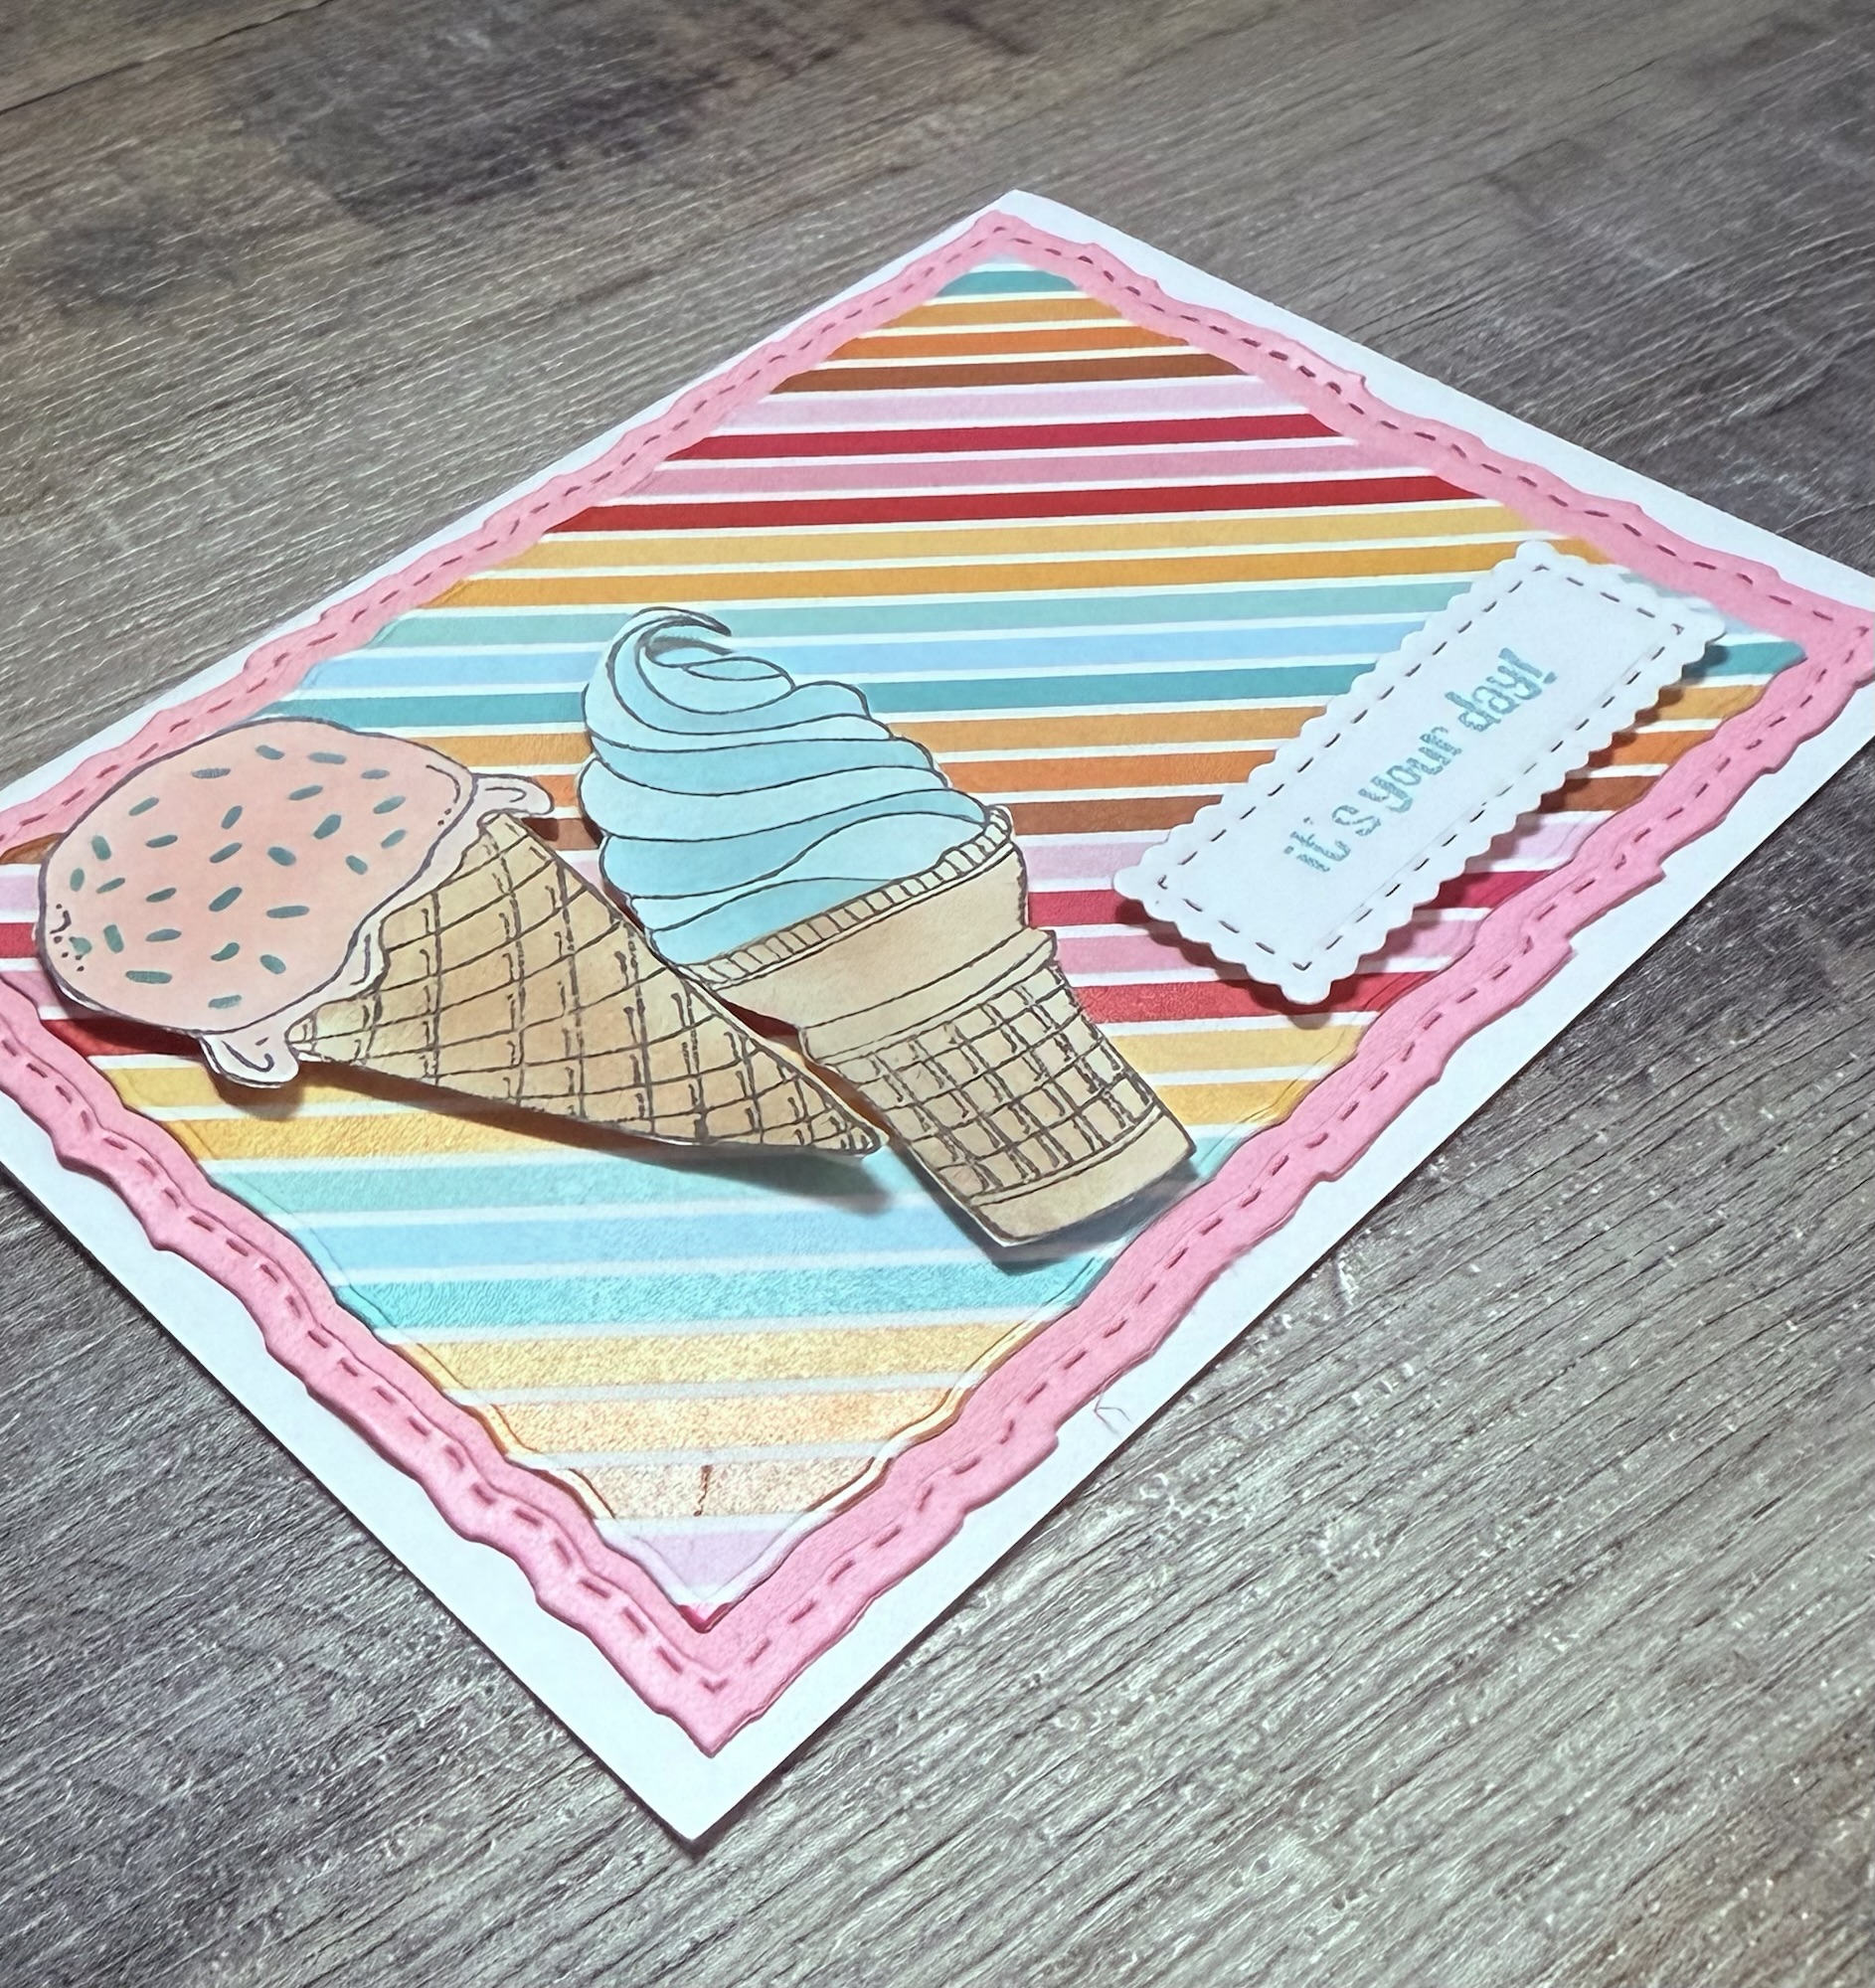
I stamped the various ice cream images with Memento Tuxedo Black ink on white card stock. Using blender brushes with the matching stencils, I applied color from dye ink pads to each image. I used a small sponge dauber to add the circles on the yellow popsicle. Then I cut the images out using my favorite detail scissors.
Using these Deckle & Stitches Nesting Dies, I die cut a piece patterned paper, layered it to coordinating card stock cut with the same set, and attached it to a white card. The ice cream images are attached to the card with foam tape.
Did you collect some beautiful seashells on your Summer vacation? I have to admit that if I am anywhere near a beach, I am going to be out looking for shells. 😊🐚
Disclosure: Some of the links on my site are affiliate links, meaning, at no additional cost to you, I will earn a small commission if you click through and make a purchase. As an Amazon Associate I earn from qualifying purchases.
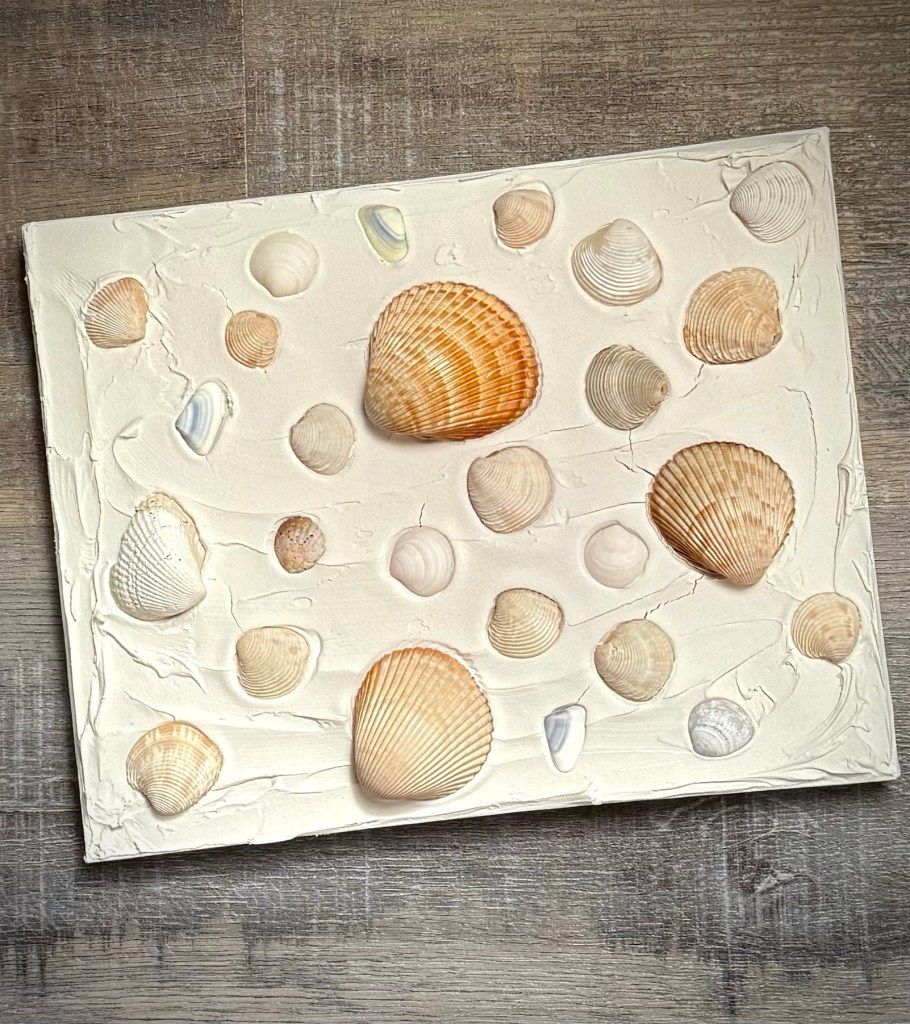
I saw this fun way to create some Seashell Art – I wish I could remember where so I could give them credit. ☹️ Anyway, I thought I’d give it a go with a few of my many seashells I have stashed away. 😊 Be sure to soak your seashells in bleach water for an hour or so to kill any bacteria on them! Rinse and let dry before crafting with them.
You’ll need some seashells, a stretched canvas (mine is 8 by 10), spackling compound (I used this one), and a putty knife or scraper to spread the spackle. I ended up using a jumbo craft stick to spread my spackle and it worked great! And no cleanup – I just threw it away after I was done. 😊
Spread a layer of spackling compound onto the canvas – it doesn’t need to be perfectly smooth – just thick enough to hold your seashells. Then push your shells into the spackle in whatever arrangement you want. Set it aside to dry completely. I let mine dry overnight. Don’t worry, the spackle will dry white!!
That’s all there is to it! Now you have a fun and different keepsake from your Summer beach vacation. 🐚
This would be a great project to make with the kids! They can collect shells on the beach and use their favorites to create their own Seashell Art. 🙂🐚
Disclosure: Some of the links on my site are affiliate links, meaning, at no additional cost to you, I will earn a small commission if you click through and make a purchase. As an Amazon Associate I earn from qualifying purchases.
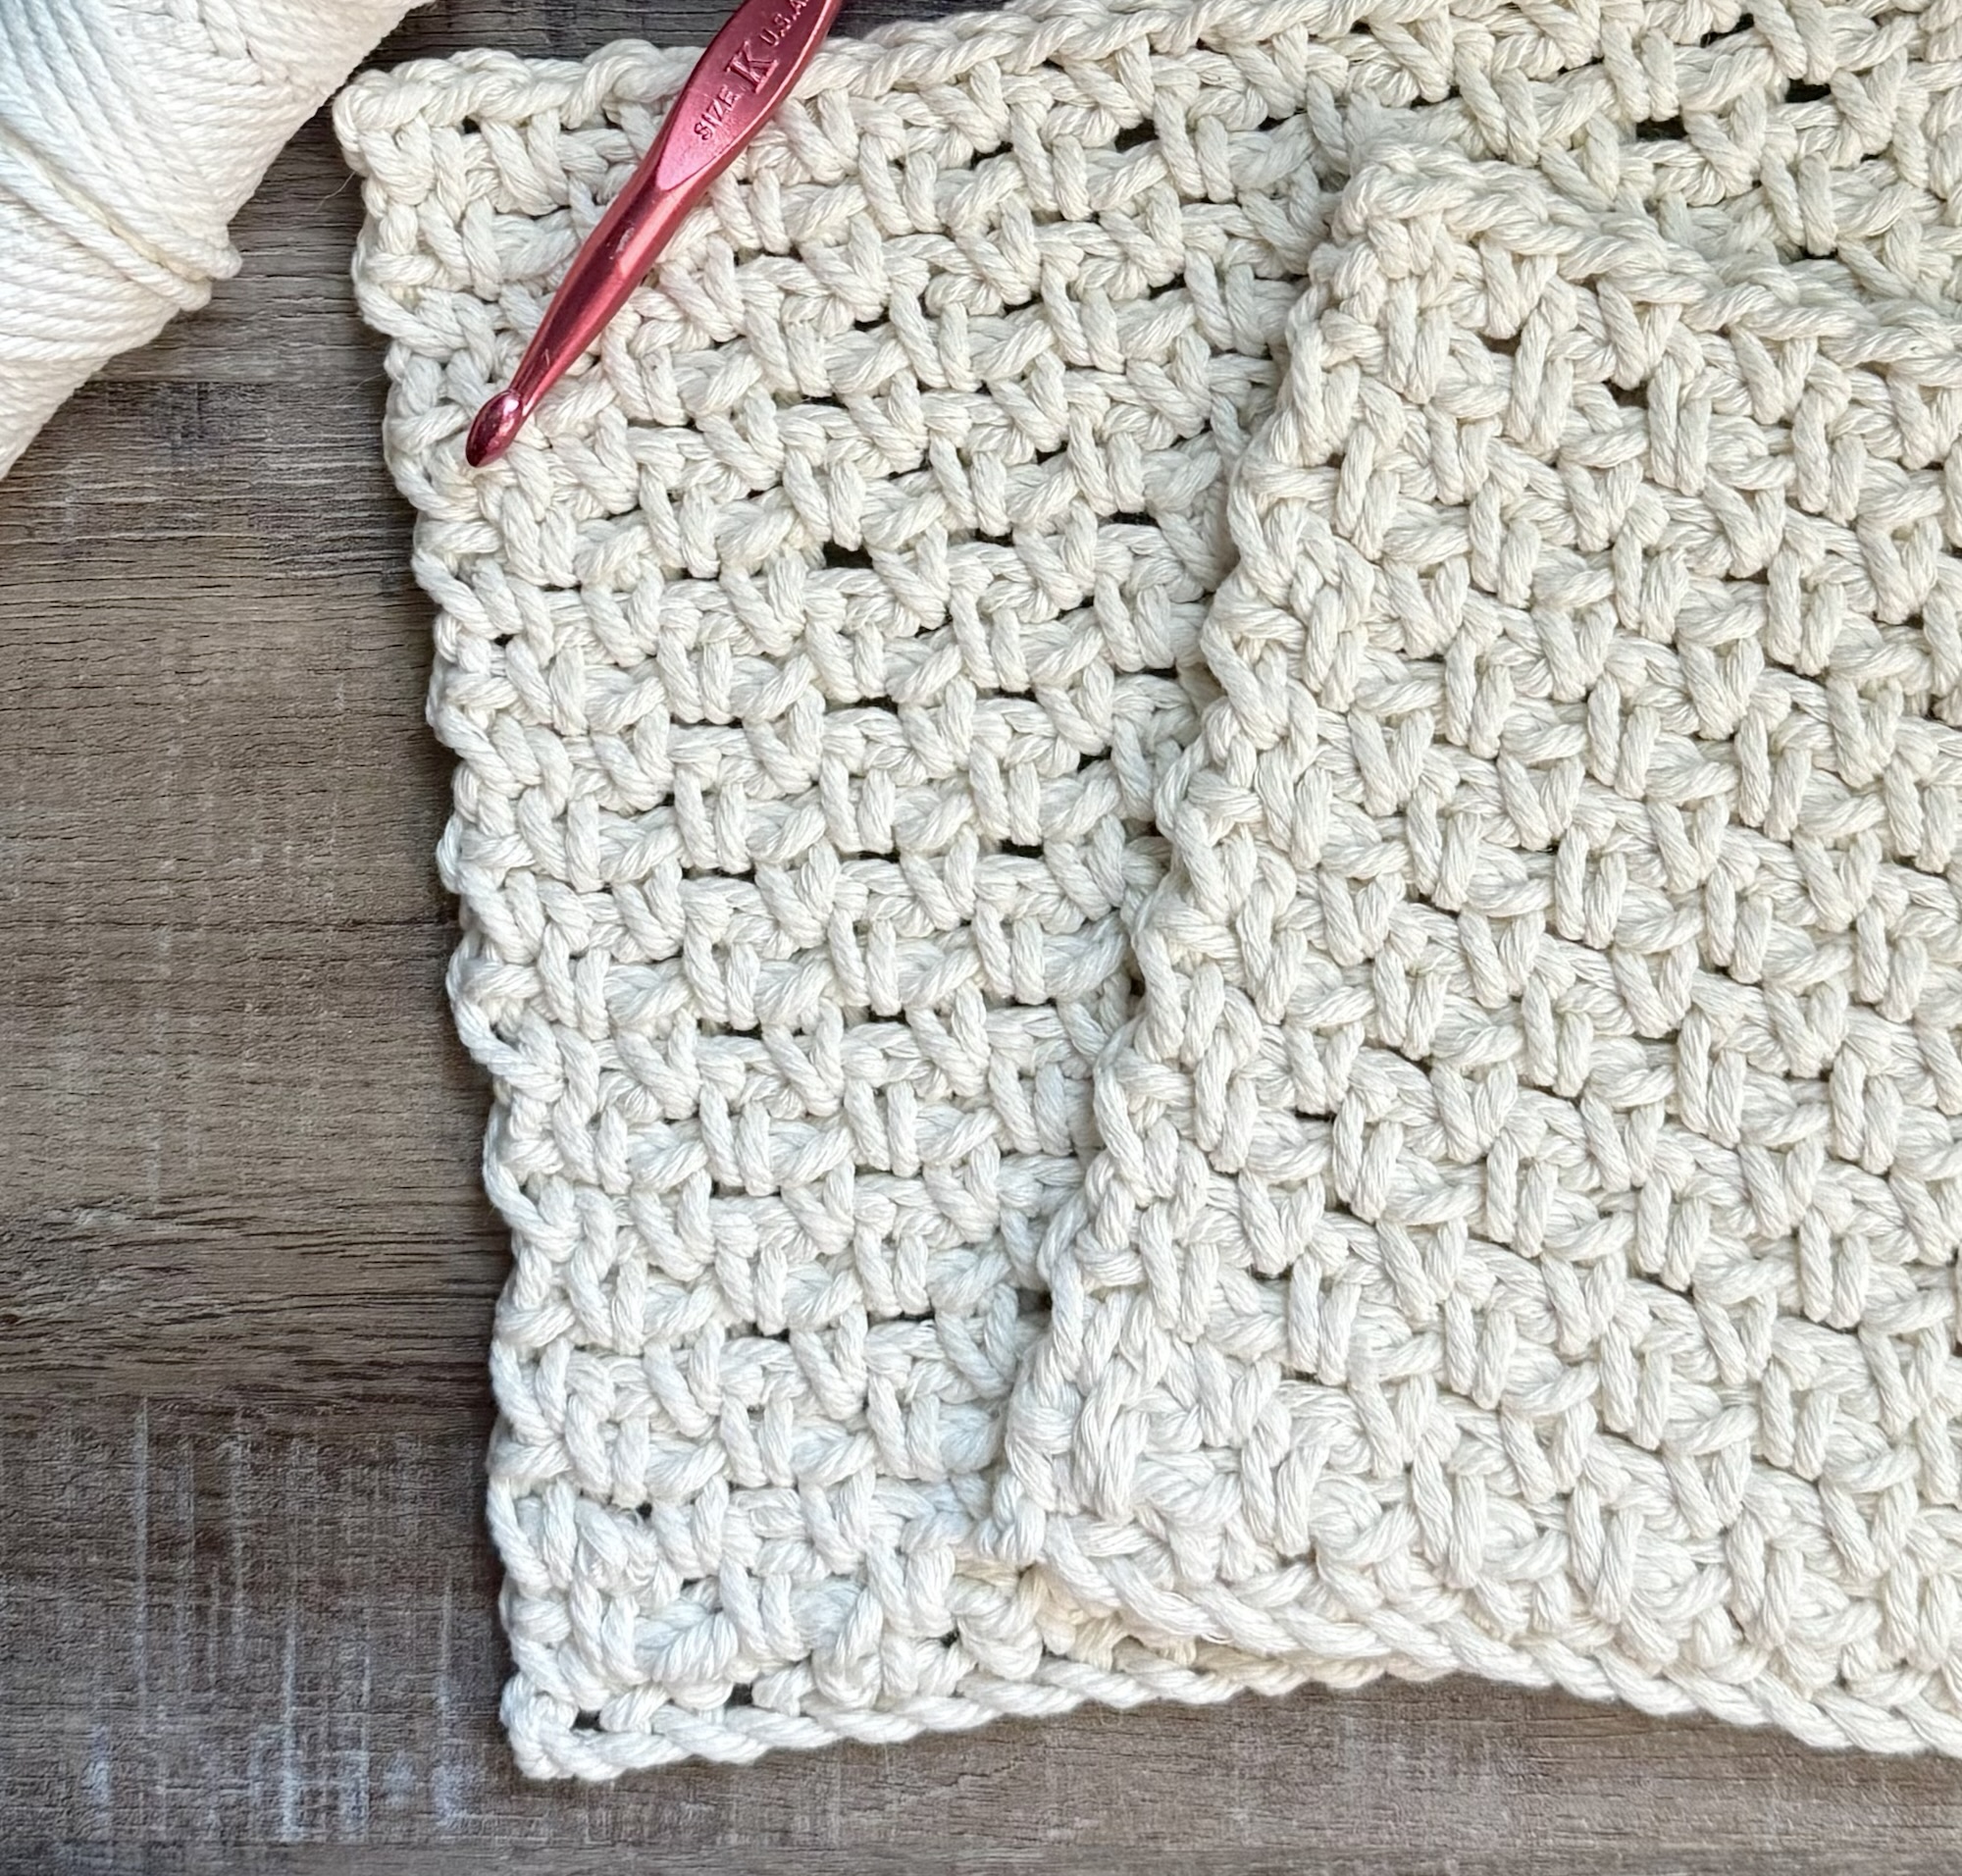
I used the cord along with a K/6.5mm crochet hook to stitch up my trivets. You can find the pattern below along with links to free PDFs – one with photos and one without – if you’d like to easily print it.
Crochet Granite Stitch Cotton Trivet/Hotpad
3mm Natural Cotton Macrame Cord
K/6.5mm crochet hook
Stitches used in US terms:
Chain – ch
Single Crochet – sc
Note: don’t crochet too tightly, the cord does not stretch.
Chain 20.
Row 1: sc in the 4th ch from hook. *ch 1, skip next ch, sc in next ch* Repeat from * to * across. Turn.
Row 2: ch 2. sc in first ch 1 space, *ch 1, sc in next ch 1 space* Repeat from * to * across, ending with a sc in the ch 3 space in Row 1. Turn.
Row 3: ch 2. sc in first ch 1 space, *ch 1, sc in next ch 1 space* Repeat from * to * across, ending with a sc in the ch 2 space in the previous row. Turn.
Repeat Row 3 to desired length.
Fasten off and weave in ends.
I crocheted a total of 17 rows for my trivet.
My finished trivet measures about 6.5 by 6.5 inches.
For the larger trivet I chained 24 to begin and crocheted a total of 21 rows. It measures about 8 by 8 inches.
You can adjust the size of your trivet by simply adding to or subtracting from your beginning chain. Just be sure to chain an even number. Then follow the pattern, crocheting your desired number of rows.
These trivets are great to protect your table when serving hot dishes. They are also pliable enough to use as potholders to remove hot dishes from the oven.
Make sure to use 100% cotton cord when making your trivets/potholders so they will be able to withstand the heat and won’t melt!
Recently, some dear friends celebrated their 65th wedding anniversary! ❤️ Quite the milestone! It was fun to celebrate with them and their sweet family and friends.
Disclosure: Some of the links on my site are affiliate links, meaning, at no additional cost to you, I will earn a small commission if you click through and make a purchase. As an Amazon Associate I earn from qualifying purchases.
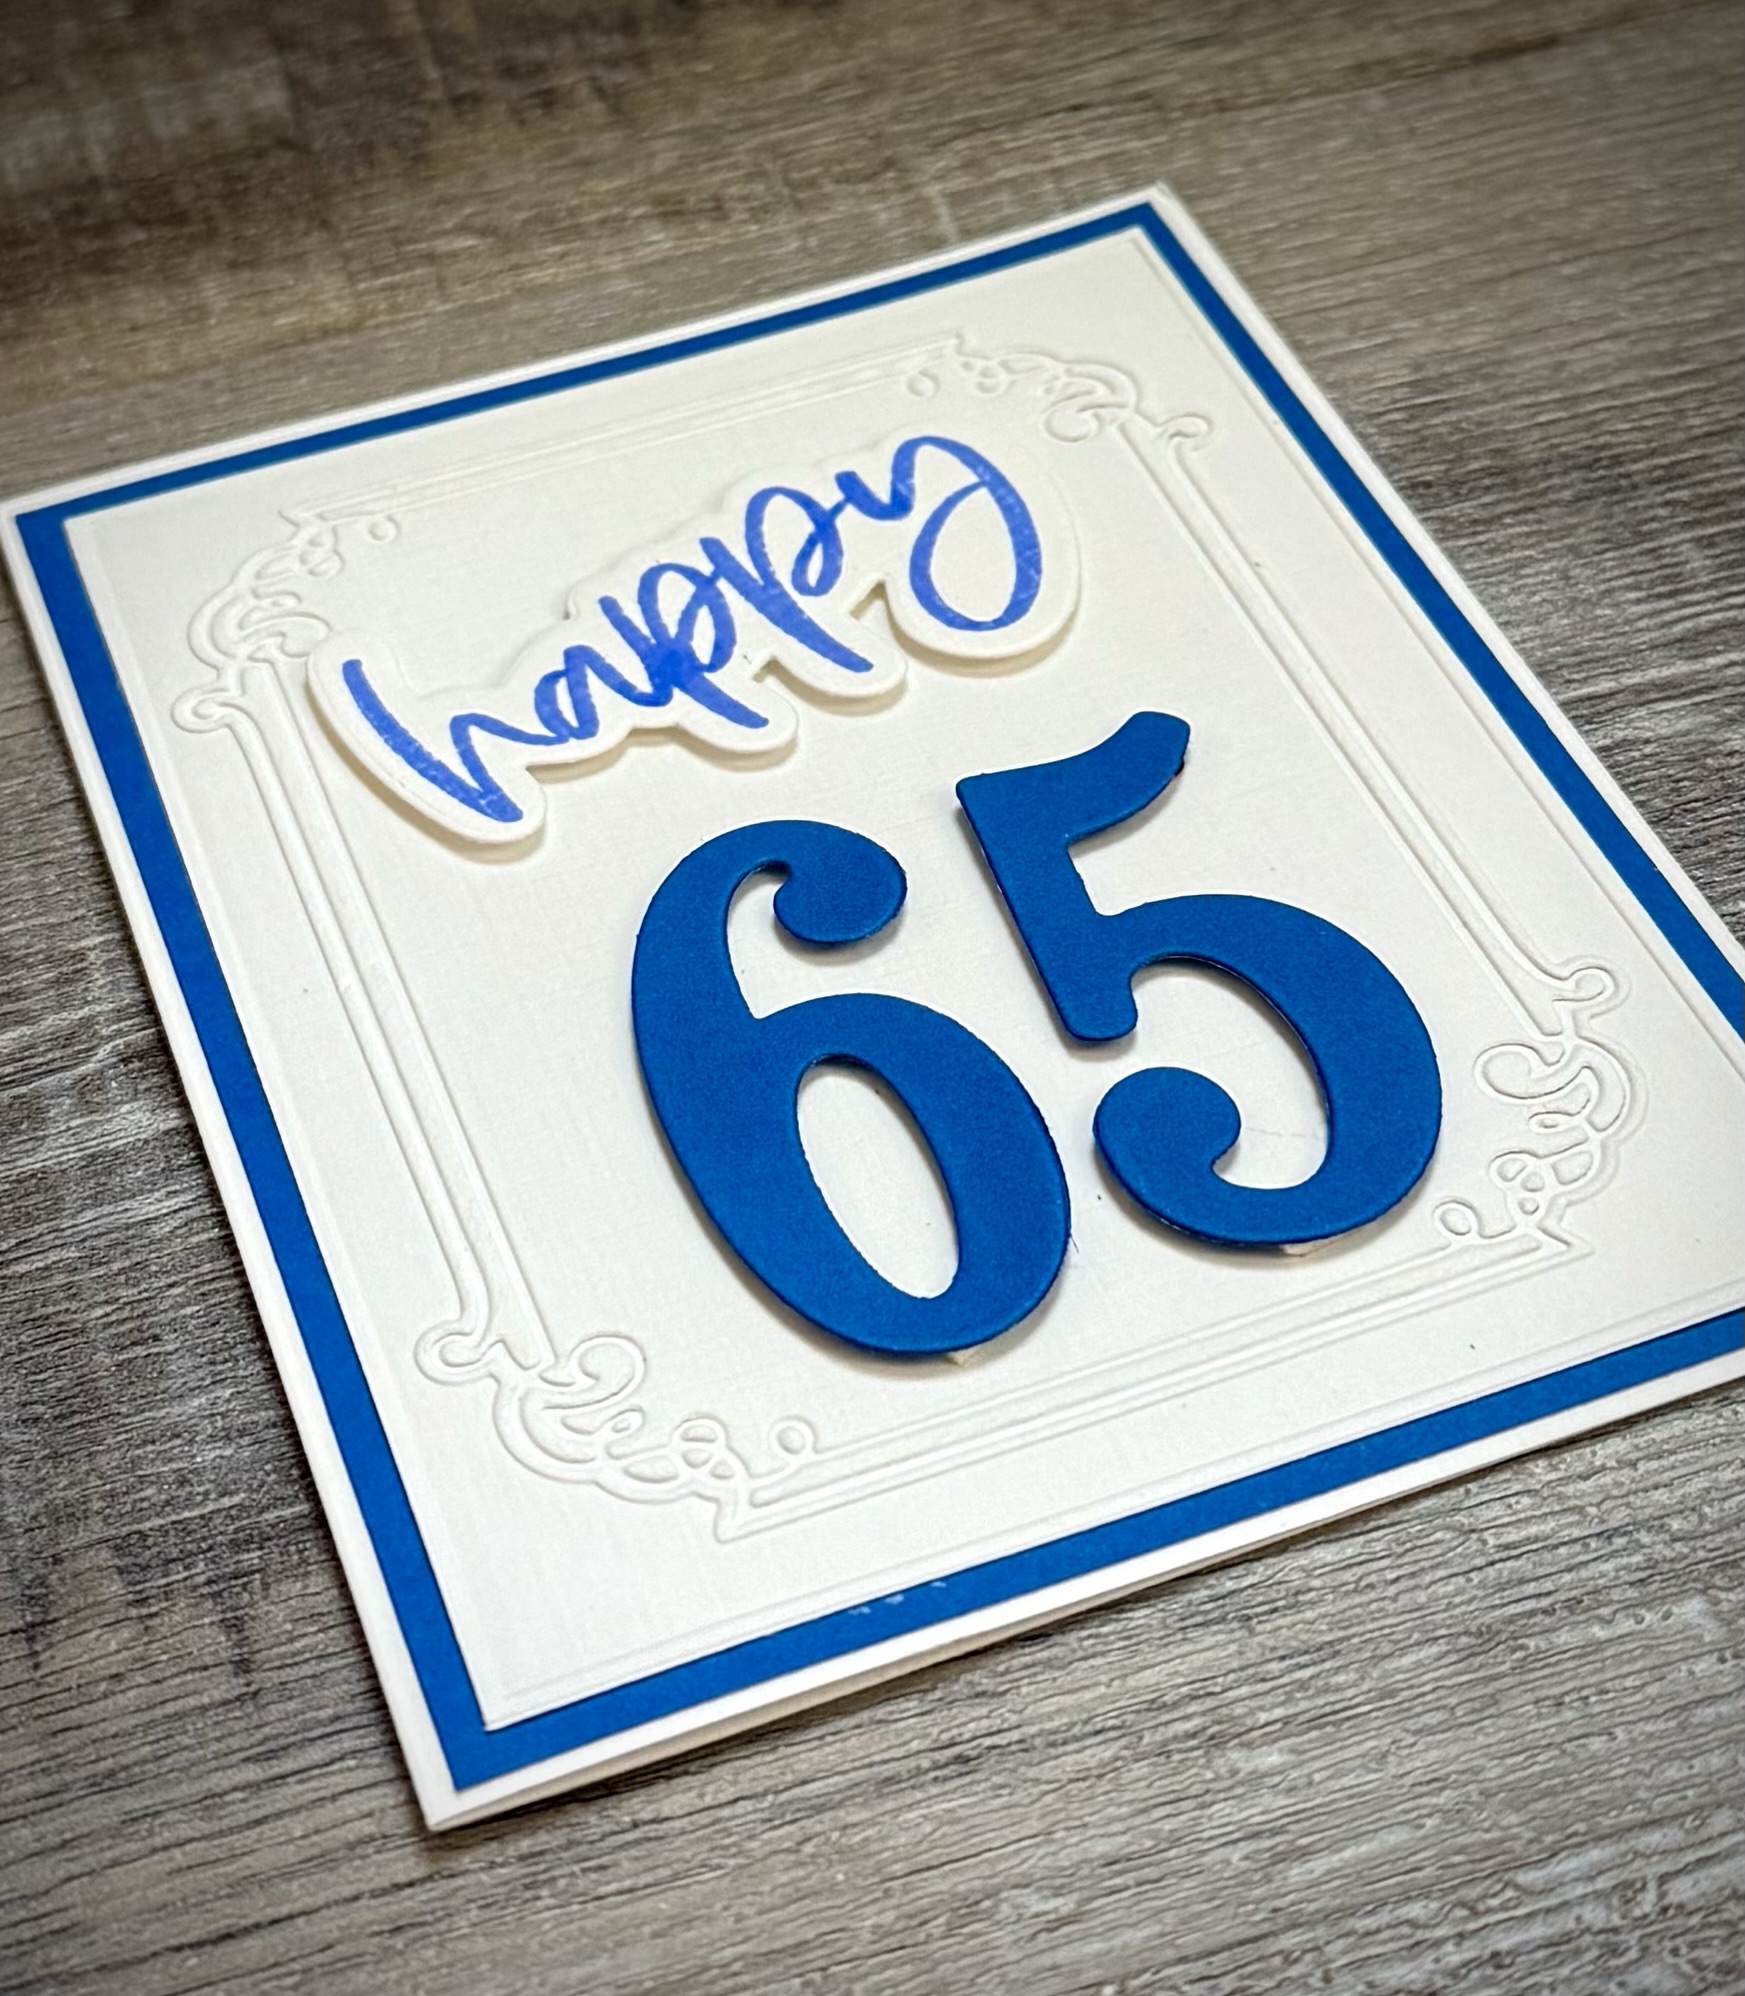
The 65th wedding anniversary is called the “Blue Sapphire Anniversary” so I chose to make the card in sapphire blue and white. The “happy” stamp is from the Heart of Autumn set from Unity Stamp Company. I stamped it with blue ink on white card stock and die cut around it with the matching die from Unity.
I die cut the numbers 6 and 5 from blue card stock using this set of number dies. I attached a piece of blue card stock to a white card. I embossed a piece of white card stock with a frame embossing folder and attached it to the card. This particular embossing folder is no longer available, but this would be a pretty frame on the card. I attached both “happy” and “65” to the card using foam tape.
This would be a great layout for celebrating any special anniversary – or a special birthday. And isn’t every anniversary or birthday special?!?! 🙂
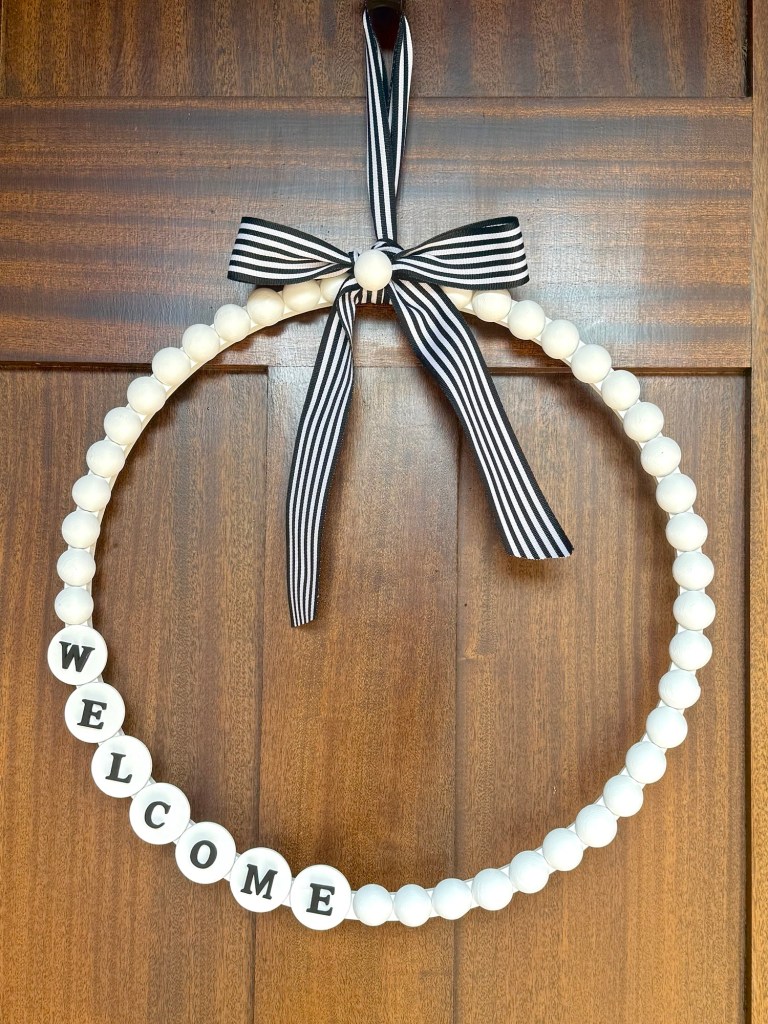
I have a cute Beaded Welcome Wreath to share with you today. It’s easy to make and I love the simplicity of it. 😊
Disclosure: Some of the links on my site are affiliate links, meaning, at no additional cost to you, I will earn a small commission if you click through and make a purchase. As an Amazon Associate I earn from qualifying purchases.
I painted my wood ring, flat circles, and split beads with white paint and the letters with black.
Using E6000 clear adhesive, I attached the letters to the circles and glued them to the wreath. Then I glued the split beads around the rest of the wreath. I tied a ribbon around the top for hanging and added a bow with a split bead attached to the center.
The Beaded Welcome Wreath can hang on your front door – or anywhere else in your home – all year long! 😊
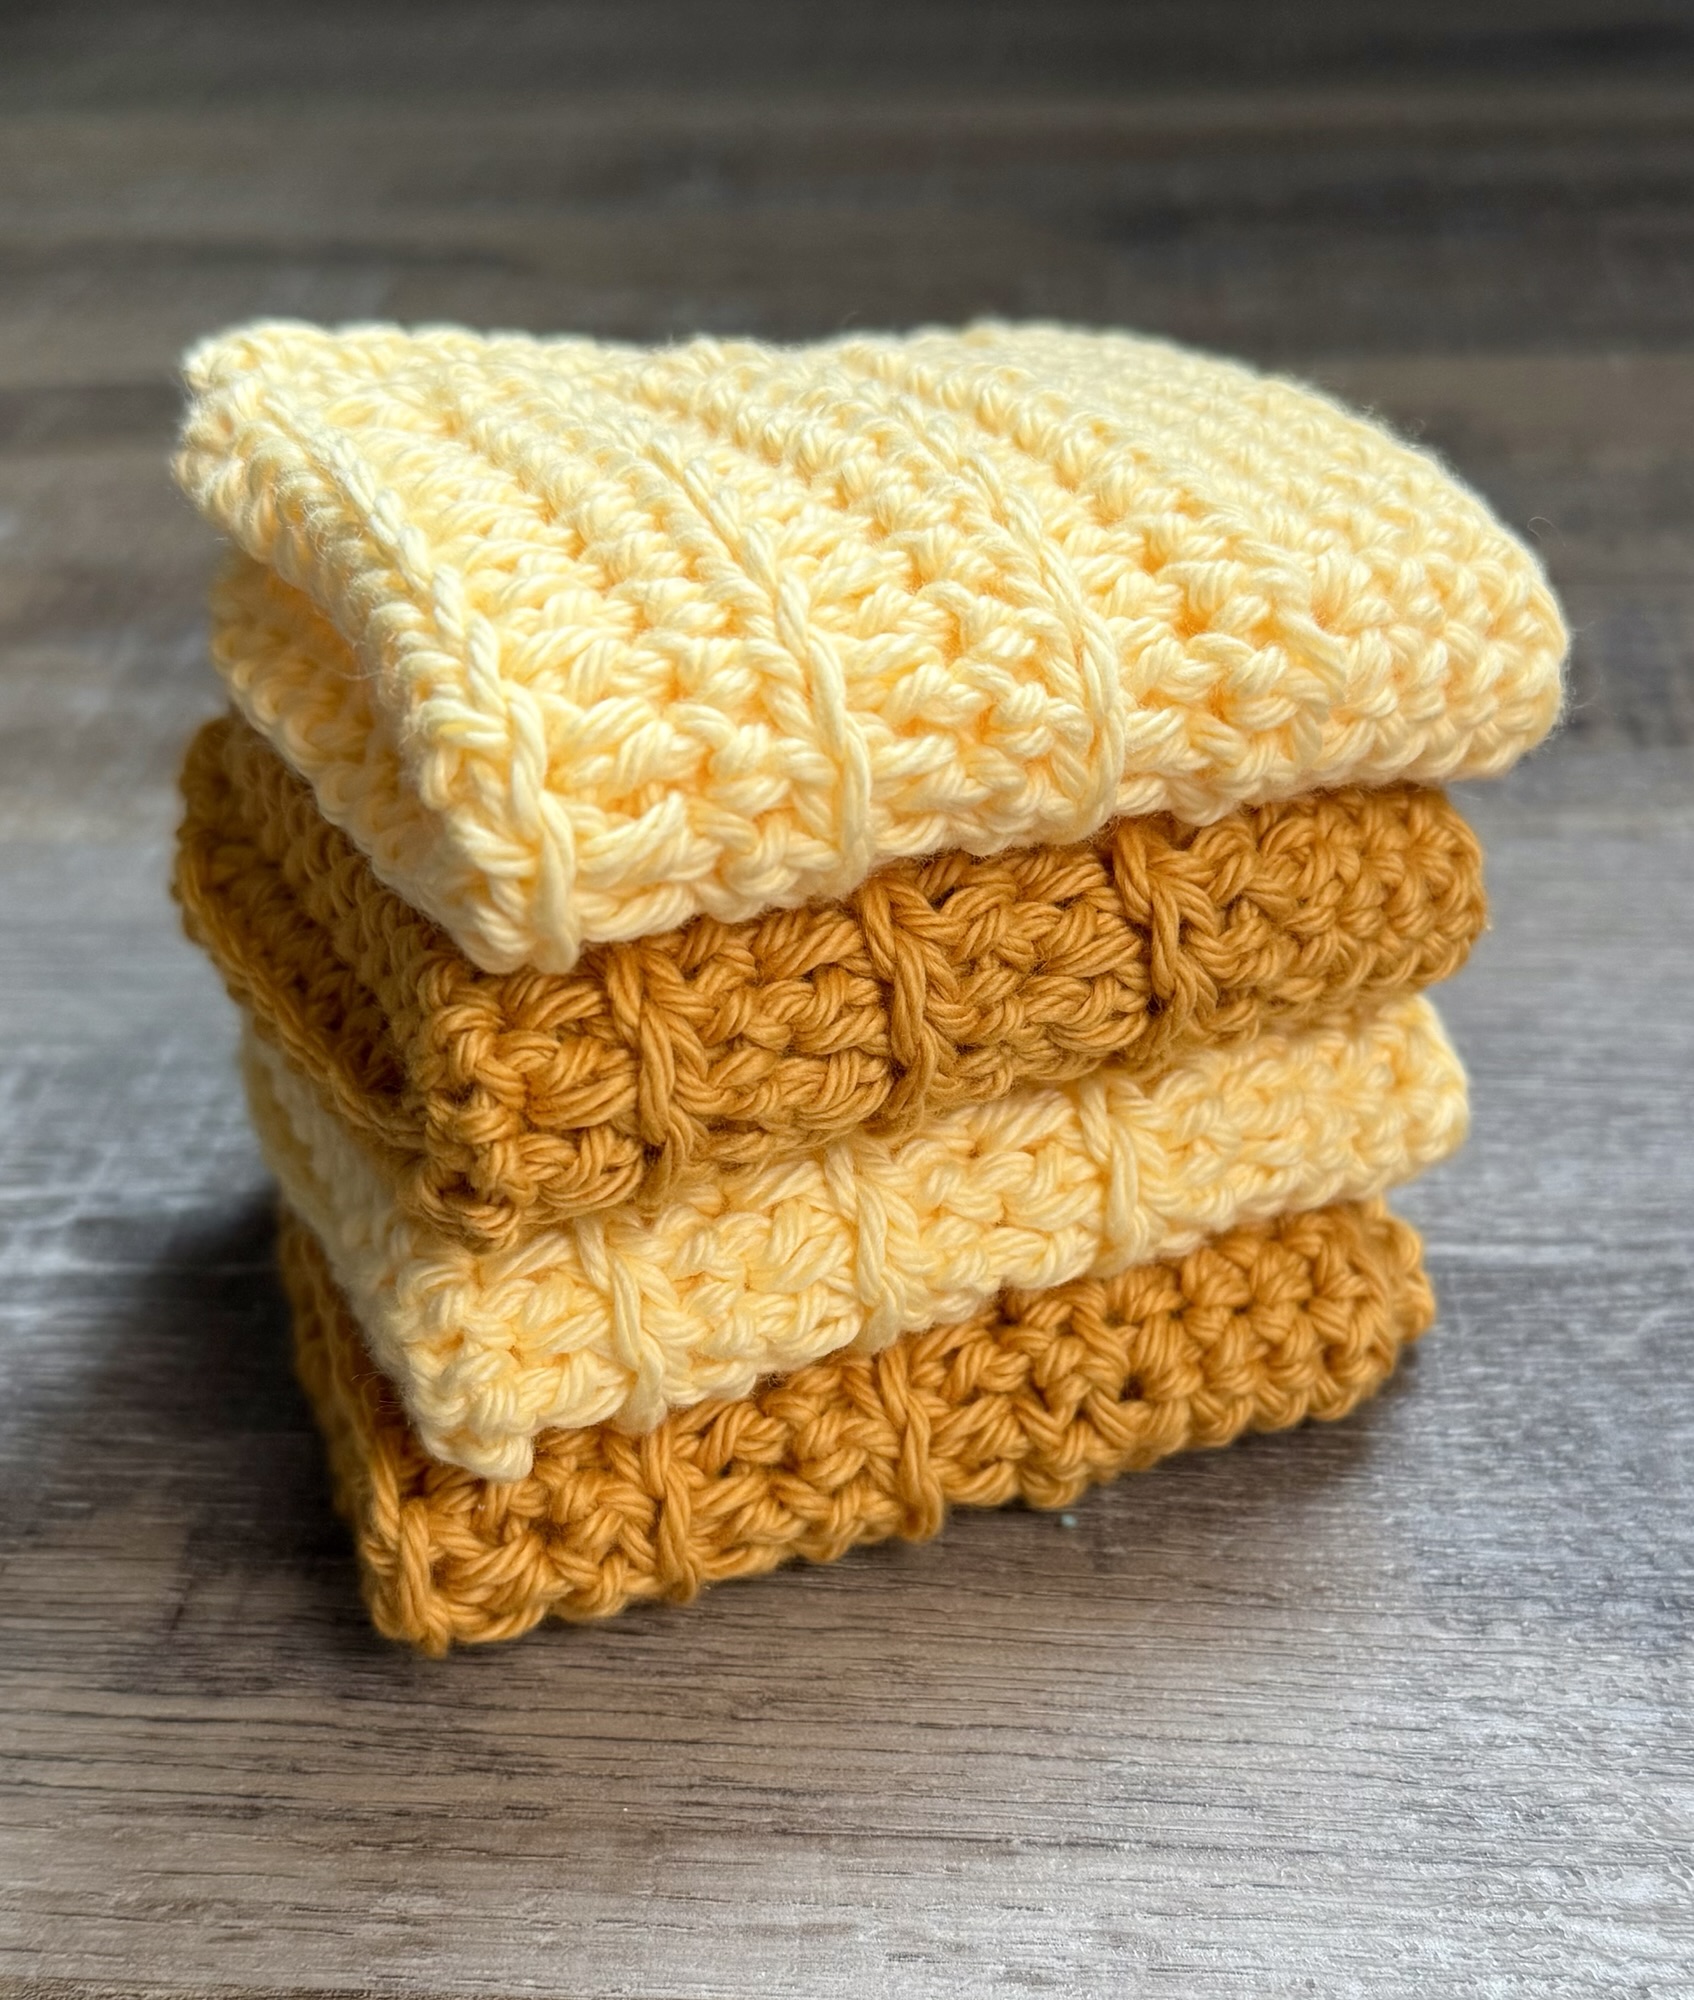
Crochet spa cloths are the perfect projects to work on during the hot days of Summer.🧶☀️
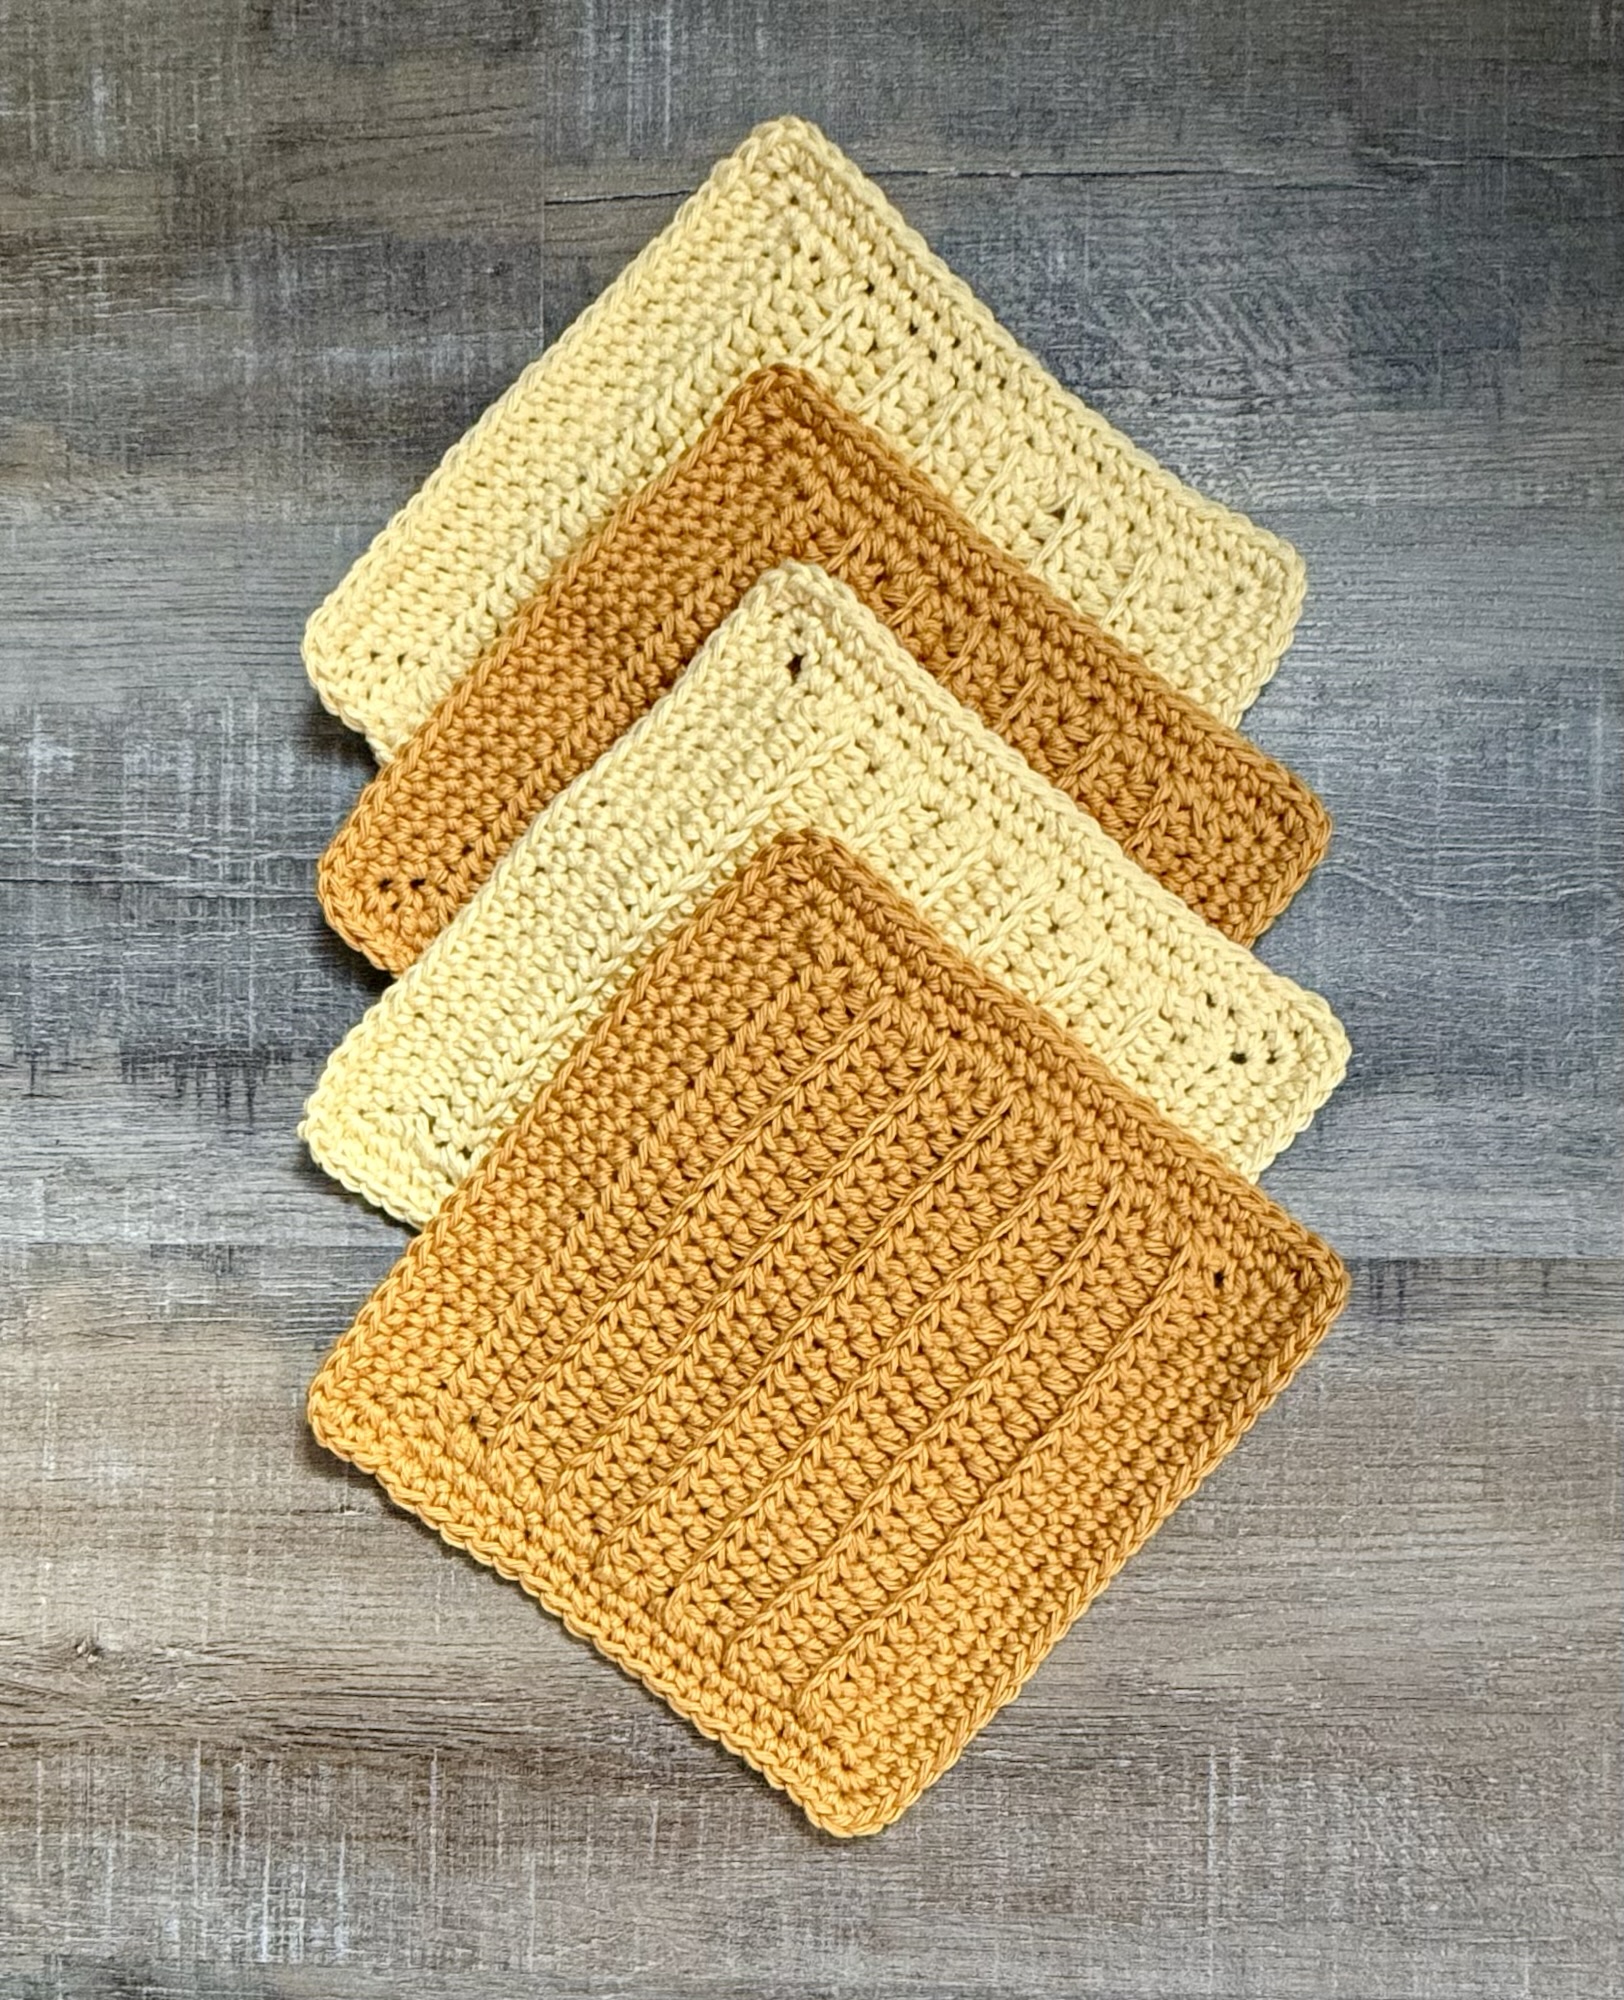
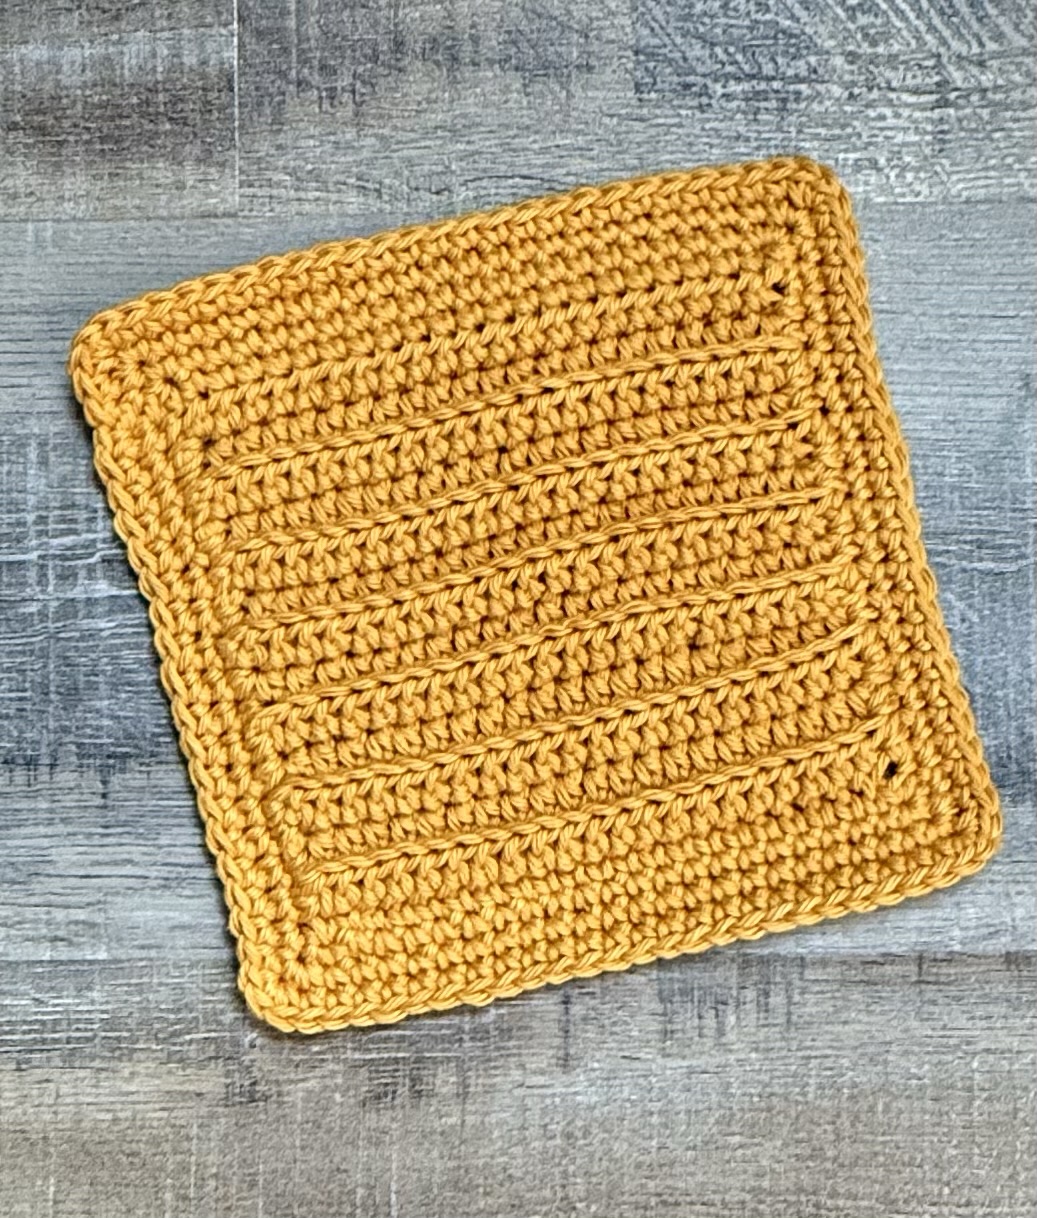
Today I’m sharing my pattern for the Crochet Simply Textured Spa Cloth. It’s super easy to make. I used I Love This Cotton yarn in Gold and Buttercup with an H/5mm crochet hook to stitch up my spa cloths.
Disclosure: Some of the links on my site are affiliate links, meaning, at no additional cost to you, I will earn a small commission if you click through and make a purchase. As an Amazon Associate I earn from qualifying purchases.
You can find the pattern below along with links to free PDFs – one with photos and one without – if you’d like to easily print it. 🙂
Crochet Simply Textured Spa Cloth
Worsted weight 100% cotton yarn – I used I Love This Cotton in Gold and Buttercup
H/5mm hook
Stitches used in US terms:
Chain – ch
Single Crochet – sc
Half Double Crochet – hdc
Back Bump
Back Loop Only – blo
Slip Stitch – ss
Chain 23.
Row 1: sc in the back bump of 2nd ch from hook and each ch across. ch 1 and turn. (22 stitches)
Rows 2- 14: hdc in blo of each stitch across. ch 1 and turn. (22 stitches)
Row 15: sc in each stitch across. ch 1. Do Not Turn. (22 stitches)
Border:
Round 1: sc evenly around, working 3 sc in each corner. Join with ss to first sc.
Rounds 2-3: ch 1. sc in each stitch around, working 3 sc in each corner. Join with ss to first sc.
Fasten off and weave in ends.
Finished spa cloth measures approximately 7 by 7 inches.
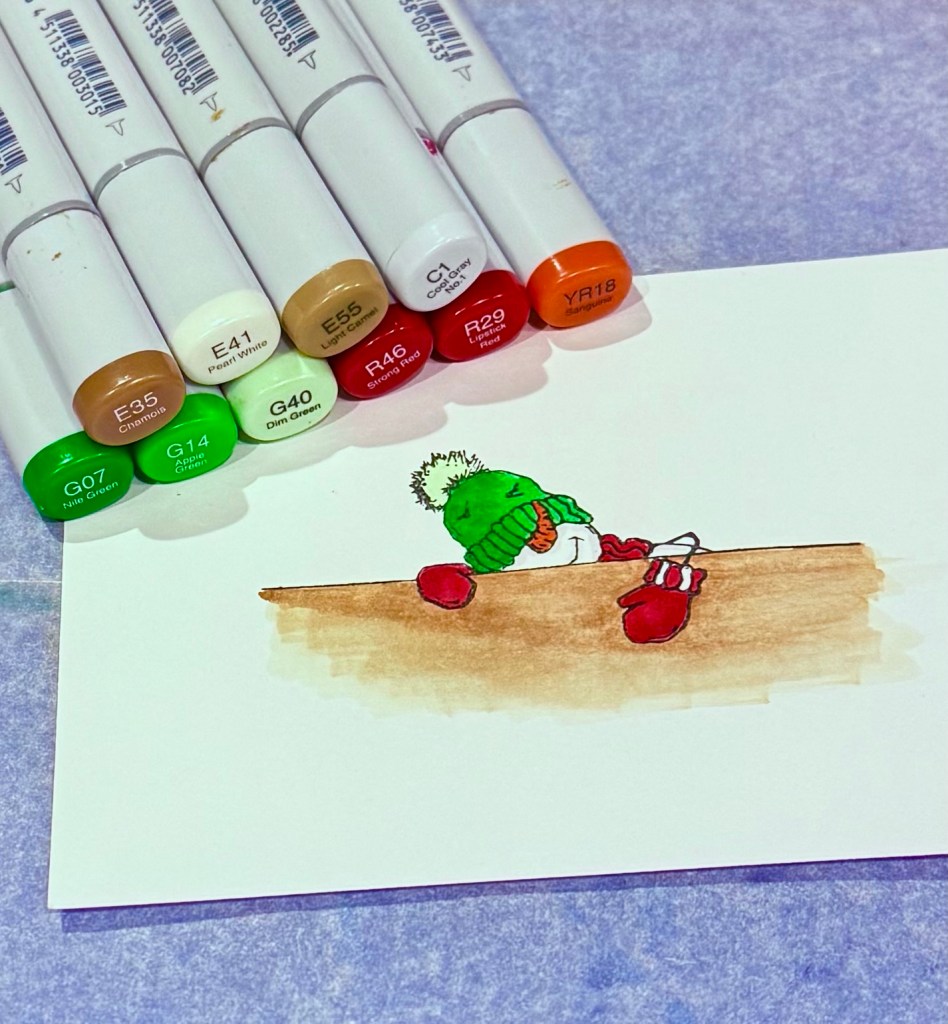
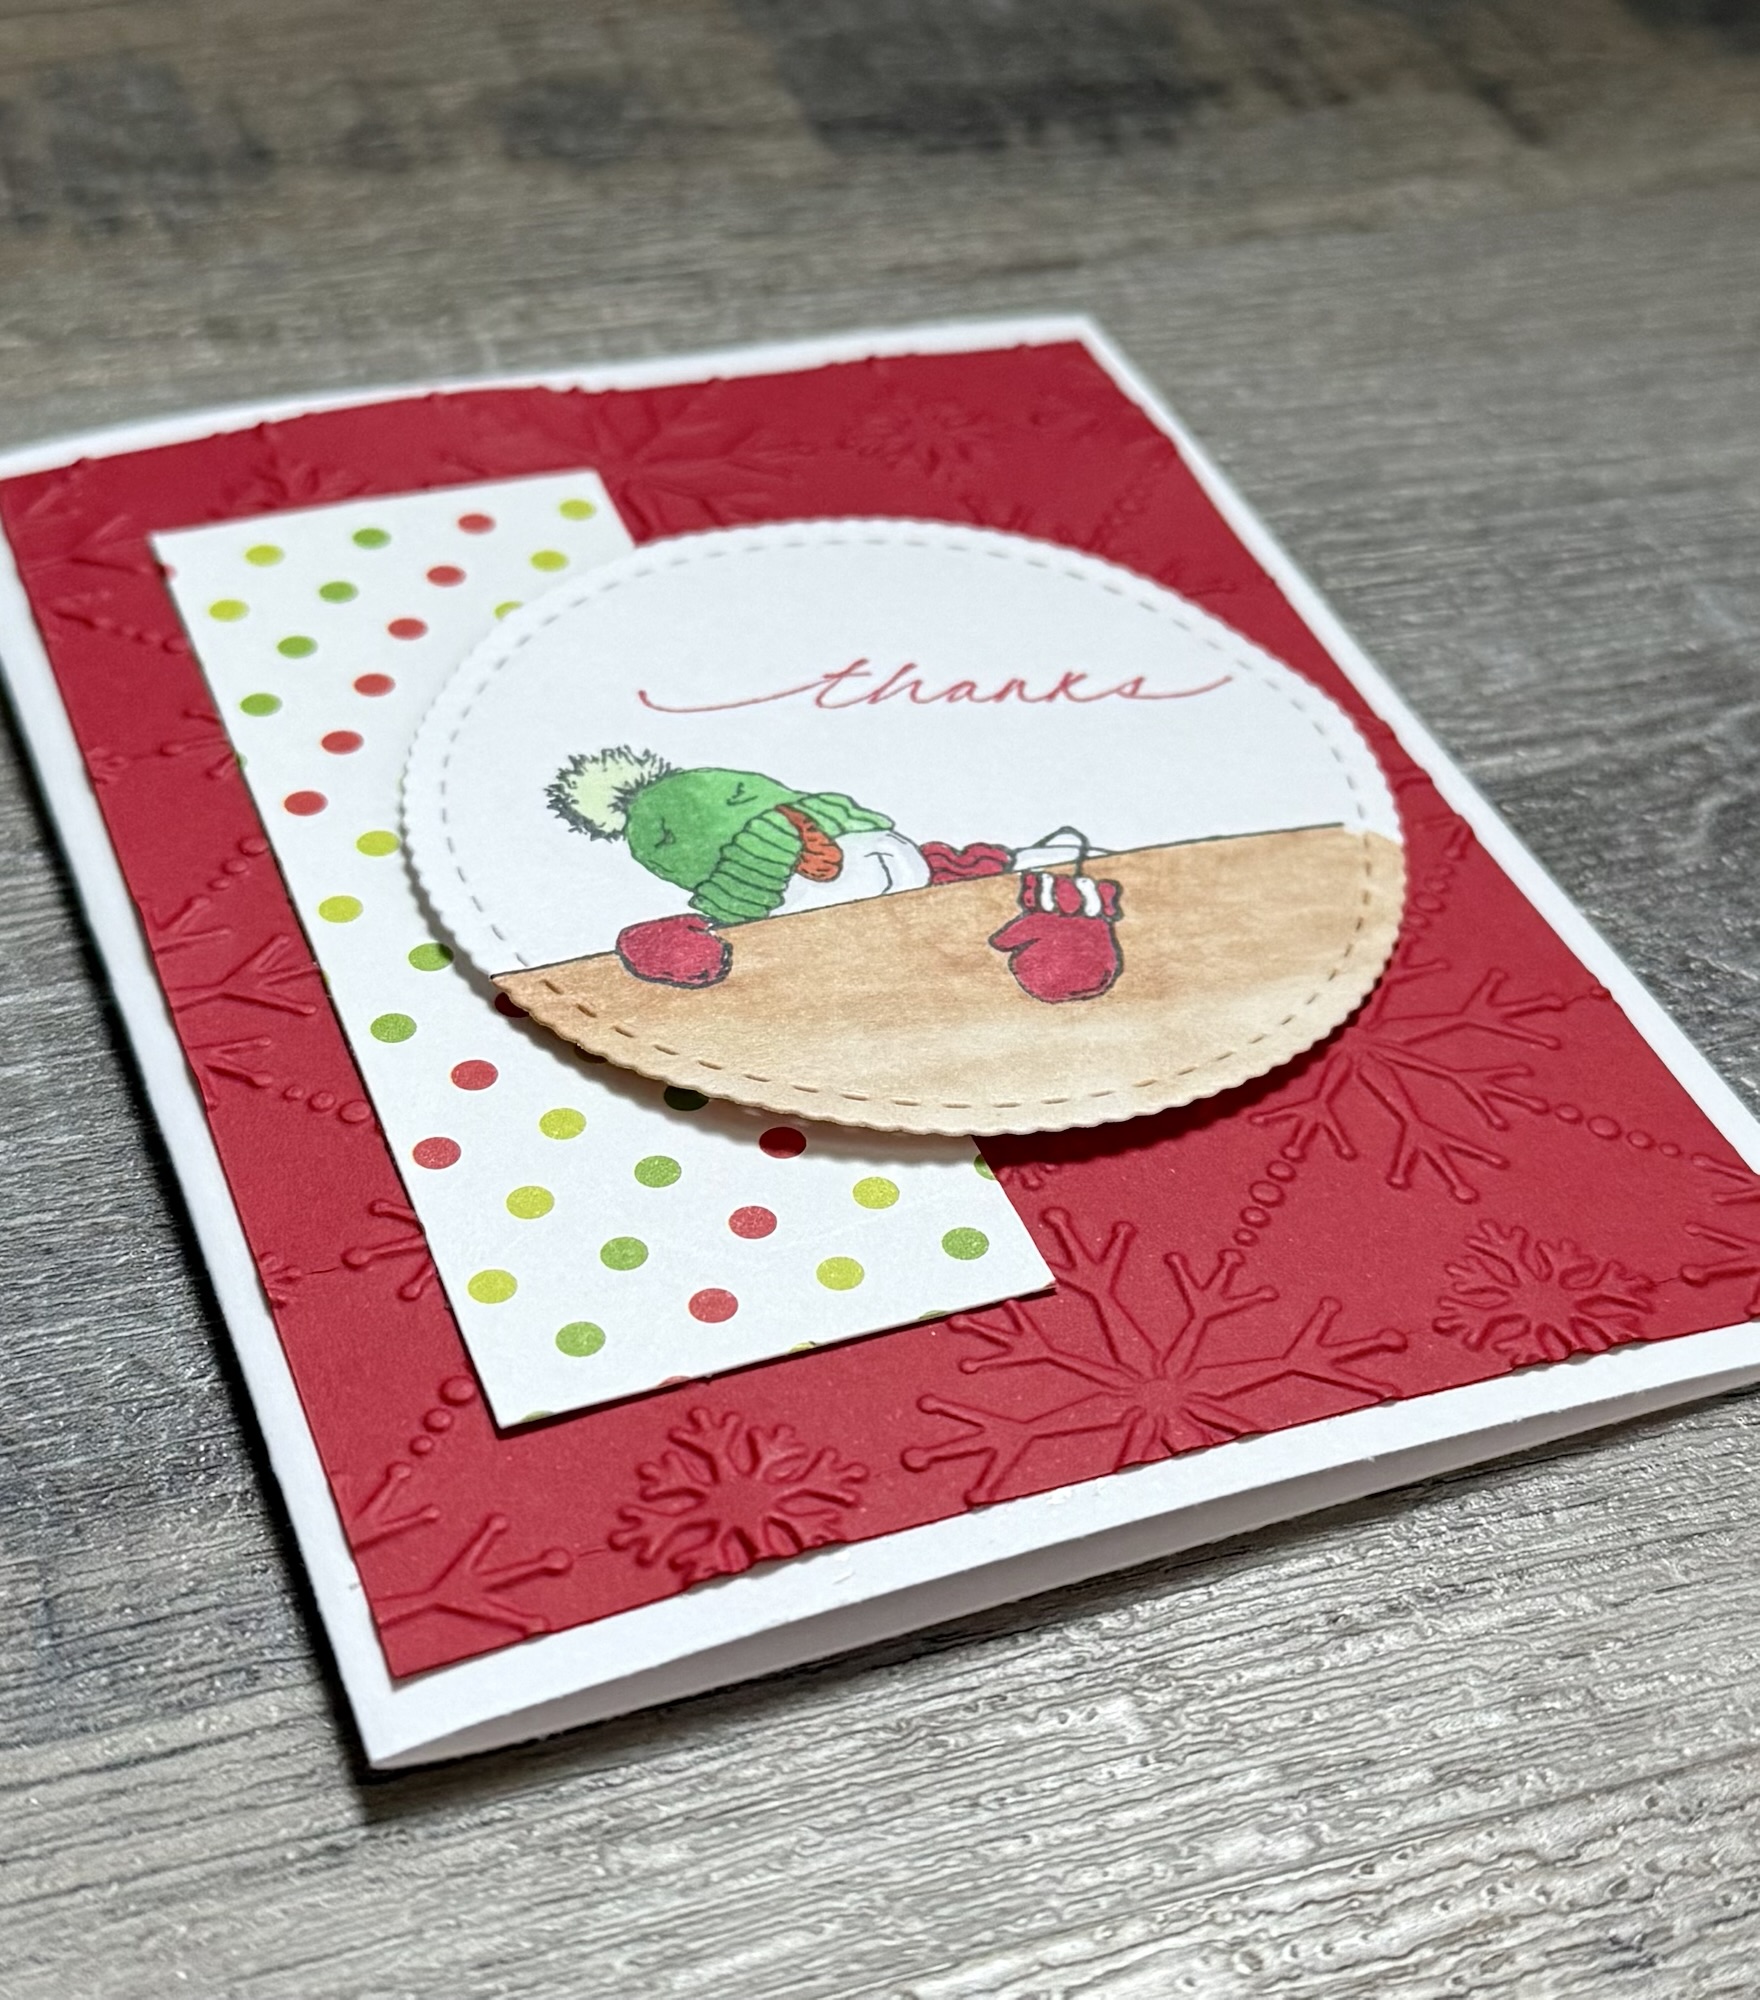
Christmas in July has been fun this year!🎄 My last Christmas post for the month is this cute Thank You Snow Much card. ⛄️ Be sure to scroll back and see my other Christmas in July posts for more holiday inspiration. 🙂
Disclosure: Some of the links on my site are affiliate links, meaning, at no additional cost to you, I will earn a small commission if you click through and make a purchase. As an Amazon Associate I earn from qualifying purchases.
Using these Scallops and Circles Nesting Dies, I die cut around the image. Then I stamped “thanks” with red ink at a slight angle. My “thanks” stamp is an old one from my collection, but this one would be cute.
I embossed a piece of red card stock with a snowflake embossing folder (similar to this) and attached it to a white card. I added a strip of patterned paper to the card, then attached the stamped image to the card with foam tape.
Make a few of these cute Thank You Snow Much cards now and you’ll be ready for the holidays! ⛄️
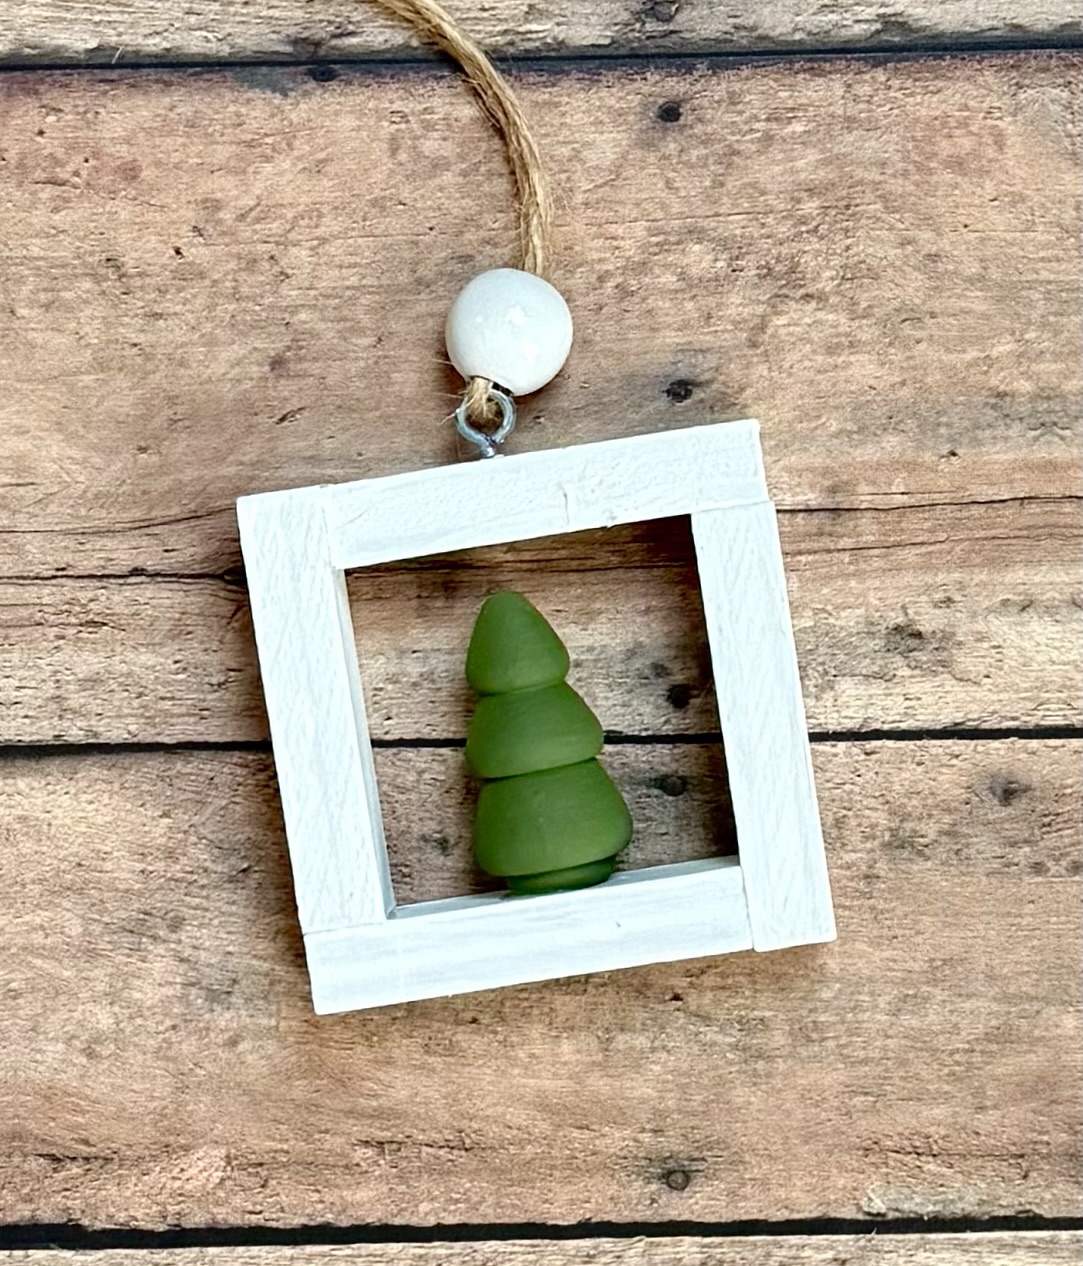
I have a bunch of the Mini Tumbling Tower Blocks from Dollar Tree in my craft stash – it’s time to use some of them.😉 So today for Christmas in July, I’m sharing these cute Christmas ornaments that are easy and fun to make.🎄
I’m not sure if the blocks are still available at Dollar Tree, but I did find these 3 inch tumbling blocks on Amazon that would make your ornaments a little larger.
Disclosure: Some of the links on my site are affiliate links, meaning, at no additional cost to you, I will earn a small commission if you click through and make a purchase. As an Amazon Associate I earn from qualifying purchases.
I found my tiny wood Christmas trees at Dollar Tree, too. Hopefully they will carry them again this year. The little wood trees measure about 1.25 inches tall and the blocks are about 2 inches long. You could also use mini bottle brush trees similar to these.
Paint 4 blocks for each ornament with 2-3 coats of white paint and the little trees with 2-3 coats of green paint. Once dry, use a strong adhesive like E6000 clear adhesive to glue the blocks together into a square. You will need to offset the corners of the blocks like in the photo below in order to fit the tree in the middle. Glue the tree inside the square with the same adhesive.
Let the glue dry and then screw the screw eye into the top of the ornament. I used a small awl to create a starter hole to make it easier. Slip a piece of twine through the screw eye, thread the ends through the white bead, and tie a knot to make the hanger. You can also put the screw eye in before glueing the blocks together.
These will not only be great on your tree, but would also make cute tie-ons for your Christmas gifts.🎁
You can find another fun ornament using these blocks in this post.🙂
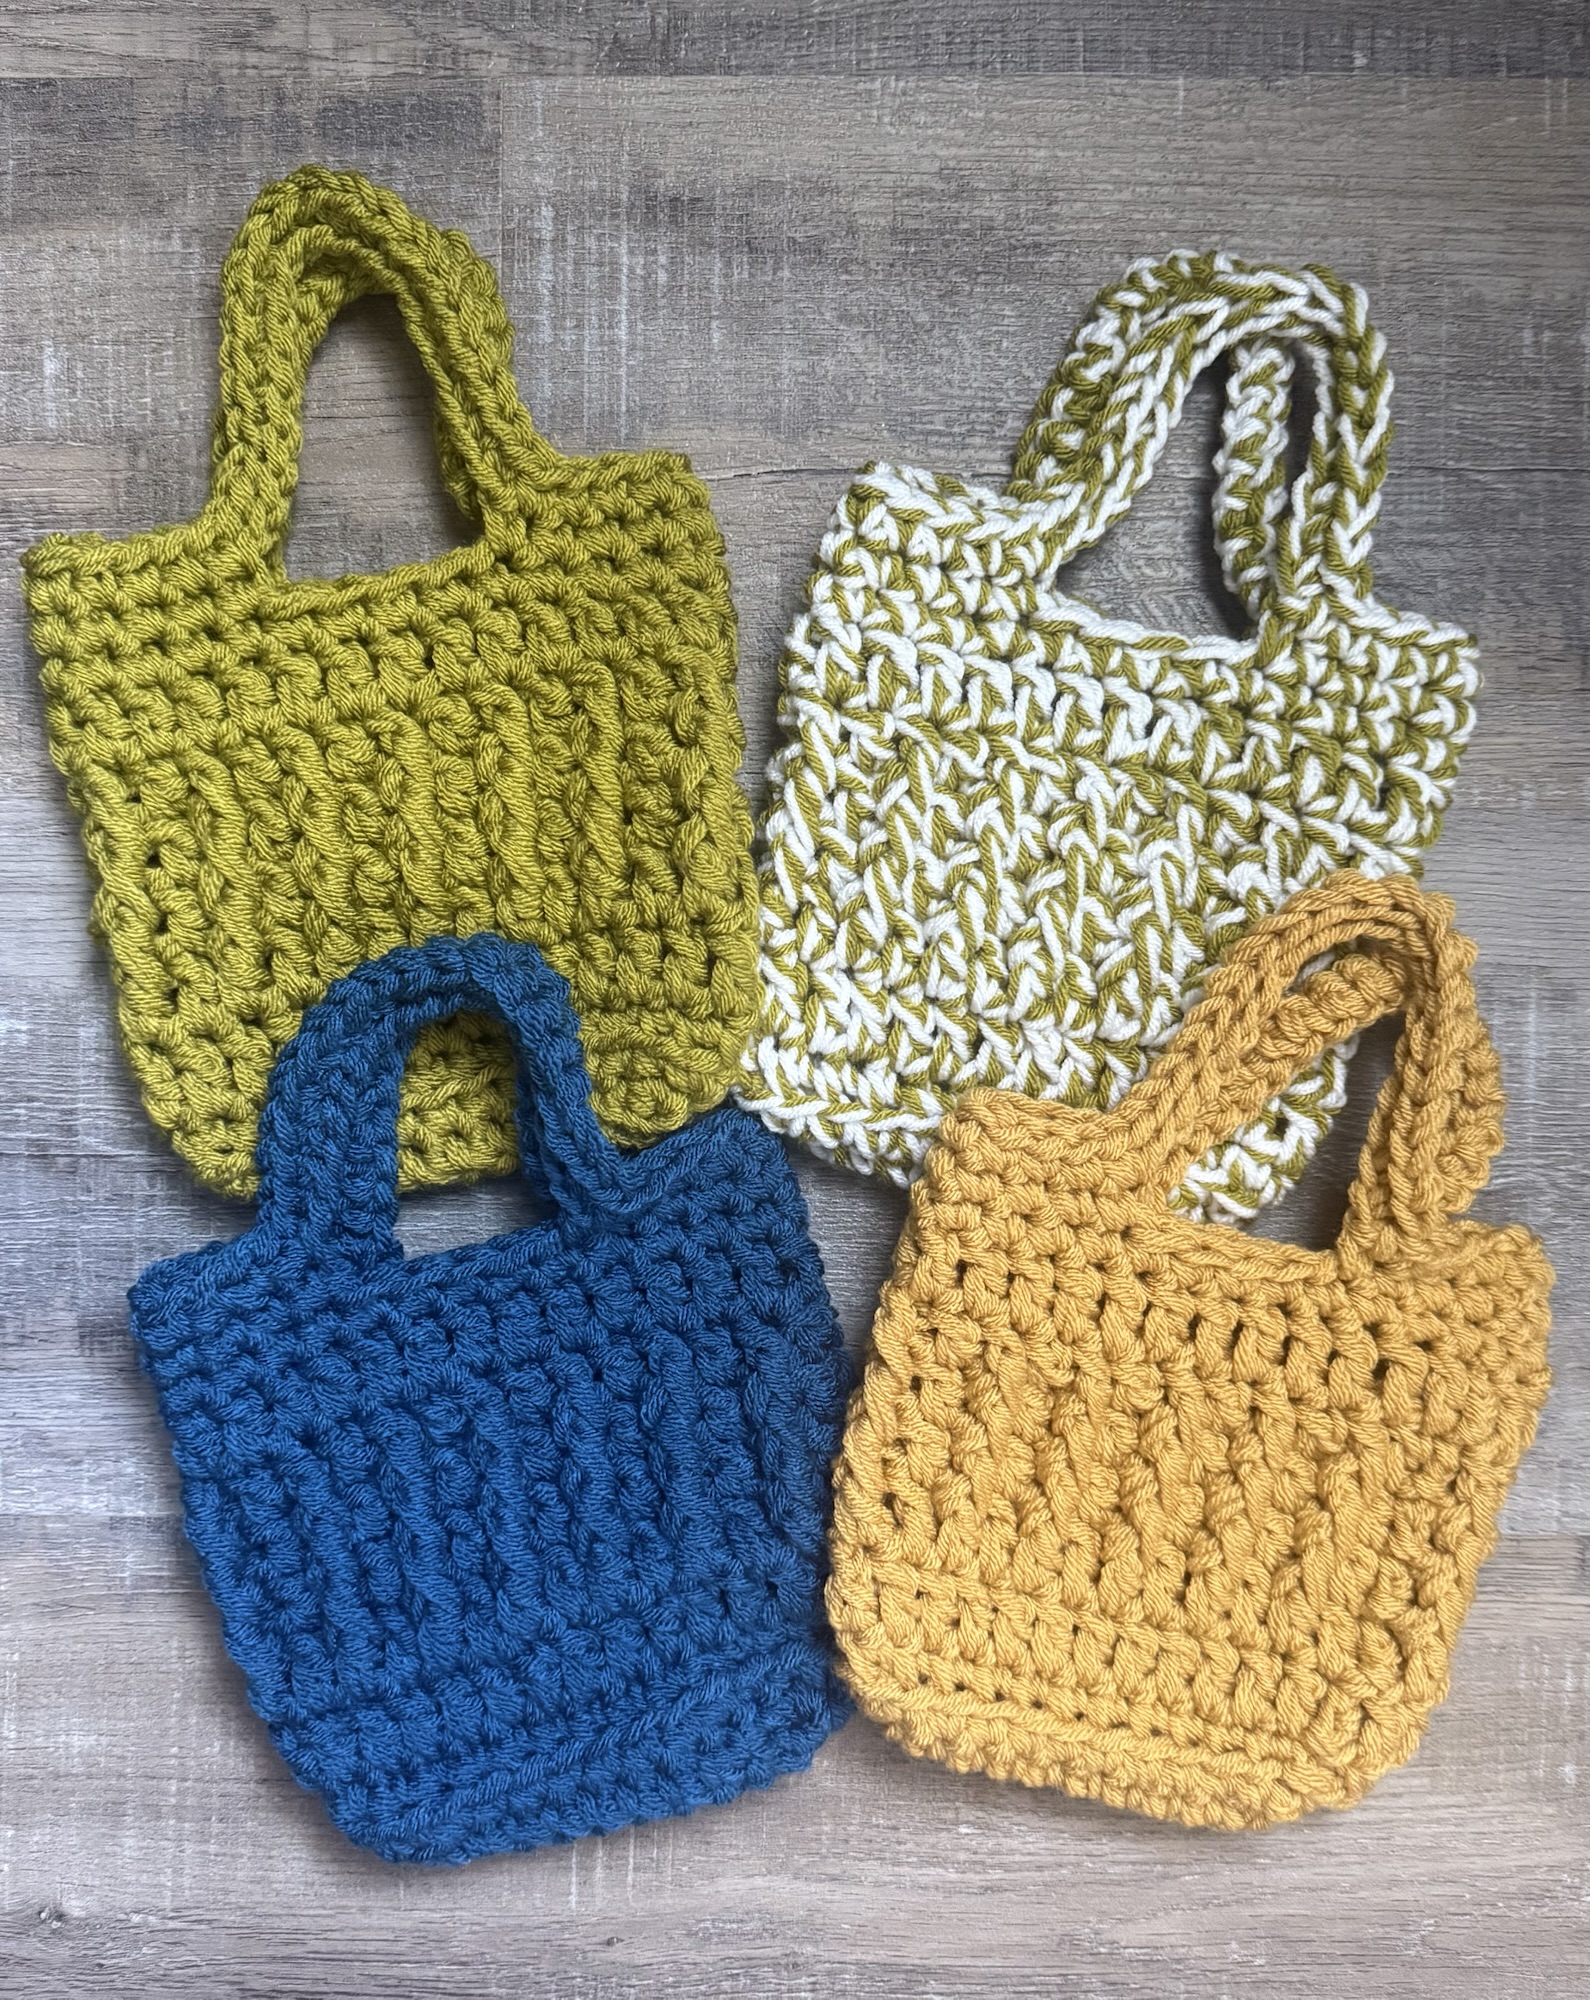
Want to make your Christmas gift giving (or anytime gift giving) a little more special? Crocheting your own gift bags will do just that! 🎁😊
They measure about 6.5 by 6.5 inches plus the handle. There’s plenty of room for a small gift along with some yummy Christmas chocolates or treats.
Disclosure: Some of the links on my site are affiliate links, meaning, at no additional cost to you, I will earn a small commission if you click through and make a purchase. As an Amazon Associate I earn from qualifying purchases.
My Small Crochet Ridged Gift Bag works up quickly holding 2 stands of yarn together and an M/N 9mm crochet hook. I used Yarn Bee Soft & Sleek yarn to stitch up my bags, but any worsted weight yarn can be used.
You can find the pattern below along with links to free PDFs – one with the photos and one without.
Small Crochet Ridged Gift Bag
Worsted weight yarn (4 weight) approximately 2 ounces – I used Yarn Bee Soft & Sleek in various colors
M or N/9mm crochet hook
Stitches used US terms:
Chain – ch
Single Crochet – sc
Slip Stitch – ss
Back Loop Only – blo
Double Crochet – dc
Front Post Double Crochet – fpdc
Note: gift bag is crocheted holding 2 strands of yarn together.
Round 1: holding 2 strands of yarn together, ch 11. sc in 2nd ch from hook and in next 8 ch. Work 3 sc in last ch. Working in the other side of beginning ch, sc in next 9 stitches. Work 3 sc in last stitch. Join with ss to first sc. (24 stitches)
Round 2: ch 1. sc in same stitch as ss and next 9 stitches. Work 3 stitches in next stitch. sc in next 11 stitches. Work 3 sc in next stitch. sc in next stitch. Join with ss to 1st sc. (28 stitches)
Round 3: ch 1. Working in blo, sc in same stitch as ss and in each stitch around. Join with ss to first sc. (28 stitches)
Rounds 4-5: ch 2. Working in both loops, dc in same stitch as ss and in each stitch around. Join with ss to first dc. (28 stitches)
Rounds 6-9: ch 2. dc in same stitch as ss. *fpdc in next stitch, dc in next stitch* Repeat from *to* around to last stitch, fpdc in last stitch. Join with ss to first dc. (28 stitches)
Round 10: ch 2. dc in same stitch as ss and in each stitch around. Join with ss to first dc. (28 stitches)
Round 11: ch 1. sc in same stitch as ss and in each stitch around. Join with ss to first sc. (28 stitches)
The next round will make the handles to the gift bag.
Round 12: ch 1. sc in same stitch as ss and in next 3 stitches. ch 20. Skip next 4 stitches. sc in next 10 stitches. ch 20. Skip next 4 stitches. sc in next 6 stitches. Join with ss to first sc. (2 sections of 10 sc each and 2 sections of 20 ch each)
Round 13: ch 1. sc in same stitch as ss and in next 3 stitches. sc in each of the 20 ch. sc in next 10 stitches. sc in each of the 20 ch. sc in next 6 stitches. Join with ss to first sc. (60 sc stitches)
Fasten off and weave in ends.
Finished Gift Bag measures approximately 6.5 by 6.5 inches plus the handle
Stitch up a few of these Small Crochet Ridged Gift Bags now and you’ll be ready when the busy holiday season hits. 🎄🎁 A fun gift for friends or neighbors would be to add a couple of cute notepads and a pretty pen. Crochet a Santa cup cozy and add a gift card to their favorite coffee shop. The bag would also make a sweet purse for a toddler.
I also made these Crochet Mini Gift Bags with this same pattern using just one strand of yarn. You can find all the details in this post. They are a great size for gift cards or cash. 😊
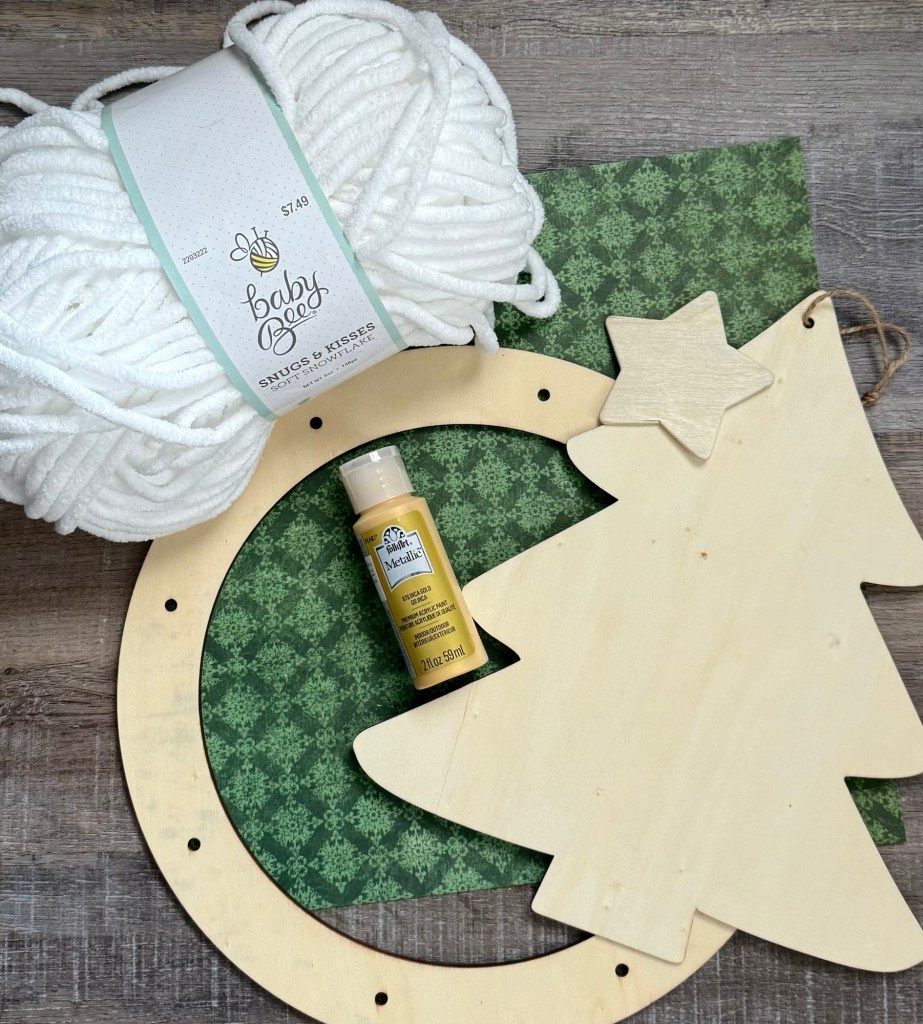
It wouldn’t be Christmas in July without a new wreath to hang on your door or to make as a gift. 🙂🎄
Disclosure: Some of the links on my site are affiliate links, meaning, at no additional cost to you, I will earn a small commission if you click through and make a purchase. As an Amazon Associate I earn from qualifying purchases.
Trace the tree onto the back of the scrapbook paper and cut it out. Using Mod Podge with a foam brush, apply a thin coat to the tree and smooth the paper onto the tree. Let it dry and apply a thin coat of Mod Podge over the top. Apply 2-3 coats of gold metallic paint to the star, letting it dry between coats.
Begin wrapping the yarn around the wreath, being sure to wrap around the beginning tail to secure it. Continue around the wreath until it is completely covered. Cut the yarn and slip the tail under several loops on the back of the wreath. A crochet hook is helpful when doing this.
Tie a loop of natural twine around the top of the wreath for a hanger. Using E6000 clear adhesive or another strong glue, attach the tree to the wreath. Glue the star to the tree with the same adhesive.
I think it turned out super cute! 🎄 You could use a different color yarn and change the tree to a large star for something different. Also add any other embellishments you’d like. Make it as simple or fancy as you want – just have fun! 🙂
Disclosure: Some of the links on my site are affiliate links, meaning, at no additional cost to you, I will earn a small commission if you click through and make a purchase. As an Amazon Associate I earn from qualifying purchases.