Hi friends,
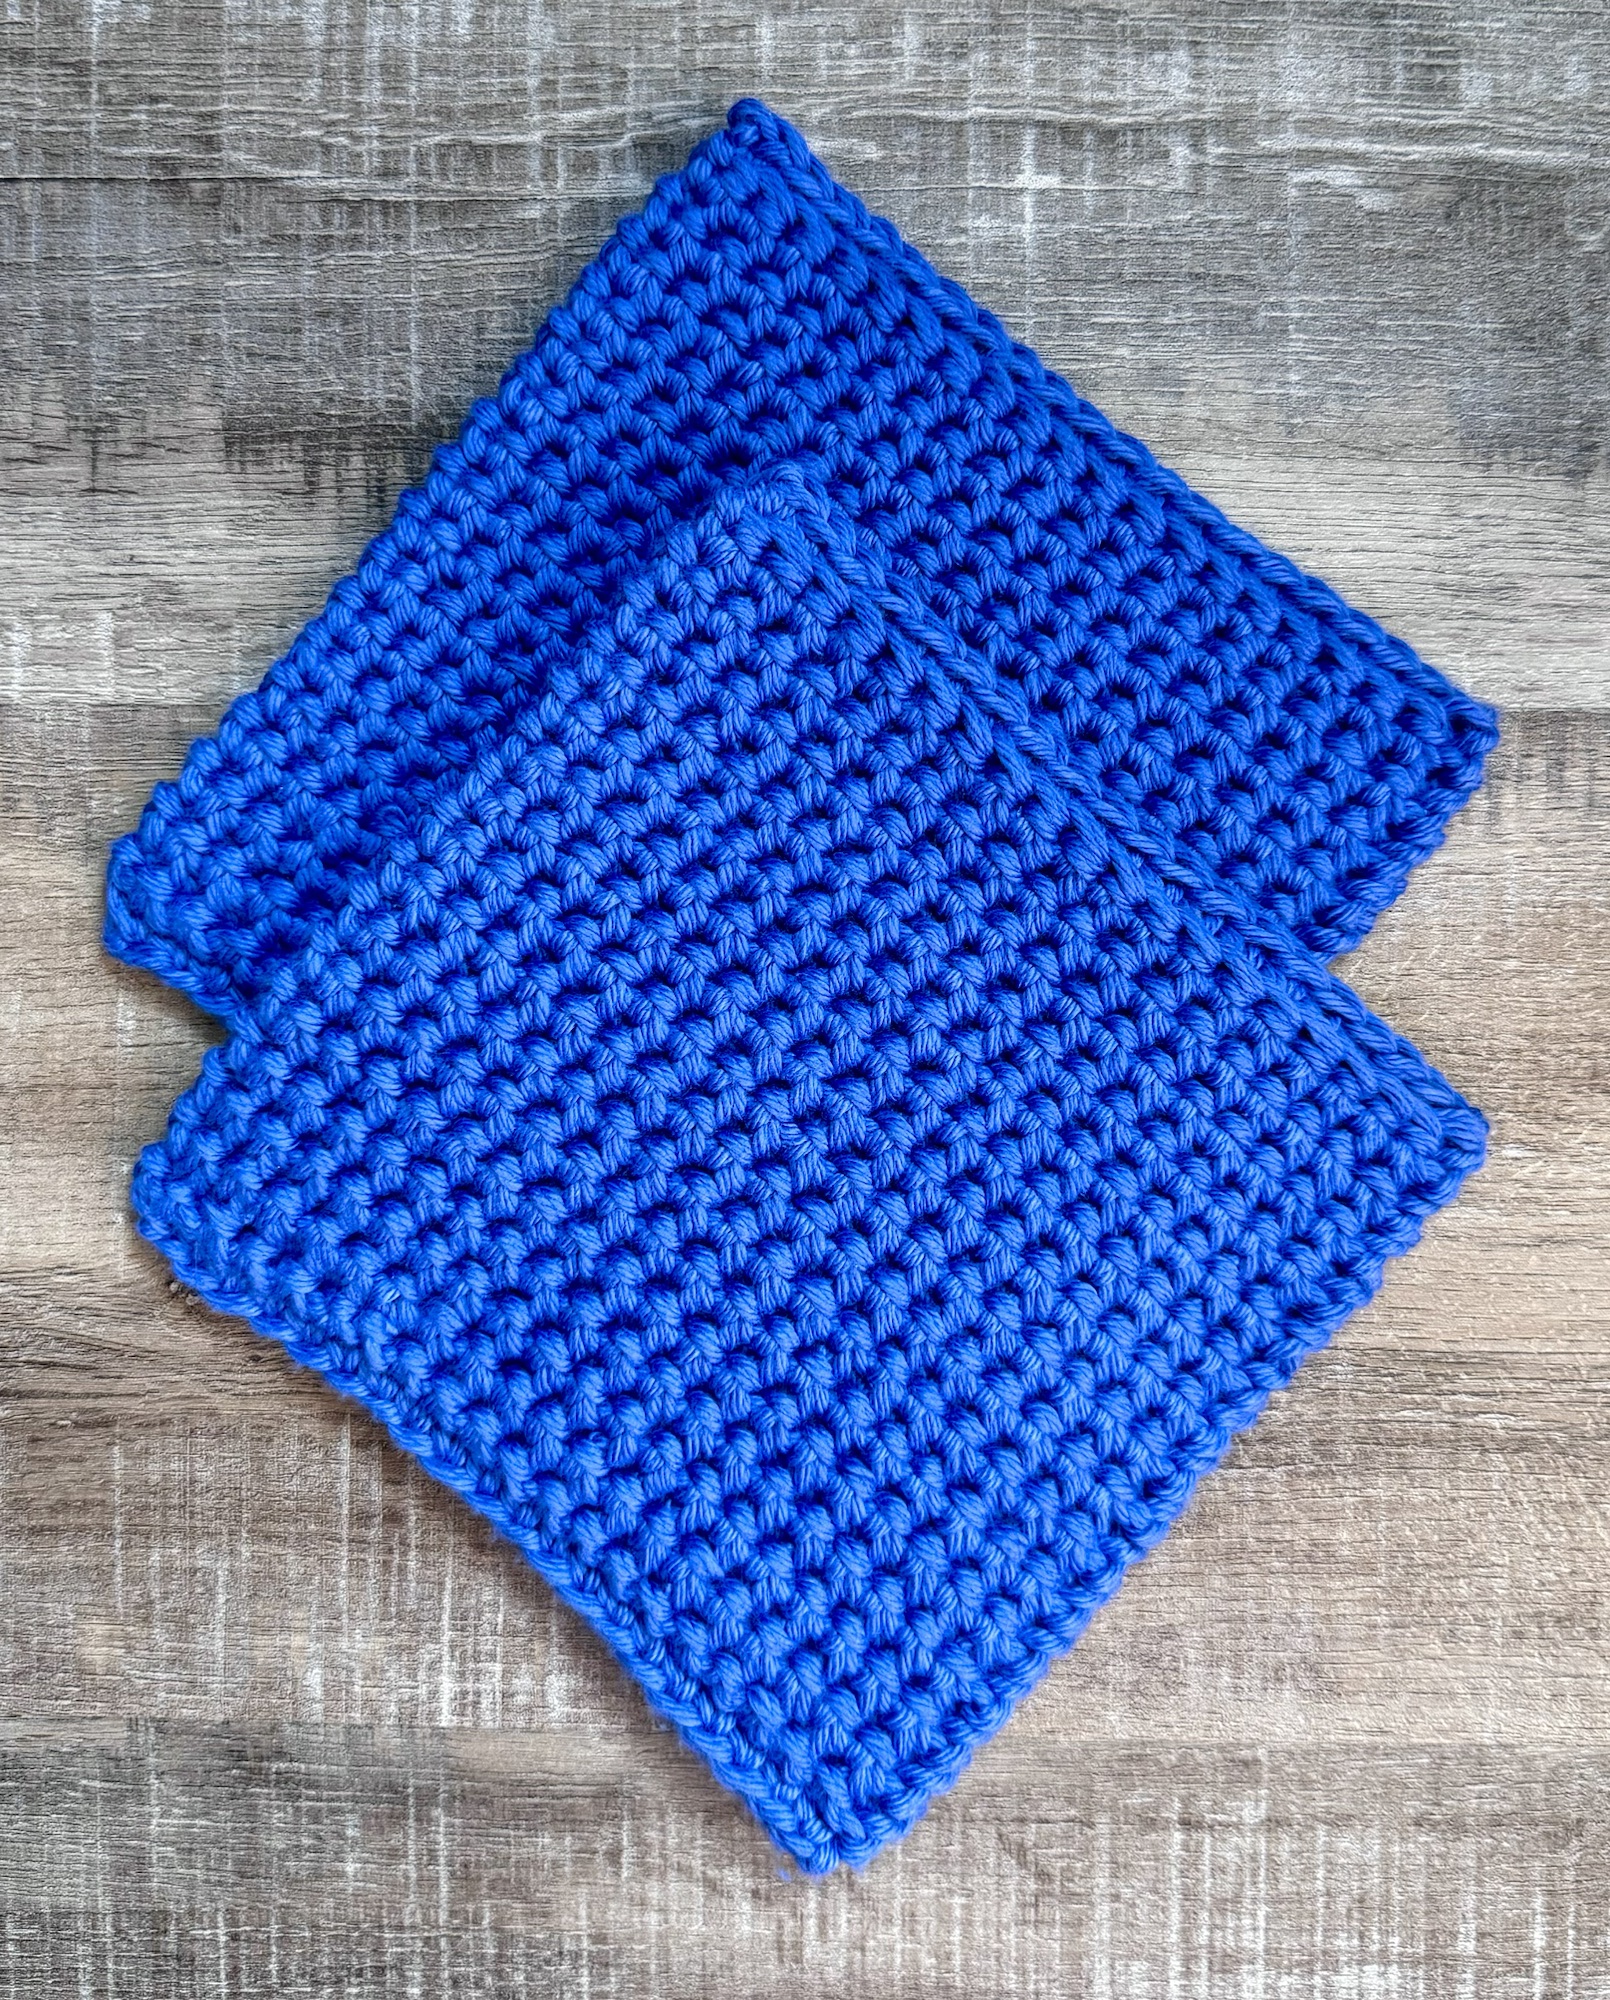
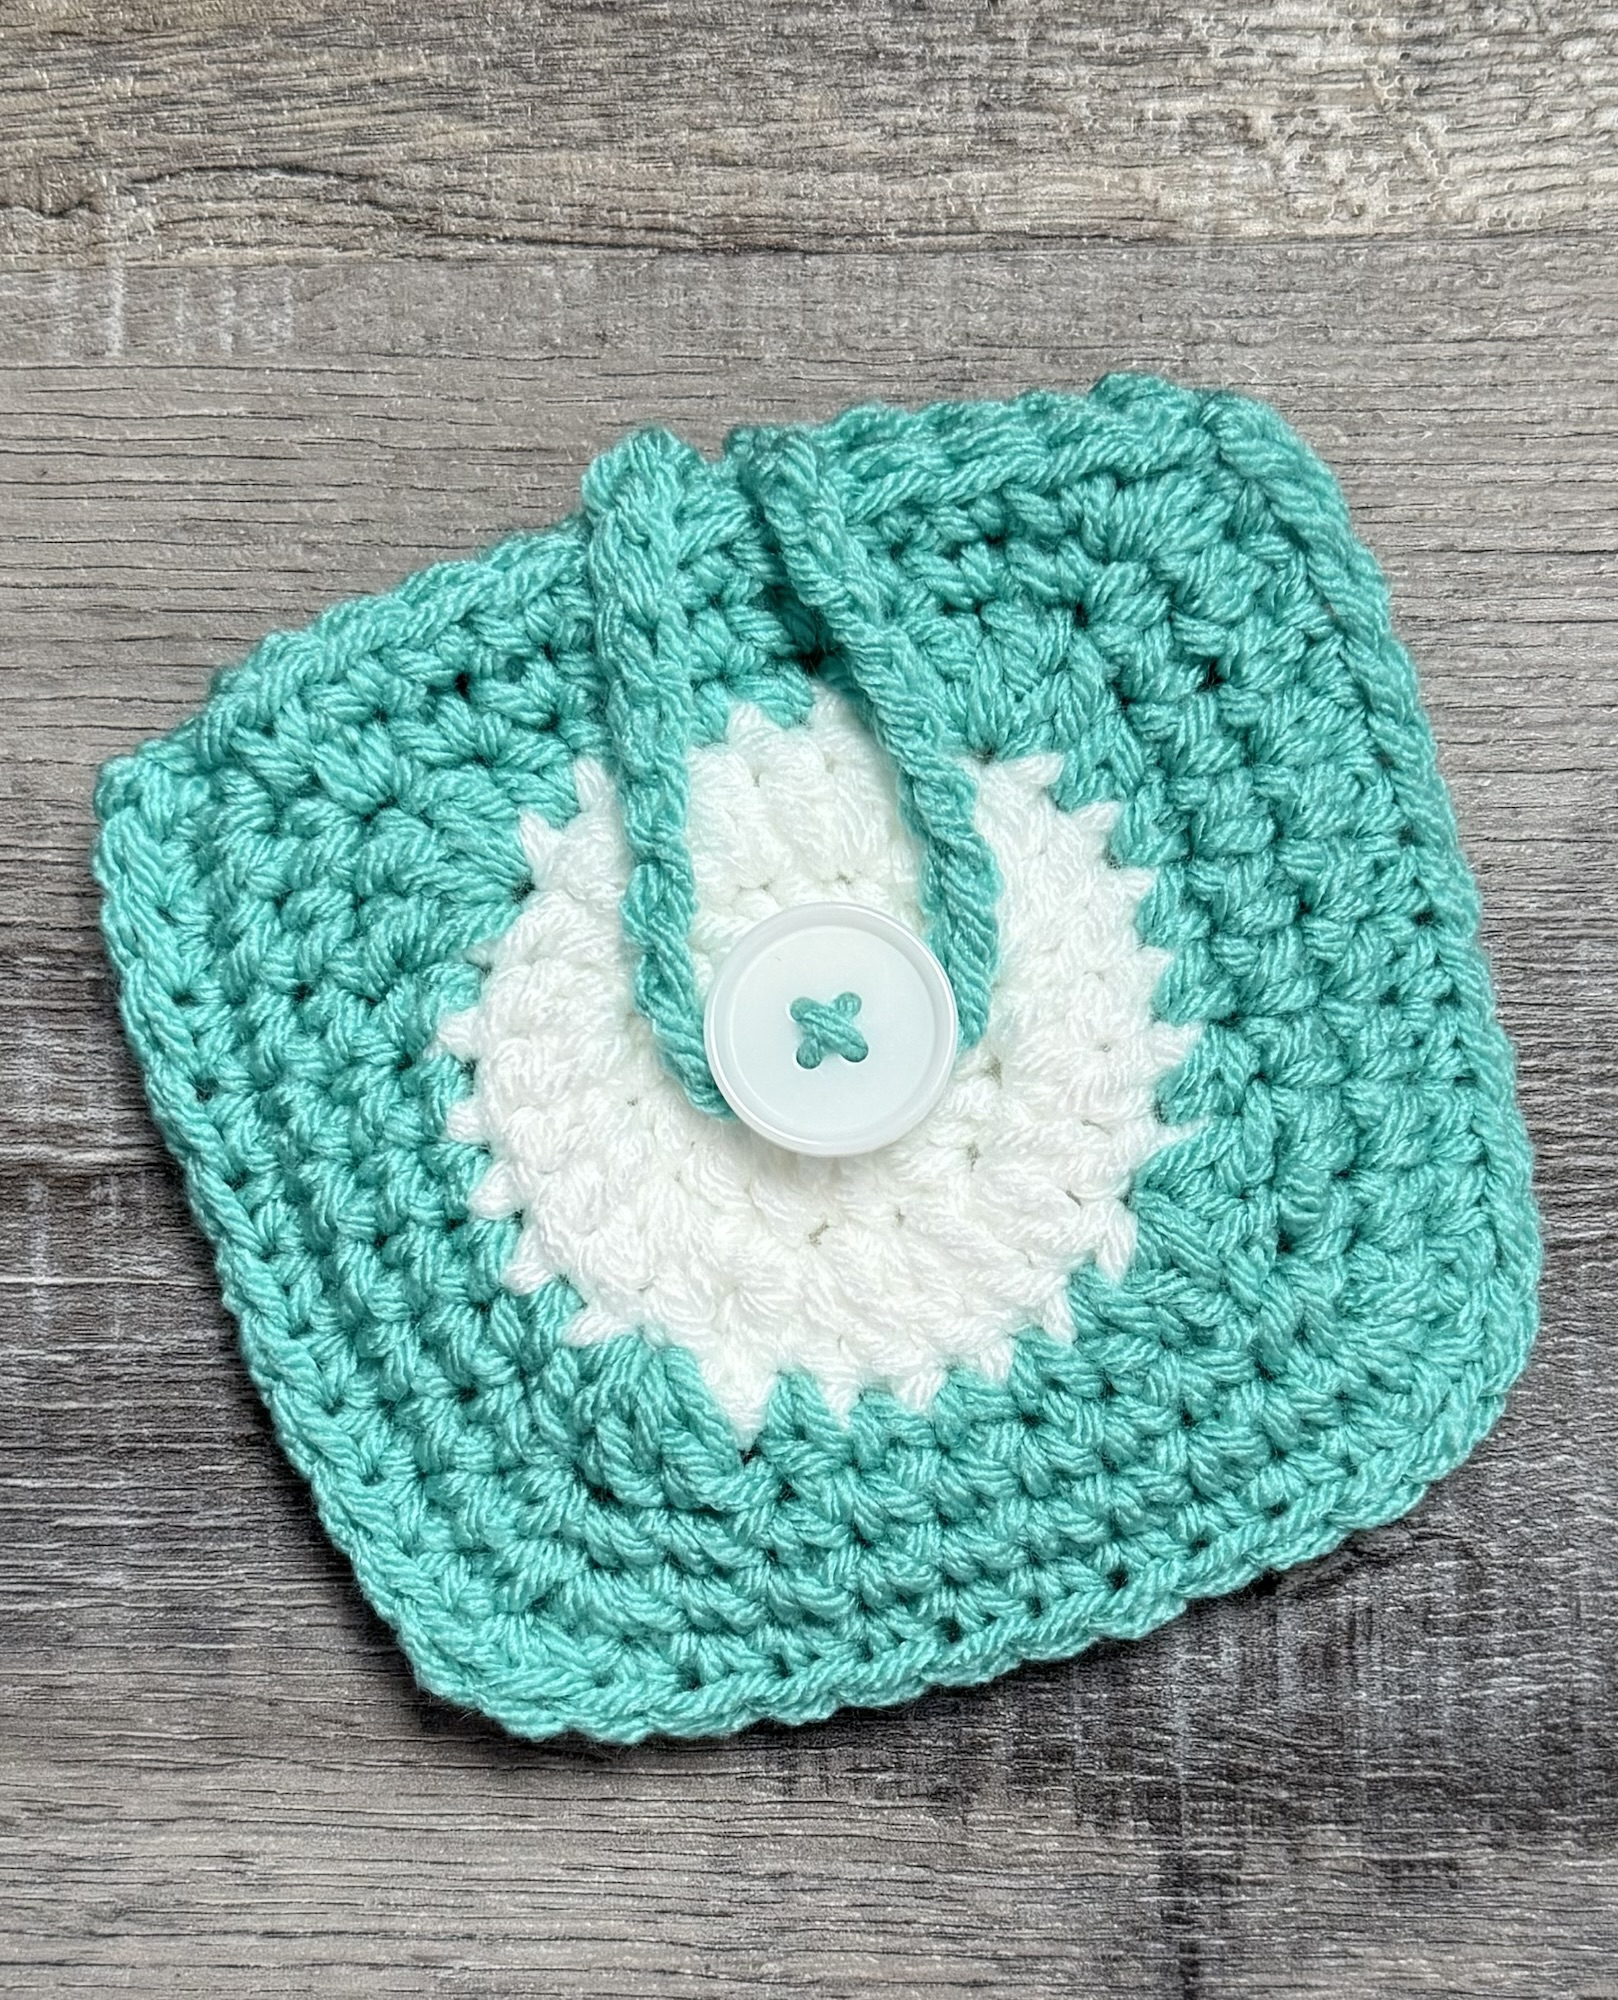
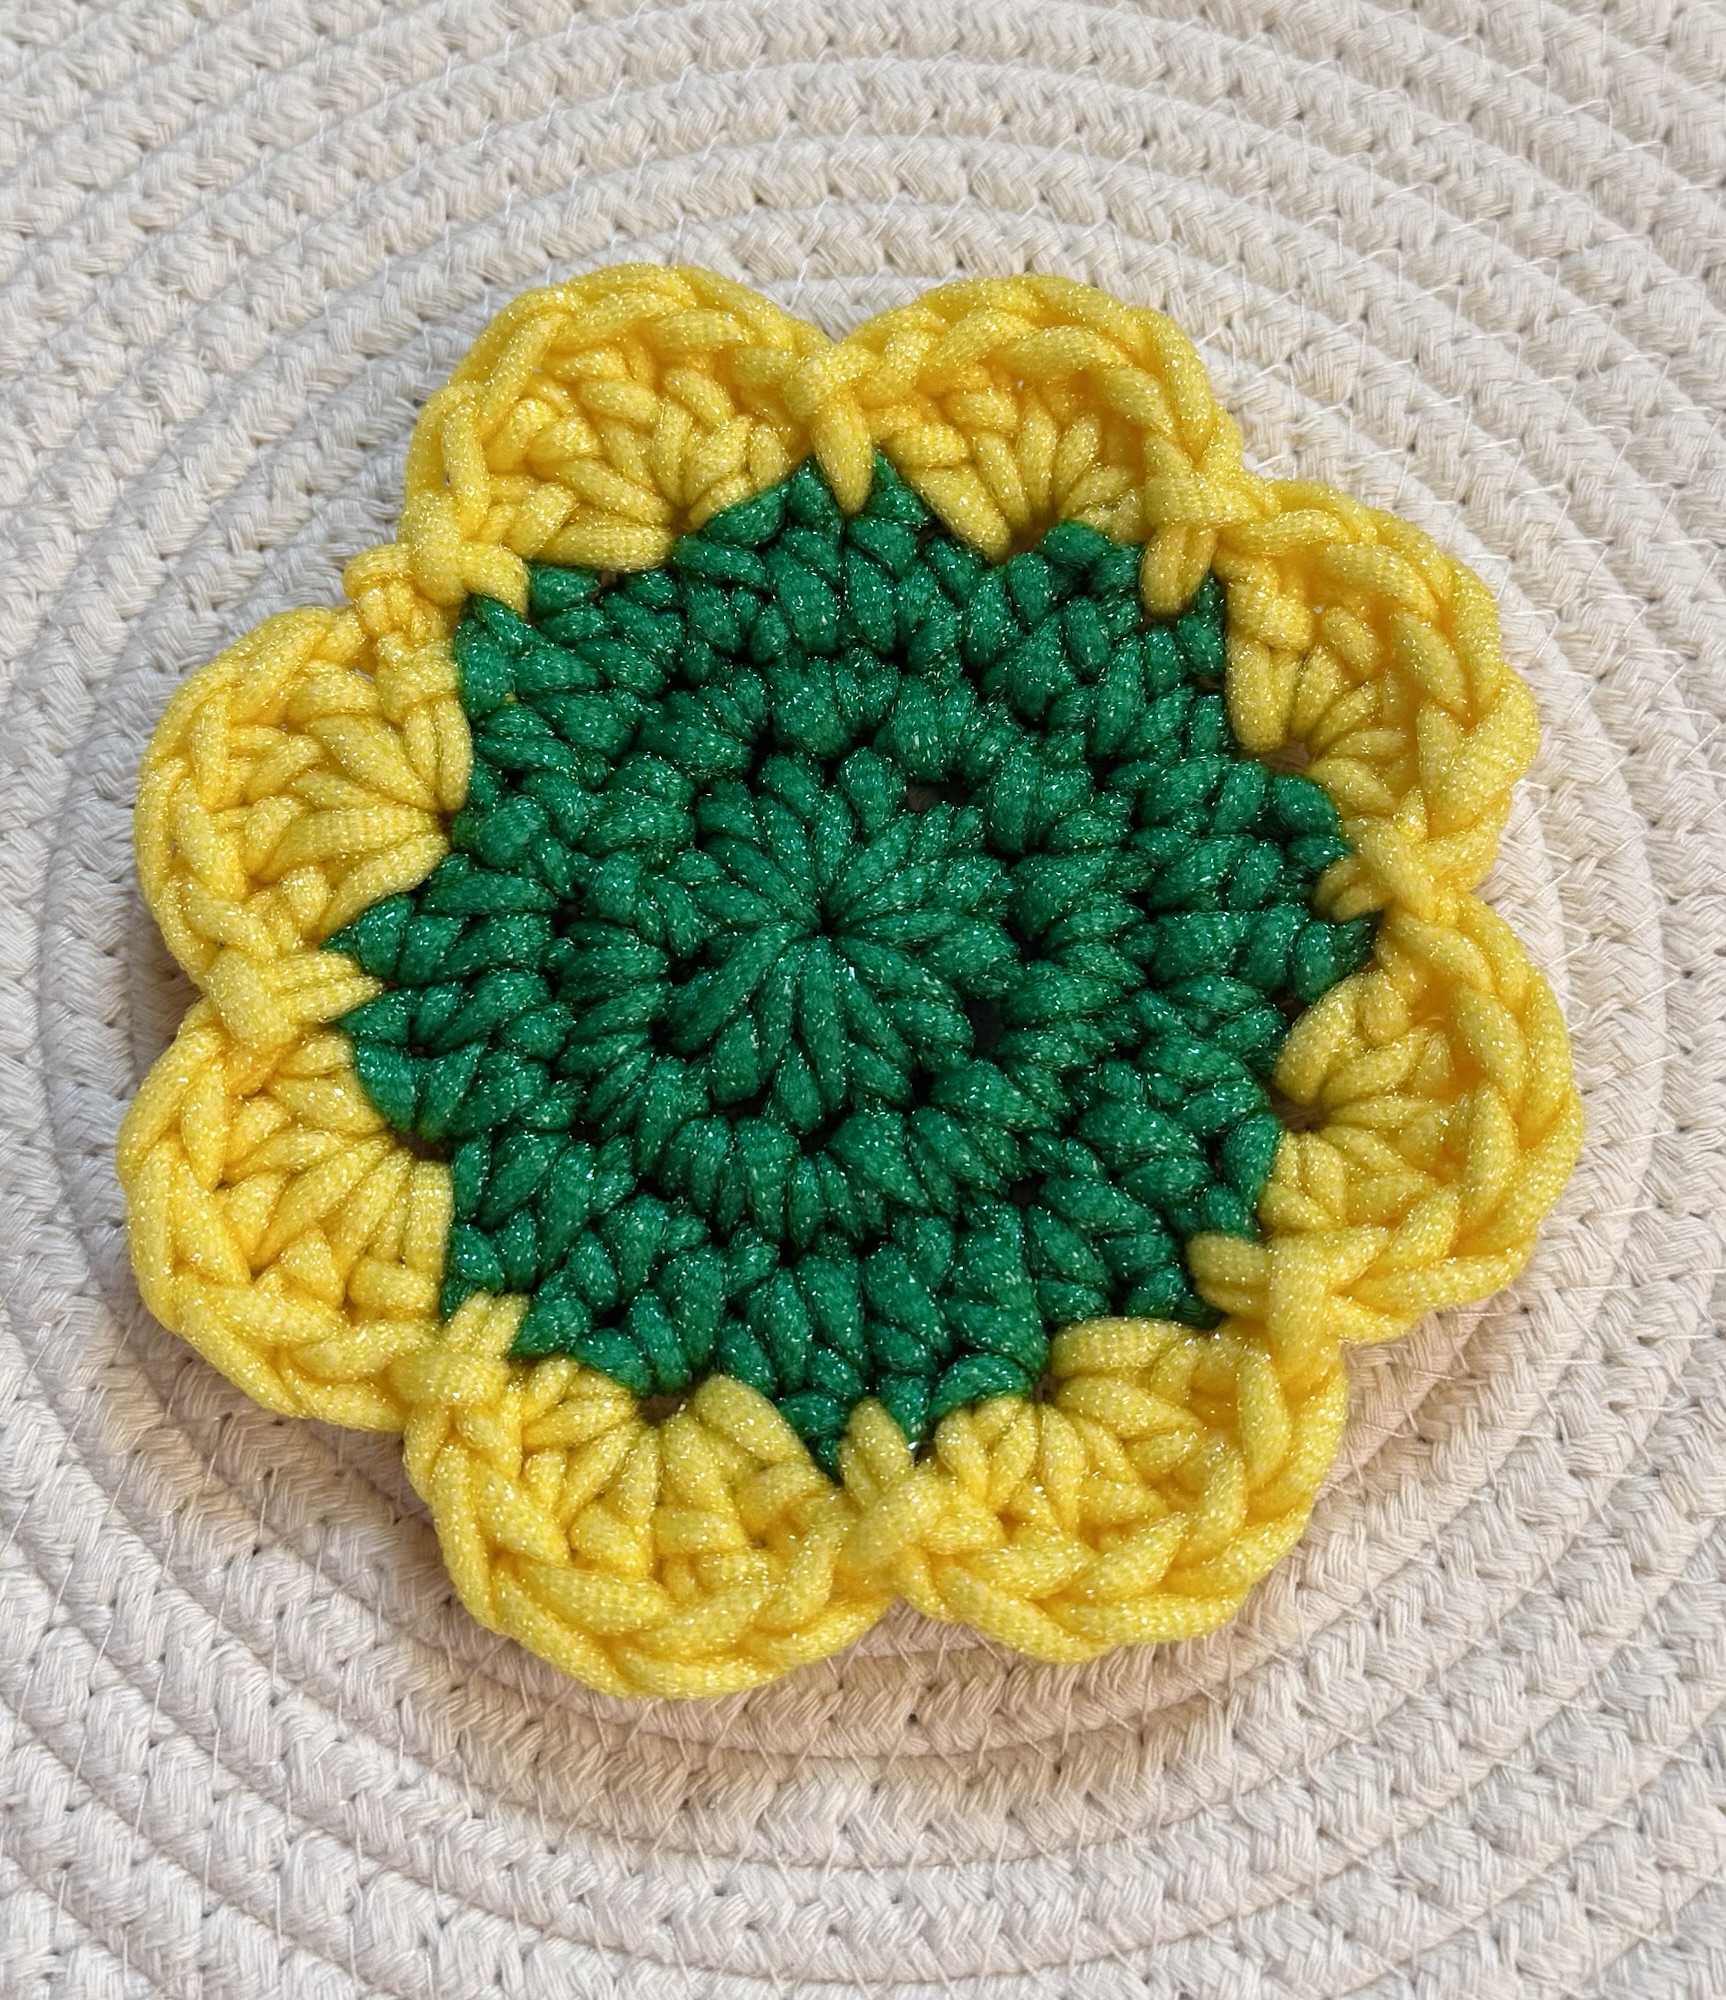
I had some Scrub-ology Scrub It! yarn leftover from a previous project that I wanted to put to good use. So I created a simple Spring Flower Dish Scrubby crochet pattern and I’ve shared it below.
Disclosure: Some of the links on my site are affiliate links, meaning, at no additional cost to you, I will earn a small commission if you click through and make a purchase. As an Amazon Associate I earn from qualifying purchases.
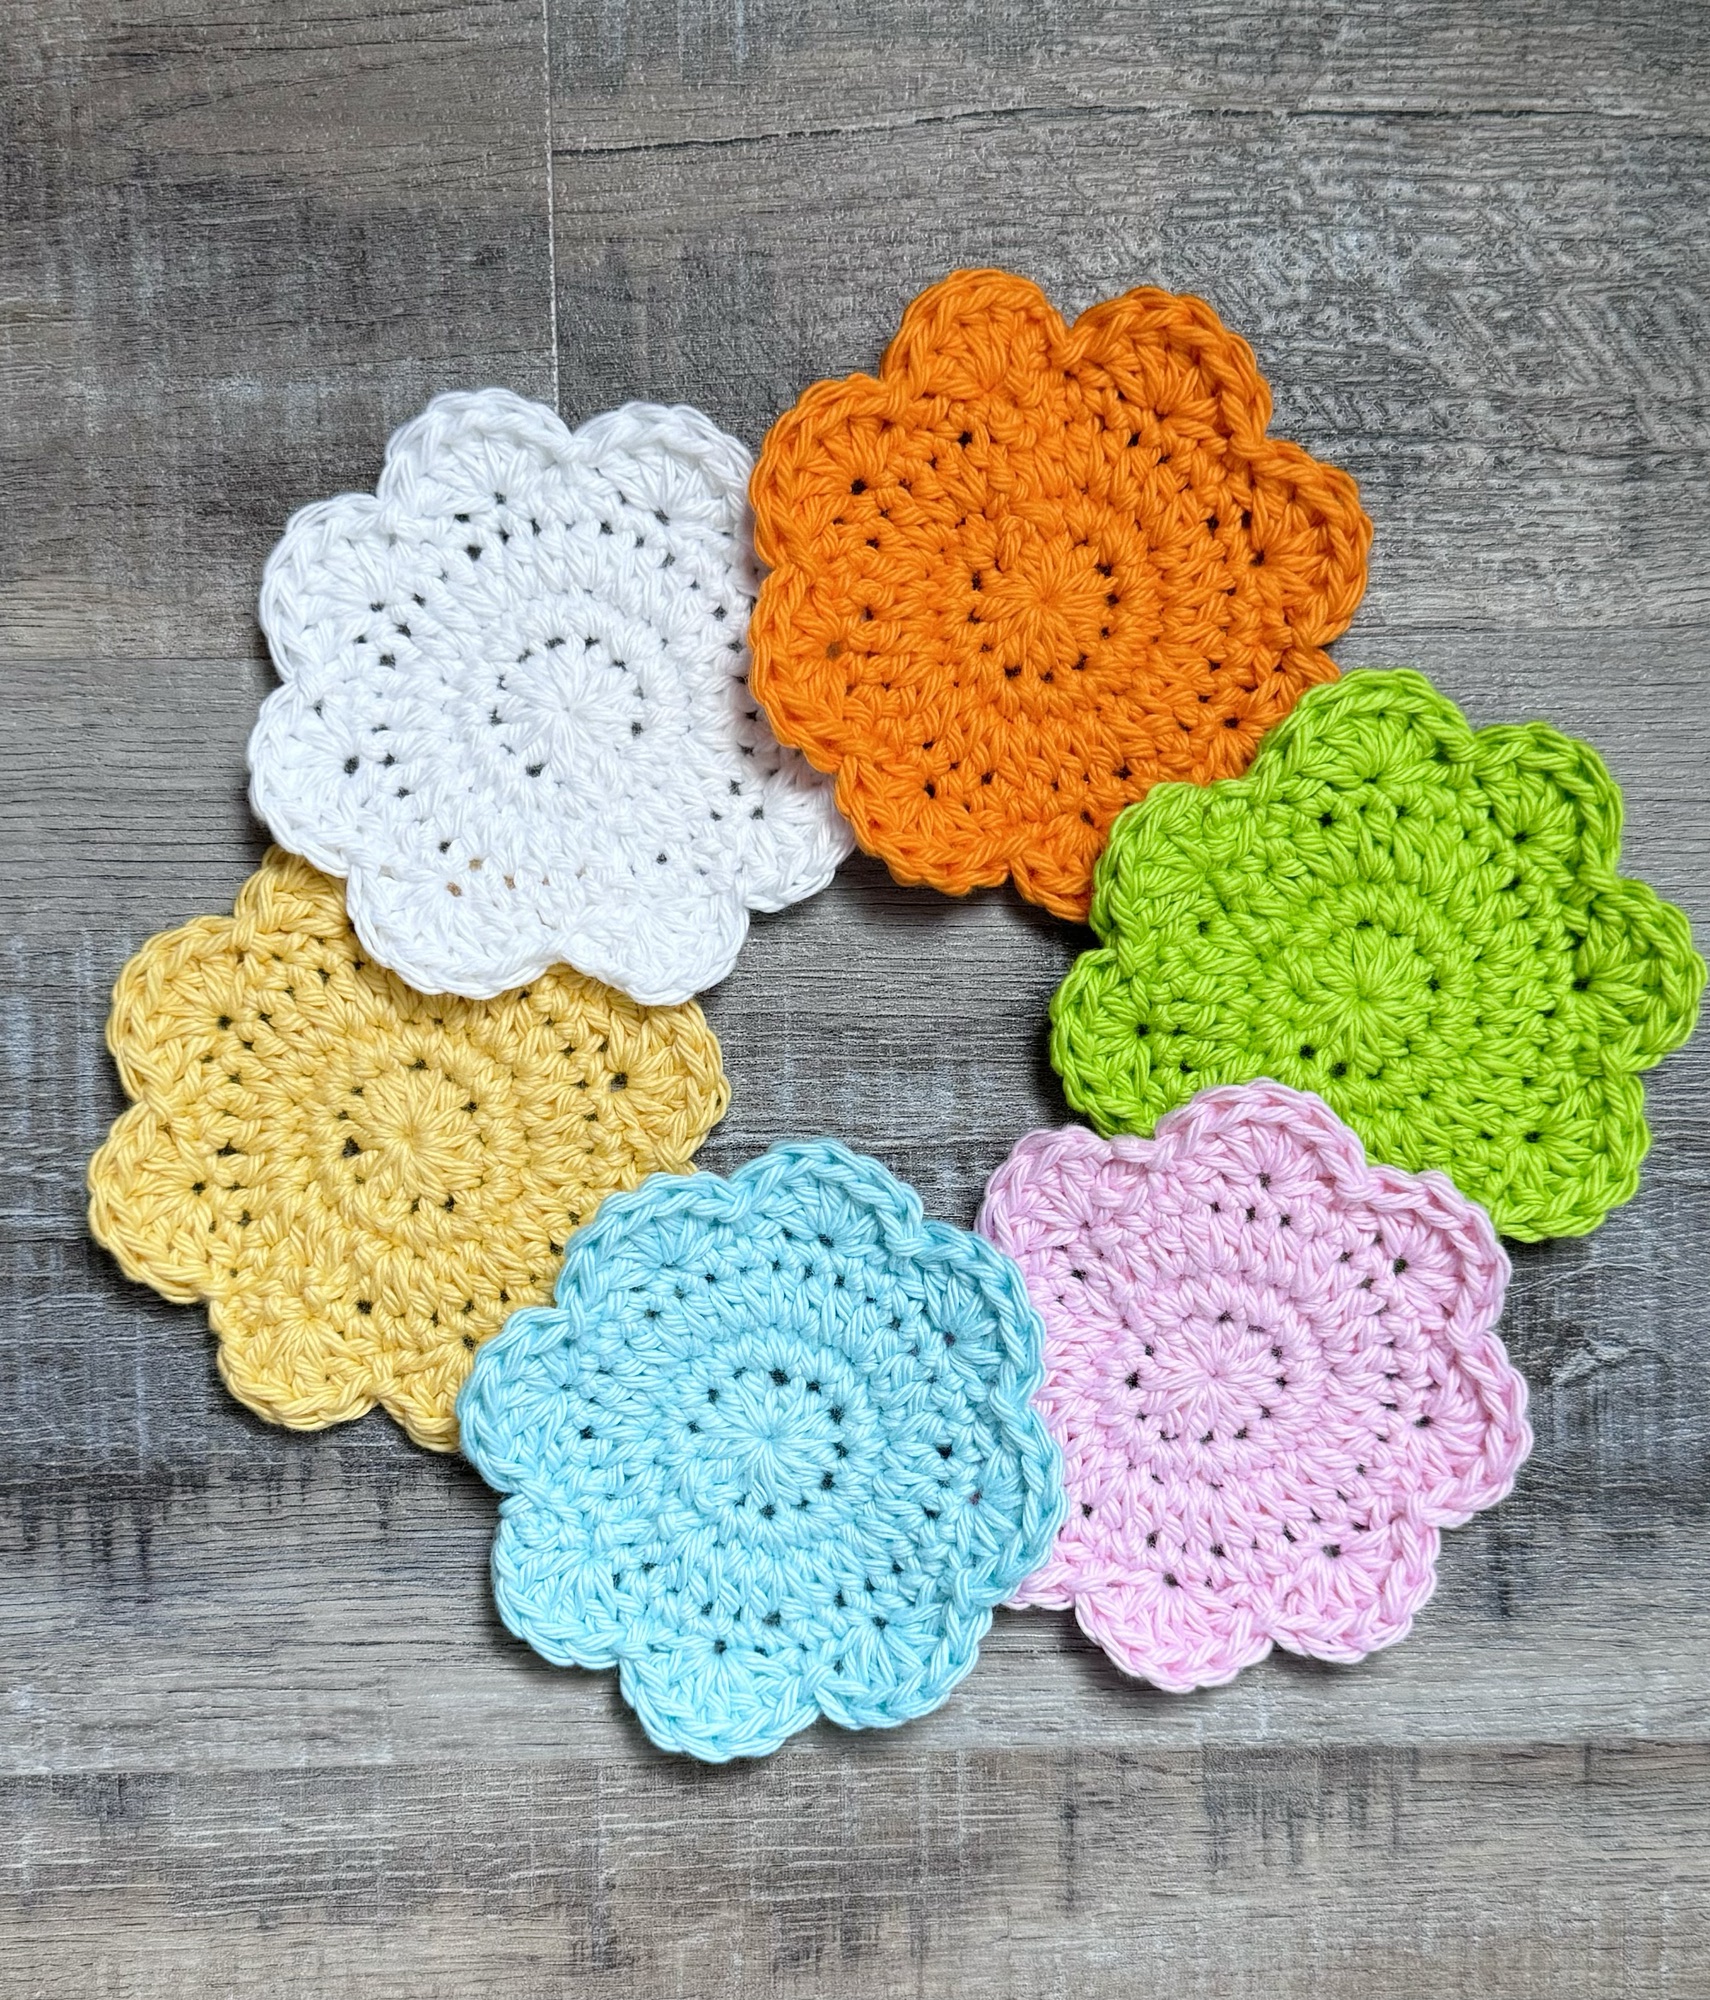
I used the colors Lemon and Green with a J/6mm hook to stitch up my scrubbies. The yarn comes in several different colors so you can make them to match your kitchen. I’ve included a link to a free PDF below. There’s also a link to a free PDF without the pictures if you prefer that.


Crochet Flower Dish Scrubbies
Scrub-ology Scrub It! Yarn – 2 colors (from Hobby Lobby)
Size J/6mm hook
Dish scrubby measures about 5 inches in diameter.
Stitches used (US terms)
Chain – ch
Slip stitch – ss
Single crochet – sc
Half double crochet – hdc
Double crochet – dc
Make magic ring using color A.
Round 1: Ch 1. 12 hdc in ring. Join with ss to 1st hdc. Pull magic ring closed. (12 stitches)
Round 2: Ch 1. Work 2 sc in same stitch as ss and in each stitch around. Join with ss to 1st sc. (24 stitches)
Round 3: Ch 1. Work 2 hdc in same stitch as ss. hdc in next 2 stitches. *2 hdc in next stitch, 1 hdc in next 2 stitches* Repeat from * to * around. Join with ss to 1st hdc. (32 stitches)
Change to color B.
Round 4: Ch 3 (counts as first dc). Work 4 dc in same stitch as ss. Skip 1 stitch, ss in next stitch. *Skip 1 stitch, 5 dc in next st. Skip 1 stitch, ss in next stitch.* Repeat from * to * around. Skip last stitch. Join with ss to top of beginning ch 3. (8 Petals)
Fasten off and weave in ends.
Here are the PDF links…
The Spring Flower Dish Scrubby works up quickly. Tie a few of them together with a pretty ribbon and they would make a cute little hostess gift. 🙂
Anita