Hi friends,
Looking for something fun and cute to hang on your door for Easter? This “Hoppy Easter” door hanger might be just the thing. 🐰 🙂
Disclosure: Some of the links on my site are affiliate links, meaning, at no additional cost to you, I will earn a small commission if you click through and make a purchase. As an Amazon Associate I earn from qualifying purchases.
You’ll need a 10-inch thin wood circle for the base of the door hanger – I found mine at Hobby Lobby. You’ll also need a small bunny wood cut out, a small white pom pom for the tail, paper Easter grass shreds, small speckled eggs, and various ribbons and a button for the bow. I found the bunny cut out, Easter grass shreds, and eggs in the seasonal section at Hobby Lobby. I had the ribbons and button in my craft stash.
I used my Cricut machine with purple permanent vinyl to cut out “Hoppy Easter”. You could also use stickers or even paint the letters onto the door hanger.
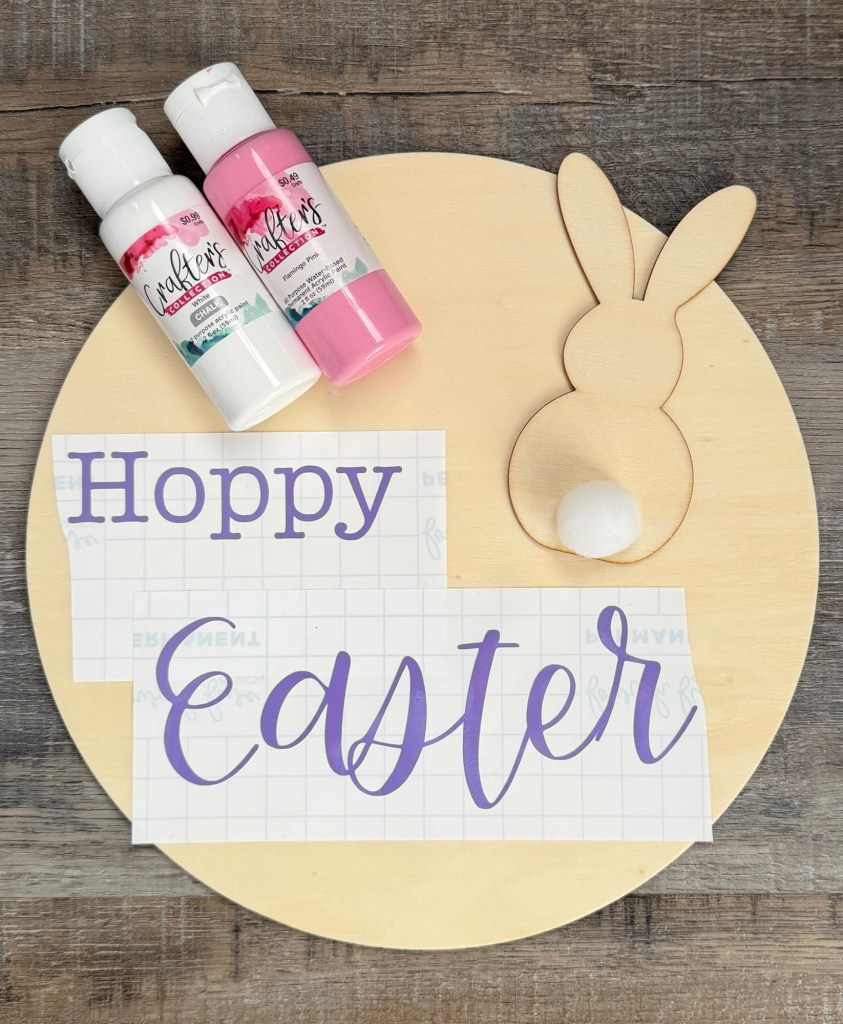
I painted the wood circle with 2 coats of pink acrylic paint. It’s optional, but I painted both sides to give it a more finished look. I painted the bunny with 2 coats of white paint and dry brushed some of the pink on the ears. I also dry brushed a little dark gray paint onto the edges of the bunny to add a little depth.
After the paint was dry, I applied the words to the wood circle using transfer tape and a scraper. Using hot glue, I attached the pom pom to the bunny and then glued the bunny to the wood circle.
I hot glued the Easter grass shreds to the bottom and glued the eggs on top. I made a simple bow the Re-Fabbed way and glued it to the top left. I added a button tied with white twine to the center of the bow. I hot glued a loop of ribbon to the back of the wood circle for hanging.
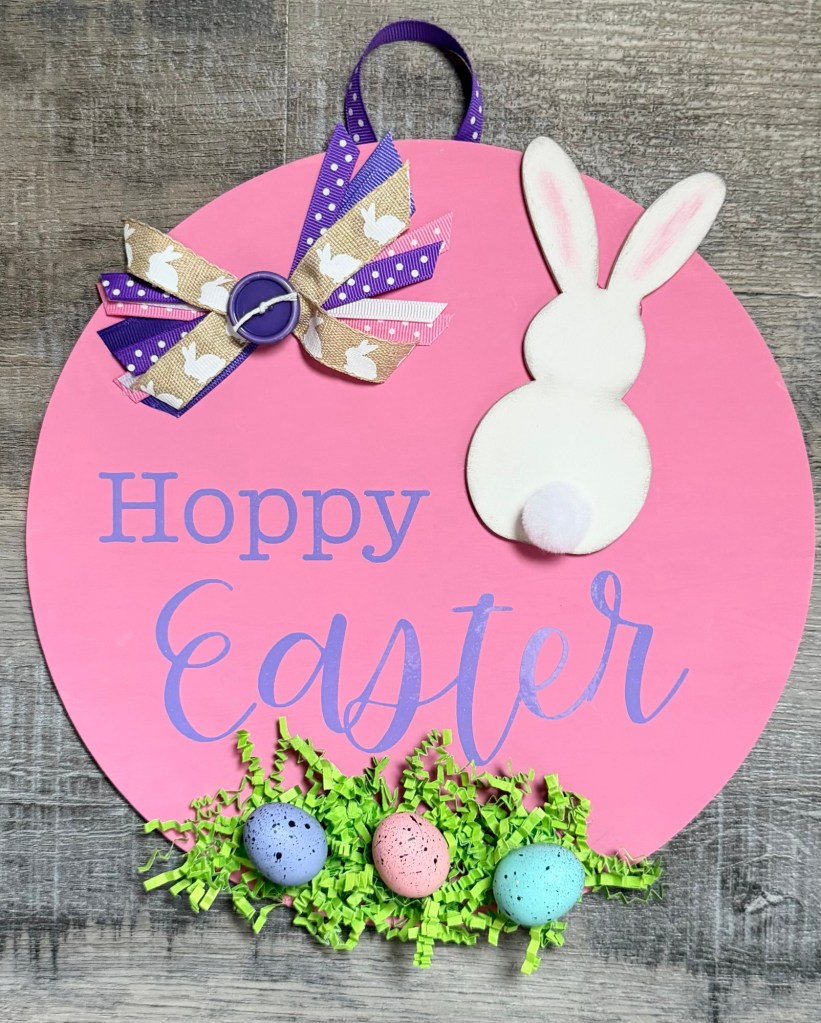
This was fun to make and will be something a little different to hang on the door for Easter. 🐰 🙂
Anita