Hi friends,
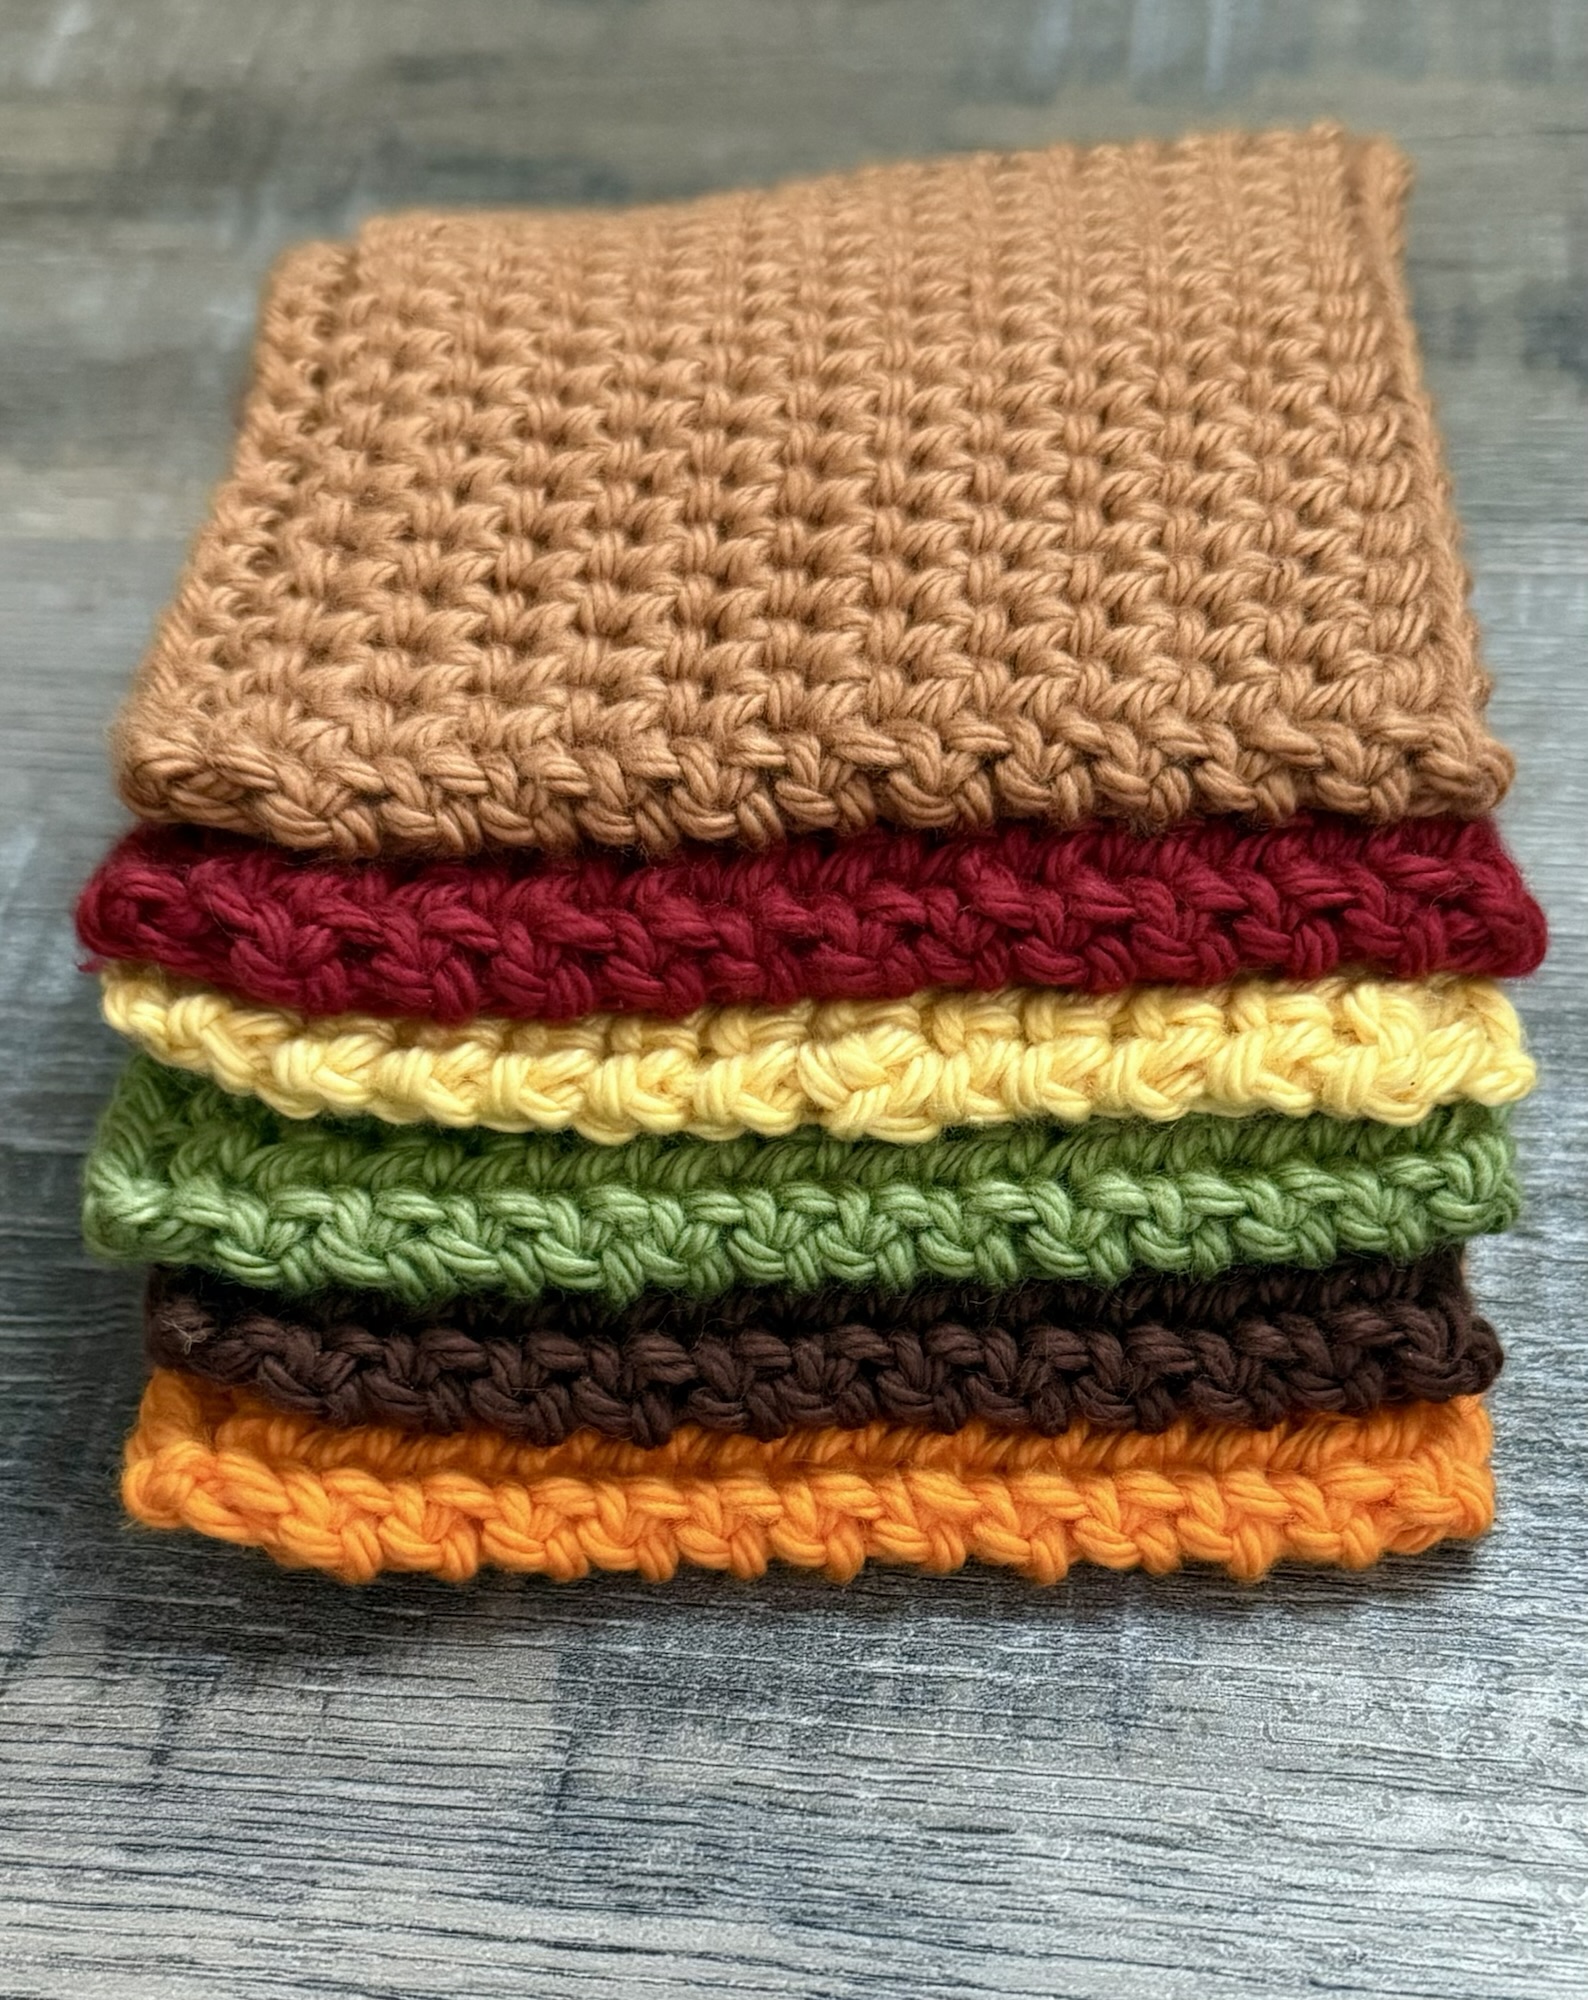
This Crochet Cluster V-Stitch Baby Blanket is a simple one row repeat, but it has amazing texture! I created this pattern for a special little one.💛
Disclosure: Some of the links on my site are affiliate links, meaning, at no additional cost to you, I will earn a small commission if you click through and make a purchase. As an Amazon Associate I earn from qualifying purchases.

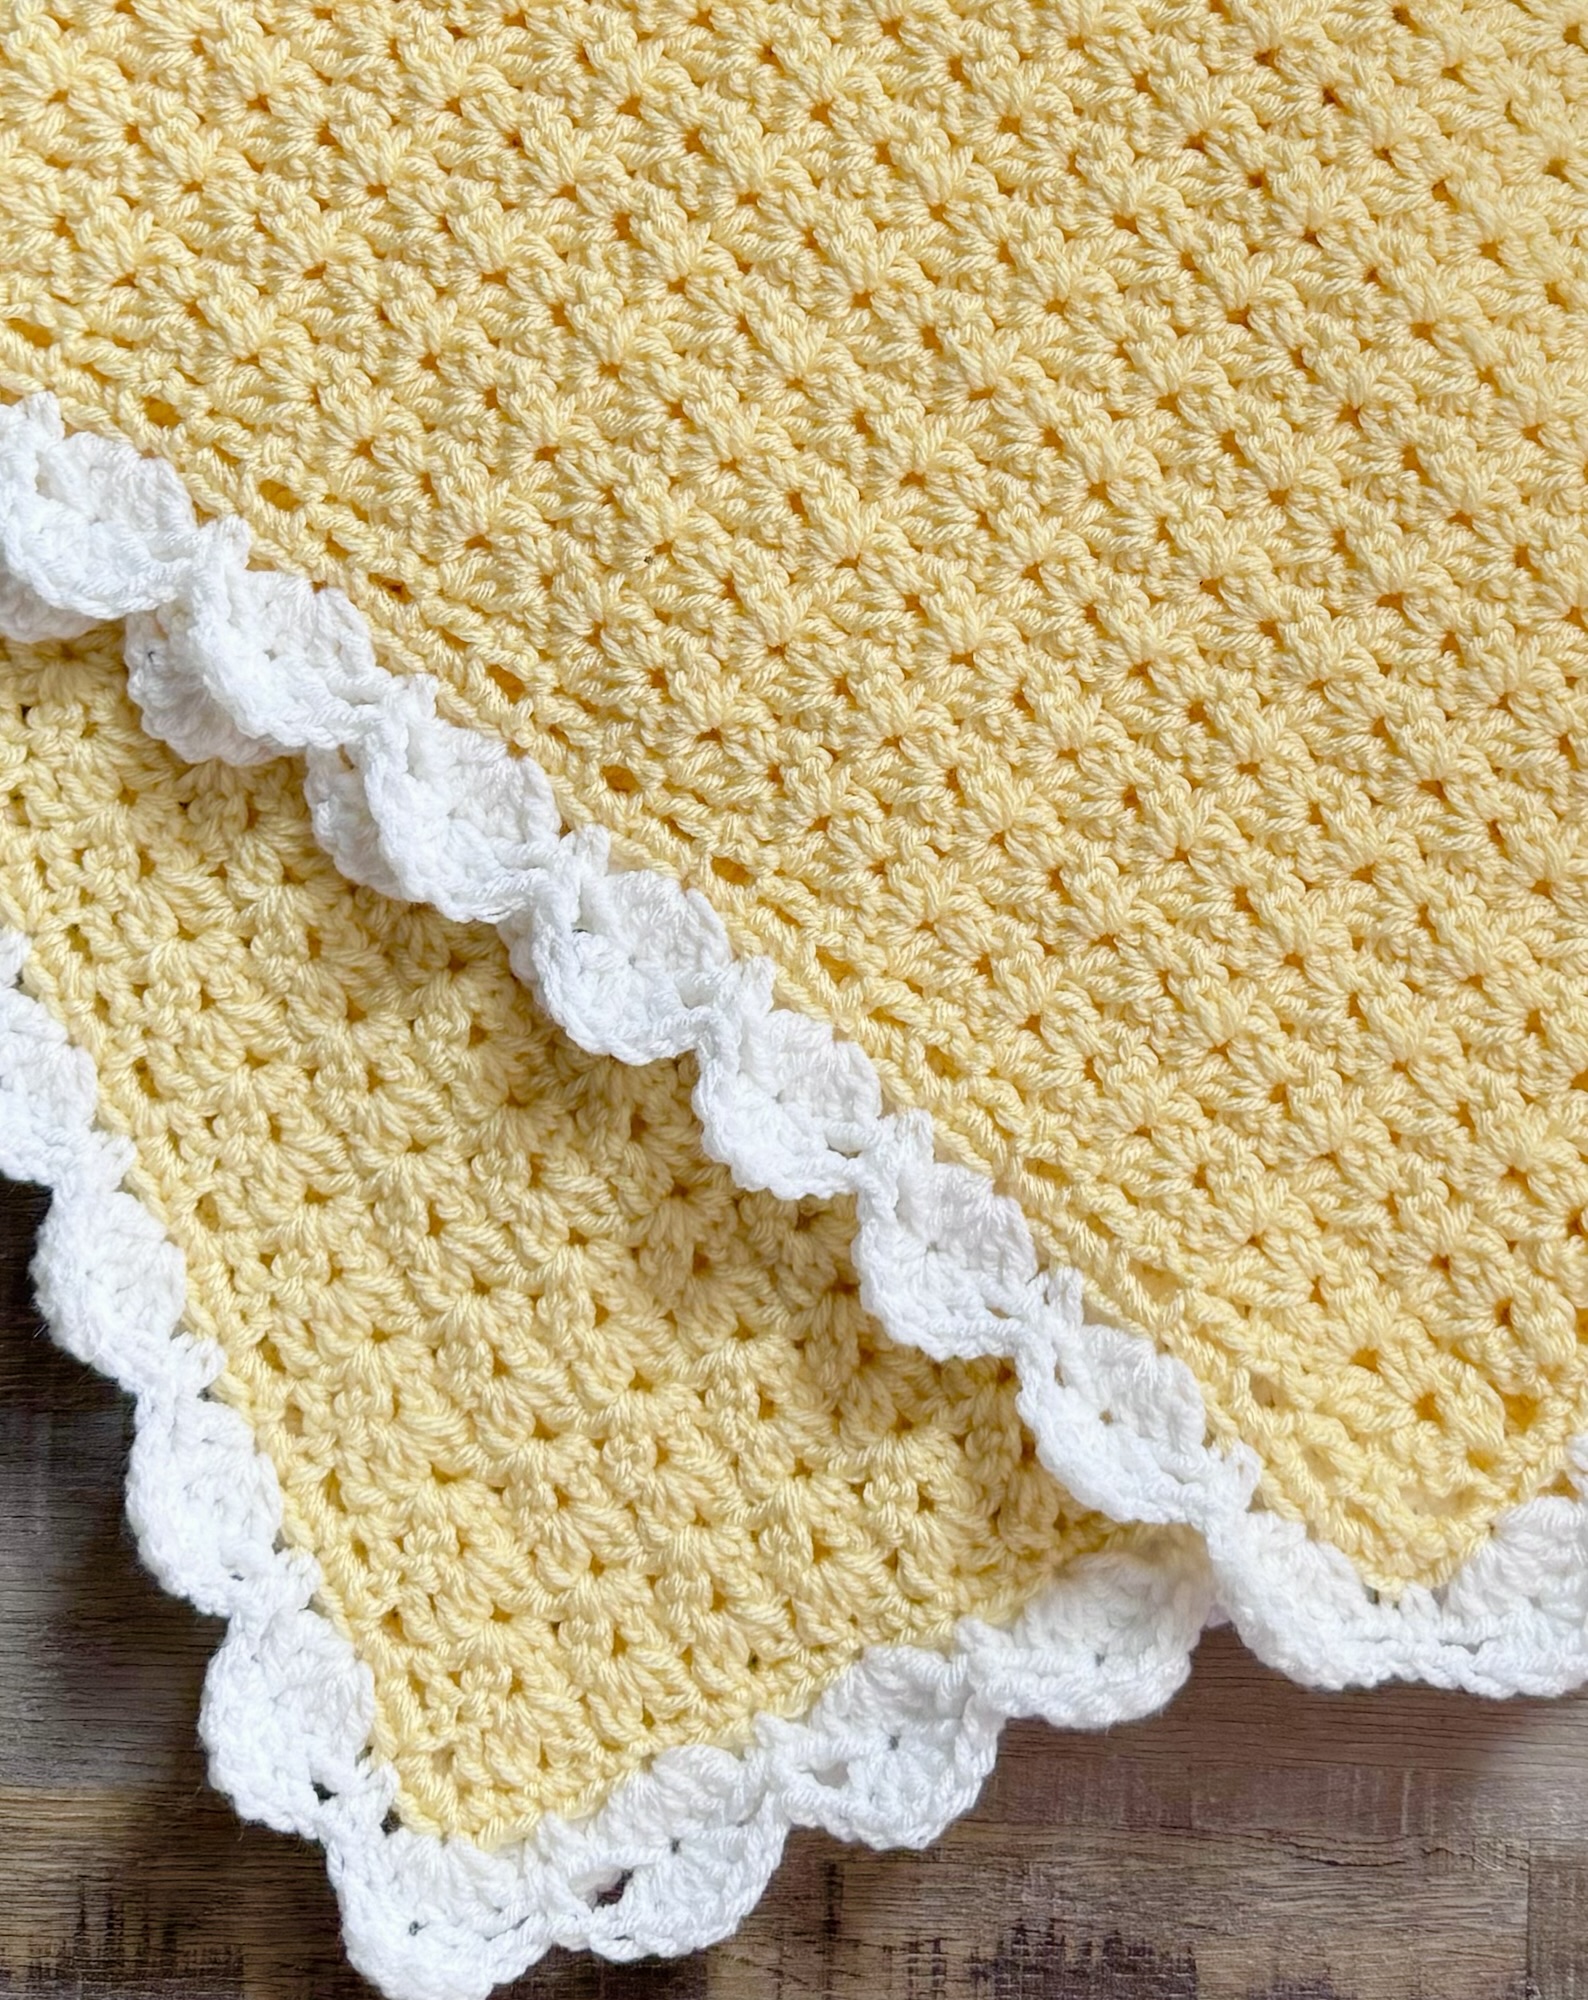
I stitched up my blanket using I Love This Yarn in Buttercup and White using an I/5.5mm crochet hook. The pattern is below along with a link to a free PDF if you’d like to easily print it.
Crochet Cluster V-Stitch Baby Blanket
Worsted weight yarn (size 4) – 2 colors. Approximately 15 ounces main color and 3 ounces border color
I used I Love This Yarn in Buttercup and White
I/5.5mm crochet hook
Stitches used in US terms:
Chain – ch
Double Crochet – dc
Cluster V-stitch
Double Crochet 2 together – dc2tog
Slip Stitch – ss
How to make Cluster V-stitch: dc2tog, ch, dc2tog in the same stitch
How to dc2tog: yarn over, insert hook in stitch. Yarn over pull up loop (3 loops on hook). Yarn over, pull through 2 loops (2 loops on hook). Yarn over, insert hook in same stitch. Yarn over and pull up loop (4 loops on hook). Yarn over, pull through 2 loops (3 loops on hook). Yarn over and pull through last 3 loops.
Chain 92 with Buttercup.
Row 1: working in back bump of ch, dc in 4th ch from hook. (3 skipped ch count as a dc). *Skip 2 ch. (dc2tog, ch, dc2tog) in next ch (cluster v-stitch made).* Repeat from * to* across until last 4 ch. Skip 2 ch. dc in final 2 ch. Turn. (28 Cluster V-stitches and 2 double crochet at each end)
Row 2: ch 3 (counts as dc). Skip first dc. dc in next dc. *work cluster v-stitch in ch space of cluster v-stitch of previous row* Repeat from *to* across to last 2 dc. dc in last 2 dc. Turn. (28 Cluster V-stitches and 2 double crochet at each end)
Rows 3 – 54: Repeat Row 2
Do Not Turn at the end of row 54.
Begin working in Rounds.
Continue with Buttercup
Round 1: ch 1. sc crochet evenly around, working 3 sc in each corner. Join with ss to first sc.
Change to White.
Round 2: ch 1. sc in same stitch as ss, ch 1. *skip 2 stitches, 5 dc in next stitch. ch 1, skip 2 stitches, sc in next stitch, ch 1* Repeat from * to * around. Join with ss to first sc.
Round 3: ch 1. sc in first sc, ch 1. *work 5 dc in center dc of shell, ch 1. sc in next sc, ch 1.* Repeat from * to * around. Join with ss to first sc.
Fasten off and weave in ends.
Finished blanket measures approximately 30 by 35 inches.

Here’s the link to the free PDF…
This blanket would be so pretty in any color combo – or even in one solid color including the border. What color will you make yours?
Anita