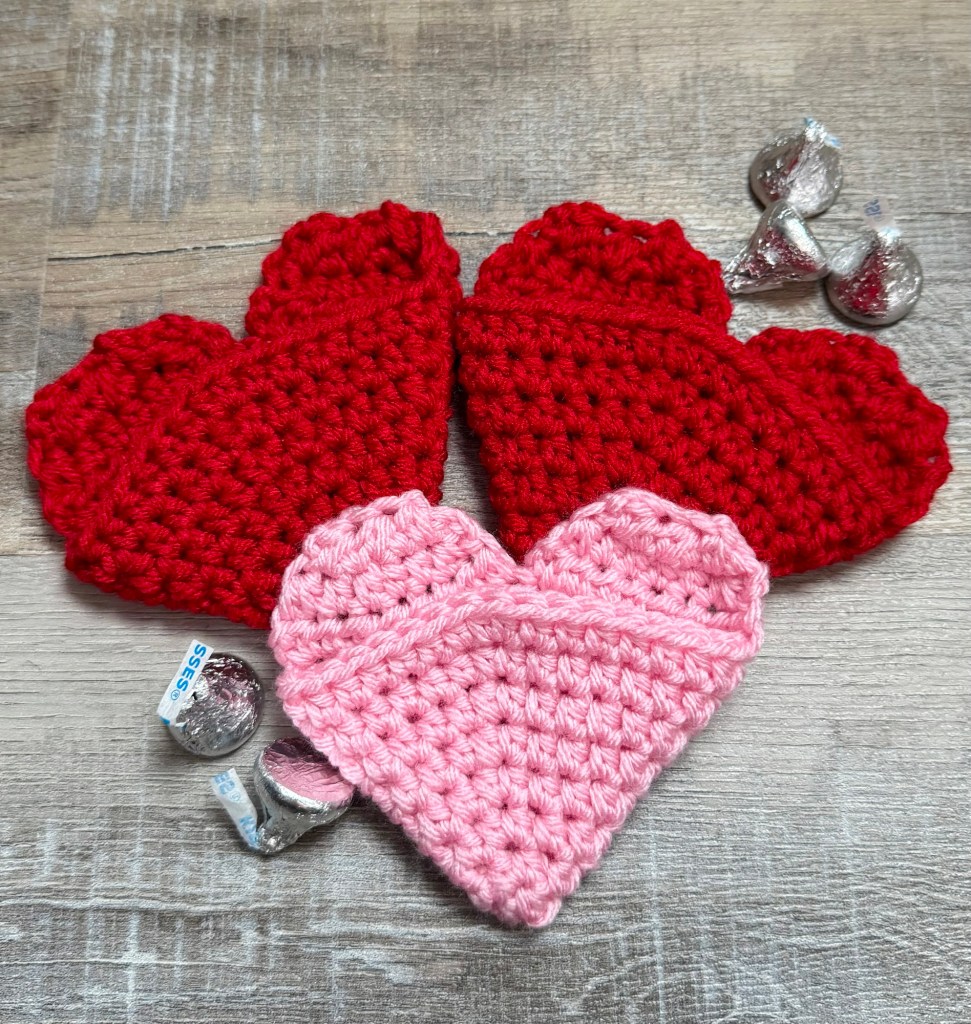
Are you looking for a sweet way to share a little Valentine love? These Crochet Heart Pockets are so cute and only take a few minutes to make. ❤️
Disclosure: Some of the links on my site are affiliate links, meaning, at no additional cost to you, I will earn a small commission if you click through and make a purchase. As an Amazon Associate I earn from qualifying purchases.
The heart pockets measure about 4 by 4 inches and are the perfect size to fill with a few chocolates, lip balm, mini hand lotion, or other small treats.
Stitch up a few of these for your girlfriends, neighbors, or anyone else who needs a little smile. ❤️
Disclosure: Some of the links on my site are affiliate links, meaning, at no additional cost to you, I will earn a small commission if you click through and make a purchase. As an Amazon Associate I earn from qualifying purchases.
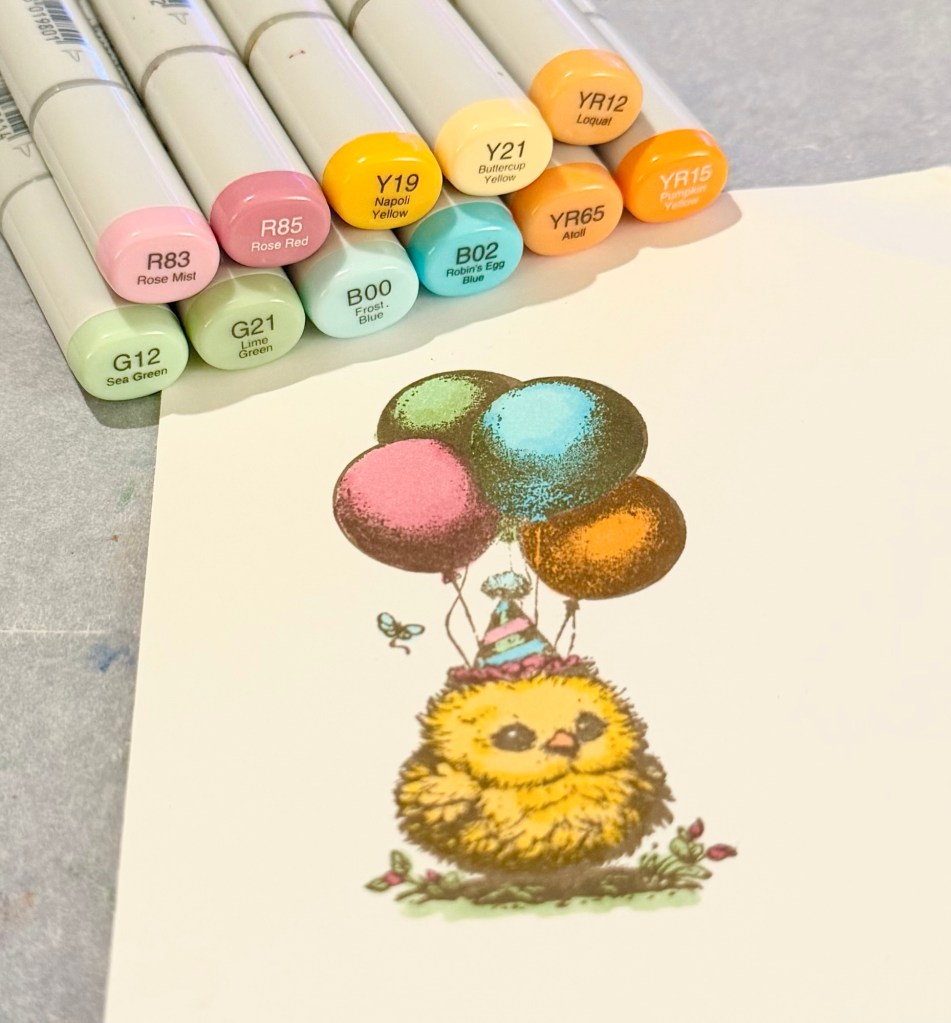
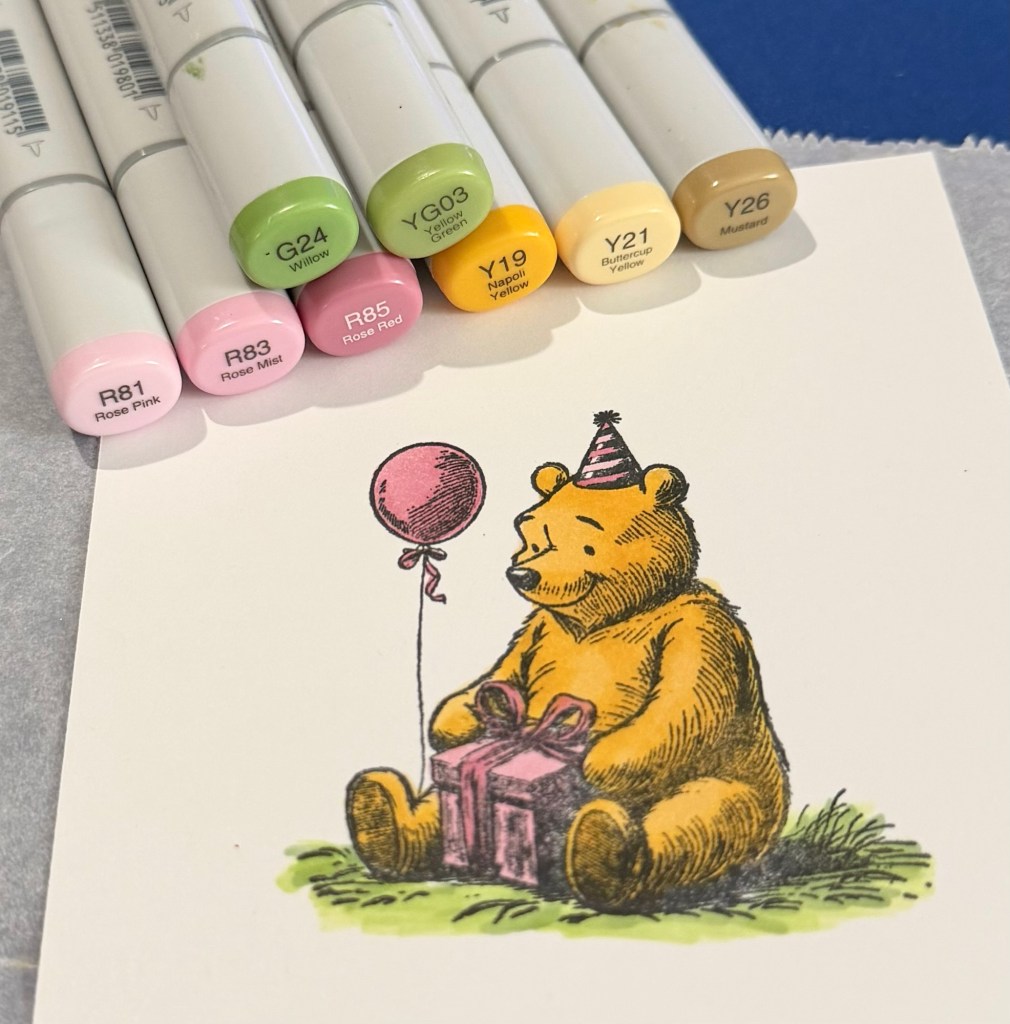
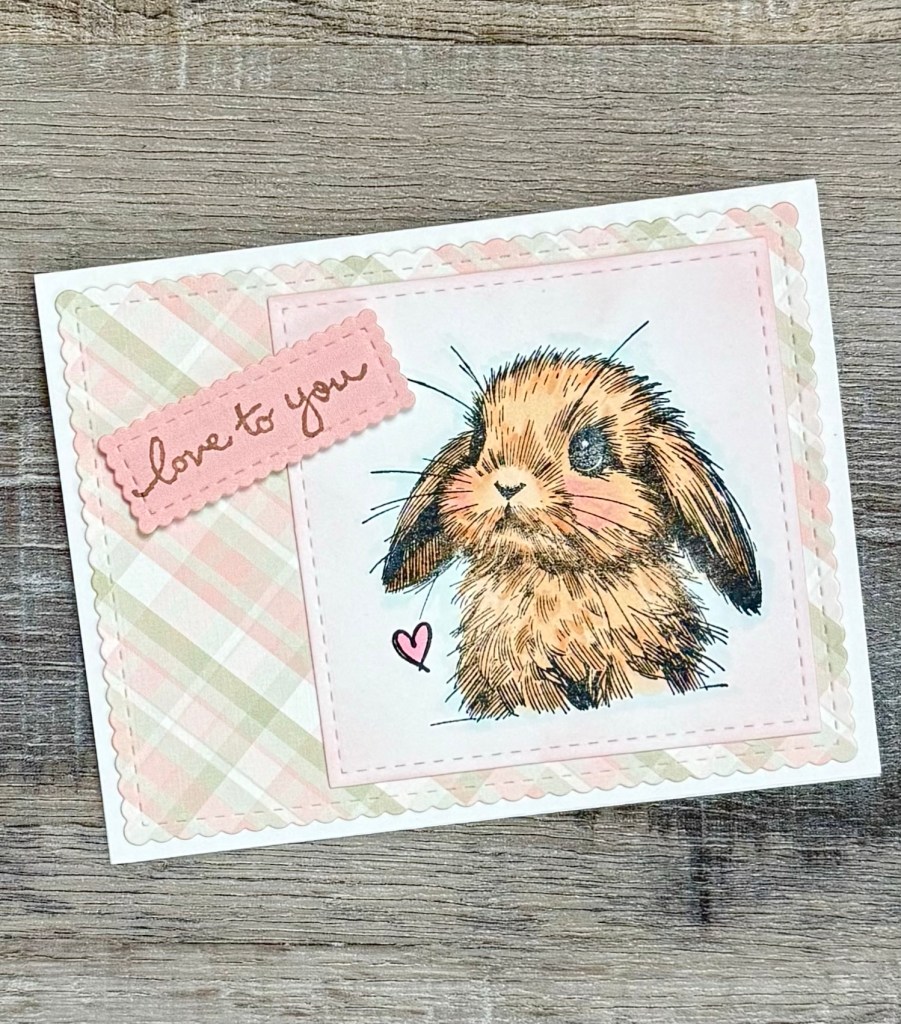
I stamped the chick with Memento Rich Cocoa ink on white card stock (the lighting isn’t great in the photo below, but I promise the card stock is white 🙂 ), and colored her with Copic markers.
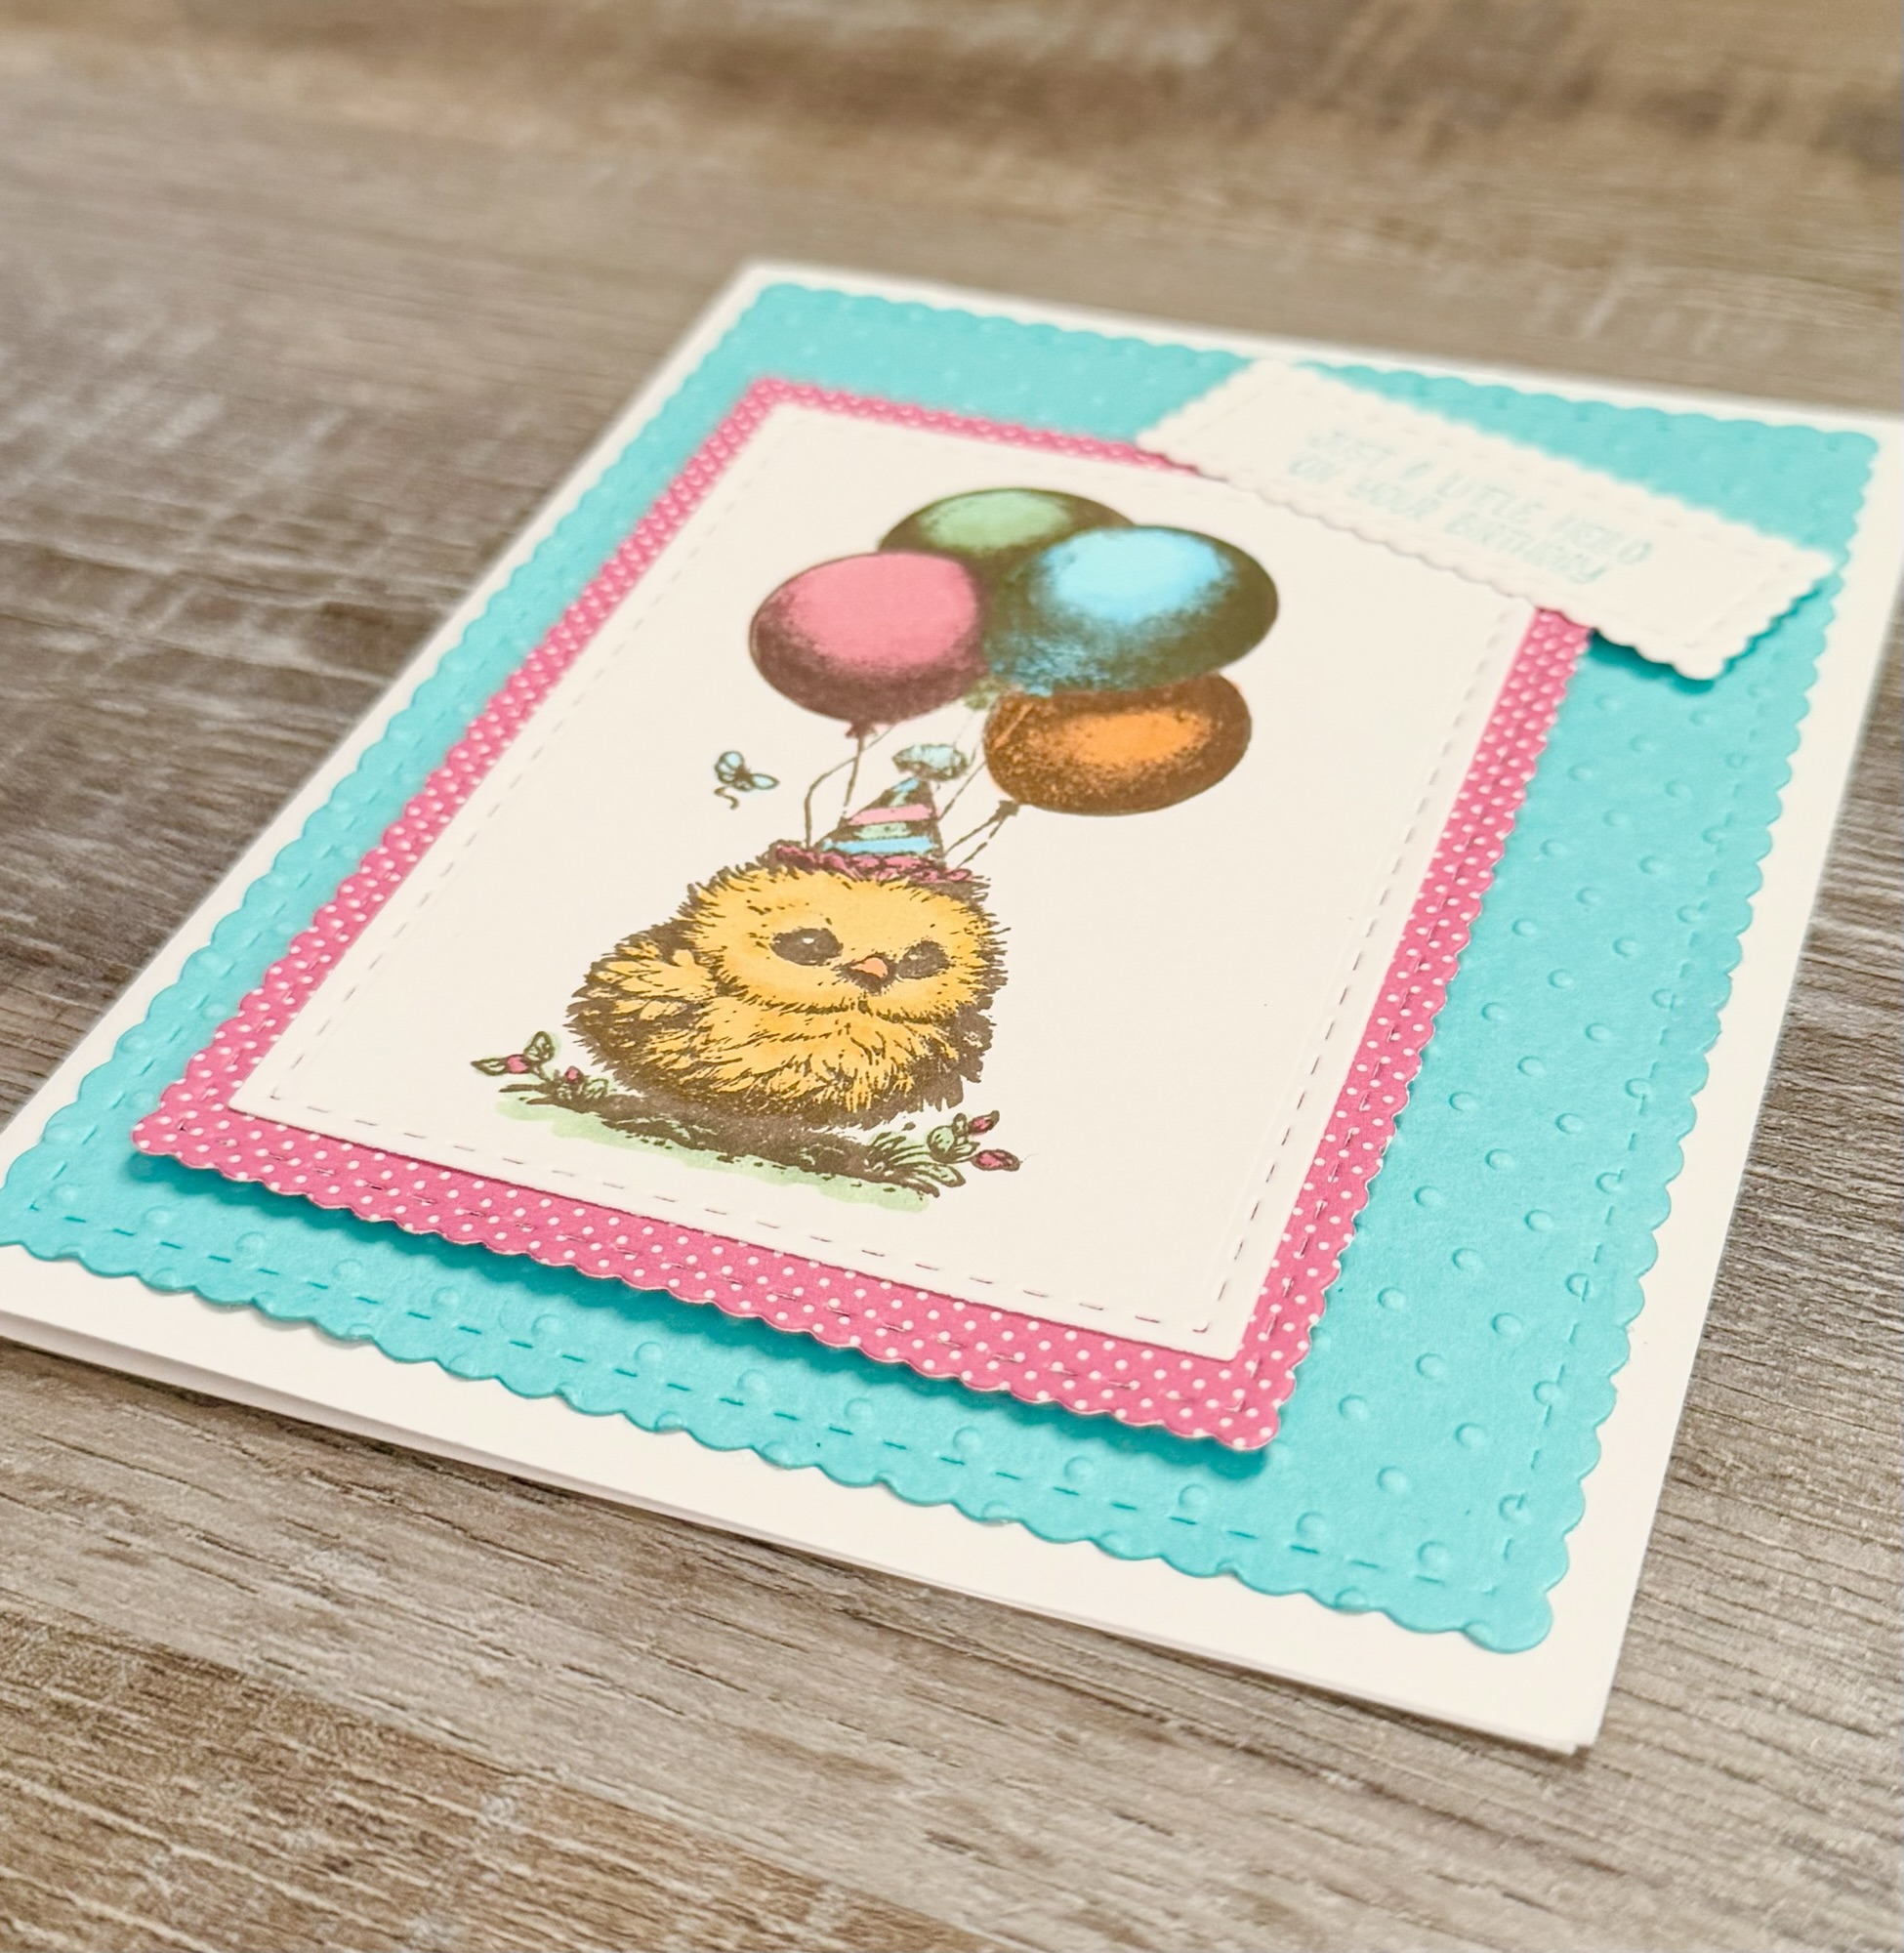
Using these Scallops & Rectangles Nesting Dies, I die cut around the image and layered it to pink patterned paper cut with the same die set.
To make the card, I die cut a piece of turquoise card stock with the same die set, embossed it with a dotted embossing folder, and attached it to a white card. The stamped piece is attached to the card with foam tape.
This sweet little chick can be colored up in so many fun ways – I think she would be really cute with the balloons in bright primary colors. What colors will you choose?
3am Grace Designs has the very cutest Kawaii Cuddler crochet patterns! They are fun to make and they have so many to choose from. You are certain to find the perfect themed cuddler. 😊
Disclosure: Some of the links on my site are affiliate links, meaning, at no additional cost to you, I will earn a small commission if you click through and make a purchase. As an Amazon Associate I earn from qualifying purchases.
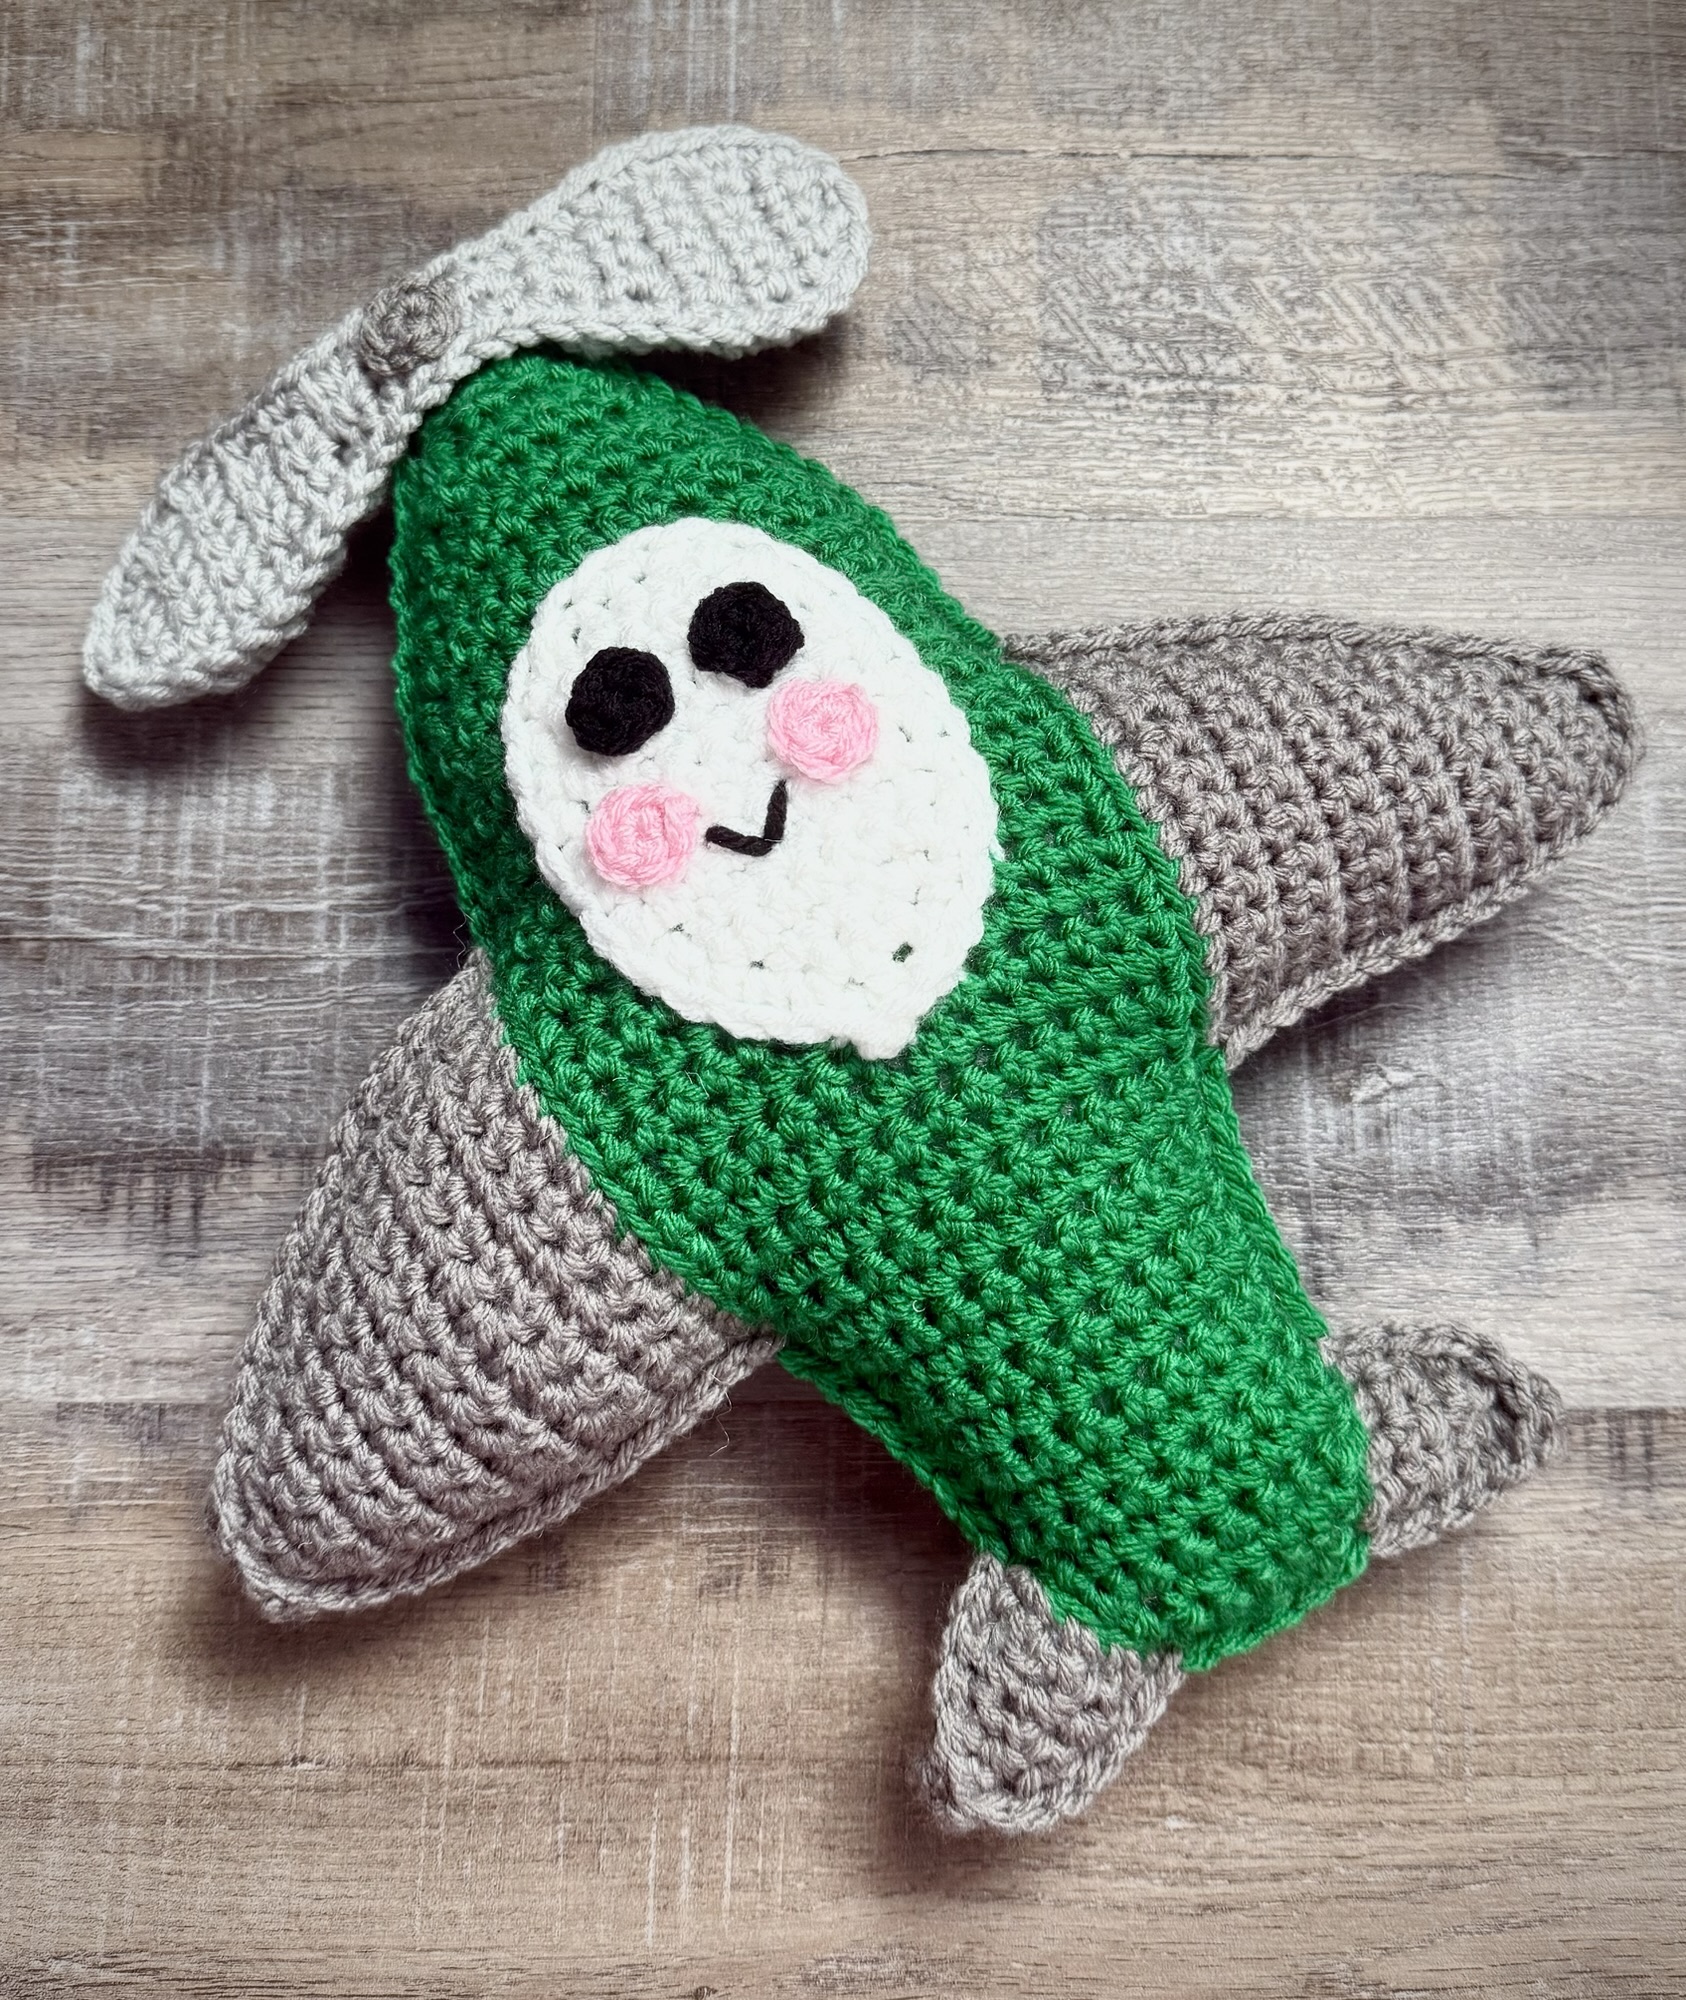
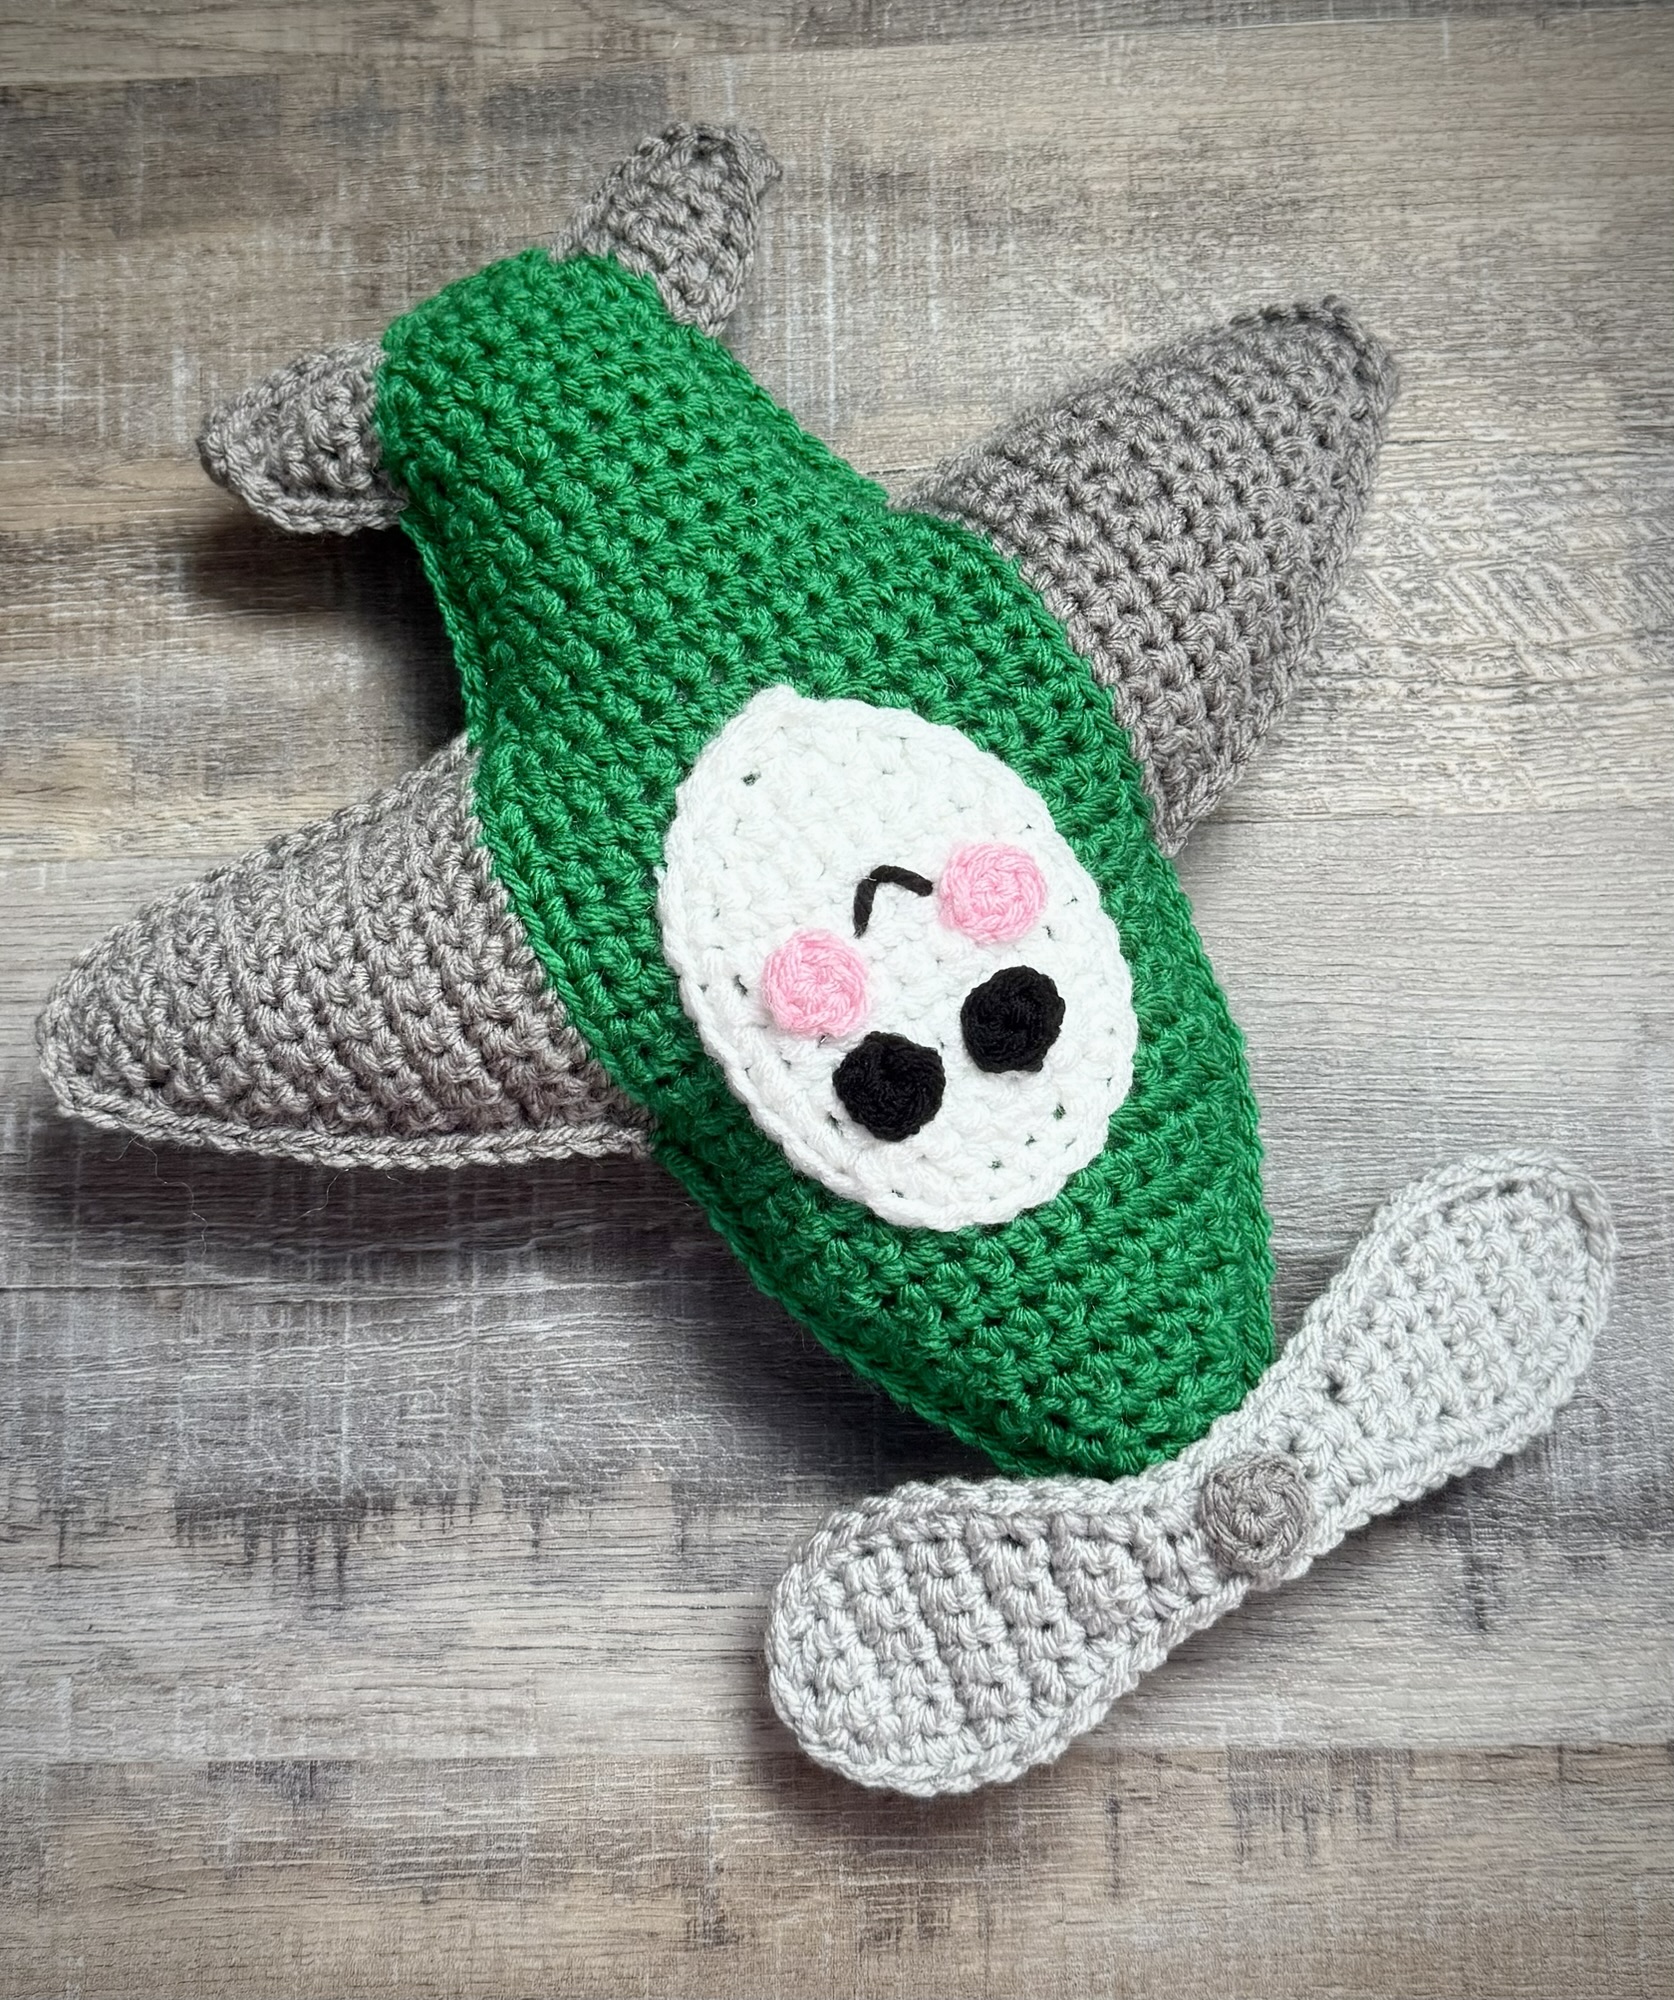
I stitched up this adorable Airplane Cuddler for a cute little boy for Christmas. I used I Love This Yarn in Jelly Bean, Greybeard, Graymist, White, Pink, and Black with an H/5mm crochet hook to make the Cuddler. Instead of using safety eyes, I crocheted little black circles and sewed them on.
The finished Airplane Cuddler measures about 10 by 10 inches. It is so soft and cushy – perfect for cuddling! 💚
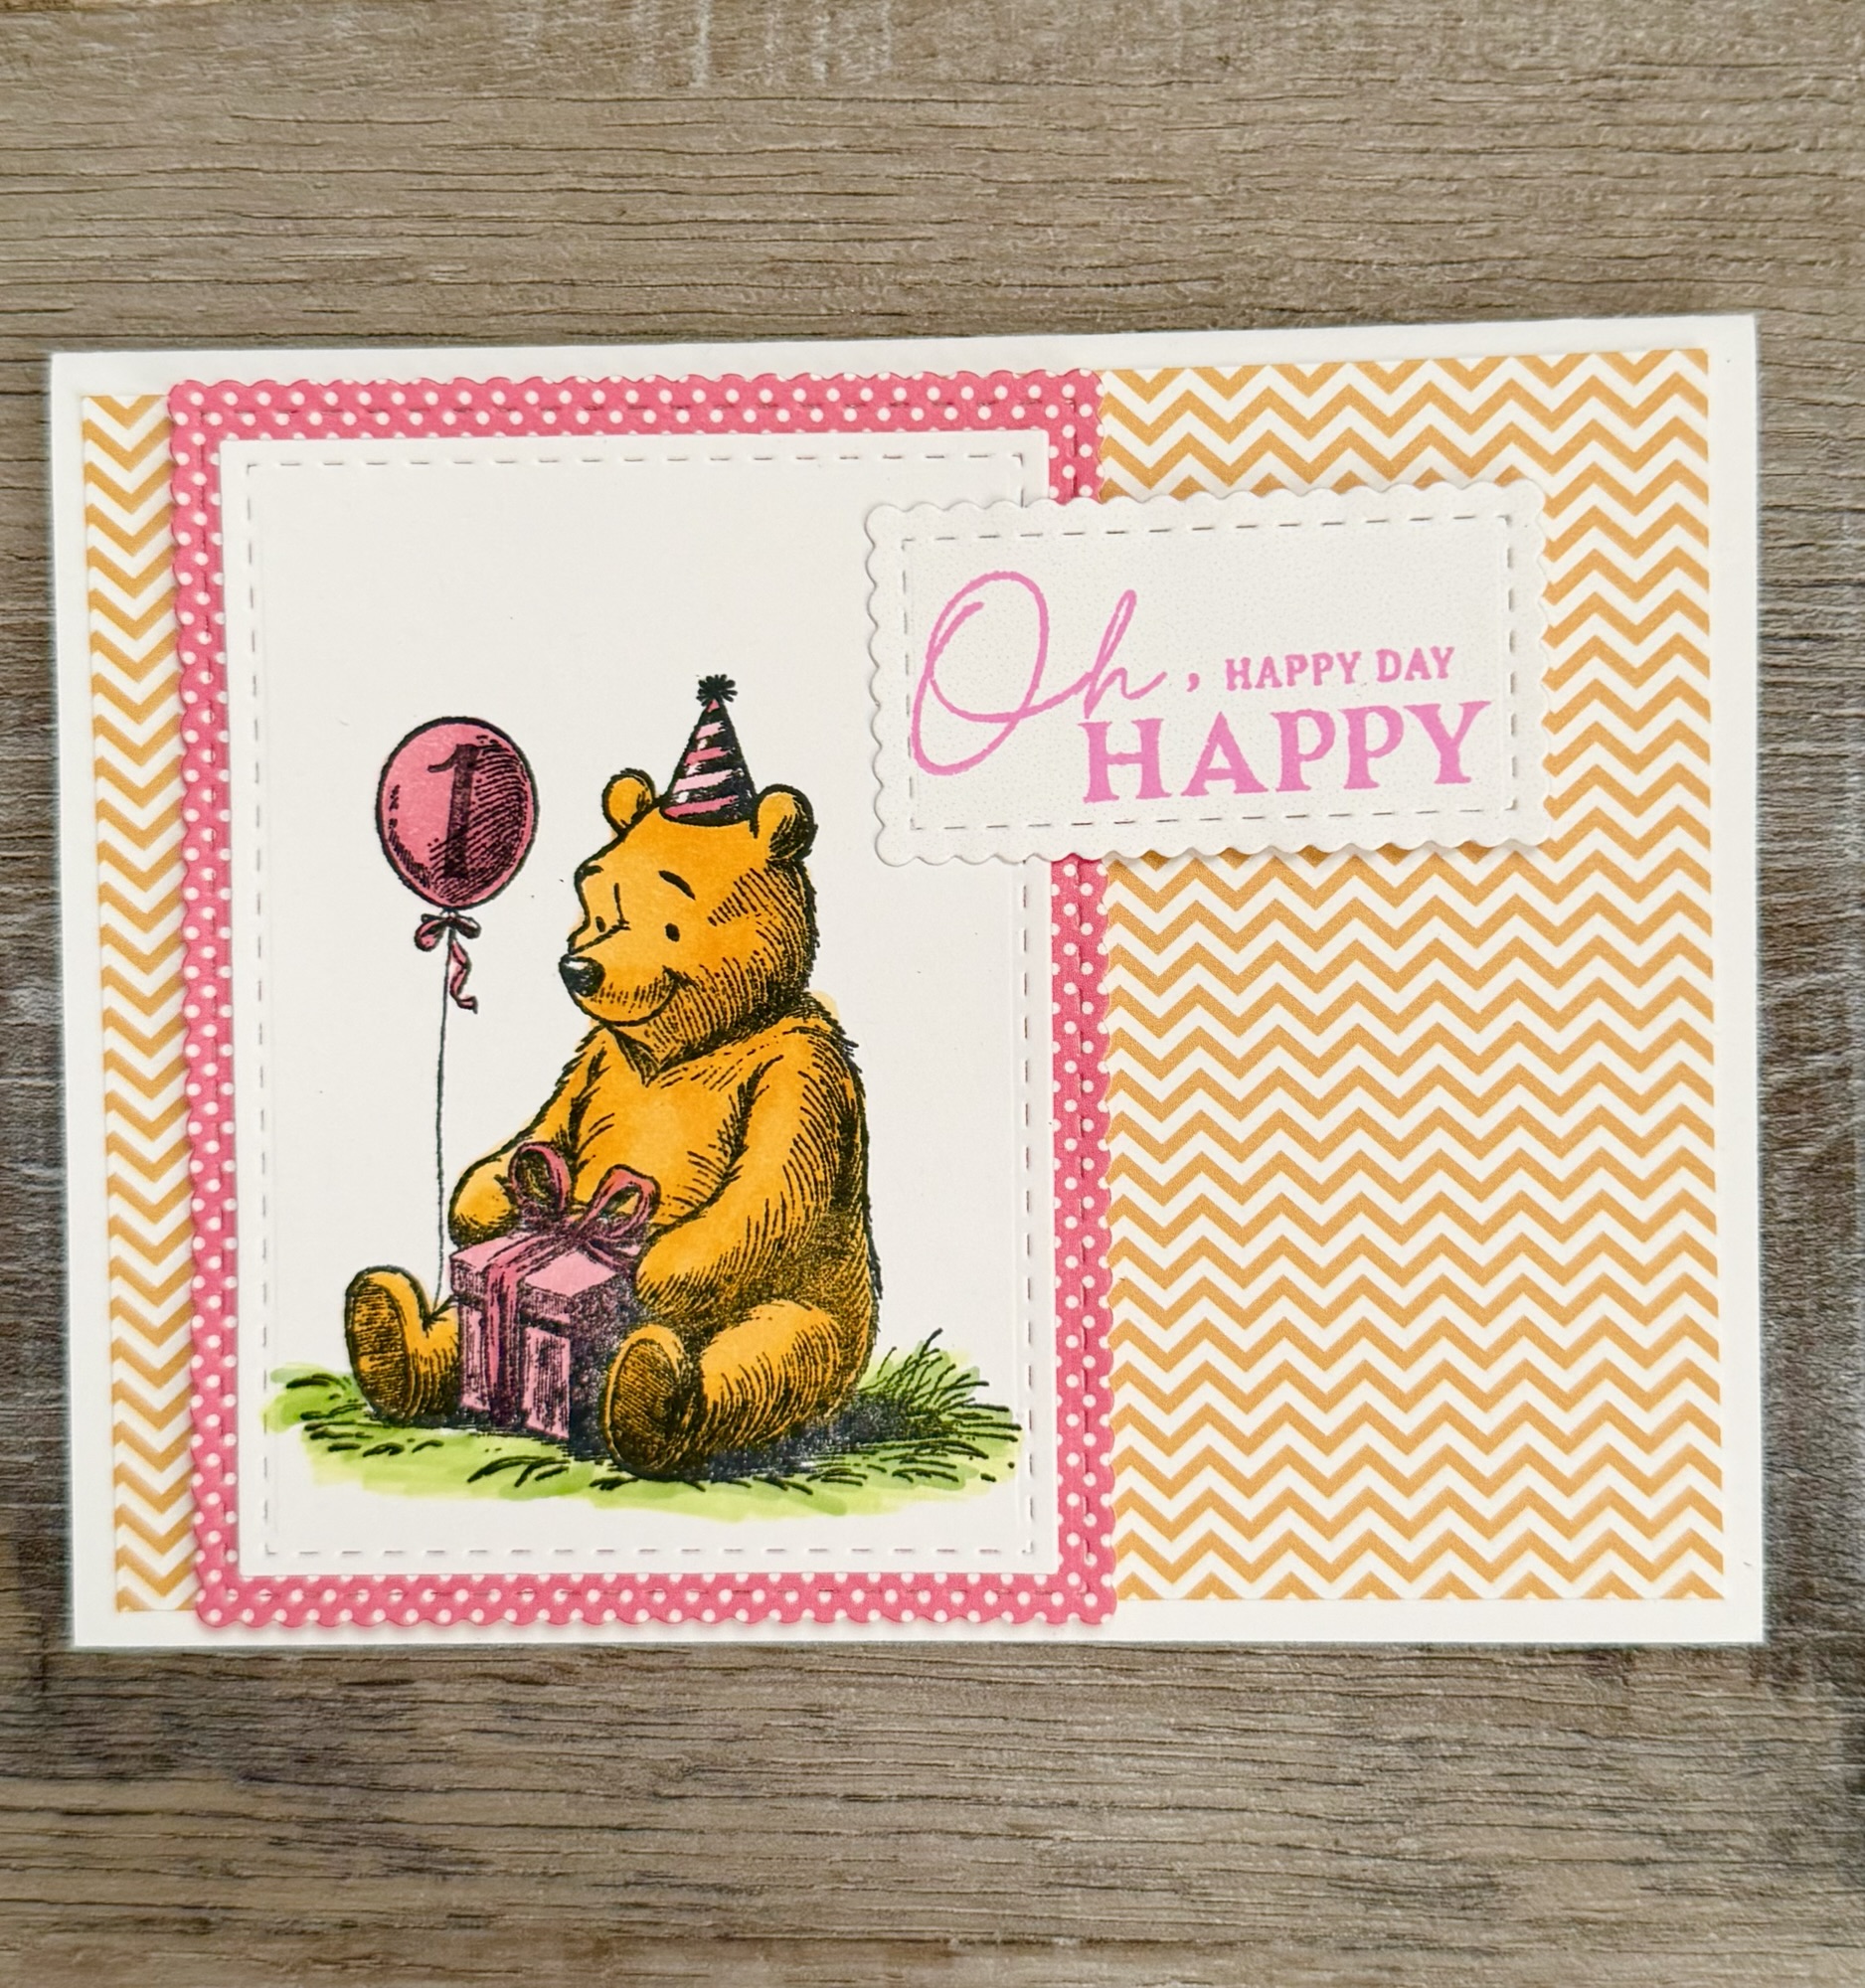
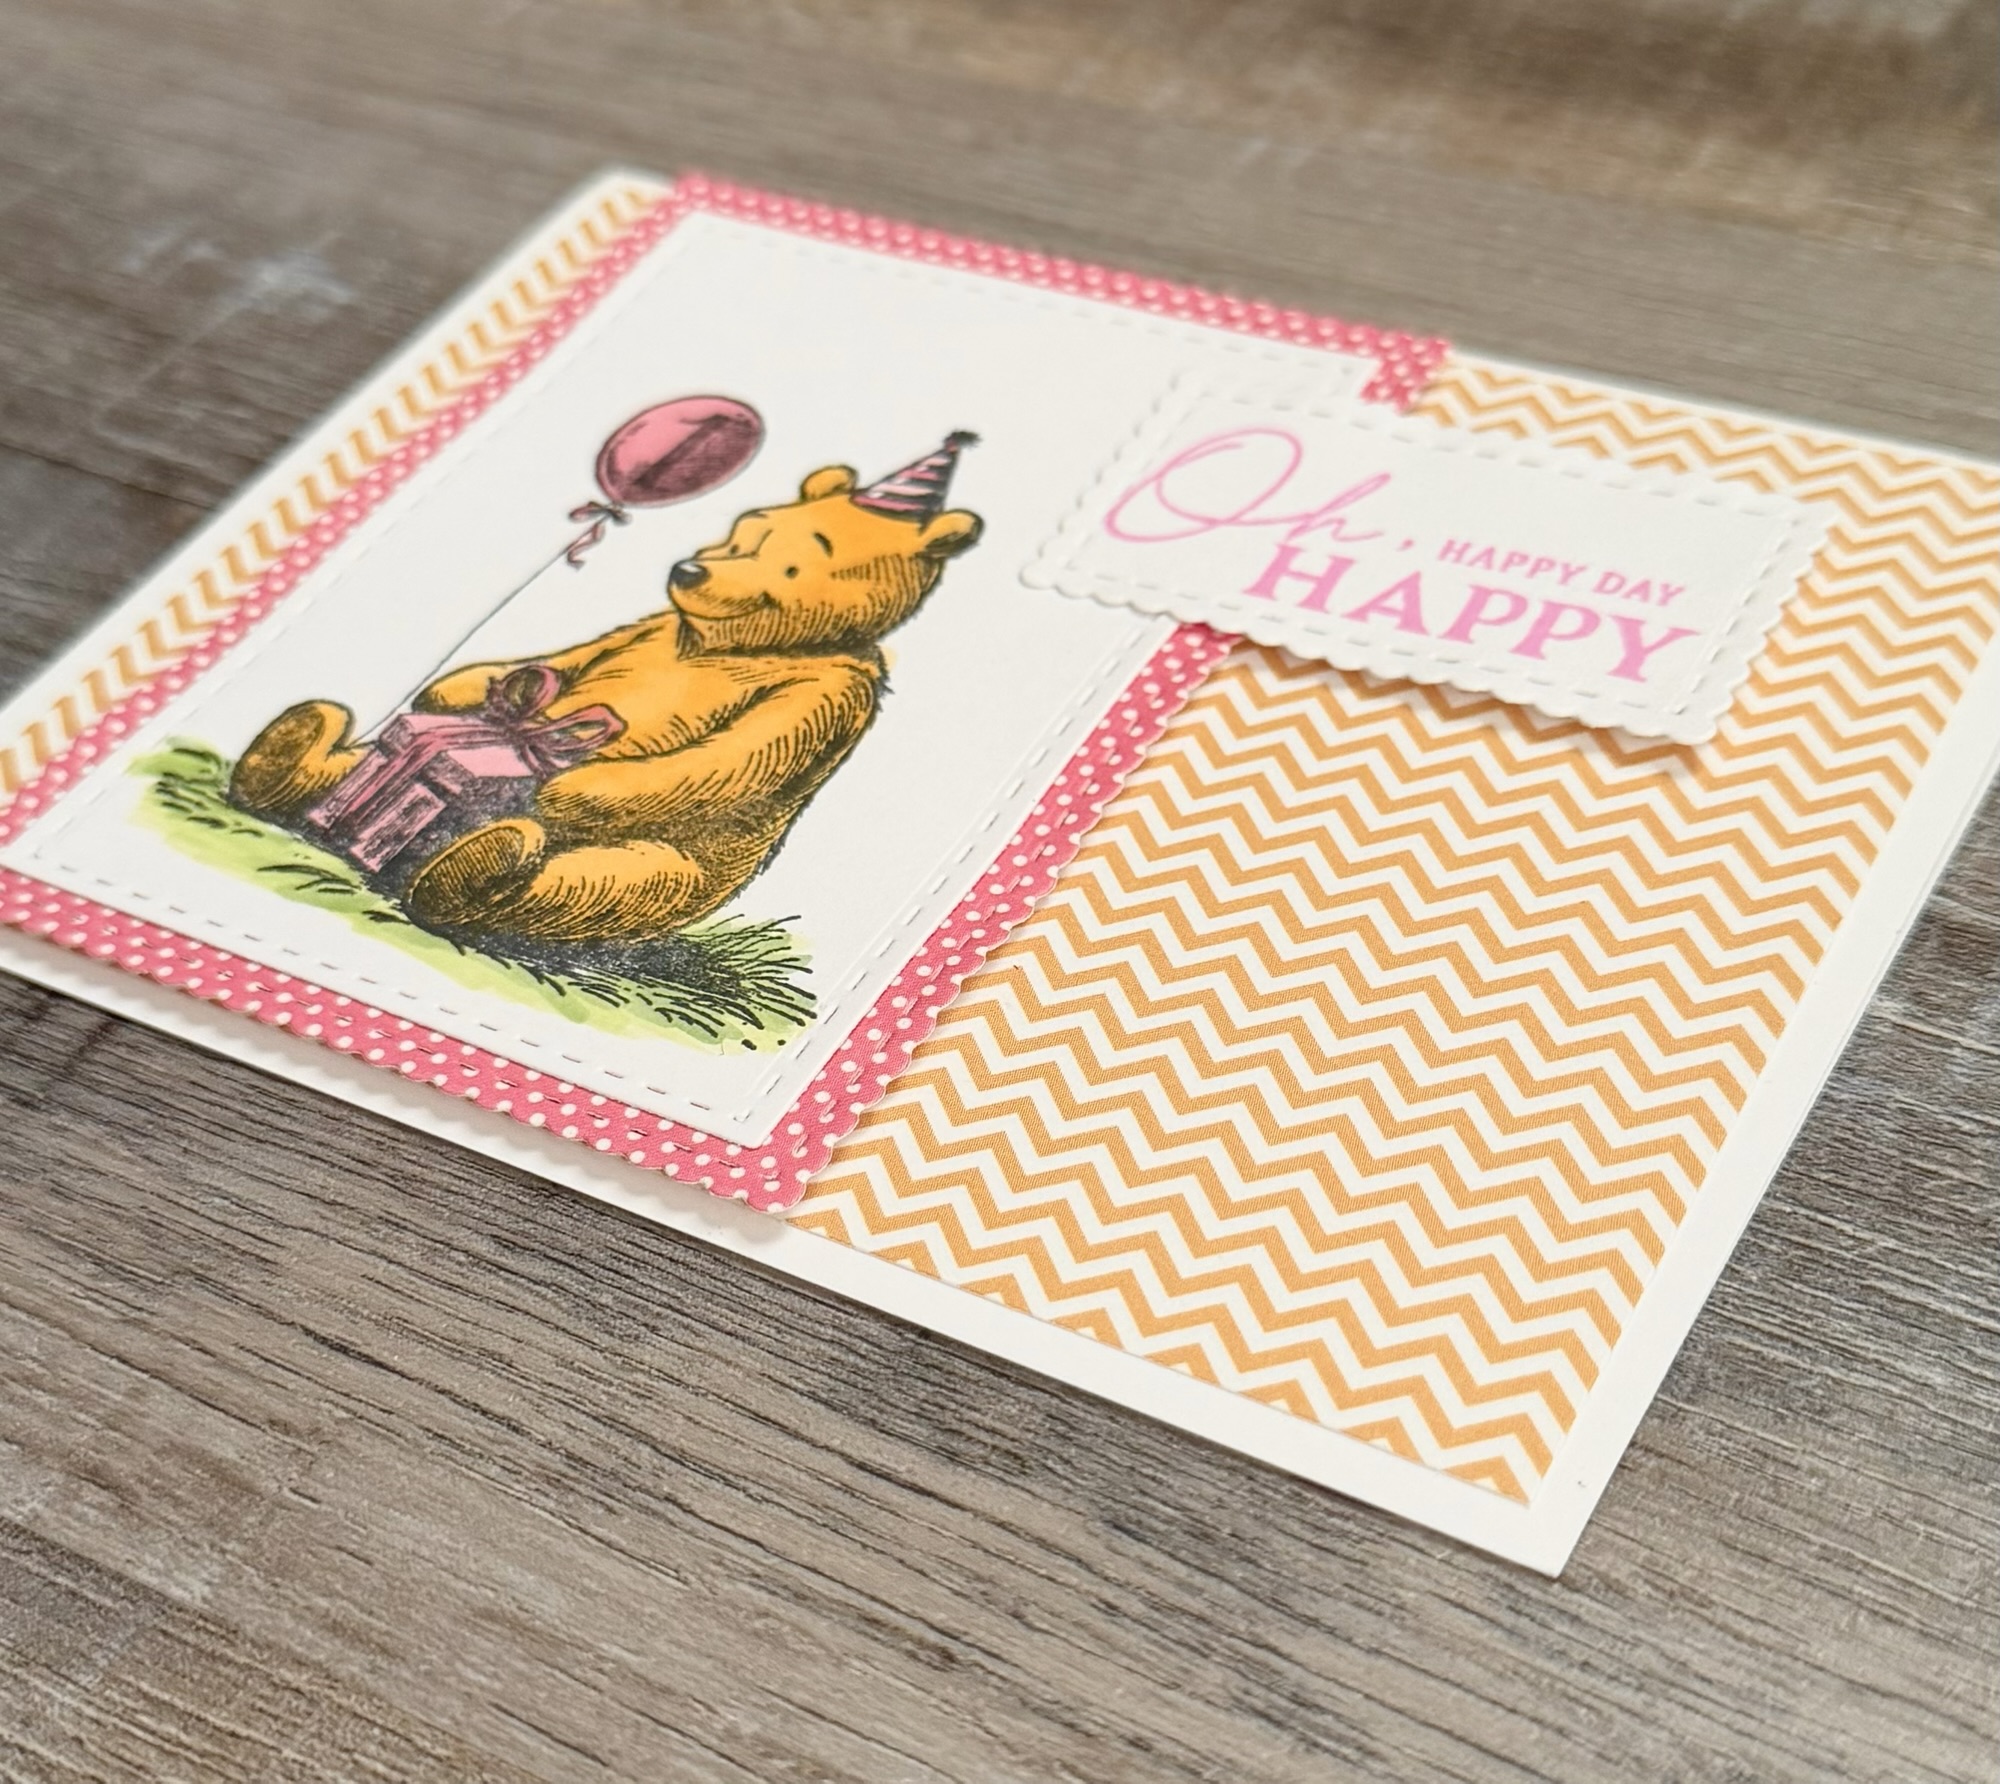
A special little girl had her first birthday a couple of months ago. And what’s better to help celebrate this milestone than a card made with Pooh Bear? 🥰
Disclosure: Some of the links on my site are affiliate links, meaning, at no additional cost to you, I will earn a small commission if you click through and make a purchase. As an Amazon Associate I earn from qualifying purchases.
Using these Scallops & Rectangles Nesting Dies, I die cut around the image and layered it to pink patterned paper cut with the same dies. I attached a piece of golden yellow patterned paper to a white card and attached the stamped piece to the card with foam tape.
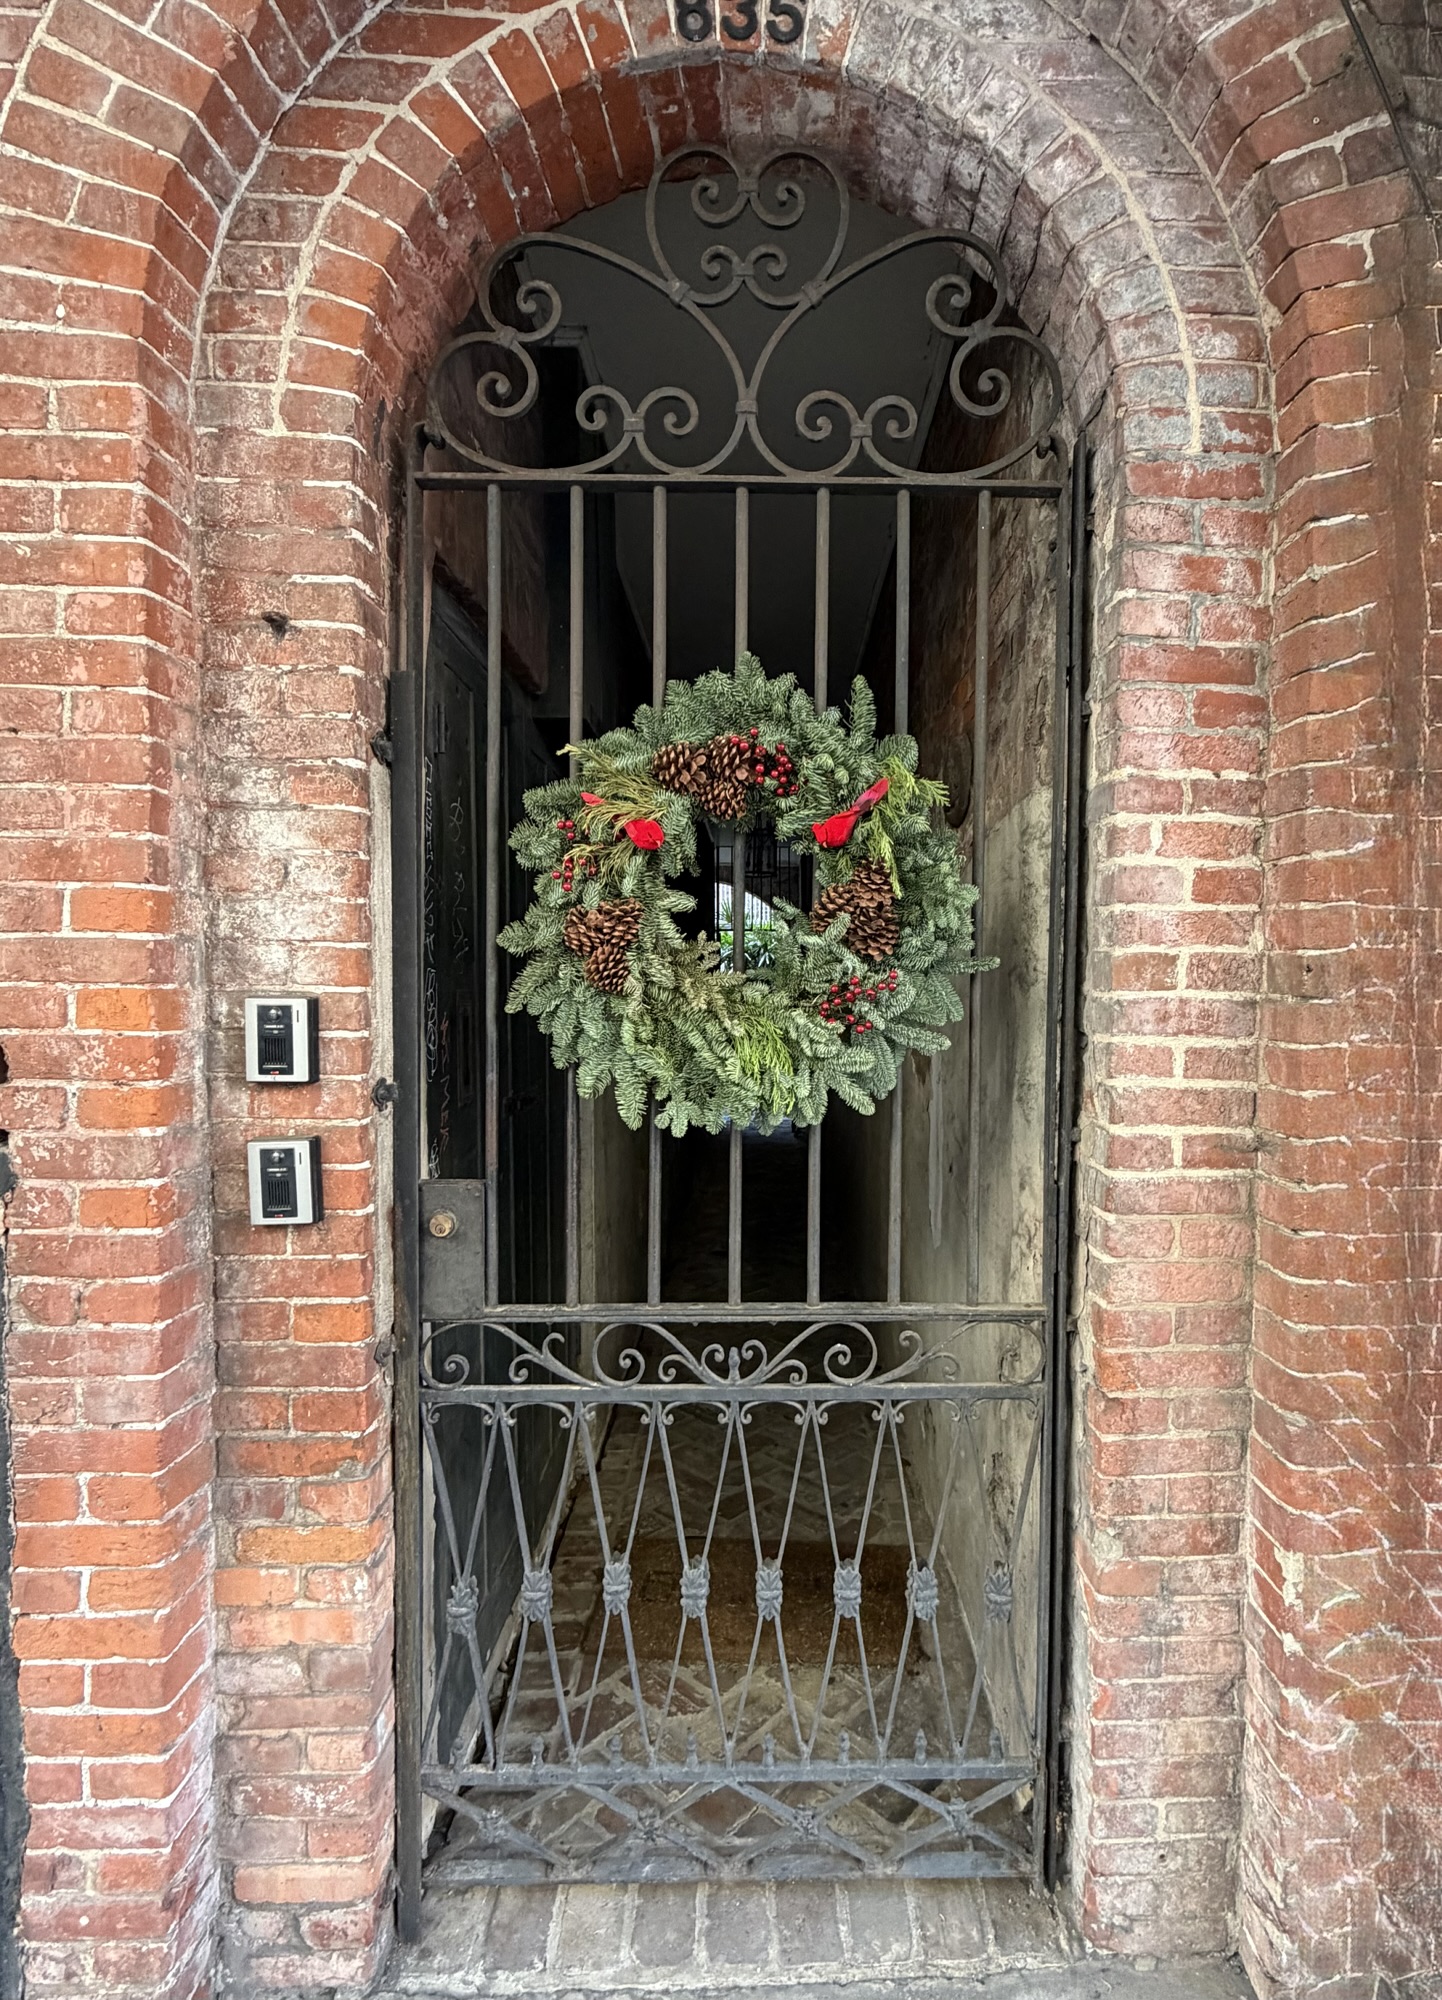
We spent Christmas in the French Quarter of New Orleans to end a 3 week vacation celebrating my husband’s retirement. 🙂 We had beautiful weather, good food, and some time to relax before we figure out out what comes next…
Disclosure: Some of the links on my site are affiliate links, meaning, at no additional cost to you, I will earn a small commission if you click through and make a purchase. As an Amazon Associate I earn from qualifying purchases.
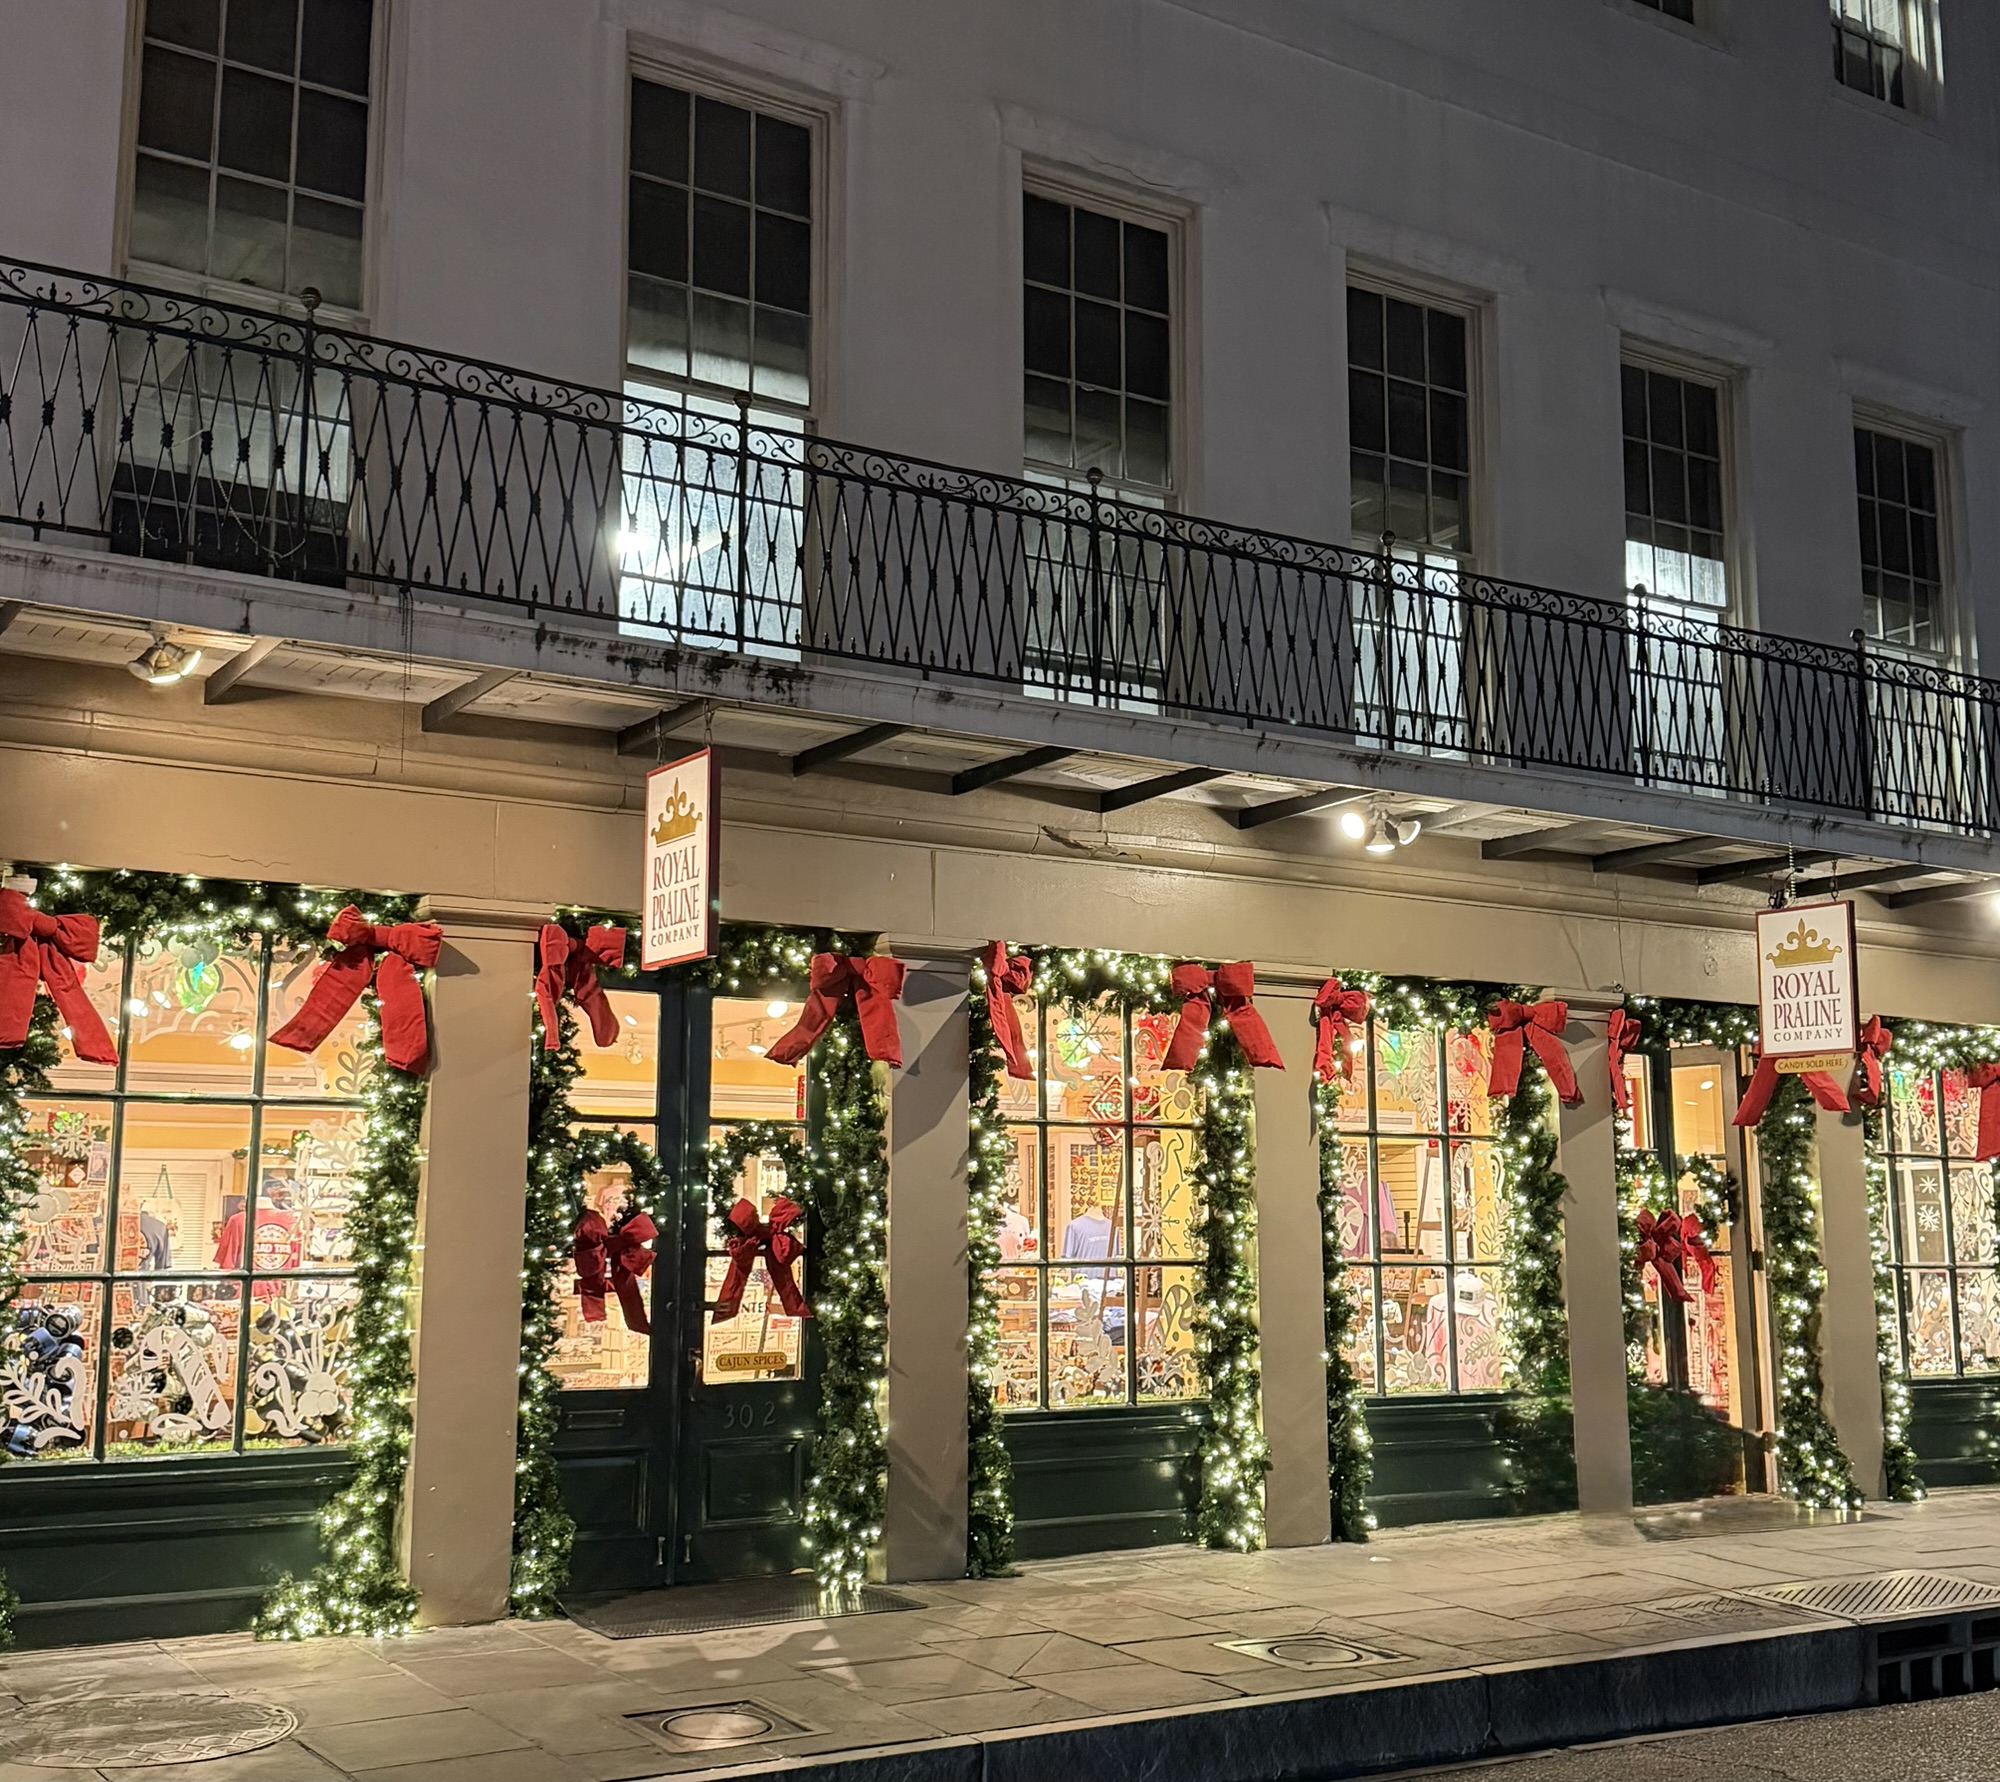
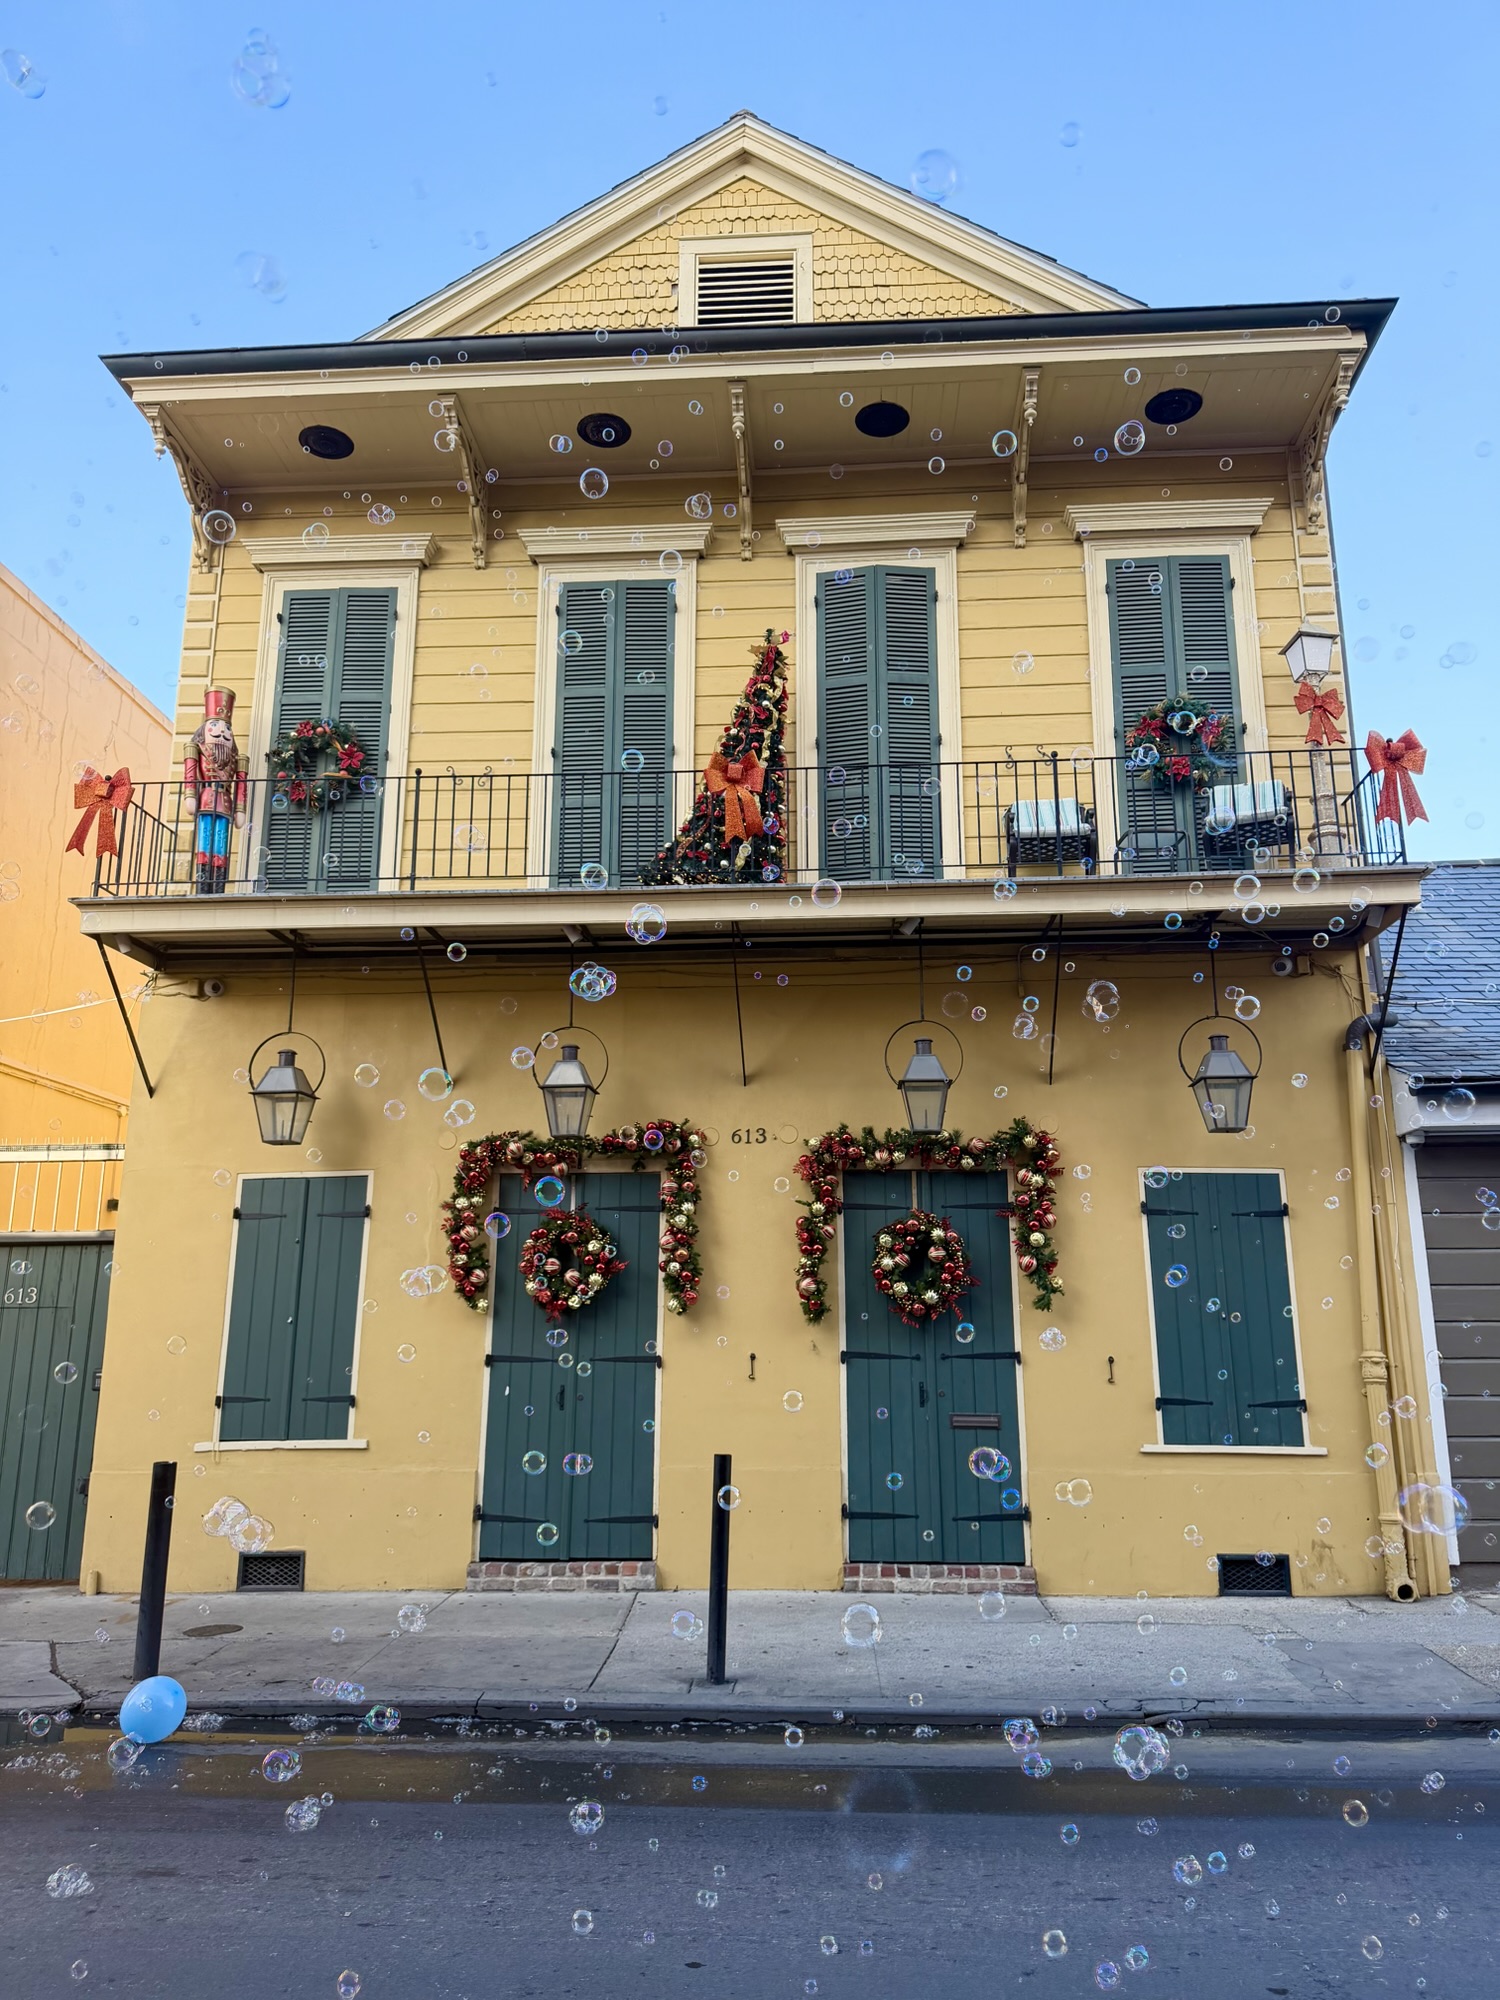
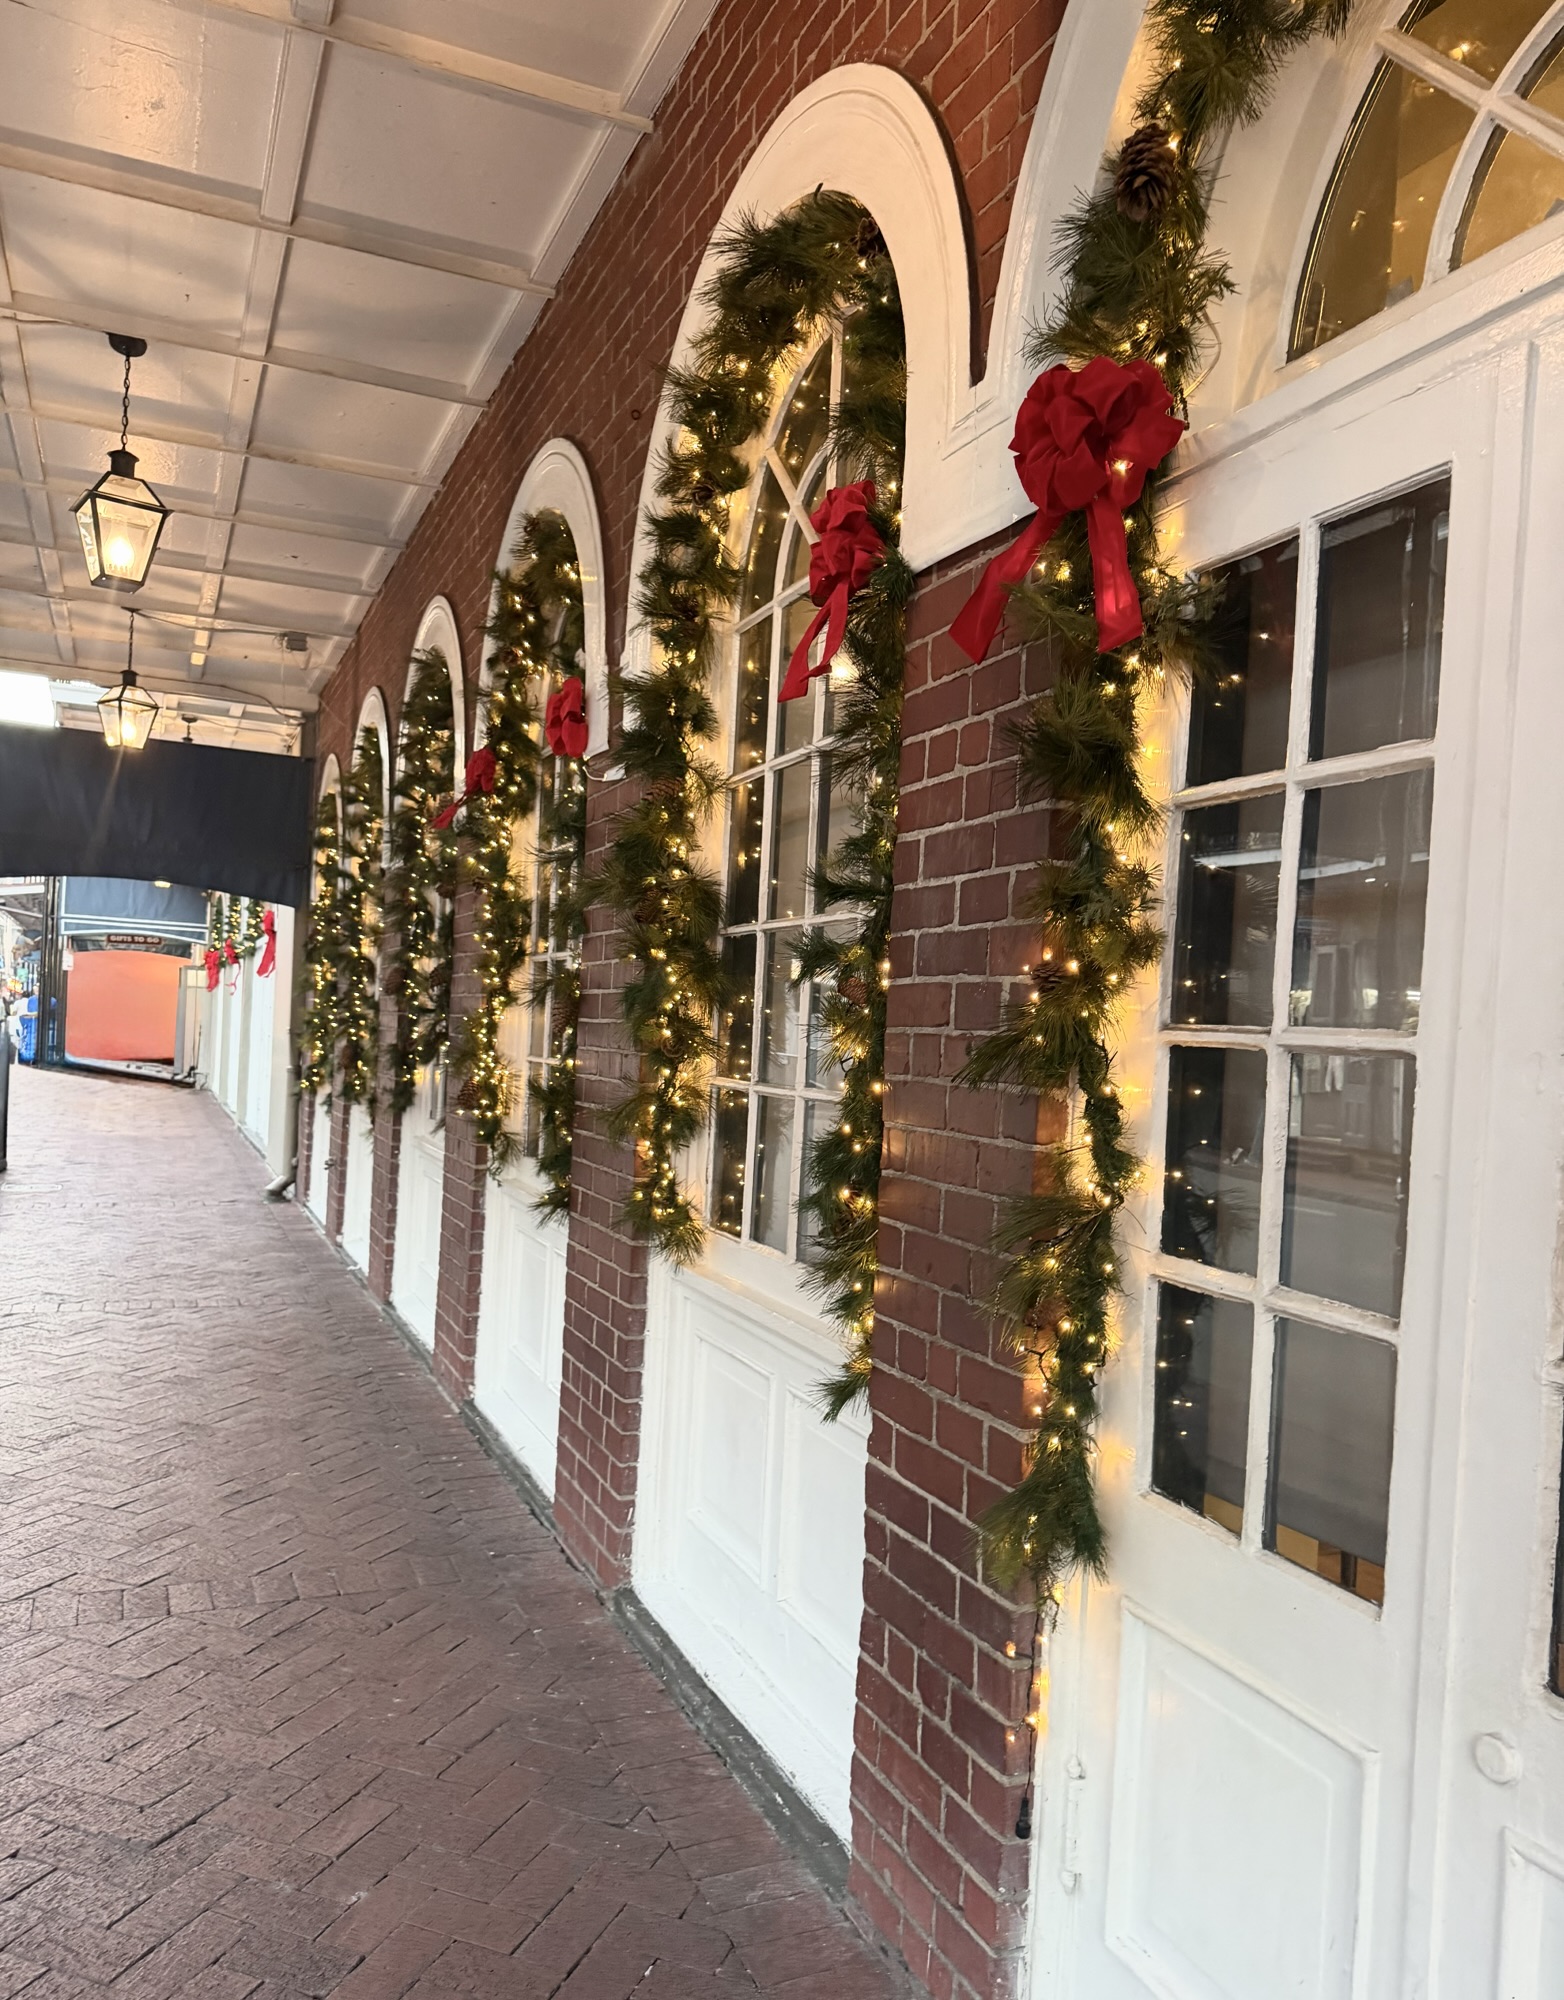
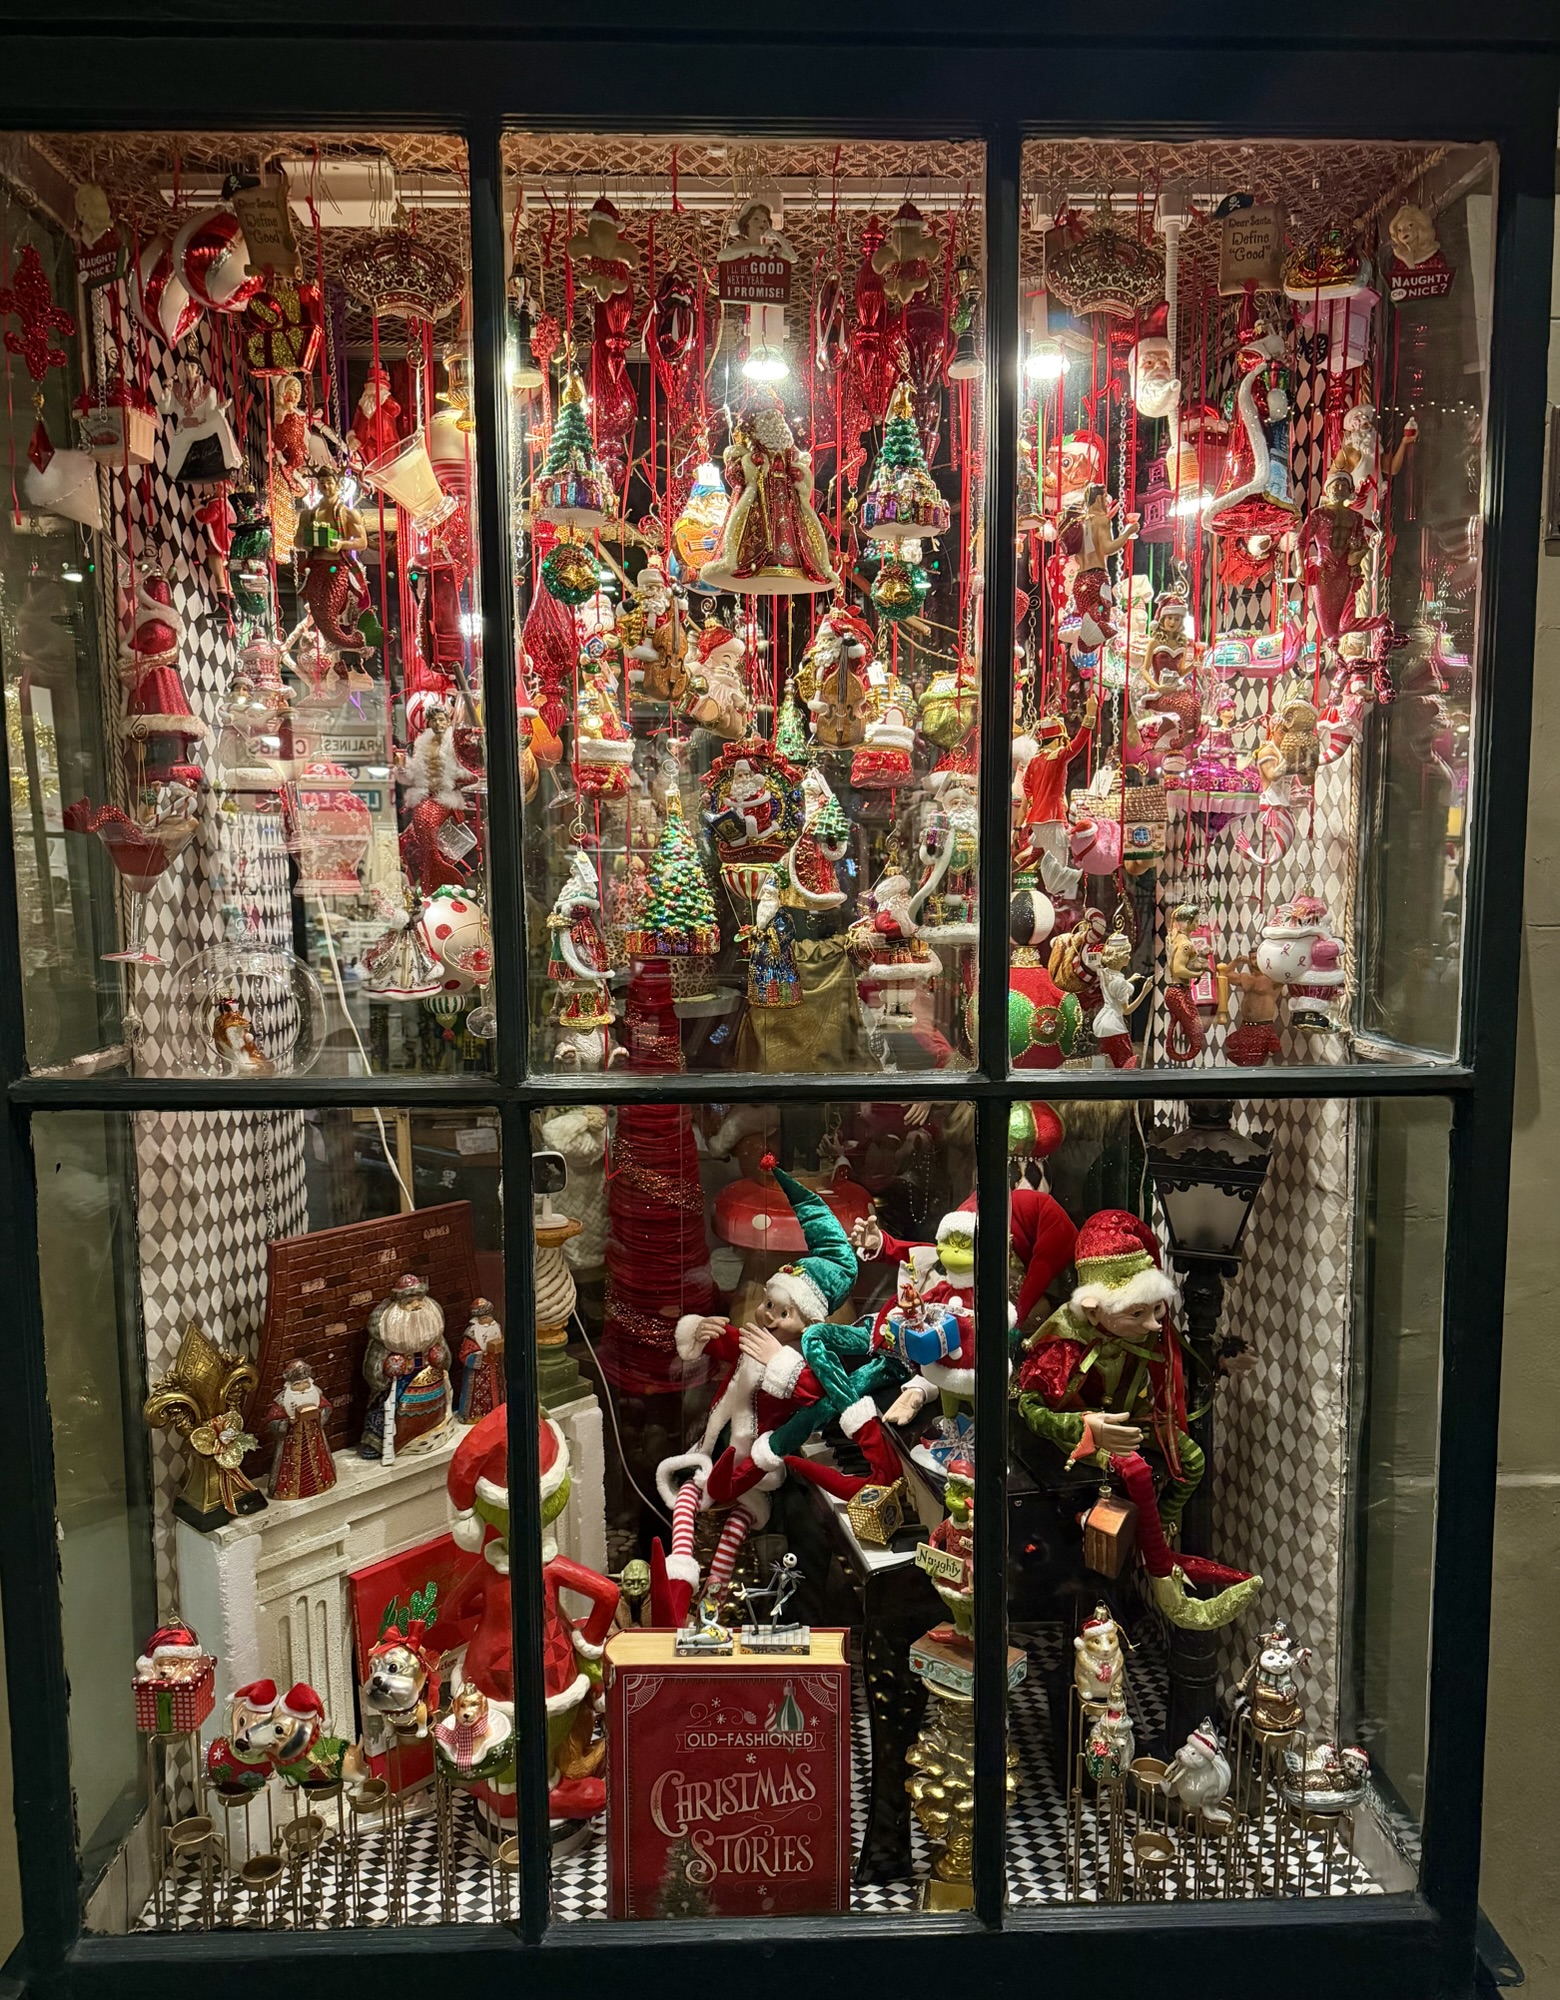
These are a few of my favorite photos I snapped as we strolled around the French Quarter.
This was in the lobby of our hotel – Bienville House.🎄
I love these old buildings and they look even better all decked out for Christmas! The bubbles from a bubble machine in the middle bottom photo were a fun touch.🙂
A few more photos from around the Quarter…
A huge Christmas tree near the bank of the Mississippi and a bridge spanning the river all lit up for the season.🎄
And my absolute favorite is this shot of St. Louis Cathedral at Jackson Square!🥰
It was a fun trip, but we are glad to be back home! On to 2026 and all the adventures that are in store…🙂
Disclosure: Some of the links on my site are affiliate links, meaning, at no additional cost to you, I will earn a small commission if you click through and make a purchase. As an Amazon Associate I earn from qualifying purchases.
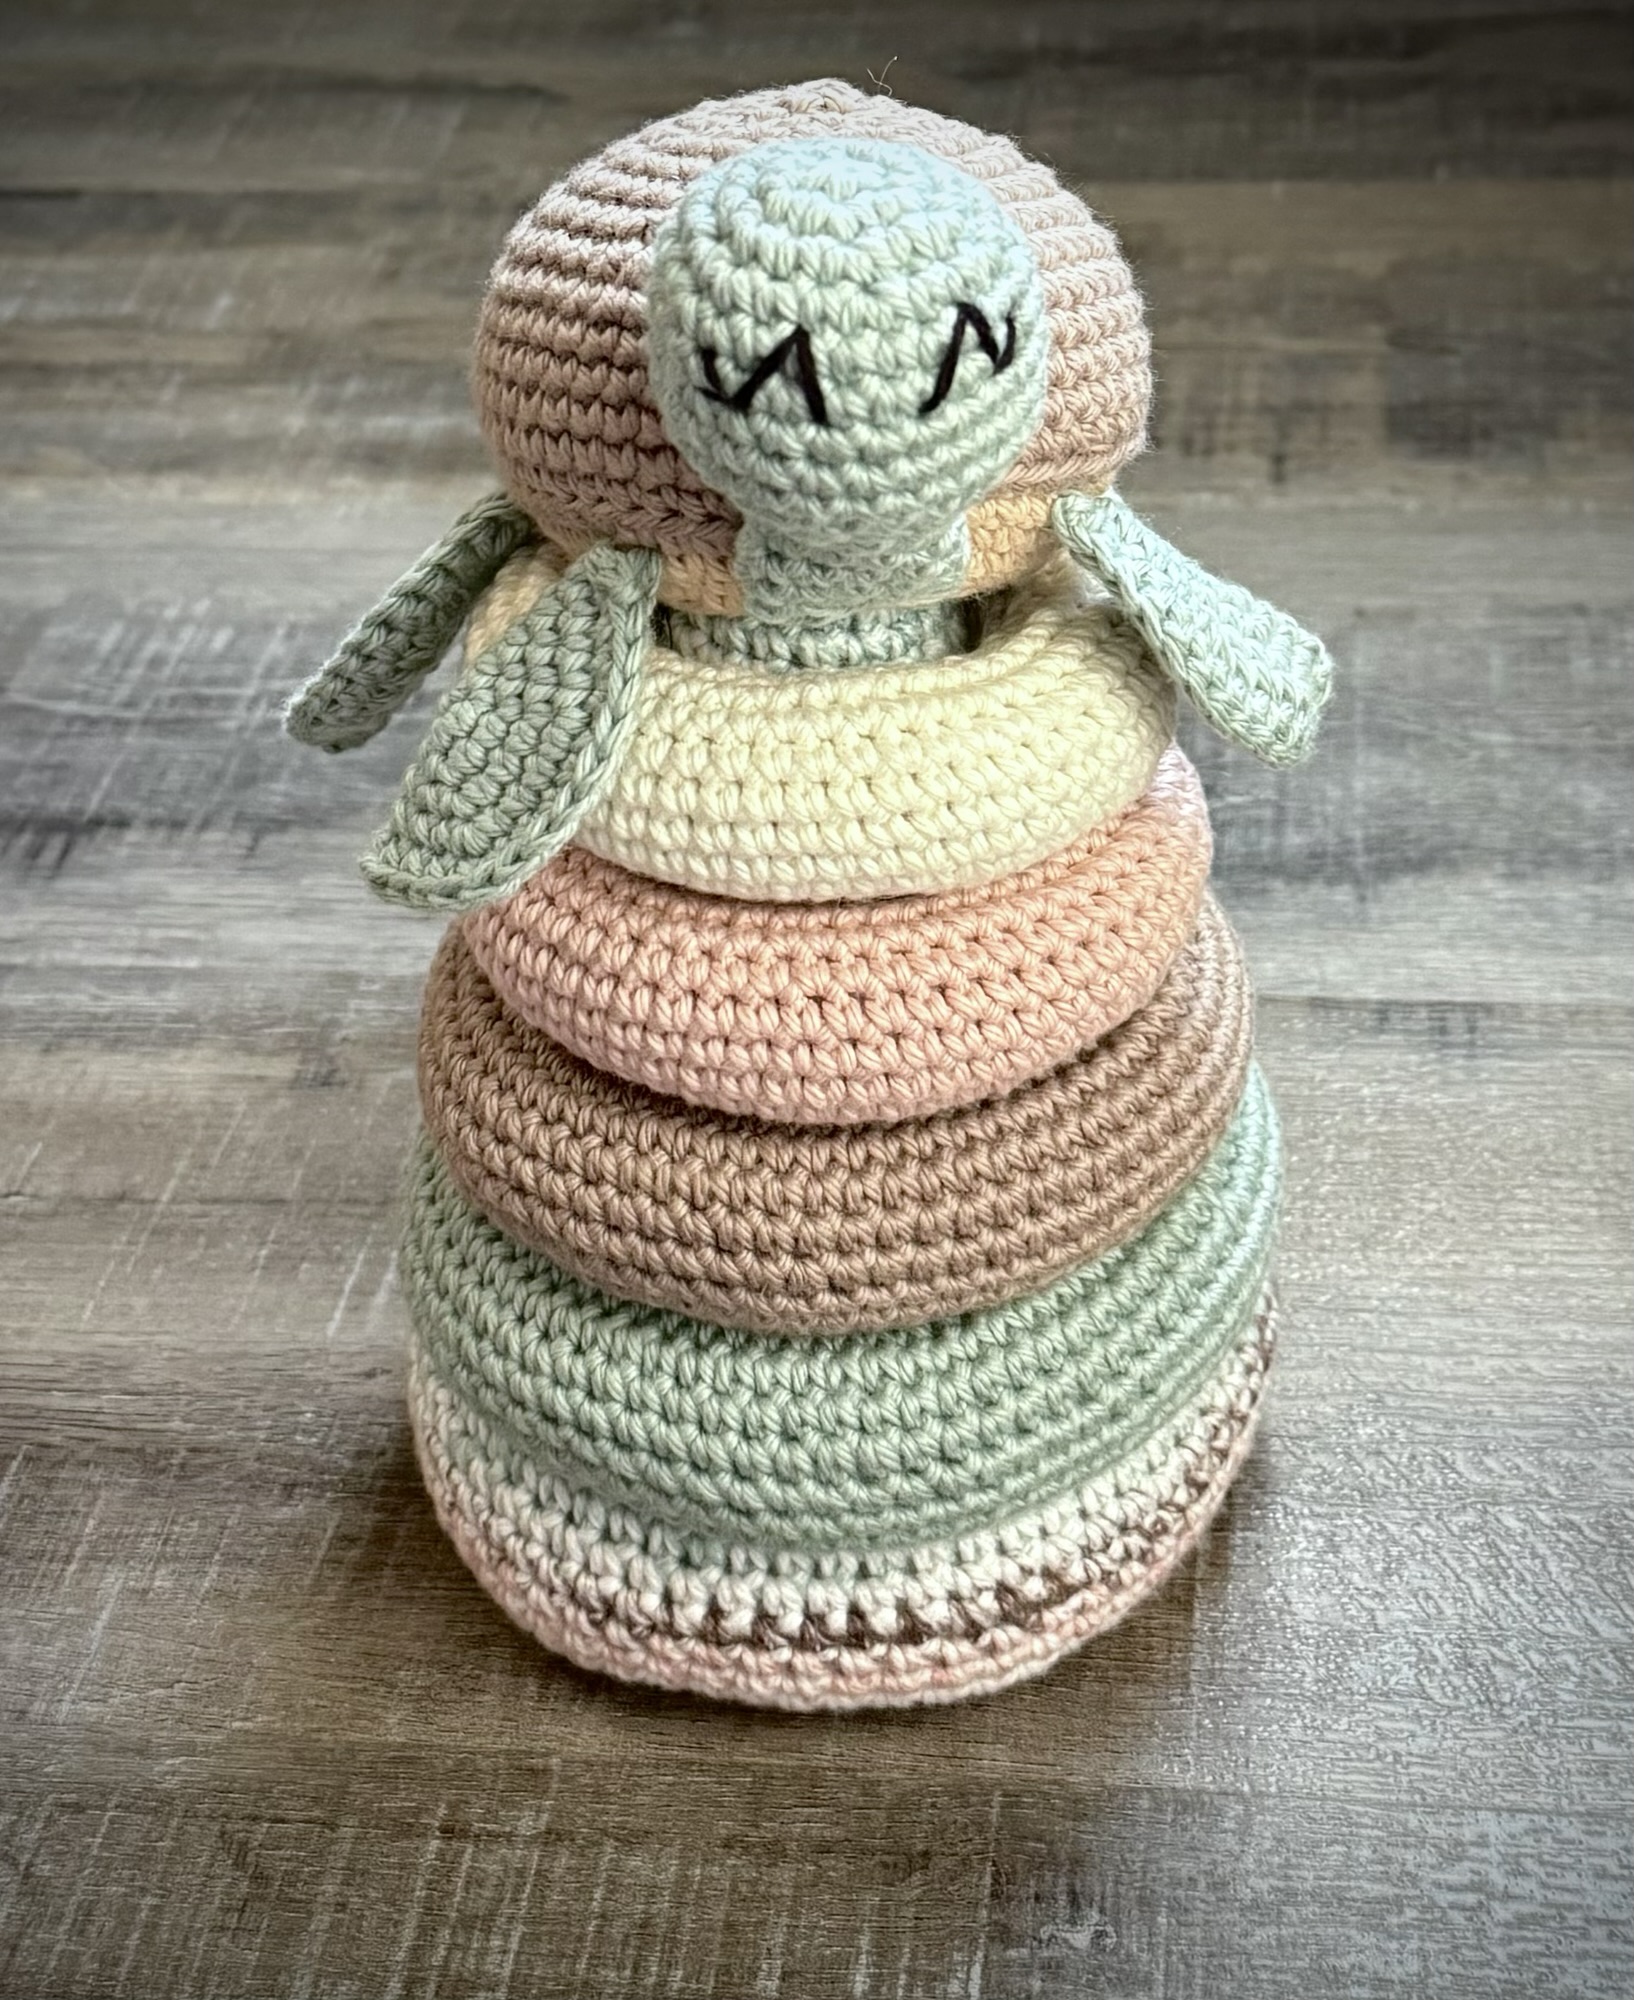
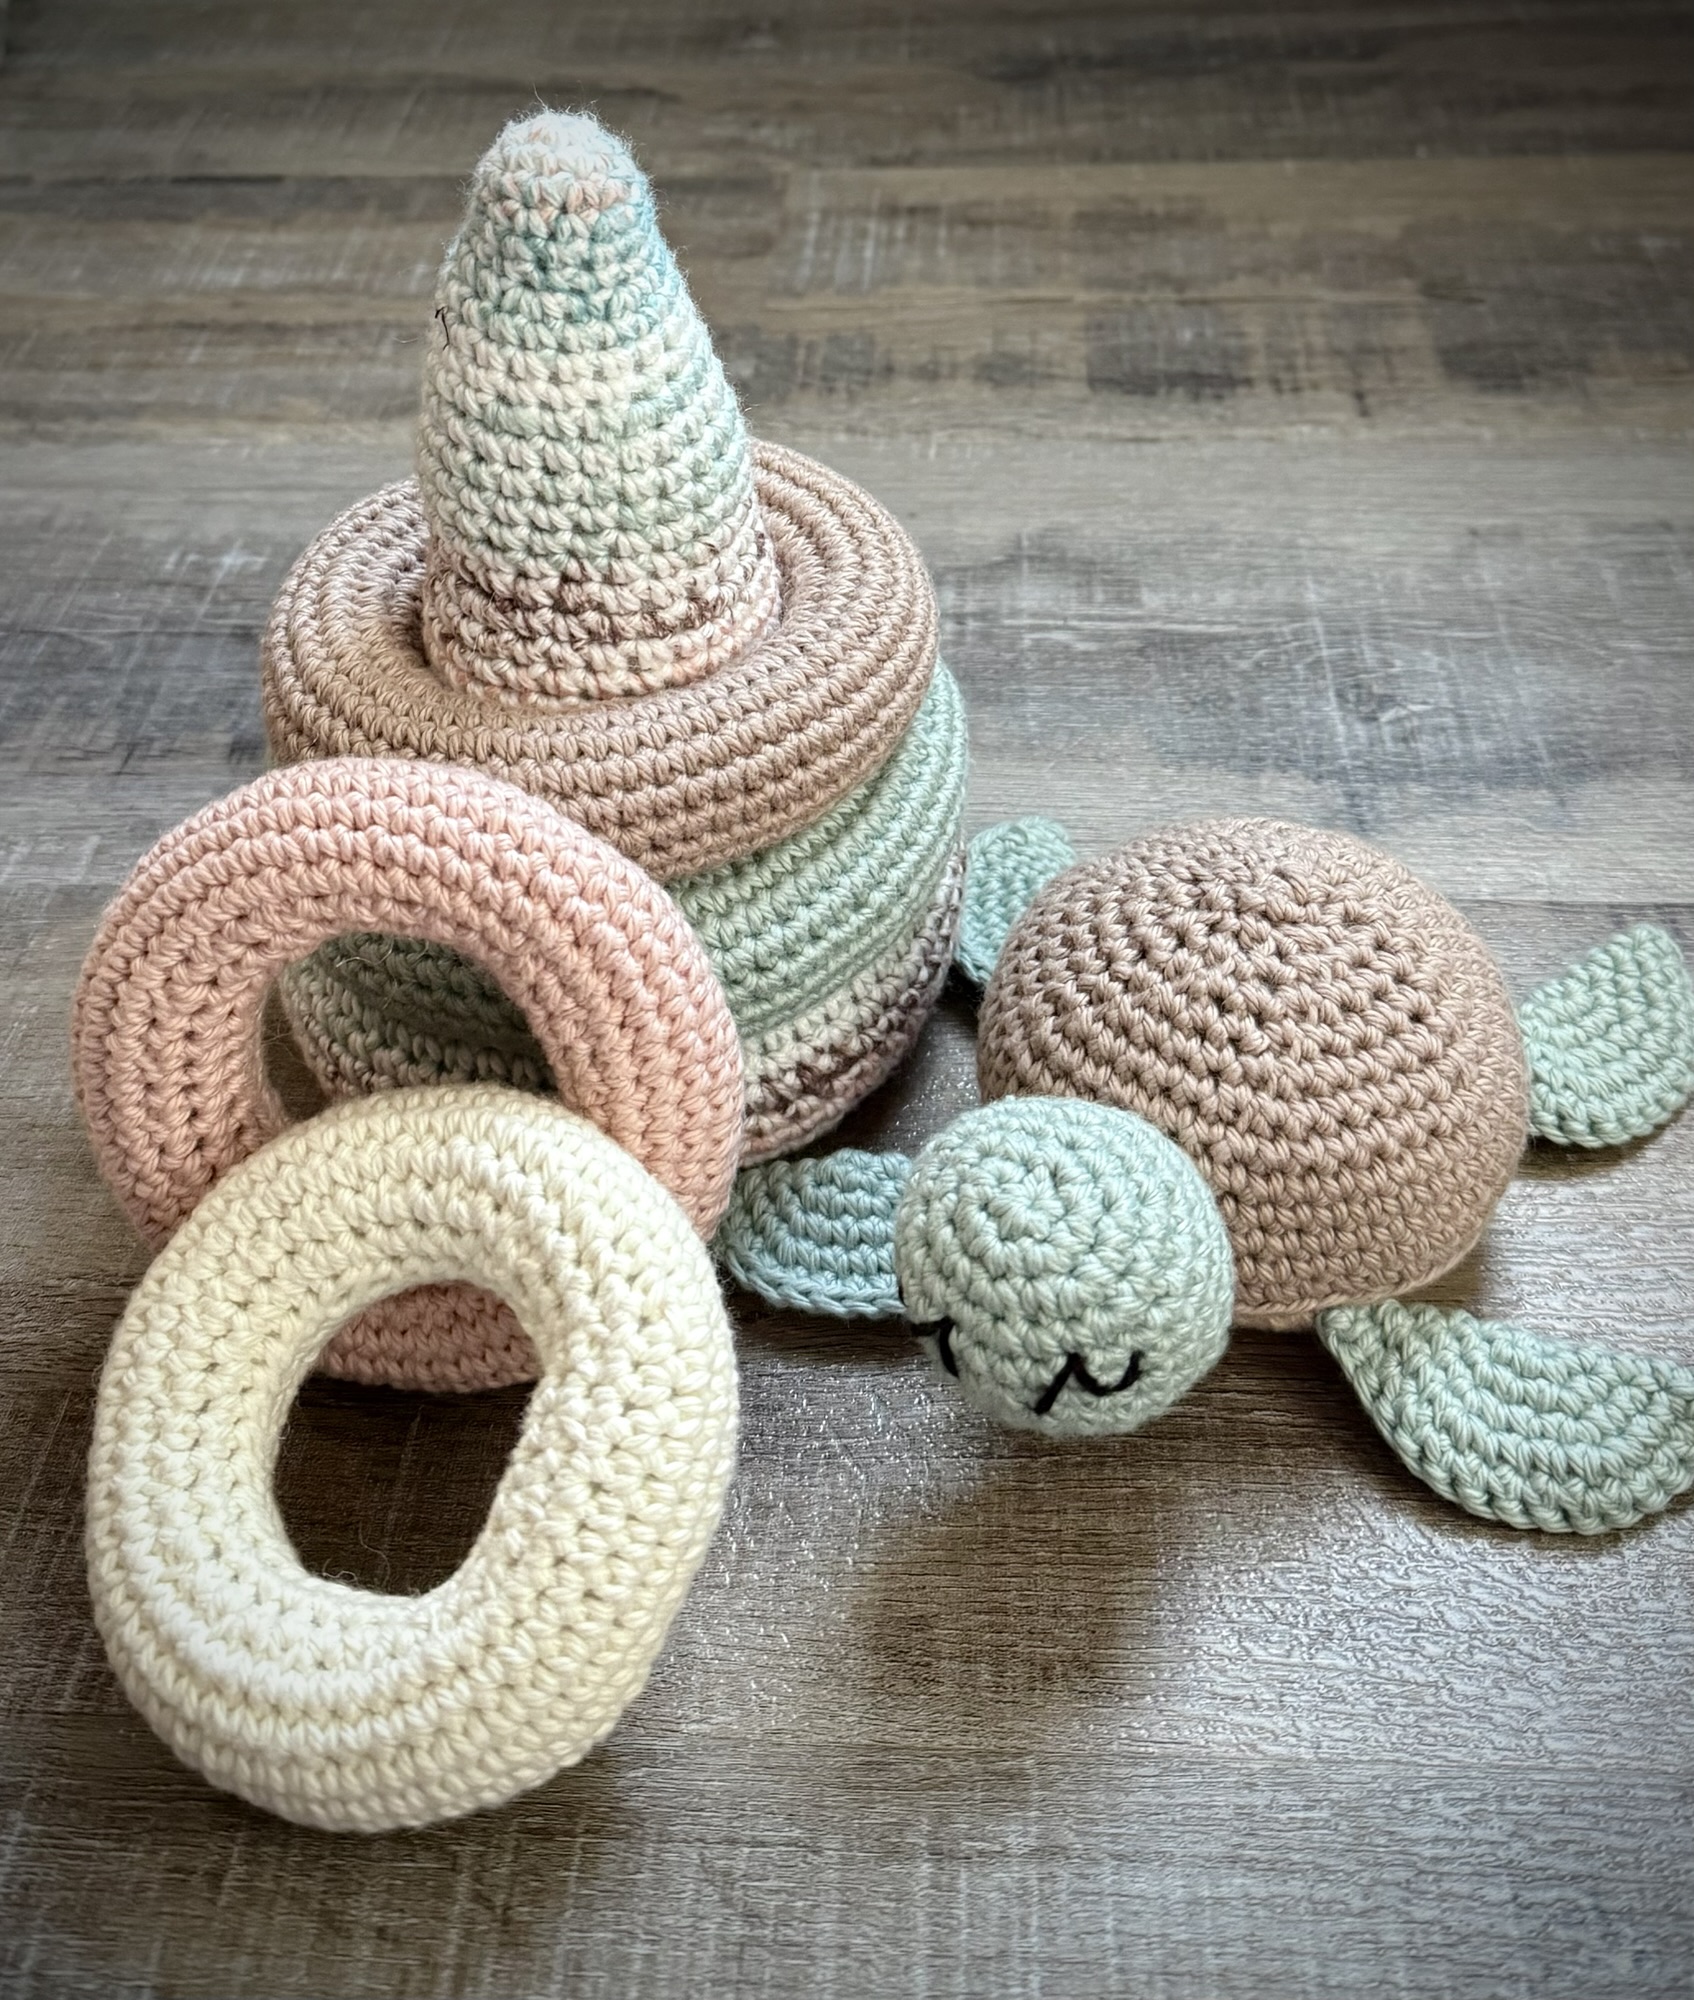
I used I Love This Cotton yarn in the colors Sunlit Seafoam, Serene Spa, Khaki, Warm Blush, Ivory, and Taupe with E/3.5mm and F/3.75mm crochet hooks to stitch up my stacking ring toy. You’ll also need some Poly-fil for stuffing.
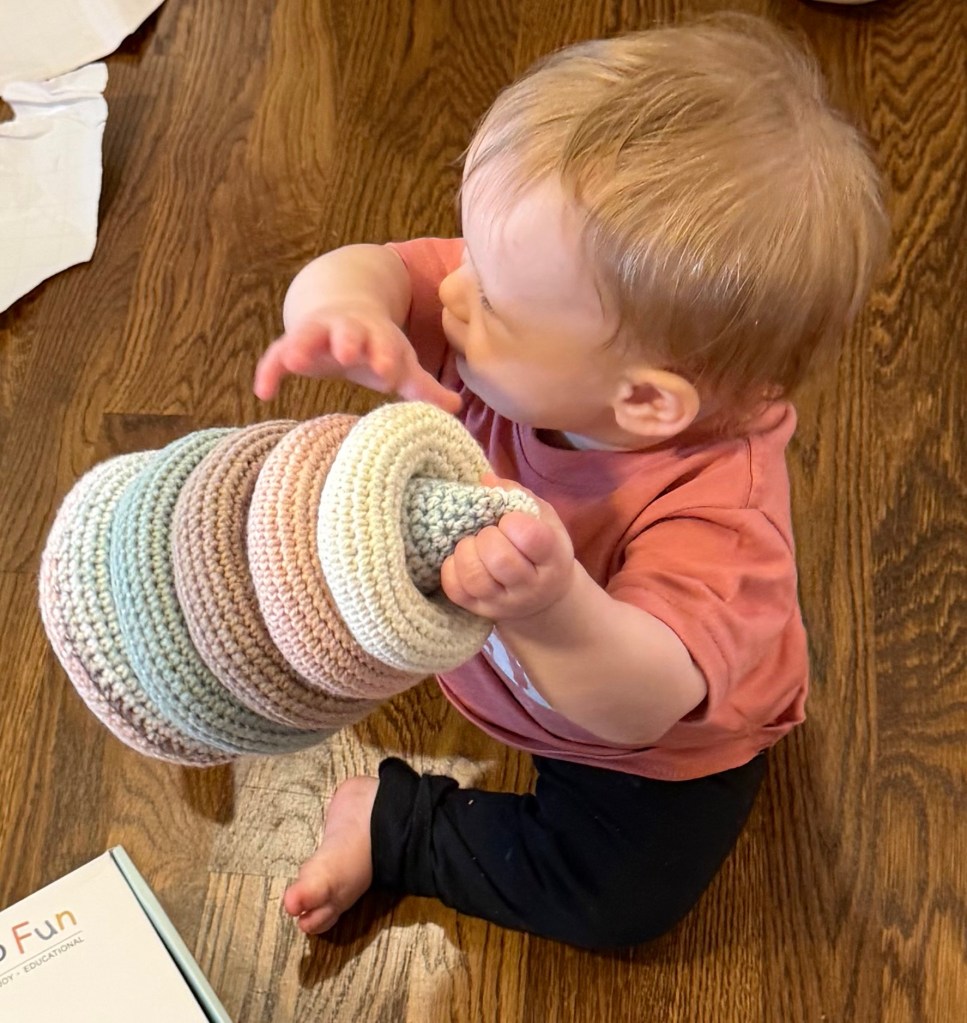
I think someone liked her new Crochet Turtle Stacking Ring Toy! 🥰
I’ve made 3 other stacking ring toys from Those Yarn Girls – Moose Stacking Ring Toy (details here), Sunshine and Rainbow Stacking Ring Toy (details here), and Race Car Stacking Ring Toy (details here).
They are really fun to make and don’t take as long as you might think. They are a great toy for little hands to grasp because they are so soft and squishy. 😊
Disclosure: Some of the links on my site are affiliate links, meaning, at no additional cost to you, I will earn a small commission if you click through and make a purchase. As an Amazon Associate I earn from qualifying purchases.
I hope this year brings you lots of creativity, love, joy, and time doing the things you love!
The year always goes by so fast!! 😳 I love to take a look back and remember all the fun, creative things I’ve been able to share with you throughout the year. You can find a few of my favorites below. 🥰
Disclosure: Some of the links on my site are affiliate links, meaning, at no additional cost to you, I will earn a small commission if you click through and make a purchase. As an Amazon Associate I earn from qualifying purchases.
I created 19 new crochet patterns in 2025. Below are a few of my favorites. 😊 All of my crochet patterns are free here on the blog and most of them have links to free PDFs as well. Click on each photo to go to the post for each project. If you type “crochet” in the search bar on the right, you’ll find lots of crochet inspiration from me as well as projects from other talented designers that I’ve made.
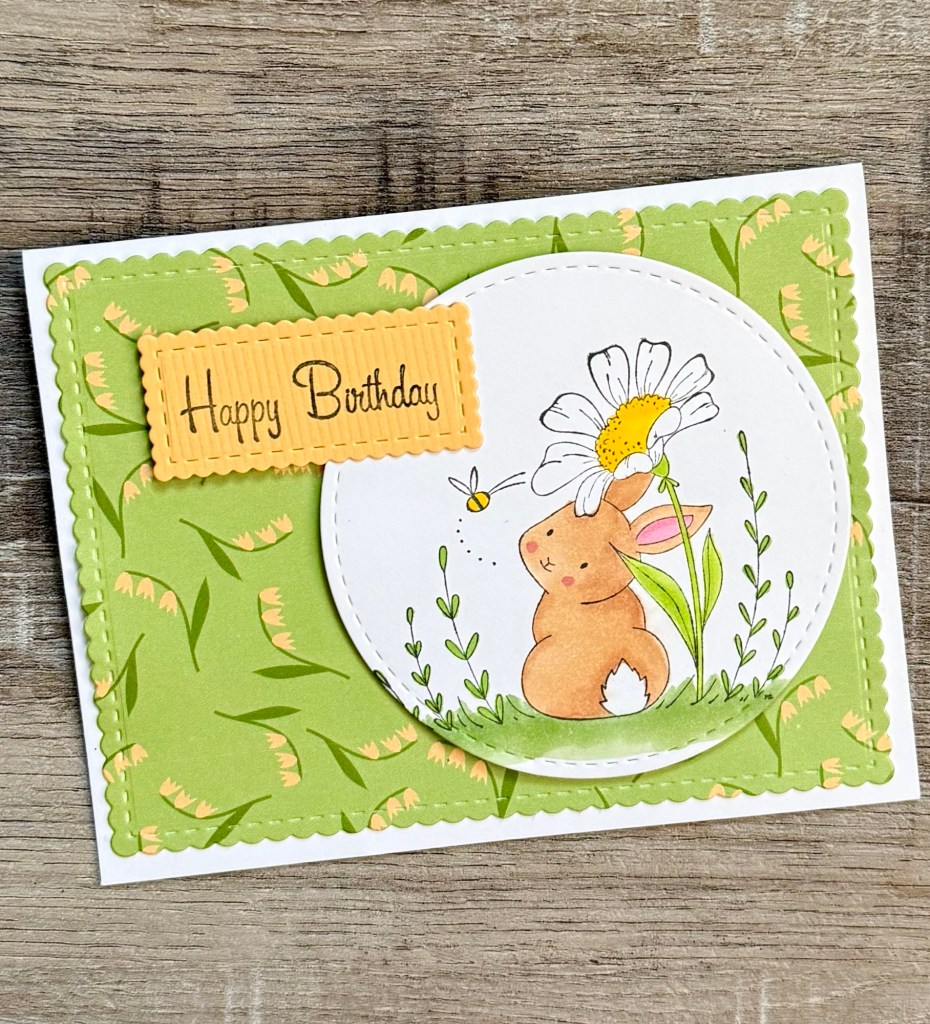
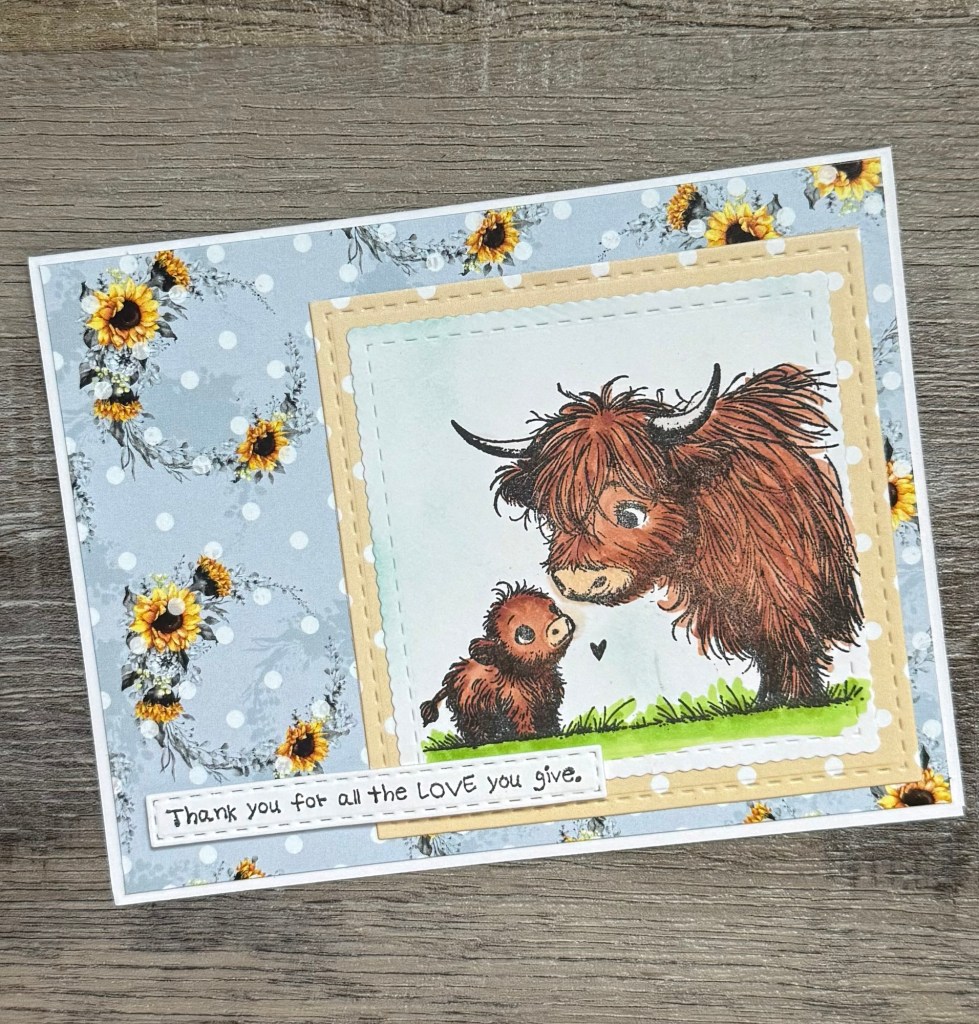
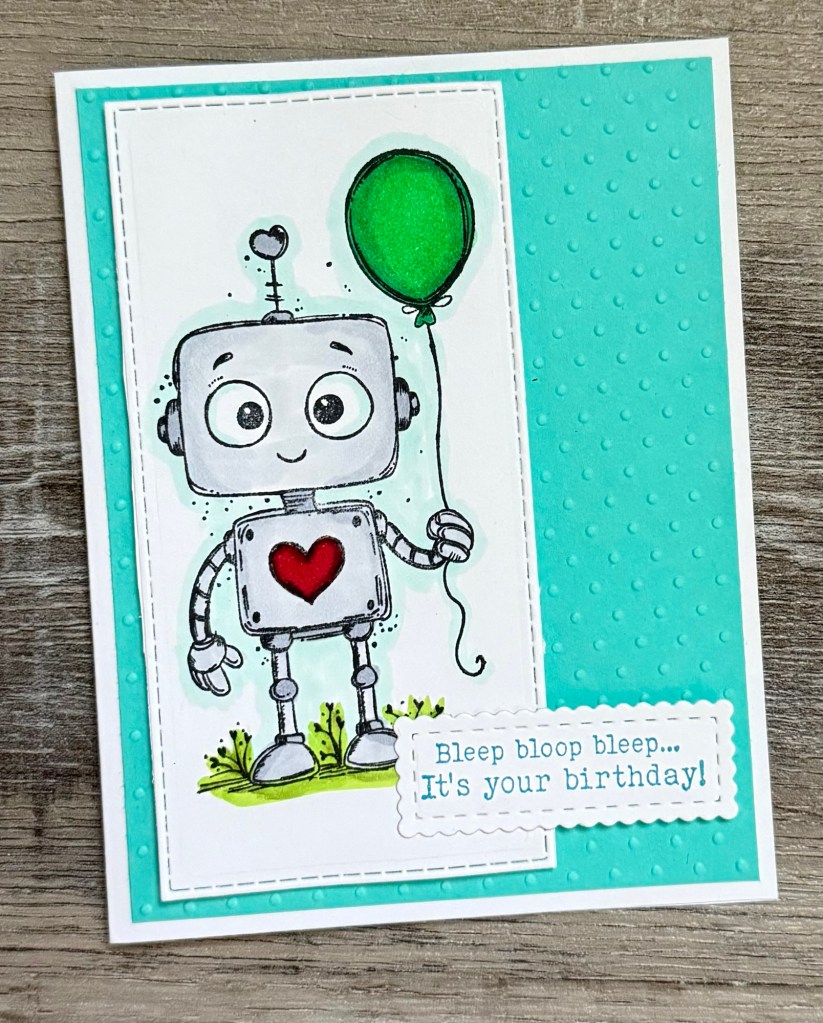
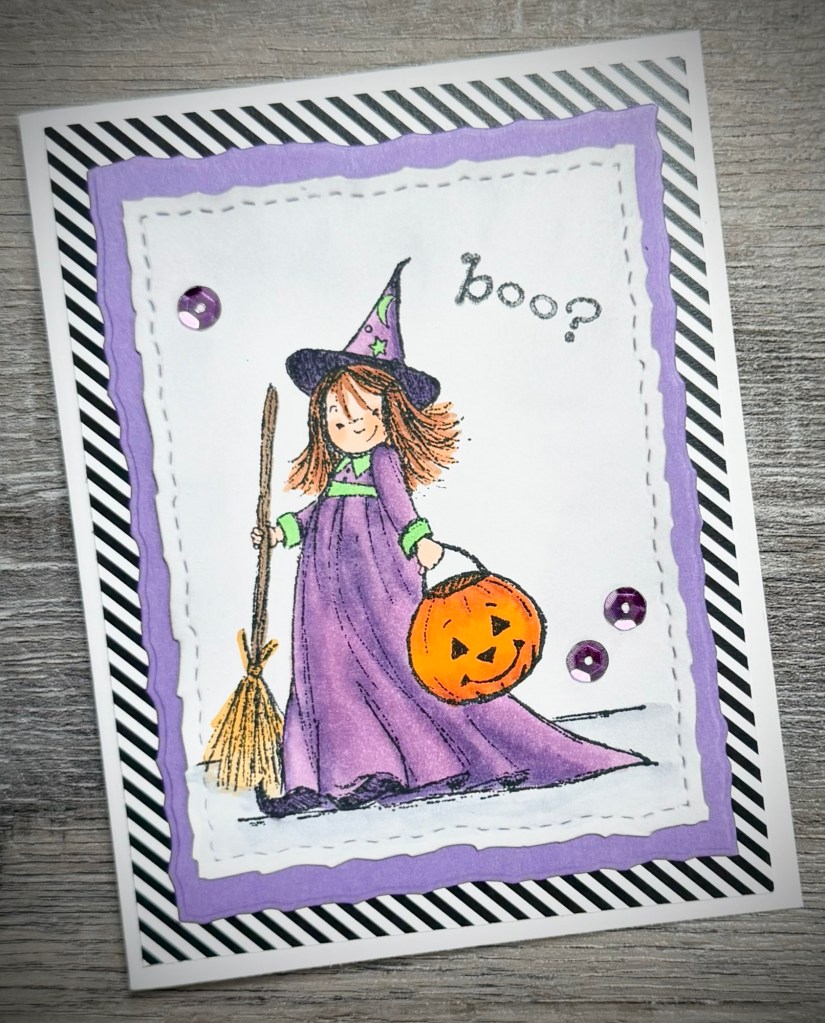
If you’ve followed CreatingMe for a minute, you know that I love making cards! I have a crazy amount of rubber stamps and other supplies so I have to put them to good use. 😉 Here is just a sampling of what I made in 2025. Click on each photo for all the details on each card. Type “card” in the search bar for lots more card making inspiration.
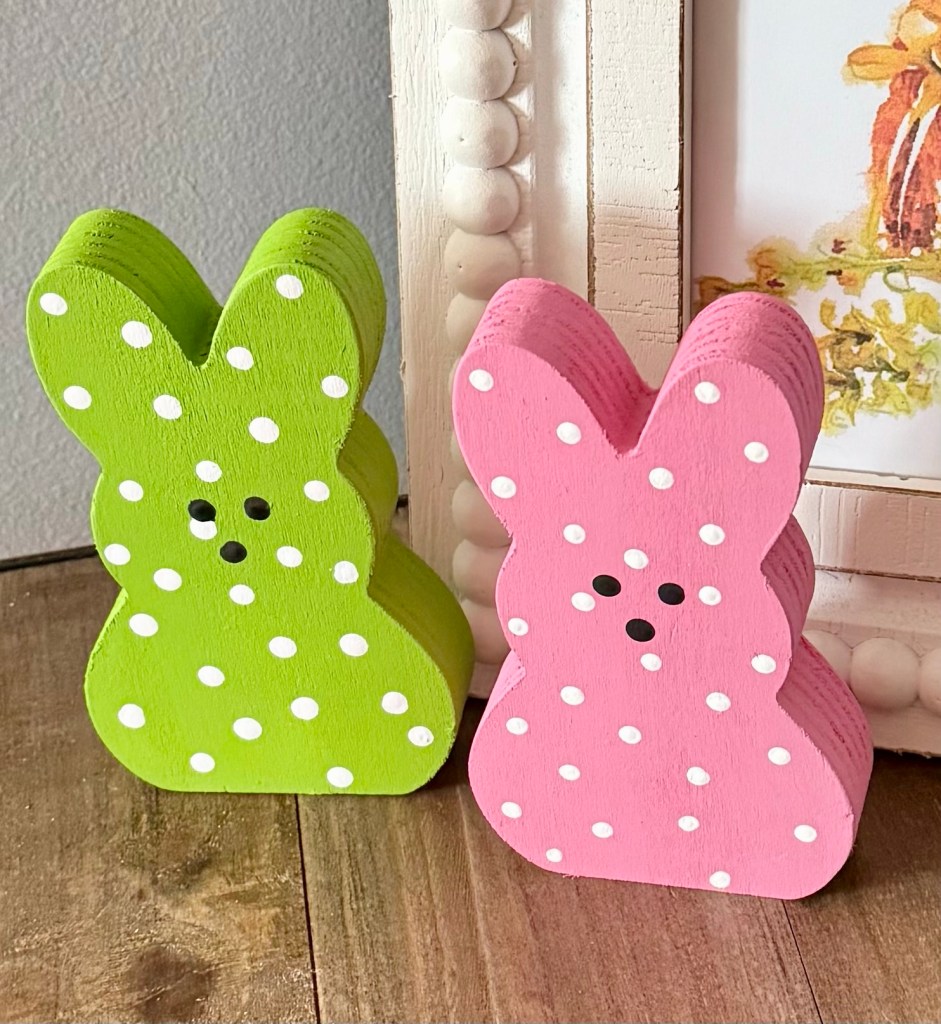
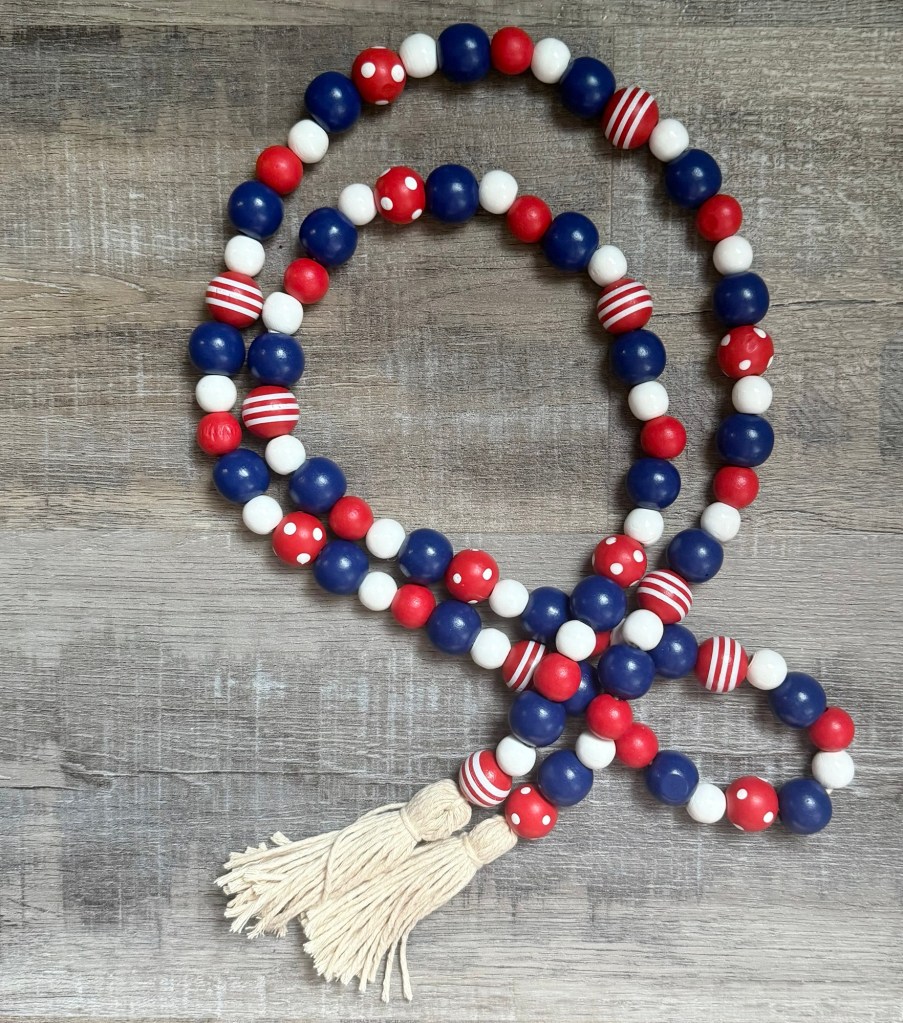
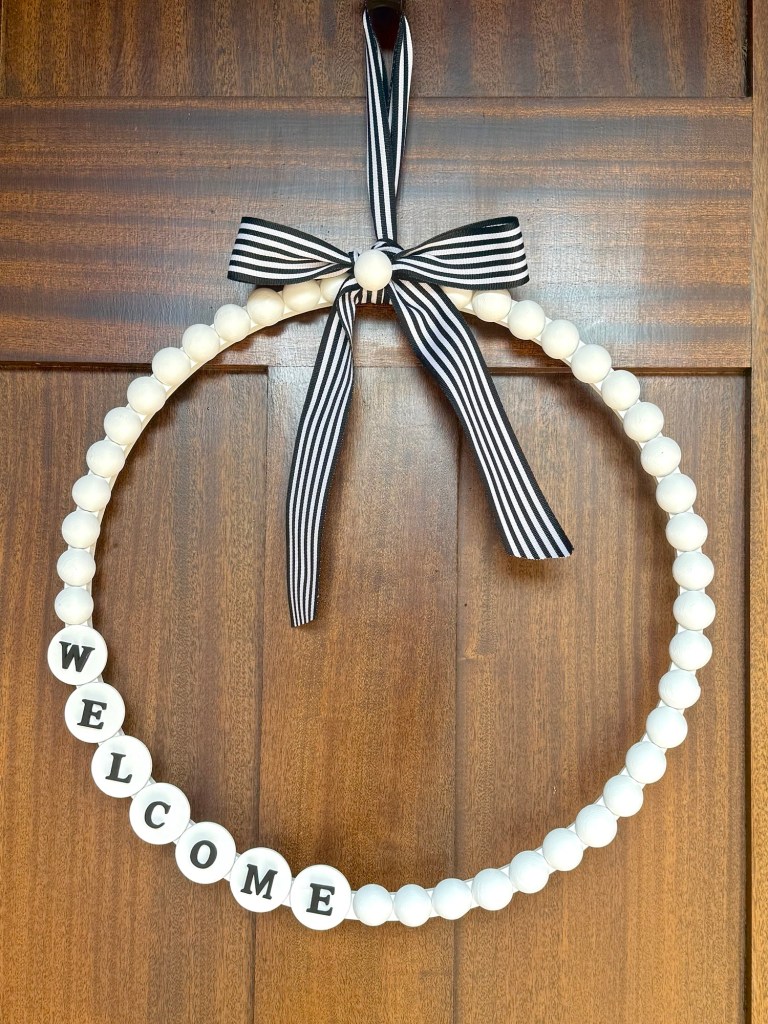
You’ll also find other crafty projects that I created this year. Again, click on each photo for all the details. 😊
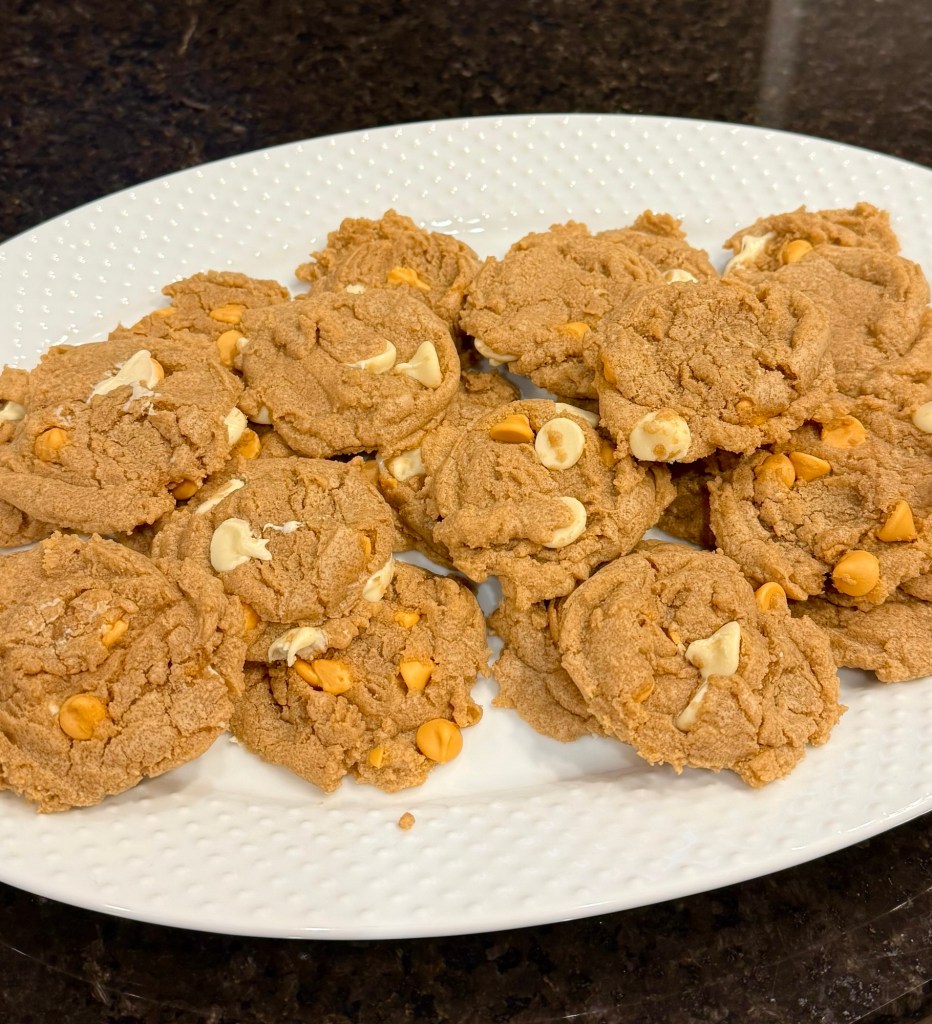
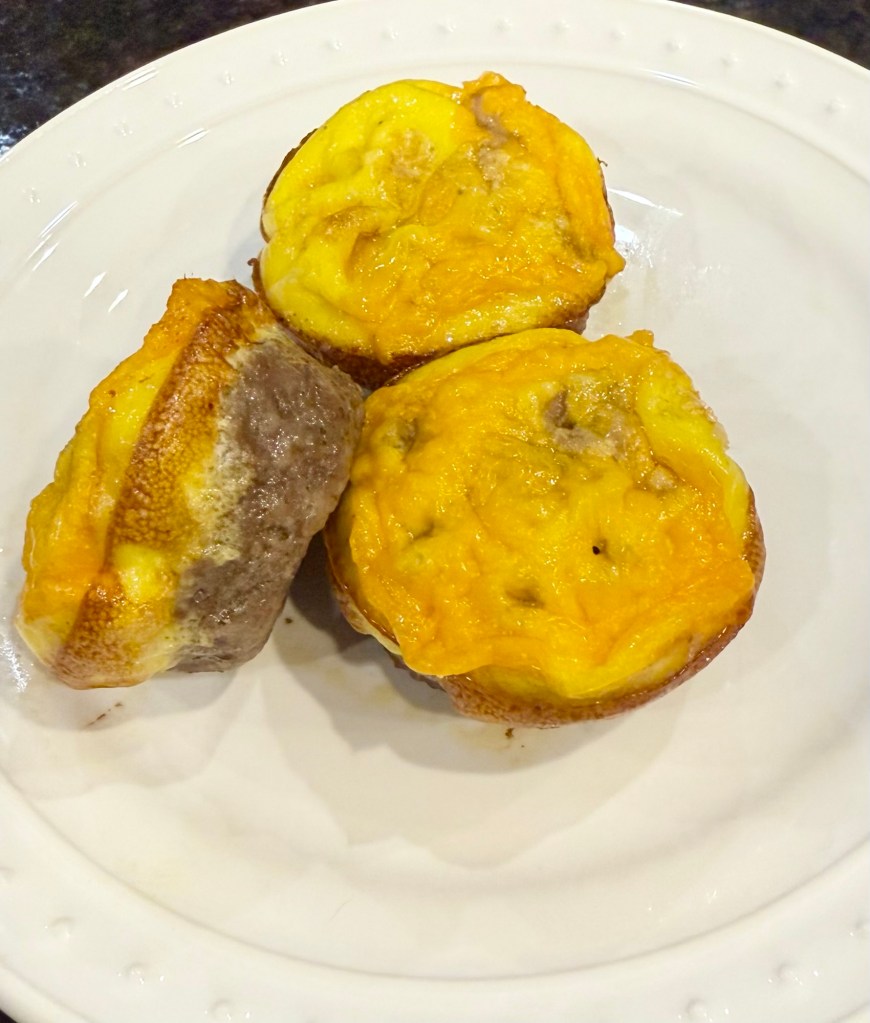
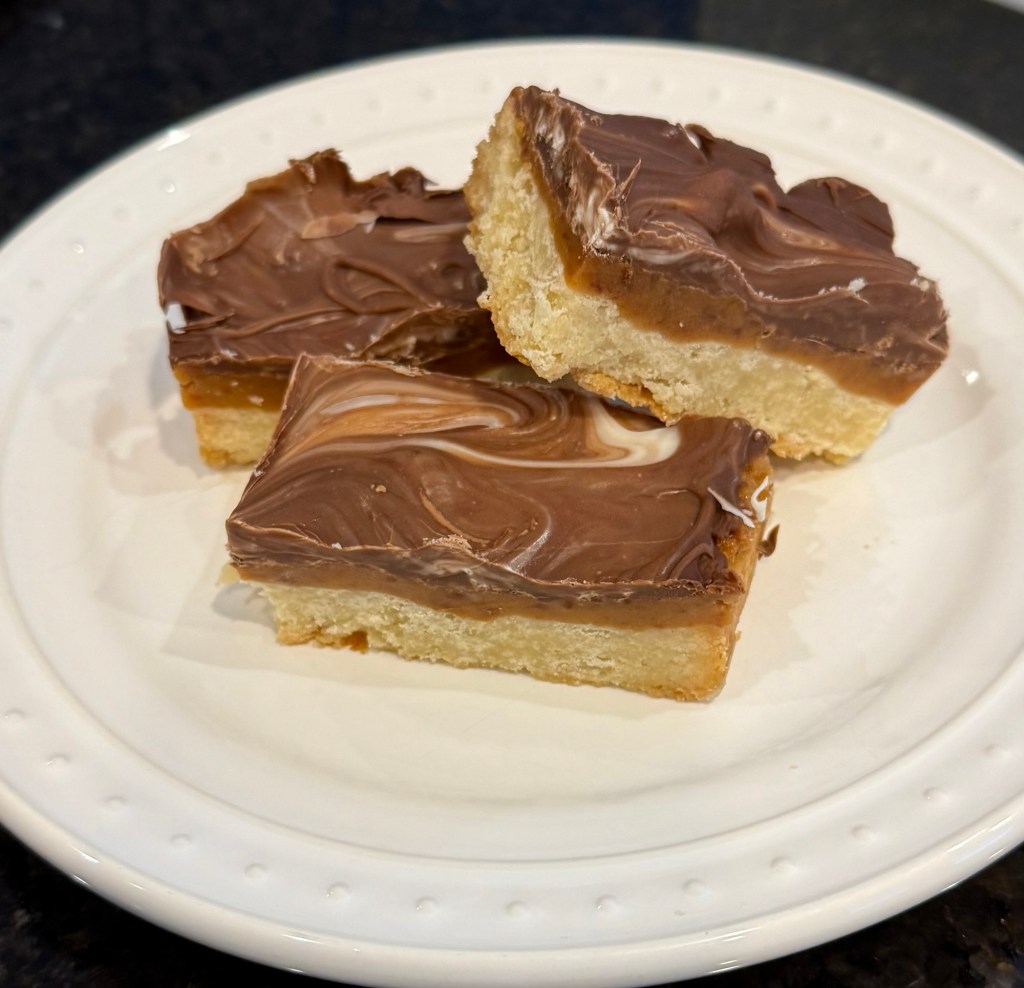
I shared a few recipes, too. 😋
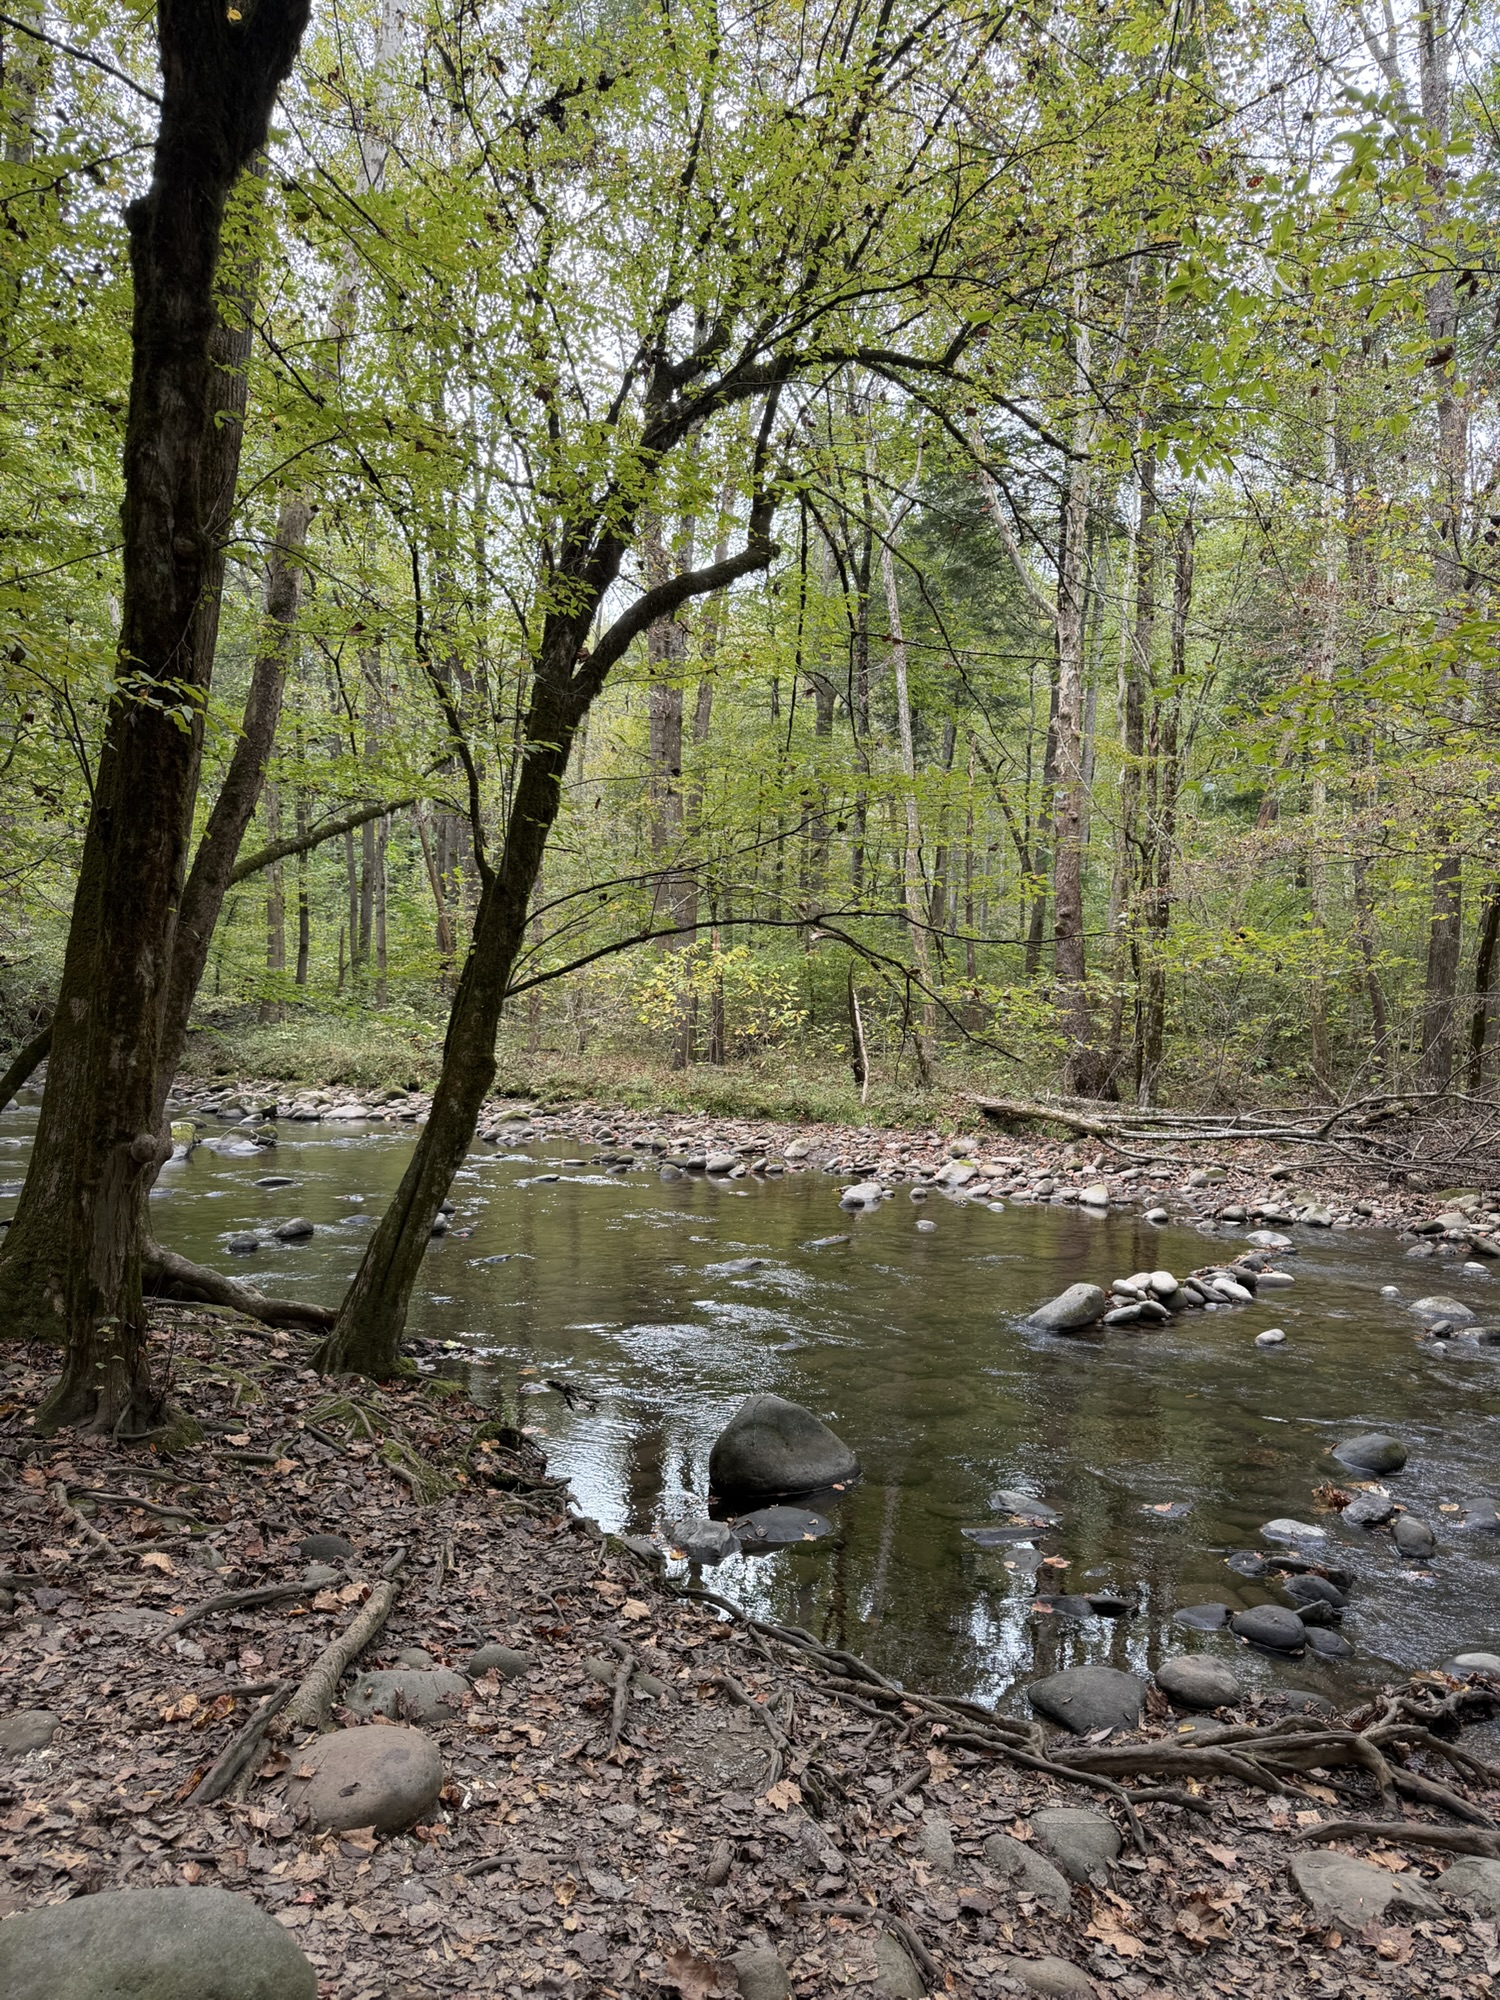
We found time to take a Gatlinburg Getaway in May and another short weekend there in October. The bear sighting was in October – so fun! And yes, we kept our distance!
My husband also went through radiation treatment for cancer this year. It went well and we have every reason to believe it was successful. We will find out for sure in January and it will be good to put that behind us.
2026 is sure to bring a lot of changes for us since my husband retired! We just got back from a 3 week celebration road trip around Florida ending with Christmas in New Orleans – I’ll share more about that soon.
I’m looking forward to creating lots of fun, beautiful, crafty projects to share with you in 2026! I hope you’ll take some time to be creative along with me this year.
Wishing you all a very Happy and Healthy New Year! 🎉🎉🎉
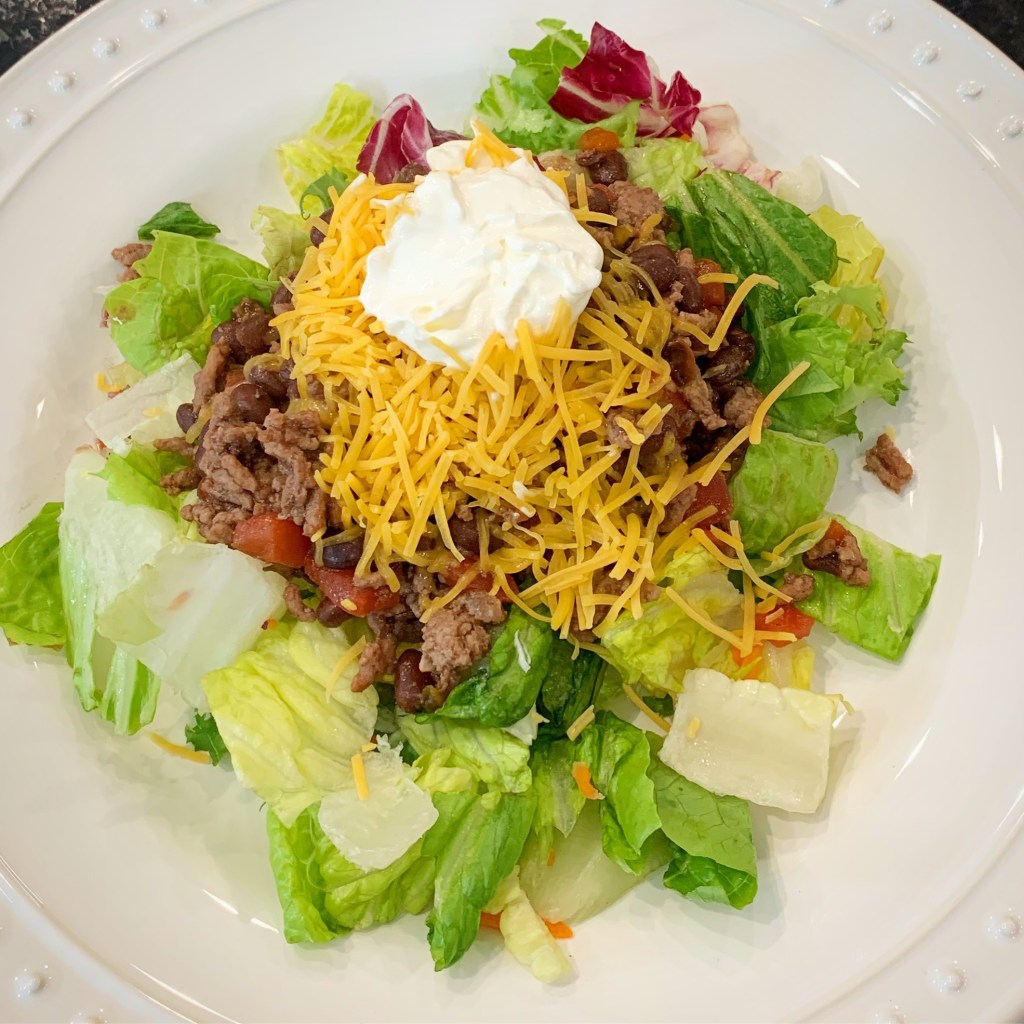
This Easy Black Bean Salad is a great quick dinner when you don’t feel like cooking. 😉 It comes together in just minutes so it’s perfect for even the busiest of days!
Disclosure: Some of the links on my site are affiliate links, meaning, at no additional cost to you, I will earn a small commission if you click through and make a purchase. As an Amazon Associate I earn from qualifying purchases.
Here’s what you’ll need…
1 lb lean ground beef
1 (15.25 oz) can black beans
1 (10 oz) can diced tomatoes with green chilies
your favorite bagged salad mix
shredded cheddar cheese
sour cream
Simply brown the ground beef in a skillet and drain. Add the black beans and tomatoes. Cook, stirring occasionally, for a few minutes until heated through. Place desired amount of salad mix on serving plates. Top with the black bean mixture. Sprinkle with desired amount of cheese and add a dollop of sour cream.
It couldn’t be easier! You can season the ground beef with taco seasoning for even more flavor. Or if you’re more adventurous than me, you could add some jalapeños to spice it up! It would also be great over sliced avocados instead of the salad mix.
It’s a simple recipe to double – and it freezes well. So make up a batch or 2 to have on hand for a quick dinner when you need it.
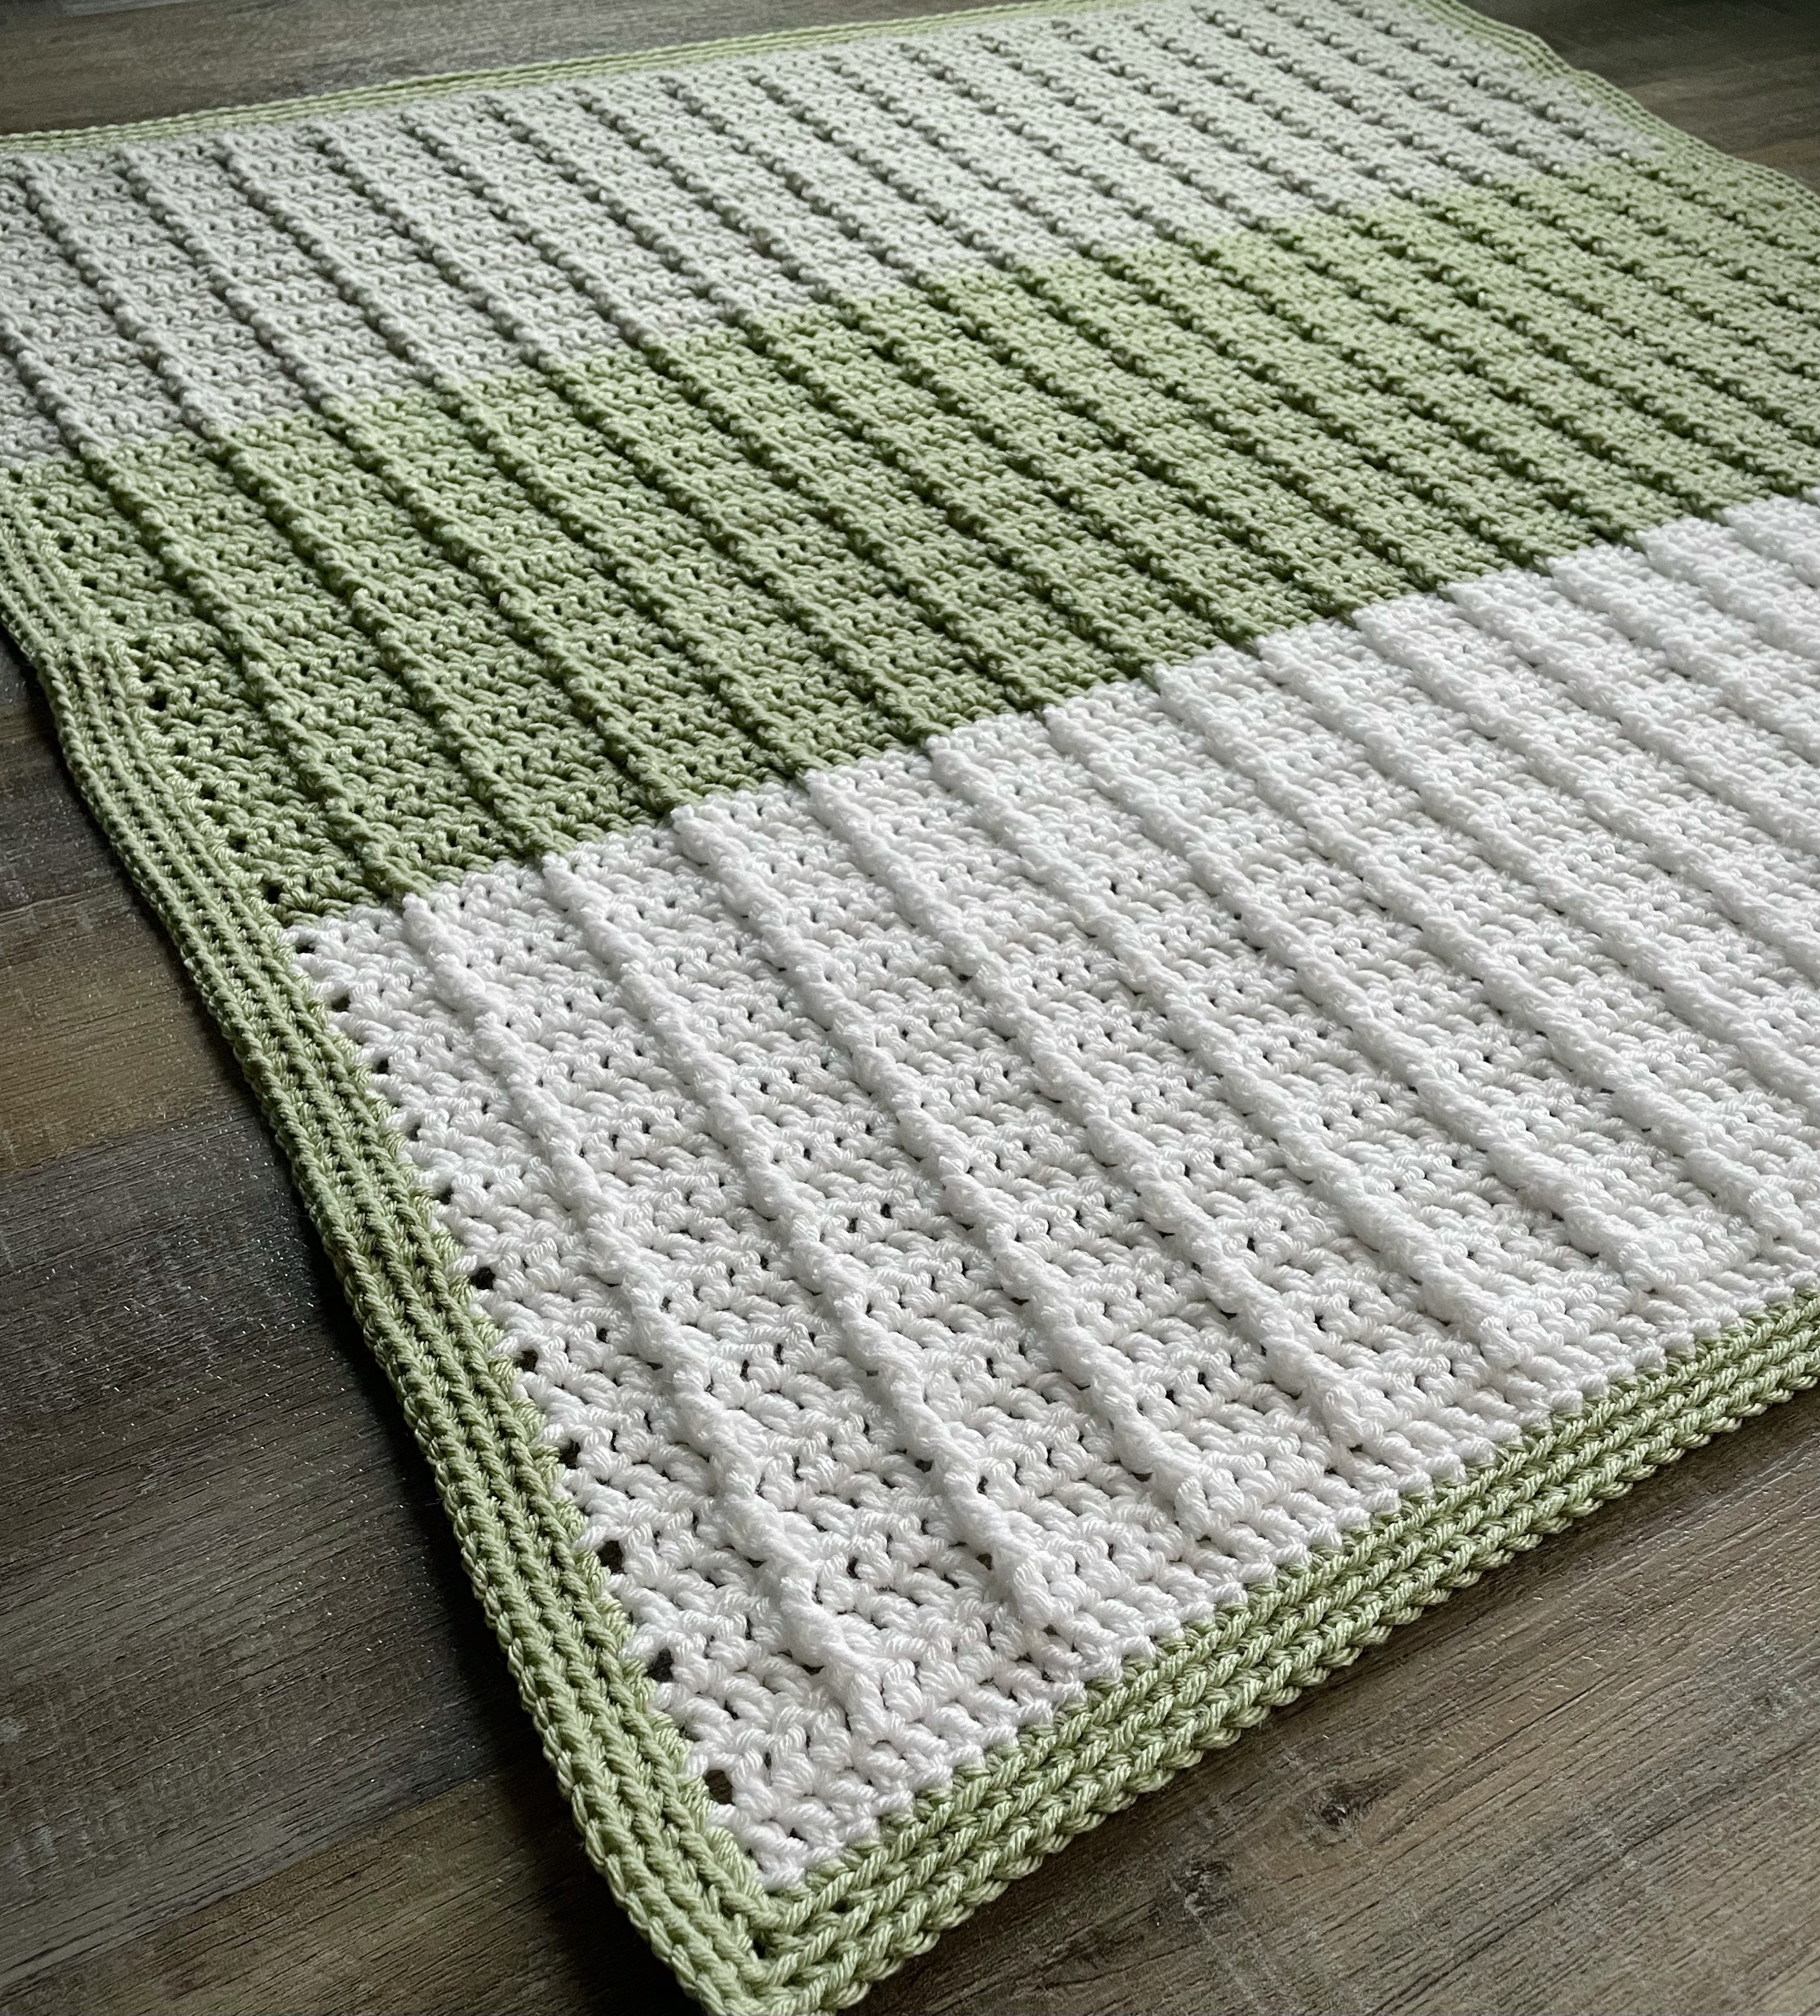
I shared this Crochet Ridged Color Block Baby Blanket pattern a few years ago and thought I’d share it again. It will be the perfect project to start off the new year and will keep you warm as you’re stitching it up on those cold January days. 😉
Disclosure: Some of the links on my site are affiliate links, meaning, at no additional cost to you, I will earn a small commission if you click through and make a purchase. As an Amazon Associate I earn from qualifying purchases.
I used Yarn Bee Soft & Sleek yarn in White, Light Gray, and Sage with an H/5mm hook to stitch up my blanket. The finished blanket measures about 29 by 30 inches. You can find the pattern below and I’ve included a link to free PDFs – one with photos and one without – for easy printing.
Crochet Ridged Color Block Baby Blanket
Worsted Weight Yarn – I used Yarn Bee Soft & Sleek in White, Light Gray, and Sage (approximately 6 ounces each of White and Light Gray and 7 ounces of Sage)
H/5mm hook
Stitches used US terms: Chain – ch Single Crochet – sc Foundation Double Crochet – fdc Double Crochet – dc Front Post Double Crochet – fpdc Back Post Double Crochet – bpdc Slip Stitch – ss Back Loop Only – blo
Pattern repeat is multiples of 5 plus 4
Note: ch 2 at beginning of row counts as 1st dc stitch.
Begin with White.
Row 1: Work 94 fdc. Turn. (94 stitches)
Row 2: ch 2 (counts as 1st stitch). Skip 1st dc, dc in each stitch across. Turn. (94 stitches)
Row 3: ch 2 (counts as 1st stitch). Skip 1st dc, dc in next 3 stitches. fpdc in next stitch. dc in next 4 stitches, fpdc in next stitch Repeat from * to * across to last 4 stitches. dc in last 4 stitches. Turn. (94 stitches)
Row 4: ch 2 (counts as 1st stitch). Skip 1st dc, dc in next 3 stitches. bpdc in next stitch. dc in next 4 stitches, bpdc in next stitch Repeat from * to * to last 4 stitches. dc in last 4 stitches. Turn. (94 stitches)
Rows 5-22: Repeat Rows 3 and 4 Nine times. (94 stitches)
This pattern works up quickly and you can easily adjust the size you want to make your blanket. You can make it in color blocks, stripes, or even one color. What color will you make your blanket?
Disclosure: Some of the links on my site are affiliate links, meaning, at no additional cost to you, I will earn a small commission if you click through and make a purchase. As an Amazon Associate I earn from qualifying purchases.