Happy Valentine’s Day! ❤️ Sending Love to all of you! ❤️ And I just want to say “Thank You” for all the love you show me on my little blog – it means the world to me. 🥰
Disclosure: Some of the links on my site are affiliate links, meaning, at no additional cost to you, I will earn a small commission if you click through and make a purchase. As an Amazon Associate I earn from qualifying purchases.
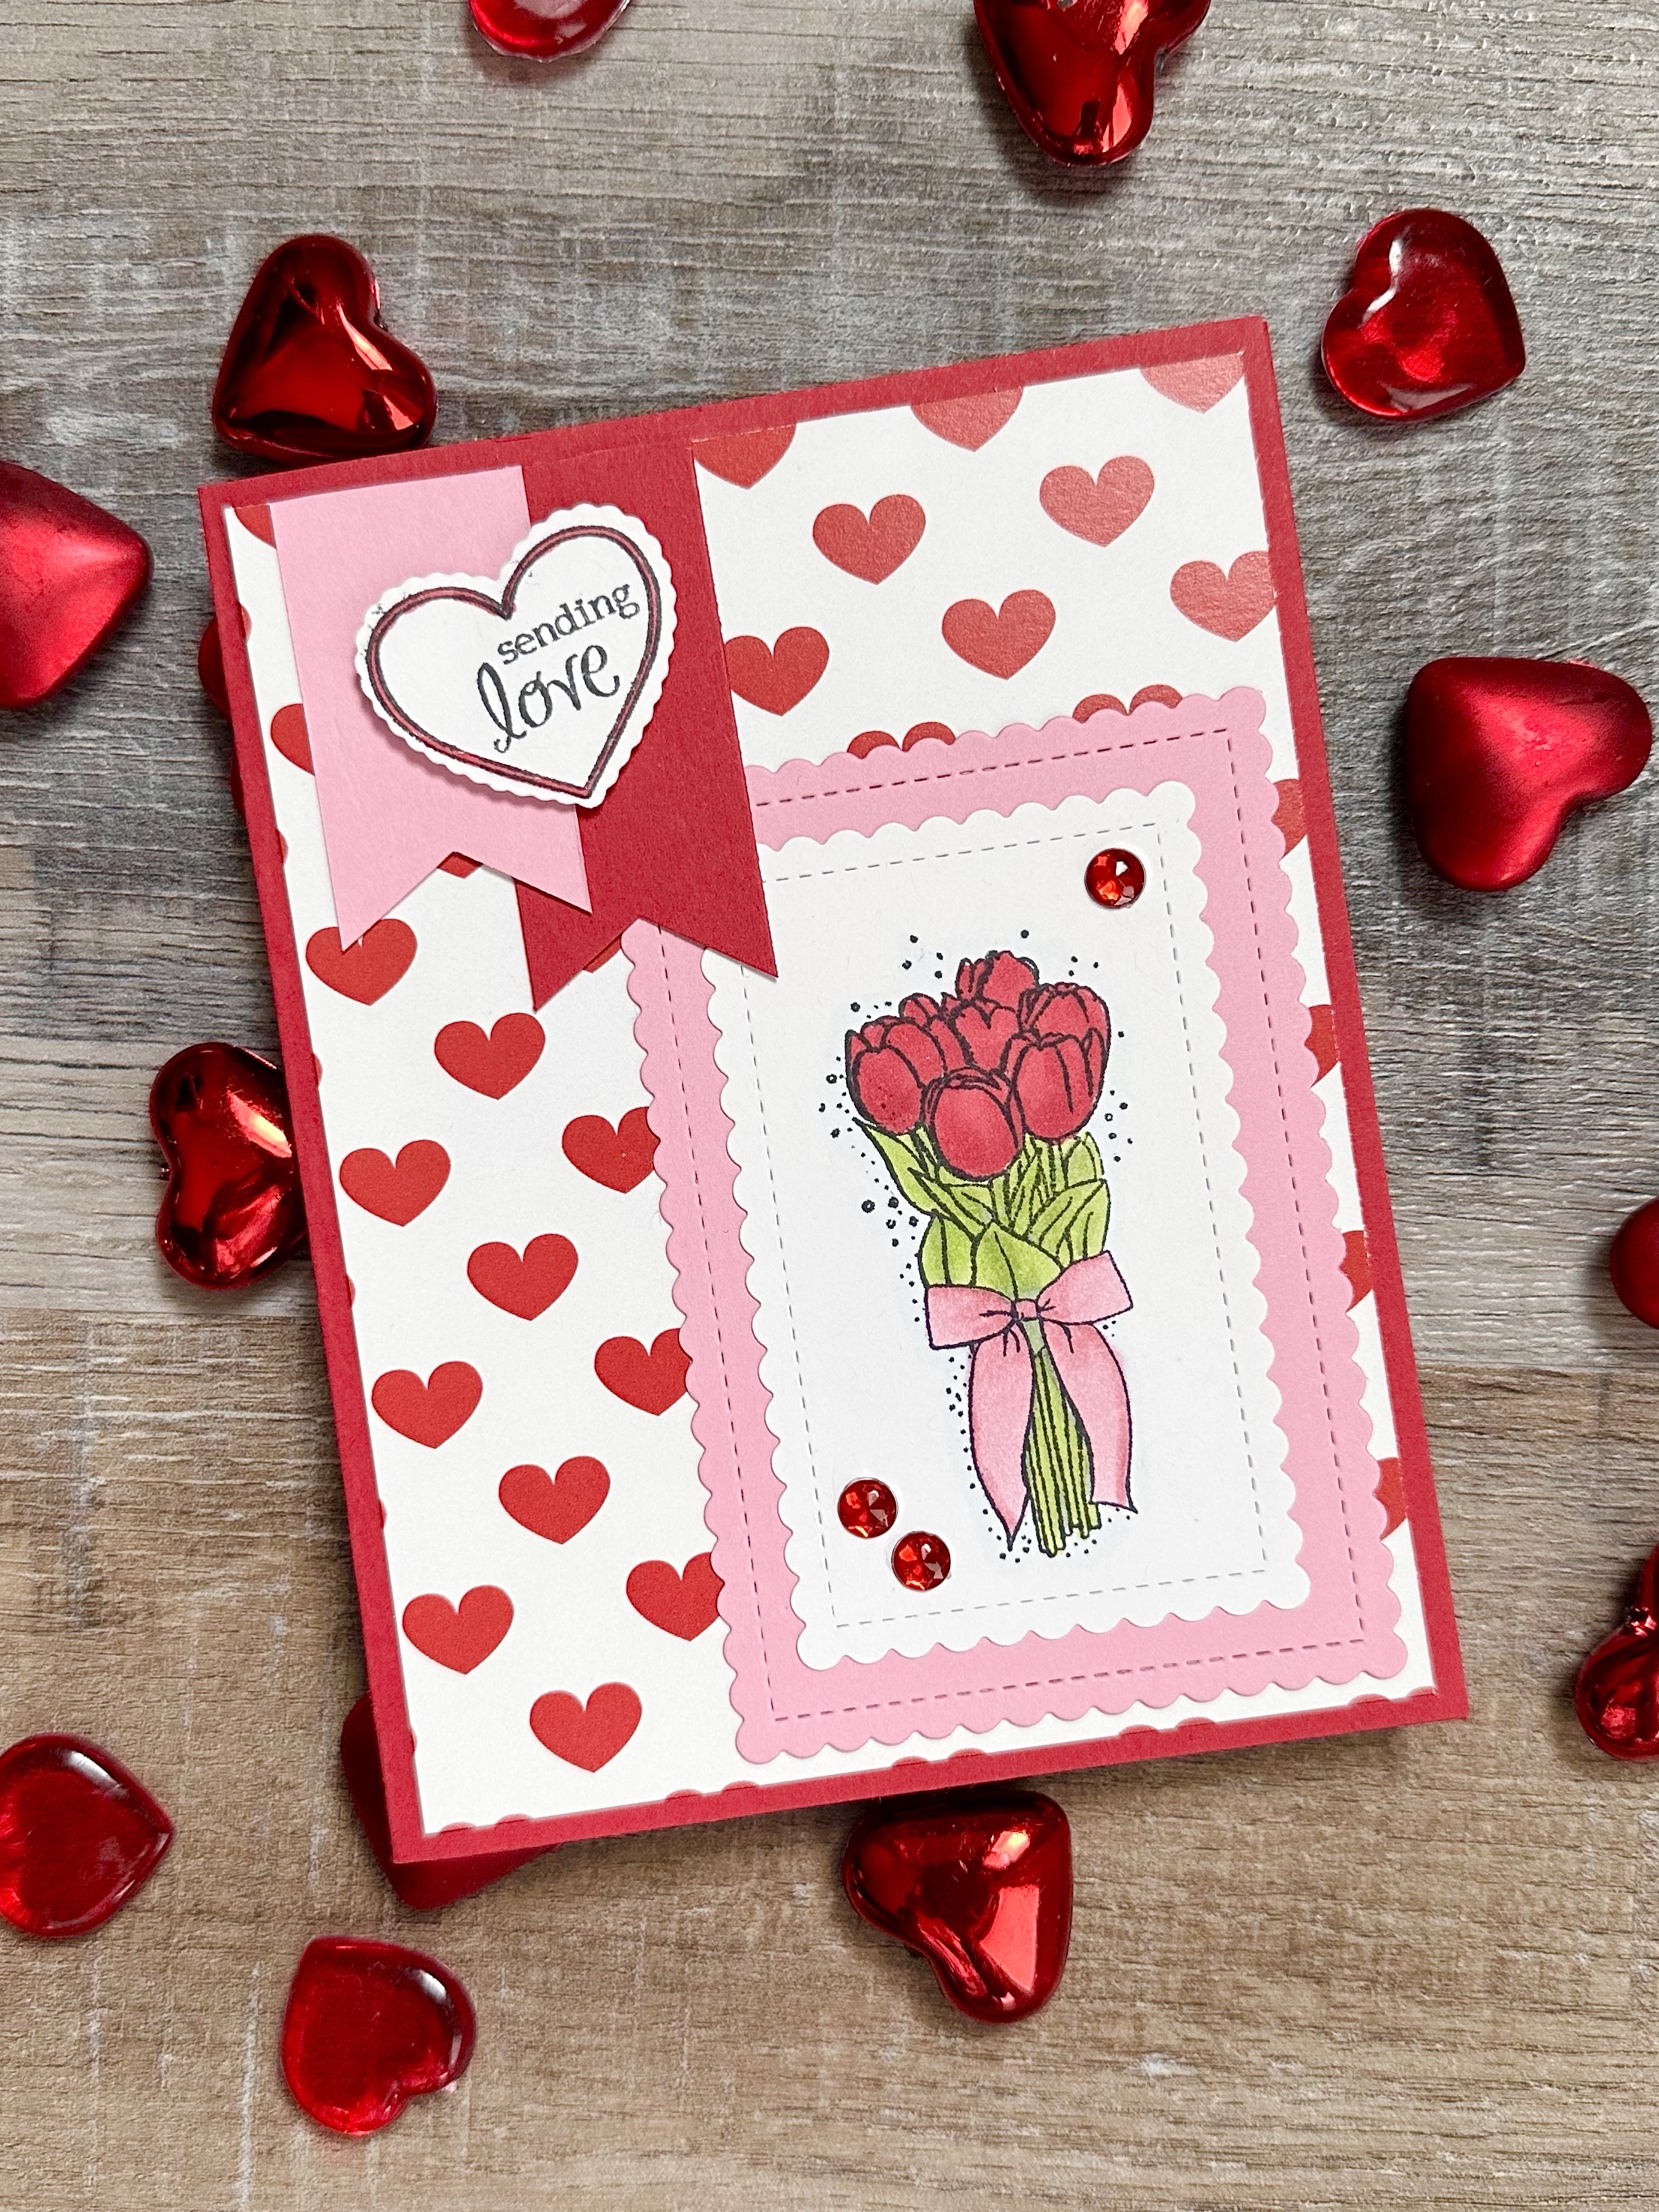
To make the card, I added a piece of patterned paper to a red card. I attached the tulip image to the bottom right corner and then added 2 small banners cut from red and pink card stock to the top of the card. I attached the heart over the banners using foam tape. To finish it off, I added 3 red rhinestones.
I hope you all have a wonderful Valentine’s Day! ❤️❤️❤️
Since the groundhog told us there will be 6 more weeks of winter, I thought it was time for a new crochet scarf pattern! 😁
Disclosure: Some of the links on my site are affiliate links, meaning, at no additional cost to you, I will earn a small commission if you click through and make a purchase. As an Amazon Associate I earn from qualifying purchases.
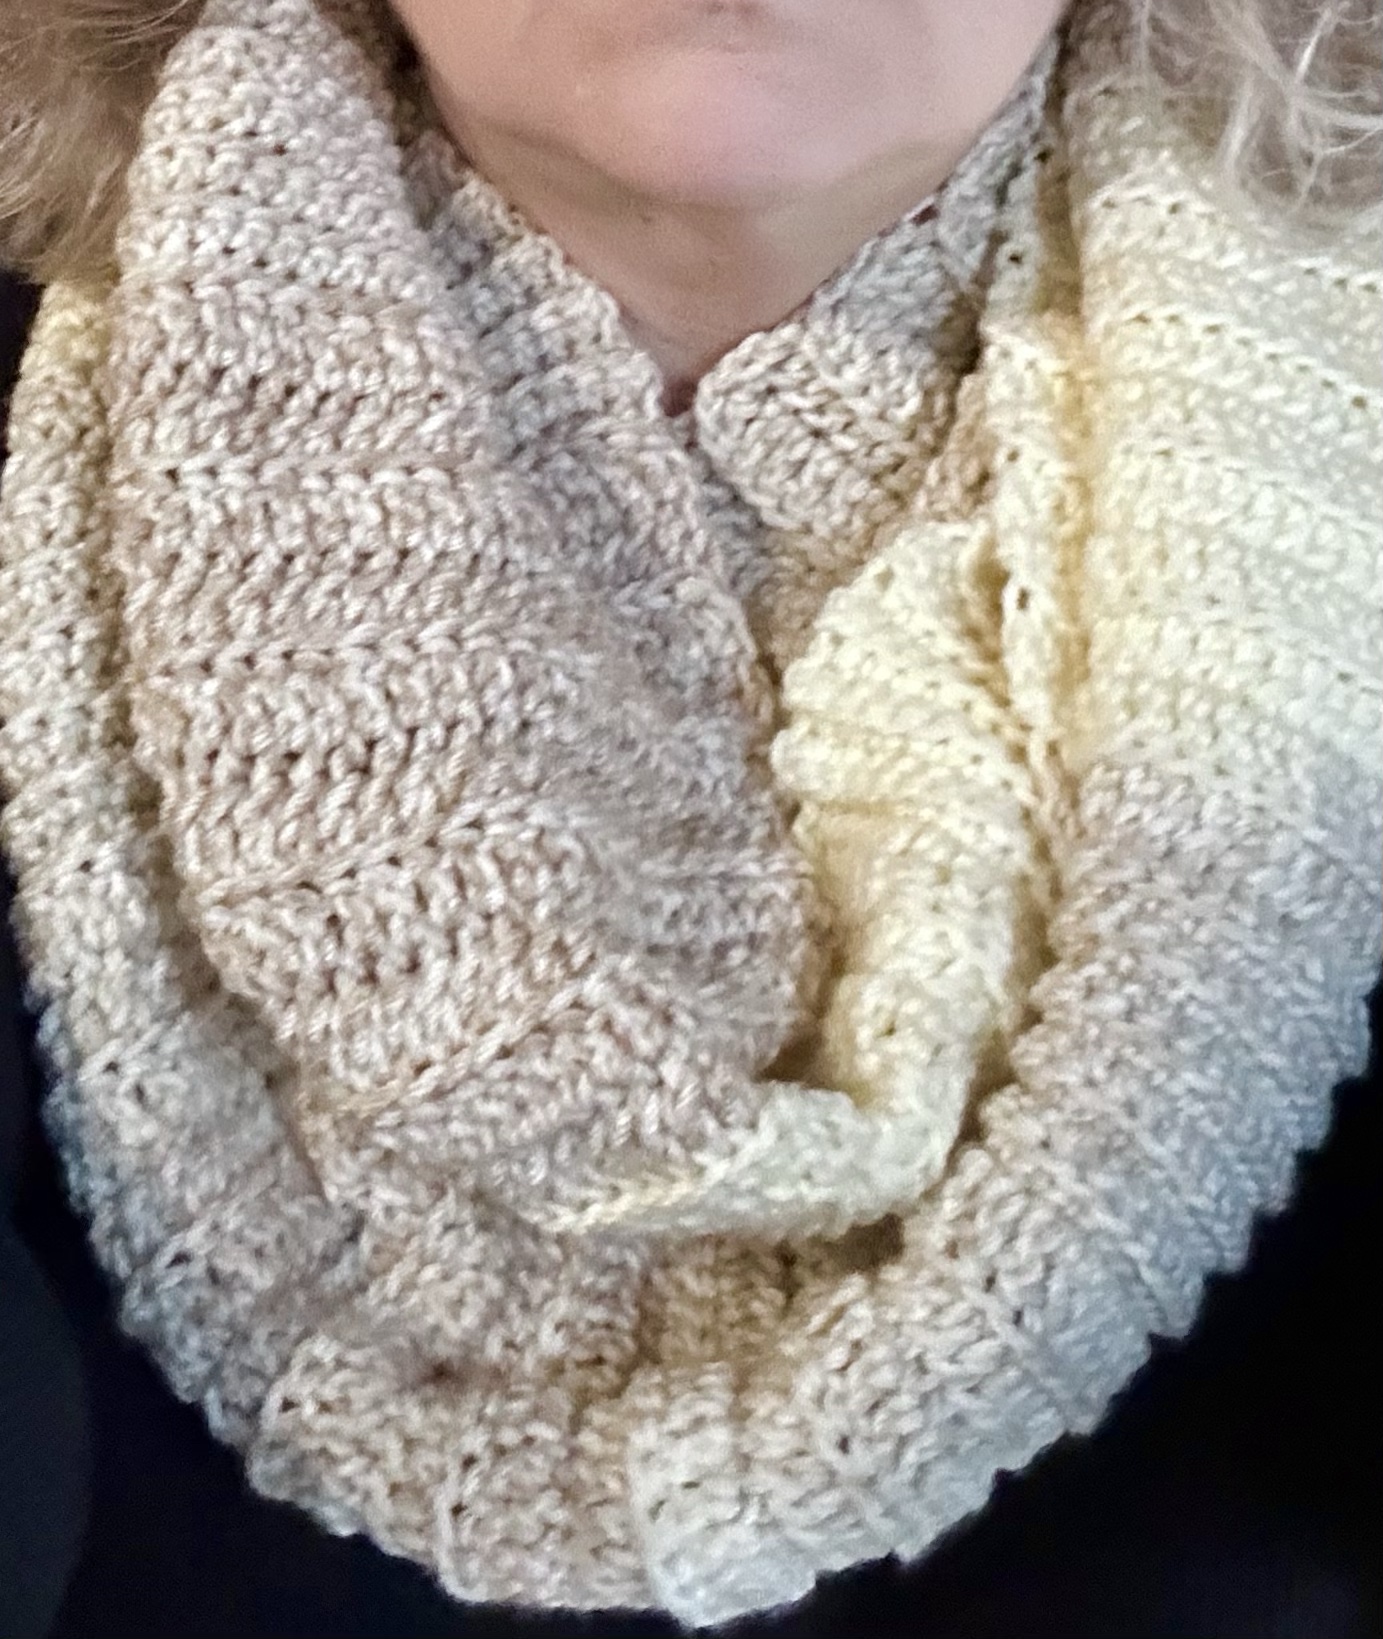
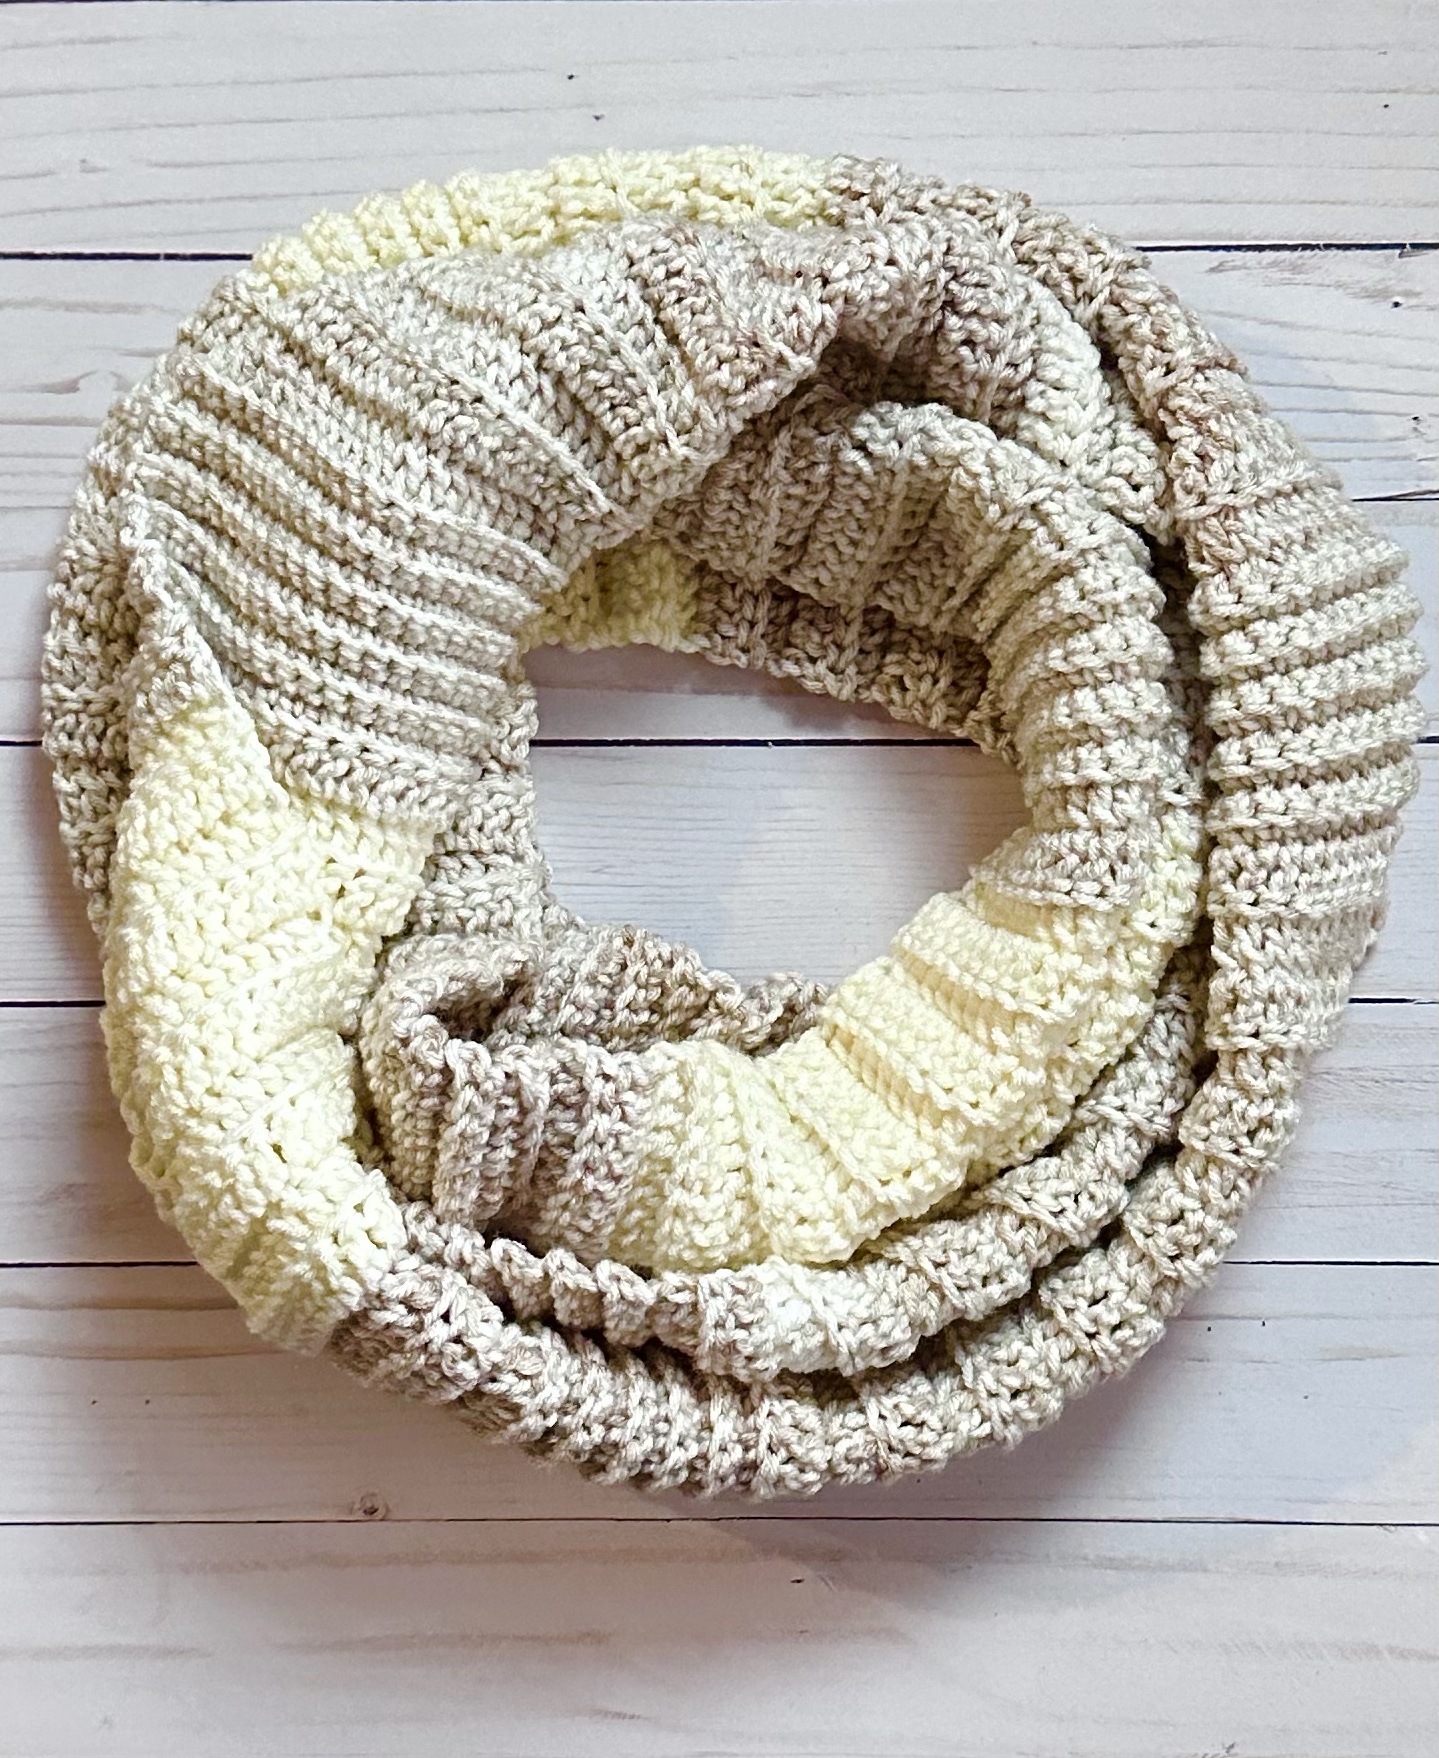
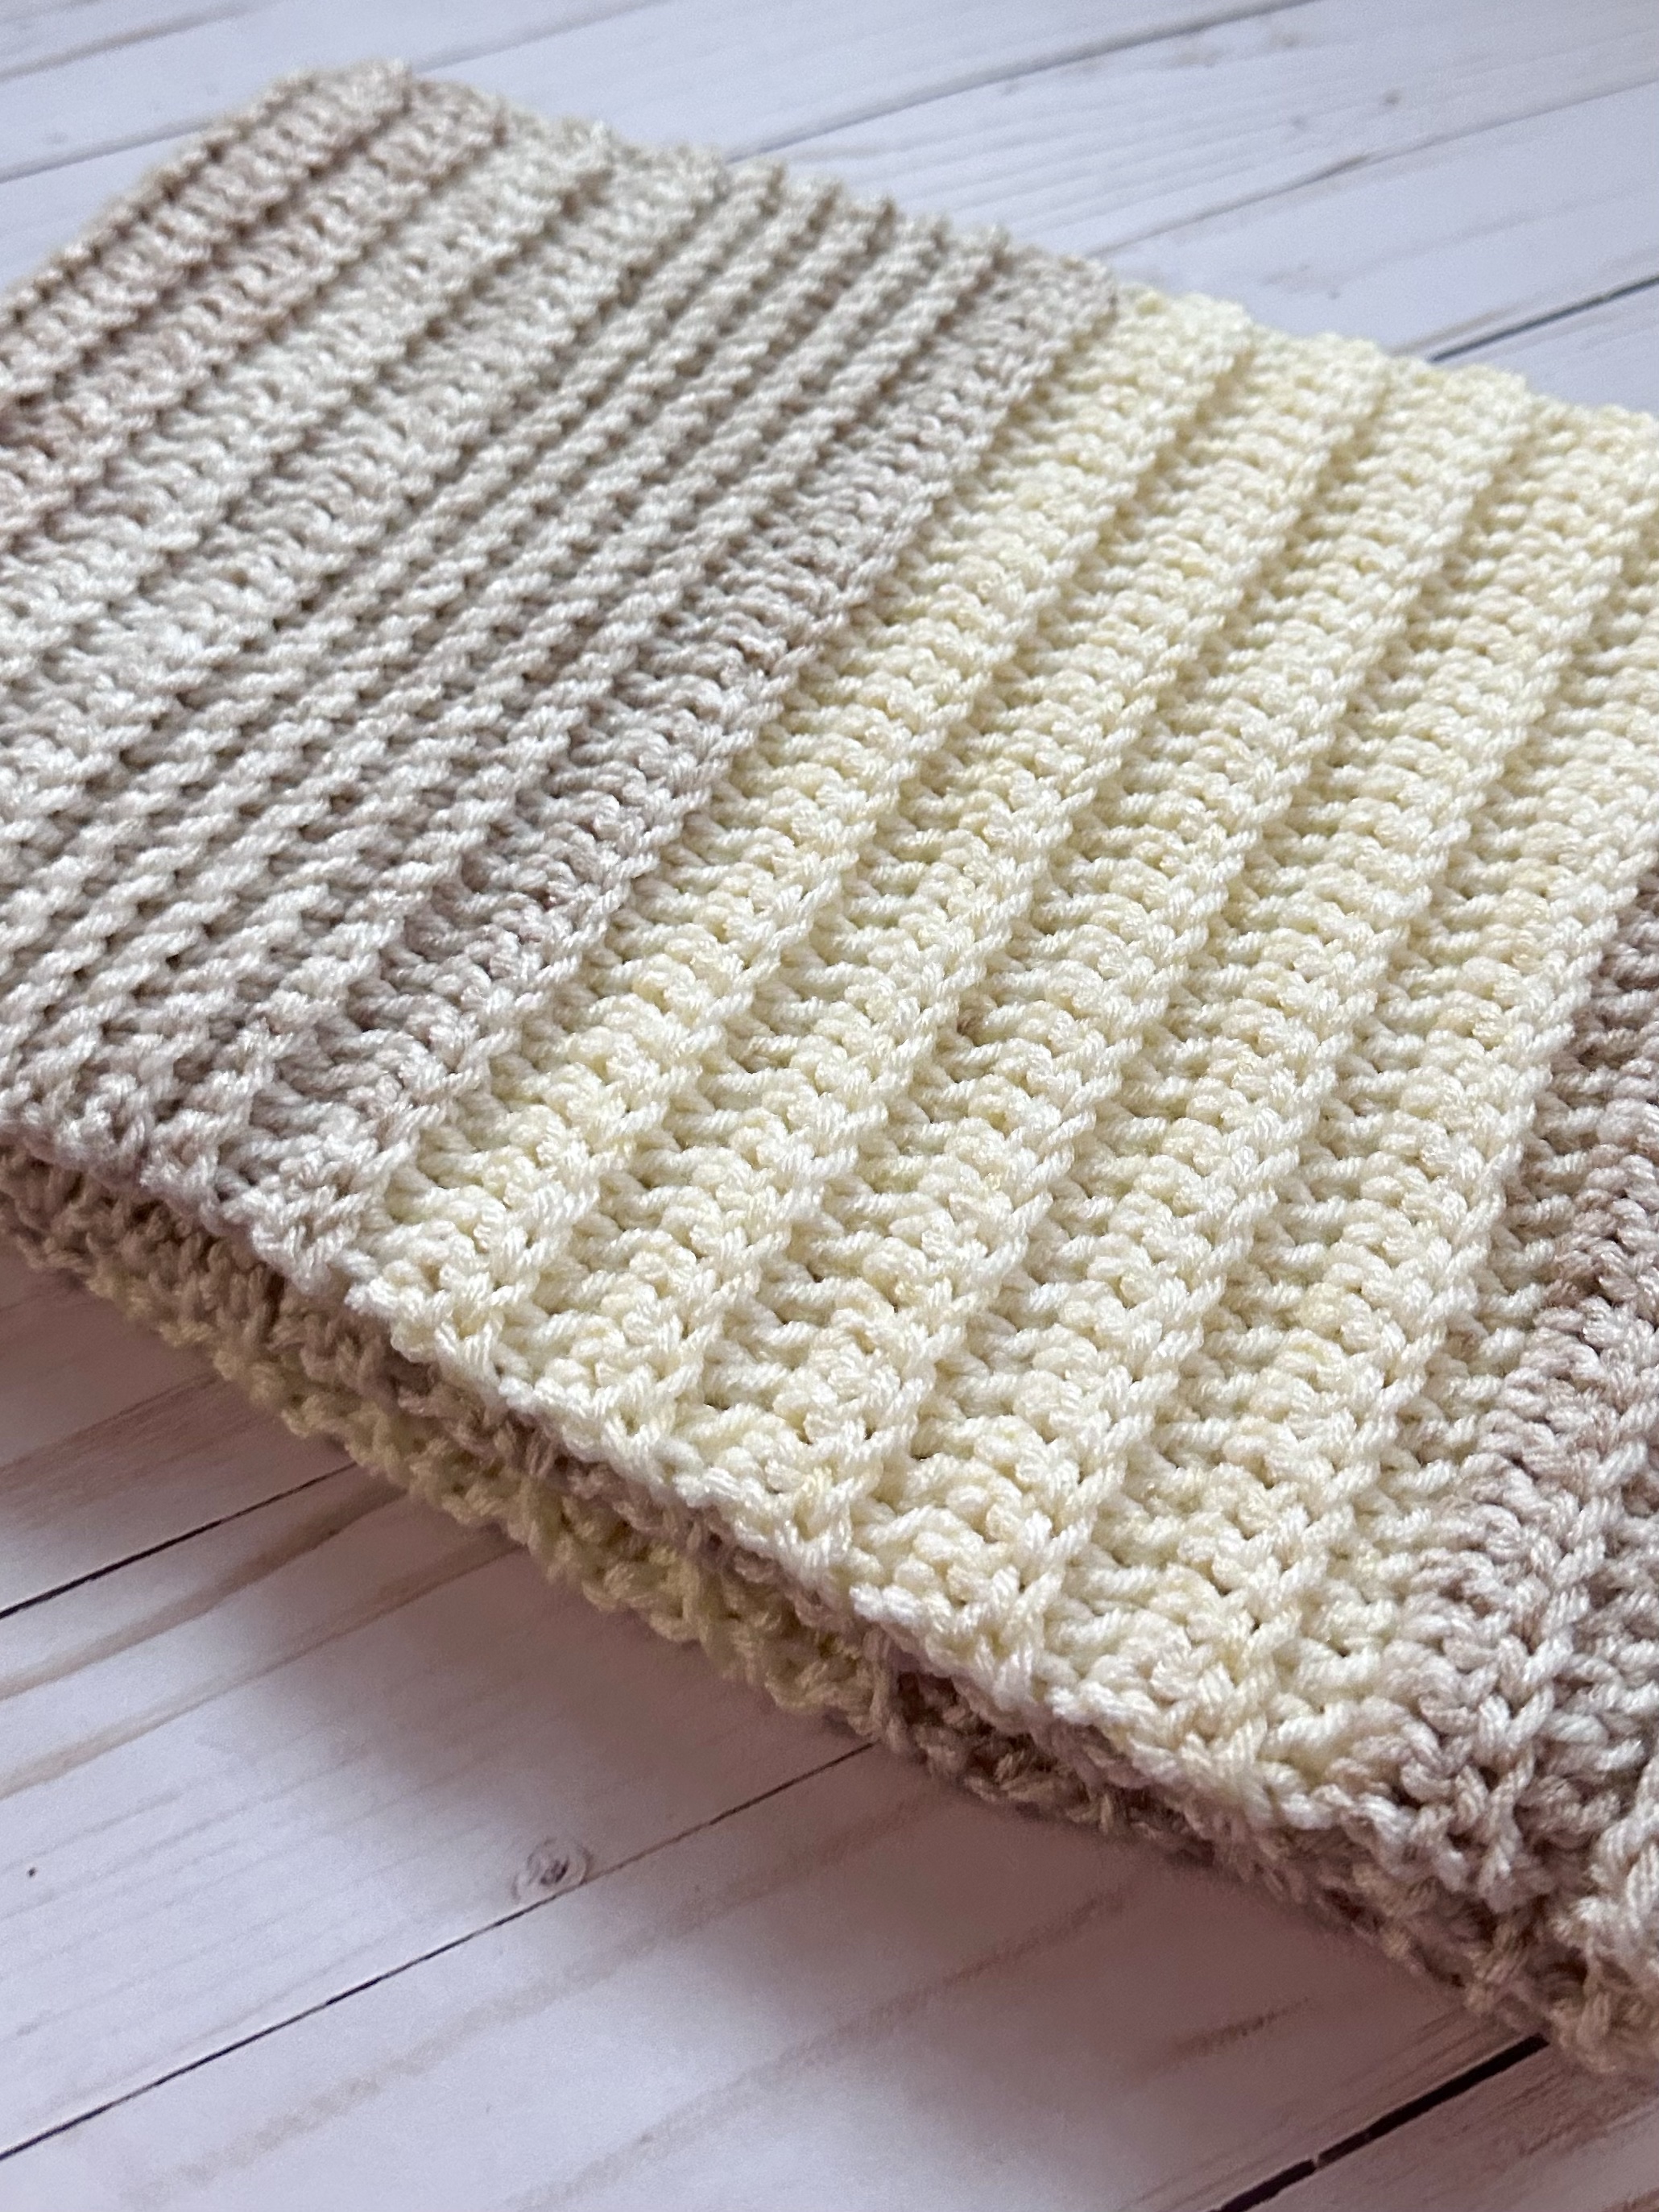
The Cozy Crochet Infinity Scarf is a beginner friendly pattern that is made up of single and double crochet stitches. The texture comes from crocheting in the back loop only.
The pattern begins with a row of foundation single crochet. This is a great tutorial to learn the stitch. I’ve also included instructions for starting with a regular chain.
I used Yarn Bee Soft & Sleek in Ivory Stripe with an I/5.5mm crochet hook to stitch up my scarf. You can use any of your favorite worsted weight yarn to make your own beautiful Cozy Crochet Infinity Scarf.
You’ll find the pattern below and I’ve also included a link to a free PDF if you’d like to easily print it.
Cozy Crochet Infinity Scarf
Worsted Weight Yarn, approximately 11 ounces (512 yards) – I used Yarn Bee Soft & Sleek in Ivory Stripe
I/5.5mm crochet hook
Stitches used in US terms:
Foundation Single Crochet -fsc
Chain – ch
Double Crochet – dc
Back Loop Only – blo
Row 1: work 34 fsc. OR ch 35, sc crochet in 2nd ch from hook and in each ch across. Turn. (34 stitches)
Rows 2-10: ch 1. sc in blo only in each stitch across. Turn. (34 stitches)
Rows 11-25: ch 2 (counts as 1st stitch). Skip 1st stitch, dc in blo of next stitch and each stitch across. Turn. (34 stitches)
Rows 26-35: ch 1. sc in blo only in each stitch across. Turn. (34 stitches)
Rows 36-50: ch 2 (counts as 1st stitch). Skip 1st stitch, dc in blo of next stitch and each stitch across. Turn. (34 stitches)
Rows 51-60: ch 1. sc in blo only in each stitch across. Turn. (34 stitches)
Rows 61-75: ch 2 (counts as 1st stitch). Skip 1st stitch, dc in blo of next stitch and each stitch across. Turn. (34 stitches)
Rows 76-85: ch 1. sc in blo only in each stitch across. Turn. (34 stitches)
Rows 86-100: ch 2 (counts as 1st stitch). Skip 1st stitch, dc in blo of next stitch and each stitch across. Turn. (34 stitches)
Rows 101-110: ch 1. sc in blo only in each stitch across. Turn. (34 stitches)
Rows 111-125: ch 2 (counts as 1st stitch). Skip 1st stitch, dc in blo of next stitch and each stitch across. Turn. (34 stitches)
Rows 126-135: ch 1. sc in blo only in each stitch across. Turn. (34 stitches)
Rows 136-150: ch 2 (counts as 1st stitch). Skip 1st stitch, dc in blo of next stitch and each stitch across. Turn. (34 stitches)
Fold scarf in half, matching short ends, and slip stitch ends together.
Fasten off and weave in ends.
Scarf is approximately 9 inches wide and 58 inches long before joining ends together.
I have a super easy, last minute Fun Little Valentine Canvas to share with you today. It only takes minutes to make with just a few supplies. ❤️
Disclosure: Some of the links on my site are affiliate links, meaning, at no additional cost to you, I will earn a small commission if you click through and make a purchase. As an Amazon Associate I earn from qualifying purchases.
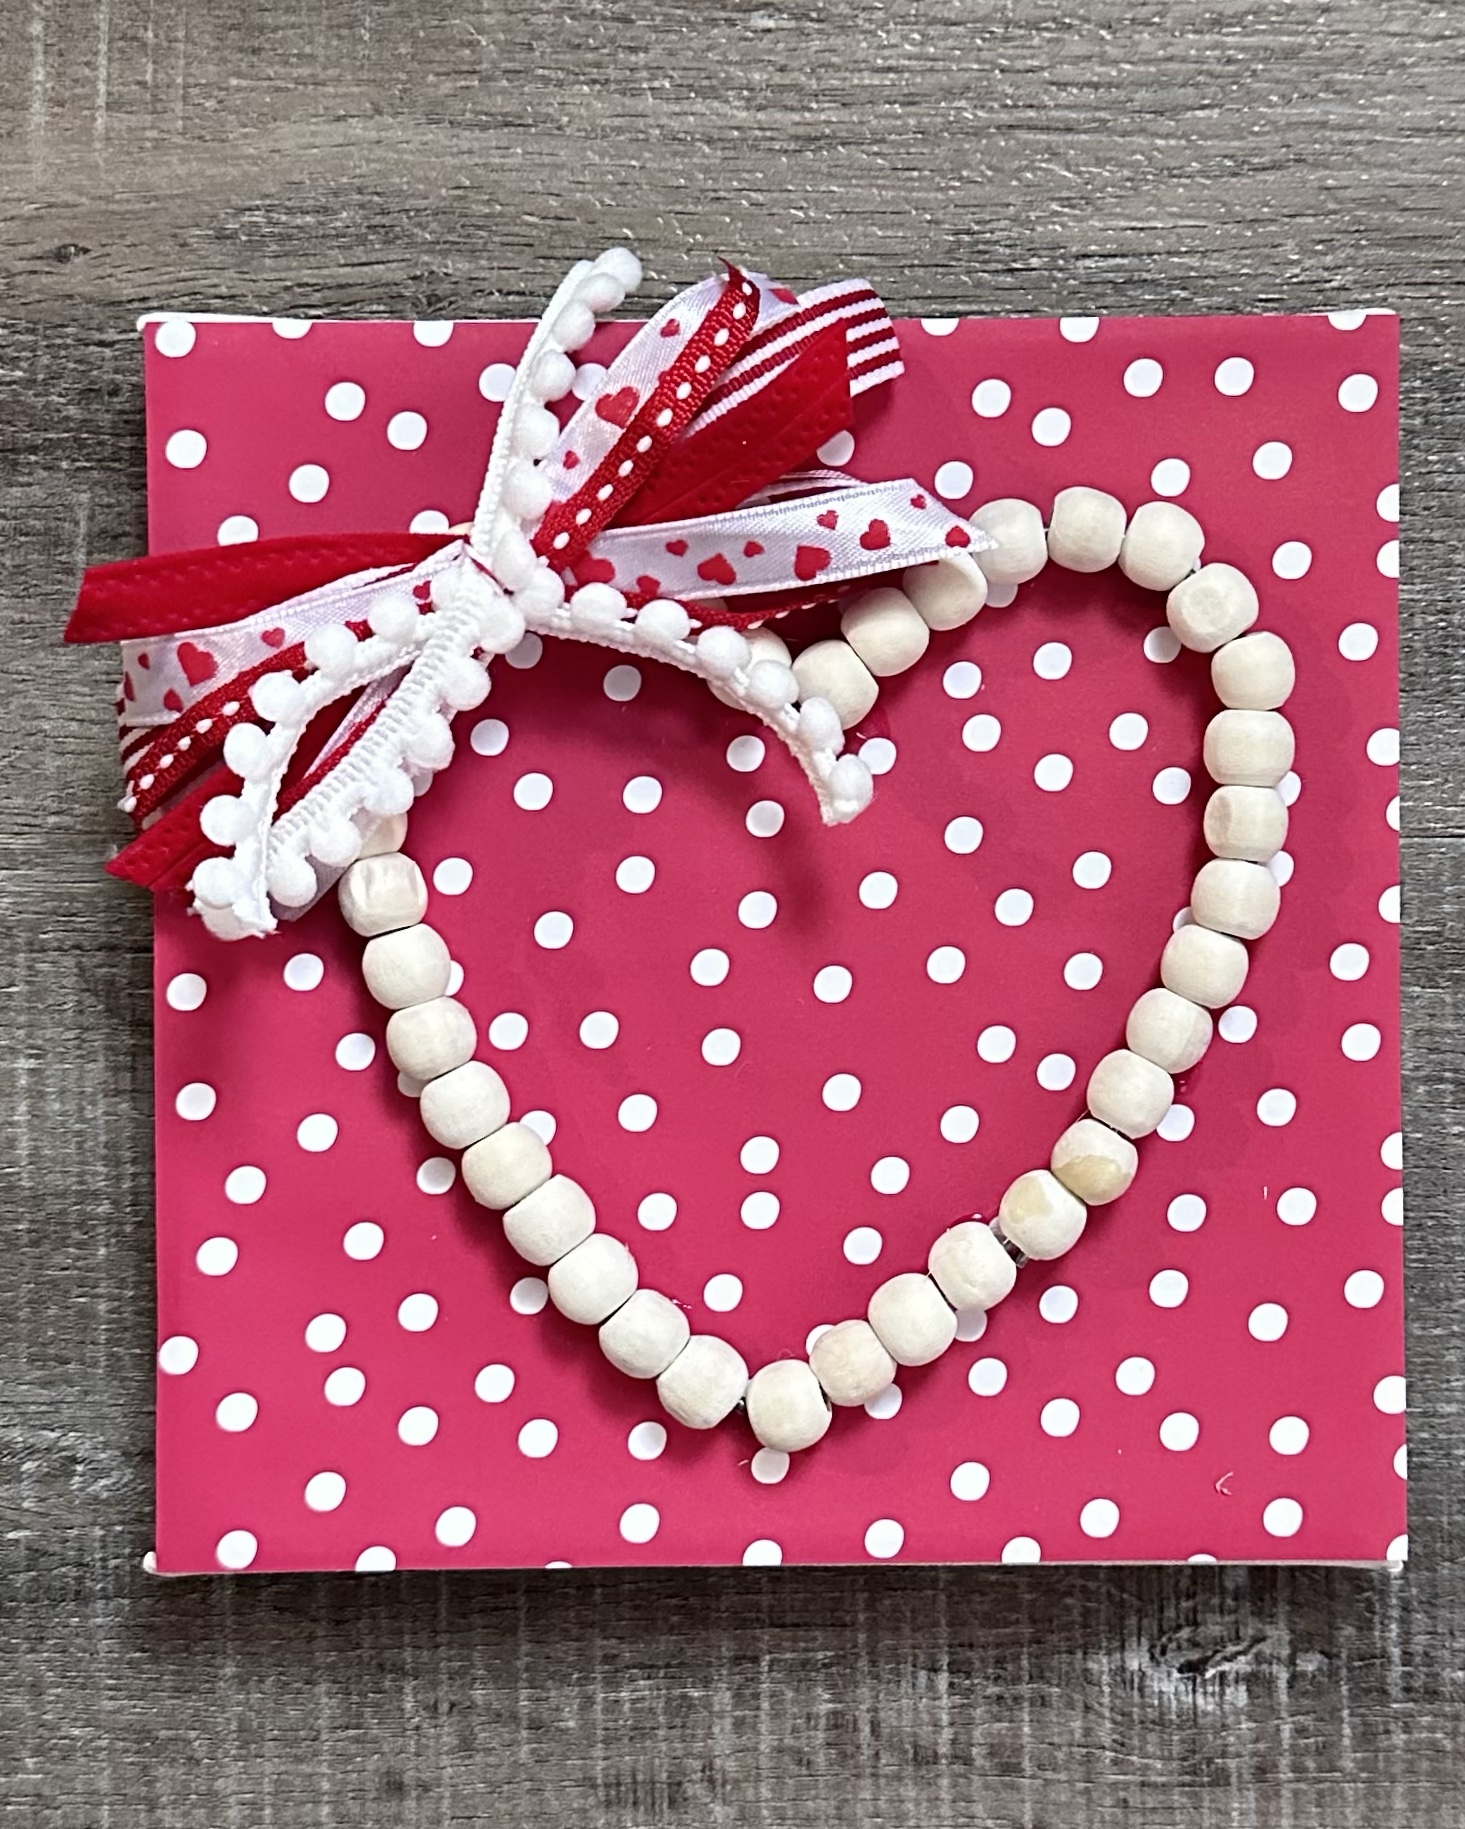
You’ll need a 6 x 6 inch stretched canvas, this cute natural wood bead mini heart wreath (I found it at Hobby Lobby in the Valentine section – it came in a package of 2), a piece of scrapbook paper cut to 6 x 6 inches, and various ribbons to make your bow.
First apply a thin coat of Mod Podge to the canvas using a foam brush. Adhere your scrapbook paper to the canvas and let it dry for a few minutes. Using E6000 clear adhesive, attach the mini heart wreath to the canvas. Be careful when doing this, the beads want to spin on the heart! 😮
And that’s it! A cute Fun Little Valentine Canvas to add a little love to your mantle or tiered tray. ❤️
Sometimes I love making a simple, easy peasy craft that doesn’t take long but ends up being super cute. This is one of those times. I hope you love it as much as I do! 🥰
I love making up little treat bags to share with our youth group at church for the different holidays. And they love the chocolates that I put in them! ❤️
Disclosure: Some of the links on my site are affiliate links, meaning, at no additional cost to you, I will earn a small commission if you click through and make a purchase. As an Amazon Associate I earn from qualifying purchases.
This Valentine’s Day I needed to make something quick as well as cute so I made some really simple tags to attach to the treat bags. I think they turned out great and the kids will love the treats inside. ❤️
I used a 1.75-inch heart punch to punch hearts from red card stock and stamped “Happy Valentine’s Day” with black ink on each heart. (My stamp is no longer available – use your favorite Valentine themed sentiment or even a little heart stamp.) I punched a 2-inch circle from white card stock and attached the heart to it. Then using my Crop-A-Dile, I punched a small hole in the top of the tag – you can punch through several tags at once with this tool. I purchased small Valentine treat bags from Walmart and filled them with chocolate kisses. I tied the tags to the treat bag with red and white baker’s twine, tying the ends in a bow.
You can make a lot of these cute little tags really quickly – I made 40 in less than 30 minutes! I promise whoever you give these Quick and Cute Valentine Treat Bags to will love them! ❤️
Last year I created a Christmas card each month and made 6 or 8 of the design. It worked so well that I’m going to do it again this year! By the time I was ready to send them out in December all I had to do was sign them and address the envelopes. 😊 I used to wait until November and then scramble to try and get them all made. Making a few cards each month has taken the last minute stress away…and I’ve used a lot more of my Christmas stamps!
Disclosure: Some of the links on my site are affiliate links, meaning, at no additional cost to you, I will earn a small commission if you click through and make a purchase. As an Amazon Associate I earn from qualifying purchases.
I stamped the image with Memento Tuxedo Black ink on white card stock and colored it with Copic markers. Then I stamped the sentiment with black ink on the base of the snow globe.
I embossed a piece of white card stock with a snowflake embossing folder (this is similar) and attached it to a white card. I attached the stamped piece to the card with foam tape.
I made 6 of this card – it’s a great start to building my Christmas stash for 2023! Pull out your favorite Christmas stamps and join me. You’ll be glad you did! ❄️☃️❄️
This sweet Valentine card only takes a few minutes to make! It’s super easy to put together and is a cute way to send “lots of hugs”. 💕
Disclosure: Some of the links on my site are affiliate links, meaning, at no additional cost to you, I will earn a small commission if you click through and make a purchase. As an Amazon Associate I earn from qualifying purchases.
Using a heart embossing folder (this is a similar one), I embossed a piece of white card stock. Then I attached 1/2-inch strips of 3 different patterned papers to the embossed piece and attached it to a white card.
You can make several of these cards in a short amount of time to send to all those special Valentines in your life. Sending “lots of hugs” is sure to make them smile! ❤️
I found these cute little mugs at Hobby Lobby in the clearance section. They have had different colors for different seasons and they are so adorable! They are about 2-inches tall and about 2-inches in diameter. I wasn’t sure what I would do with them, but I knew they had to come home with me. 😊
Disclosure: Some of the links on my site are affiliate links, meaning, at no additional cost to you, I will earn a small commission if you click through and make a purchase. As an Amazon Associate I earn from qualifying purchases.
I thought the mini mugs would make great little Valentine treat holders. I used my Cricut Explore Air 2 to cut out small hearts from red and white permanent vinyl. I sized my hearts to measure 1-inch and used transfer tape to apply them to the mugs.
I filled the mugs with Hershey’s Kisses – each mug will hold 10. Then I wrapped them in cellophane and tied them with red and white bakers twine.
I think they are so fun and cute! The perfect little Valentine treat. ❤️
If you can’t find any of these adorable little mugs, look around for other cute mini containers that you can use – you might be surprised what you can find! ❤️
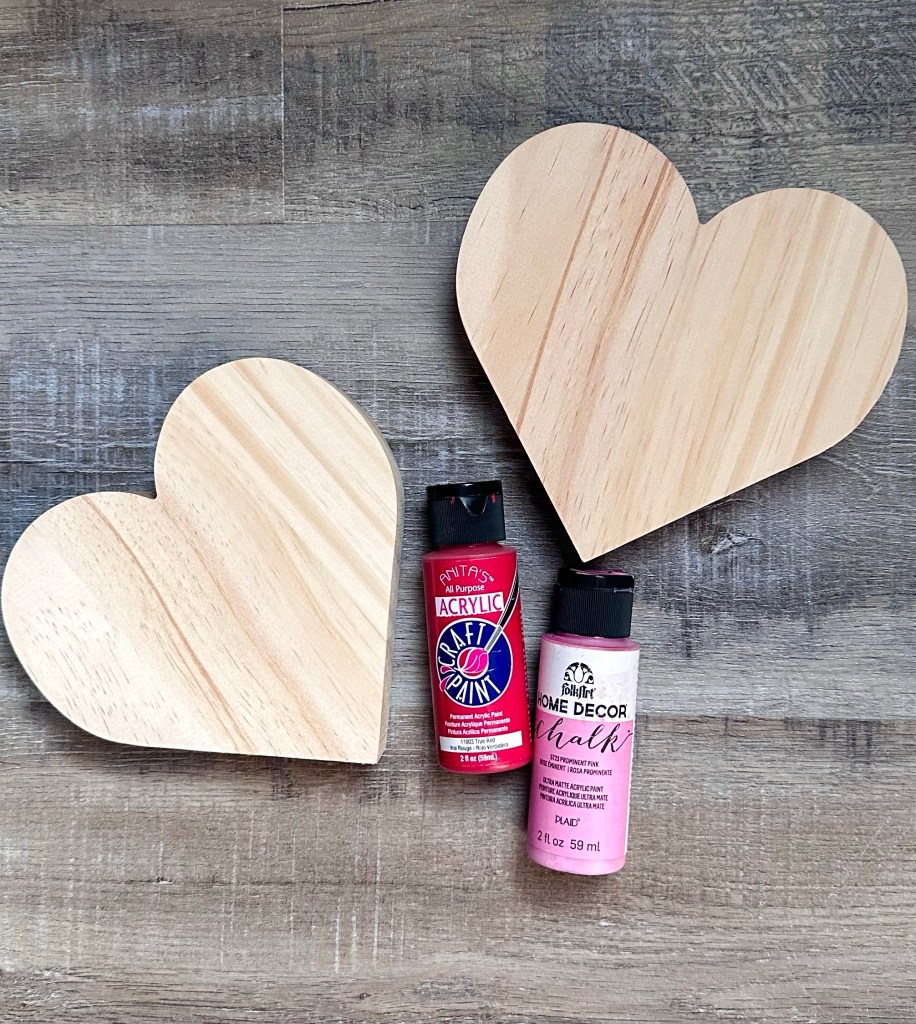
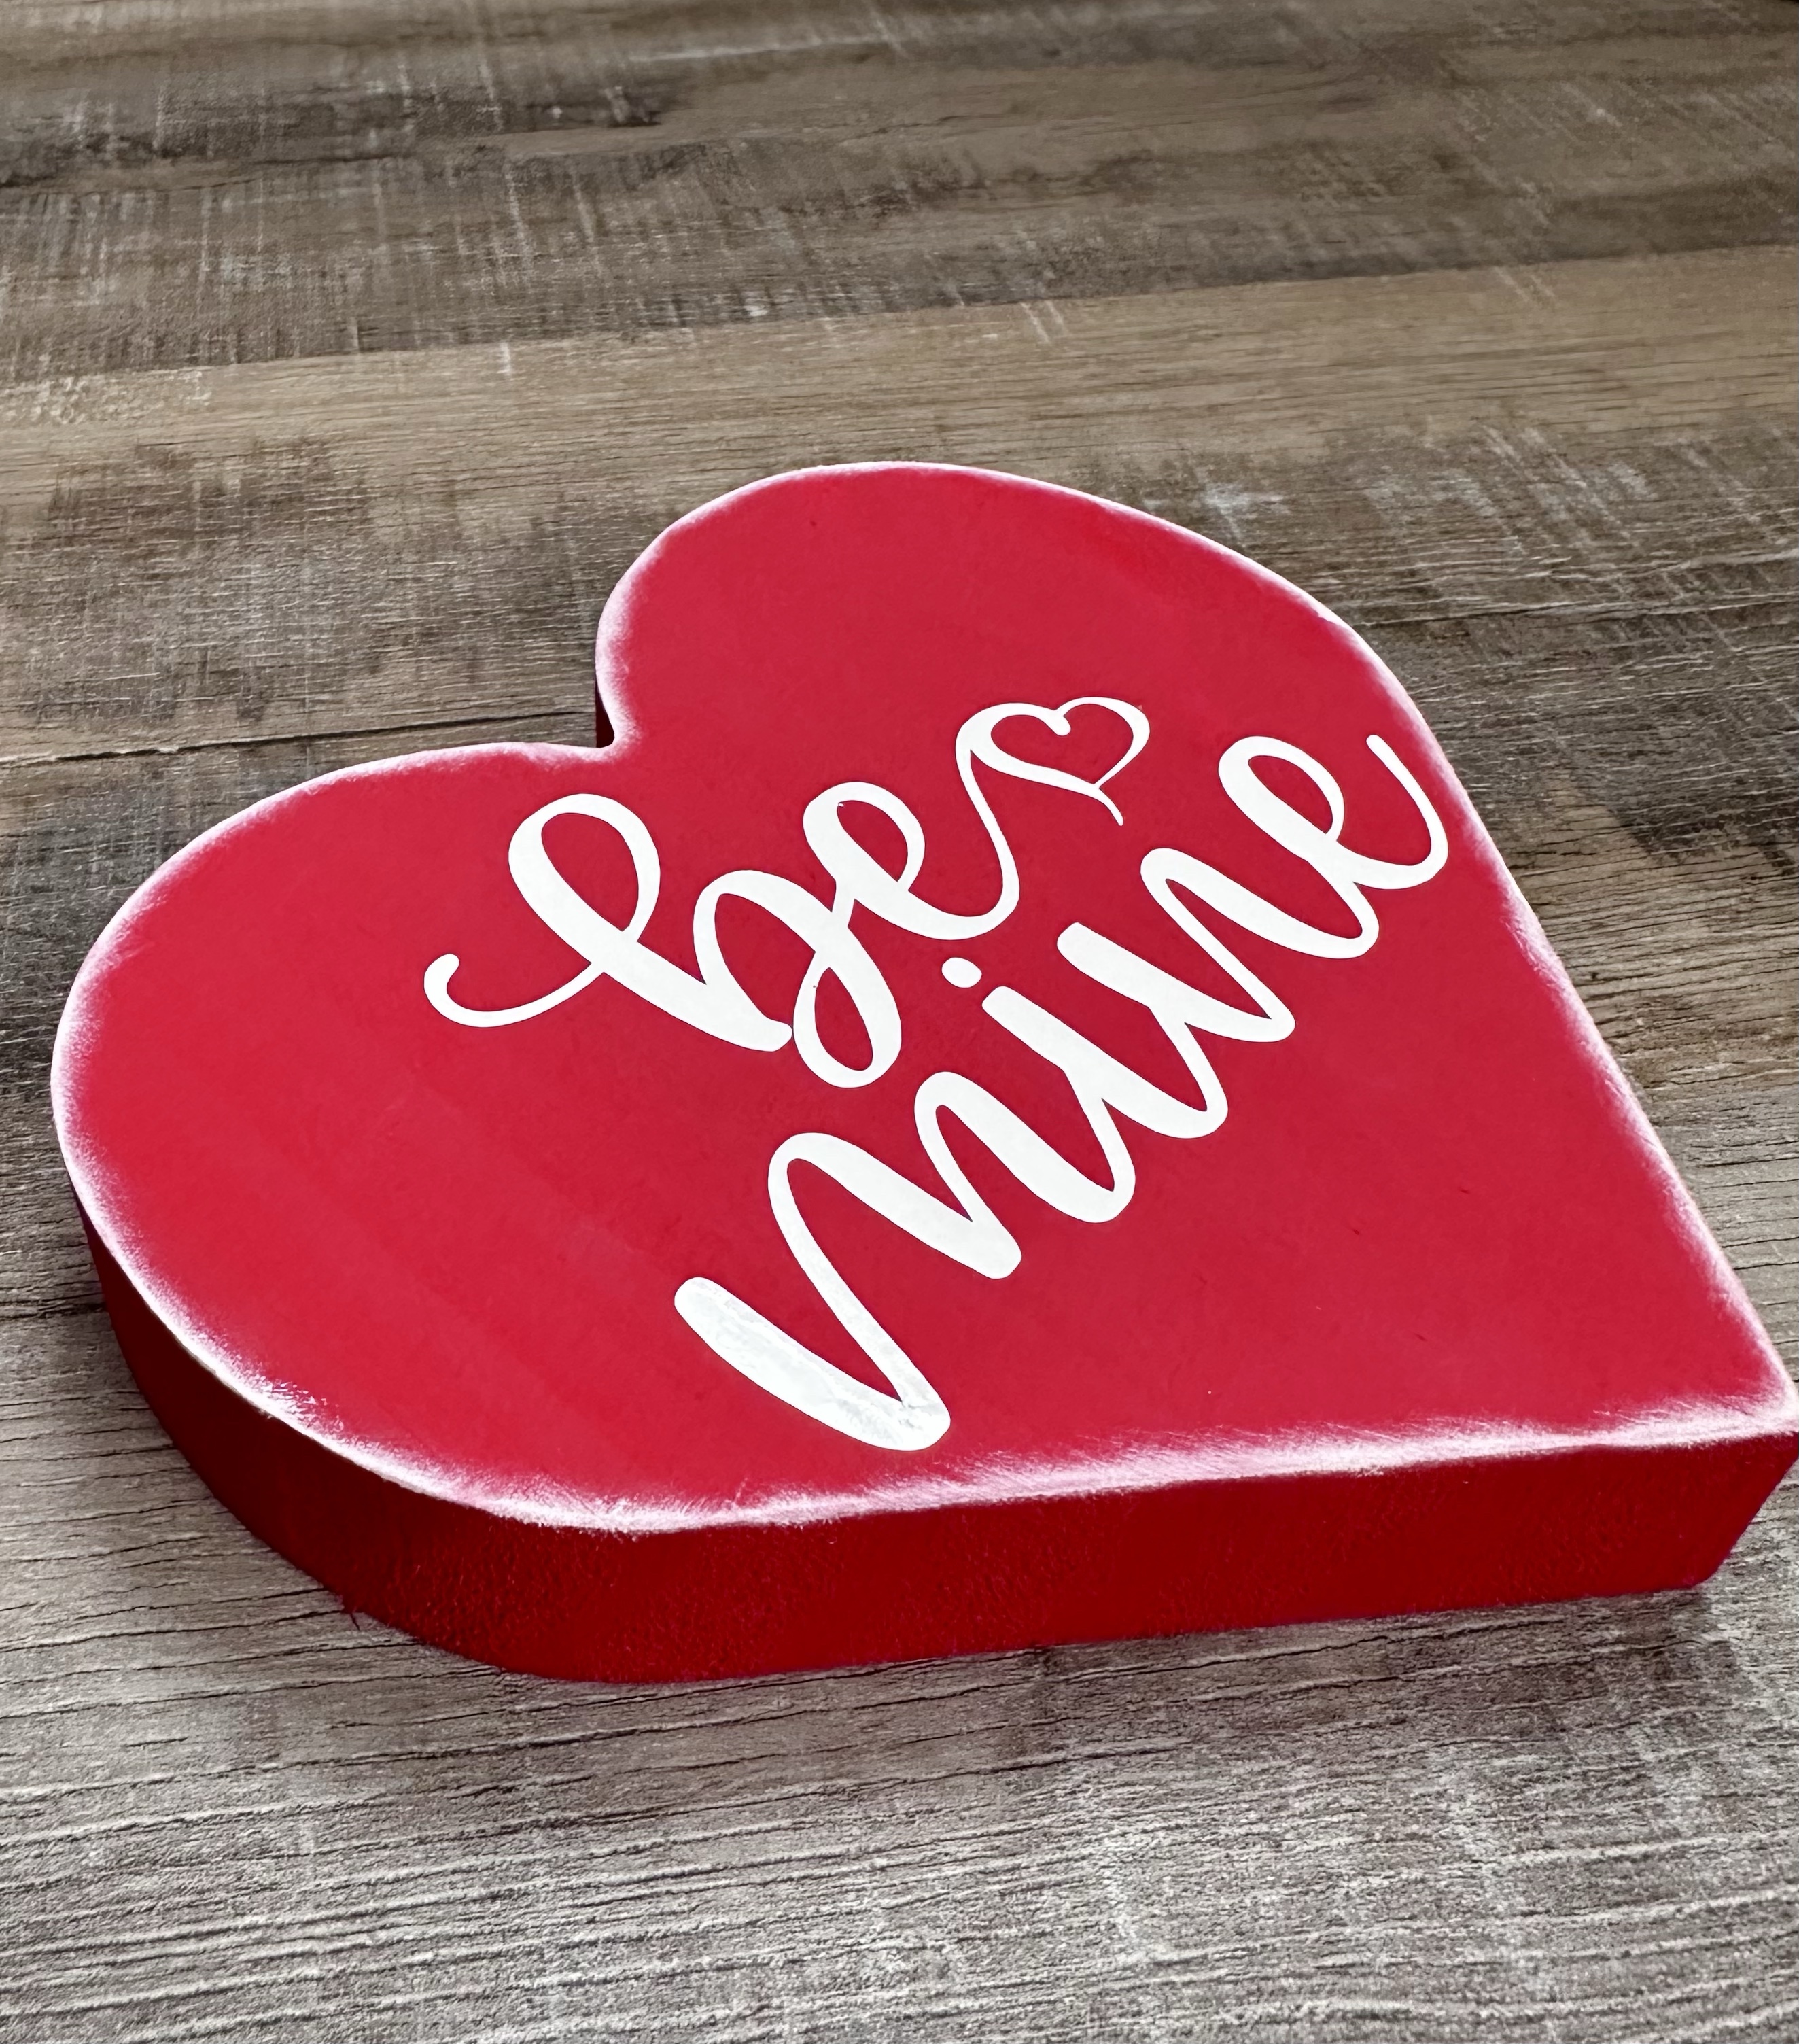
I found these great unfinished wood hearts at Target in the Valentine section. They measure about 6-inches wide and about 1-inch thick and are just waiting for your creative touch!
Disclosure: Some of the links on my site are affiliate links, meaning, at no additional cost to you, I will earn a small commission if you click through and make a purchase. As an Amazon Associate I earn from qualifying purchases.
I pulled out my red and pink paints and painted the hearts with 2 coats using a foam brush. I used acrylic red paint and pink chalk paint because that’s what I had on hand…either type of paint works great.
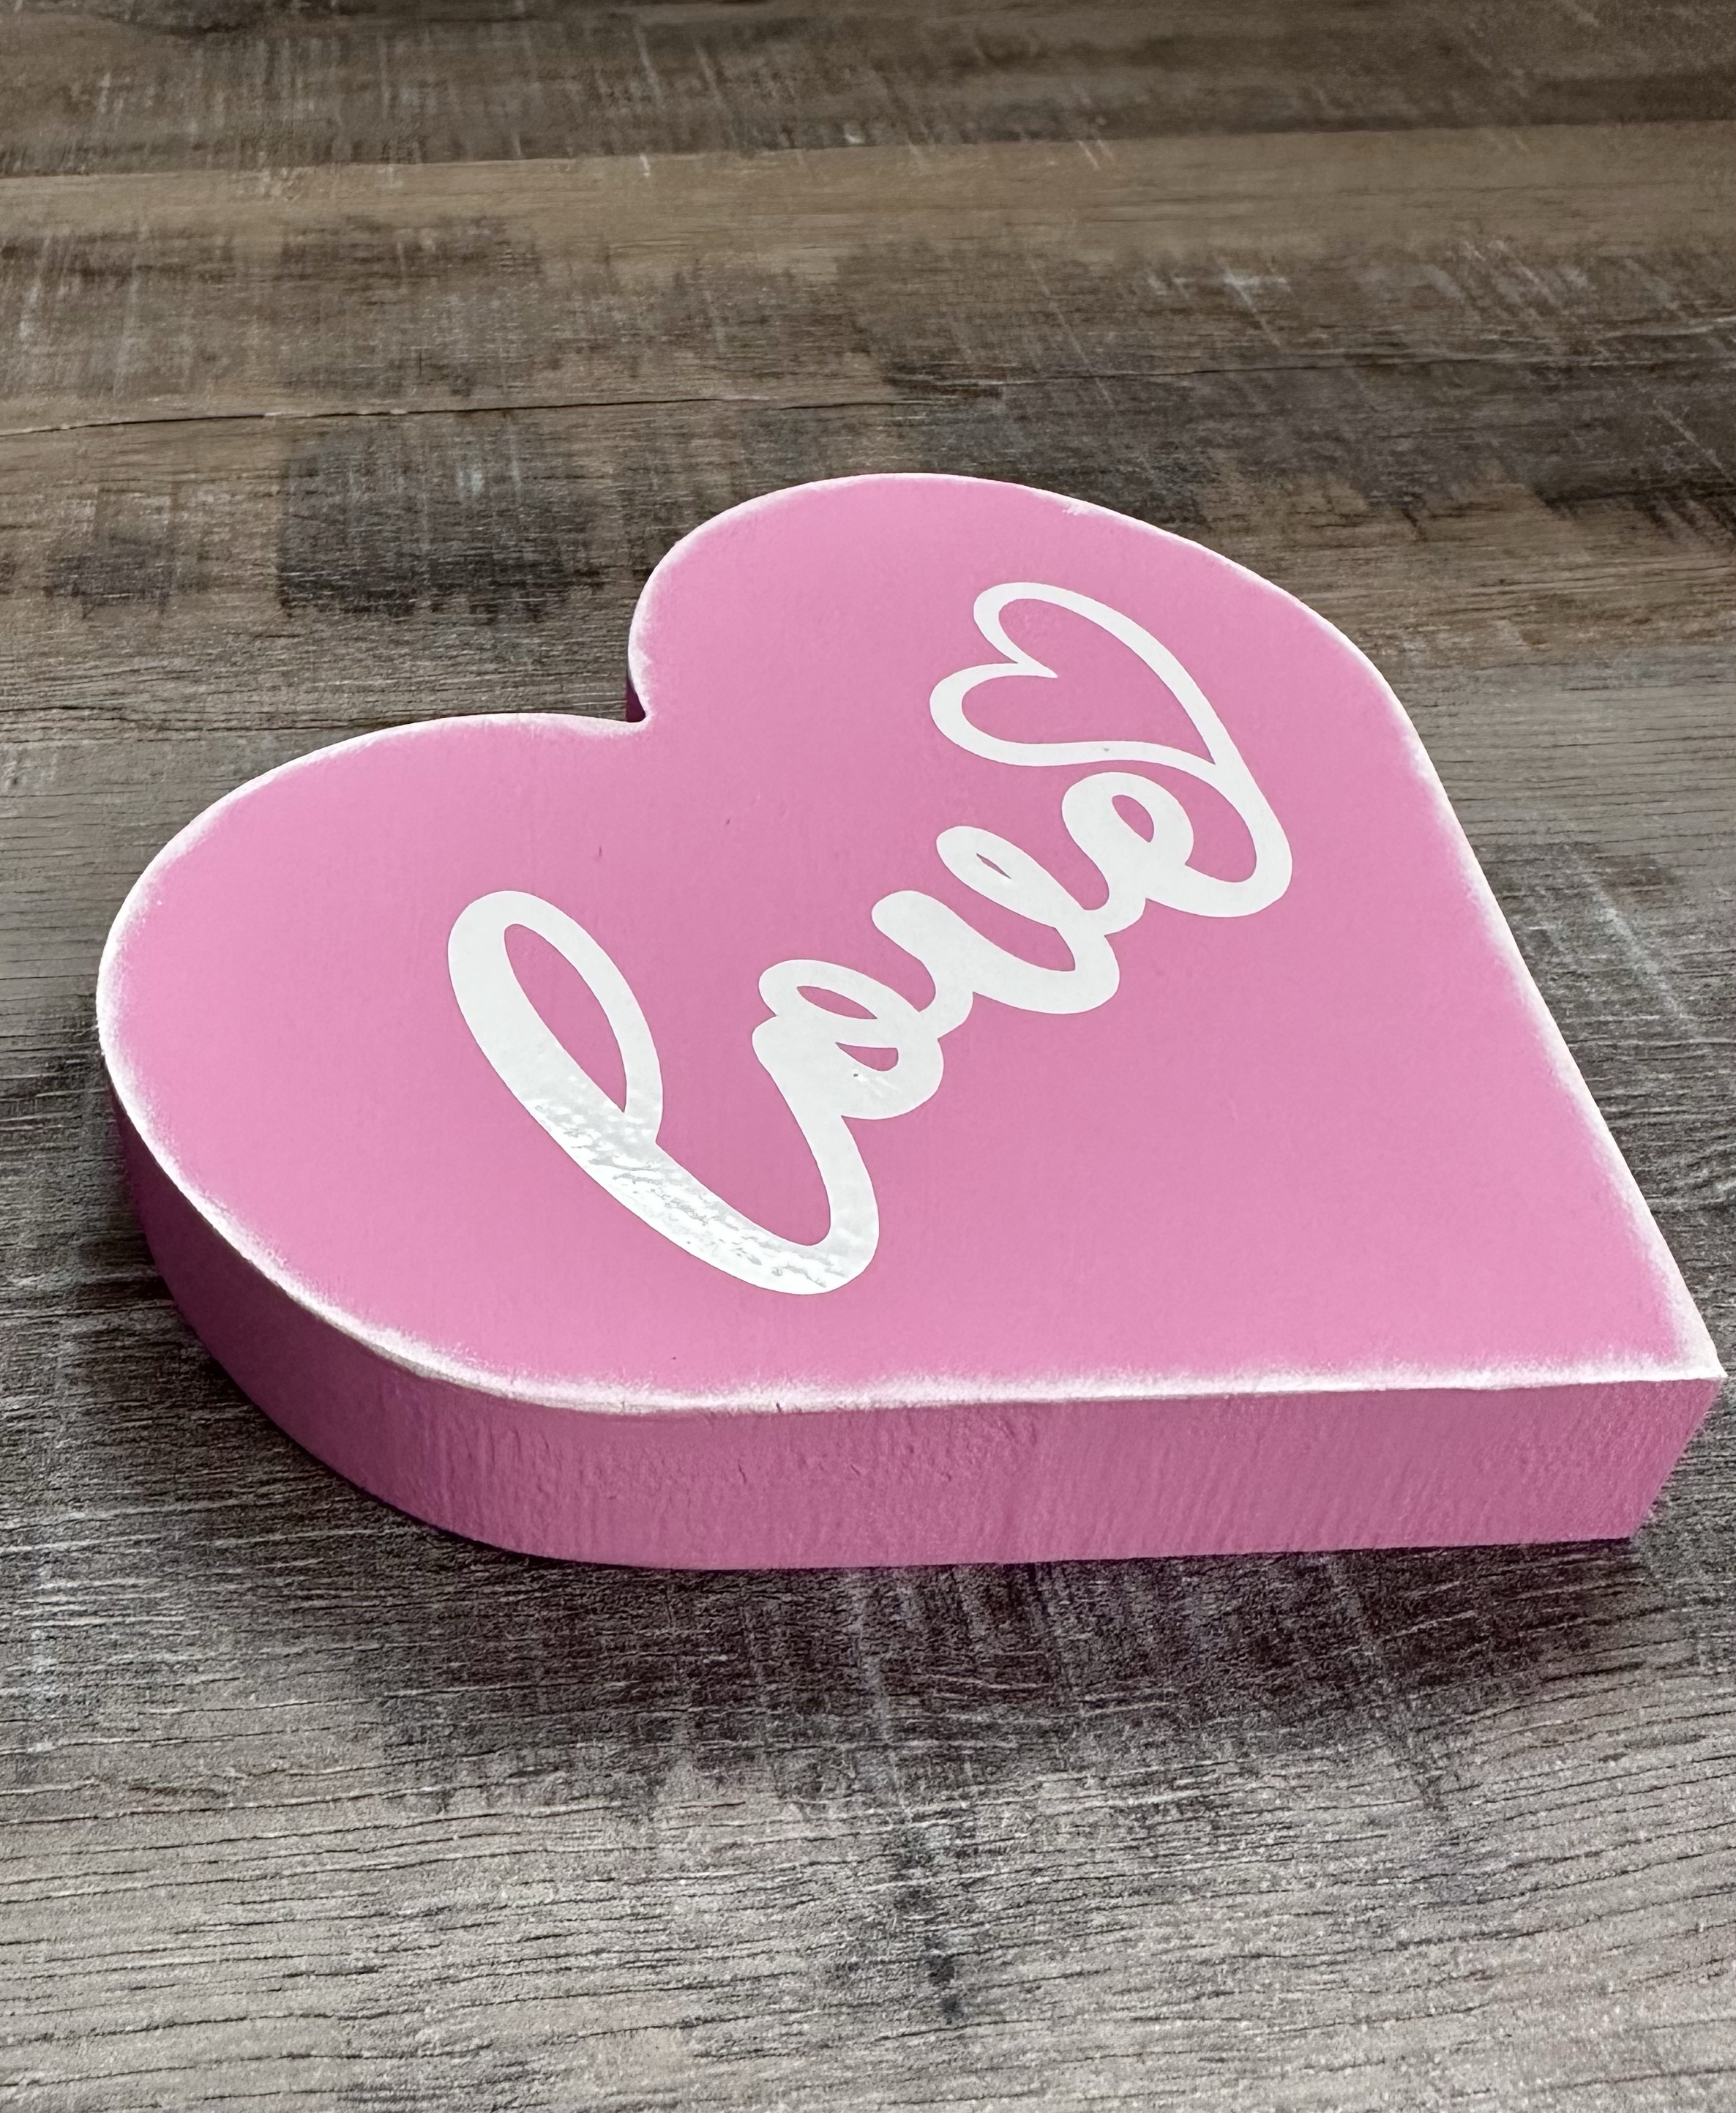
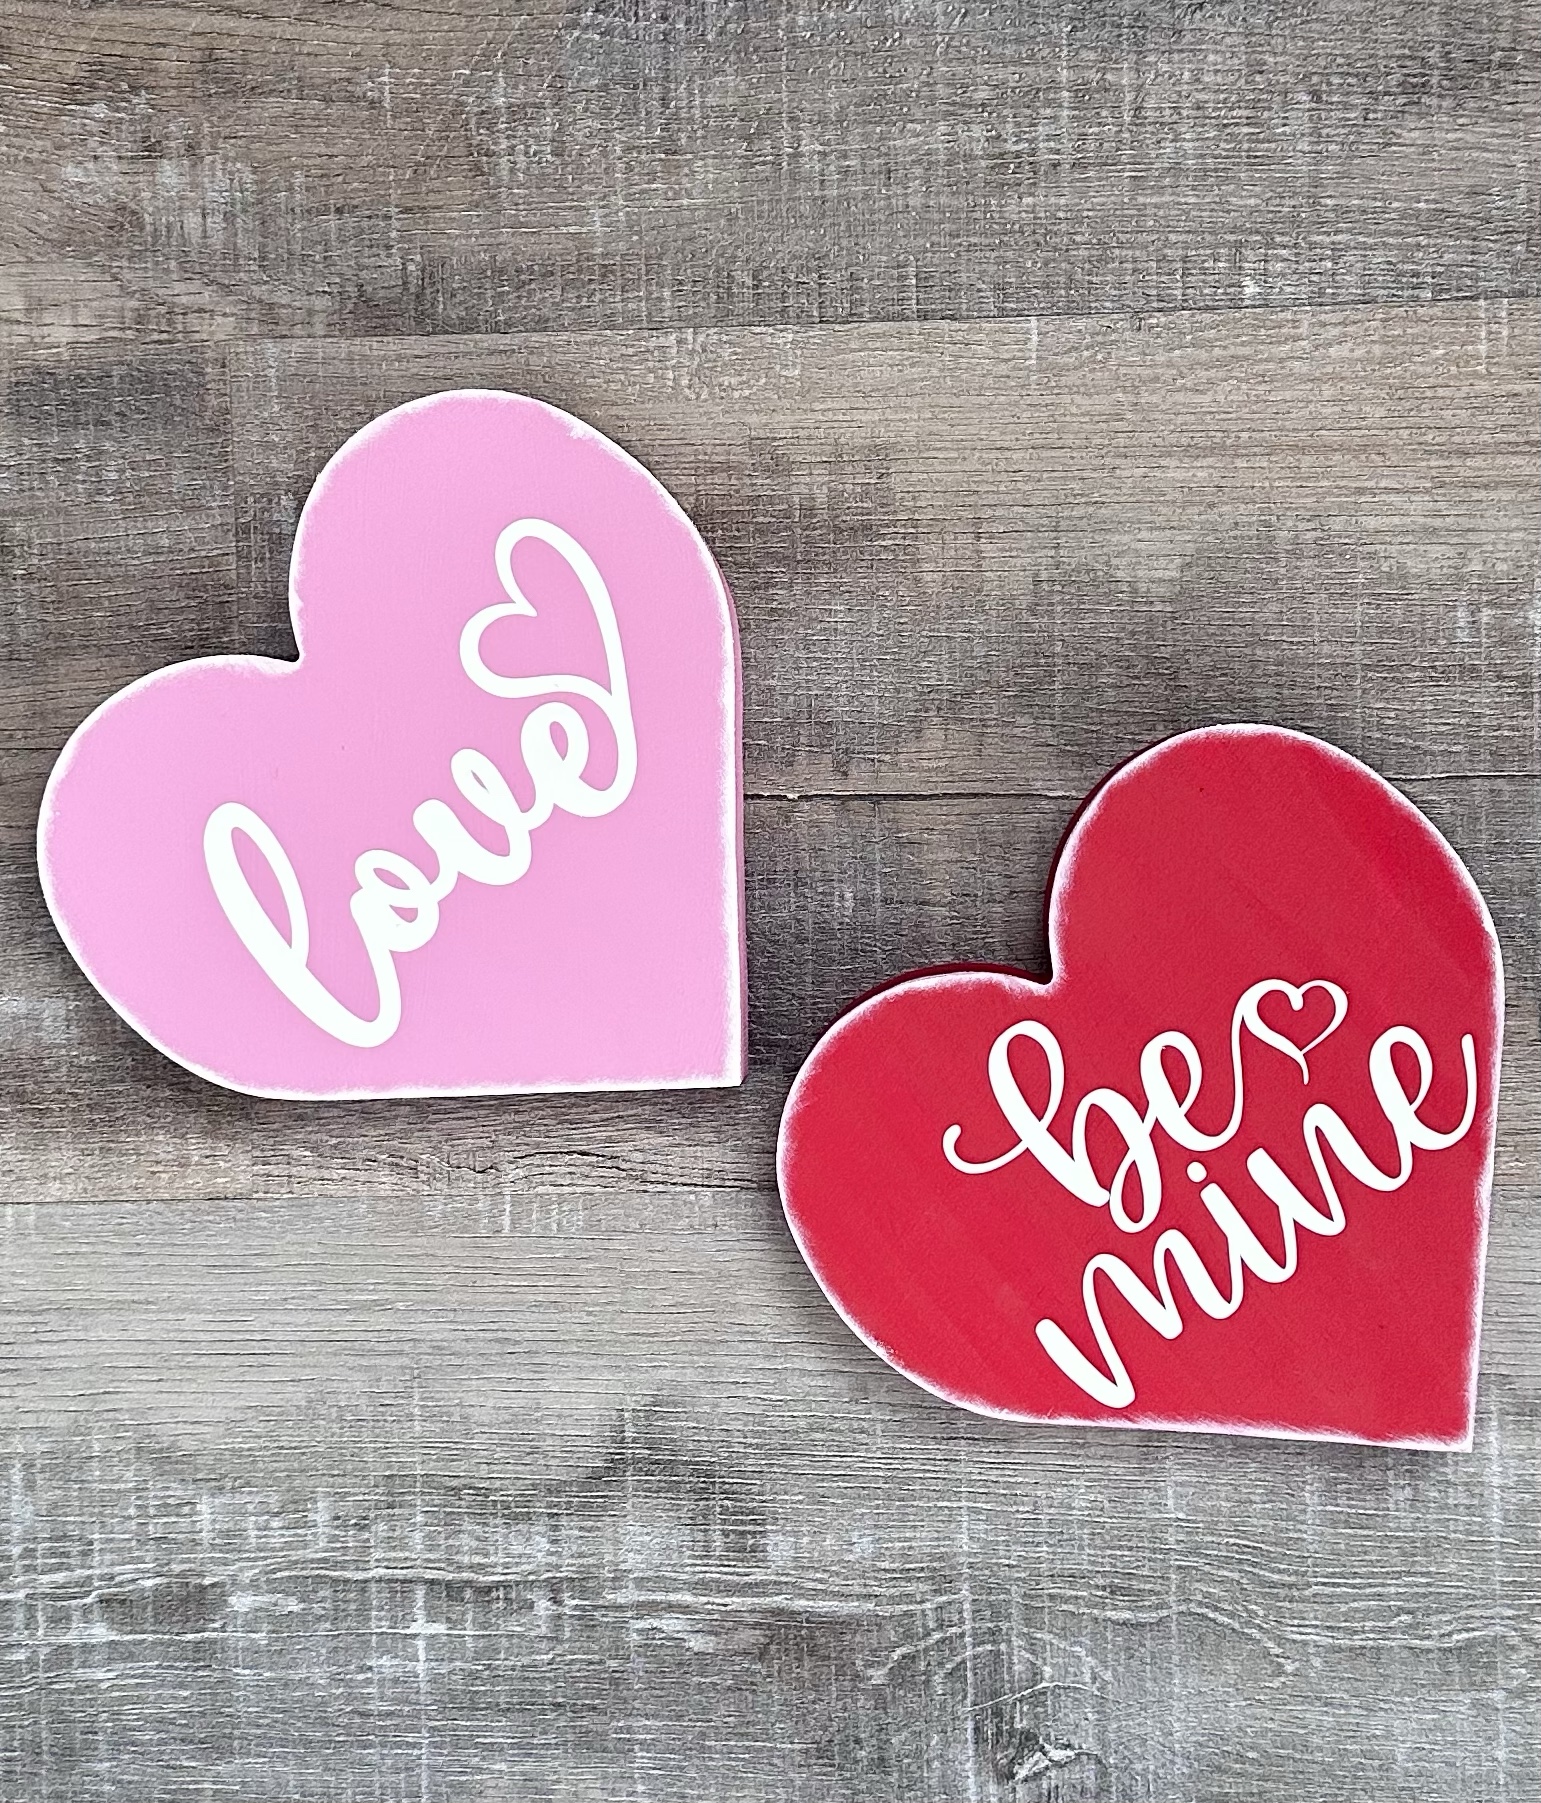
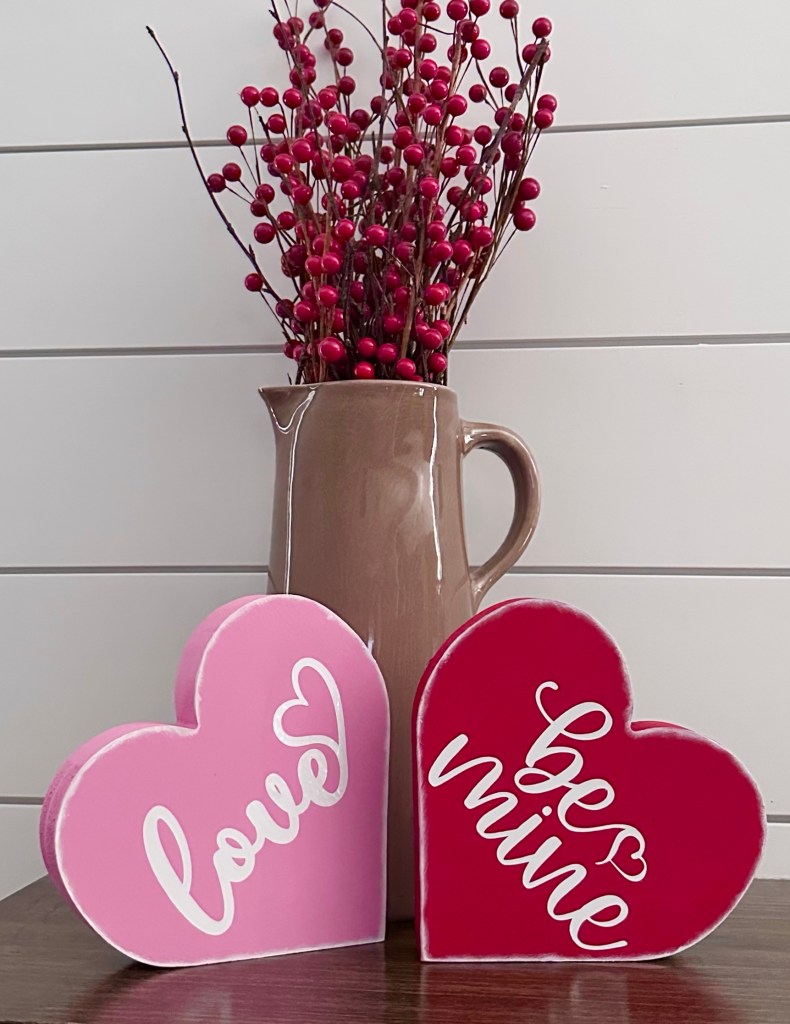
I decided to add some fun Valentine words using my Cricut Explore Air 2. I found my “love” and “be mine” in Cricut Design Space and sized the images to fit on my hearts. There are tons of Valentine images at Cricut Design Space to choose from. ❤️ Then I let my Cricut cut them from white permanent vinyl. Using transfer tape, I applied the words to my hearts. They still needed a little something so I used a sponge dauber to apply white paint just along the edges of each heart.
These are such a cute addition to my Valentine decor. ❤️💕
I would love to see what you create with these simple wood hearts❣️
Disclosure: Some of the links on my site are affiliate links, meaning, at no additional cost to you, I will earn a small commission if you click through and make a purchase. As an Amazon Associate I earn from qualifying purchases.
I stamped Pooh, the party hat, and balloon with Memento Tuxedo Black ink on white card stock and colored them with Copic markers. Using the matching Sweet Little Smiles dies, I die cut the images. I used a cloud stencil and a grass stencil to create the background on a white card. These Blending Brushes from Taylored Expressions work great to apply the ink to the card. I attached the stamped images to the card using foam tape and stamped my sentiment using blue ink on the top of the card. I’ve had my “Happy Birthday to You” stamp in my stash for a long time and it’s no longer available ☹️ – use your favorite birthday sentiment on your card.
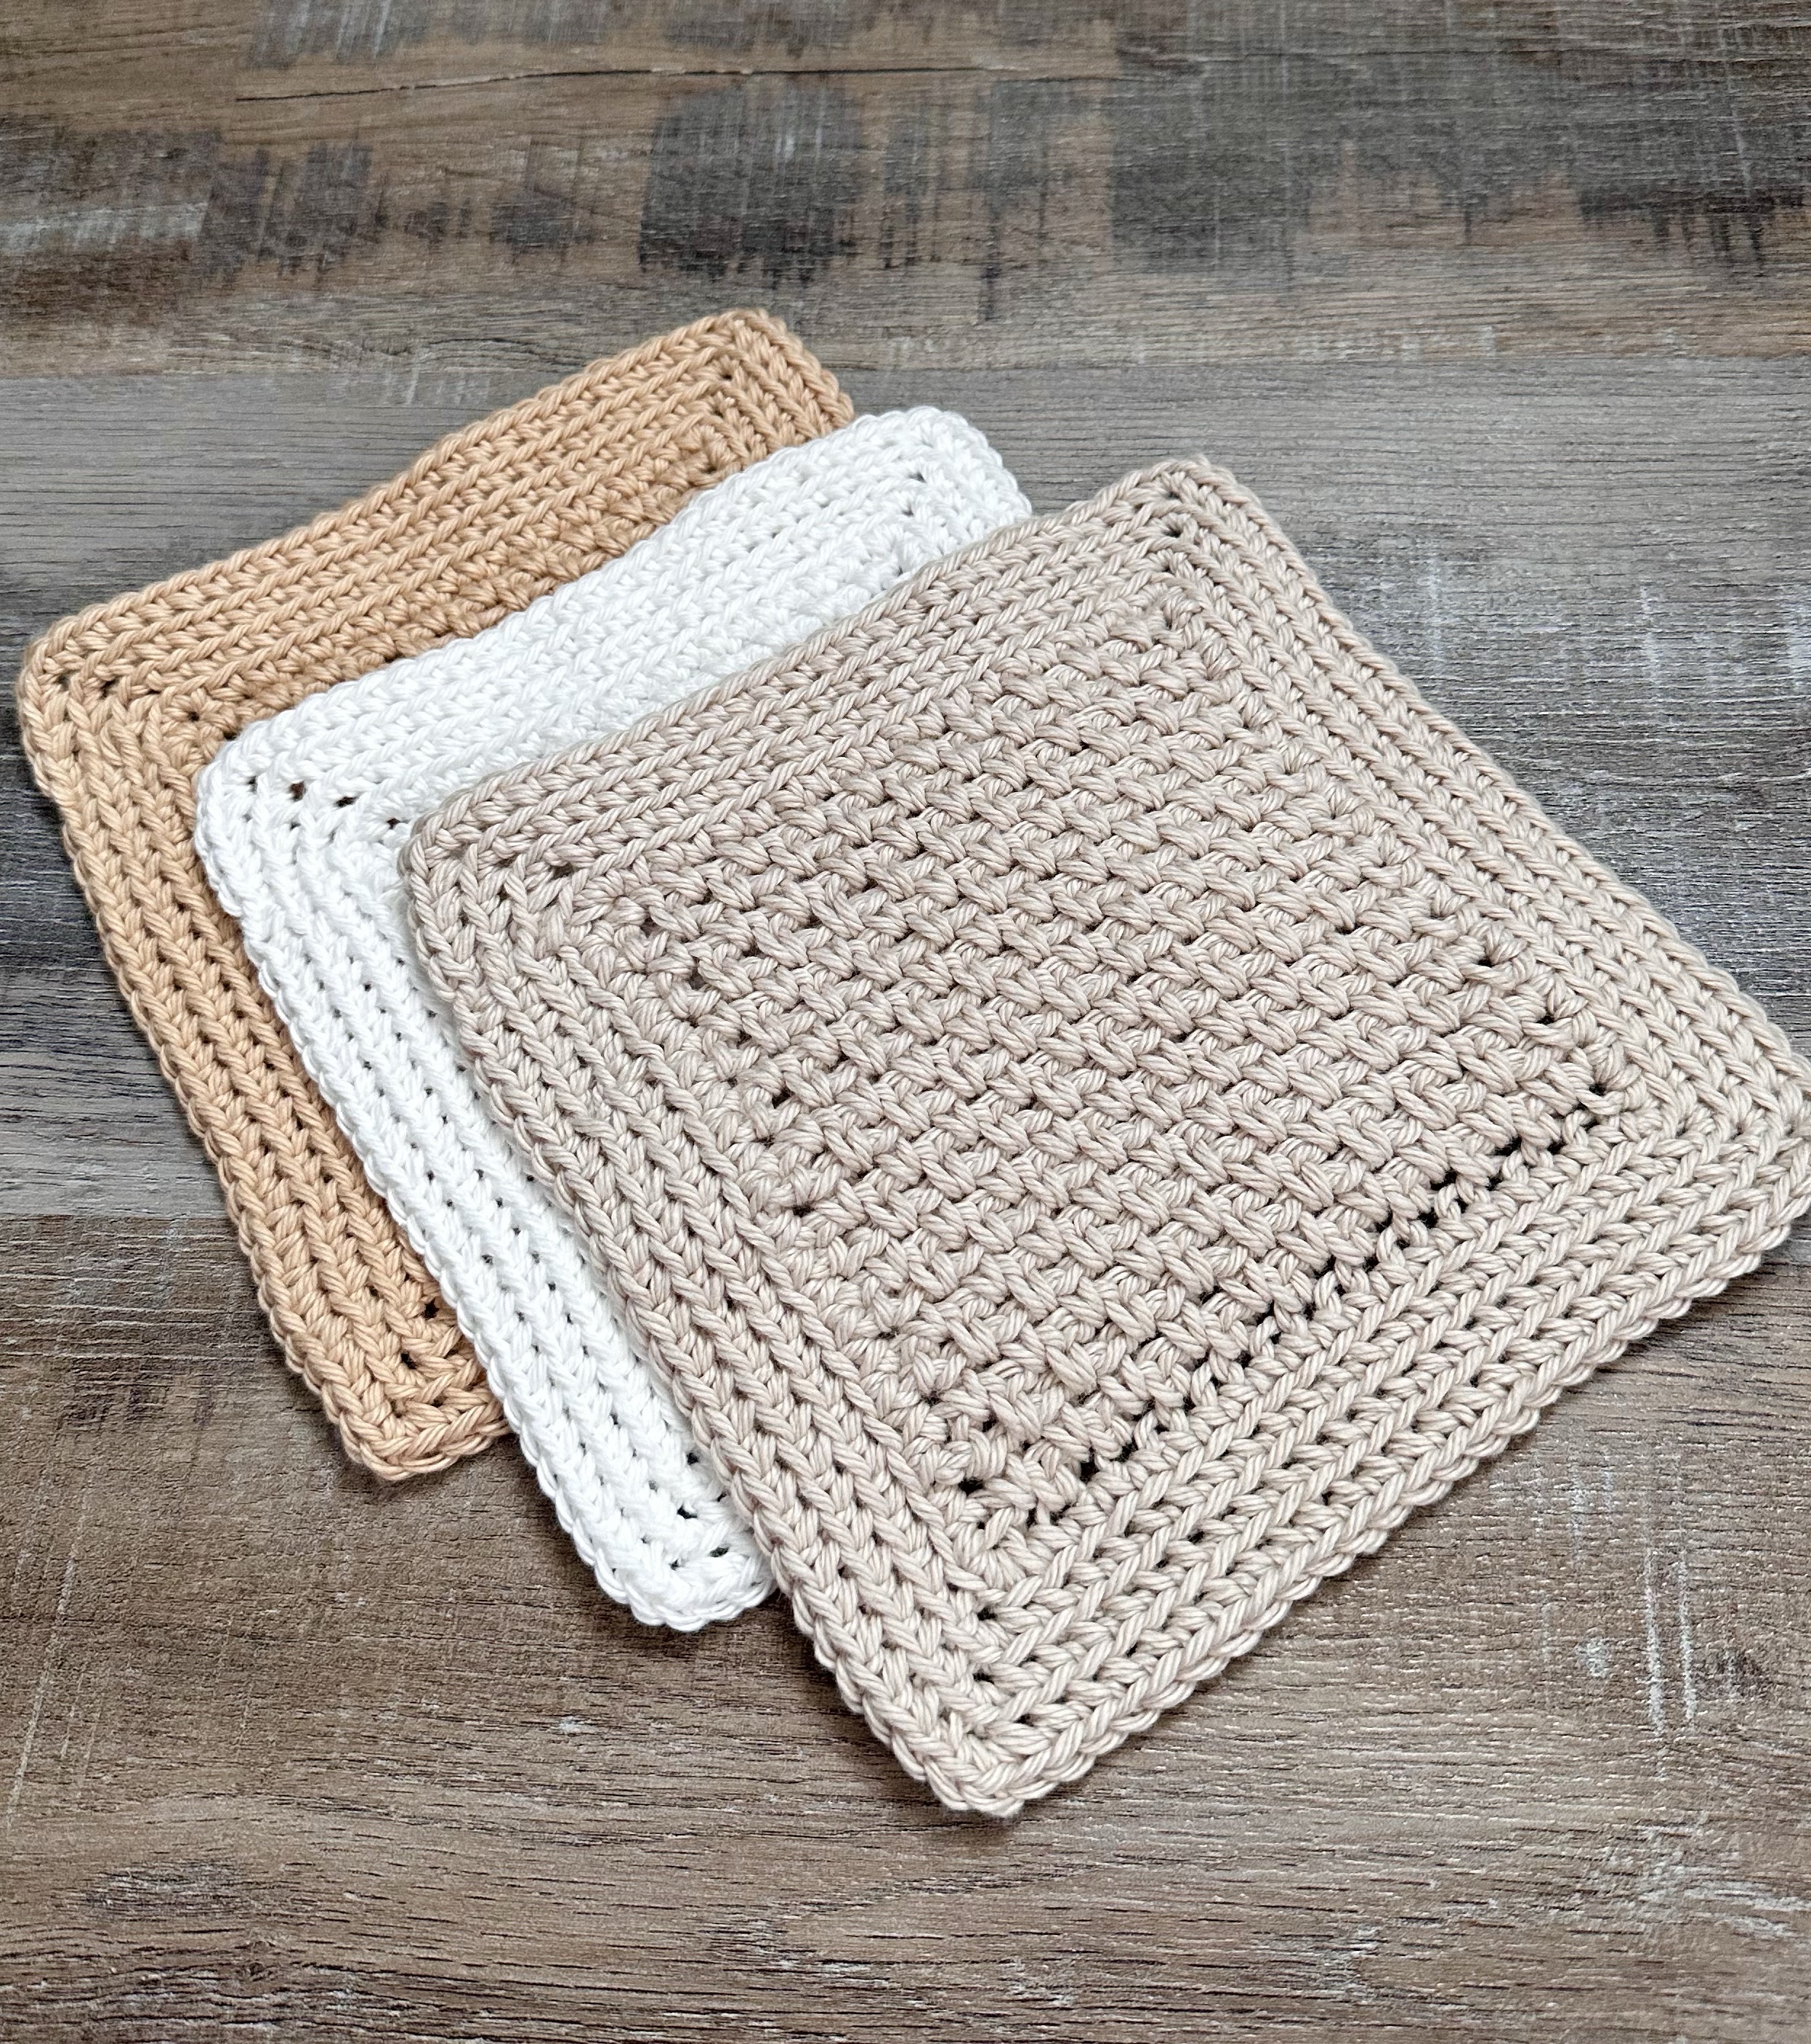
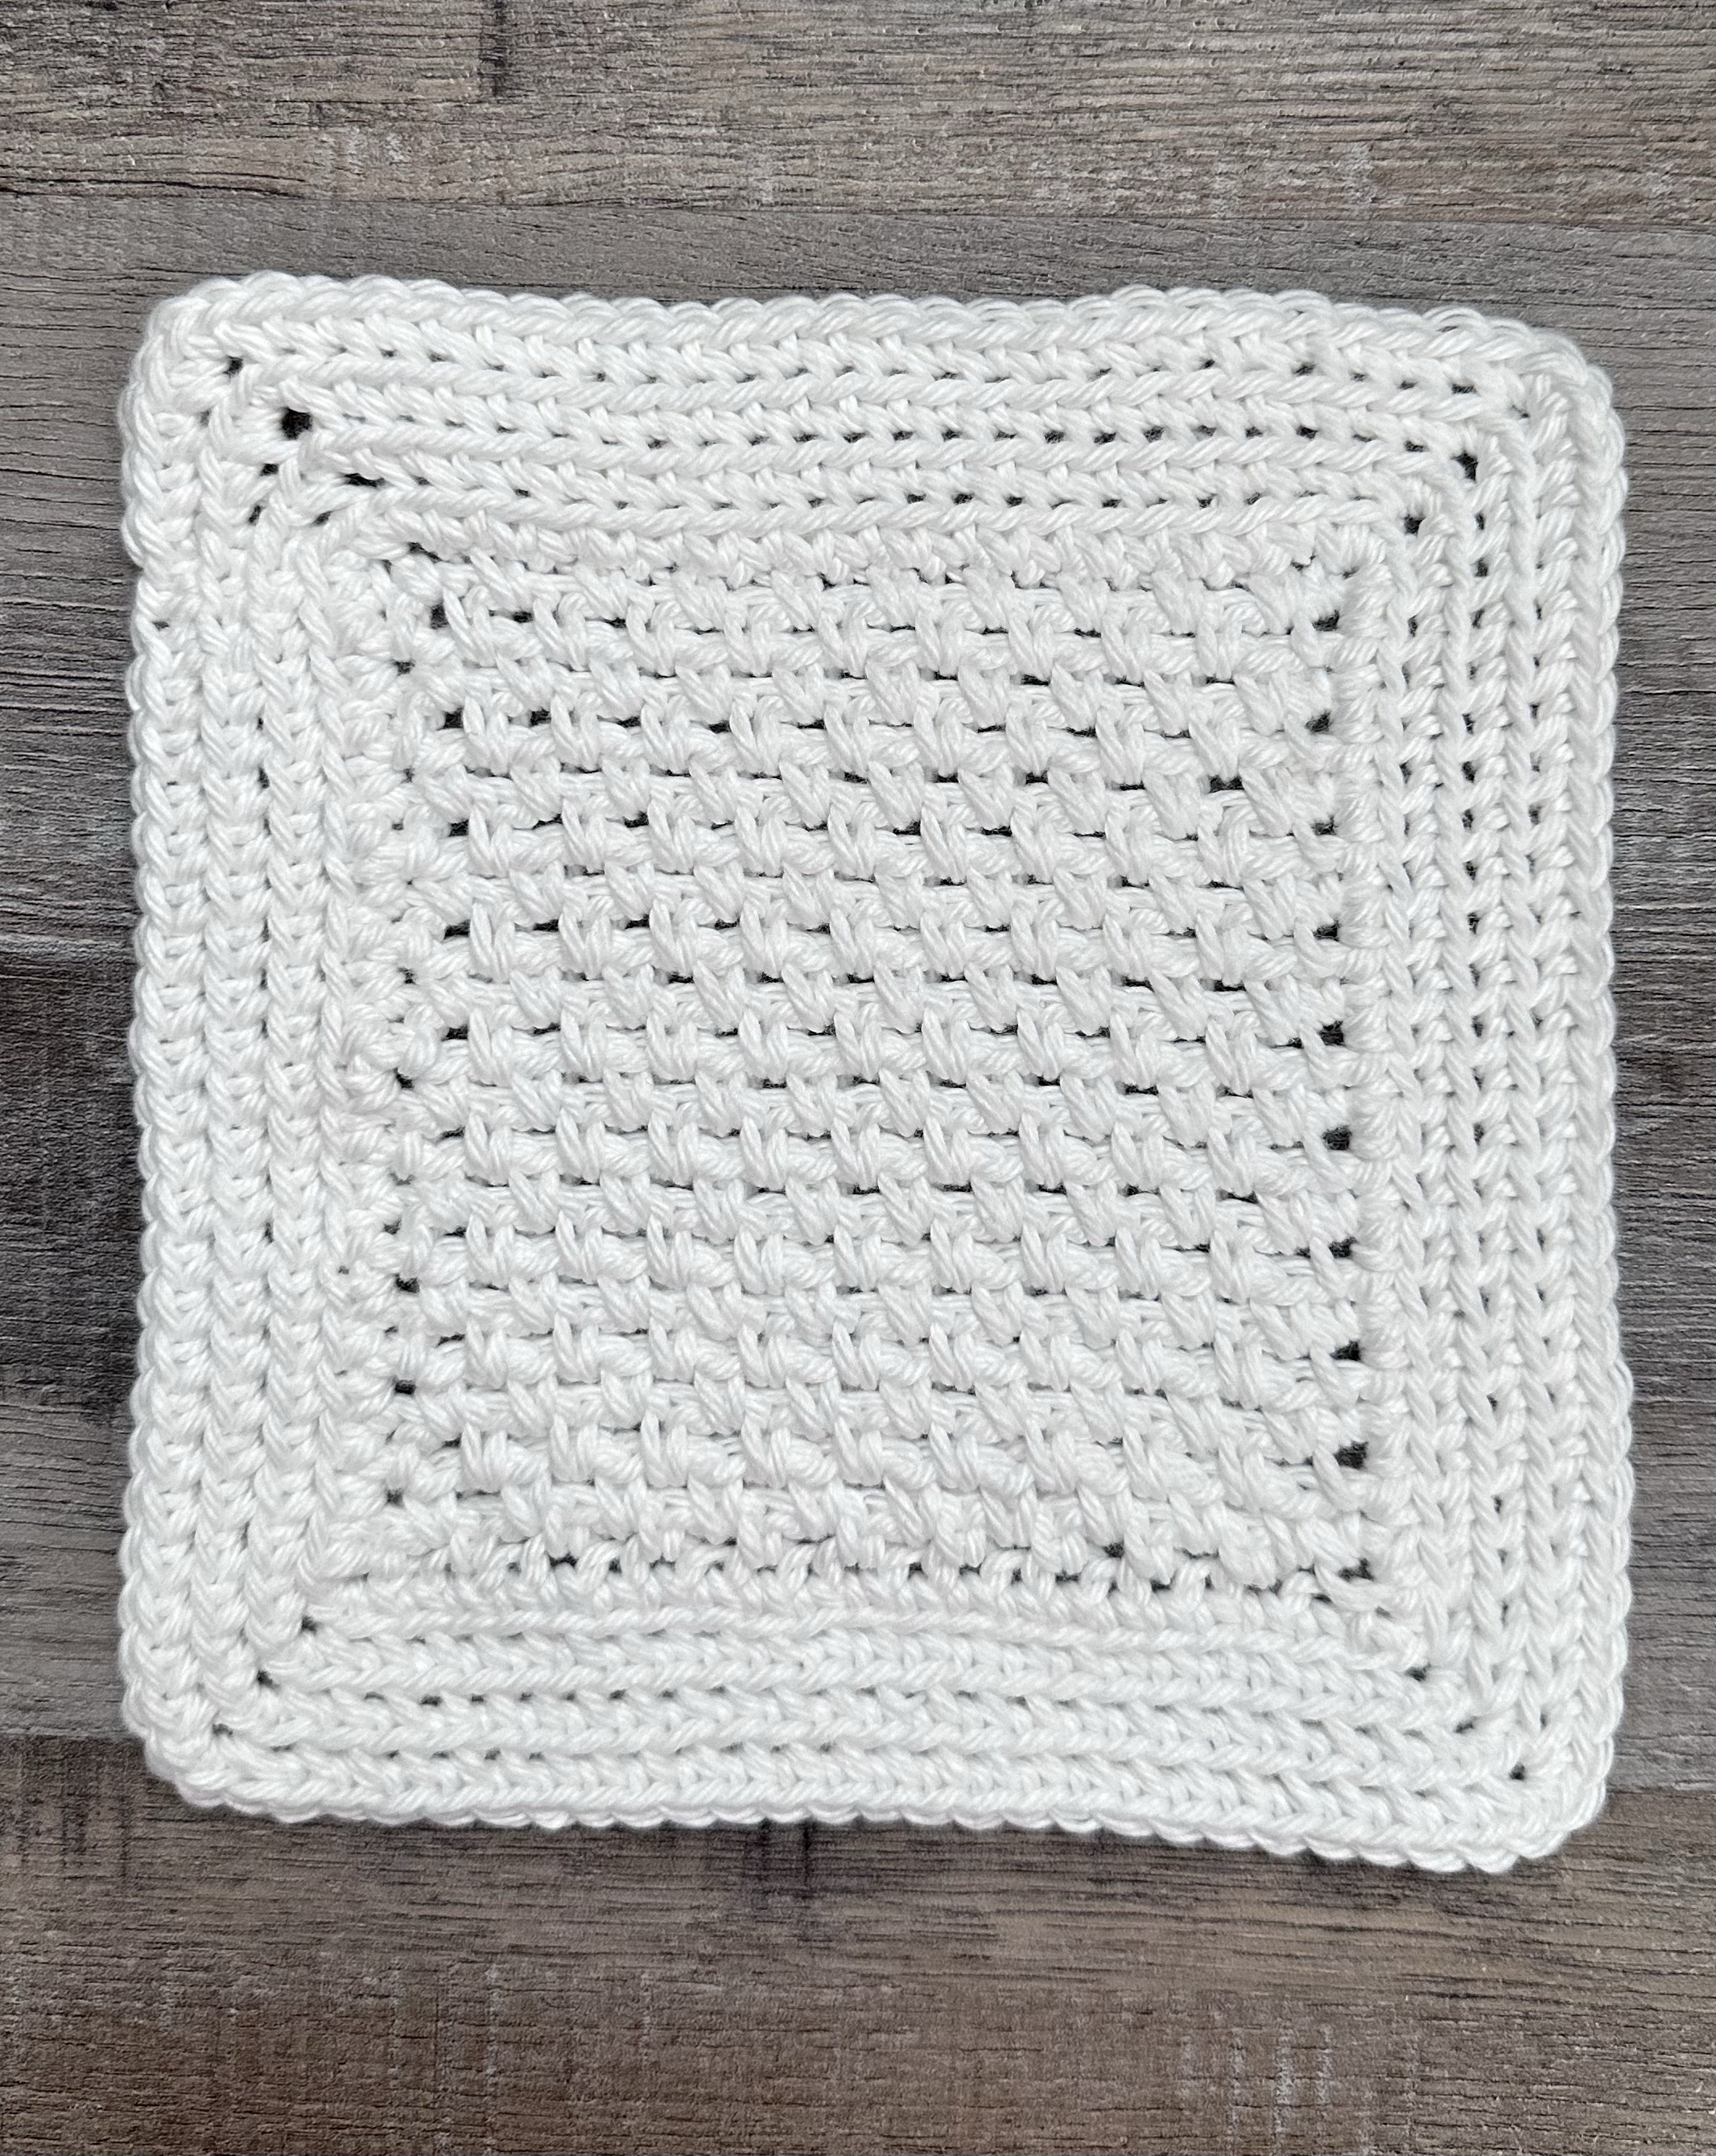
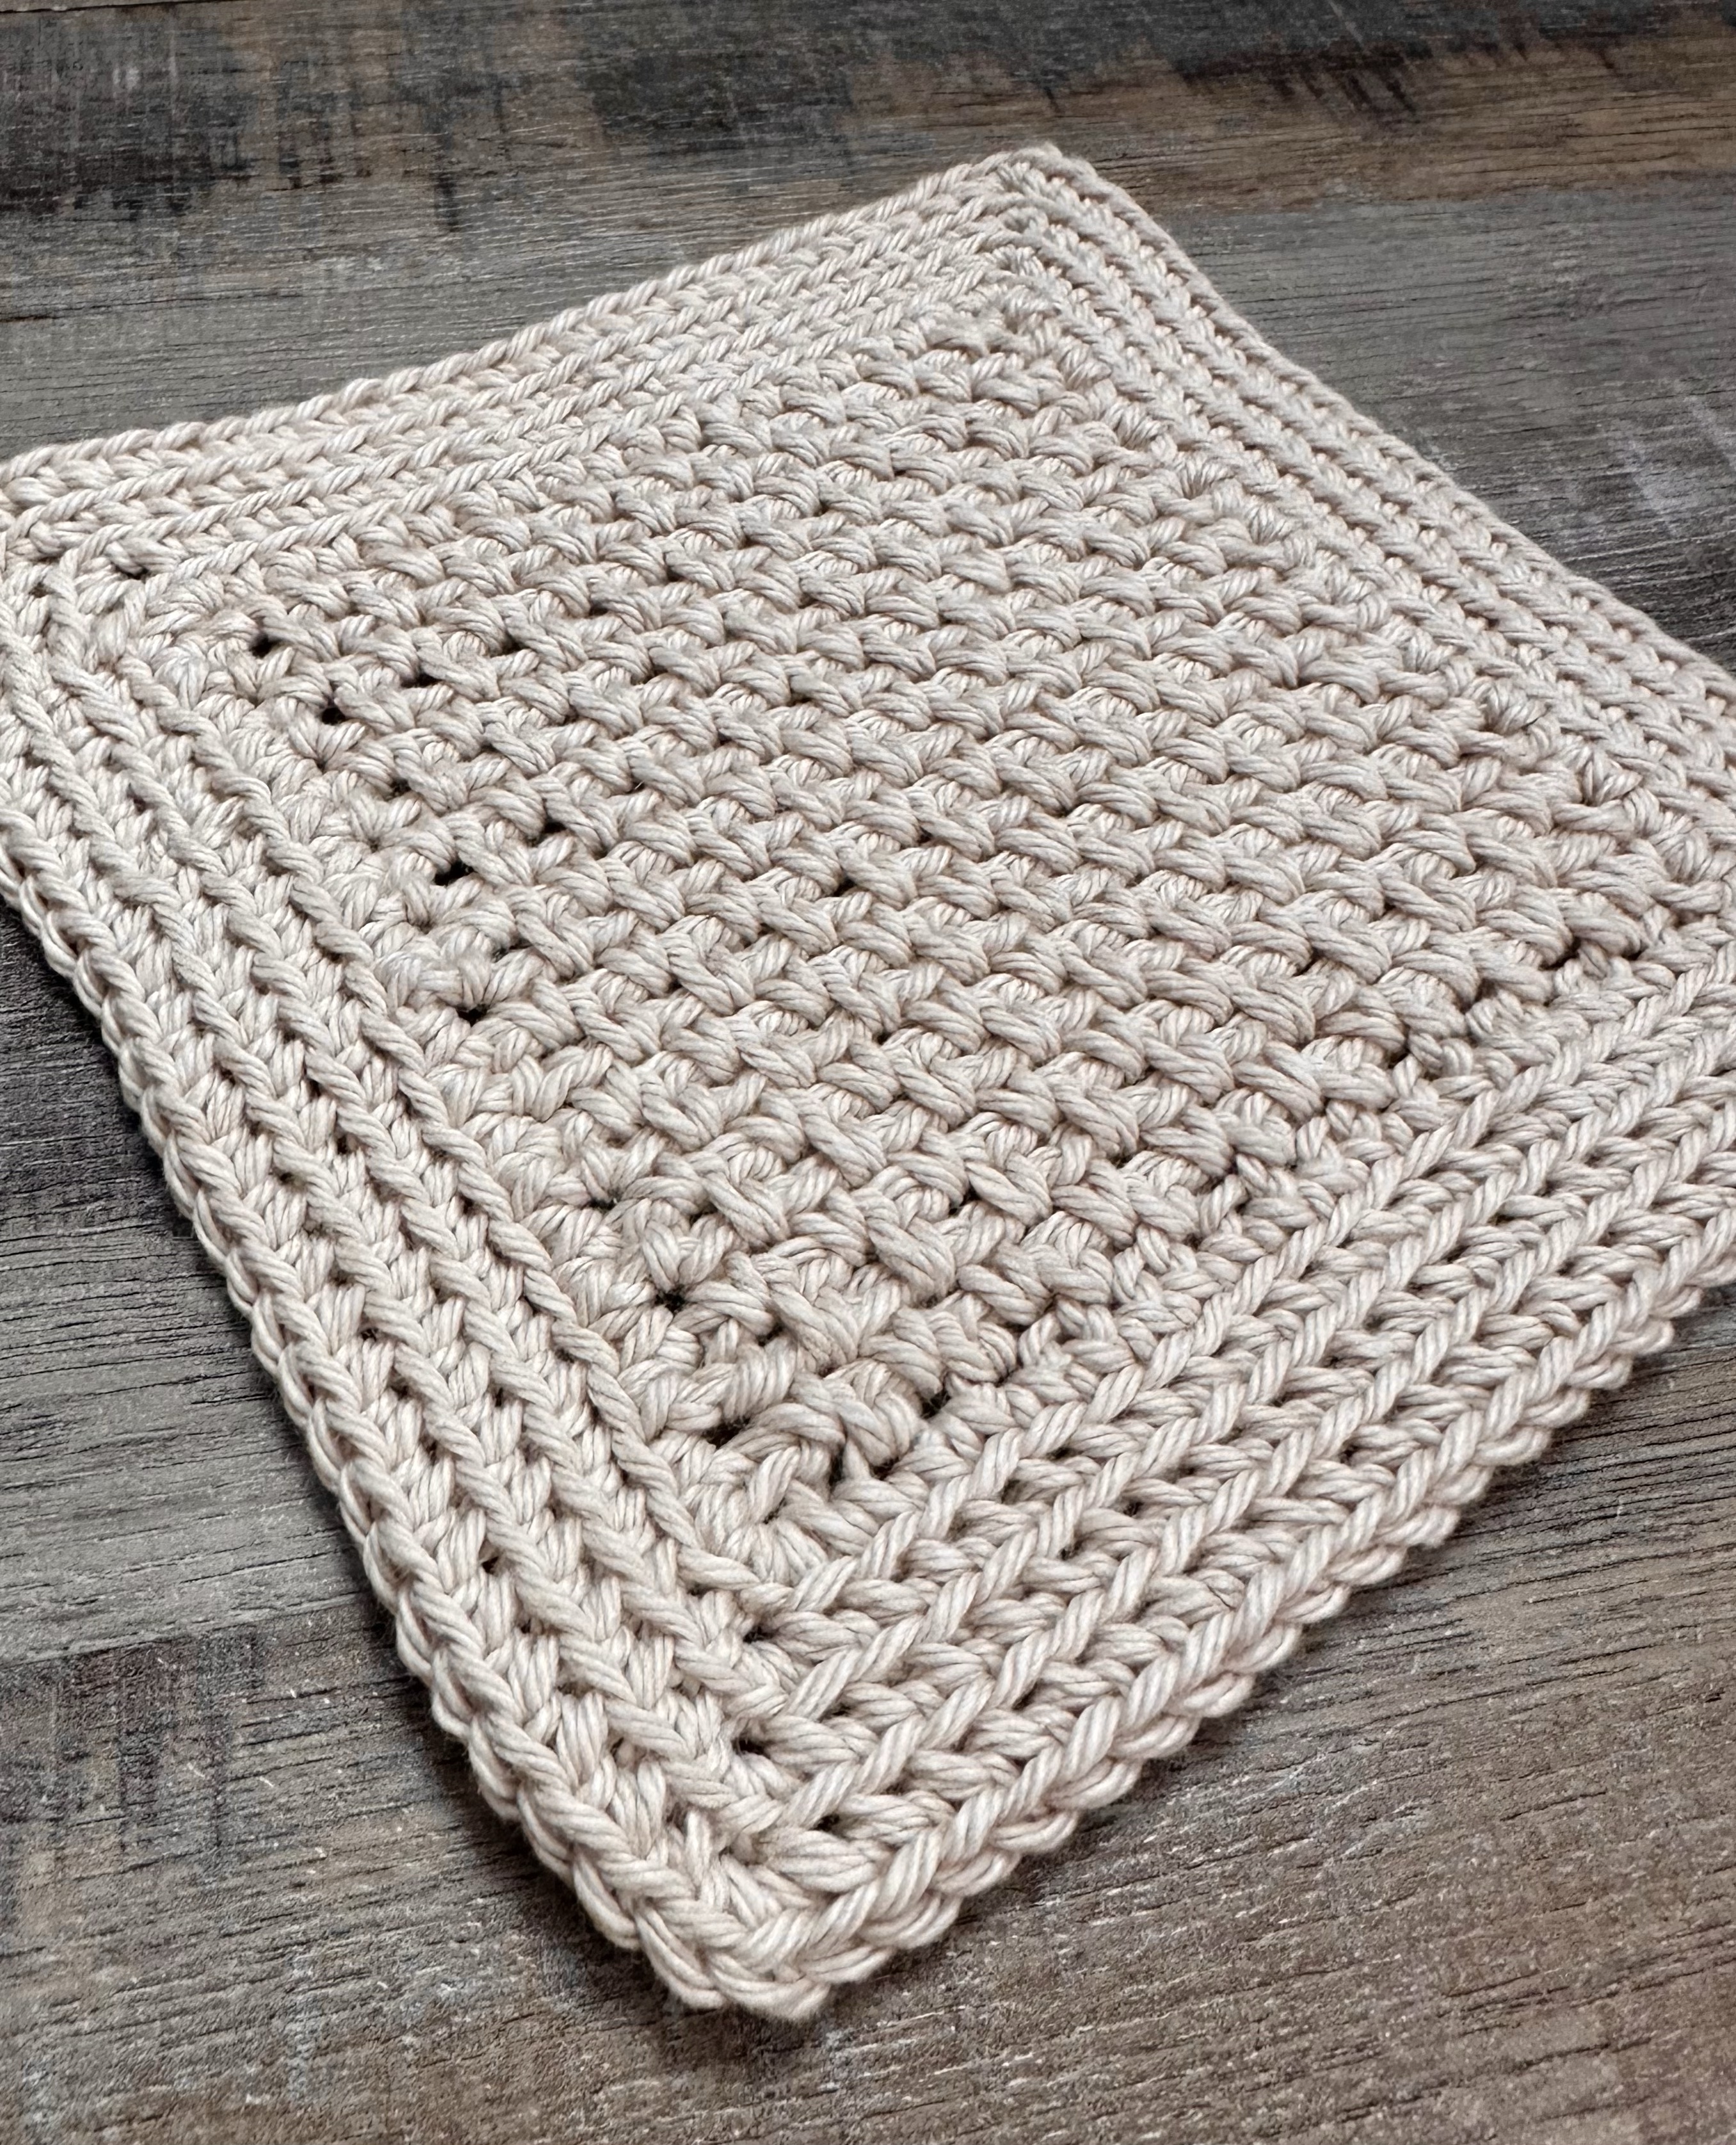
I’ve got my first new crochet pattern for 2023 to share with you today! January is the perfect time to pamper yourself a little – cold temps and dry air are hard on our skin. The Crochet Granite Stitch Spa Cloth is soft cotton, but has just enough texture to gently exfoliate your skin while using your favorite body wash or cleansing bar.
Disclosure: Some of the links on my site are affiliate links, meaning, at no additional cost to you, I will earn a small commission if you click through and make a purchase. As an Amazon Associate I earn from qualifying purchases.
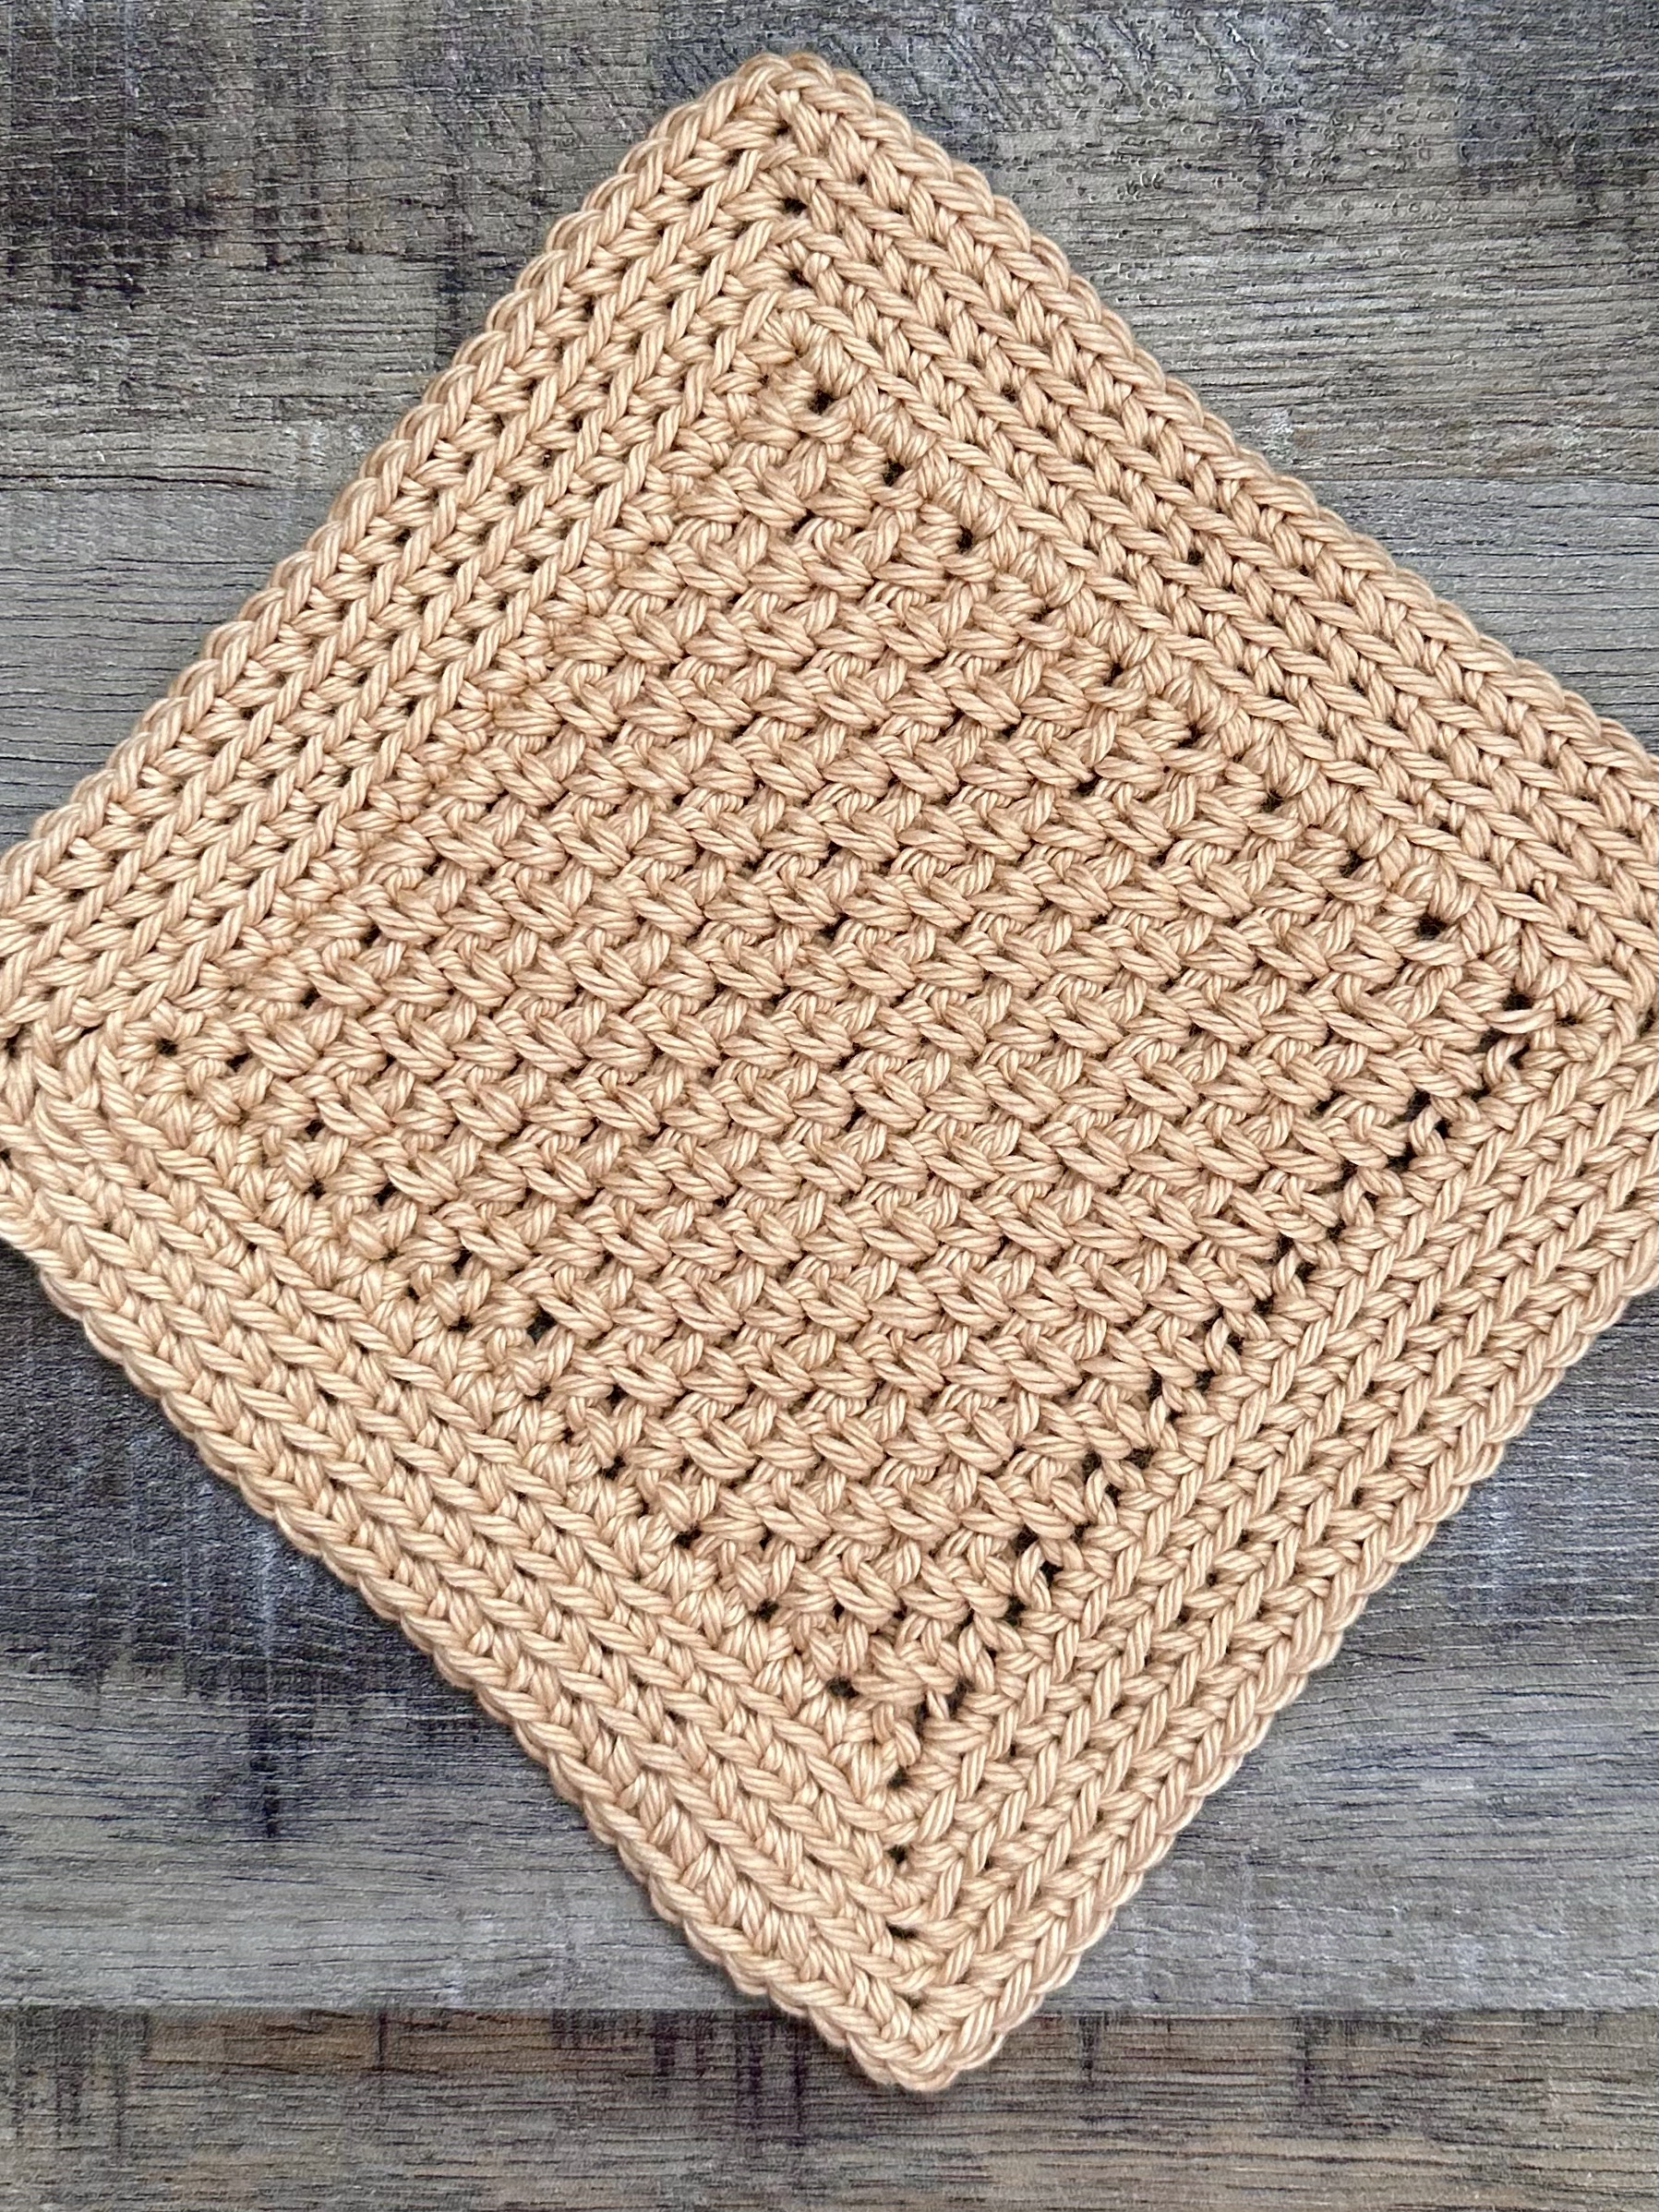
I used I Love This Cotton yarn and an H/5mm crochet hook to stitch up my spa cloths. The colors I used are Taupe, White, and Parchment. Stitch your spa cloths up in your favorite colors – whatever makes you smile. 😊
Here’s the super easy pattern and a link to a free PDF if you’d like to easily print it.
Crochet Granite Stitch Spa Cloth
I Love This Cotton
H/5mm crochet hook
Stitches used (US terms):
Chain – ch
Single Crochet – sc
Slip Stitch – ss
Back Loop Only – blo
Row 1: ch 22. sc in 2nd ch from hook, ch 1. *skip next ch, sc in next ch, ch 1* Repeat from * to * across to last 2 chains. Skip next ch, sc in last ch. ch 1 and Turn. (11 sc and 10 ch 1 spaces)
Row 2: sc in the 1st sc, sc in the next ch 1 space. *ch 1, sc in next ch 1 space.* Repeat from * to * last sc, sc in the last sc. ch 1 and turn. (12 sc and 9 ch 1 spaces)
Row 3: sc in the 1st sc. *ch 1, sc in next ch 1 space* Repeat from * to * to the last 2 sc . ch 1, skip 1 sc, and sc in the last sc. ch 1 and turn. (11 sc and 10 ch 1 spaces)
Repeat Rows 2 and 3 until piece measures about 5 inches.
Do not turn after the last Row.
Begin working in Rounds.
Round 1: ch 1. sc evenly around, working 3 sc in each corner. Join with ss to first sc.
Rounds 2-4: ch 1. sc in blo of each stitch around, working 3 sc in each corner. Join with ss to first sc.
Fasten off and weave in ends.
Finished Spa Cloth measures about 7 inches square.
These Crochet Granite Stitch Spa Cloths stitch up quickly. Package them up in a cute little berry basket, add a small bottle of body wash, and tie it up in a cellophane bag with a cute ribbon for a great gift!
These spa cloths can also be used as dishcloths! Cotton yarn makes the best dishcloths – they are super strong and last for a long time. Give your dishes the spa treatment. 😉
Disclosure: Some of the links on my site are affiliate links, meaning, at no additional cost to you, I will earn a small commission if you click through and make a purchase. As an Amazon Associate I earn from qualifying purchases.