Fall cards are so fun to make with all of the rich and vibrant colors of the season. This card is a great way to send Thanksgiving greetings. 🍁🍂🍁
Disclosure: Some of the links on my site are affiliate links, meaning, at no additional cost to you, I will earn a small commission if you click through and make a purchase. As an Amazon Associate I earn from qualifying purchases.
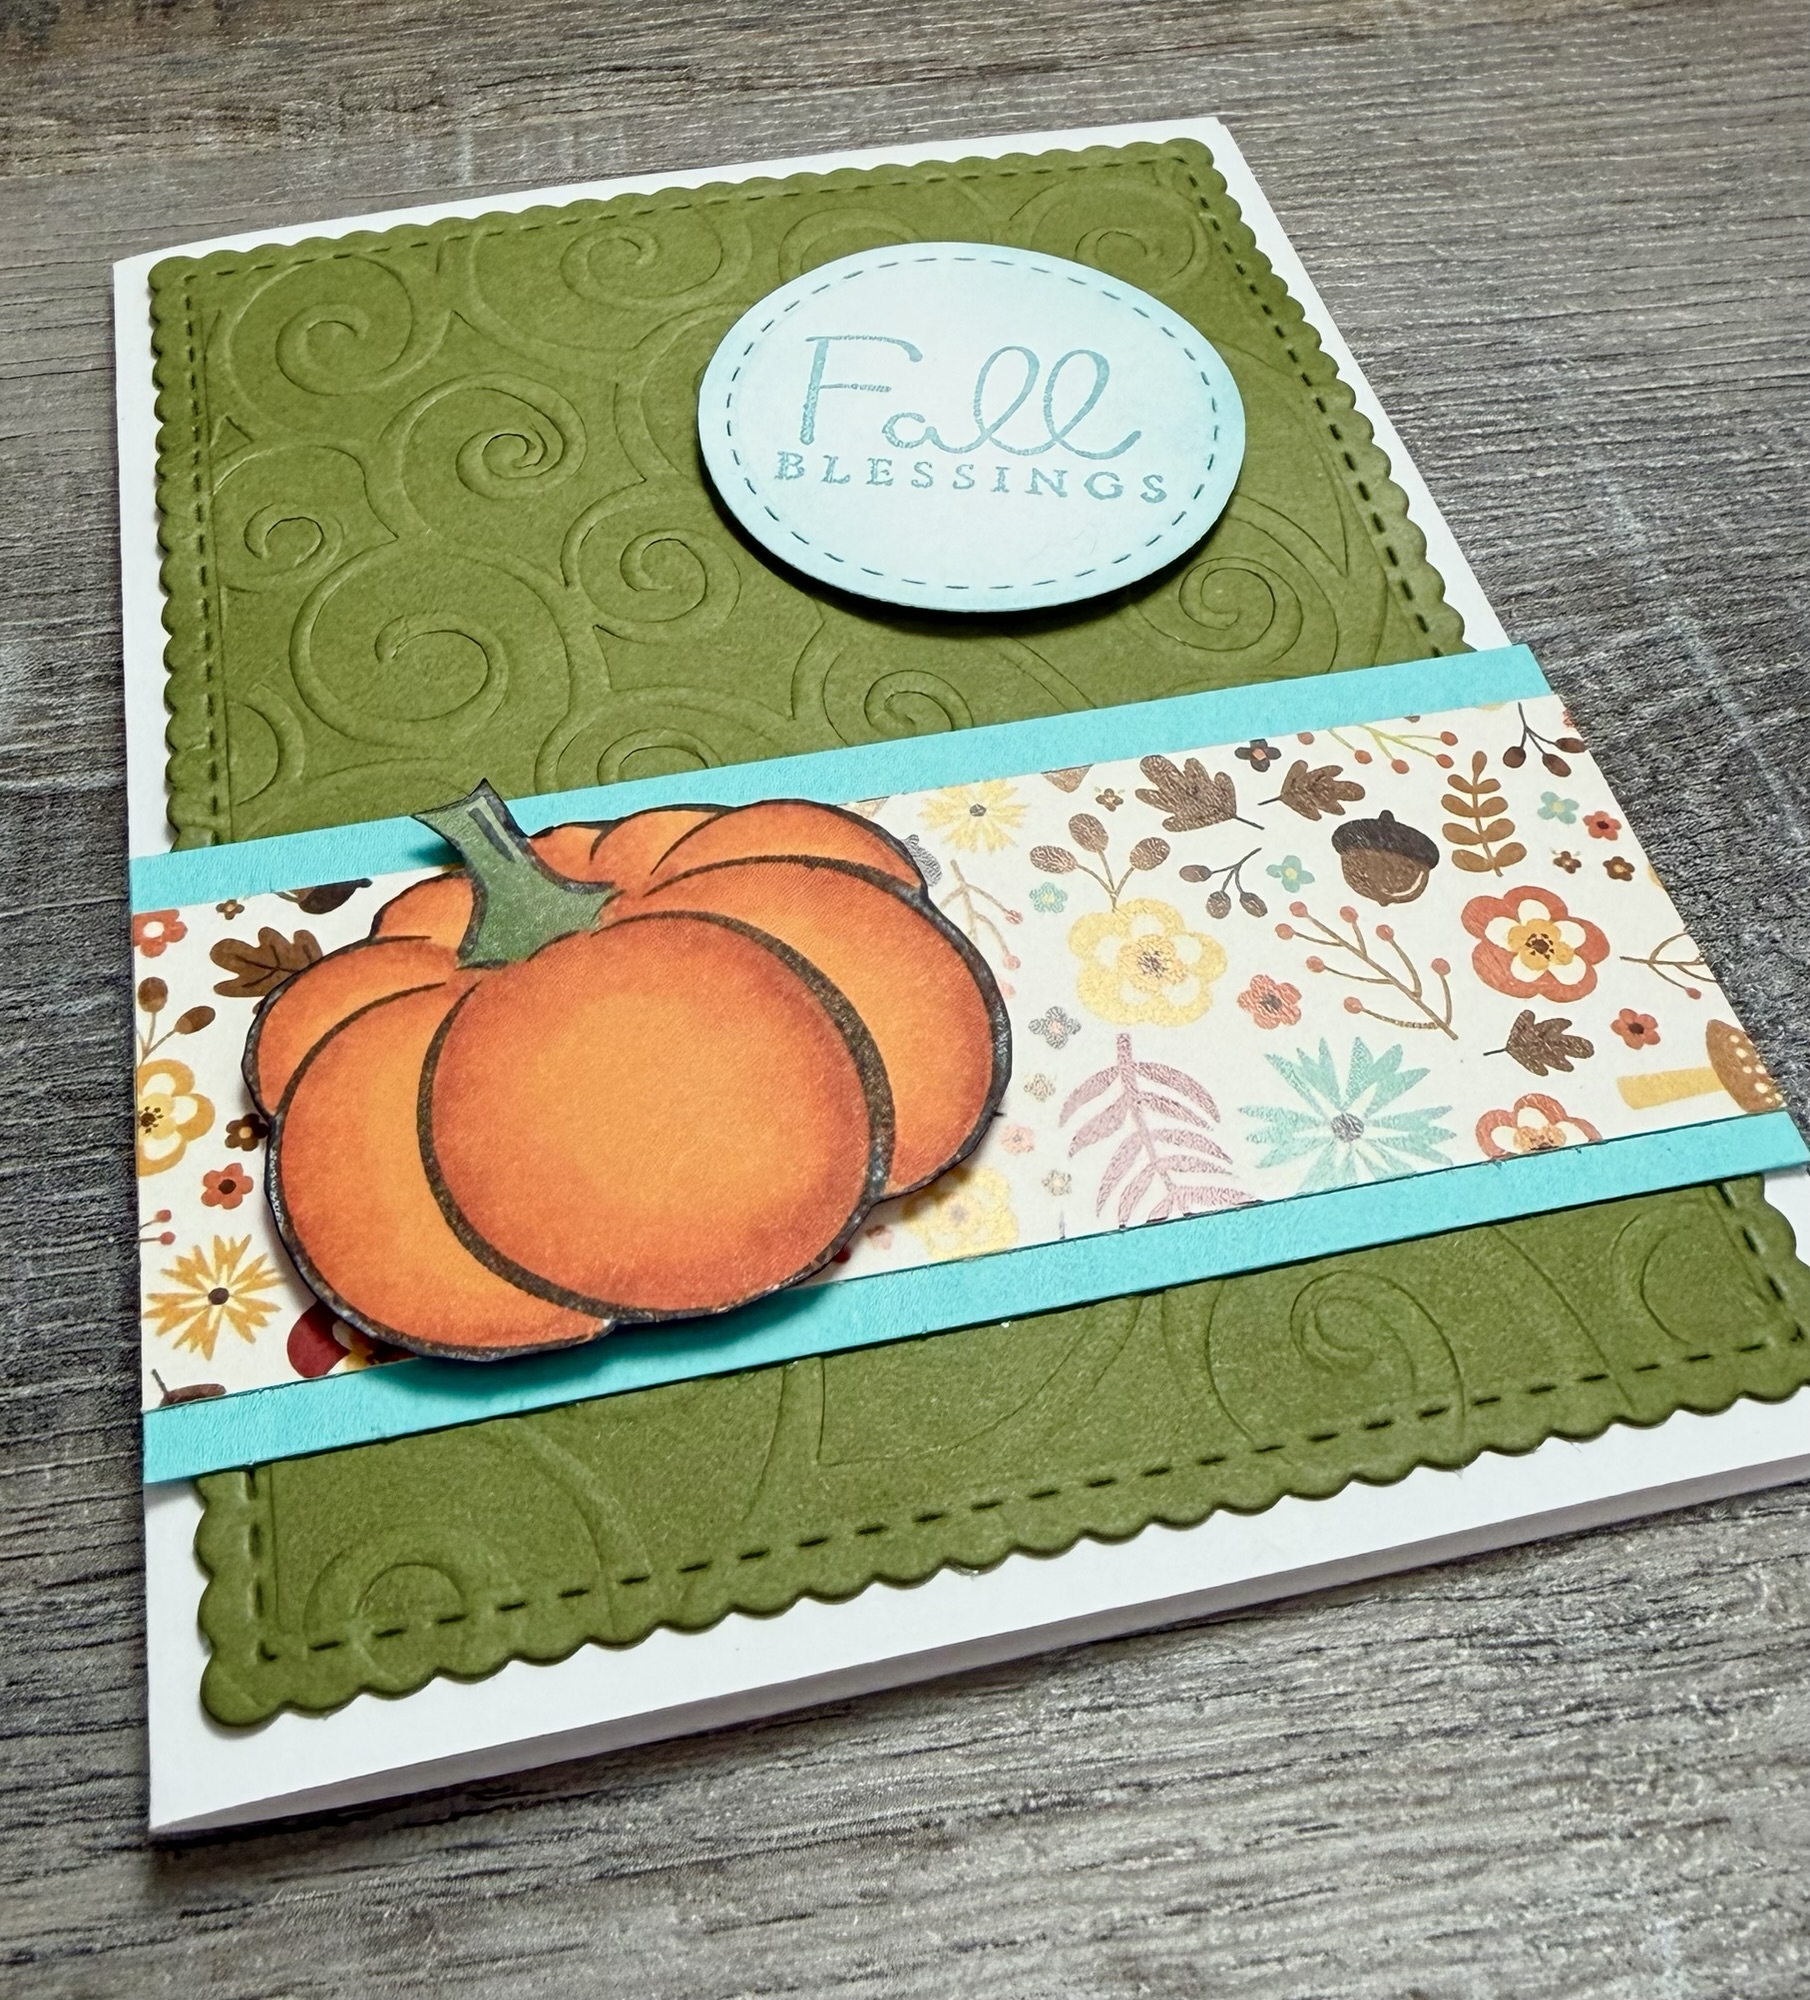
My pumpkin stamp is one I’ve had in my collection forever – any of your favorite pumpkin or leaf stamps would work great on this card. I stamped my pumpkin with Memento Tuxedo Black Ink on white card stock, colored it with Copic markers, and trimmed it close.
To make the card, I embossed a piece of green card stock with a swirl embossing folder (this is similar), die cut the piece with these Scallops & Rectangles Nesting dies, and attached it to a white card. I layered a piece of patterned paper to turquoise card stock and attached the piece to the card. Both the pumpkin and the sentiment are attached to the card with foam tape.
This would also be a great Fall birthday card – just change the sentiment! 😊
These Pom Pom Ornaments are so fun! They are super easy to make and would be a great project to do with the kids. They would make perfect little Christmas gifts for all of their friends.🎄🎁
Disclosure: Some of the links on my site are affiliate links, meaning, at no additional cost to you, I will earn a small commission if you click through and make a purchase. As an Amazon Associate I earn from qualifying purchases.
Simply take the top off the ornament and add the pom poms to the ornament – I used 15 of each color. Put the ornament top back on and tie some ribbons to the top. Thread a length of bakers twine through the top of the ornament and tie a knot to make the hanger. So easy!
You can even personalize them if you want to. I used my Cricut machine and sparkly red vinyl to create initials and adhered them to the ornament.
The pom poms I used come in different color combos and some of them even are glittery, so there are lots of options if you don’t want the traditional Christmas colors. 😊
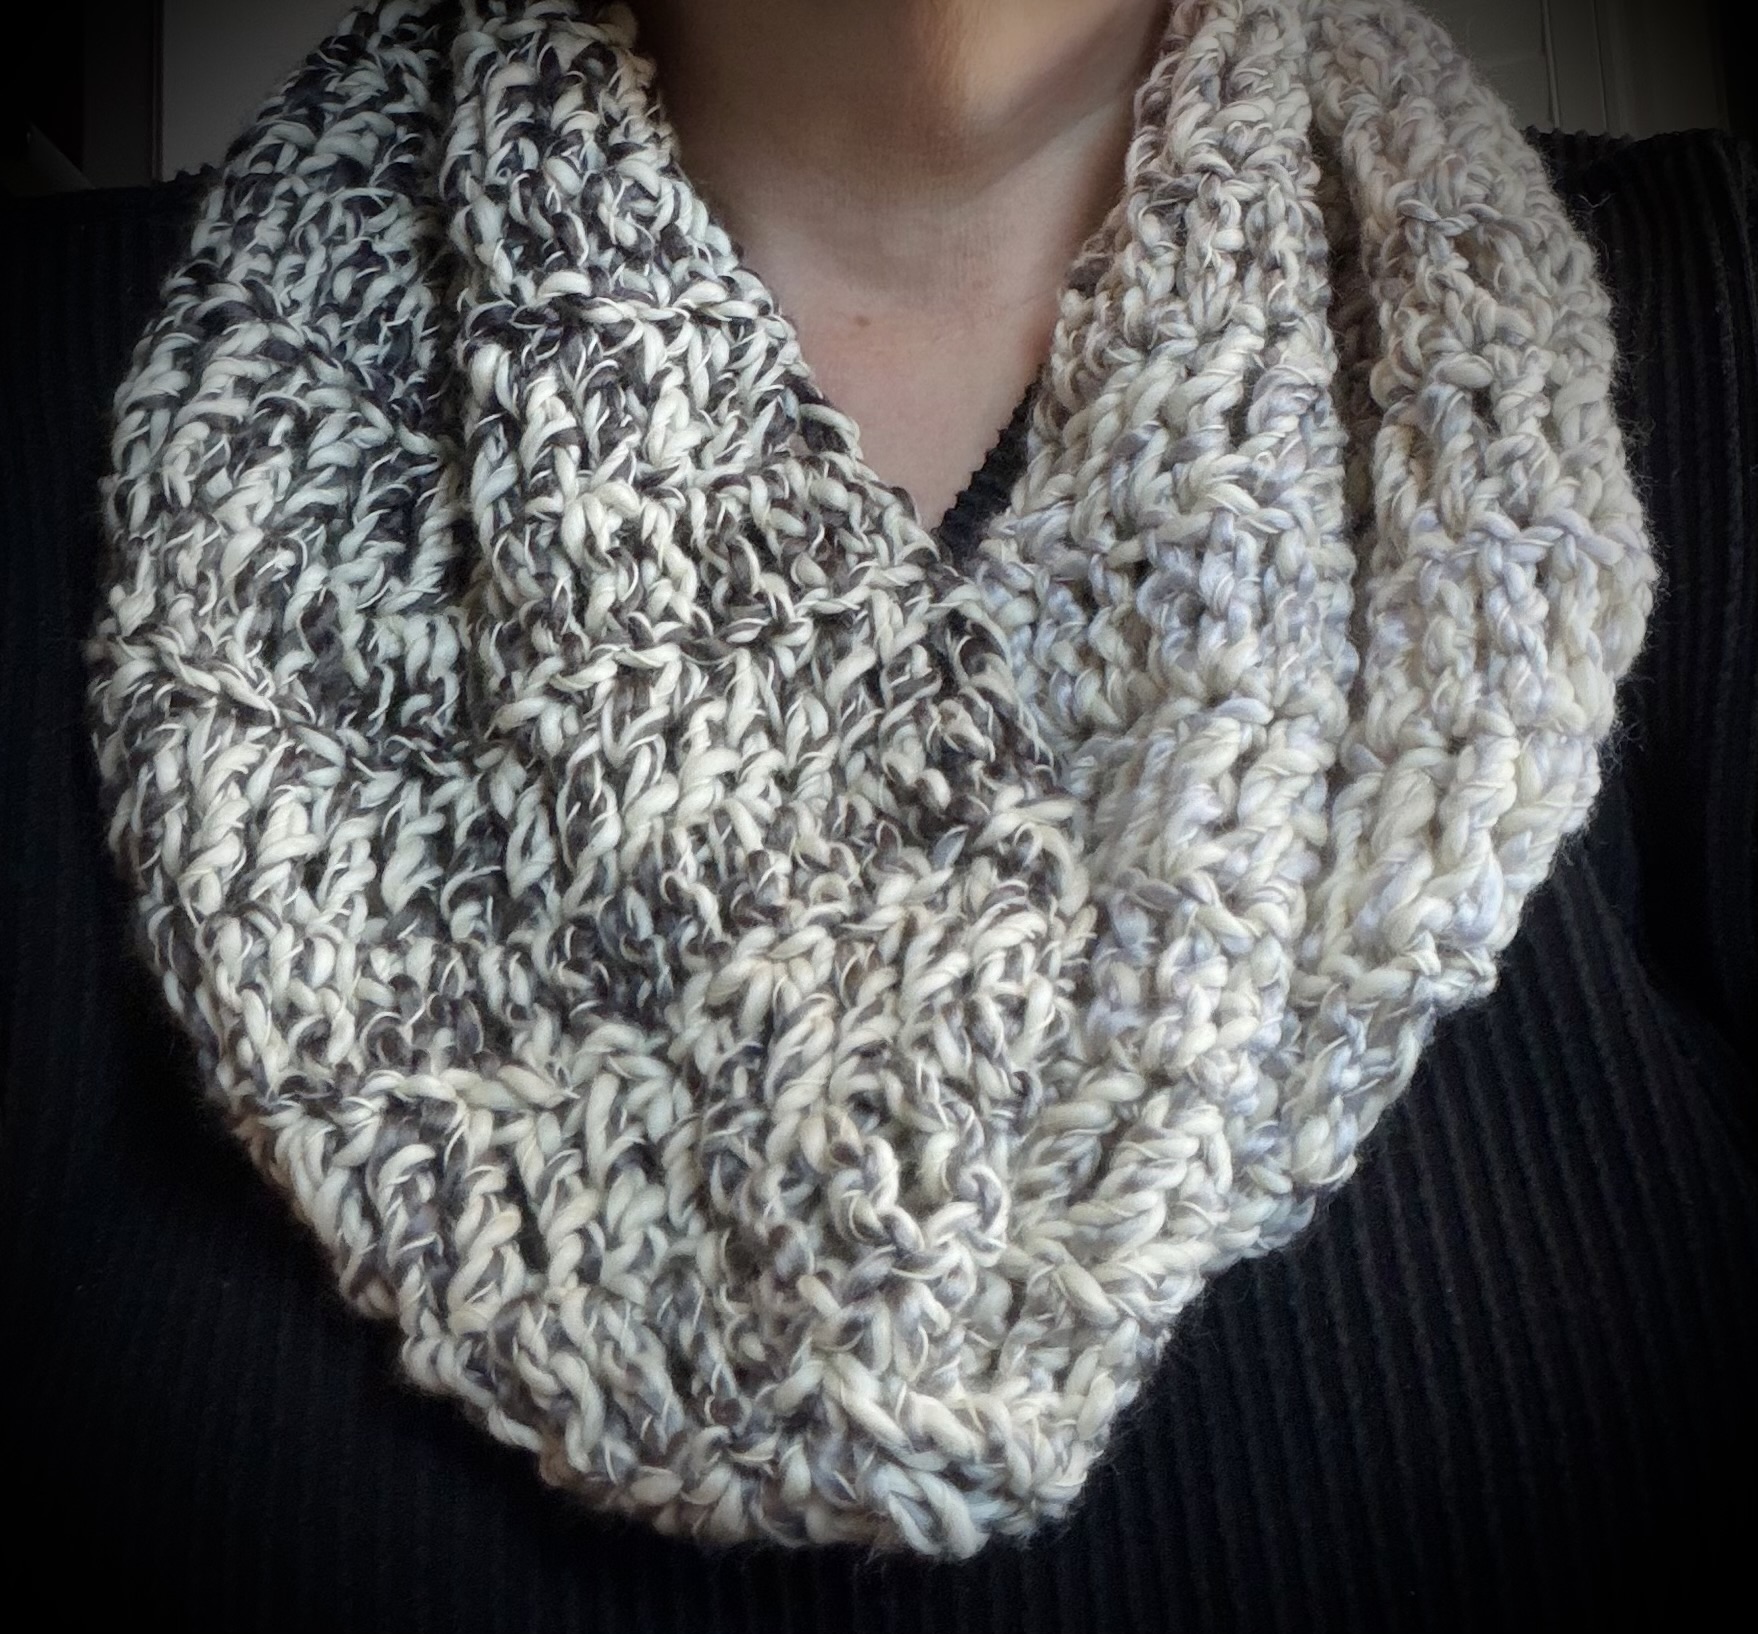
I have a super easy Crochet Treble Stitch Cowl pattern to share with you today. It’s a loose fitting cowl that’s perfect for those chilly days that you want a little something snuggly around your neck.😊
Disclosure: Some of the links on my site are affiliate links, meaning, at no additional cost to you, I will earn a small commission if you click through and make a purchase. As an Amazon Associate I earn from qualifying purchases.
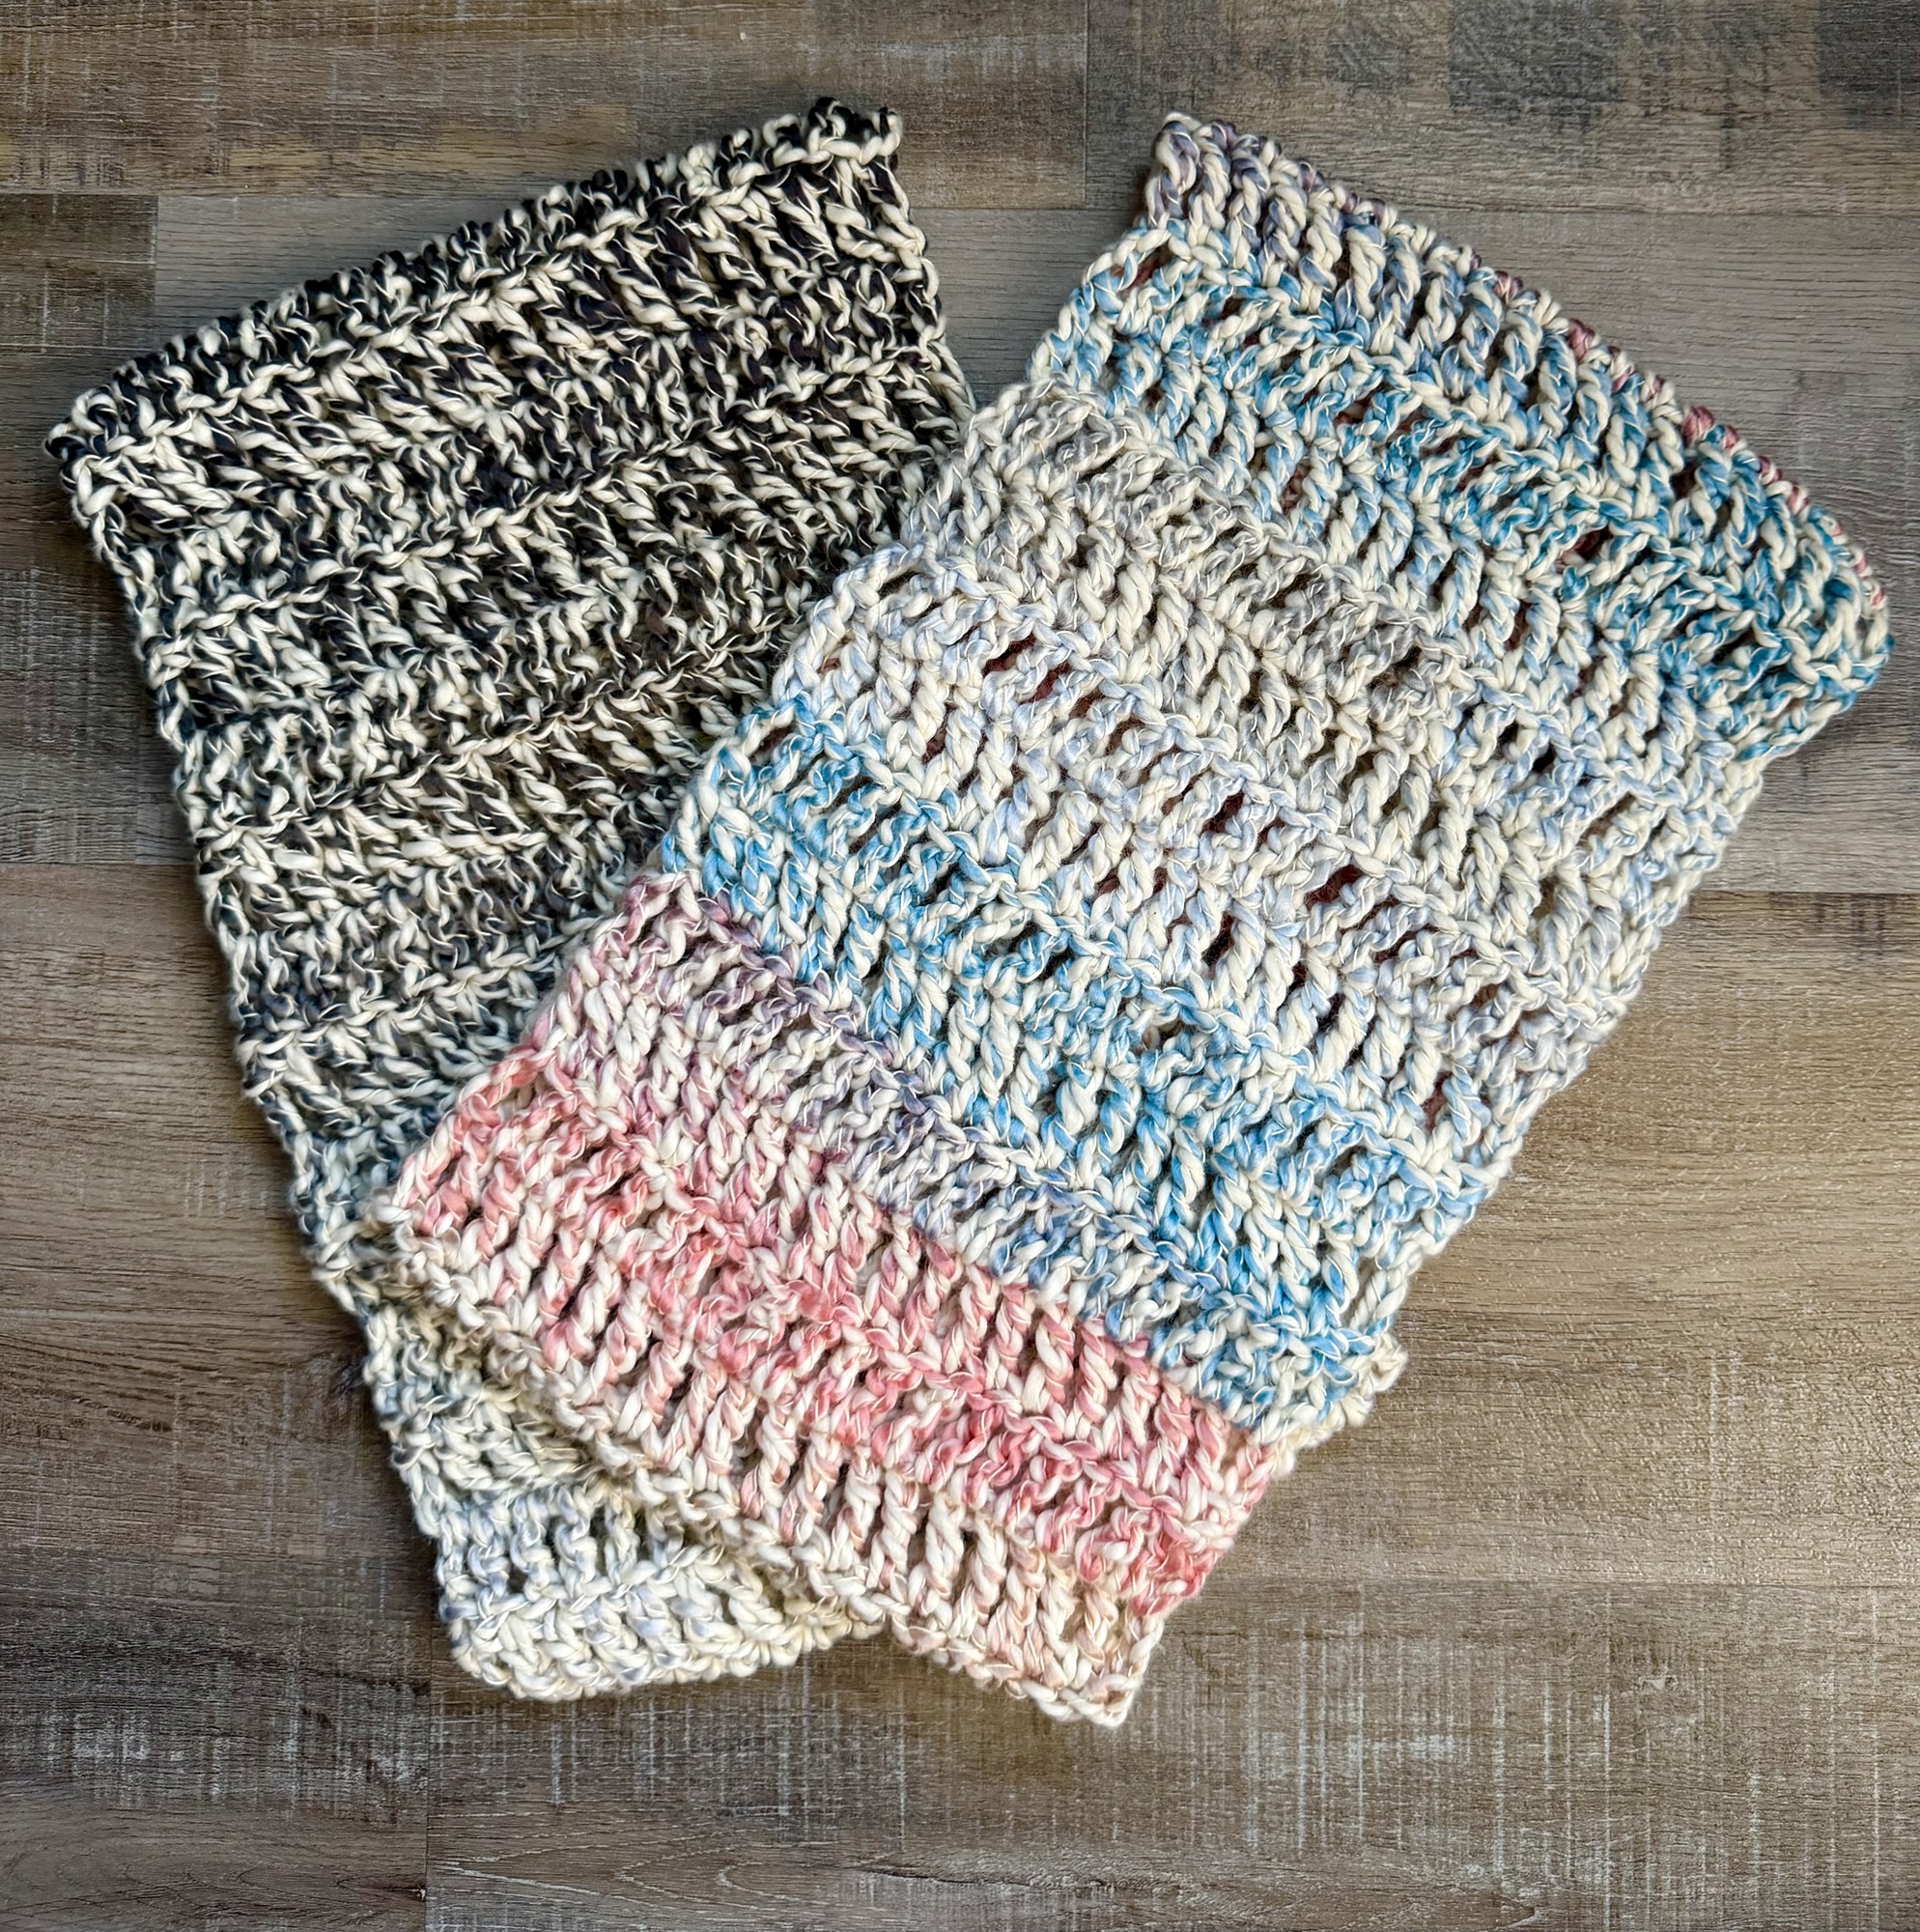
The Crochet Treble Stitch Cowl is soft and drapes beautifully using a soft bulky weight (5) yarn along with a K/6.5mm crochet hook. I used Yarn Bee Arabella in Whimsical Whirlwind and Charcoal Checkmate. This yarn is discontinued but any soft bulky (5) weight yarn will work.
You can find the pattern below along with links to free PDFs – one with photos and one without – if you’d like to easily print it.
Crochet Treble Stitch Cowl
Bulky (5) weight yarn – I used Yarn Bee Arabella in Whimsical Whirlwind and Charcoal Checkmate.
This yarn is discontinued but any soft bulky (5) weight yarn will work.
K/6.5mm crochet hook
Stitches used in US terms:
Chain – ch
Single crochet – sc
Treble crochet – tr
Chain 21 loosely.
Row 1: sc in back bump of the 2nd ch from hook and in each stitch across. Turn. (20 stitches)
Rows 2–28: ch 3 (counts as 1st tr) skip 1st stitch, tr in each stitch across. (Last stitch will be in the top of the turning ch from the row below.) Turn. (20 stitches)
Row 29: ch 1. sc in each stitch across. (20 stitches)
Fold cowl in half and slip stitch ends together.
Fasten off and weave in ends.
Finished cowl measures about 8.25 inches wide and 30 inches long before joining ends together.
Disclosure: Some of the links on my site are affiliate links, meaning, at no additional cost to you, I will earn a small commission if you click through and make a purchase. As an Amazon Associate I earn from qualifying purchases.
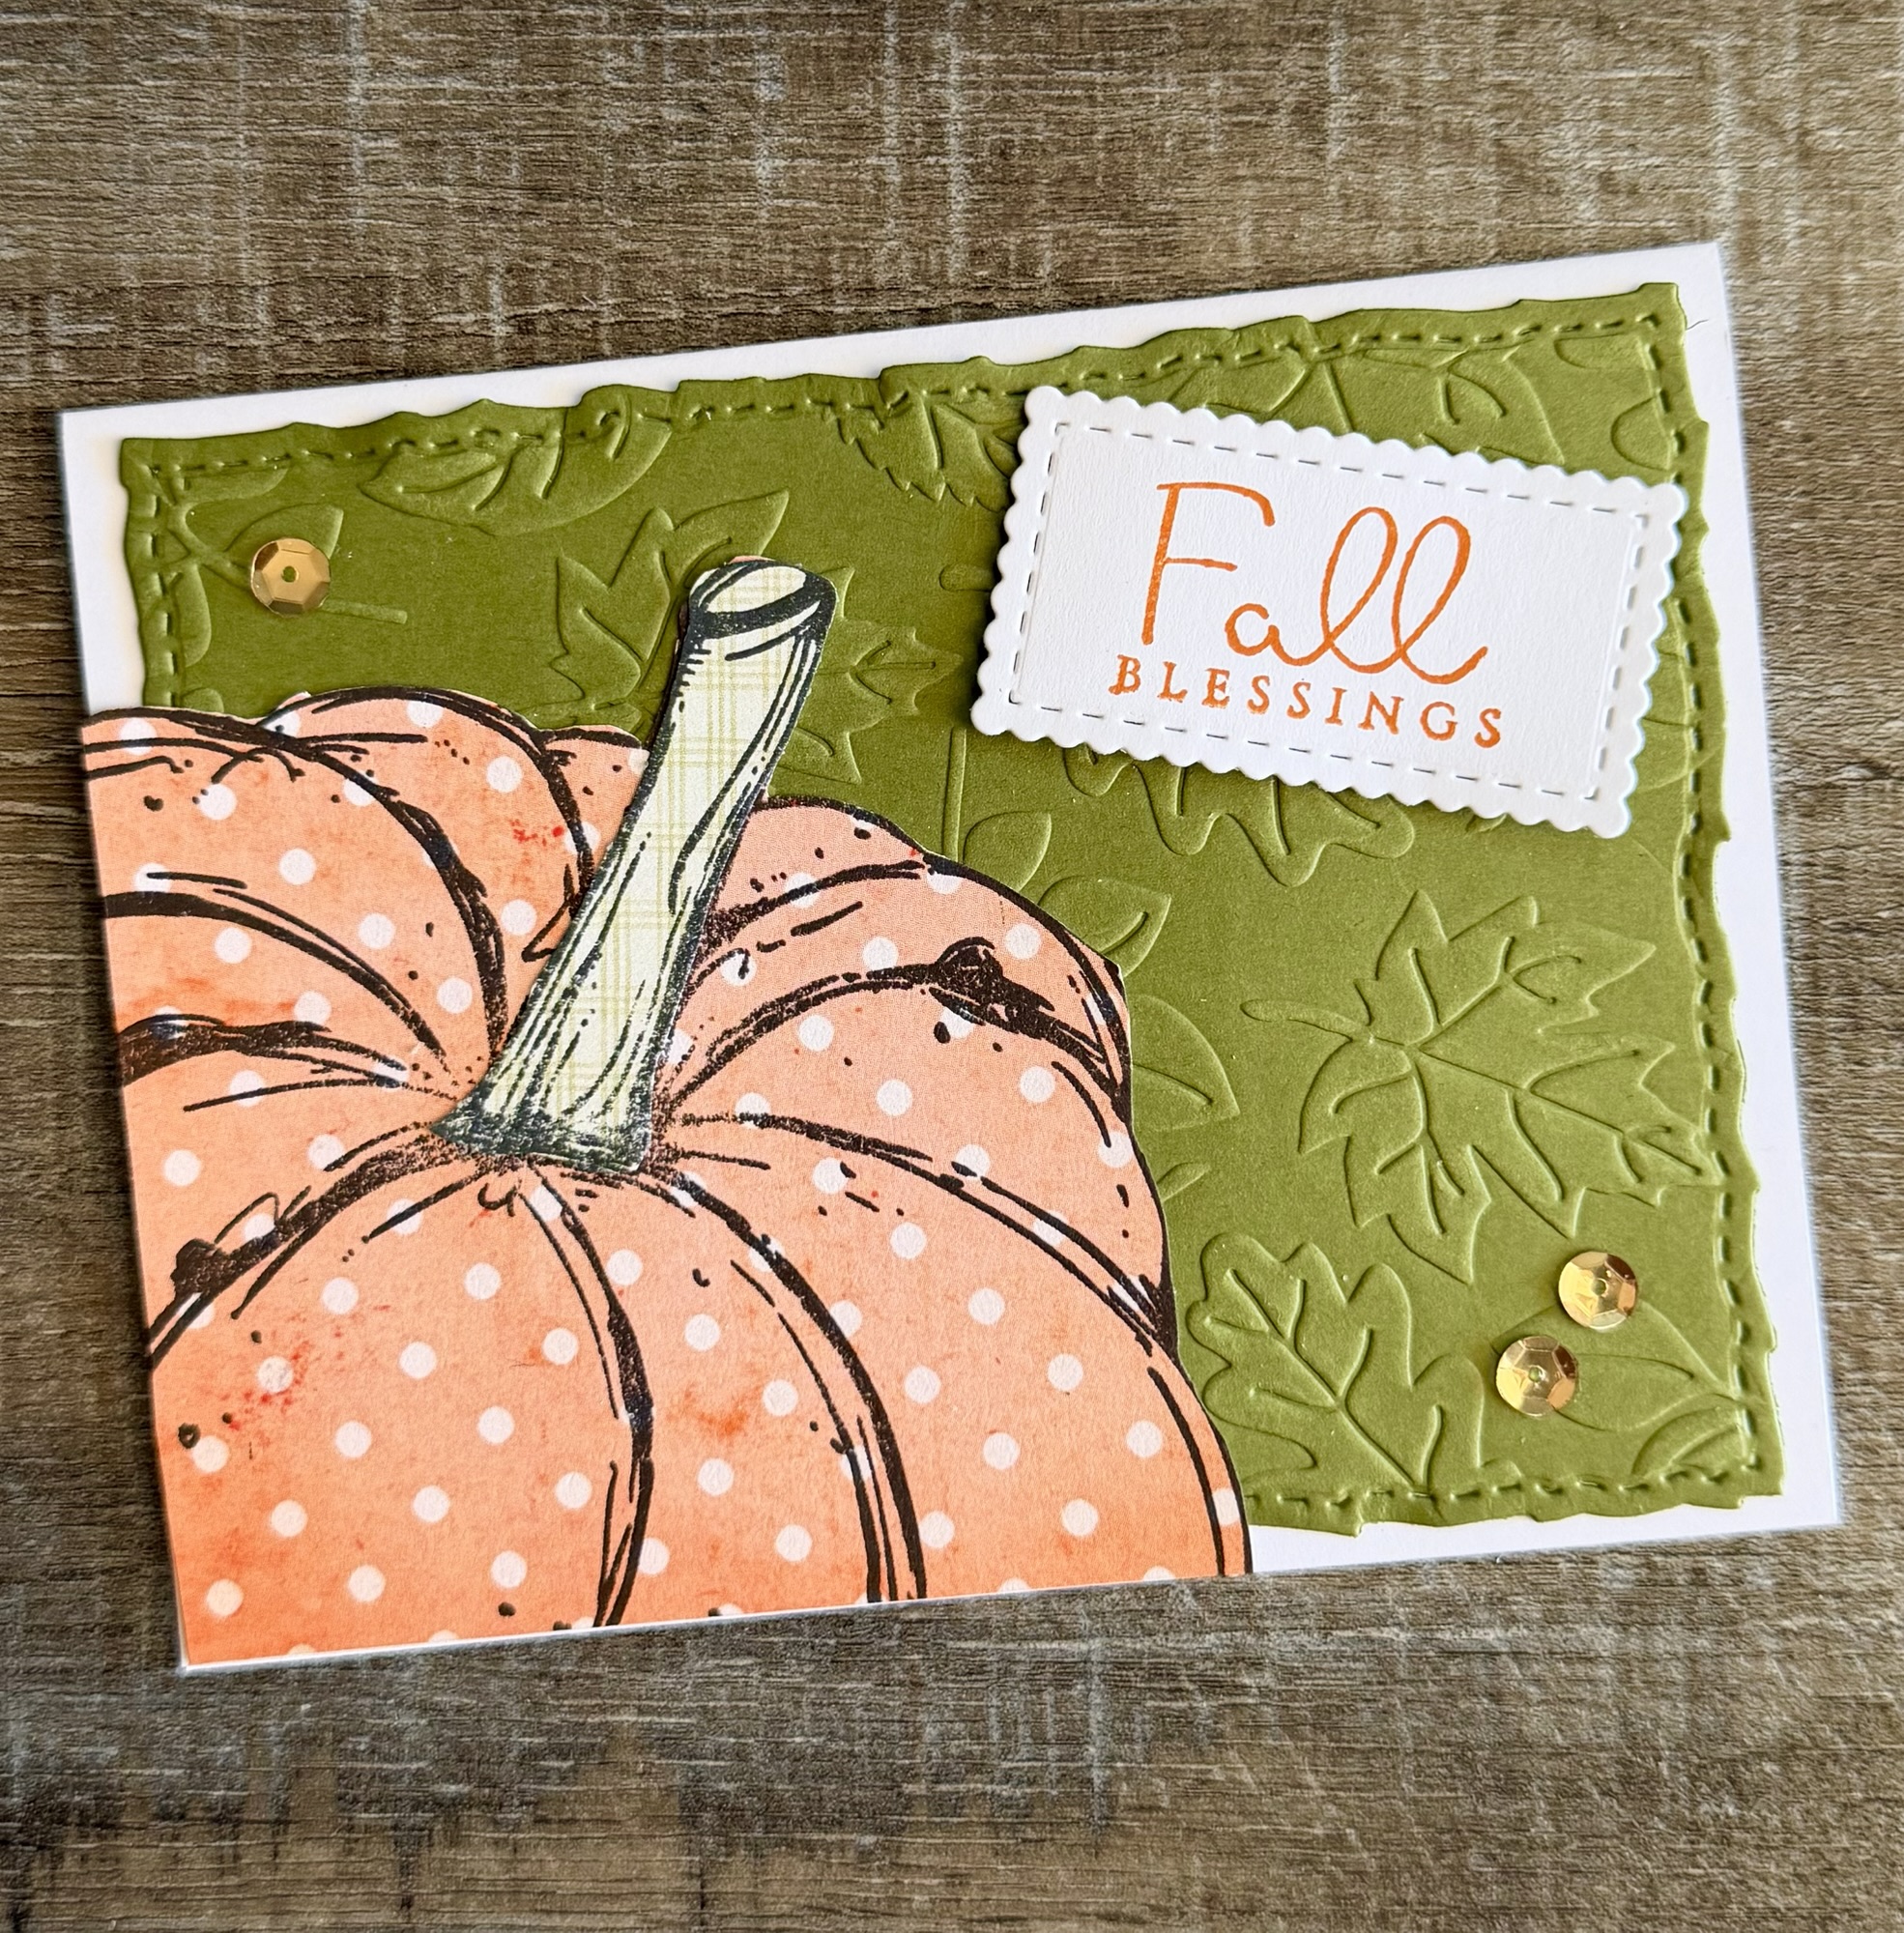
I stamped the pumpkin onto orange polka dot patterned paper with Memento Tuxedo Black Ink. I used my Misti stamping tool so I could stamp it a couple of times to get a good dark image. I trimmed the edges so it would fit on the corner of the card. I stamped the stem part of the pumpkin onto green patterned paper (again using my Misti), trimmed around it, and attached it to the pumpkin.
To make the card, I embossed a piece of green card stock with a falling leaves embossing folder similar to this one. Using these Deckle & Stitches Nesting Dies, I die cut the piece and attached it to a white card. The pumpkin is then attached to the bottom left corner of the card.
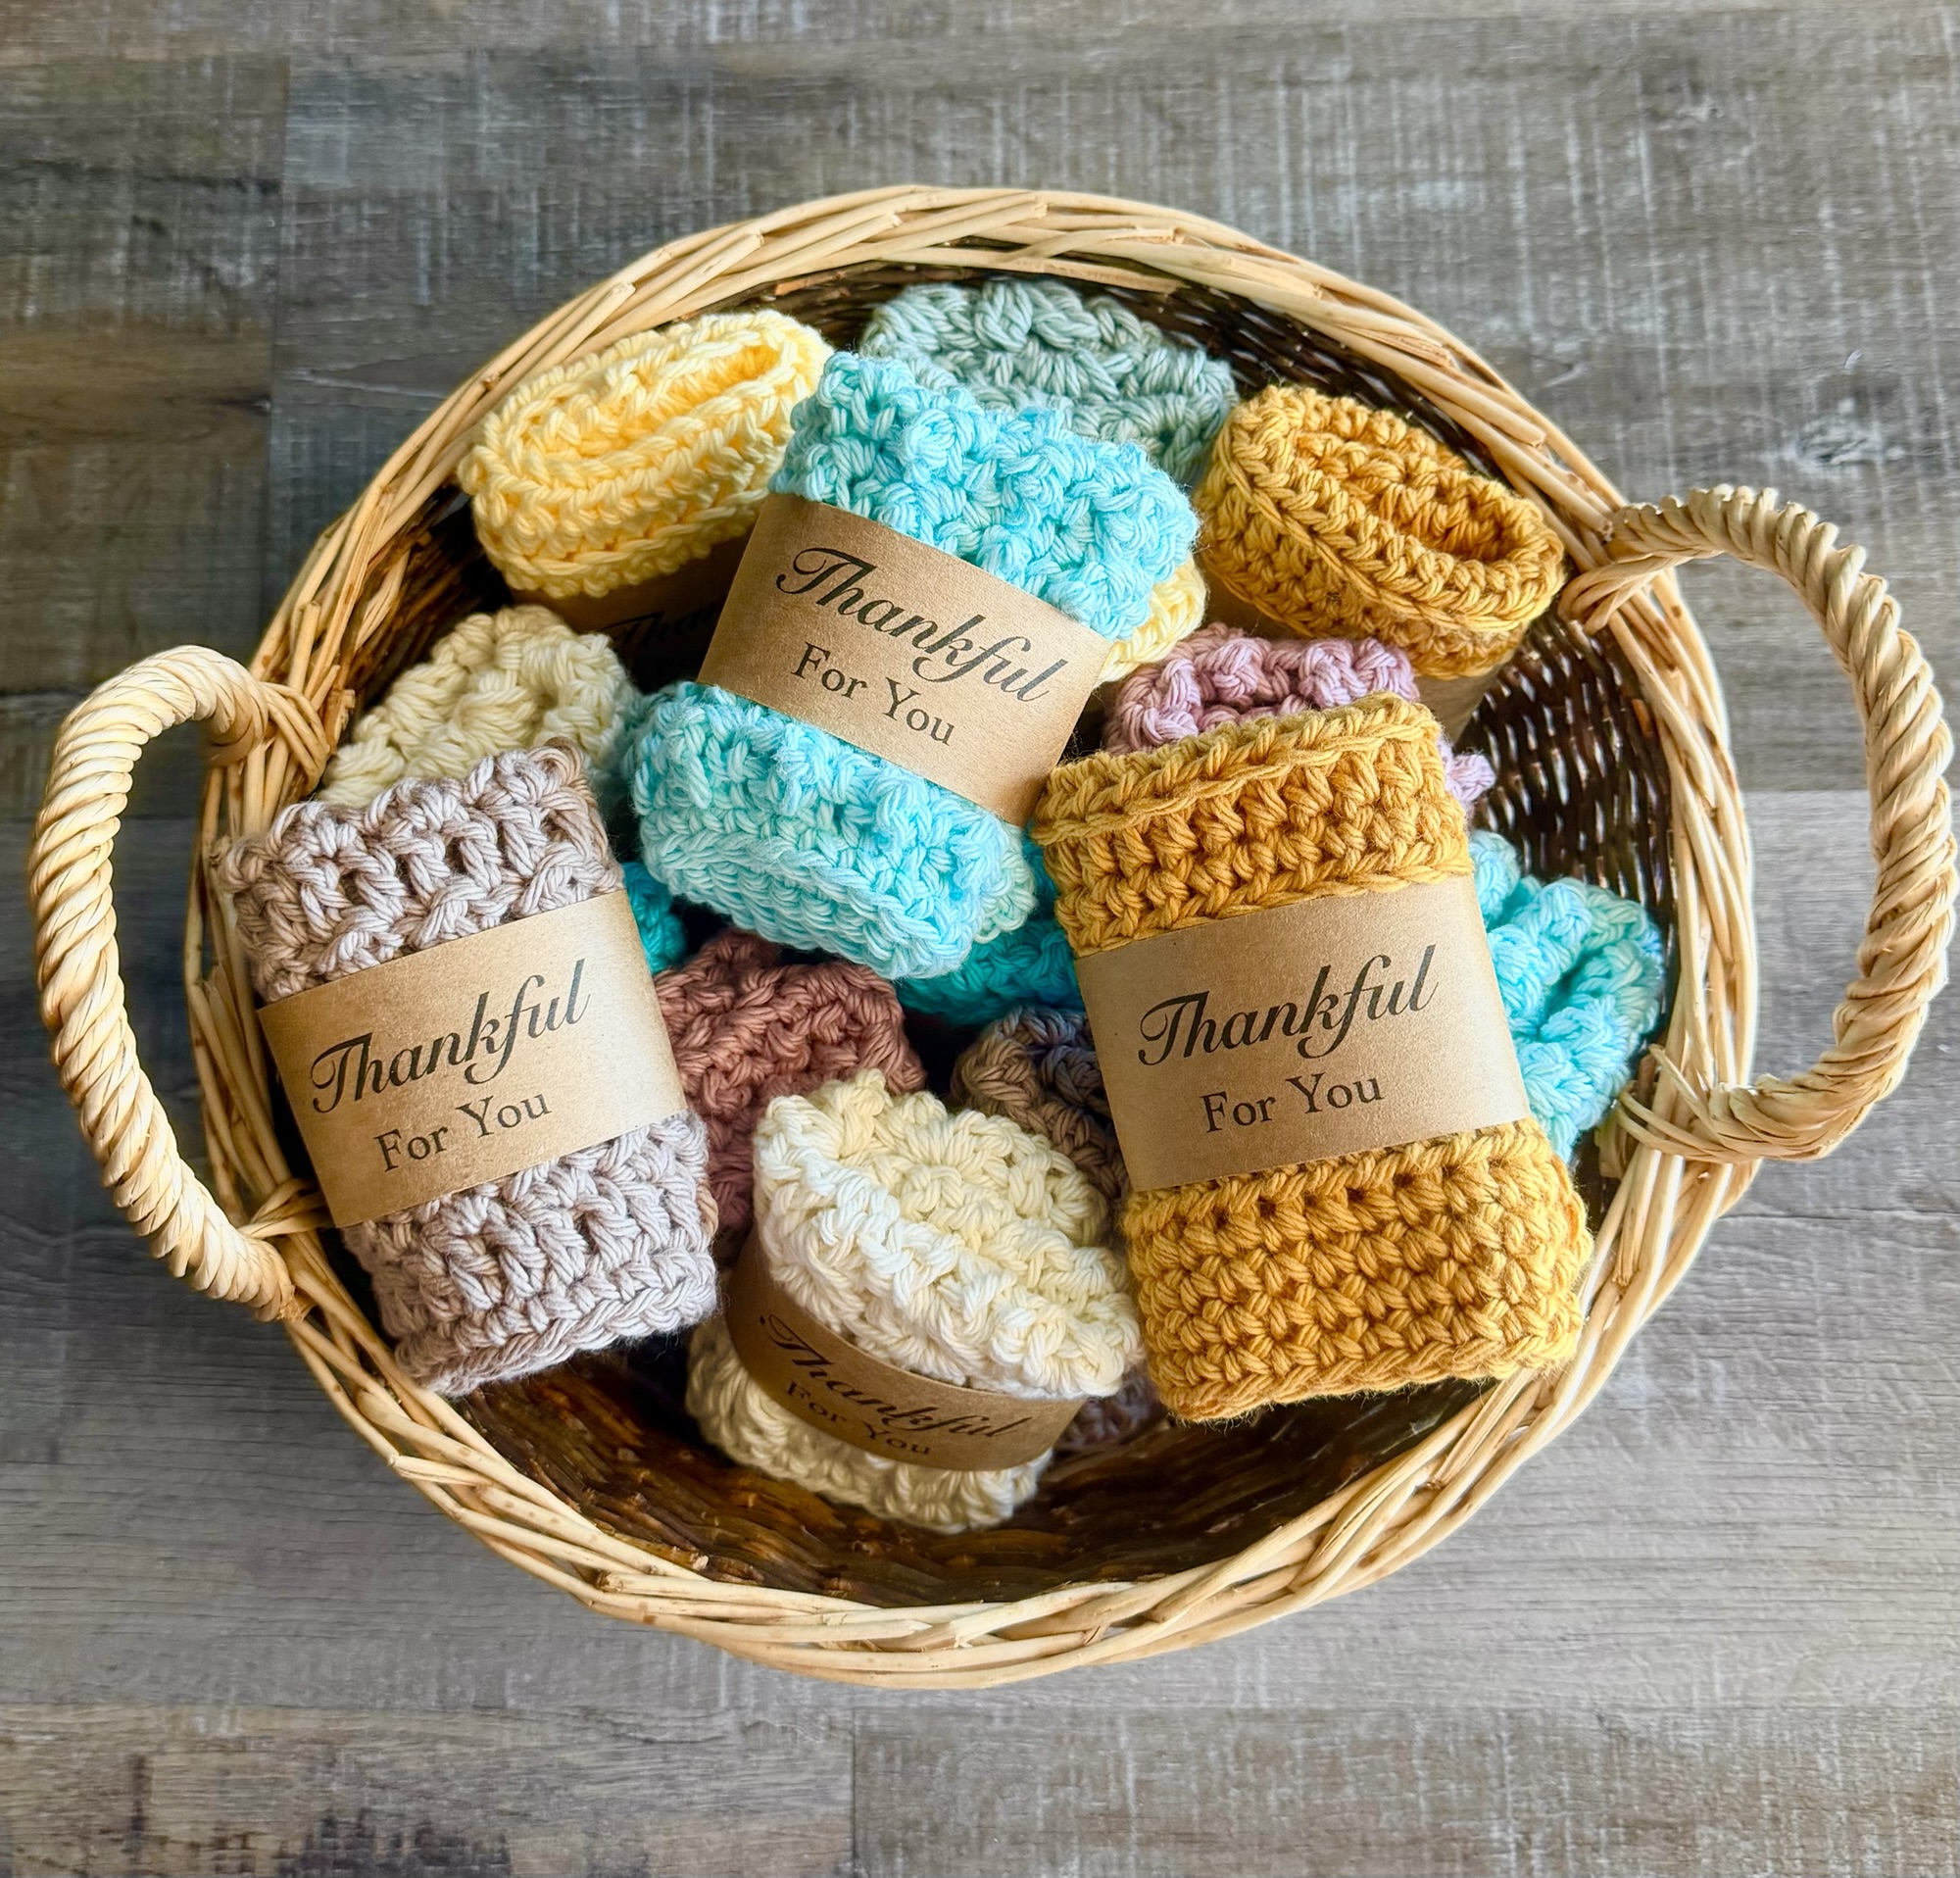
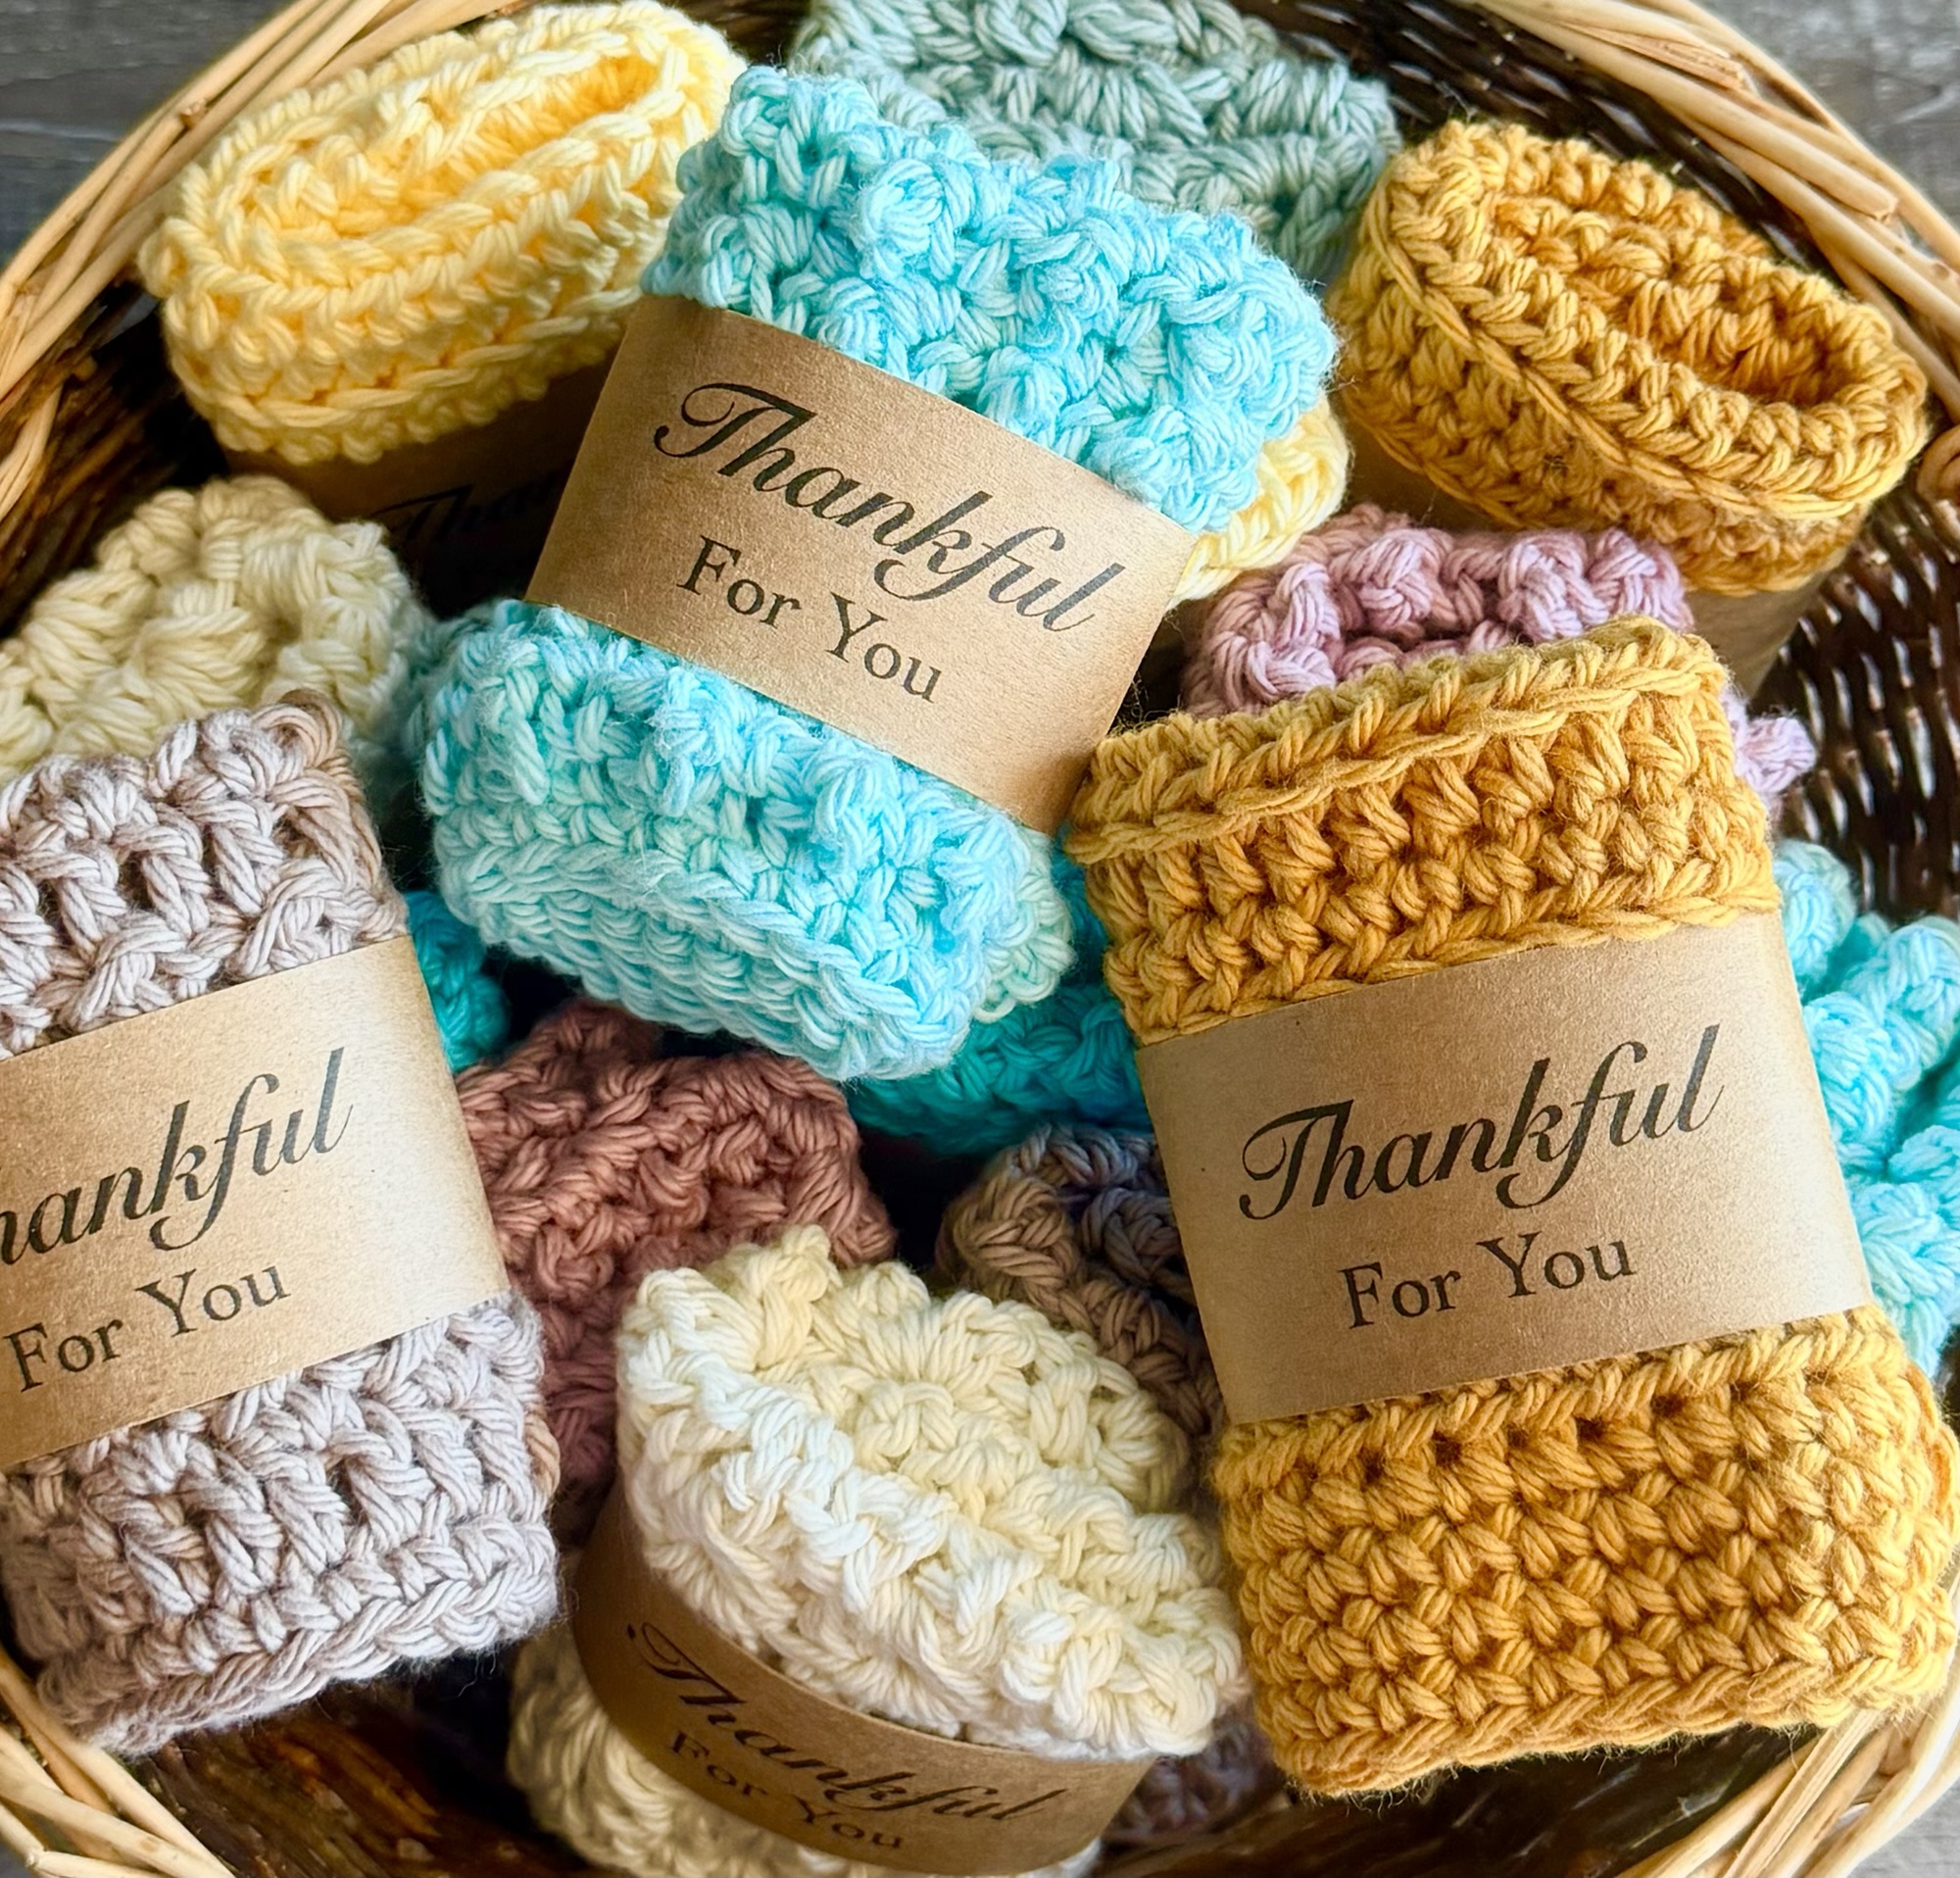
I have a quick free label wrap PDF to share with you today. It’s very clean and simple and it will add a little something extra to Fall hostess gifts or favors on your Thanksgiving table.🍁🍂🍁
Disclosure: Some of the links on my site are affiliate links, meaning, at no additional cost to you, I will earn a small commission if you click through and make a purchase. As an Amazon Associate I earn from qualifying purchases.
Here’s one way you can use my Thankful For You wrap labels. I printed the wrap labels on kraft card stock and cut them into strips. I folded up some crocheted dishcloths, wrapped the labels around them, and secured them with clear tape. These make fun little thinking of you gifts. (If you need some crochet dishcloth patterns, just enter “dishcloth” or “spa cloth” in the search bar above on the right- I have several free patterns on my blog. 😊)
You can also cut the labels into a tag shape around the words, punch a hole in the corner, and tie them around a little clear bag filled with treats using natural twine.
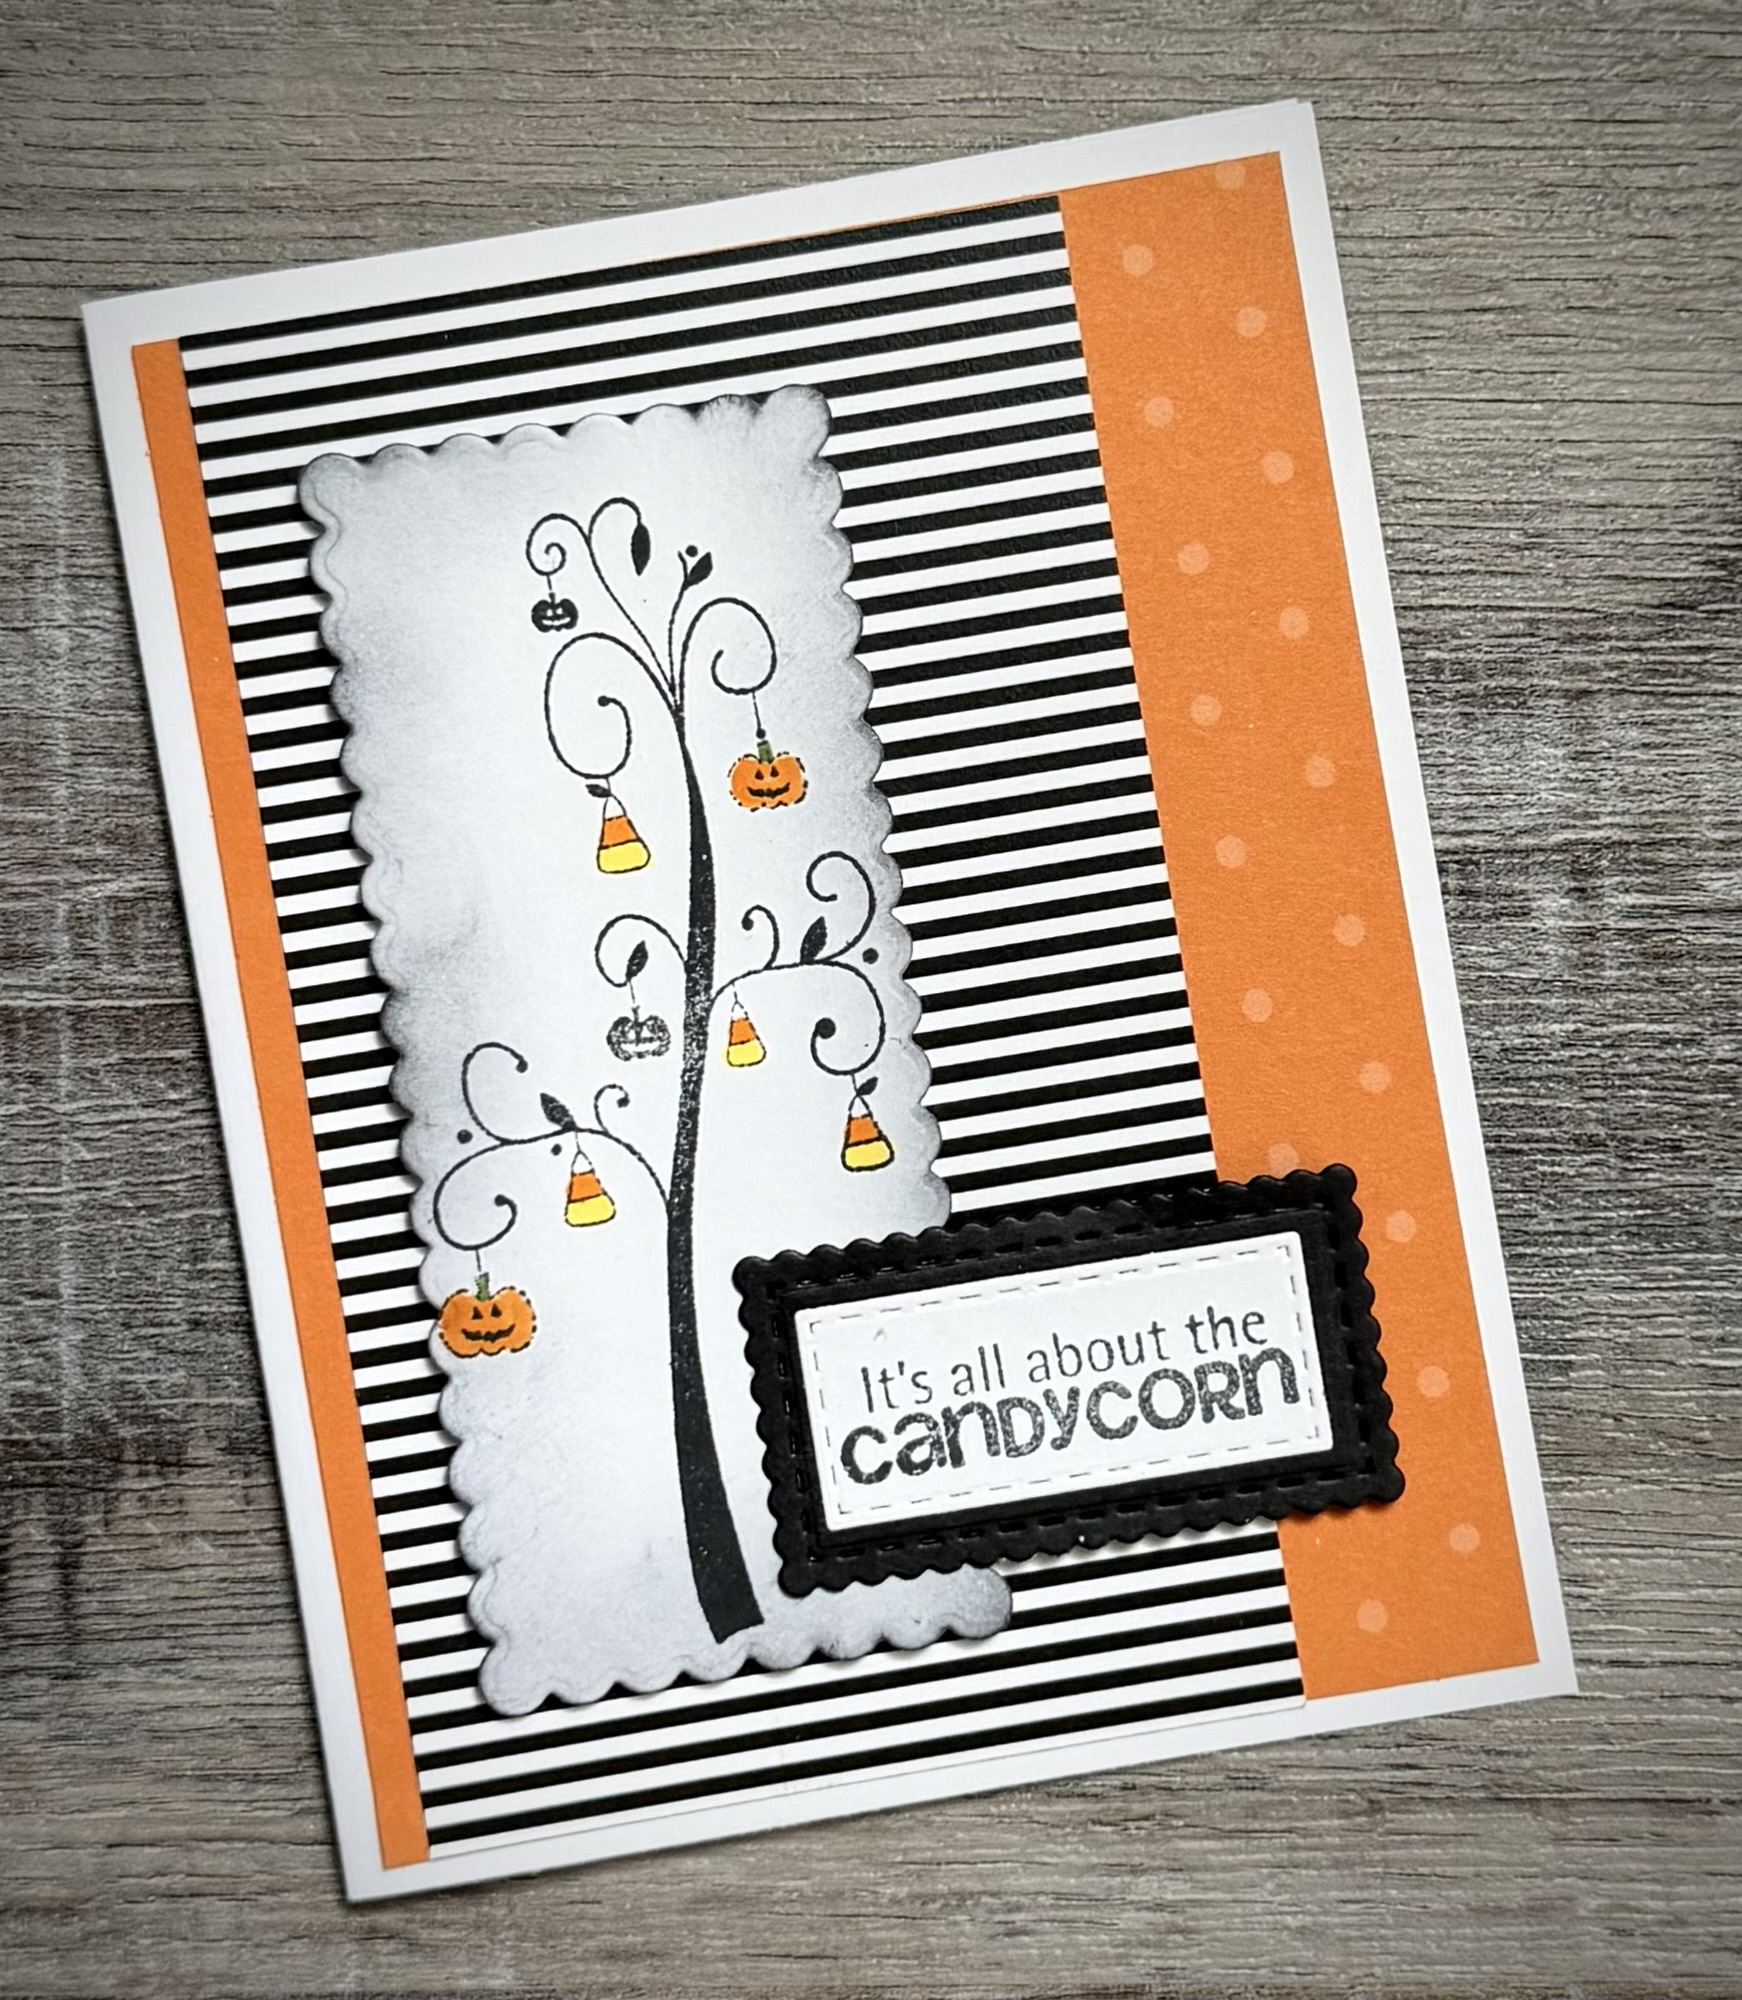
Candy Corn – you either love it or hate it! 😆 However you feel about it, I hope you get a few of your favorite treats today. 😋
Disclosure: Some of the links on my site are affiliate links, meaning, at no additional cost to you, I will earn a small commission if you click through and make a purchase. As an Amazon Associate I earn from qualifying purchases.
Here are the details for this cute card.
I stamped the Halloween tree with Memento Tuxedo Black Ink on white card stock and colored it with Copic markers. Unfortunately, the stamps I used are discontinued. 😔 They are from the set called Hauntingly Sweet from Unity Stamp Company.
I stamped the sentiment with black ink on white card stock. Using these Scalloped & Stitched Sentiment Nesting Dies, I die cut around the sentiment and layered it to black card stock die cut with the same set.
For the card, I attached a piece of orange patterned paper to a white card and added a piece of black and white striped paper on top. The stamped image and sentiment are attached to the card using foam tape.
Even though the stamps I used are discontinued, I hope the layout will inspire you to create a card using stamps in your own collection.
This month’s Christmas card is created using this adorable stamp set called Santa’s Cottontail from Unity Stamp Company. His floppy ears and sweet face are just too cute! 🥰
Disclosure: Some of the links on my site are affiliate links, meaning, at no additional cost to you, I will earn a small commission if you click through and make a purchase. As an Amazon Associate I earn from qualifying purchases.
Using these Scallops & Circles Nesting Dies, I die cut around the image. I attached a piece of patterned paper to a white card and added a piece of red card stock embossed with a dotted embossing folder. I attached the bunny image to the card with foam tape.
I stamped the sentiment with red ink on white card stock and punched it with a label punch. I punched red card stock with the same punch, cut it in half and attached it to the sentiment piece extending the edges out a little. The piece is attached to the card with foam tape. My label punch is discontinued, but I think these banner dies would work in a similar way.
Such a sweet way to send a little joy for the holidays! 🎄
Have you ever made your own fresh pumpkin purée? It’s easier than you might think and, in my opinion, so much better than canned from the store!
Disclosure: Some of the links on my site are affiliate links, meaning, at no additional cost to you, I will earn a small commission if you click through and make a purchase. As an Amazon Associate I earn from qualifying purchases.
You’ll need to get the pie pumpkins, sometimes called sugar pumpkins. They are much smaller than the typical Jack-O-Lantern size. You can usually find them at the Farmers Market or you can do what I did and pick them up at your local grocery store.
First, cut the pumpkin in half close to them stem. Don’t try to cut through the stem, it’s too tough. Once it’s cut in half, you can slice off the stem.
Using your hands, pull out the seeds and as much of the “stringy” stuff as you can. Then, using a spoon, scrape out as much of the leftover “stringy” stuff as you can. It doesn’t have to be perfect.
Line a baking sheet with parchment paper and put your pumpkin halves cut side down on the baking sheet.
Preheat your oven to 400 degrees. Bake your pumpkins 35-45 minutes until you can easily punch through the skin with a fork and the pumpkin flesh is soft.
Here’s what they look like when finished baking.
Let cool for a while until you can handle the pumpkin. You should then be able to easily scrape the pumpkin flesh from the skin. Put the flesh in a food processor and process on high until it is smooth. Don’t have a food processor? You can also process it in a blender.
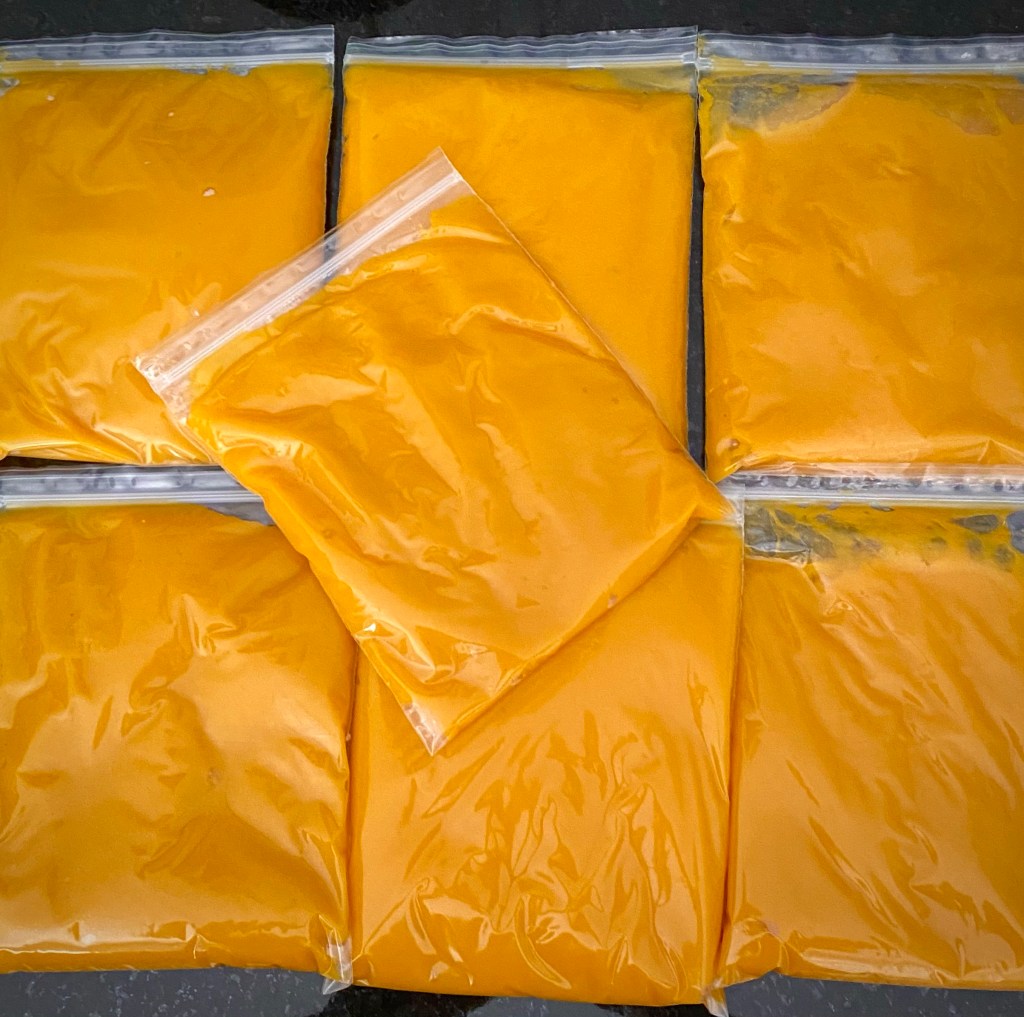
I put 2 cups of pumpkin purée into each quart size freezer bag. Have you seen these bag holders for holding open freezer or storage bags for easy filling? They are a game changer! They are adjustable to handle different size bags and make the job so much easier! Here’s a tip for filling the bags…Fold over the top of the bag before placing in the bag holder – it will keep the zipper part from getting messy. 🙂
I flattened my bags, getting out as much air as I could, before putting them in the freezer. They will take up less space that way and will thaw out more quickly when you are ready to use your pumpkin purée.
I was able to get 14 cups of purée out of my 6 pumpkins. You can probably figure on about 2 cups of purée per pumpkin, which is what you will need for most pie recipes. You can use fresh pumpkin purée in any pie, bread, or muffin recipe – just substitute the same amount of fresh pumpkin purée in place of the canned pumpkin in any recipe you are making.
I’ve included our favorite Pumpkin Bread recipe below. This makes a lot of bread – 3 to 4 loaves depending on the size of your loaf pans. This bread freezers very well. Wrap it in foil and then slip it into a freezer bag. Make some early, put it in the freezer, and you’ll be ready for the holidays!
Pumpkin Bread
5 cups flour
4 cups sugar
4 cups pumpkin purée
1 cup vegetable oil
1 cup chopped nuts (we like pecans)
1 cup raisins or chopped dates (we like raisins)
4 teaspoons baking soda
2 teaspoons cinnamon
1 teaspoon ground cloves
1 teaspoon salt
1 teaspoon vanilla
Preheat oven to 350 degrees. Spray loaf pans generously with nonstick spray.
Mix all ingredients together in a large bowl. (I do this in my 5-quart Kitchen Aid mixer.) Pour into prepared pans.
Bake for 1 hour or until toothpick inserted in center comes out clean. Cool in pans for 15 to 20 minutes. Then remove from pans and finish cooling on cooling racks.
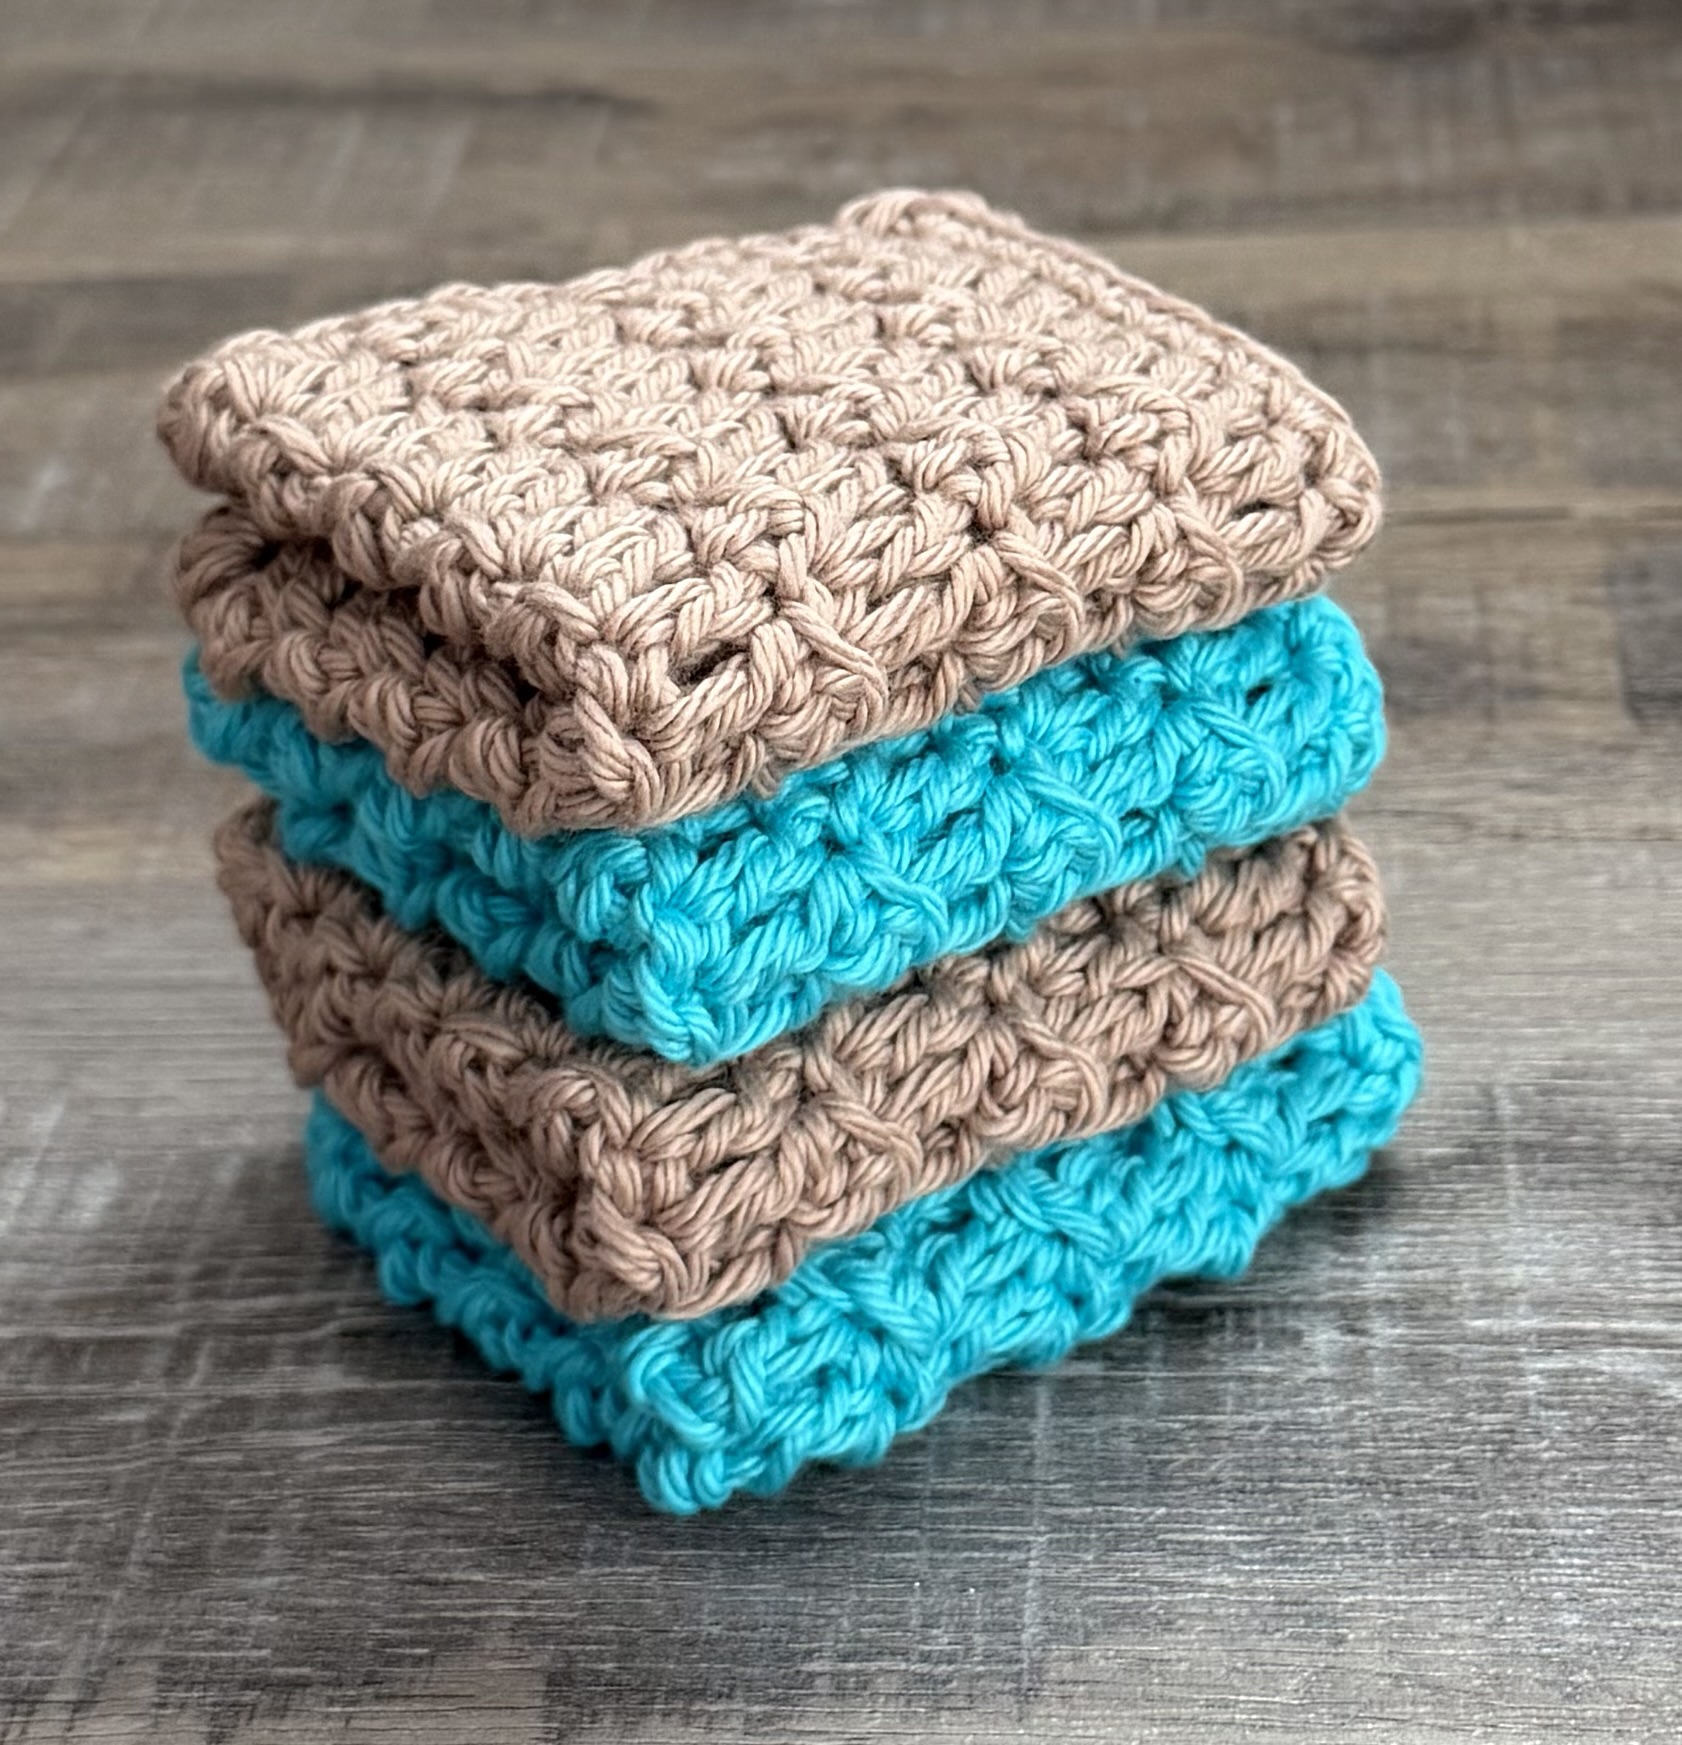
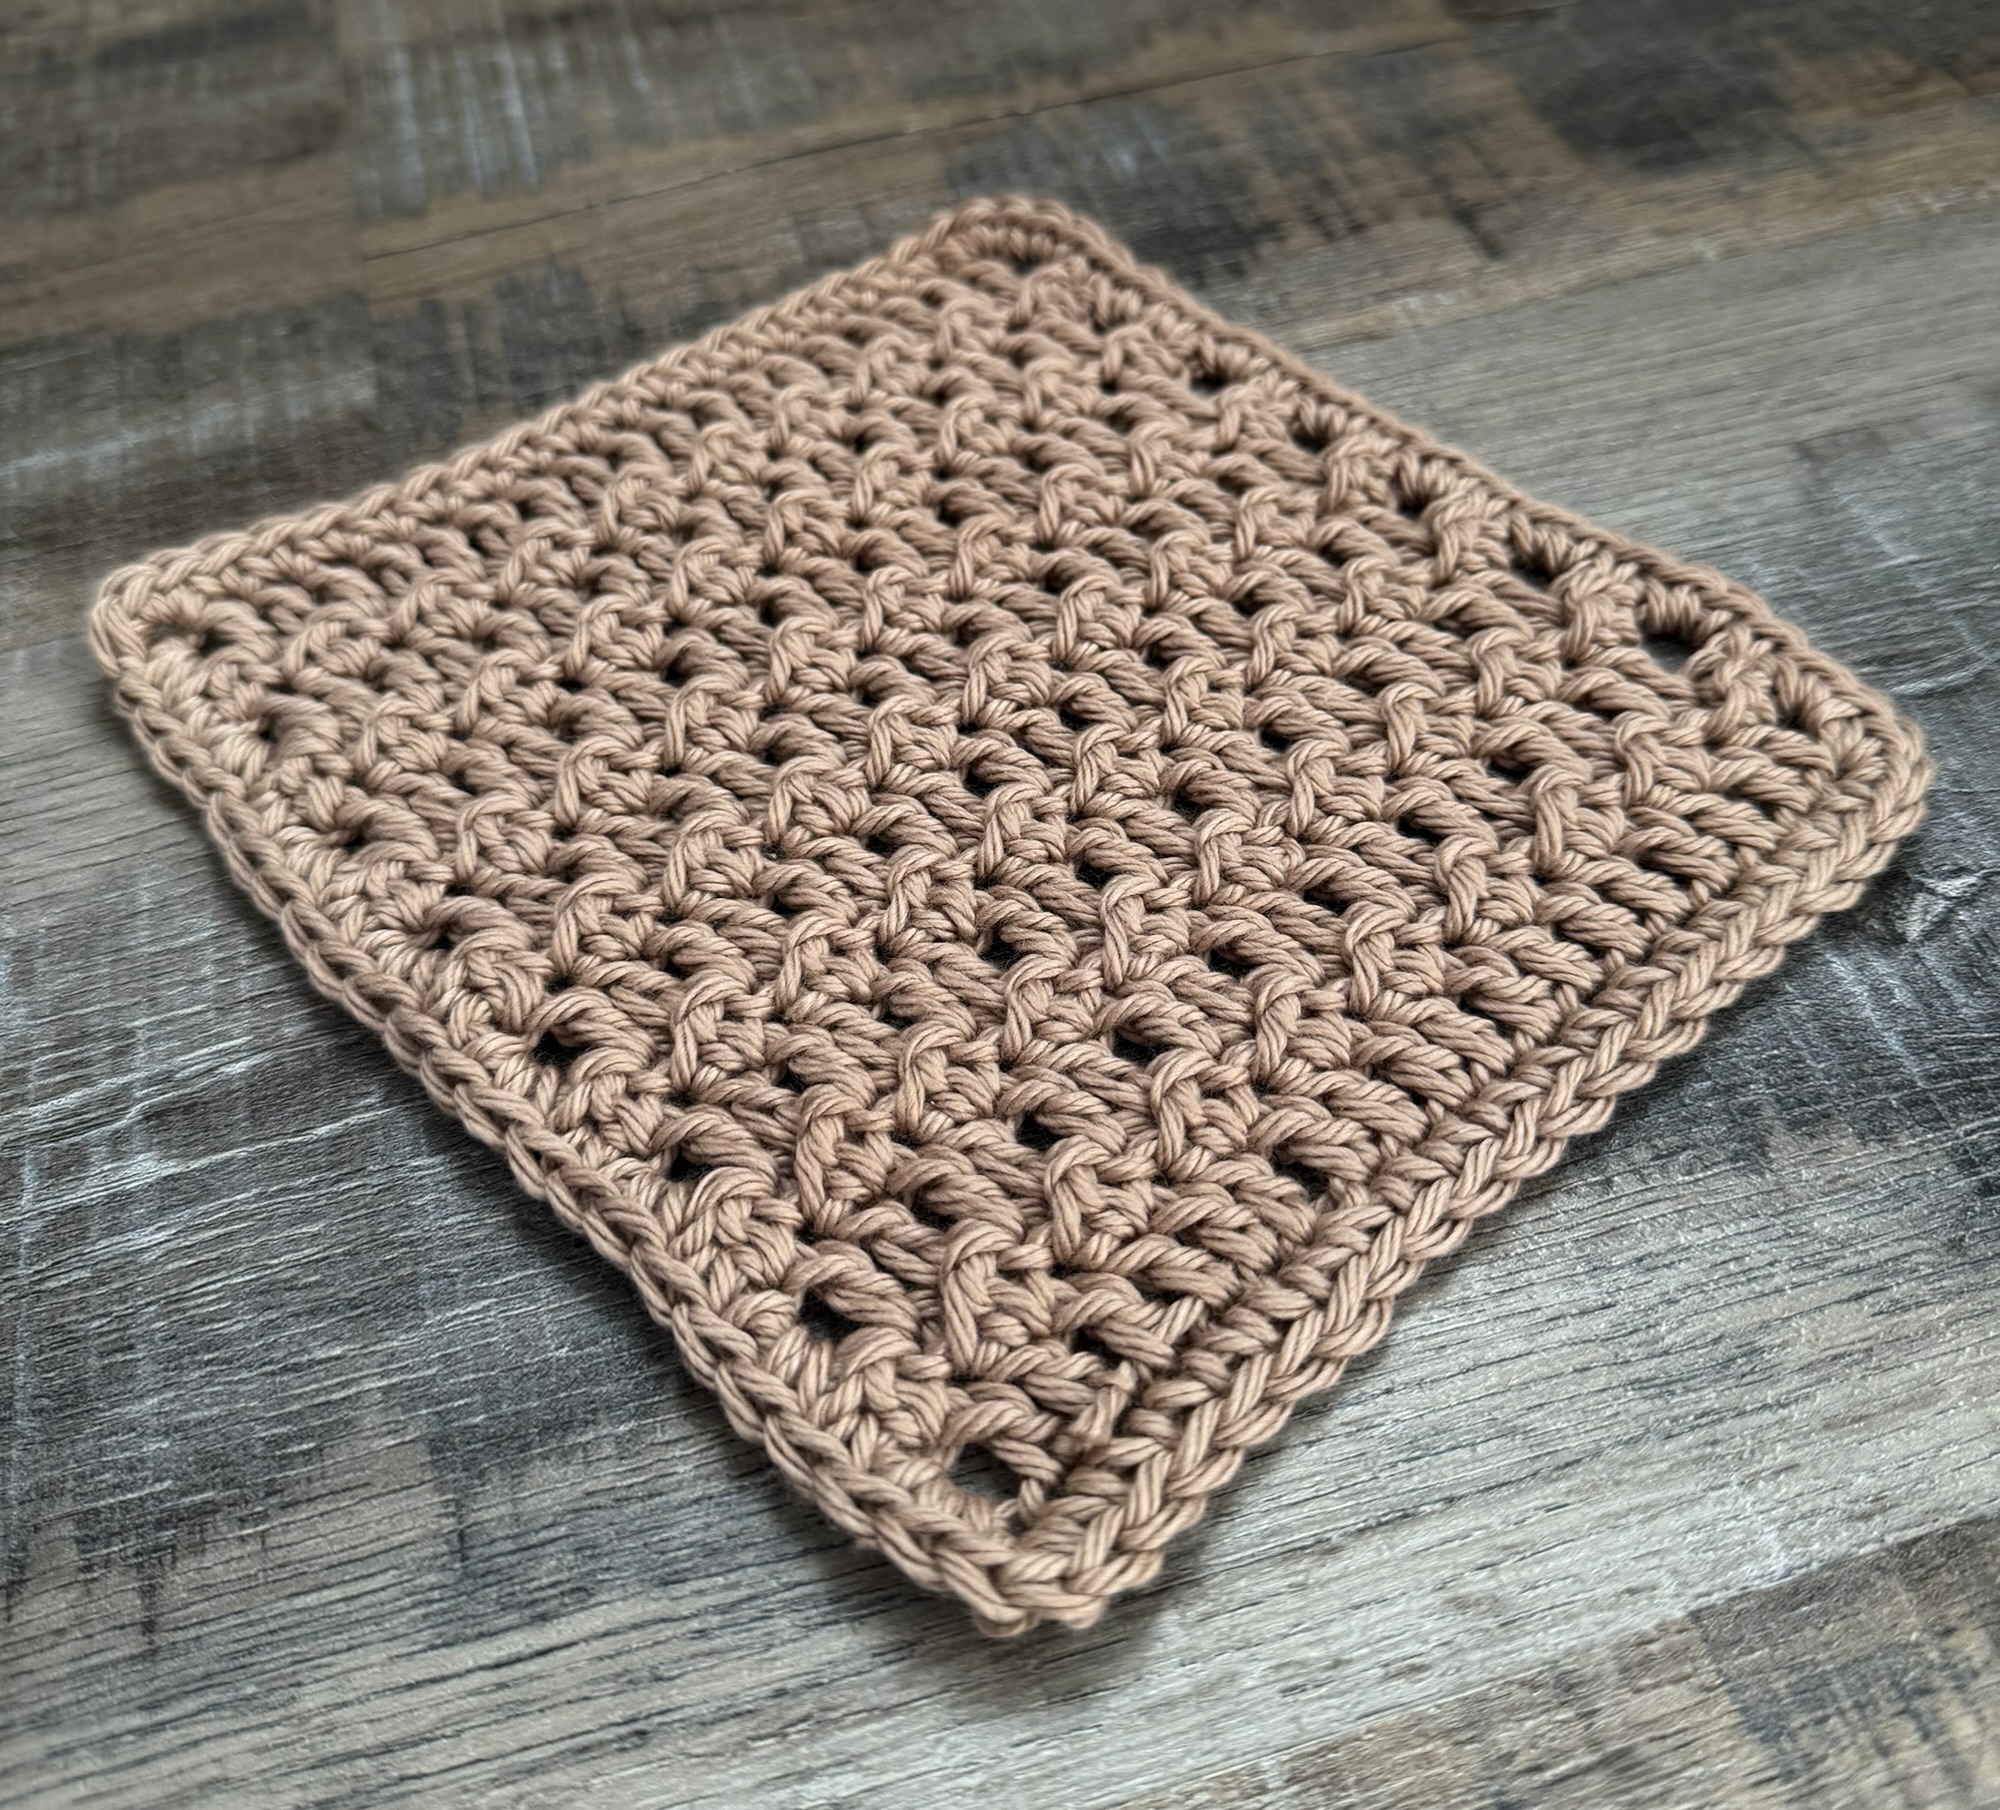
Crochet dishcloths are a great way to learn and practice new stitches. They also make great little “just thinking of you” gifts. The floret stitch is an easy 2 row pattern repeat that’s great for beginners.
Disclosure: Some of the links on my site are affiliate links, meaning, at no additional cost to you, I will earn a small commission if you click through and make a purchase. As an Amazon Associate I earn from qualifying purchases.
I stitched up my dishcloths using I Love This Cotton Yarn in Turquoise and Khaki with an H/5mm crochet hook. The super easy pattern is below along with free PDFs – one with photos and one without – if you’d like to easily print it.
Crochet Floret Stitch Dishcloth
Worsted Weight Cotton Yarn – I used I Love This Cotton yarn in Turquoise and Khaki
H/5mm crochet hook
Stitches used in US terms:
Chain – ch
Double Crochet – dc
Slip Stitch – ss
Single Crochet – sc
Chain 22.
Row 1: dc in 4th ch from hook. (3 skipped ch count as a dc stitch). dc in each ch across. Turn. (20 stitches)
Row 2: ch 1 (does not count as a stitch) dc in 1st, ss in next stitch. *dc in next stitch, ss in next stitch* Repeat from *to* across. (Your last ss will be in the top of the ch 3 from the previous row.) Turn. (20 stitches)
Row 3: ch 3 (counts as a dc) dc in first dc and in each stitch across. Turn. (20 stitches)
Don’t forget that because the dishcloths are made with cotton yarn, they also make great spa cloths!😊
I think the crochet floret stitch would also make a beautiful blanket or scarf. Make your starting chain in multiples of 2 plus 2 to start and crochet as many rows as you’d like. You can also use any yarn you’d like – just adjust your hook size to the yarn you choose.
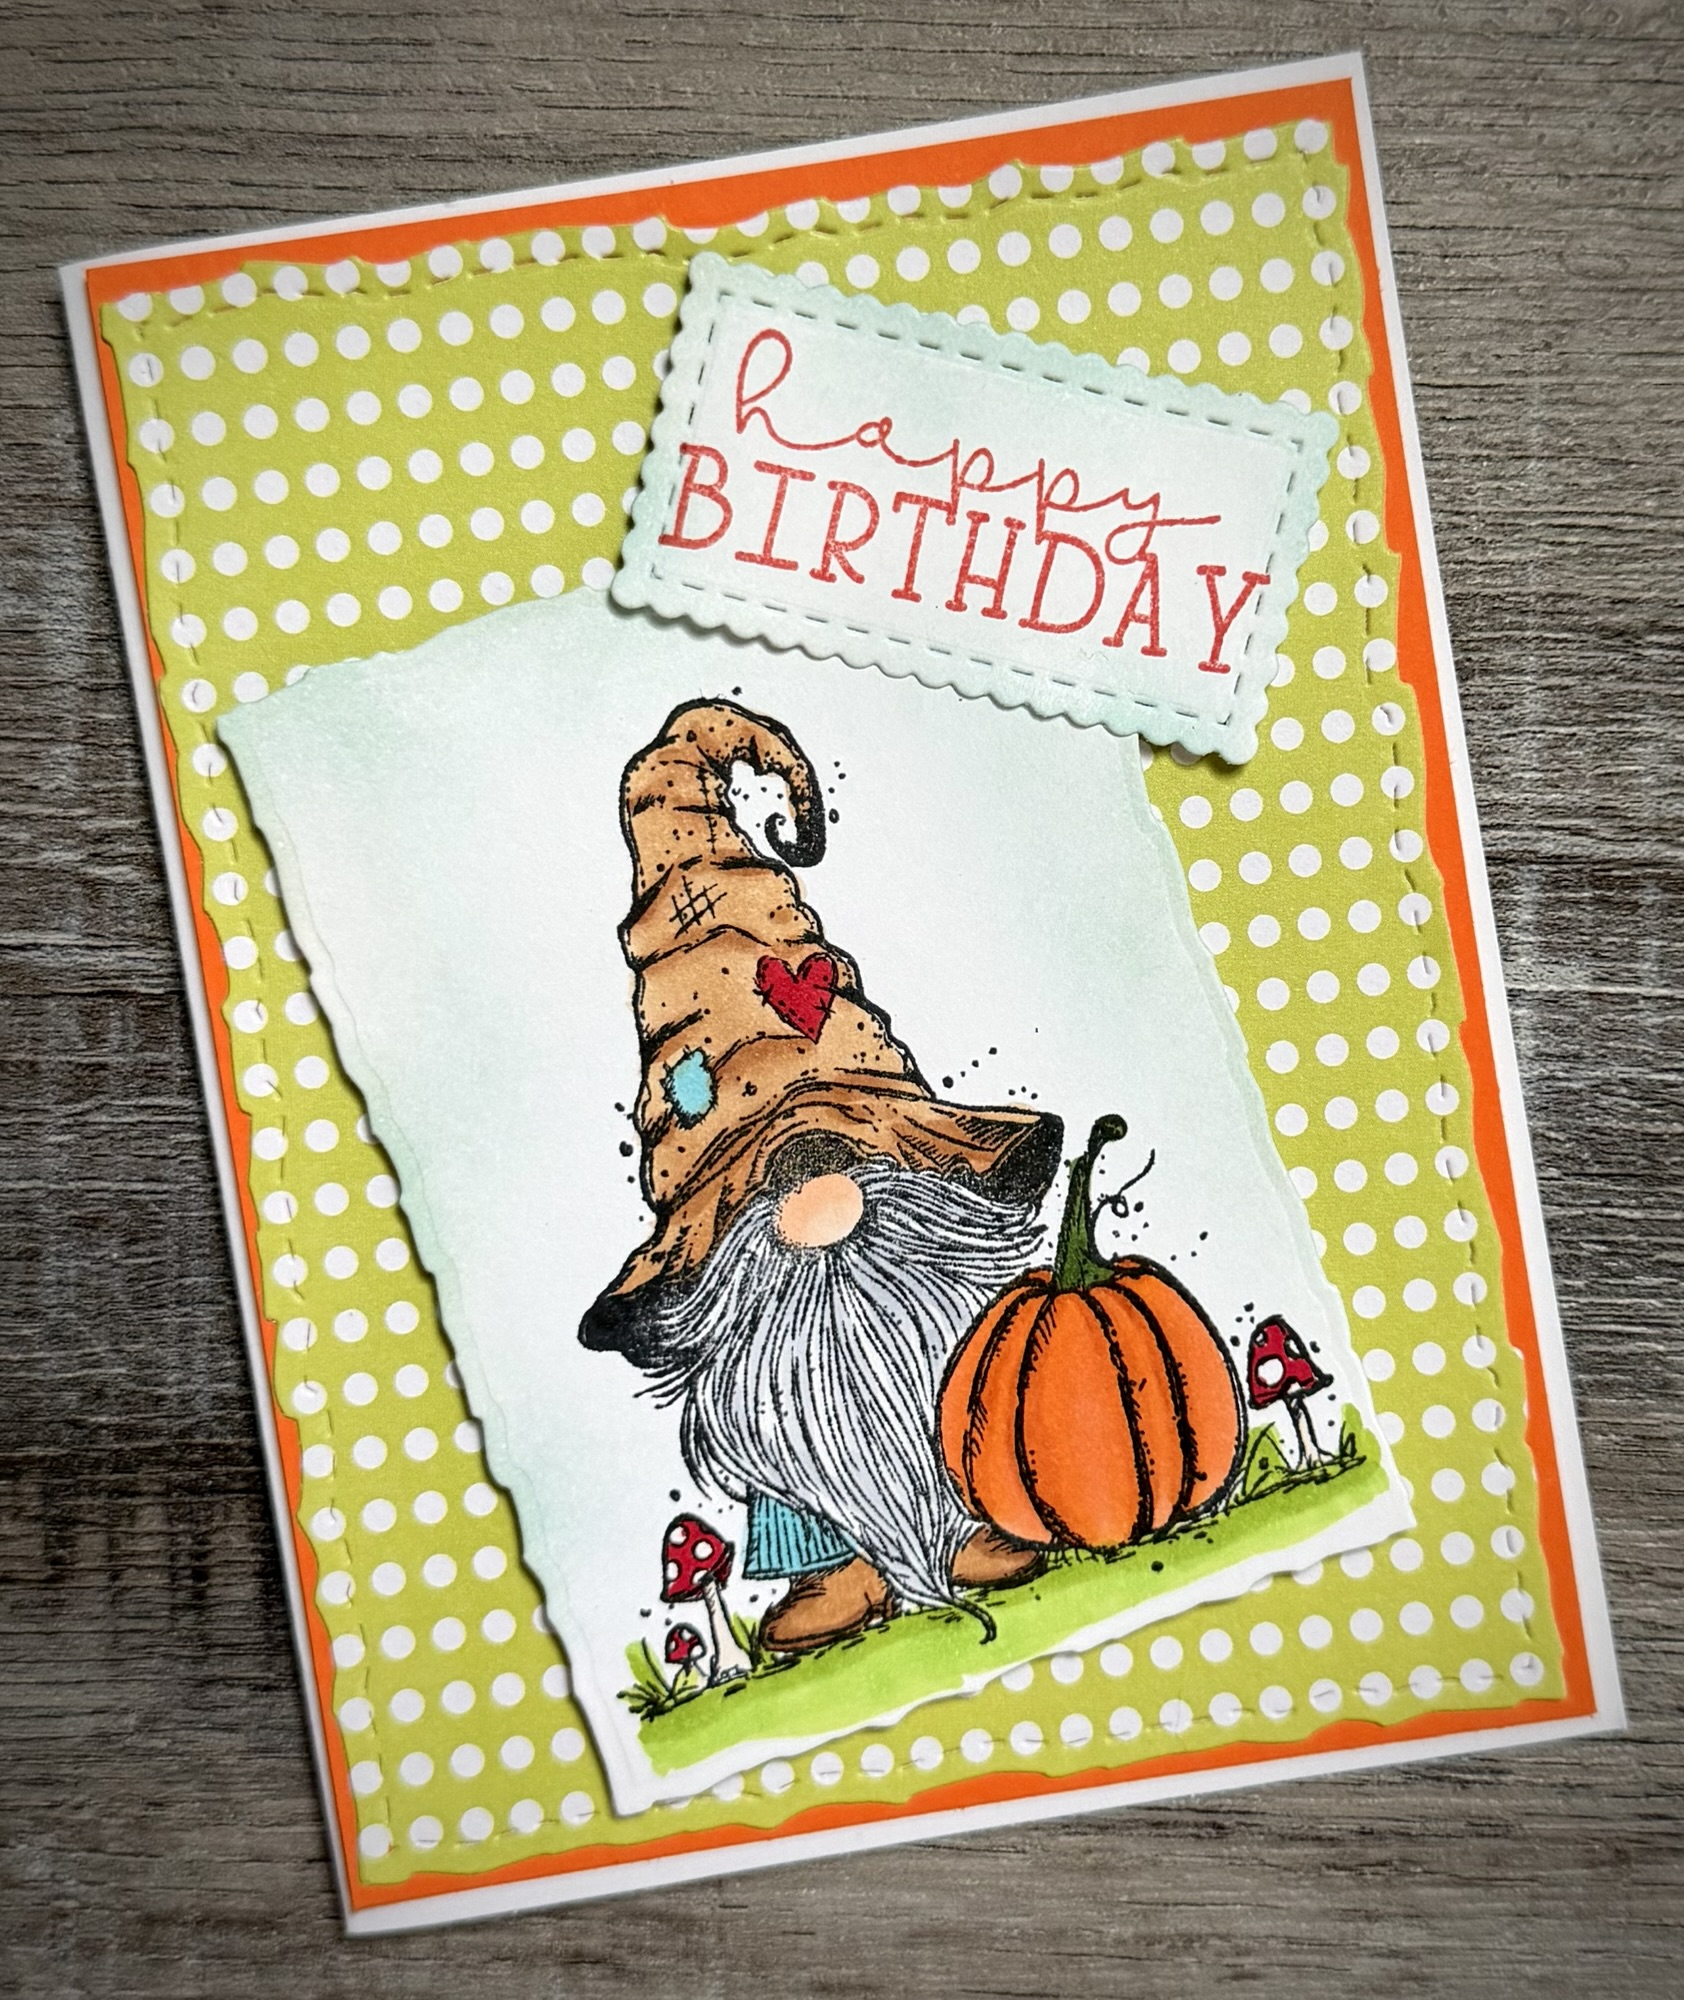
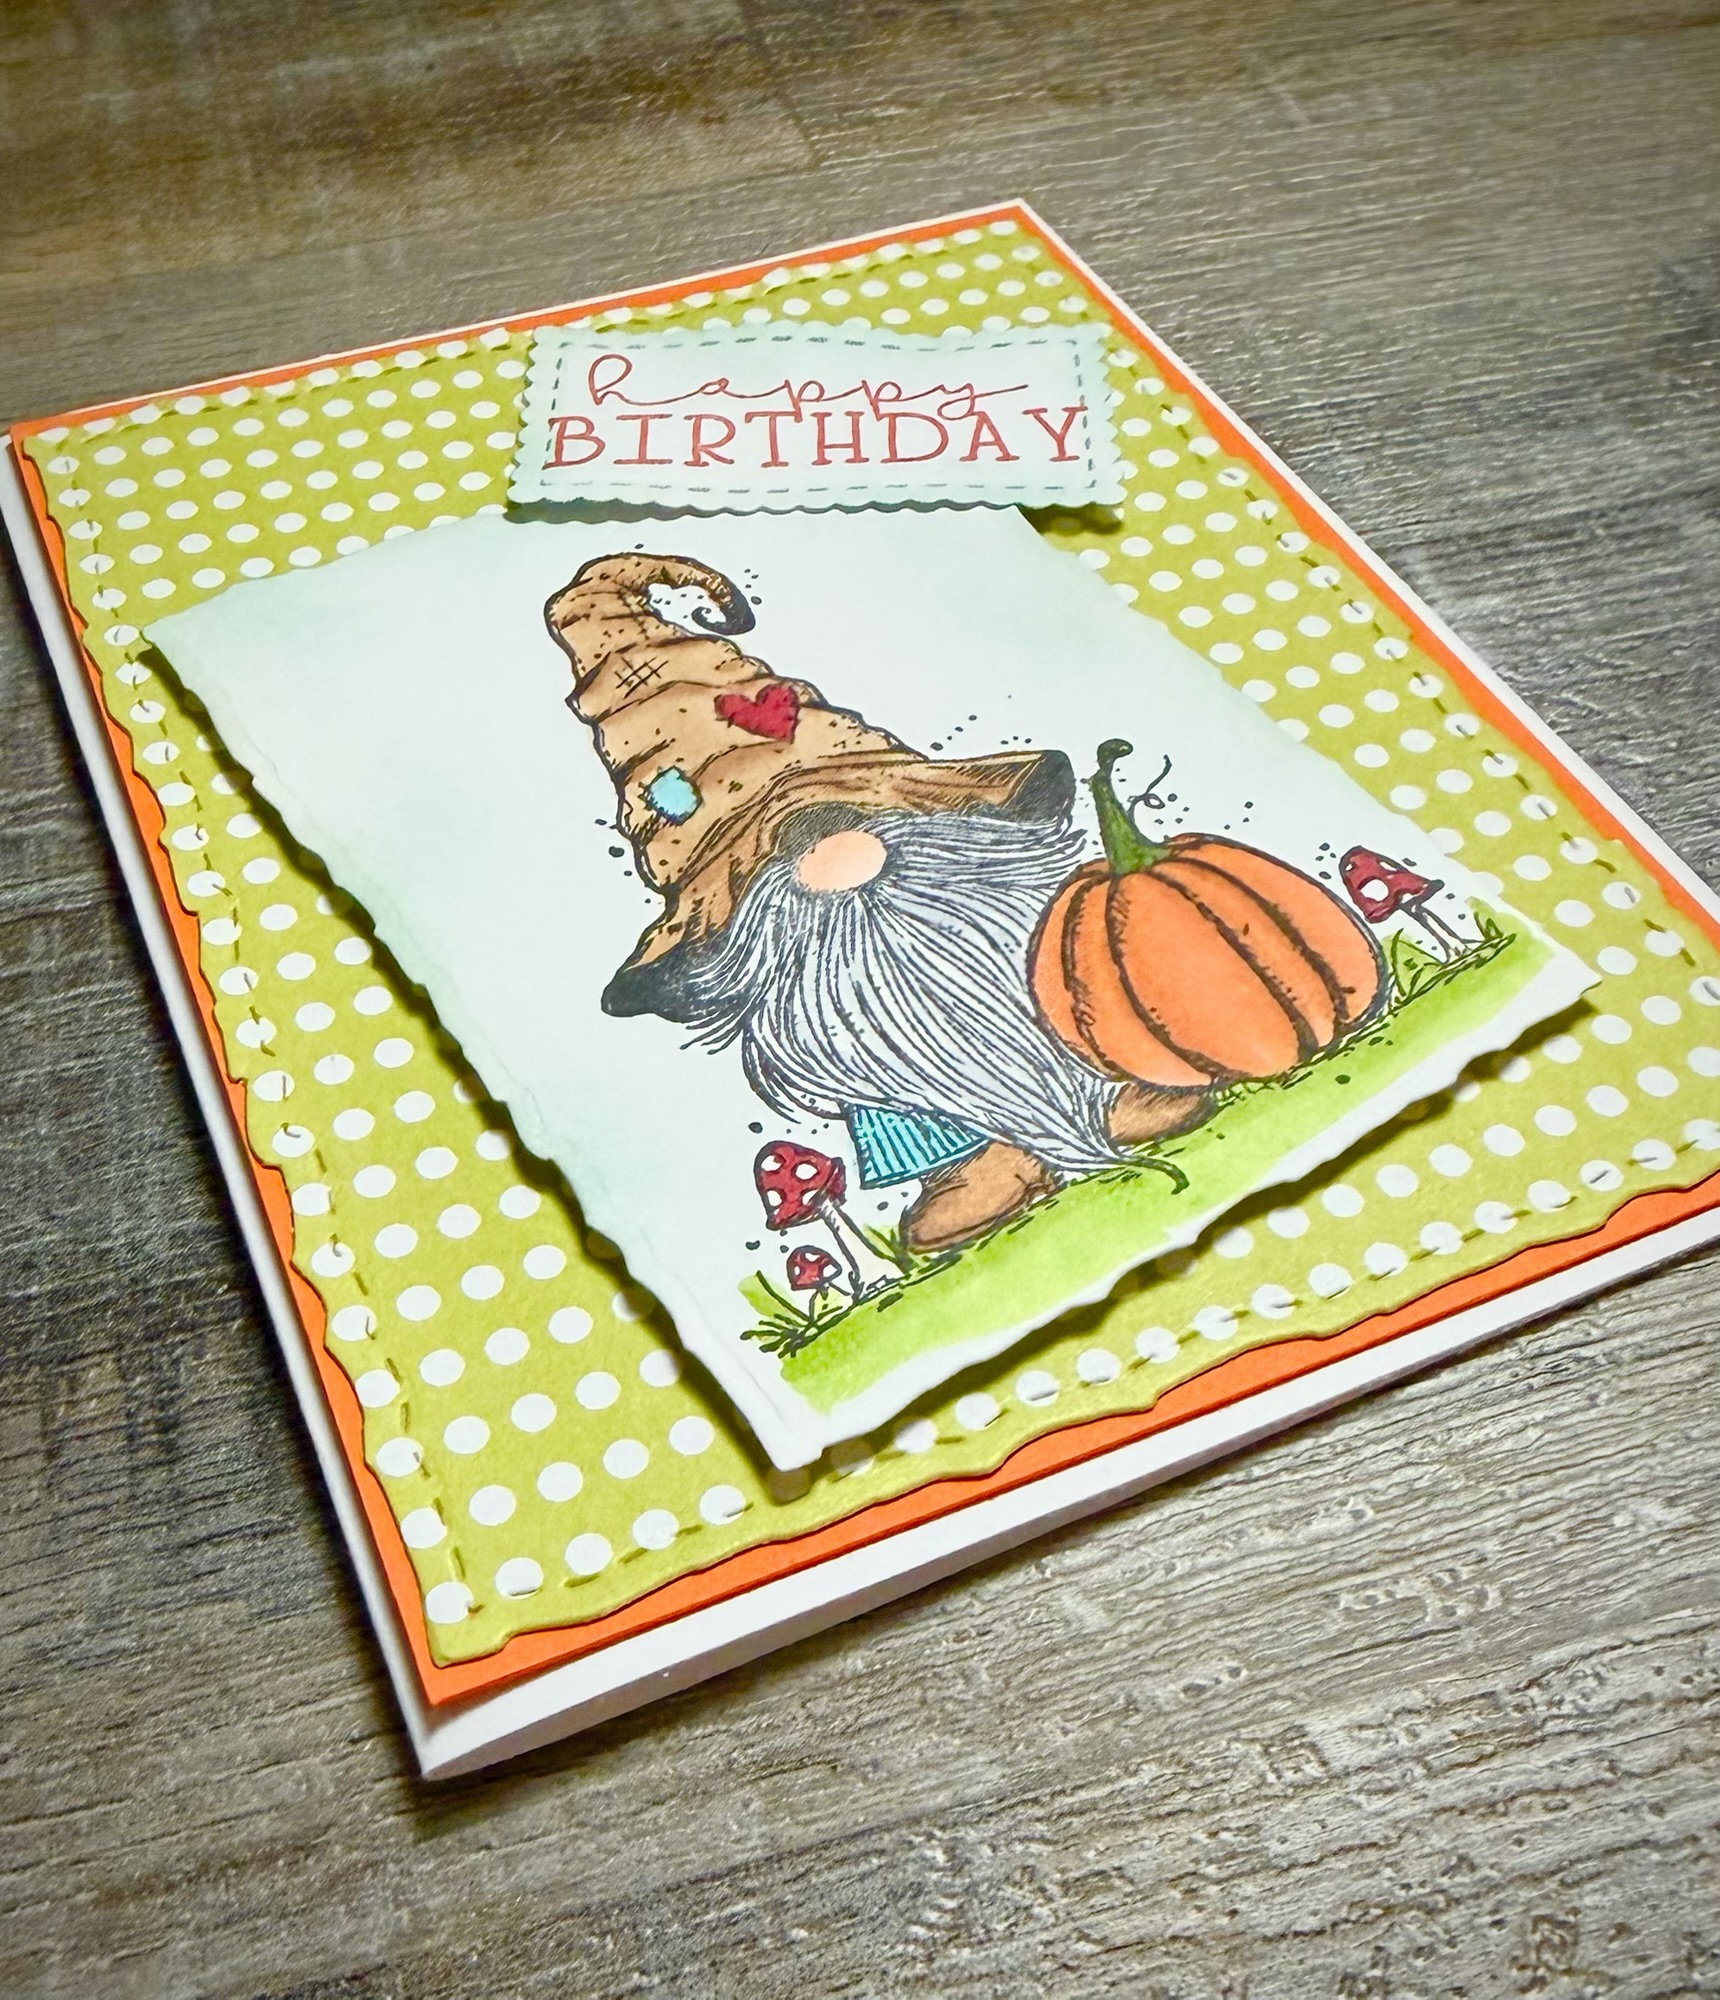
This cute little gnome makes the best Fall birthday card! He’s from the stamp set called Lil’ Cozy Keeper from Unity Stamp Company and the set also includes 2 Fall sentiment stamps. My happy birthday stamp is from the set called Extended Celebration also from Unity Stamp Company.
Disclosure: Some of the links on my site are affiliate links, meaning, at no additional cost to you, I will earn a small commission if you click through and make a purchase. As an Amazon Associate I earn from qualifying purchases.
To make the card, I attached a piece of orange card stock to a white card. I die cut a piece of polka dot patterned paper with the Deckle & Stitched Nesting Dies and attached it to the card. I attached the gnome image to the card at an angle using foam tape and attached the sentiment to the top right corner also with foam tape.
This little guy is a cute, fun way to send all kinds of Fall greetings! 🍁🍂🍁
Disclosure: Some of the links on my site are affiliate links, meaning, at no additional cost to you, I will earn a small commission if you click through and make a purchase. As an Amazon Associate I earn from qualifying purchases.