
Hi friends,
If there is such a thing as “Bracelet Season”, I think Spring and Summer would be it. 🙂 Since we are wearing shorter sleeves, all of those pretty bracelets can be seen.
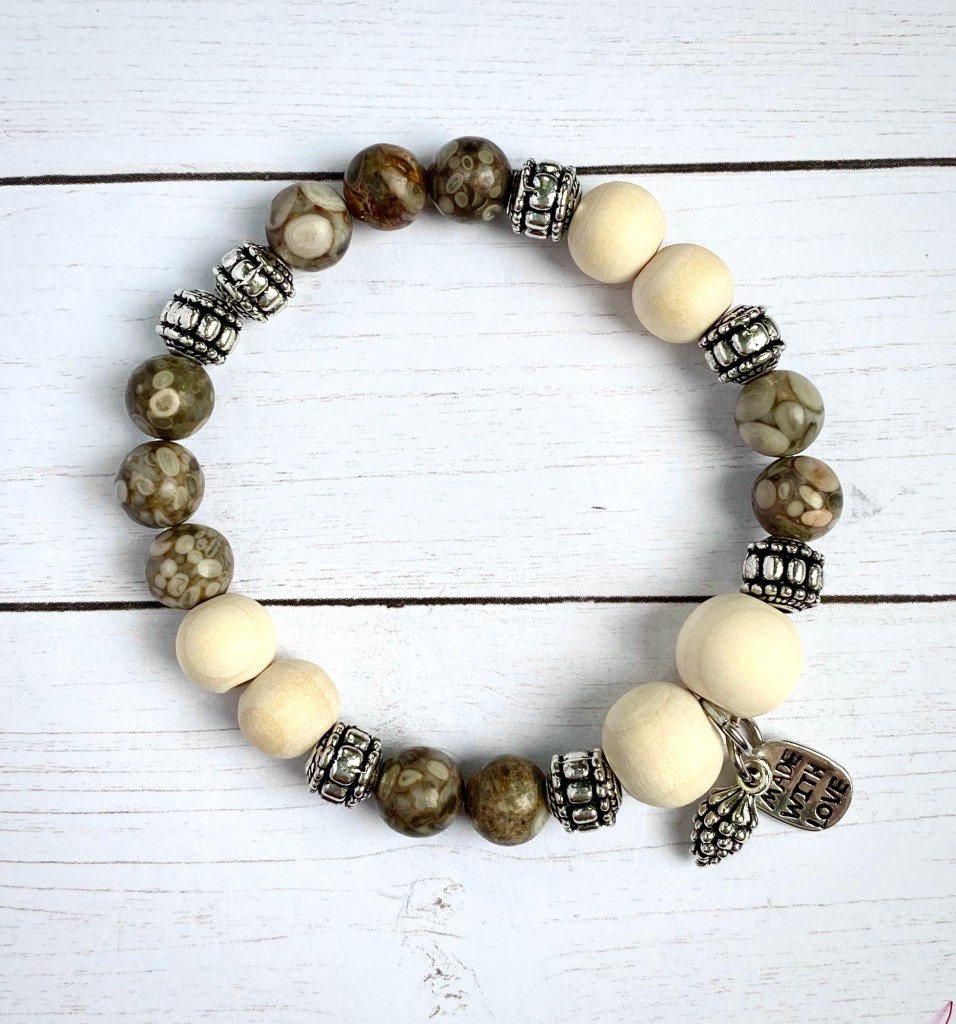
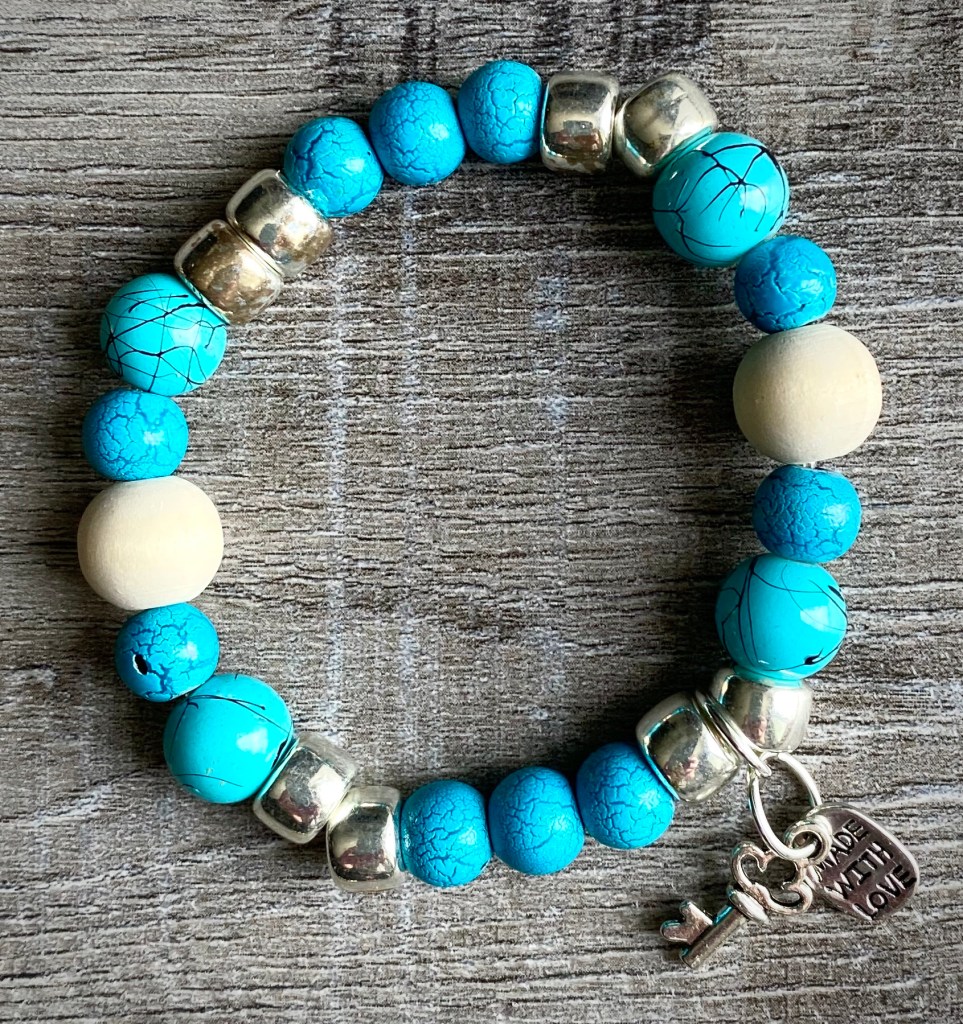
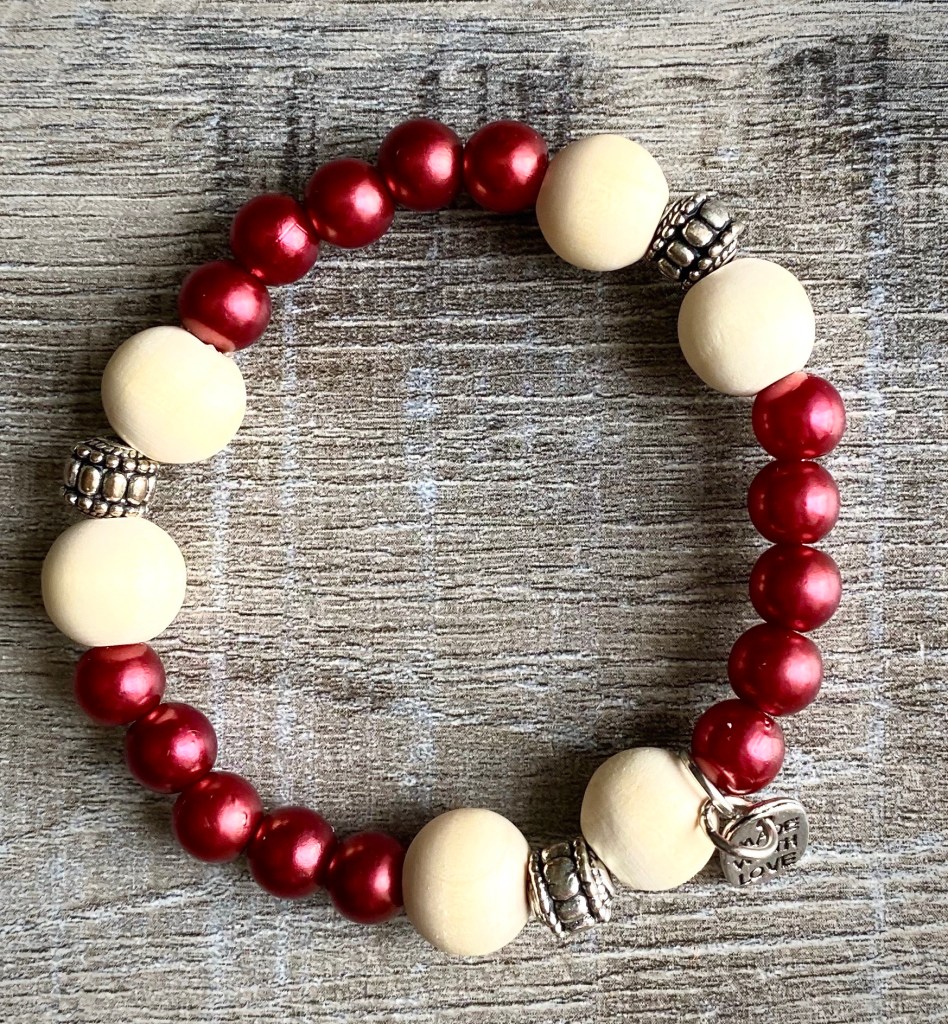
Making stretch bracelets is so easy and fun. All you need is some elastic cord, beads, and charms if you want to add them.
Disclosure: Some of the links on my site are affiliate links, meaning, at no additional cost to you, I will earn a small commission if you click through and make a purchase. As an Amazon Associate I earn from qualifying purchases.
Here are links to some of the supples I used…
- Stretch Magic Bead and Jewelry cord – 1mm
- Gemstone Beads – lots different colors and sizes here
- Natural wood beads in various sizes
- Metal spacer beads – lots to choose from here
- Charms – if desired
- Jump rings for adding charms
- Made with Love charms – if desired
- Jewelry making tools – if you are adding charms
- E600 clear adhesive


Some of the beads and charms I used were already in my craft stash so I’m not sure exactly where they came from. But the links above are filled with lots of supply ideas – I’m sure you’ll find something that you love!
To make your bracelet, cut a piece of Stretch Magic cord about 12-inches long. Give the piece of cord a good stretch before stringing on your beads. Tie a temporary knot near one end to keep the beads from sliding off. Then just string your beads on in any pattern you like! Your imagination is the limit – there is no right or wrong here.
If you are adding charms, attach a jump ring (here’s a great tutorial) to the charm and then attach another jump ring to the first jump ring. You will thread the cord through the second jump ring. This allows the the charm to “dangle” from the bracelet. I usually add the charm about half way through stringing on the beads. I like to add a “Made with Love” charm to all of my bracelets. If I’m adding another charm with it, I put them both on the same jump ring.
Once you are happy with your design, untie the temporary knot and finish the bracelet by tying a surgeon’s knot tightly between the first and last bead. Trim off any excess cord. I like to add a drop of E600 clear adhesive to the knot and then try to slip the knot into one of the beads if it will fit.
An average size of a bracelet is about 8-inches. You can increase or decrease the size depending on the measurement of the wrist or how loosely you want the bracelet to fit.
These are really fun and easy to make. The colors and designs are endless! There are charms for any theme, season, sport, or activity to personalize your bracelets for anyone. Just have fun! 🙂
What kind of bracelets will you make?
Happy Crafting!
Anita


