
Hi friends,
Today’s Christmas in July project is a reverse canvas using a simple Christmas tree ornament. I love how fun and inexpensive it is to take a regular stretched canvas and completely change how it looks!
To make the Christmas Tree Reverse Canvas, you’ll need a 5 by 7 inch stretched canvas, a wood Christmas tree ornament, some wood stain, chalk or acrylic paint in green, mustard, and brown, natural jute twine, and your hot glue gun. If your ornament doesn’t have a star shape on the top, you may want to add a small wood star.
Disclosure: Some of the links on my site are affiliate links, meaning, at no additional cost to you, I will earn a small commission if you click through and make a purchase. As an Amazon Associate I earn from qualifying purchases.
I had the ornament in my stash that I purchased from the Christmas crafts section last year at Dollar Tree – but I’ve noticed some stores are bringing out their Christmas merchandise already 😳 so you may be able to find some now. I picked up my canvas from Dollar Tree. I used chalk paint to paint my tree because I had the colors I wanted to use, but acrylic paint will work great, too. This is a great set of acrylic colors if you want to add a variety to your craft room. The wood stain I had was left over from another project. Since the canvas was $1.00 and the ornament was in a package of 5 for $1.00 and I had all my other supplies on hand, this was a super inexpensive project to make 🙂

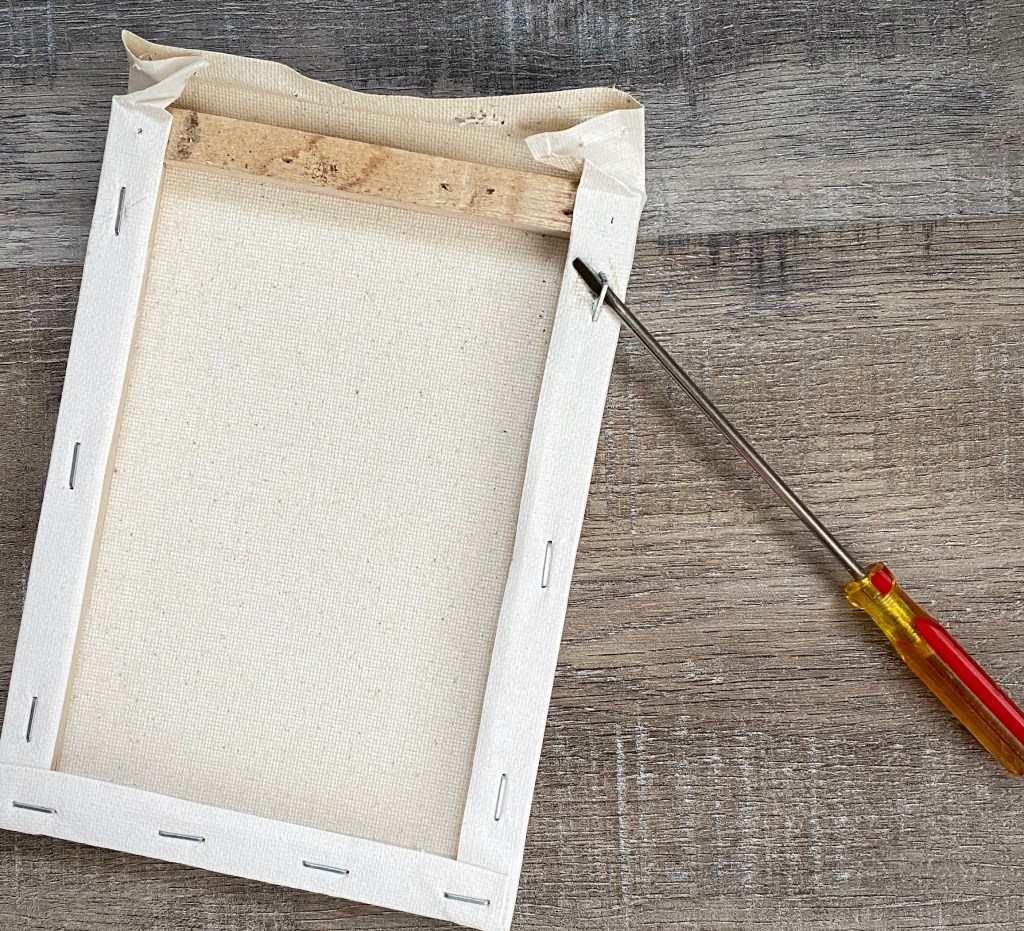
First you’ll need to remove the canvas from the wood frame it is wrapped around. I used a screwdriver to gently pry the staple from the frame. Be careful doing this – it can be a little hard to get the edge of the screwdriver under the staple at first! Here is how it will look once the canvas is removed.

Then you’ll need to trim the canvas down because you will be glueing it to the back of the wood frame. You can cut just inside of the crease and it will be the perfect size to glue to the frame.

Use your wood stain with a paper towel to stain all the surfaces of the wood frame. Then hot glue your trimmed canvas to the back of the frame to cover up the holes from the staples. I wanted the oatmeal colored (back) side of the canvas to show through my frame but you can also glue it the other way if you prefer the white (front) side of the canvas.


I painted the front and edges of my tree ornament with 2 coats of green, mustard, and brown paint, letting it dry between coats. Then I dry brushed the entire tree lightly with brown paint to give it a more rustic feel. I didn’t like the hole at the top of my ornament so I added a little sparkly enamel dot to cover it. (If you are adding a star to your tree, you’ll want to glue it on now.) Then I hot glued my tree to the canvas. To finish off my project, I cut 2 lengths of twine (about 12-inches each), tied them into a bow and hot glued it to the top of the frame.
And here it is – such a simple idea, but I love how it turned out!

There are a lot of options with this project. You could paint the frame instead of staining it. You could use a different wood Christmas ornament shape in place of the tree. You could use a larger canvas and a larger wood cutout or even a word. Or you could use a wood cutout for any season or just for your everyday decor.
Don’t forget to save this to your Christmas or craft Pinterest board using the button below!
Happy Crafting!
Anita


What a great idea to use the canvas that way! Looks great 👌
LikeLike
Thank you so much! 😊
LikeLike
What a fantastic idea! So many possibilities with this idea! Everyone seems to be making Christmas stuff right now, I’m feeling left behind!
LikeLiked by 1 person
Thank you!
LikeLike