
Hi friends,
Do you like to shop the clearance aisles after holidays? I do! You never know what you might find that you can alter or repurpose for another holiday at deeply discounted prices. 🙂
Disclosure: Some of the links on my site are affiliate links, meaning, at no additional cost to you, I will earn a small commission if you click through and make a purchase. As an Amazon Associate I earn from qualifying purchases.
Here’s a storage tip for you… 🙂 I have 3 plastic bins that I keep my clearance items in. That way I have easy access so I can remember what I bought and I can keep my items sorted by season or theme – making it easier to see what I have to alter or repurpose.
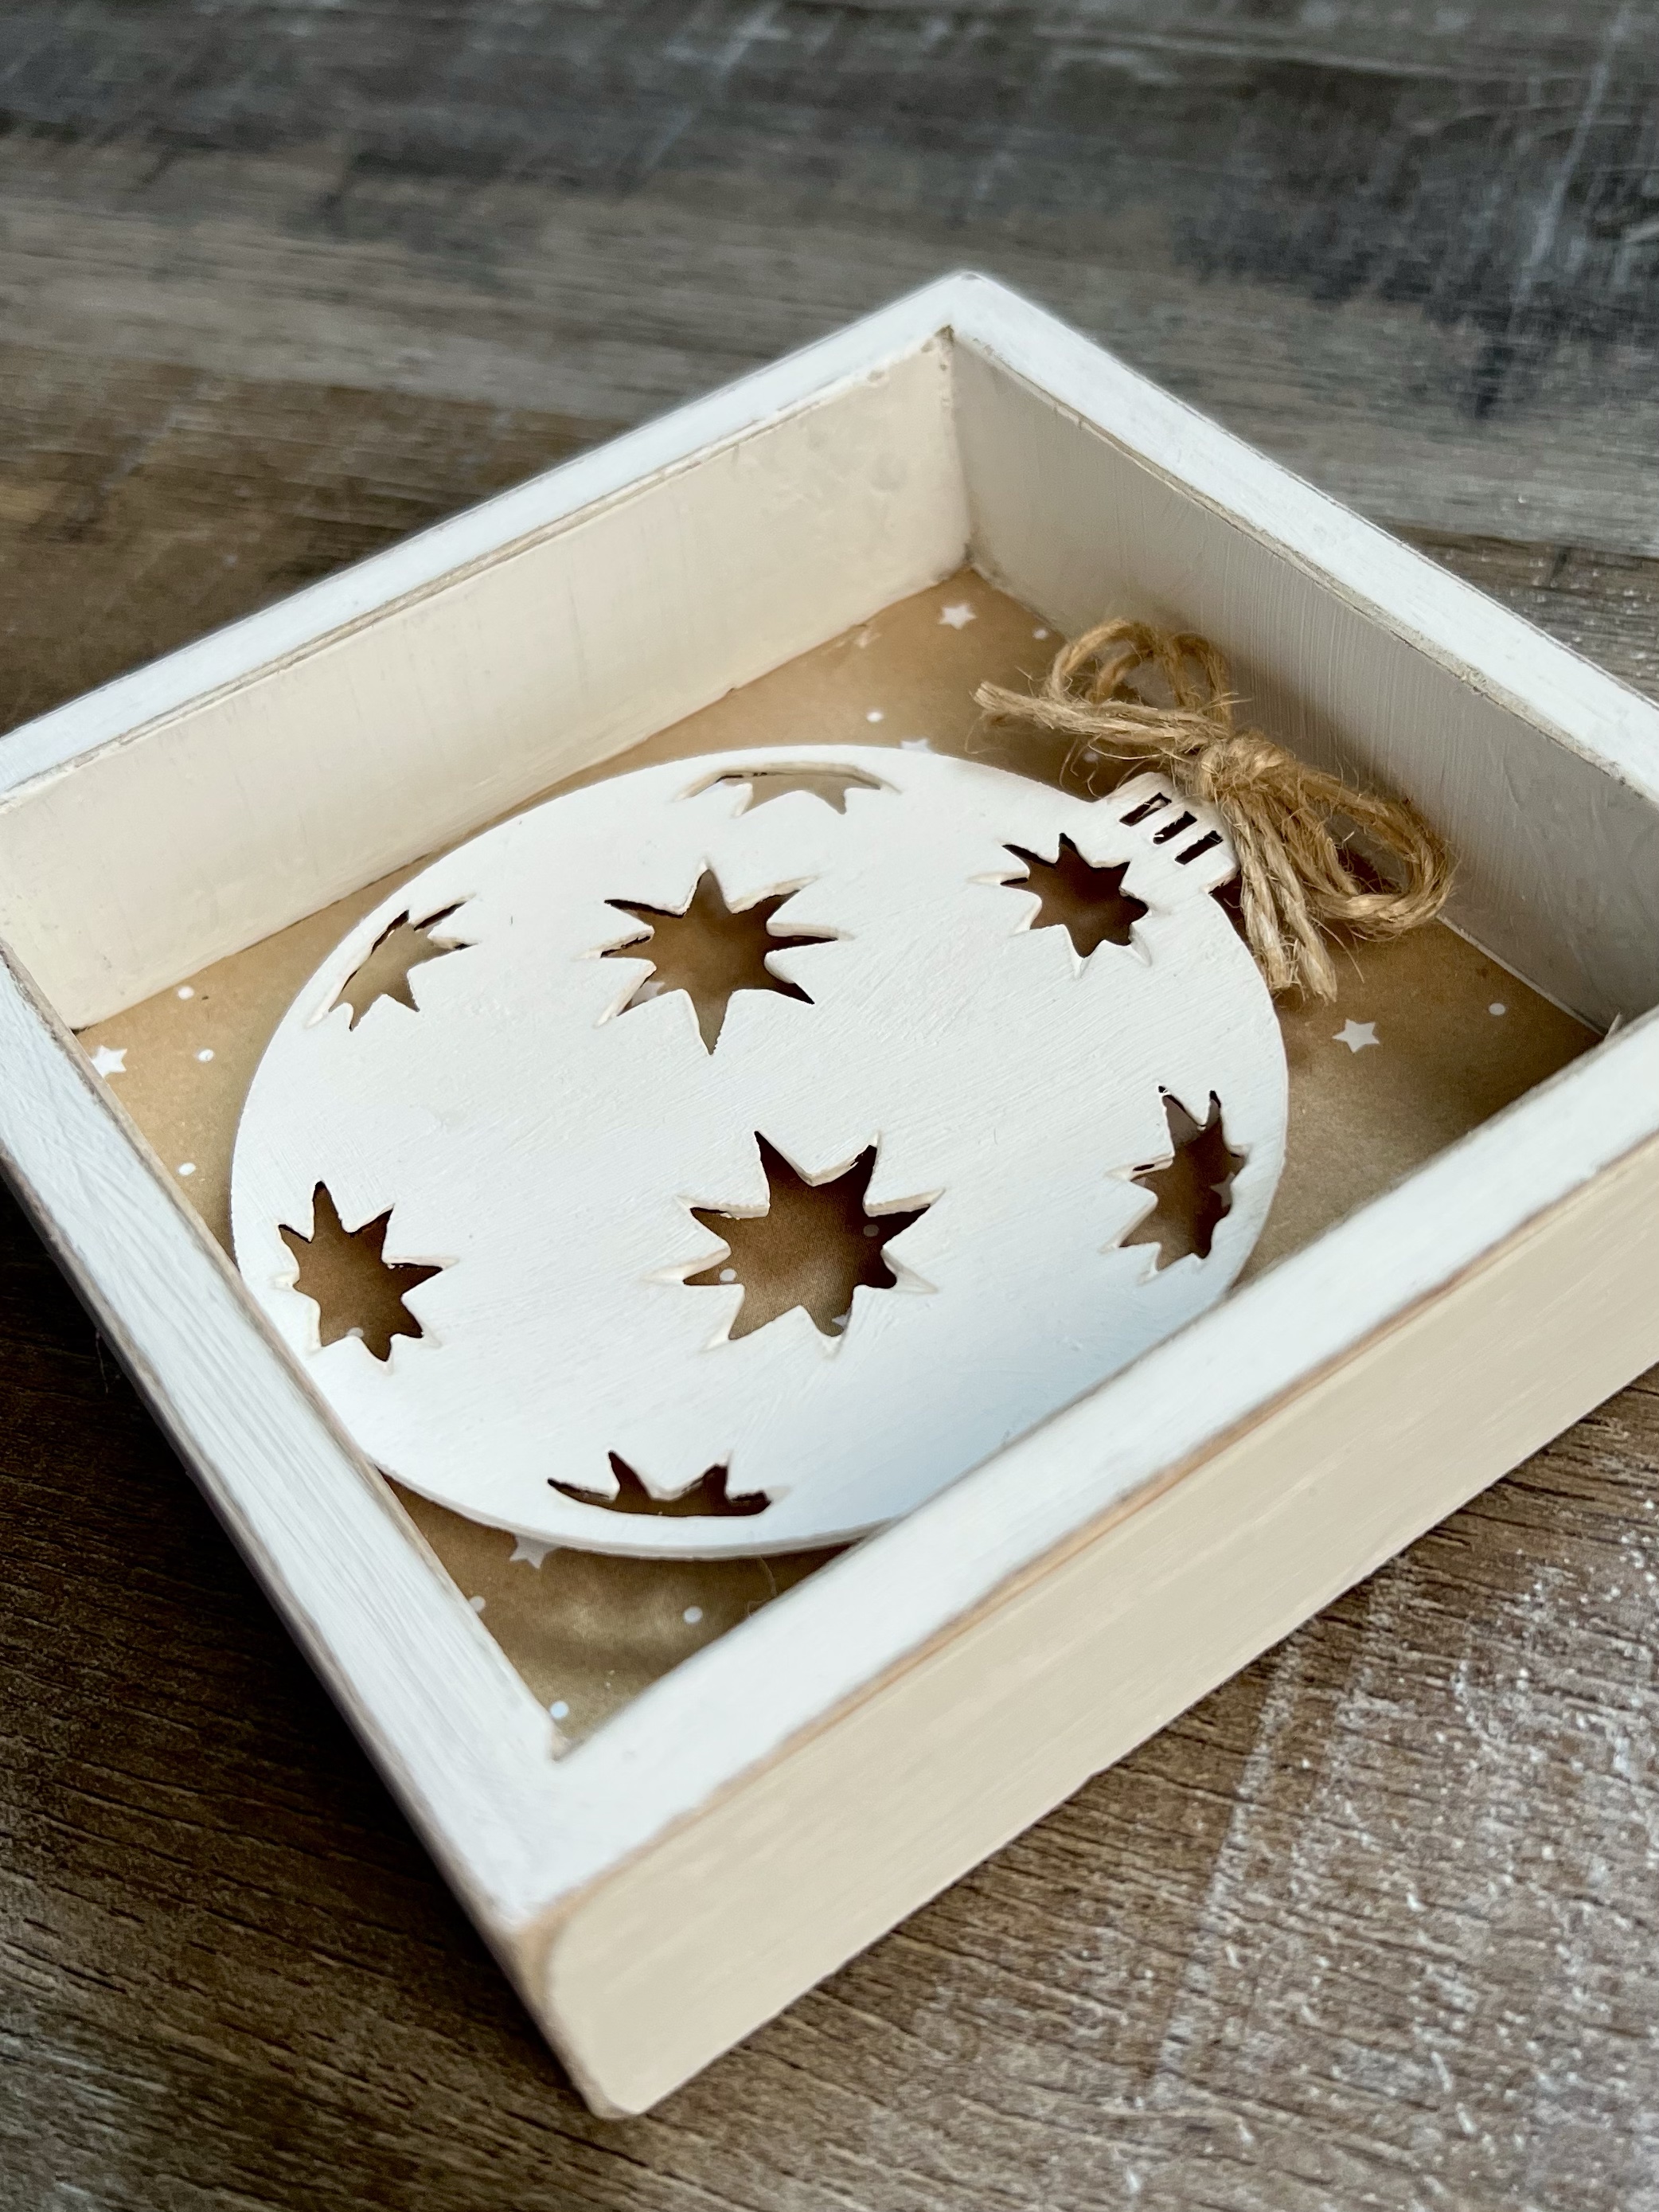
I found these little signs last Fall at the Hobby Lobby clearance sale for about $1.00 each. I’ve seen similar sized signs for different holidays so you may be able to find them on clearance other times, too. They measure 4.75 inches square and are cute just as they are, but I bought a couple thinking maybe I could alter them. I also had these wood ornaments that I picked up at Dollar Tree last year. They come in a package of 5 and they usually have them when they start stocking Christmas items. (These are similar.)
You’ll also need some white chalk paint, patterned scrapbook paper, Mod Podge, sandpaper, natural twine, and pop dots or foam tape.

The first thing I did was to remove the screw eye at the top of the sign since I wasn’t going to hang it. Then using FolkArt Home Decor Chalk Paint in White Adirondack and a chip brush, I painted the frame of the sign with 2 coats of paint letting it dry thoroughly between coats. I didn’t bother painting over the words because my patterned scrapbook paper was thick enough to cover them. If you’re paper is thinner, go ahead and paint over the words, too. I also painted my ornaments with 2 coats of the white paint.
Once the paint was dry, I used the sand paper to sand the paint off the edges of the frame to give it a rustic farmhouse look.


I cut my scrapbook paper to fit inside the frame. I applied a thin coat of Mod Podge with a foam brush to the inside of the frame and then adhered the scrapbook paper. Make sure to put the hole from the screw eye on the bottom before adhering your paper so the pattern will be the right way and the hole won’t show. I put the pop dots on the back of the ornament and attached it to the frame. If you want the ornament to pop up a little more, just add another pop dot on top of the first one. I finished it off with a twine bow on the top of the ornament.
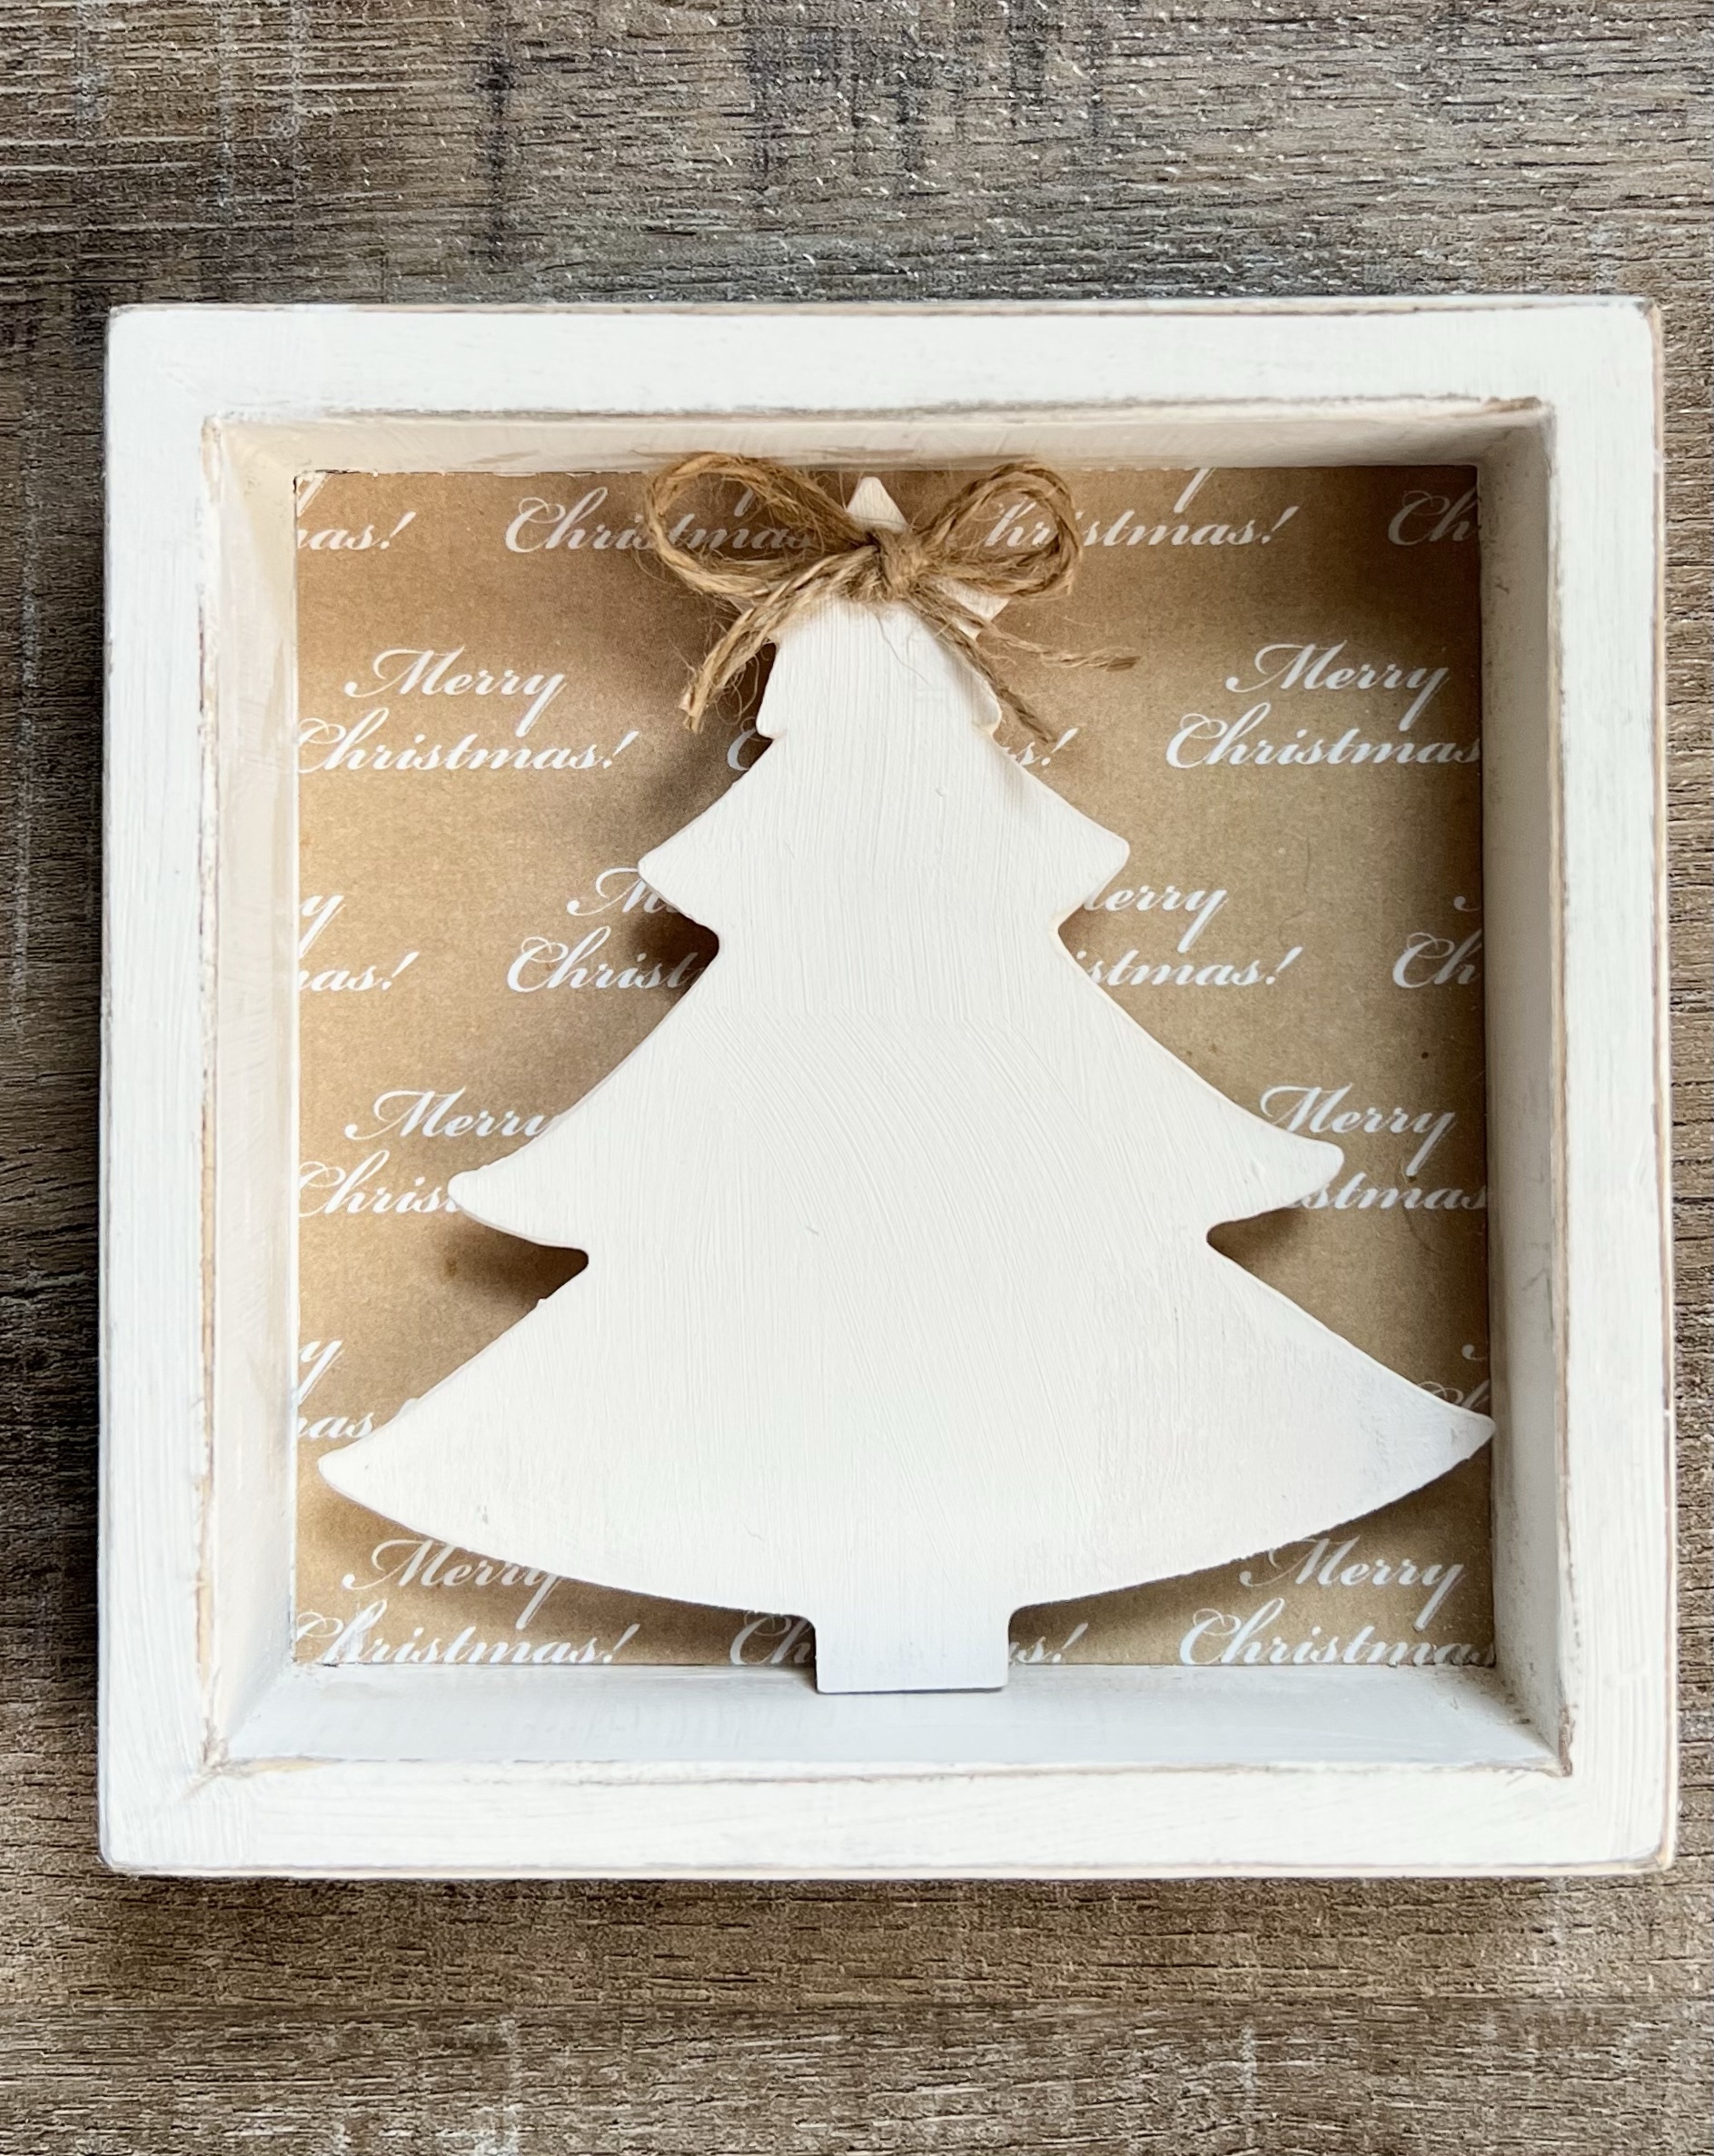
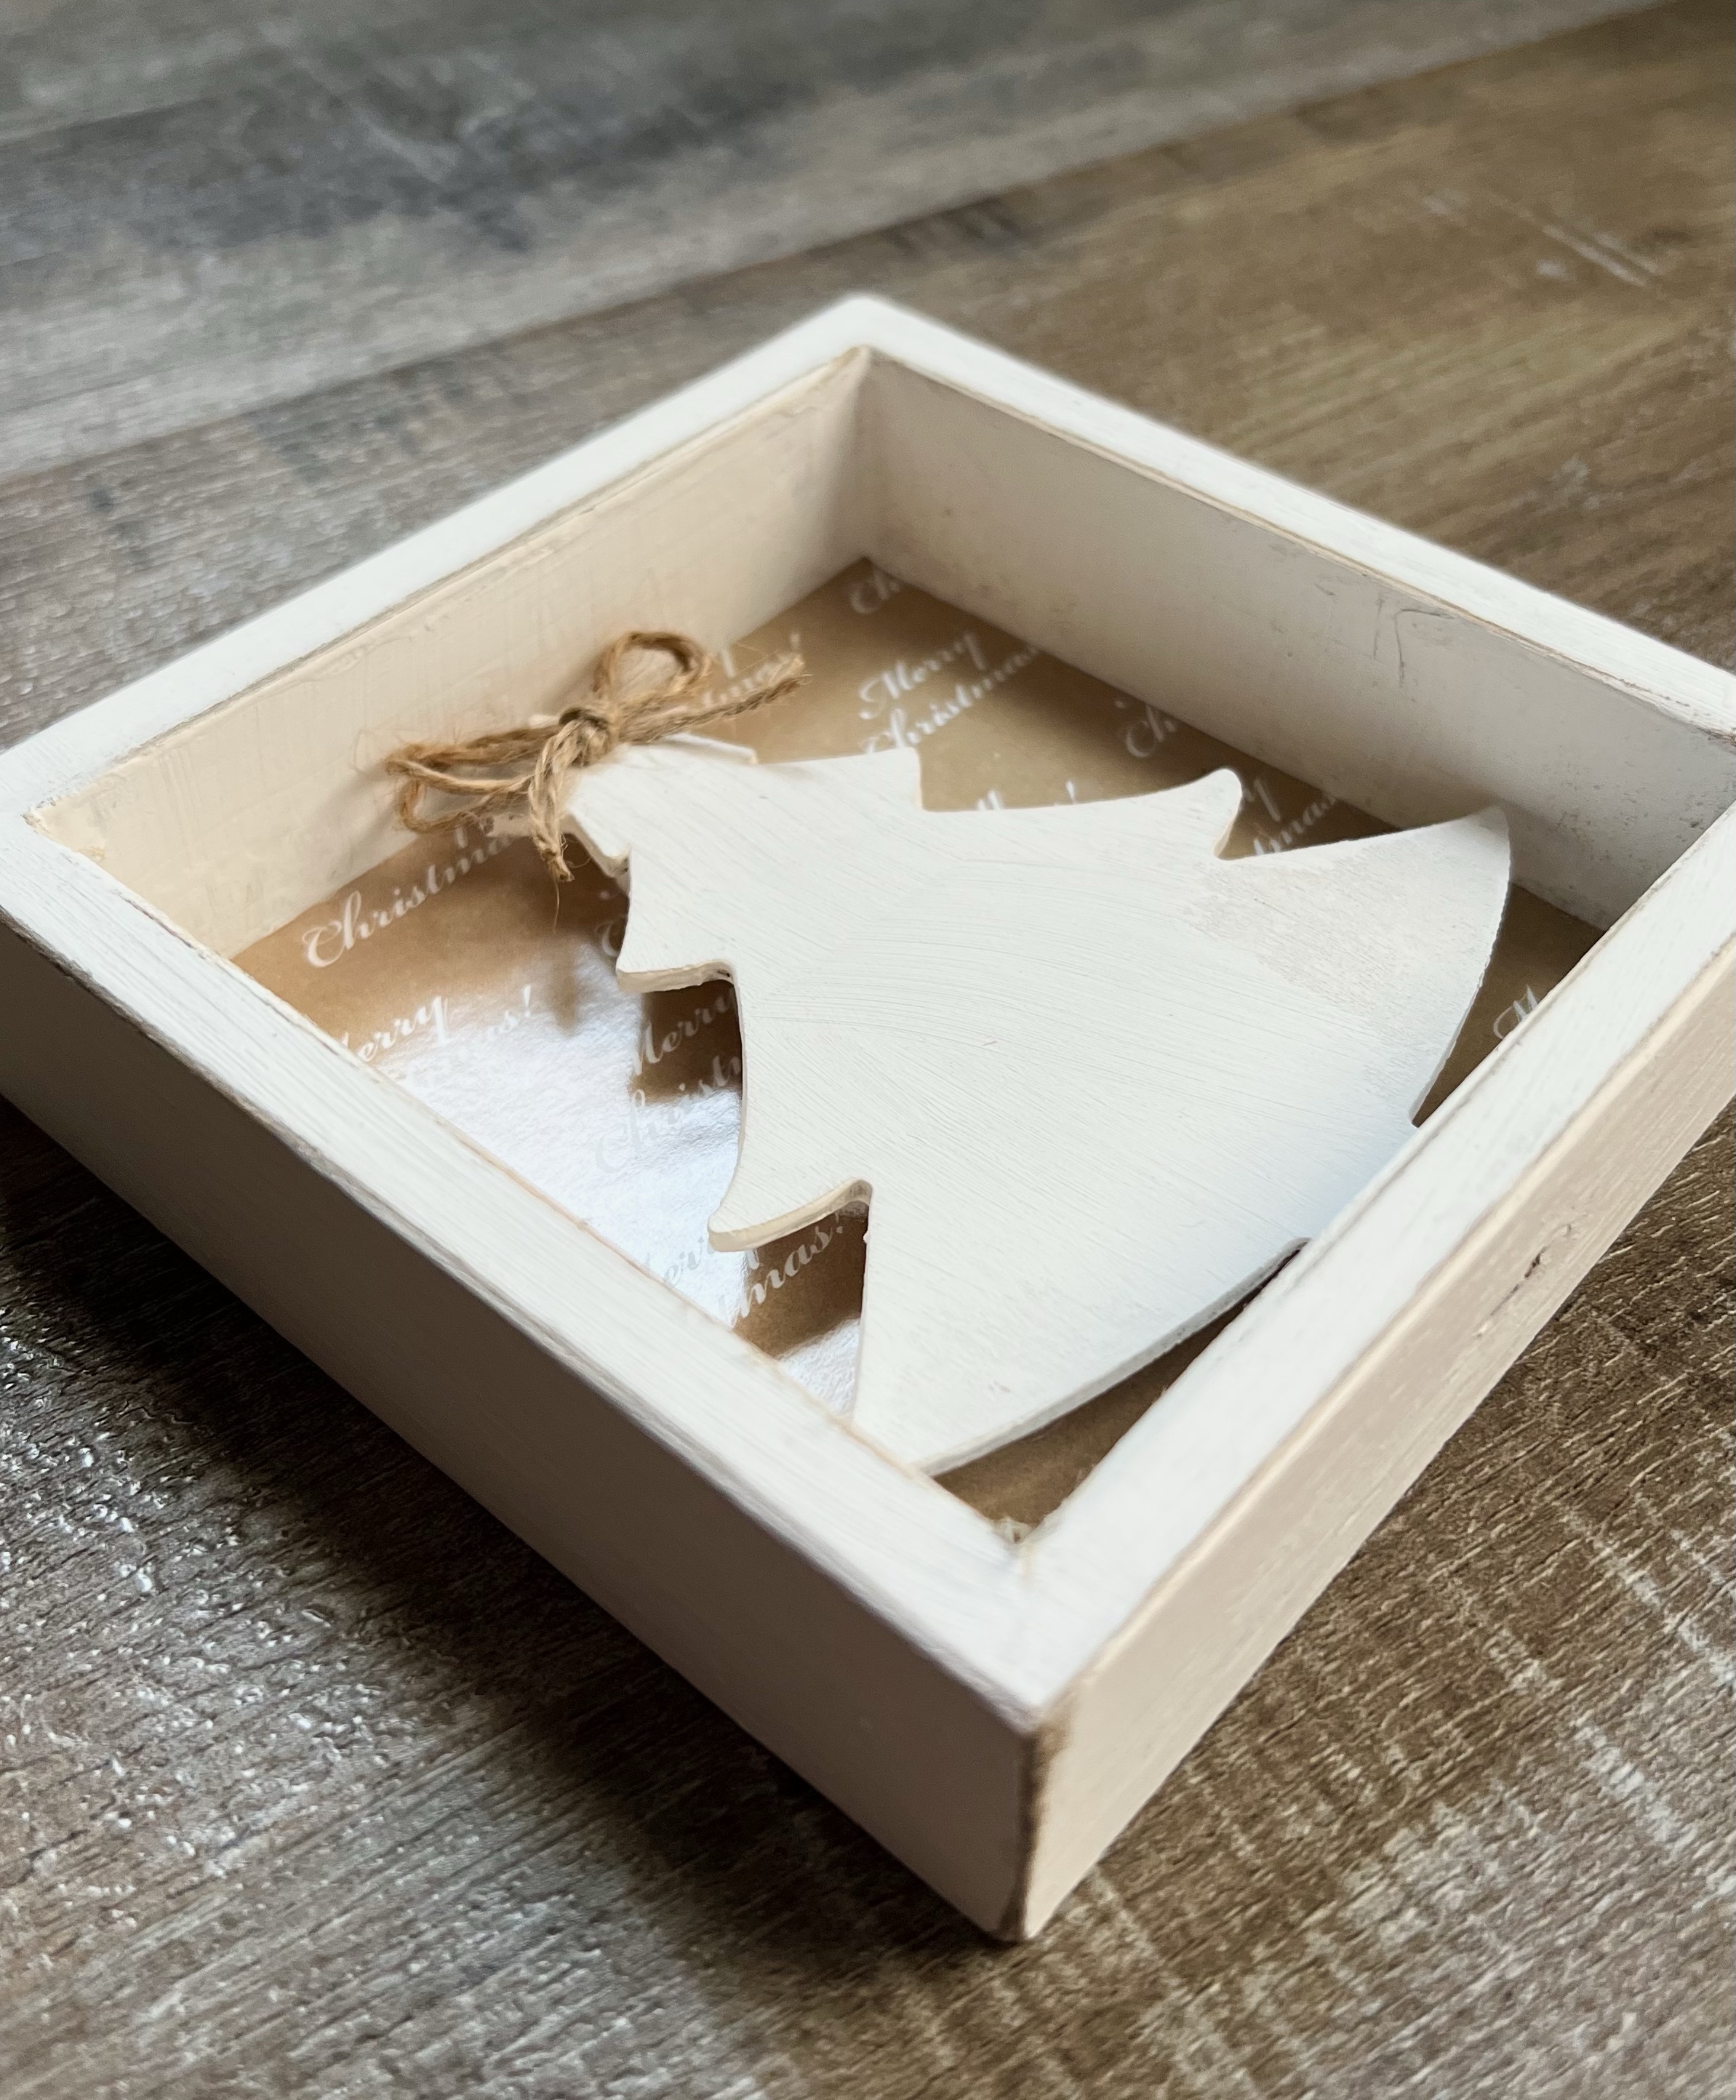

I really like the way they turned out! They are so simple, yet so pretty! They are the perfect size for tiered tray decor, shelf sitters, or to tuck into some greenery on your mantel.
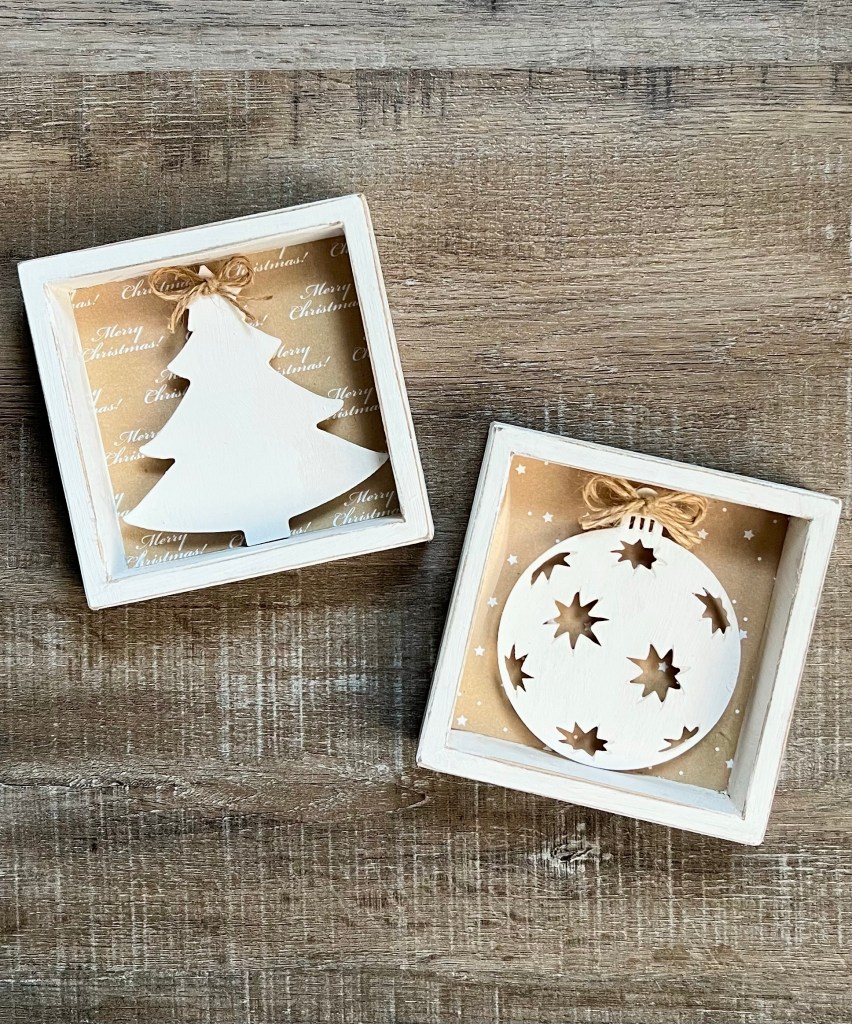
Keep your eyes open as you shop the clearance aisles in your favorite stores – you never know what you might find that you can turn into the perfect gift or decor item. 🙂
Anita


