Hi friends,
I stitched up this cute Crochet Ball Toss Game for a special little boy for Christmas. The easy pattern can be found here at Winding Road Crochet. You should check out her site – she has so many fun patterns! 🧶
Disclosure: Some of the links on my site are affiliate links, meaning, at no additional cost to you, I will earn a small commission if you click through and make a purchase. As an Amazon Associate I earn from qualifying purchases.

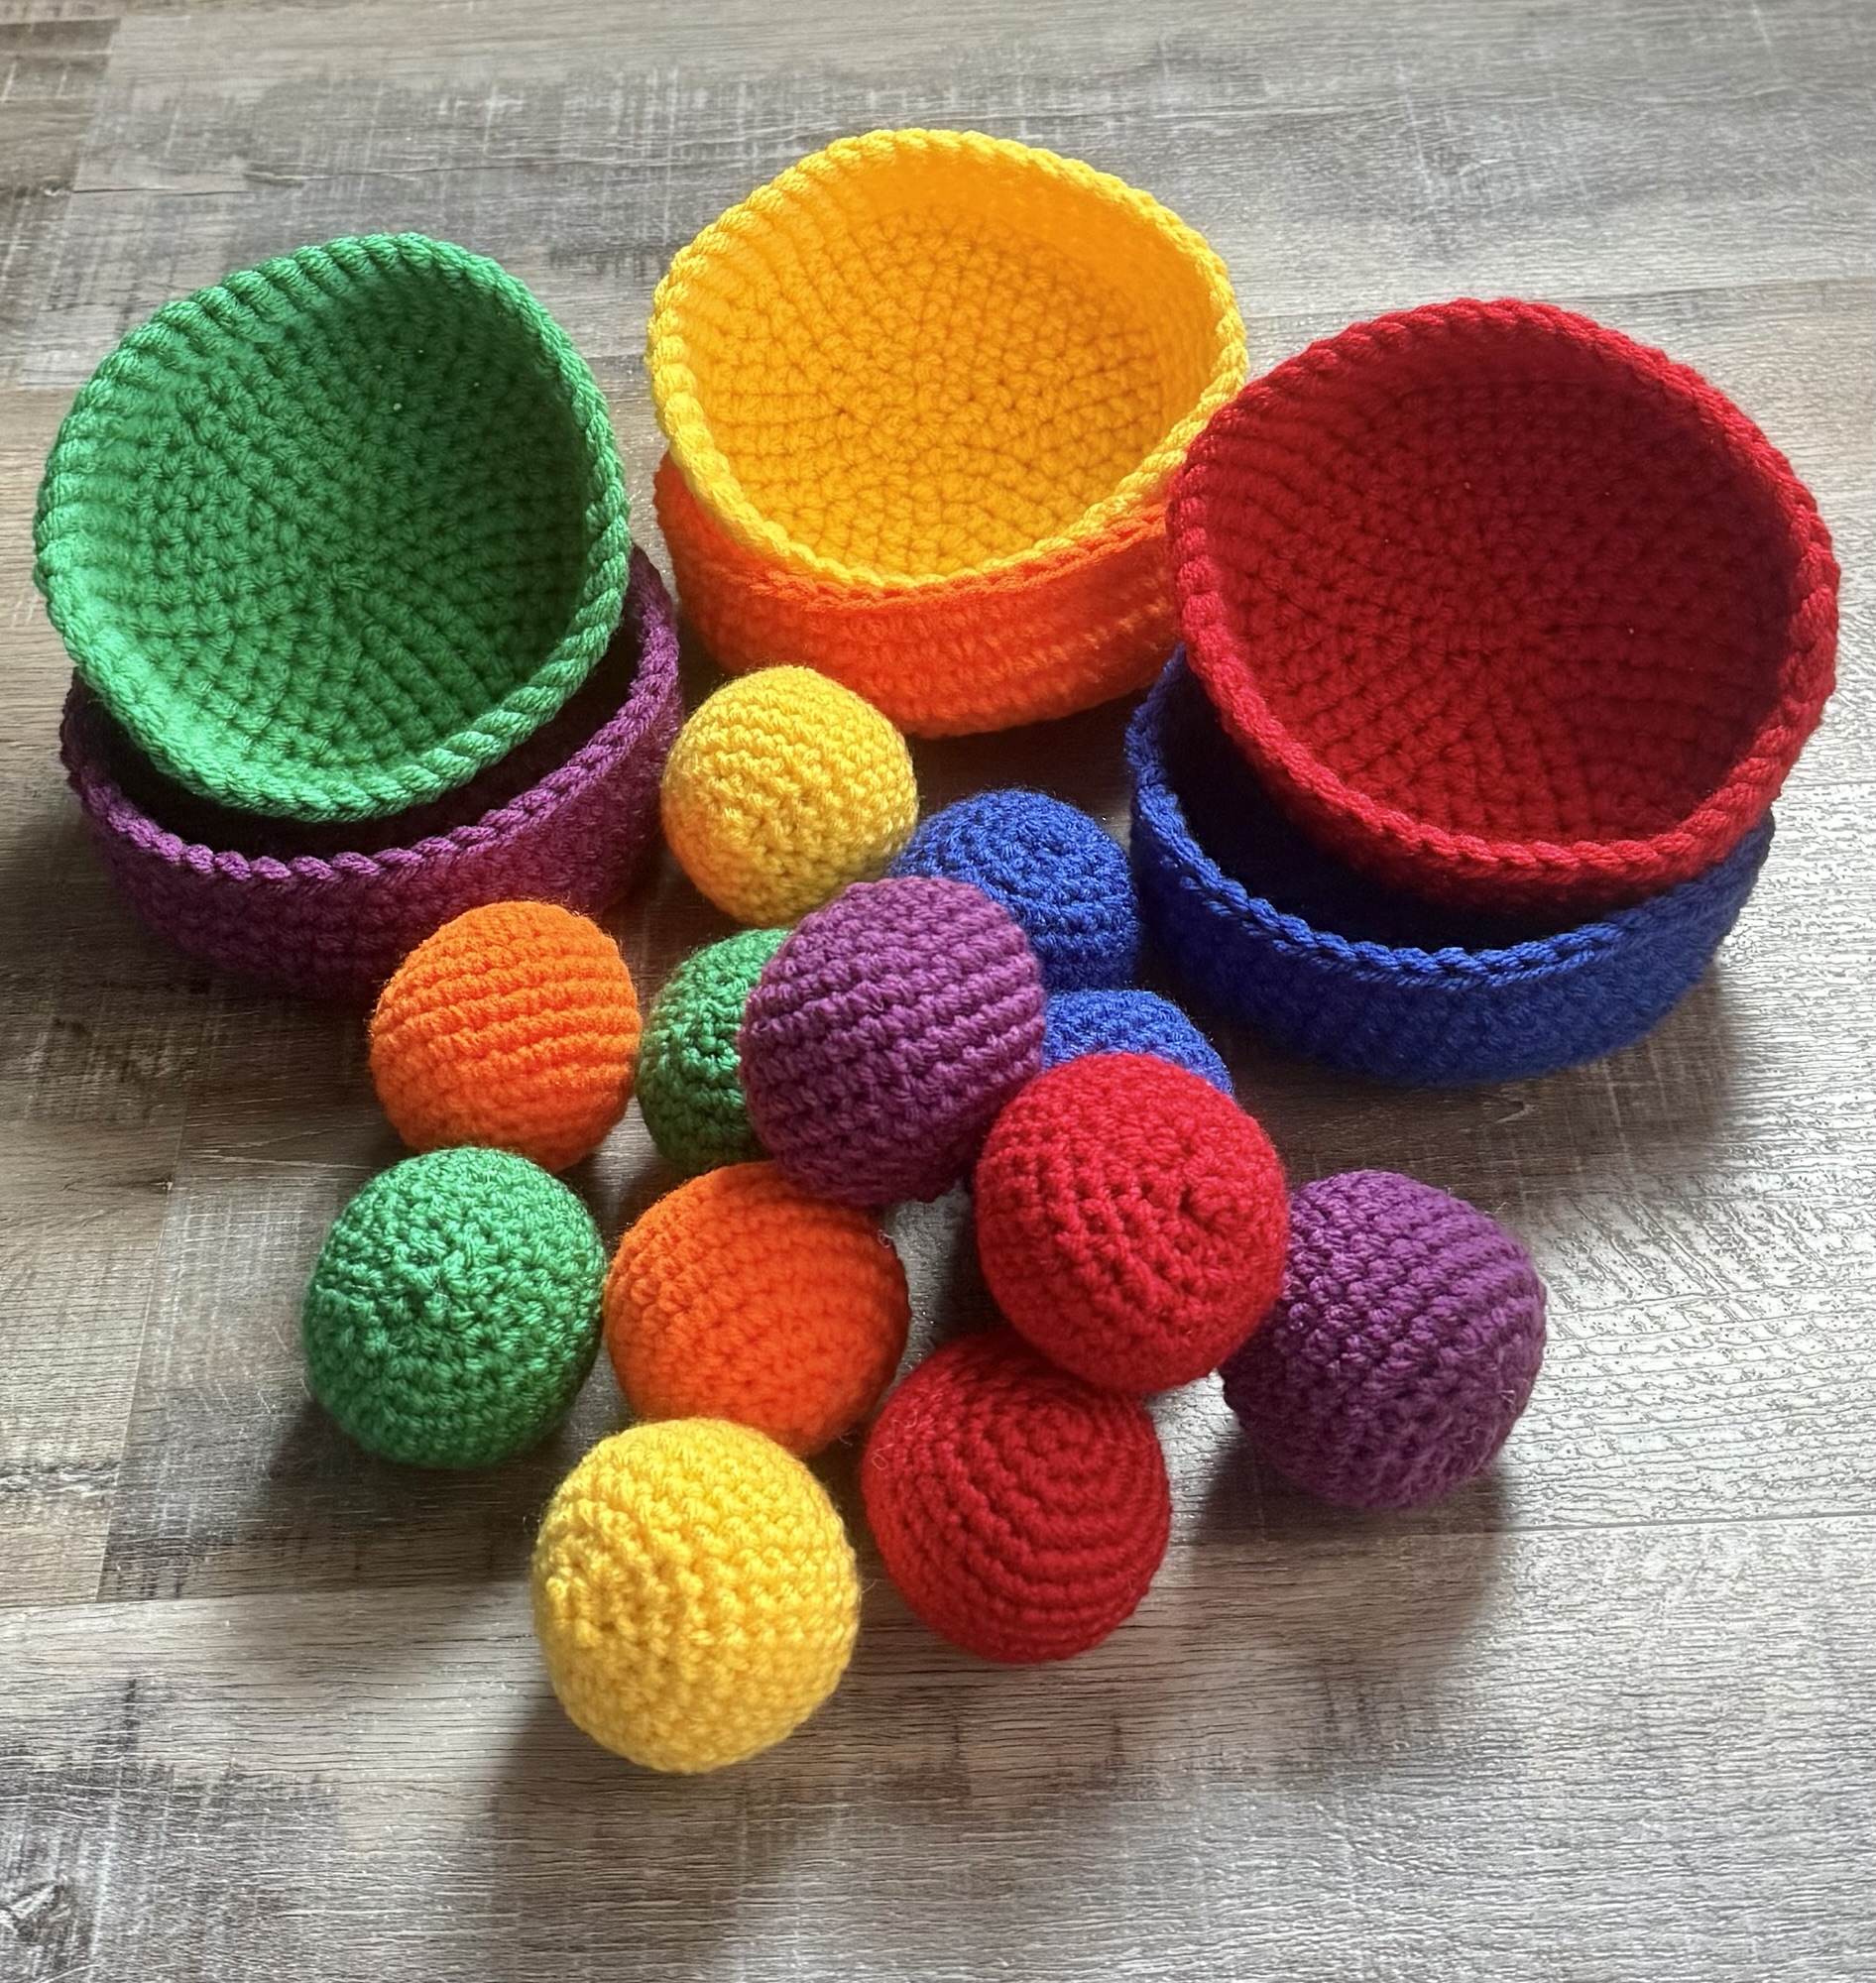
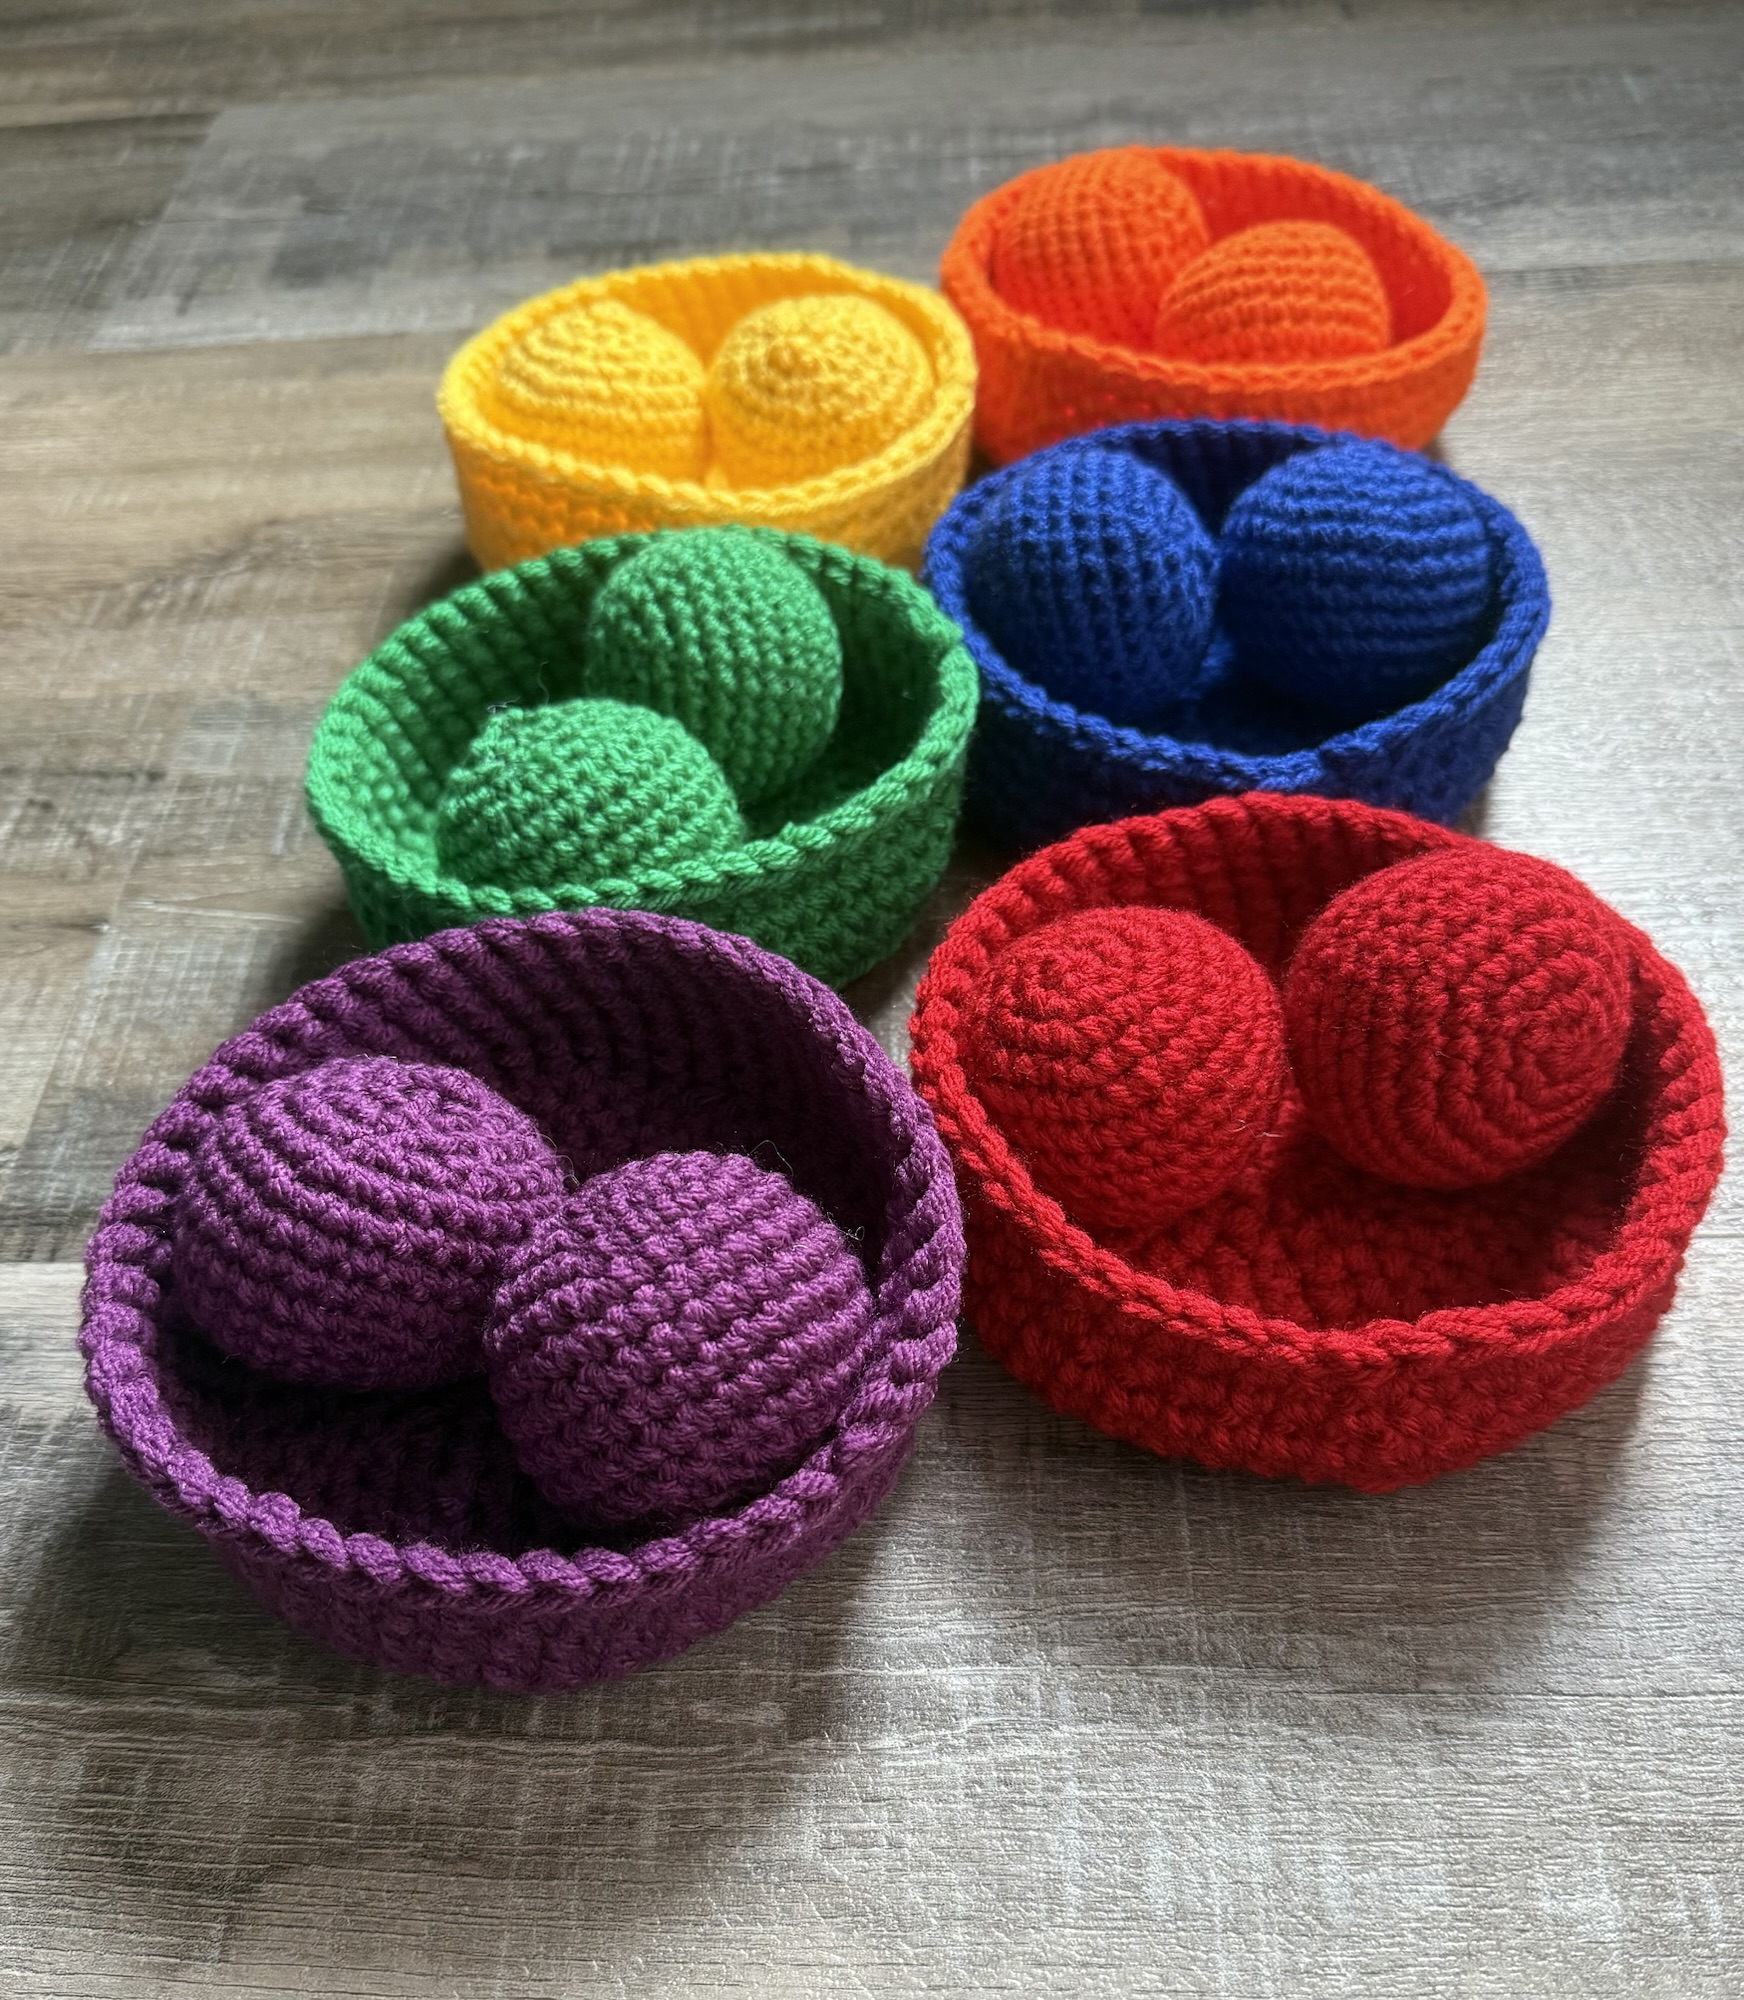
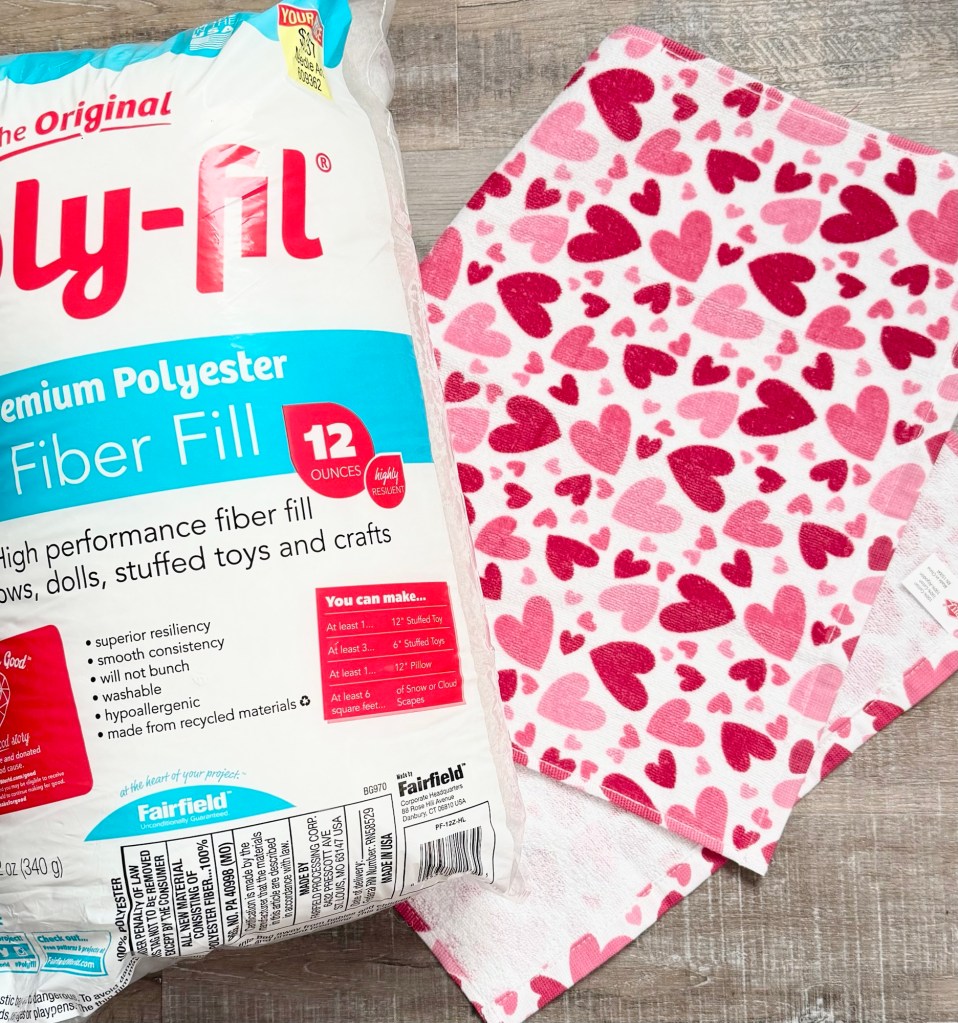
I used I Love This yarn in 6 different bright colors with an E/3.5mm crochet hook for the balls and an H/5mm crochet hook for the baskets. I opted to make 2 balls of each color – you can make as many or as few as you’d like for your Ball Toss Game. You’ll also need some Poly-fil to stuff the little balls.
There are ideas on different games to play with the set at Winding Road Crochet. I love that these little balls are soft and perfect for tossing in the house without fear of hurting anything. Great for cold or rainy days when the kids have to play inside.
Anita