Hi friends,
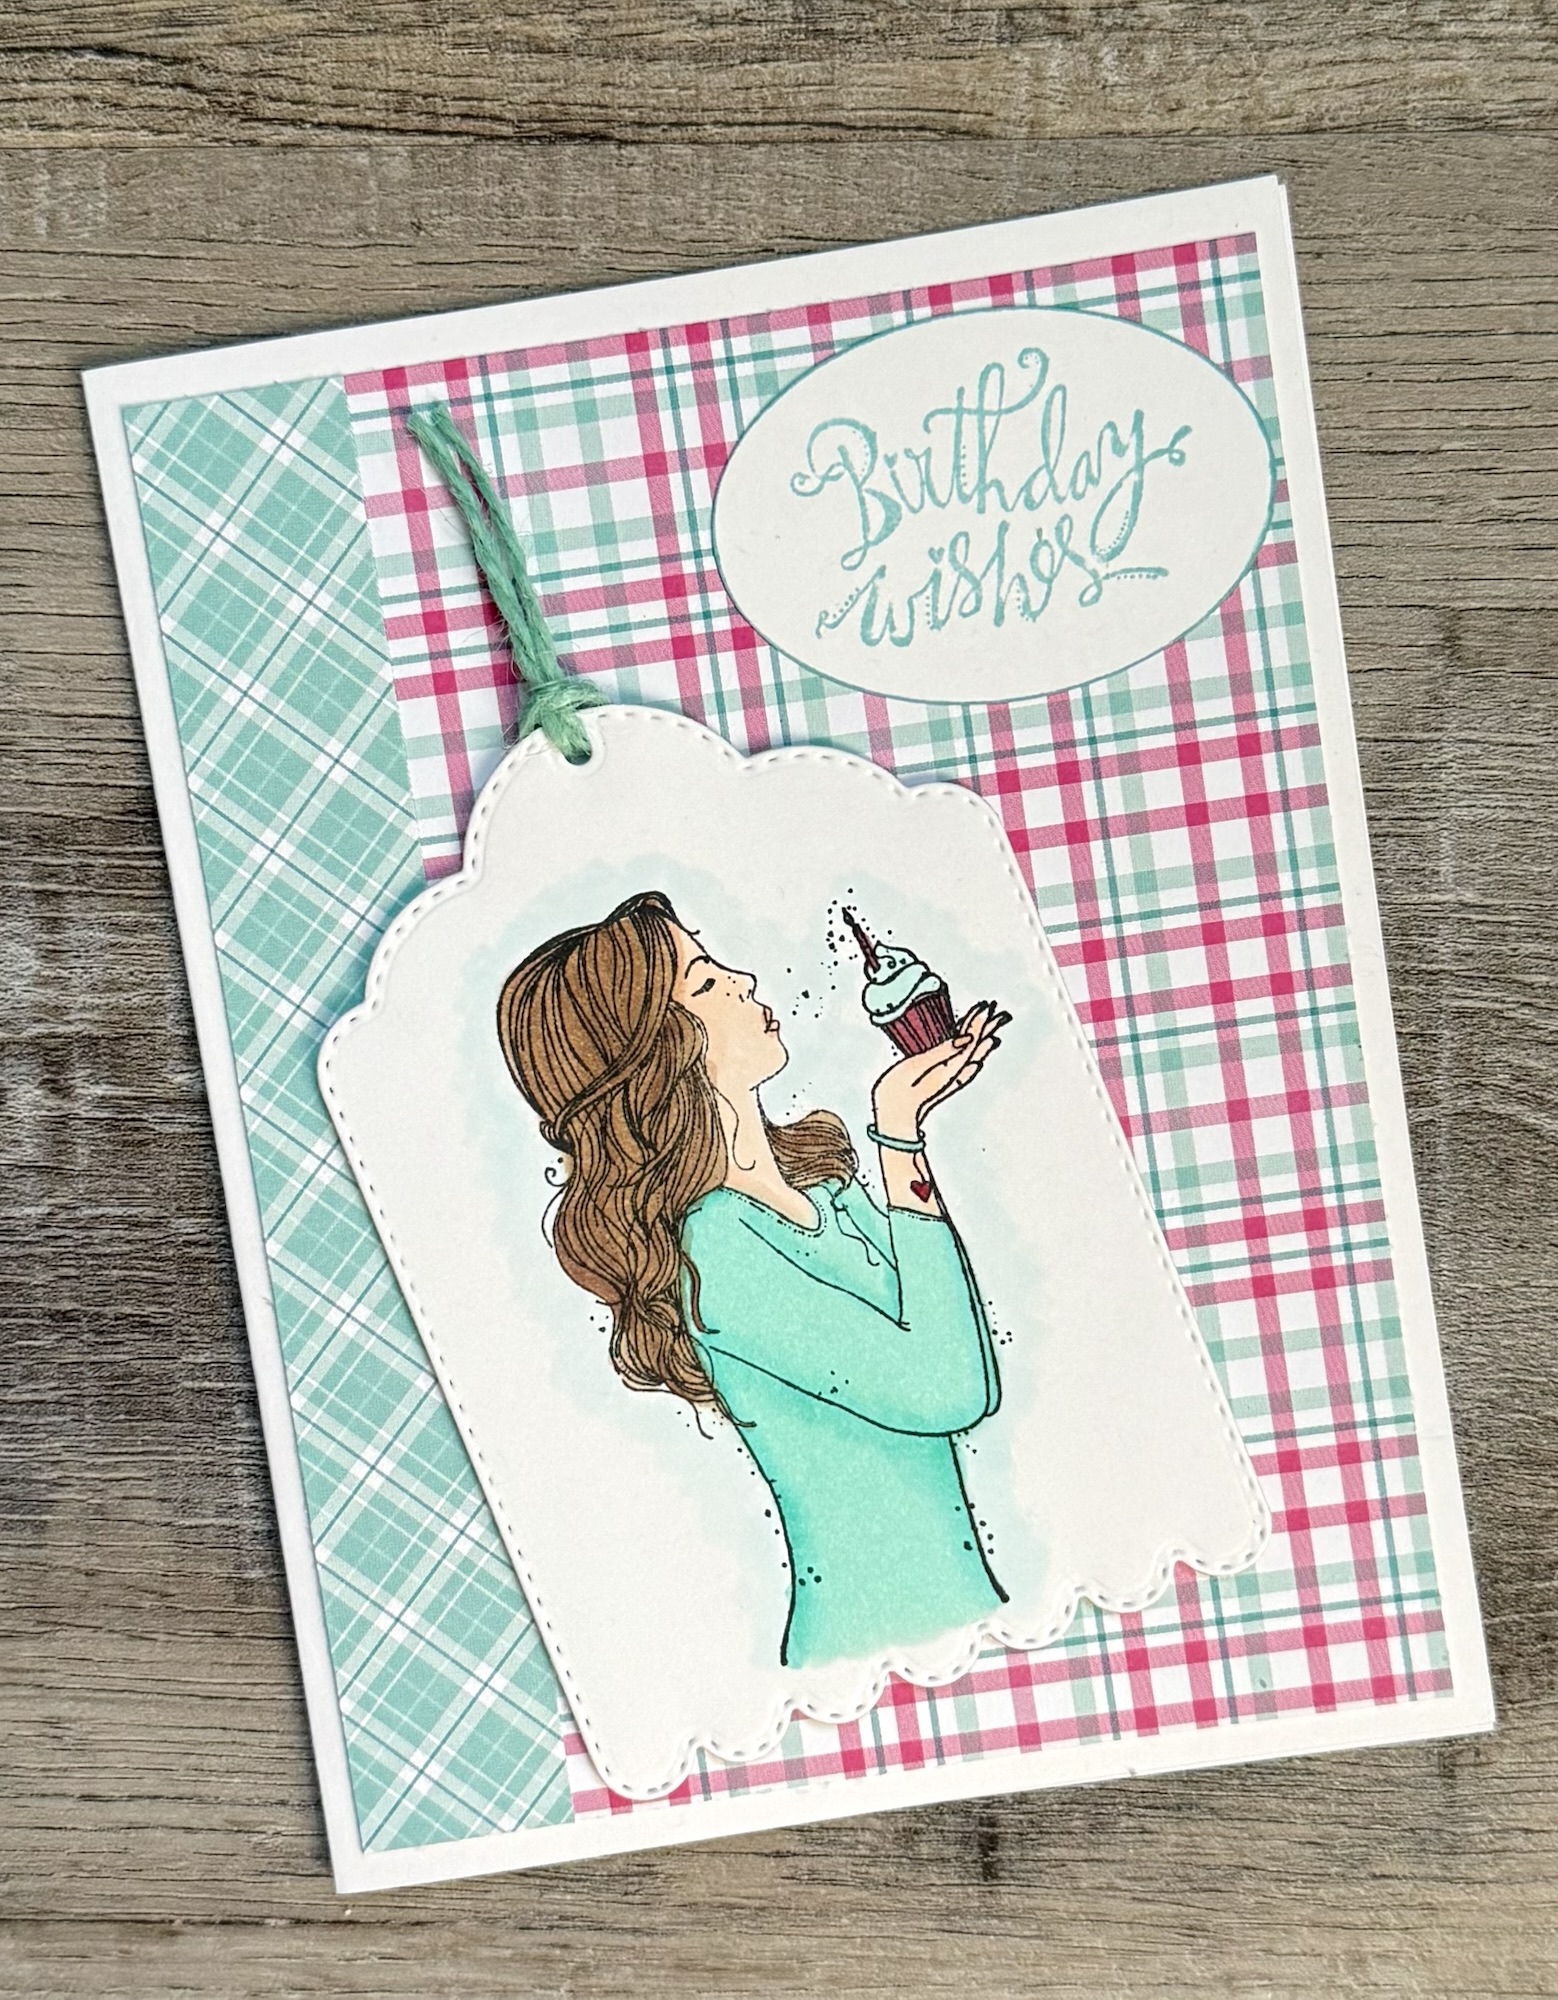
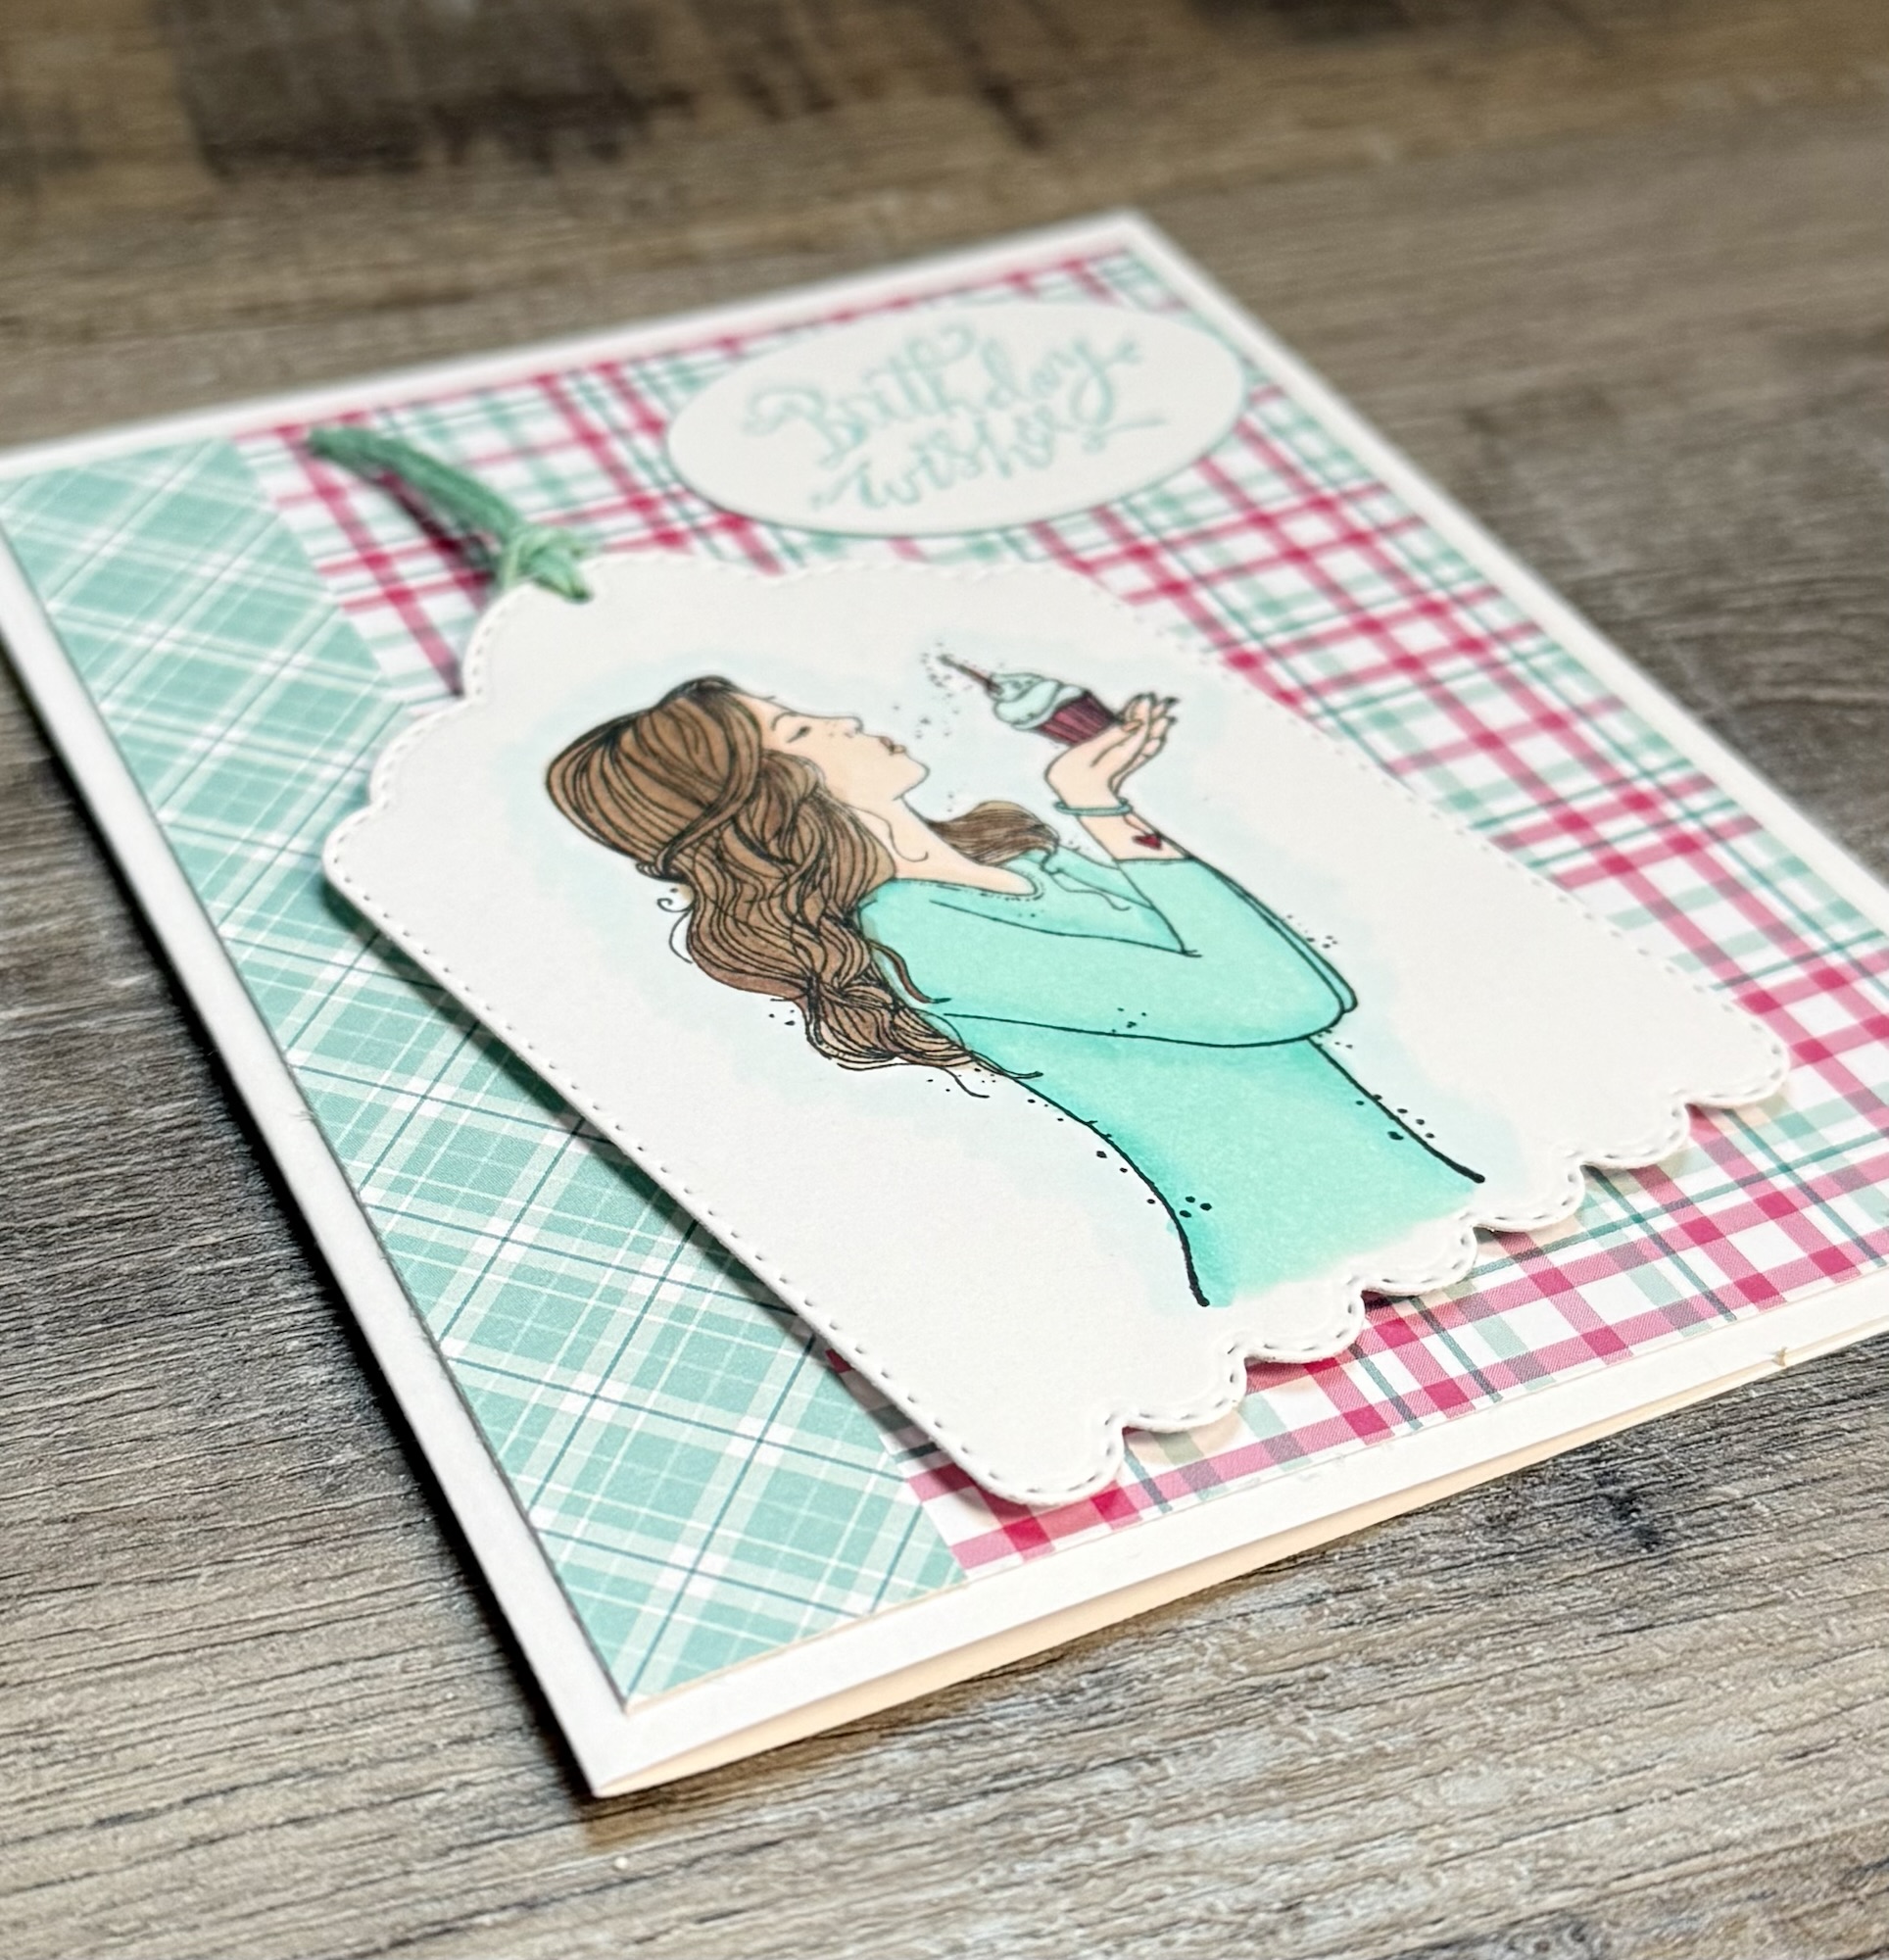
Sometimes simple is best! I love the clean and simple layout of this card – and it makes a great masculine card which are sometimes difficult to create. 😉
Disclosure: Some of the links on my site are affiliate links, meaning, at no additional cost to you, I will earn a small commission if you click through and make a purchase. As an Amazon Associate I earn from qualifying purchases.
The happy birthday and outline die are from the Chic Script Salutations Die Set from Unity Stamp Company. I die cut the words from light blue card stock, the outline from red card stock, and attached them together.
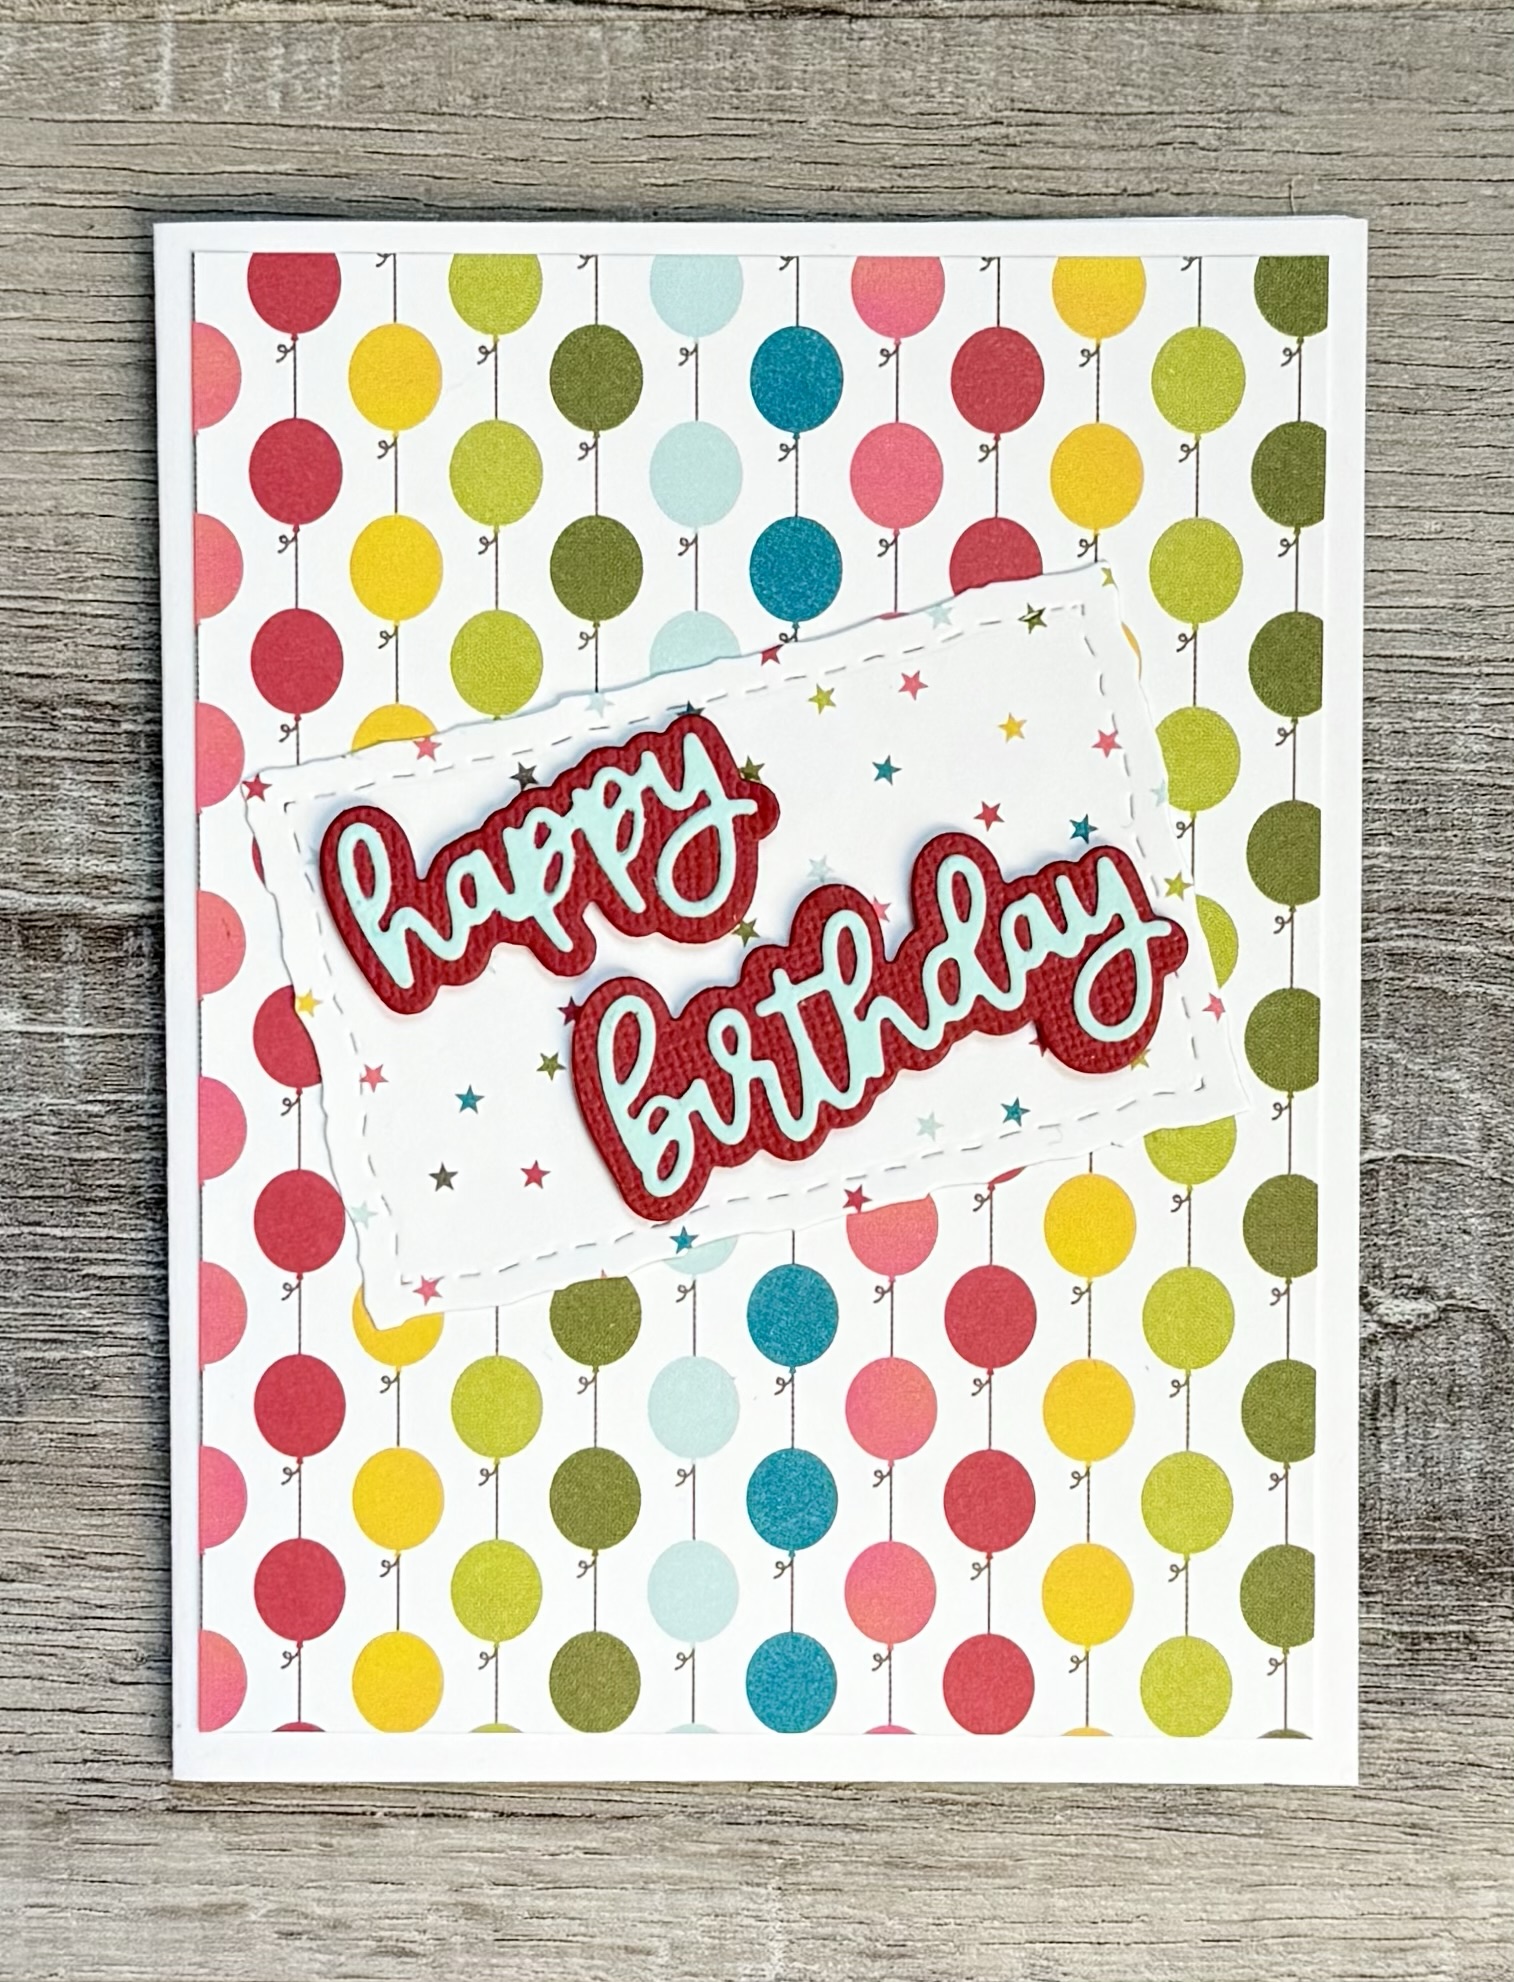

To make the card, I attached a piece of patterned paper to a white card. I die cut a piece of coordinating patterned paper using this die set and attached it to the card at an angle. The “happy birthday” is attached to the card using foam tape.
This card can be made in so many different color combinations. You can also use a fun background stamp on your card in place of patterned paper. So many options!
Anita