Hi friends,
This is my favorite way to make throw pillows for the different seasons and holidays! They are super easy to make, inexpensive, and your pattern options are endless. ♥️
Disclosure: Some of the links on my site are affiliate links, meaning, at no additional cost to you, I will earn a small commission if you click through and make a purchase. As an Amazon Associate I earn from qualifying purchases.
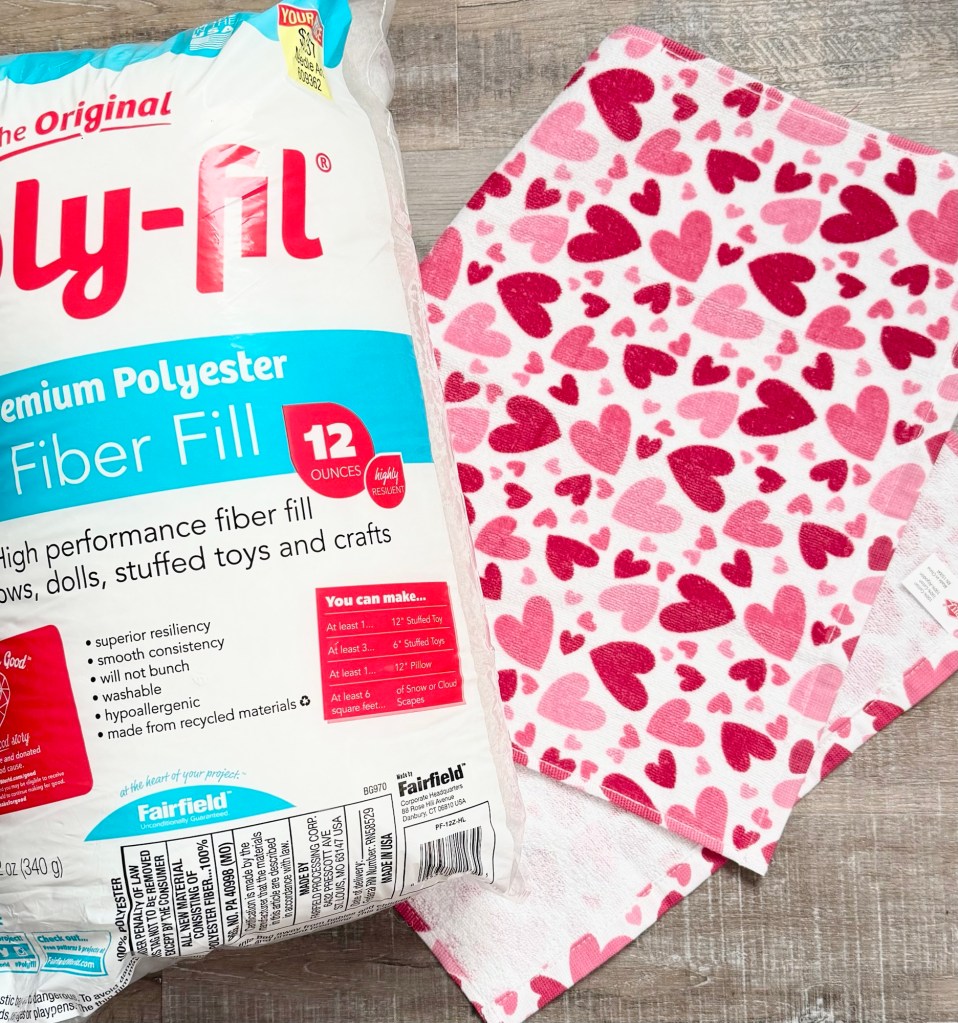
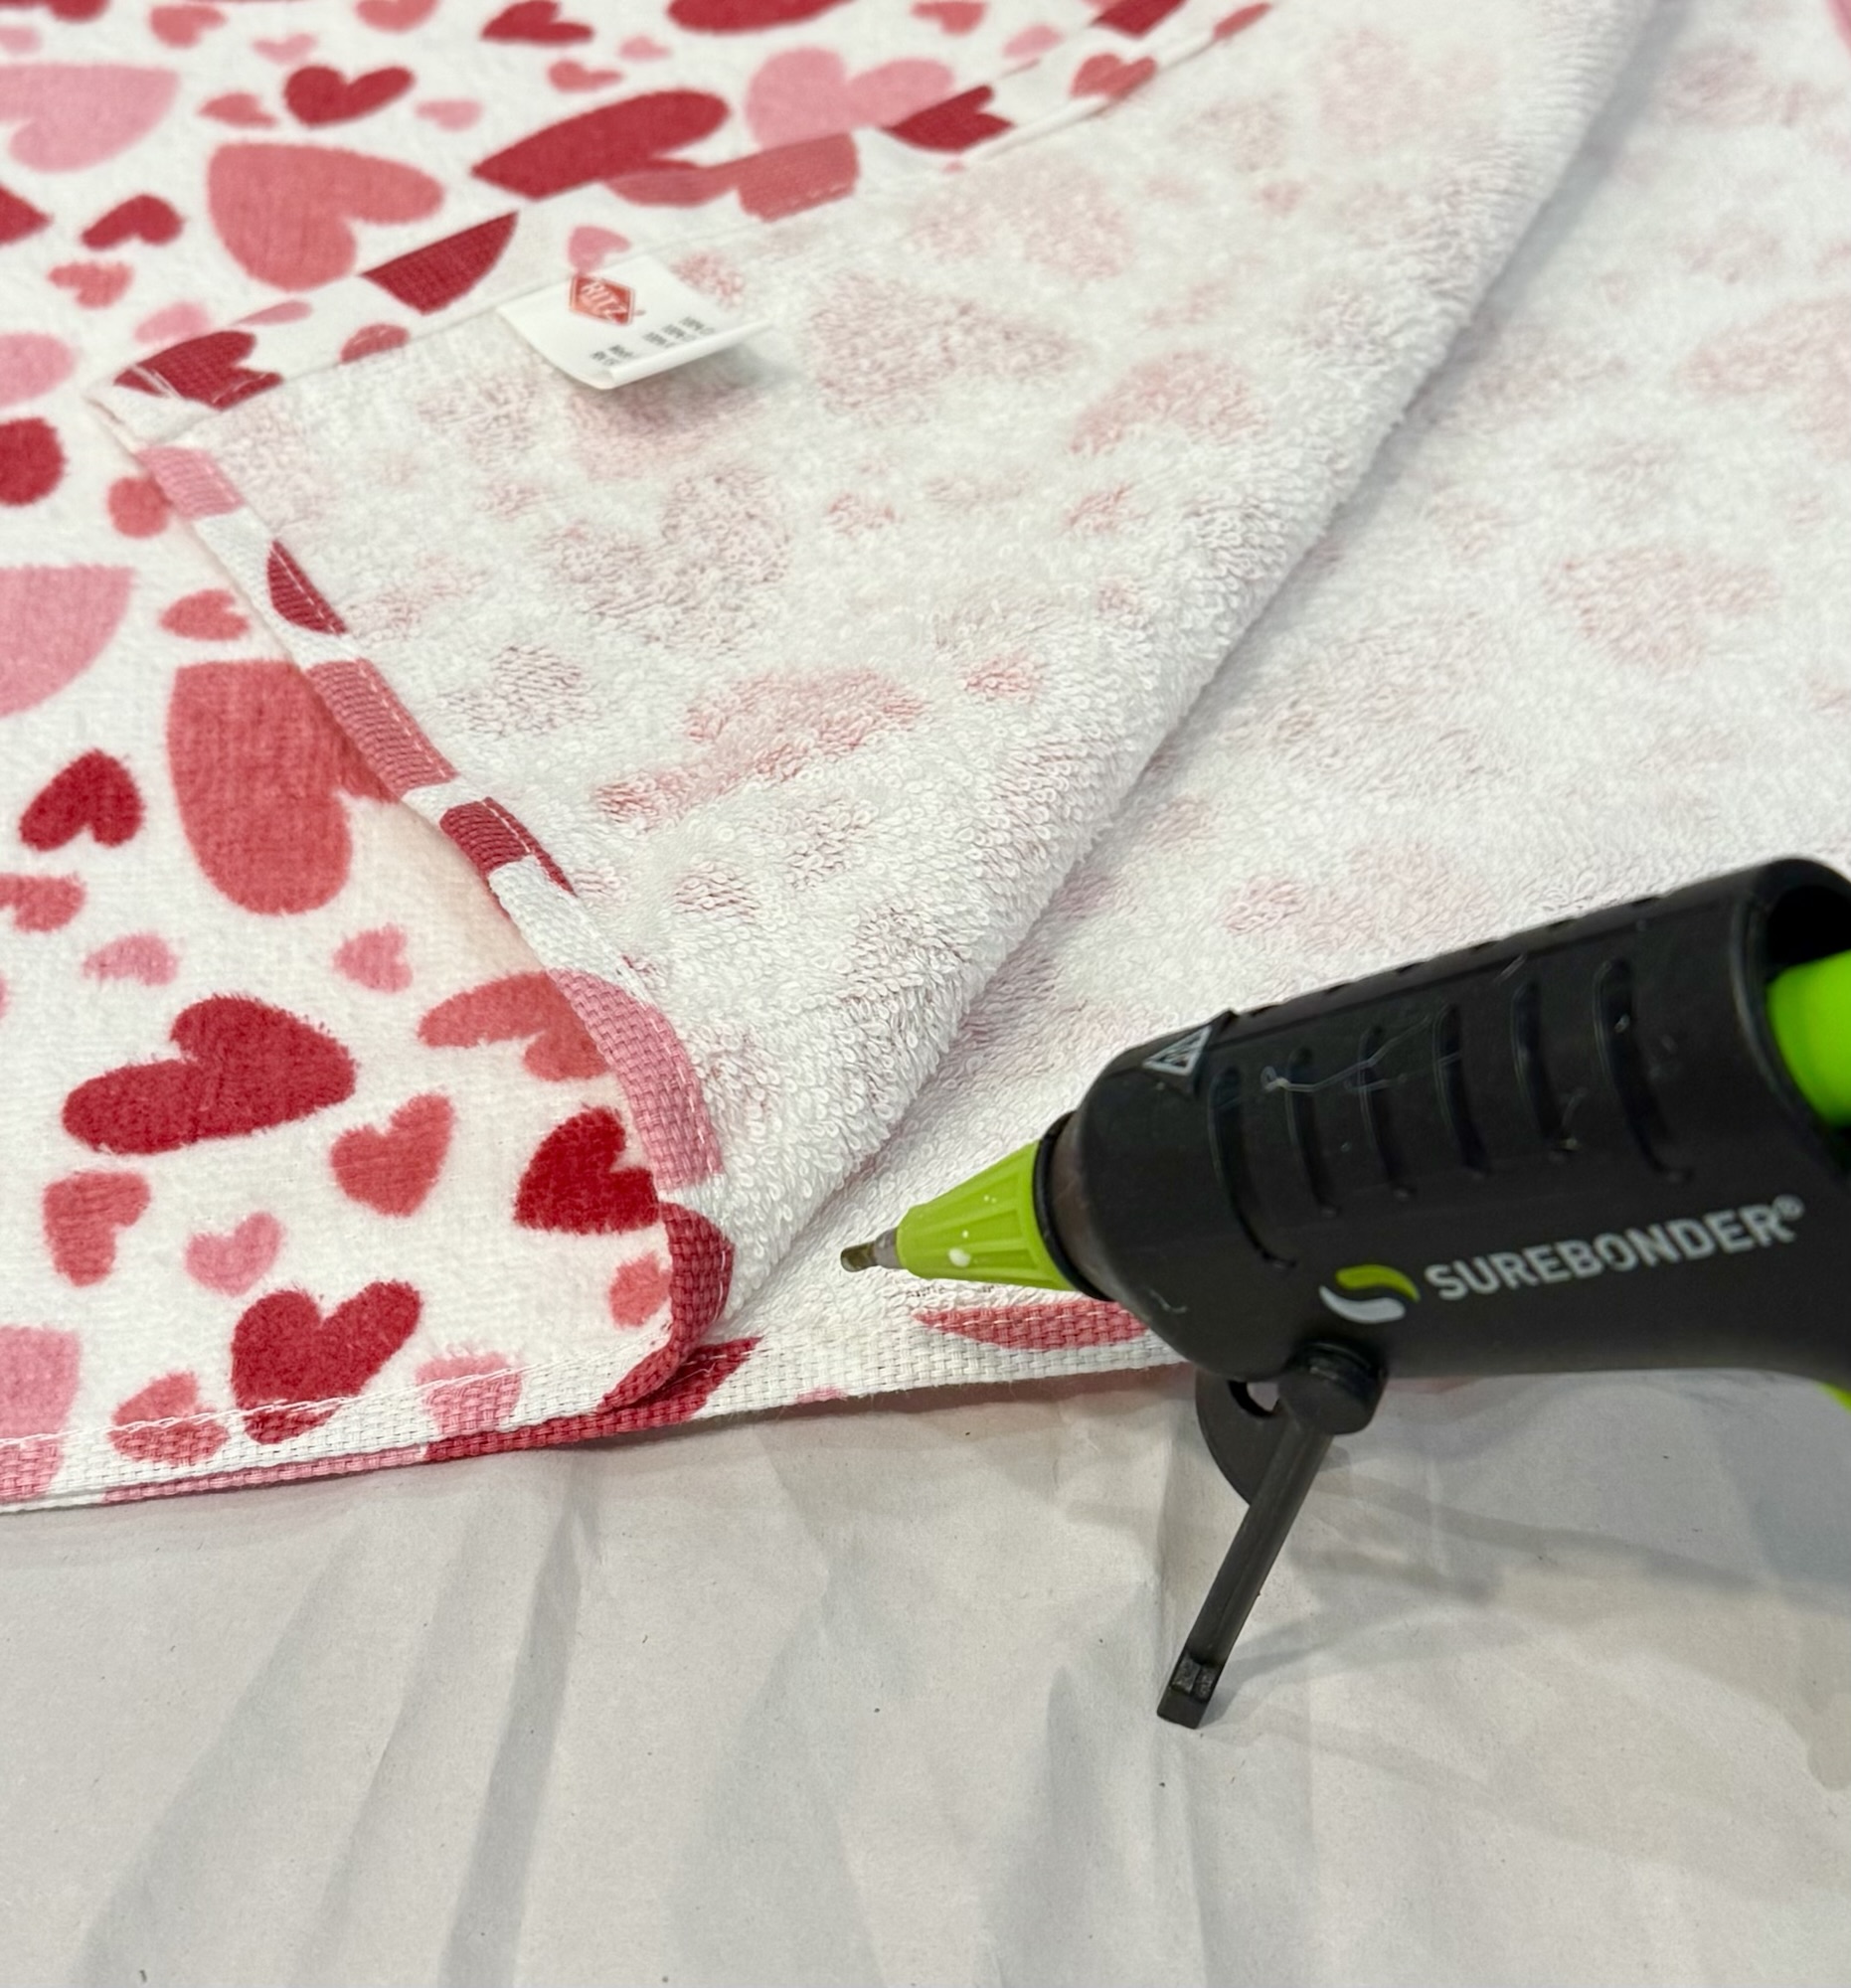
All you need is a seasonal dish towel or hand towel, some Poly-fil, and your hot glue gun. I like to use this Surebonder Fabric Hot Glue when making my pillows. I have this Surebonder Hot Glue Gun that I use only for the fabric glue so it doesn’t mix with regular hot glue.
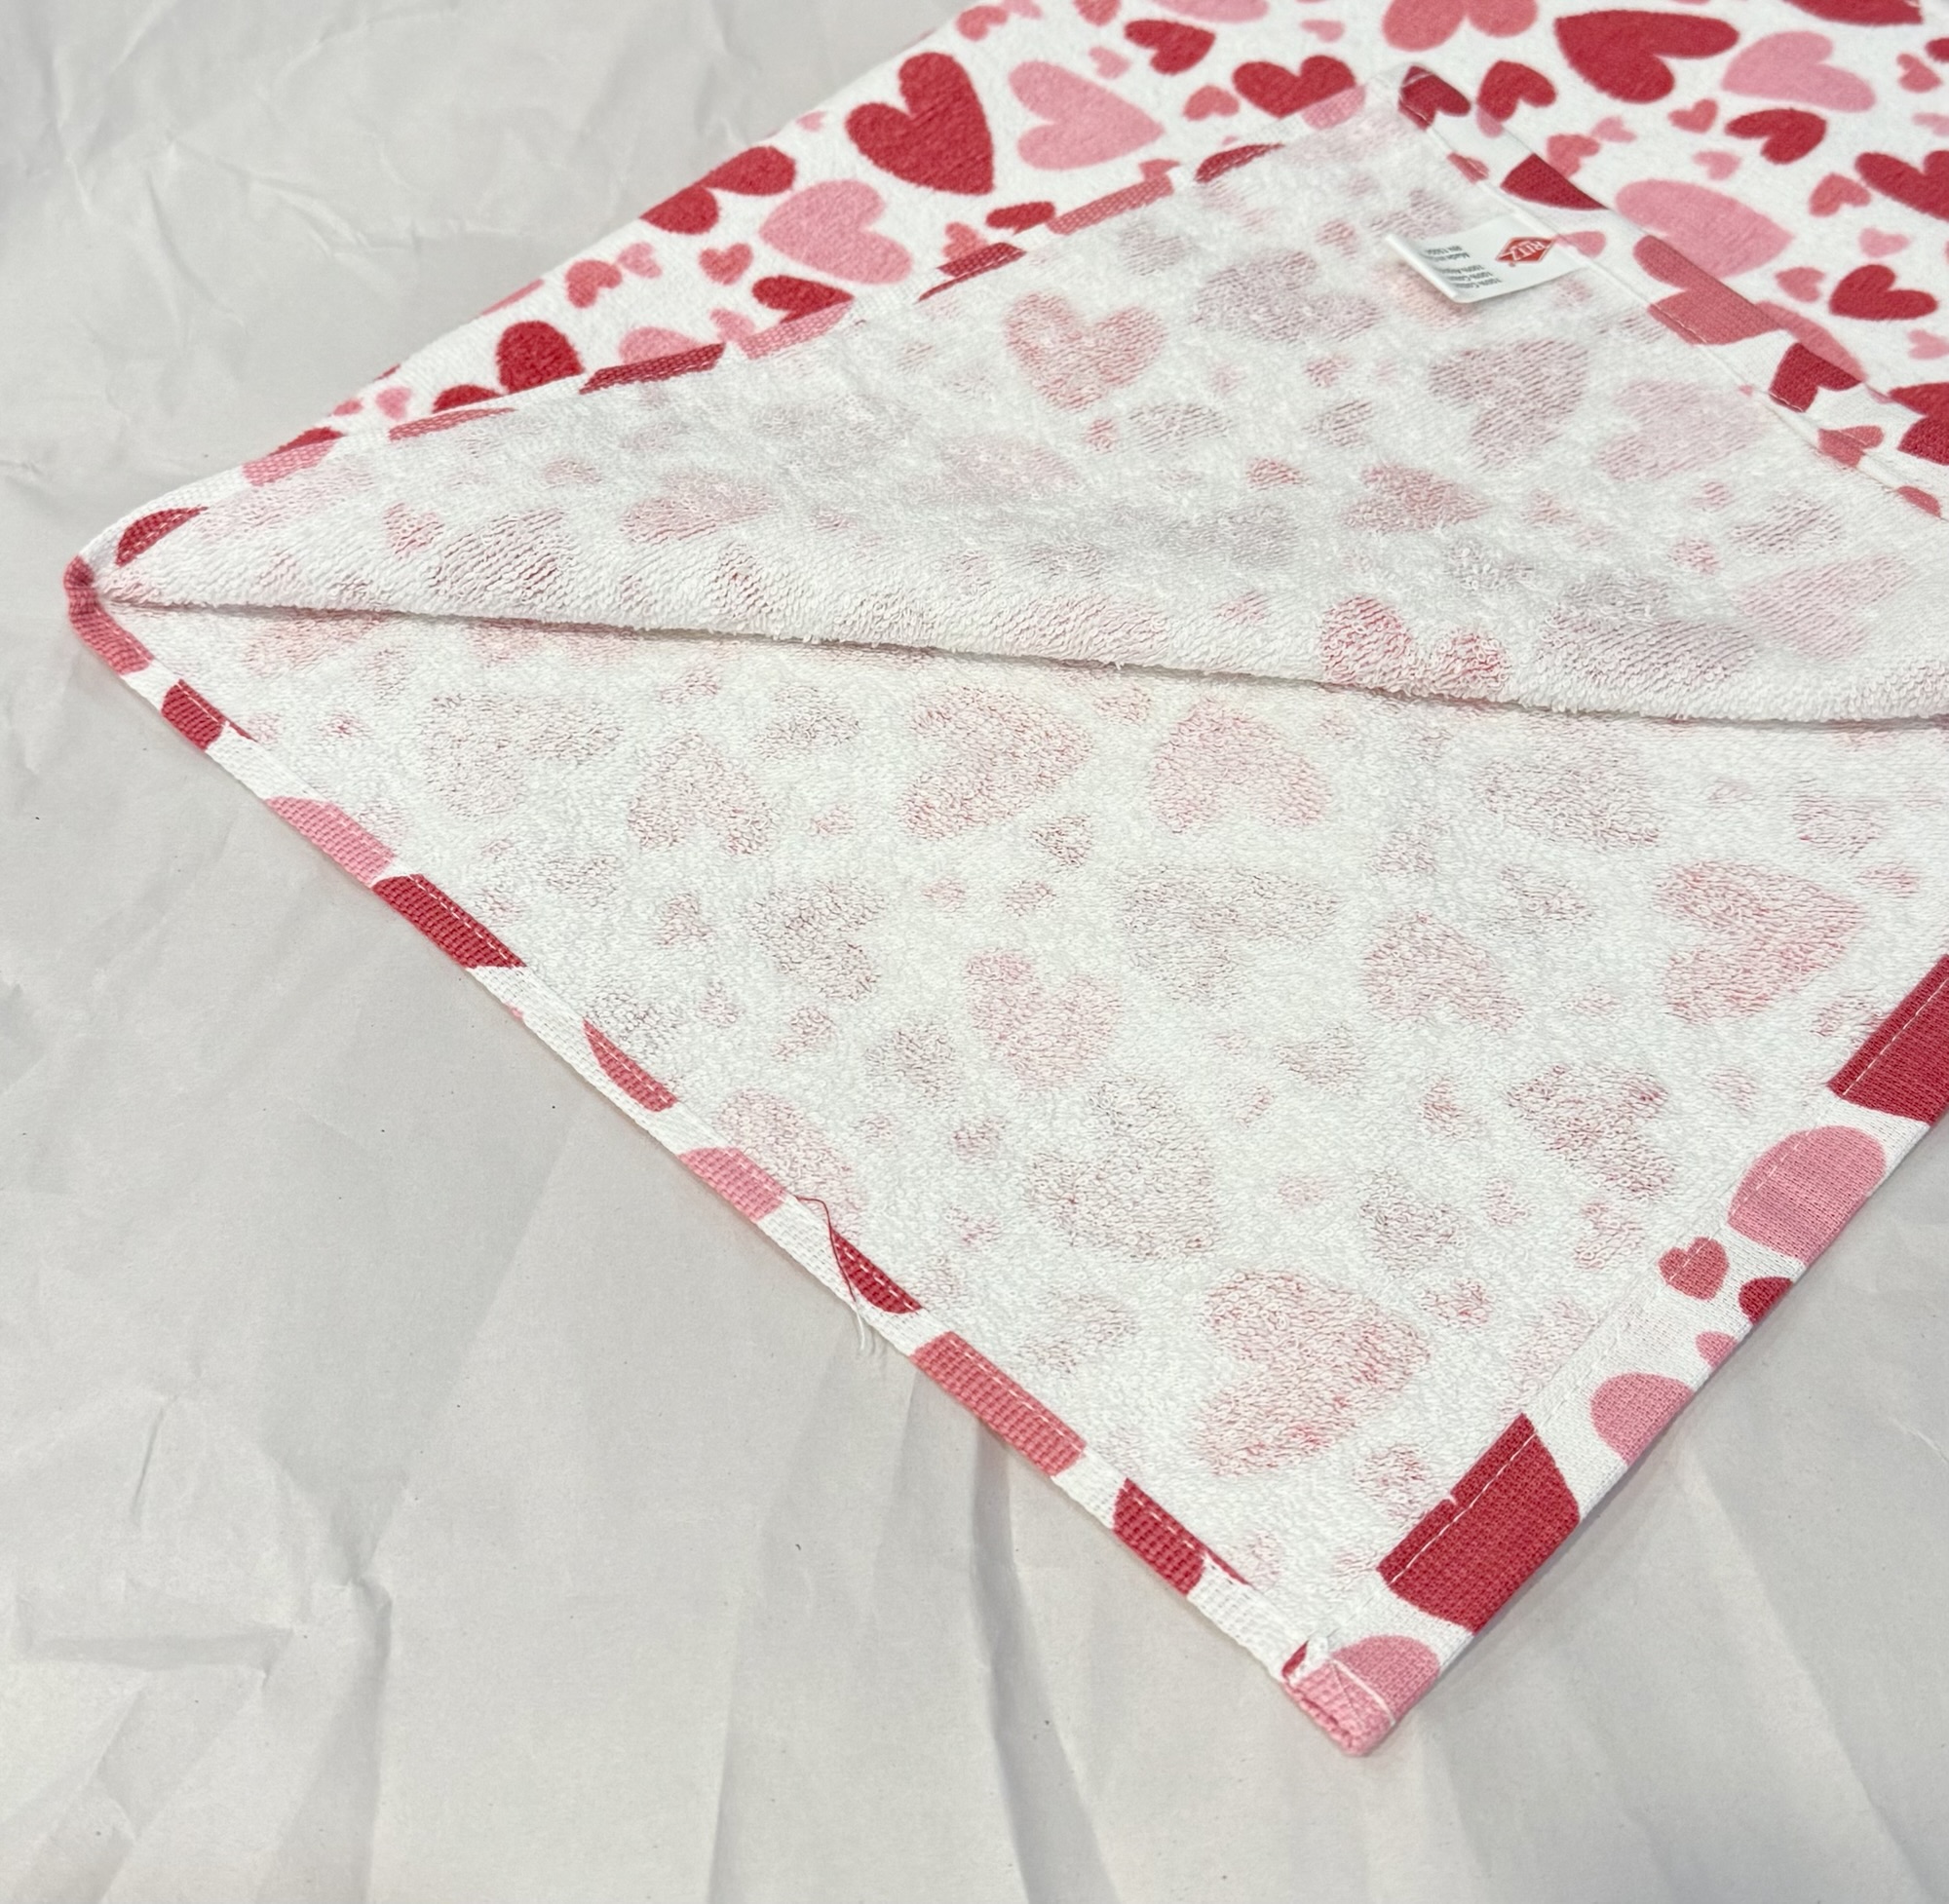
First wash and dry your towel. You may have to lightly iron it to remove any wrinkles. Then fold your towel in half. Run a bead of hot glue along one edge beginning at the fold. I do a few inches at a time and hold it together until the glue cools. Do this on all 3 sides, leaving an opening at the bottom for stuffing your pillow.
Add Poly-fil, stuffing to desired fullness. Close the opening with hot glue. That’s it! So easy!
I’ve made several of these for the different seasons. They are a great way to add a little extra to your seasonal decor without spending a lot.
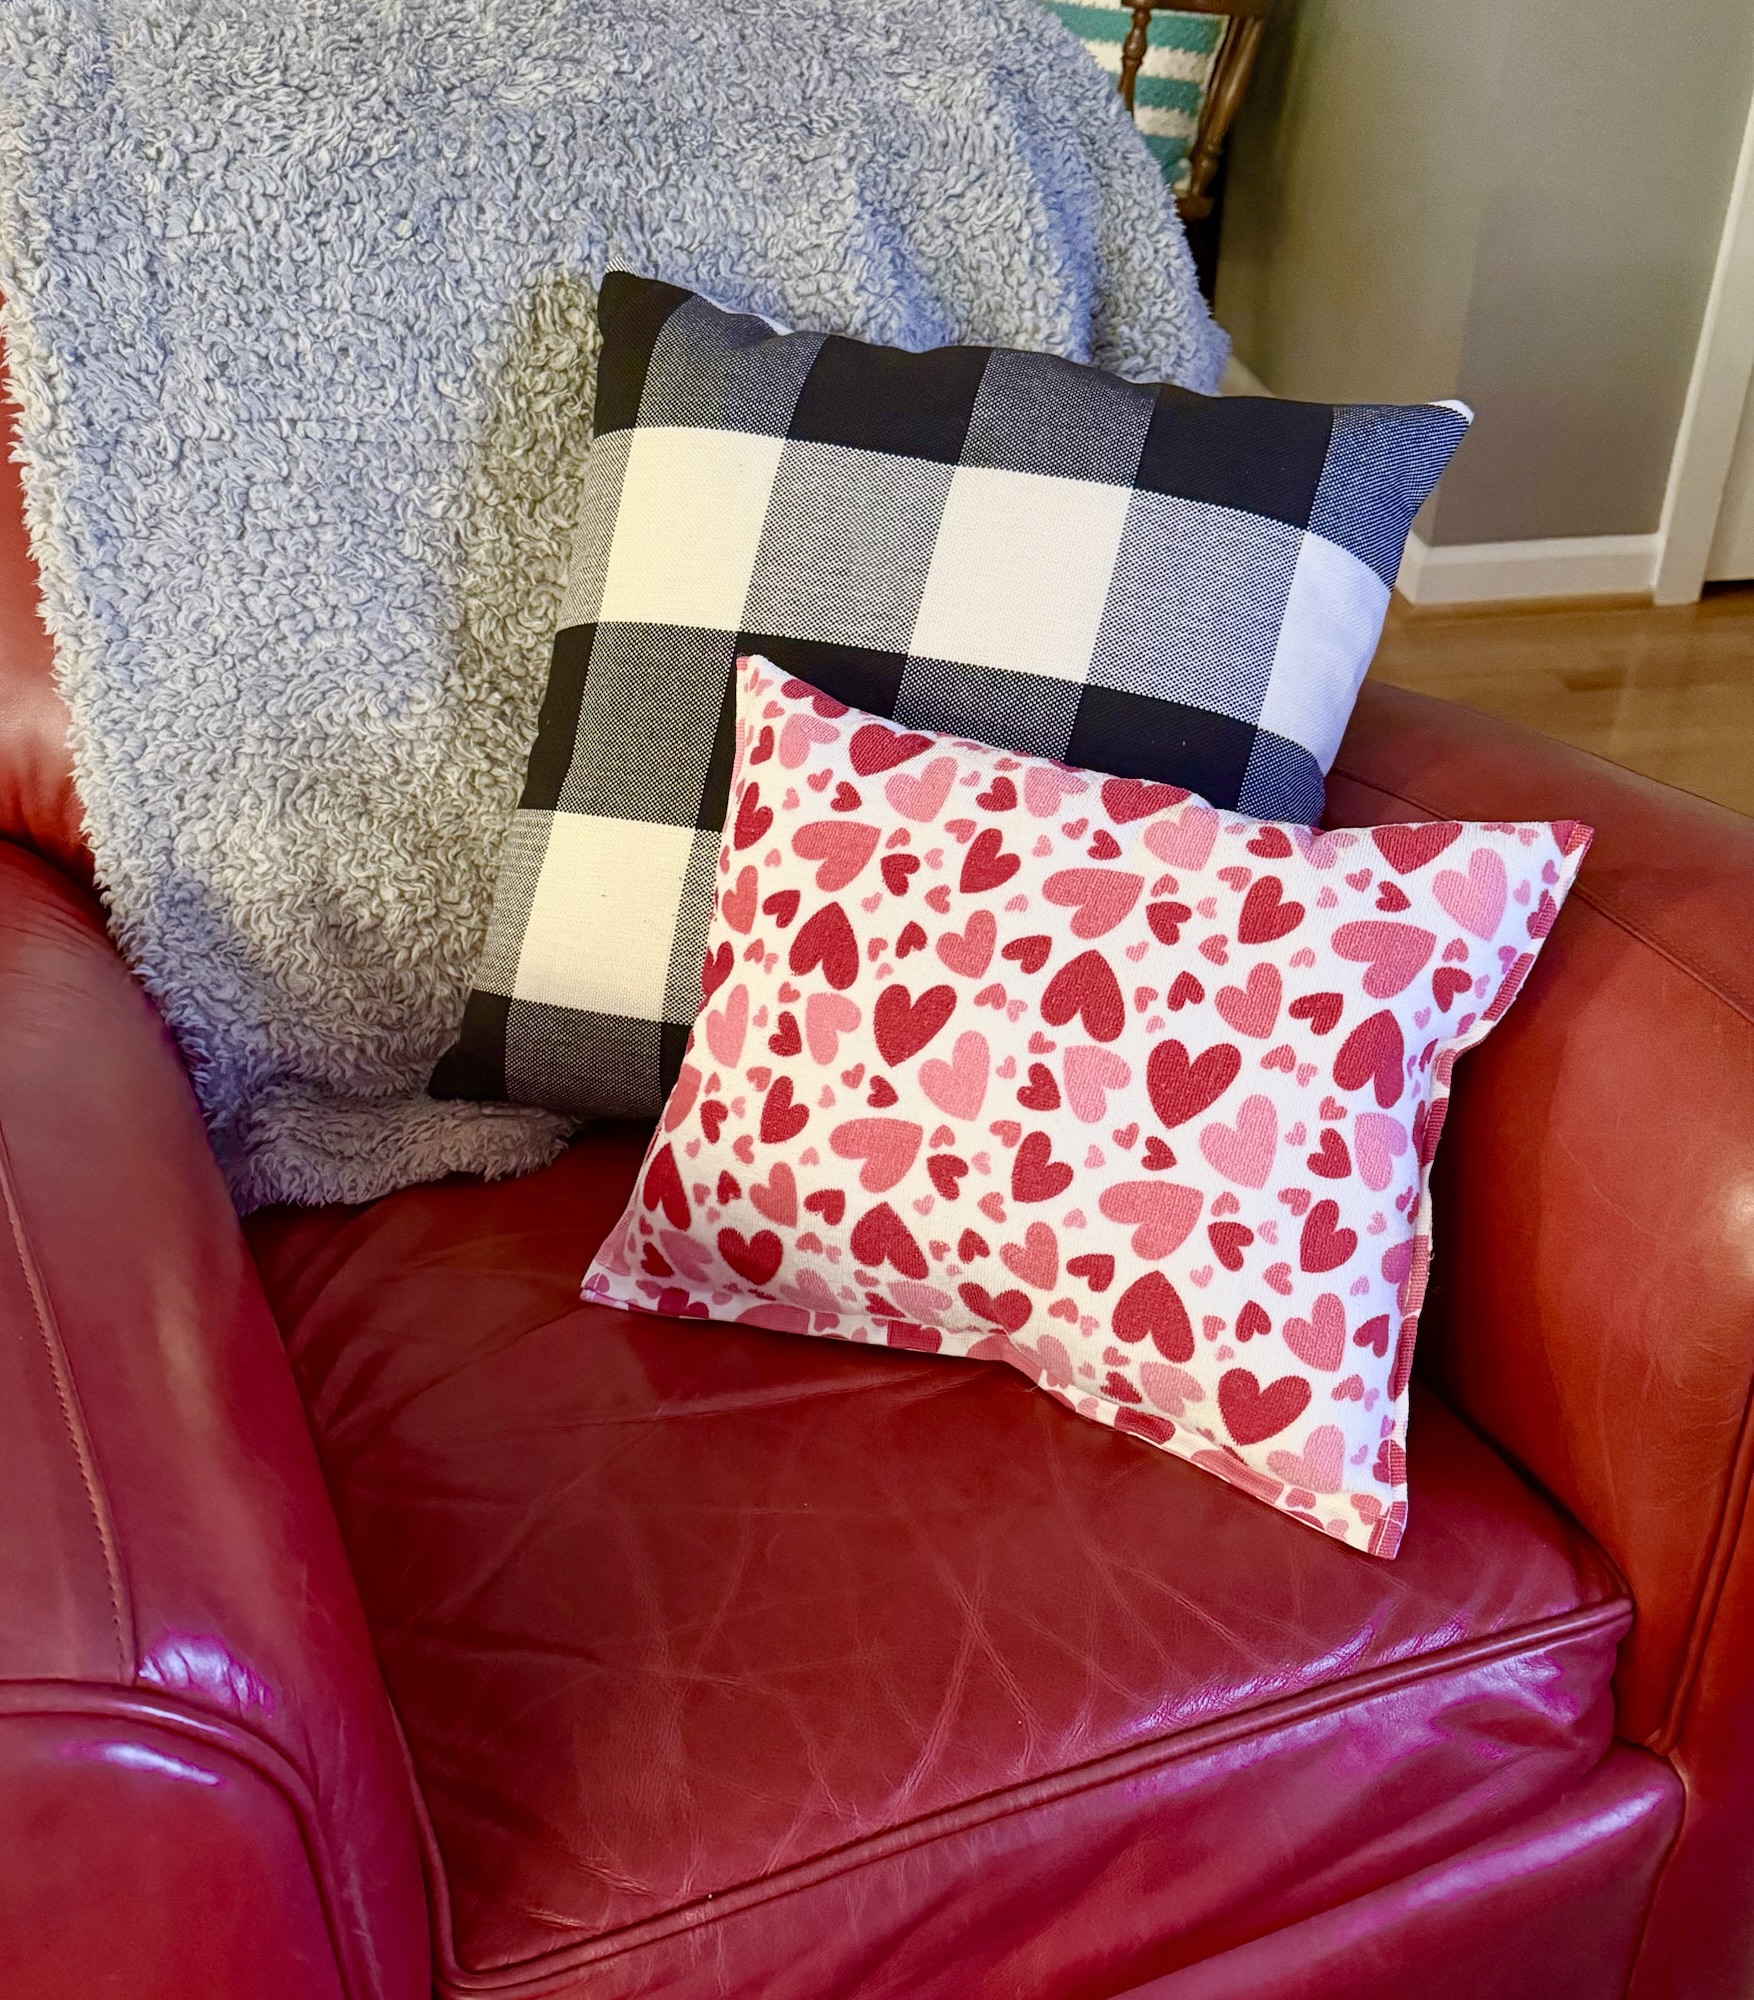

The size of the finished pillow will depend on the size of the towel you use. Hobby Lobby is a great place to find seasonal towels – especially when they are 40% off or more! 😊
Anita