Hi friends,
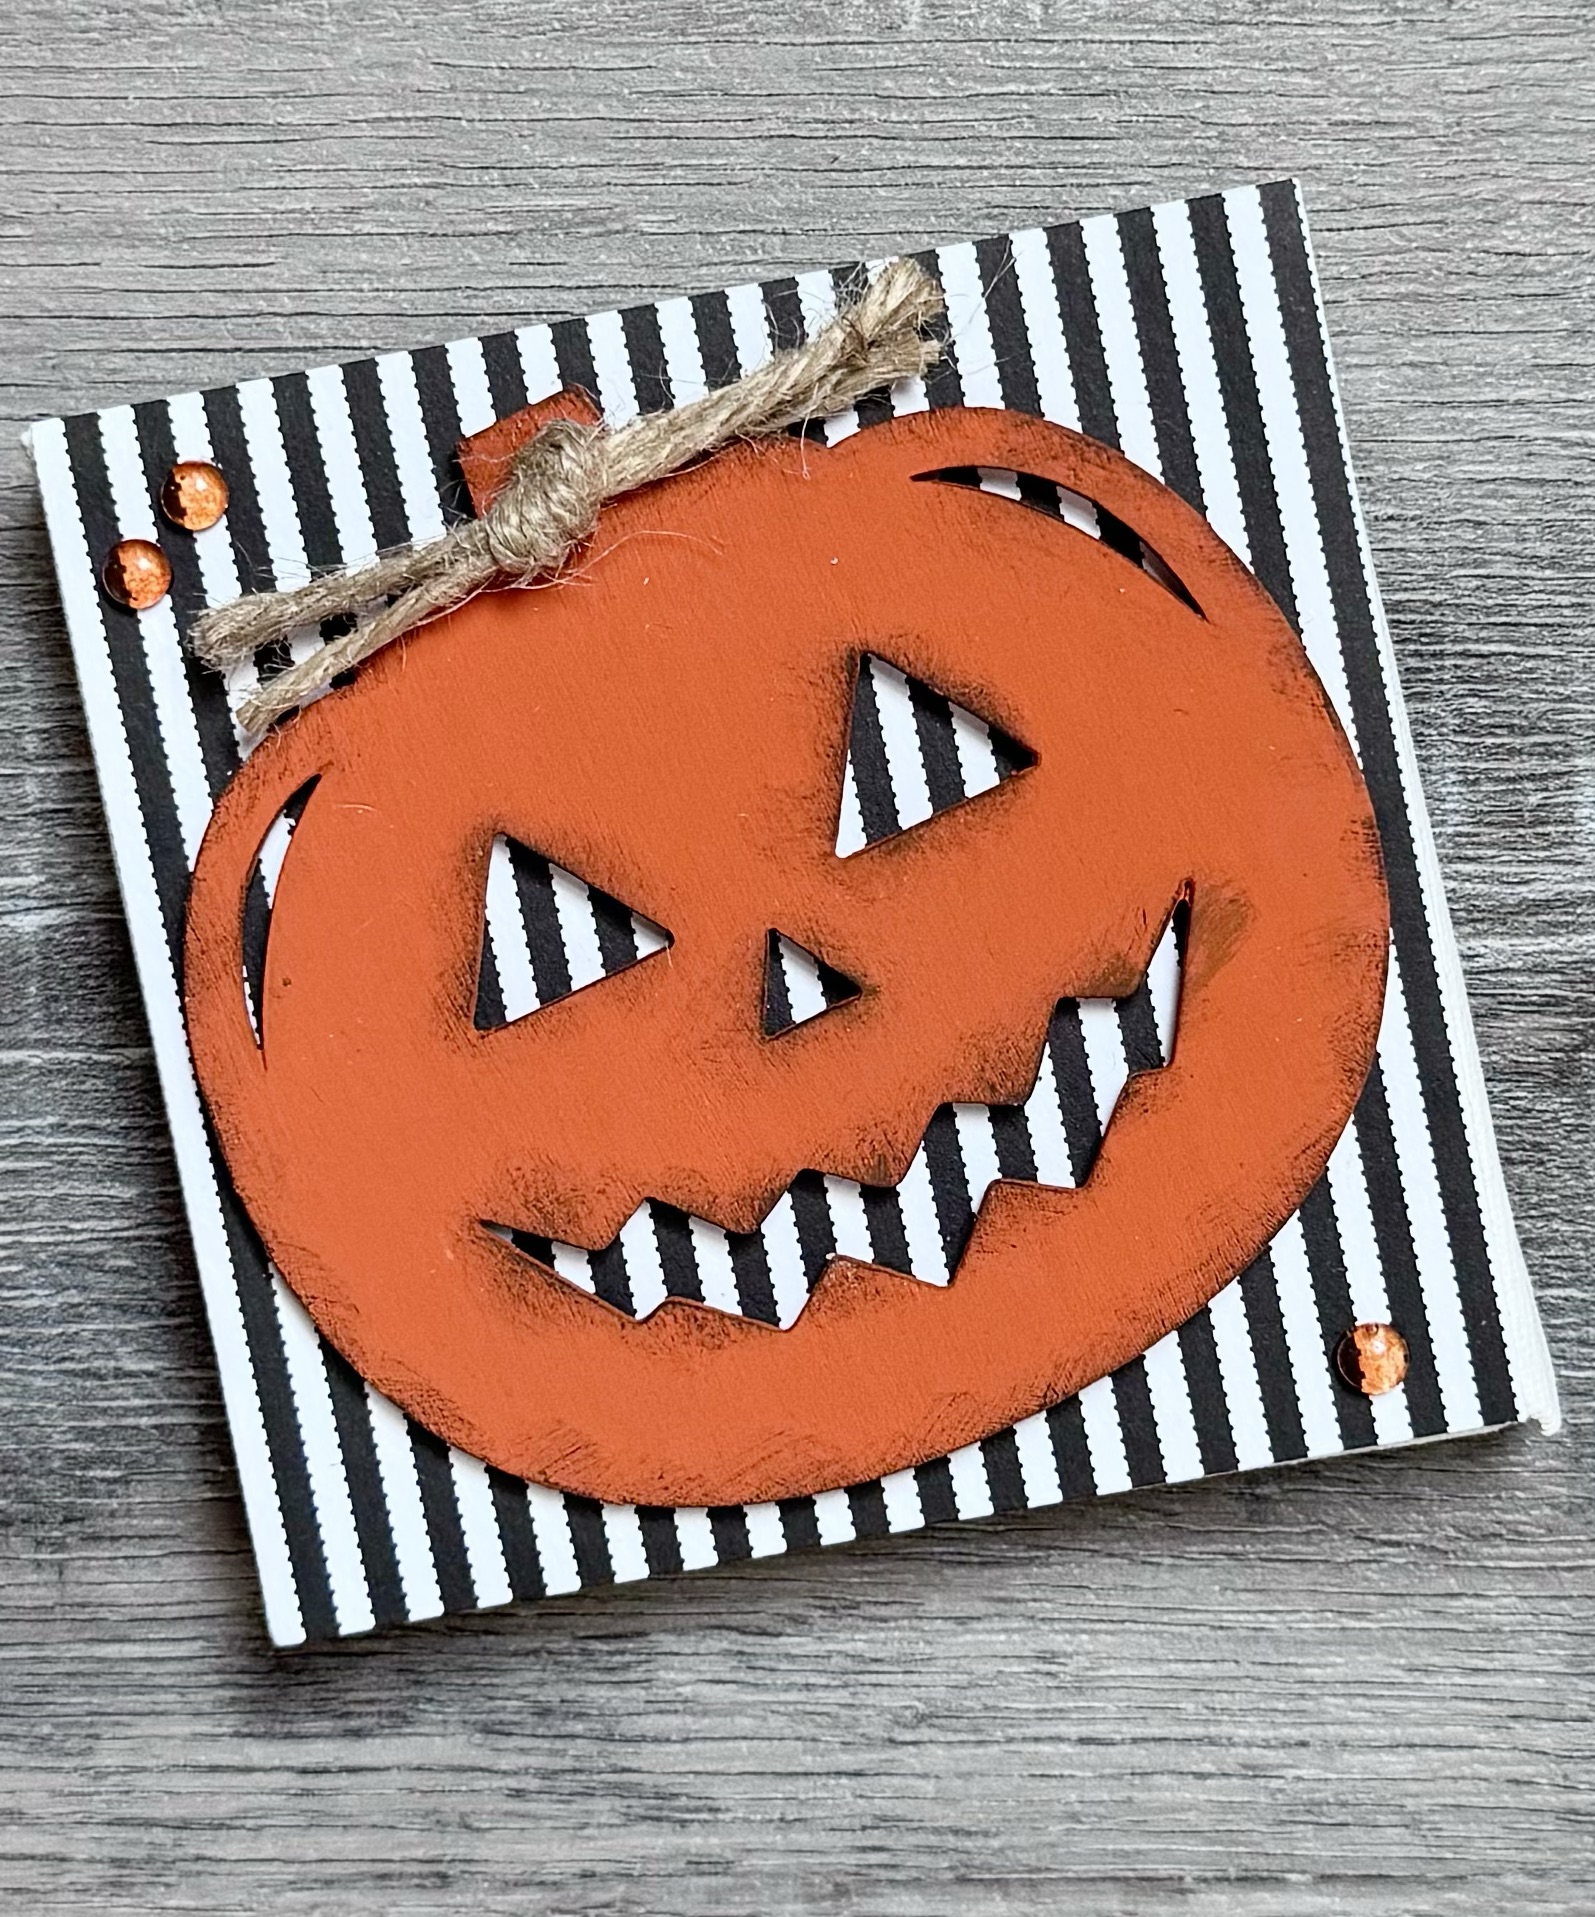
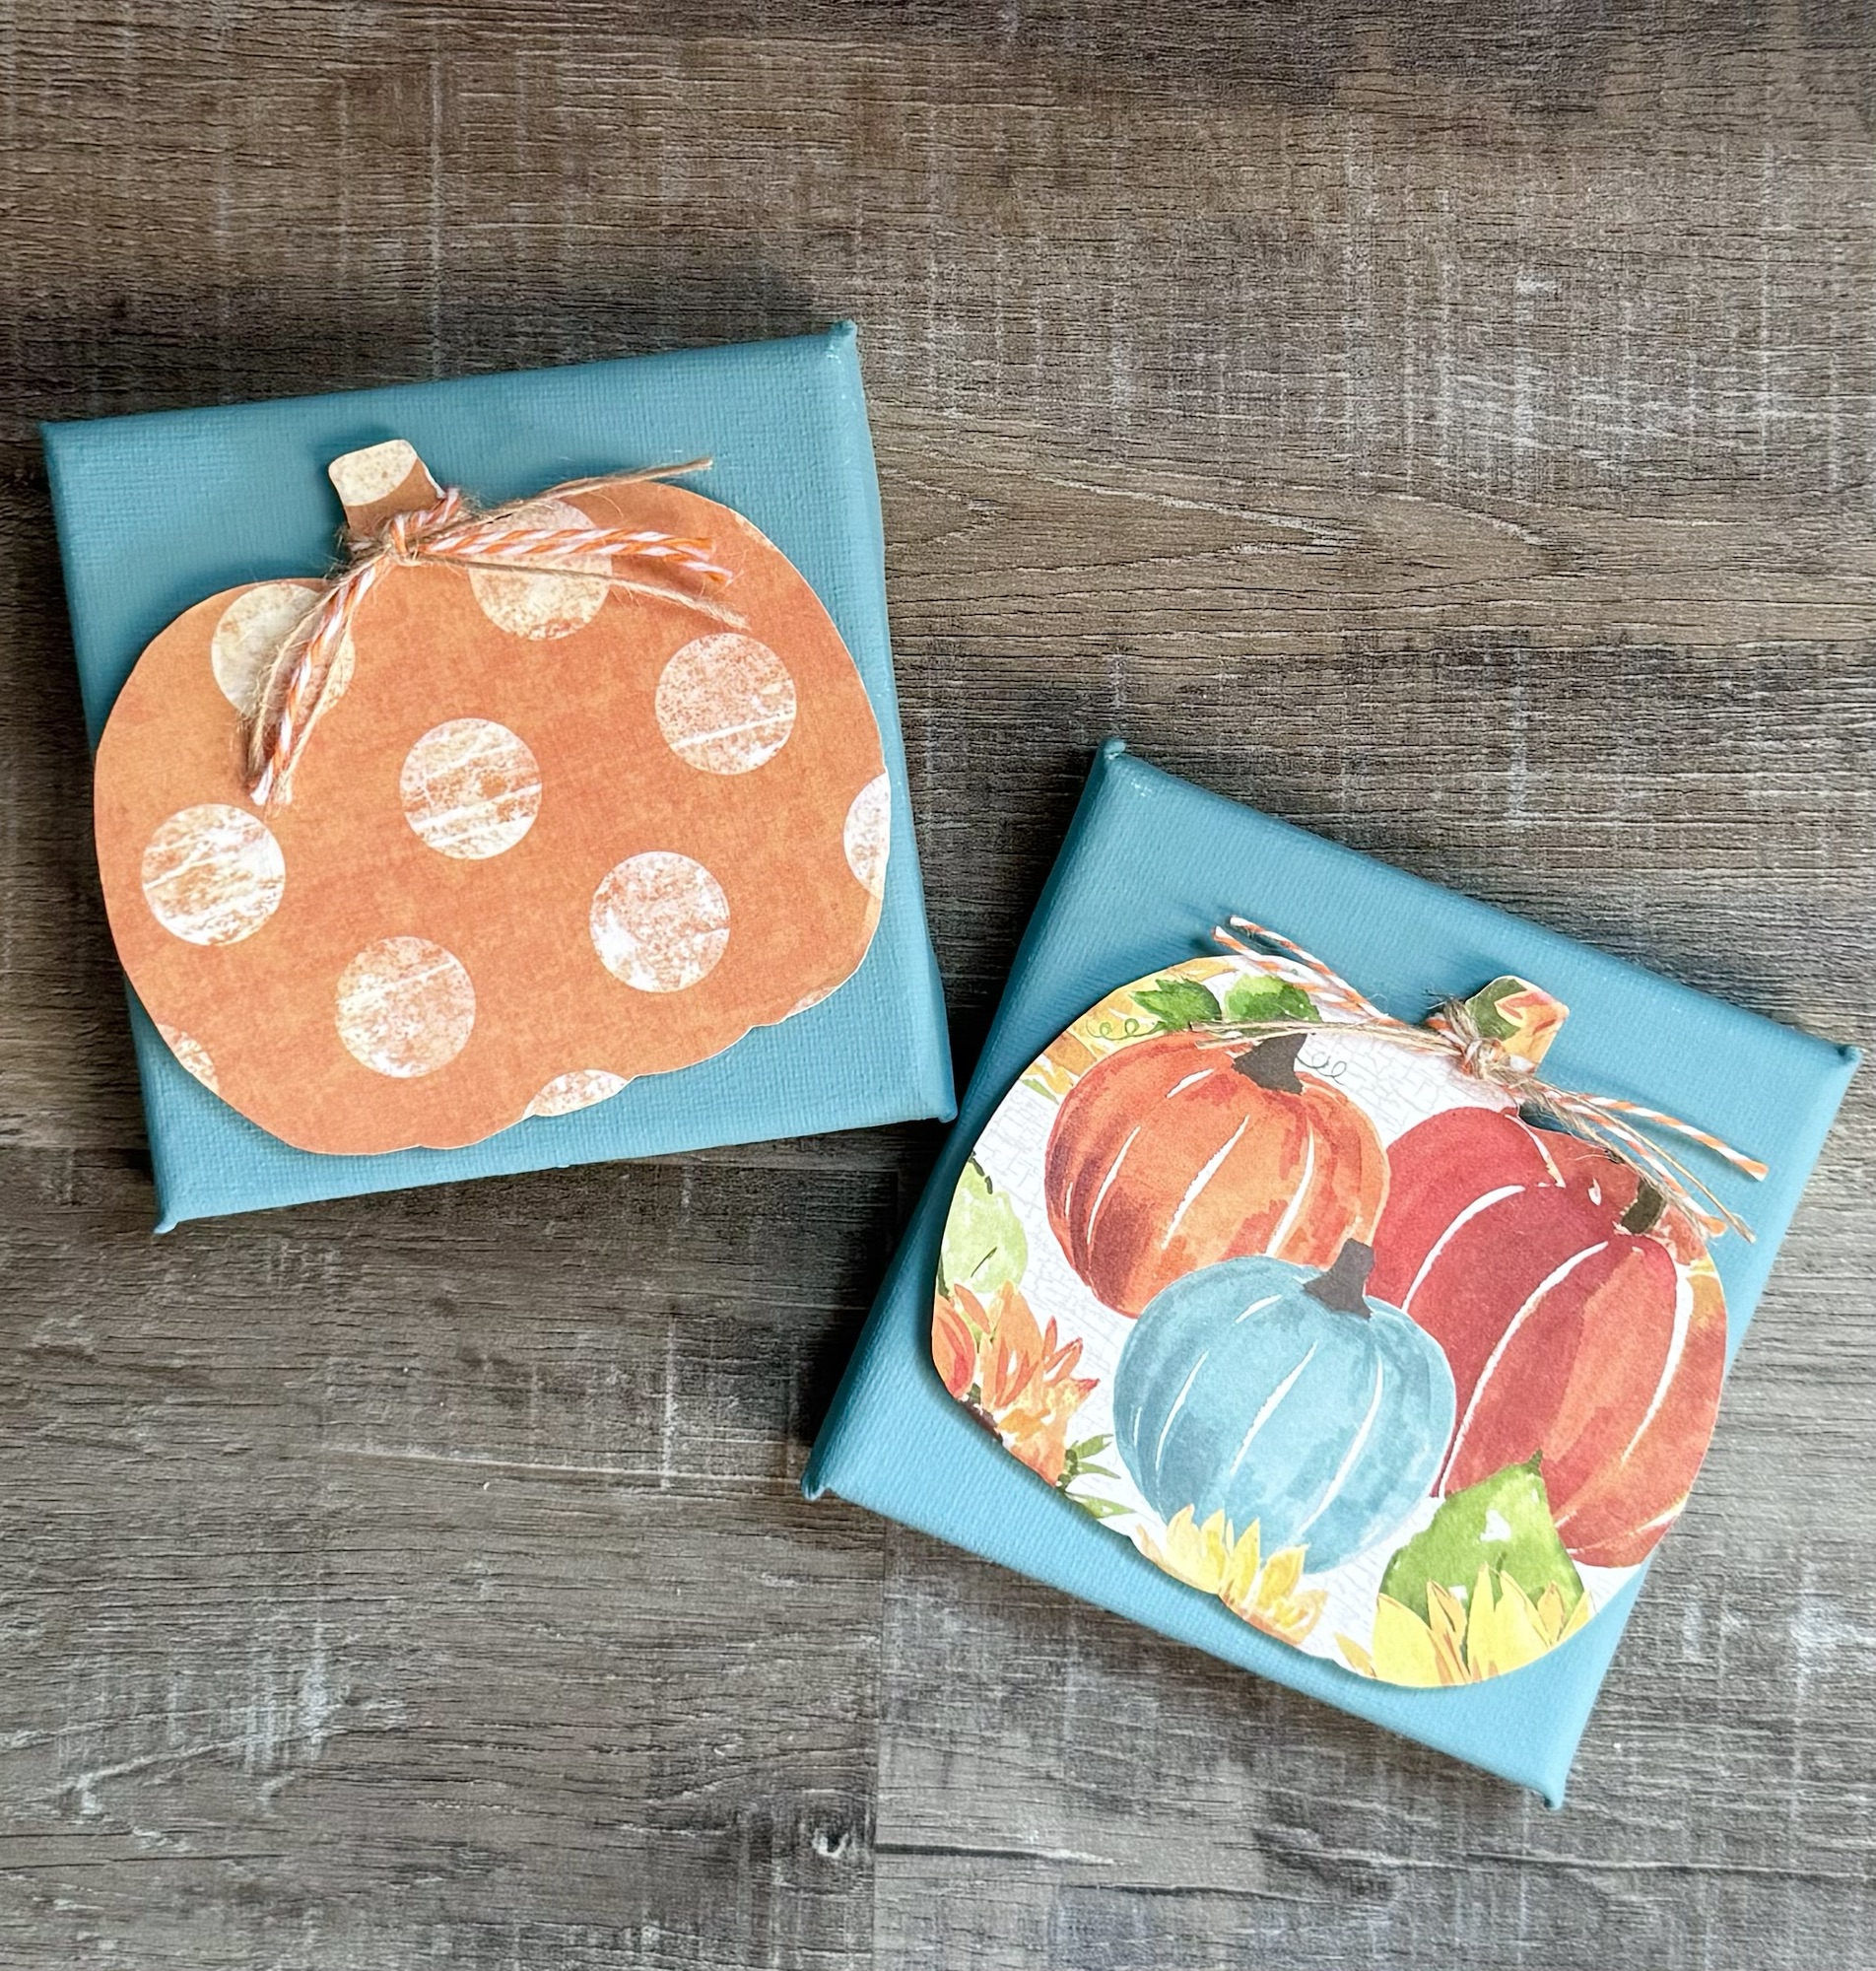
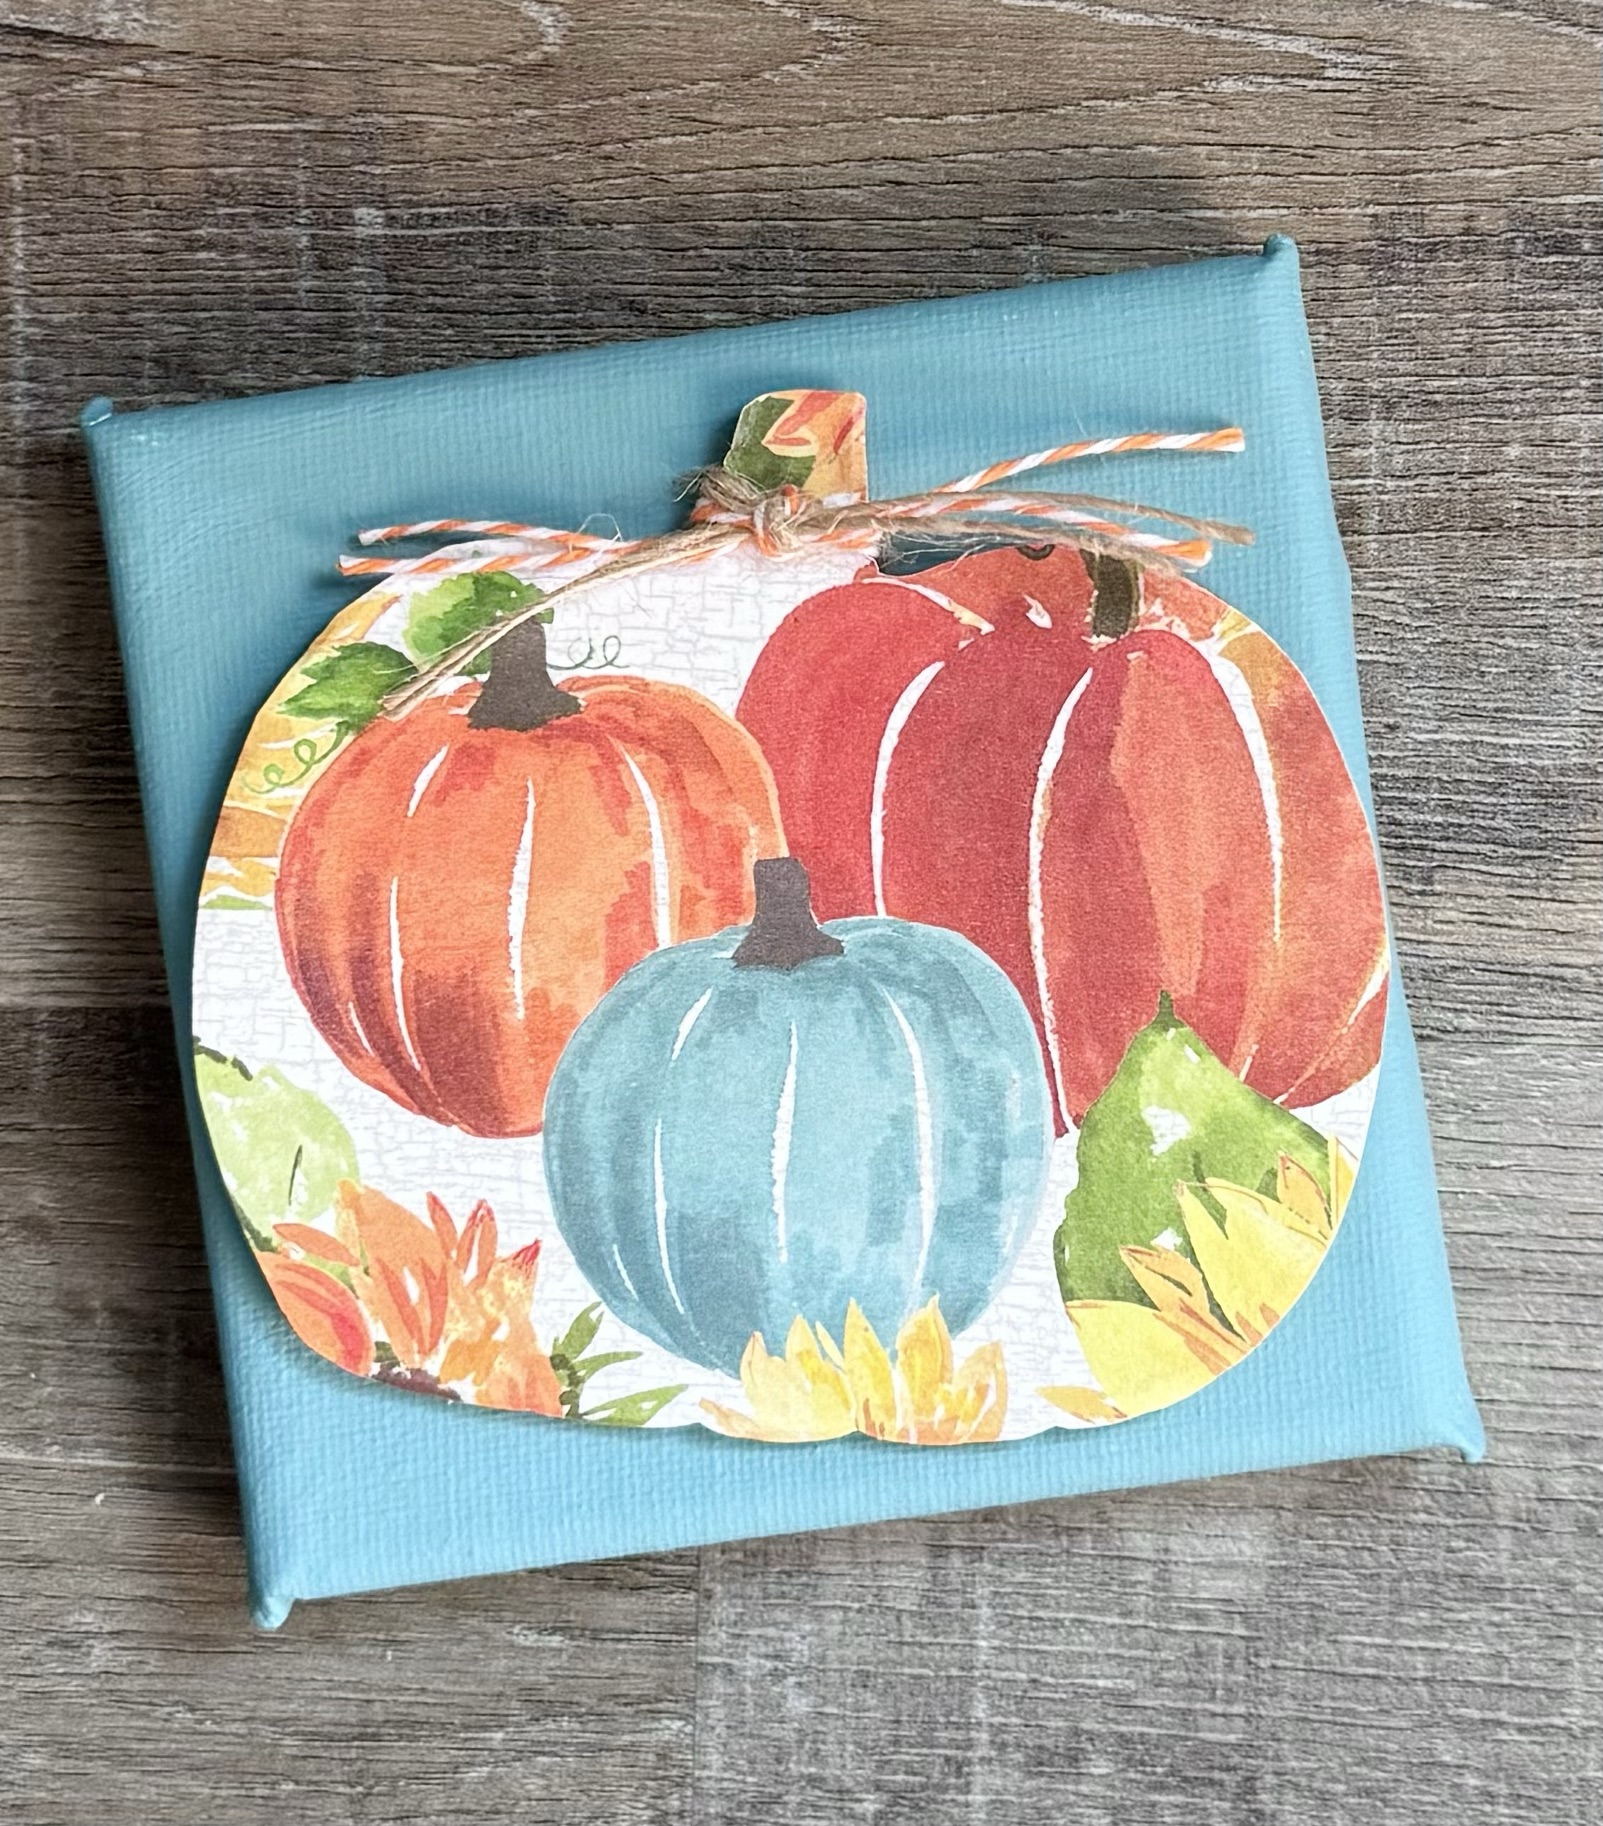
Did you see my Mini Canvas Halloween Shelf Sitters in this post? I decided I needed some for the entire Fall season! 🍁🍂🍁 And these cute Mini Canvas Fall Shelf Sitters match my Trio of Wood Pumpkins in this post. 😊
Disclosure: Some of the links on my site are affiliate links, meaning, at no additional cost to you, I will earn a small commission if you click through and make a purchase. As an Amazon Associate I earn from qualifying purchases.
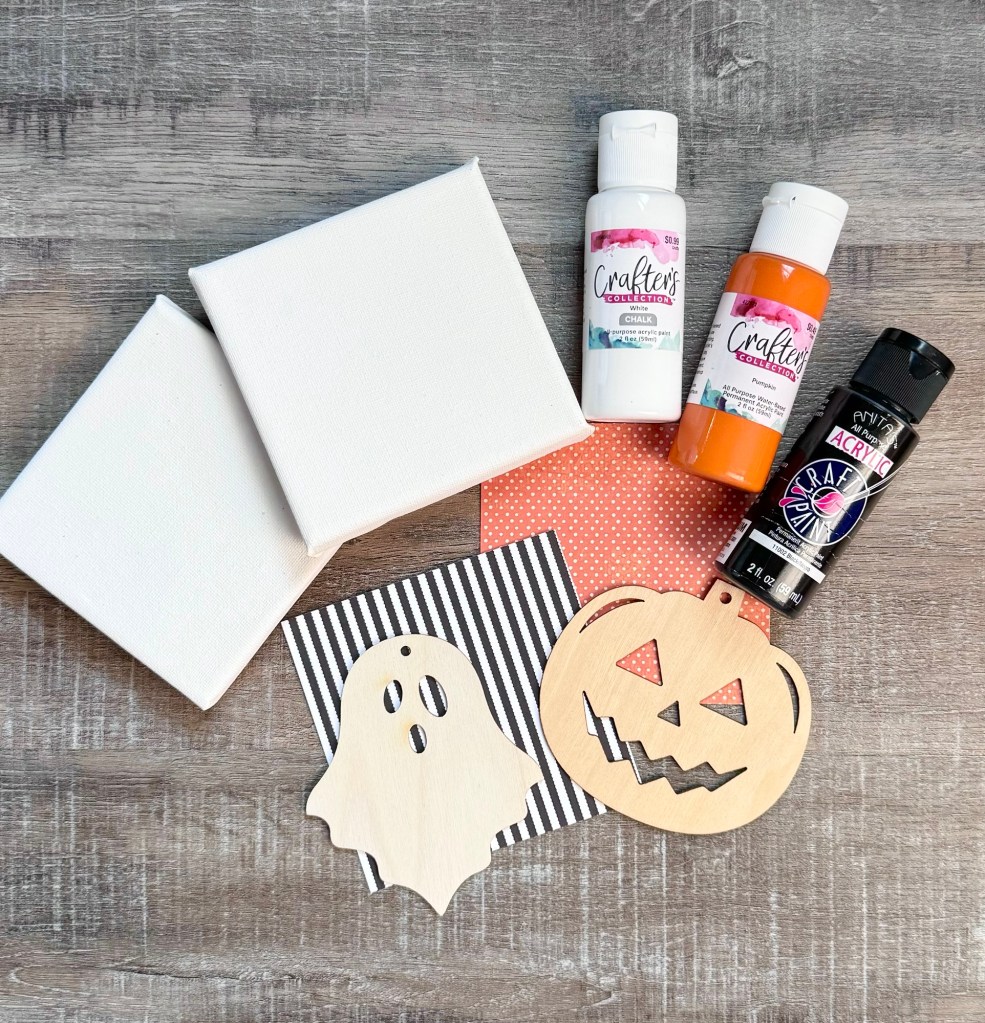
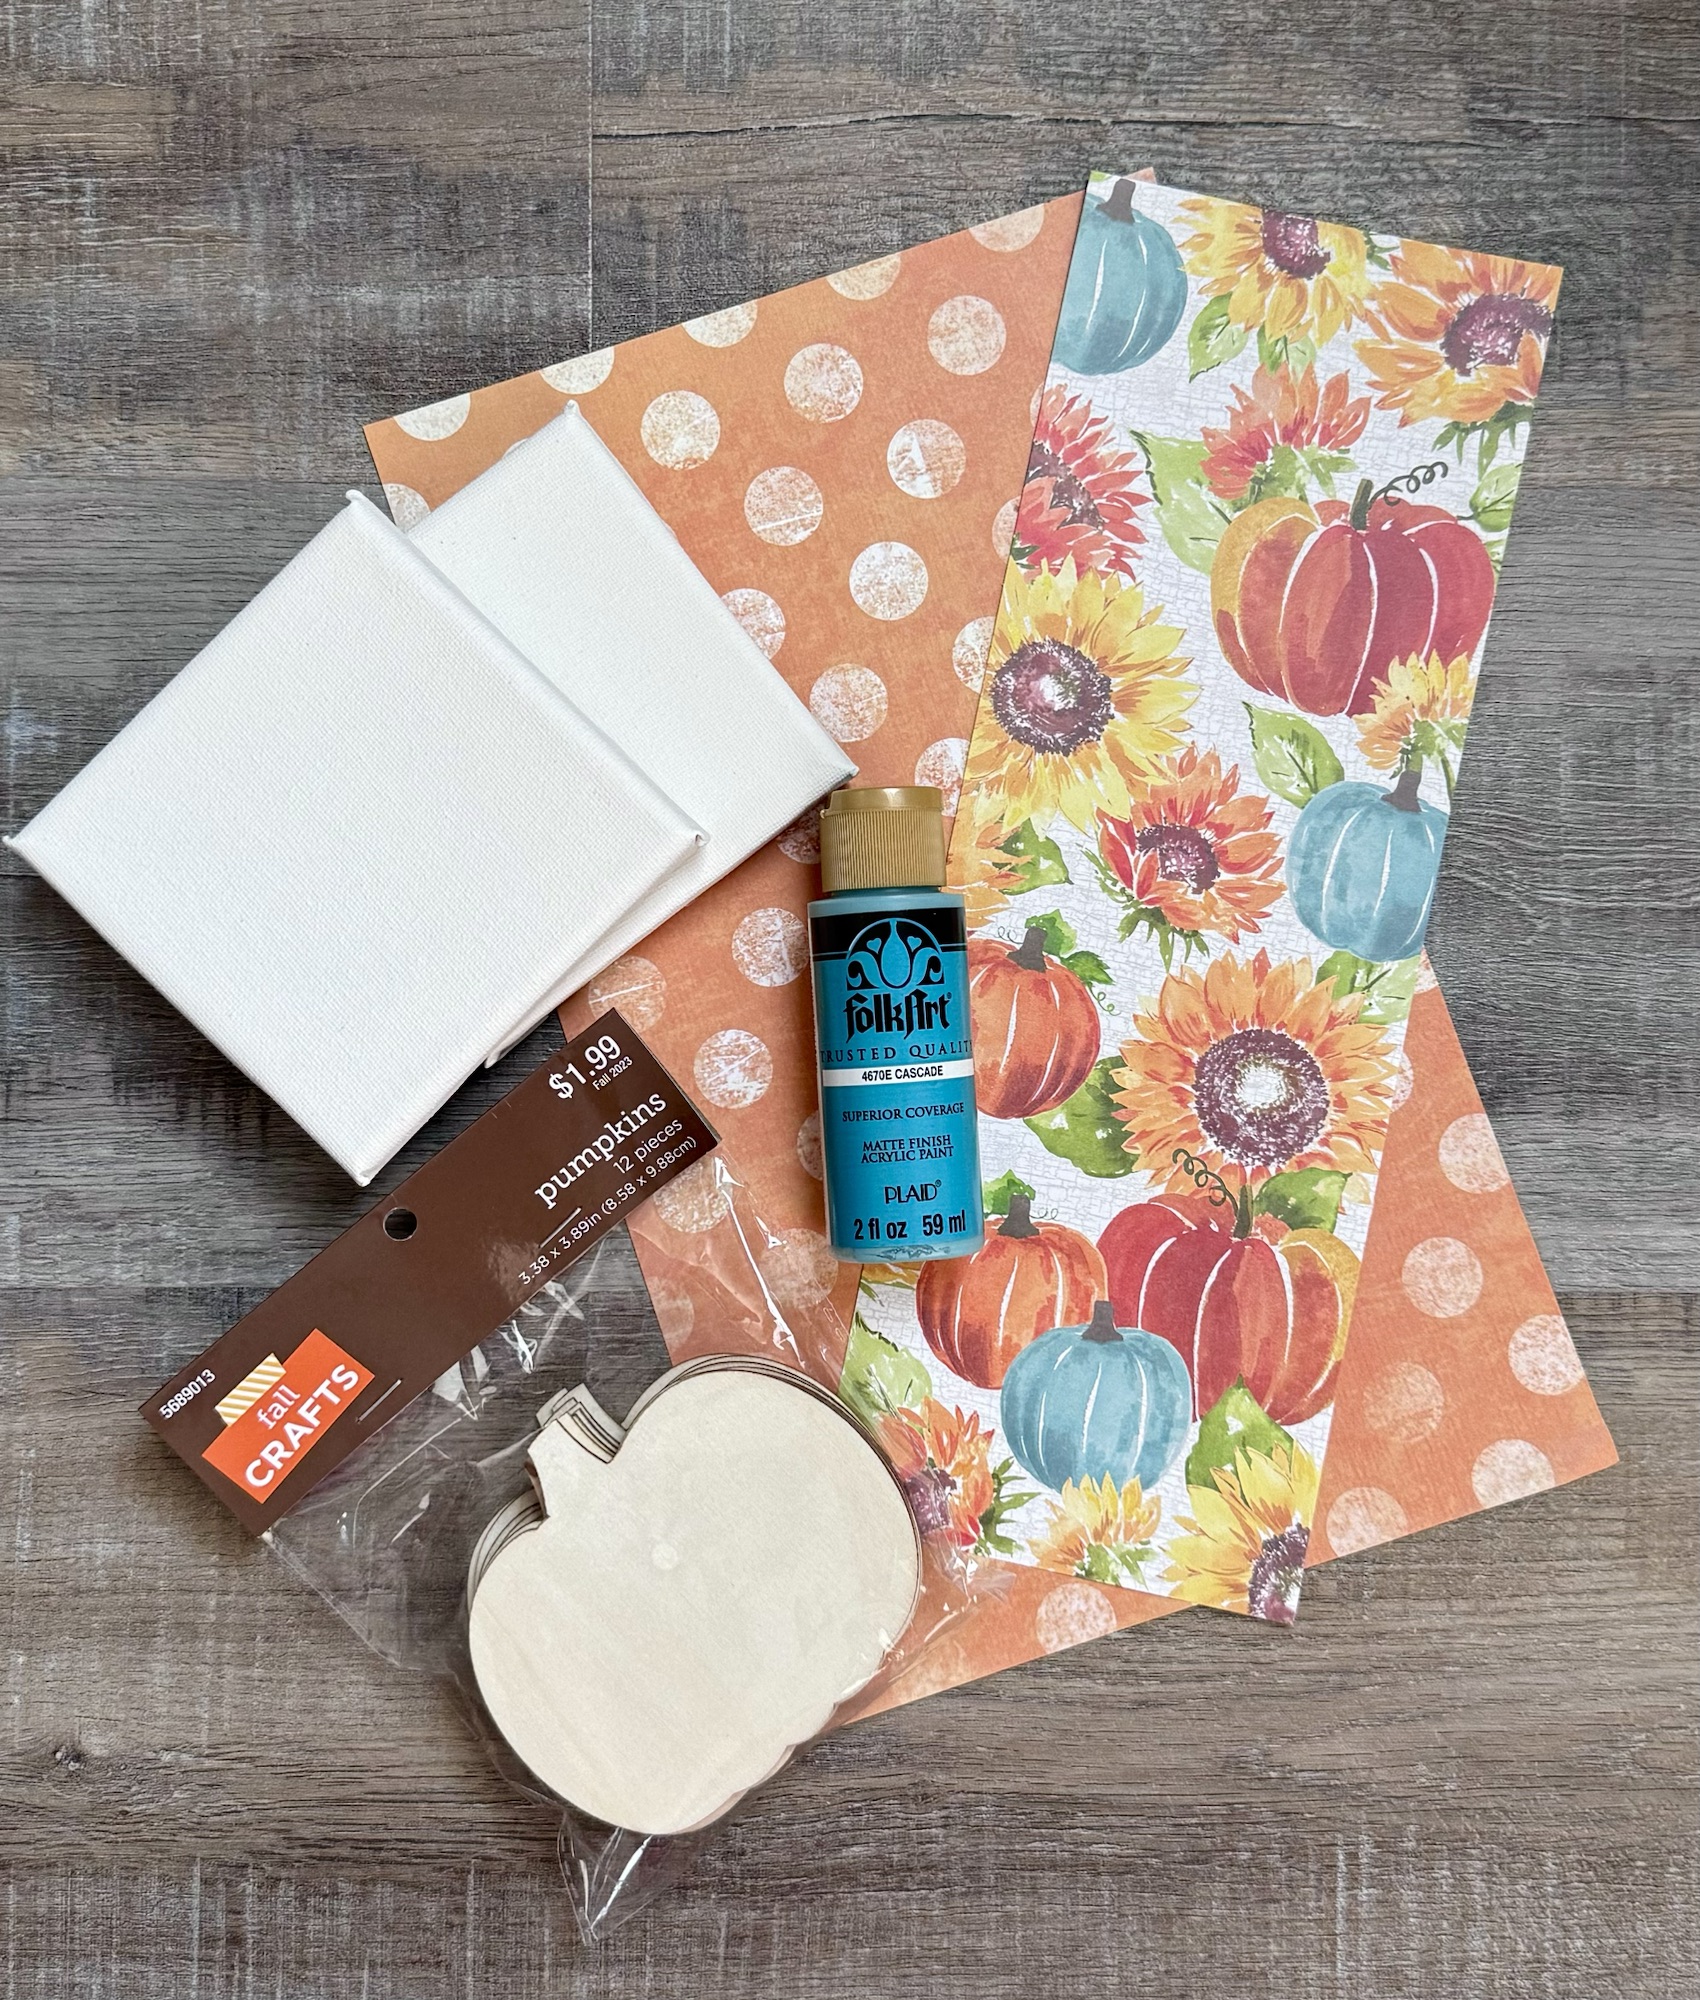
You’ll need a mini 4 by 4 inch stretched canvas, a wood pumpkin cut out (I found mine at Hobby Lobby), Fall themed scrapbook paper, Mod Podge, and acrylic paint to coordinate with your paper.
Turn your scrapbook paper over and trace around the pumpkin with a pencil. Cut out the shape just inside of the pencil line. Use a foam brush to apply a thin layer of Mod Podge to the pumpkin and attach the paper, smoothing any wrinkles. When it’s dry, apply a thin layer of Mod Podge over the top.
Paint the front and sides of the canvas with 2 coats of acrylic paint, letting it dry between coats.
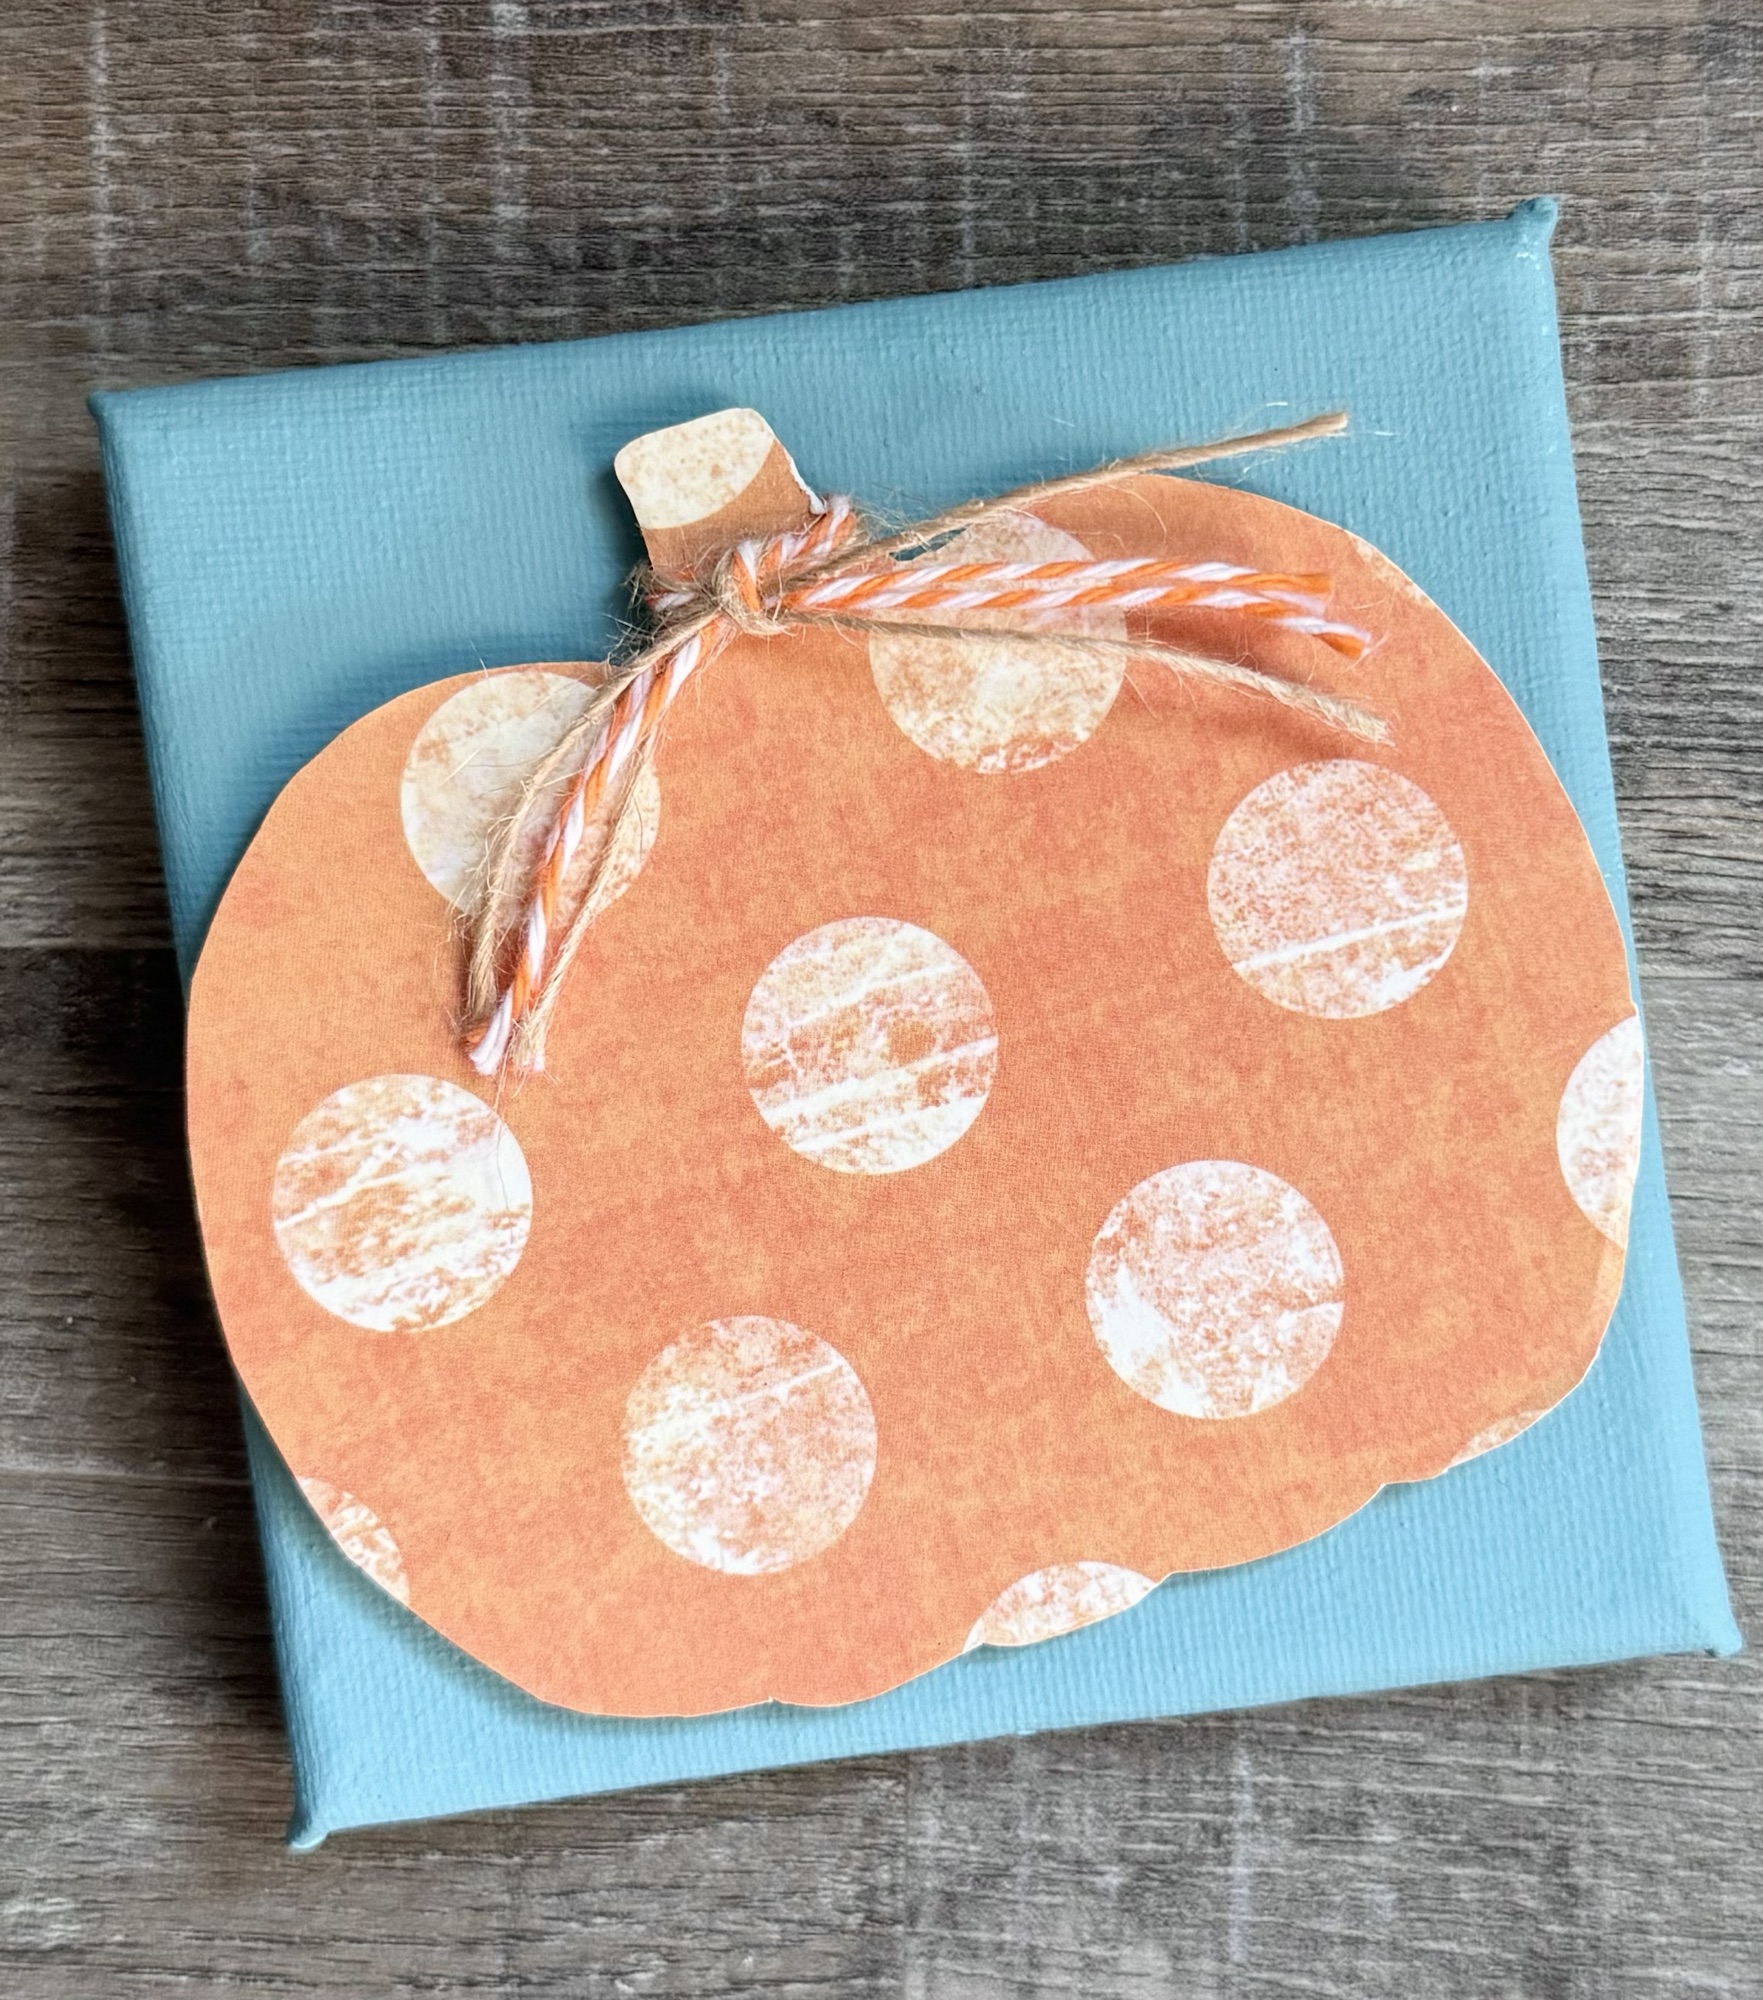
I tied natural twine along with orange/white bakers twine around the stem of the pumpkin. The pumpkin is then adhered to the canvas using foam tape.

These Mini Canvas Fall Shelf Sitters will add a little pop of color any place you put them. 🍁🍂🍁
Anita