Hi friends,
This is a super easy, last minute treat to mix up for your Valentines. ❤️ It will take just a couple of minutes and it has raisins and cashews so that makes it healthy, right? 😉
Disclosure: Some of the links on my site are affiliate links, meaning, at no additional cost to you, I will earn a small commission if you click through and make a purchase. As an Amazon Associate I earn from qualifying purchases.
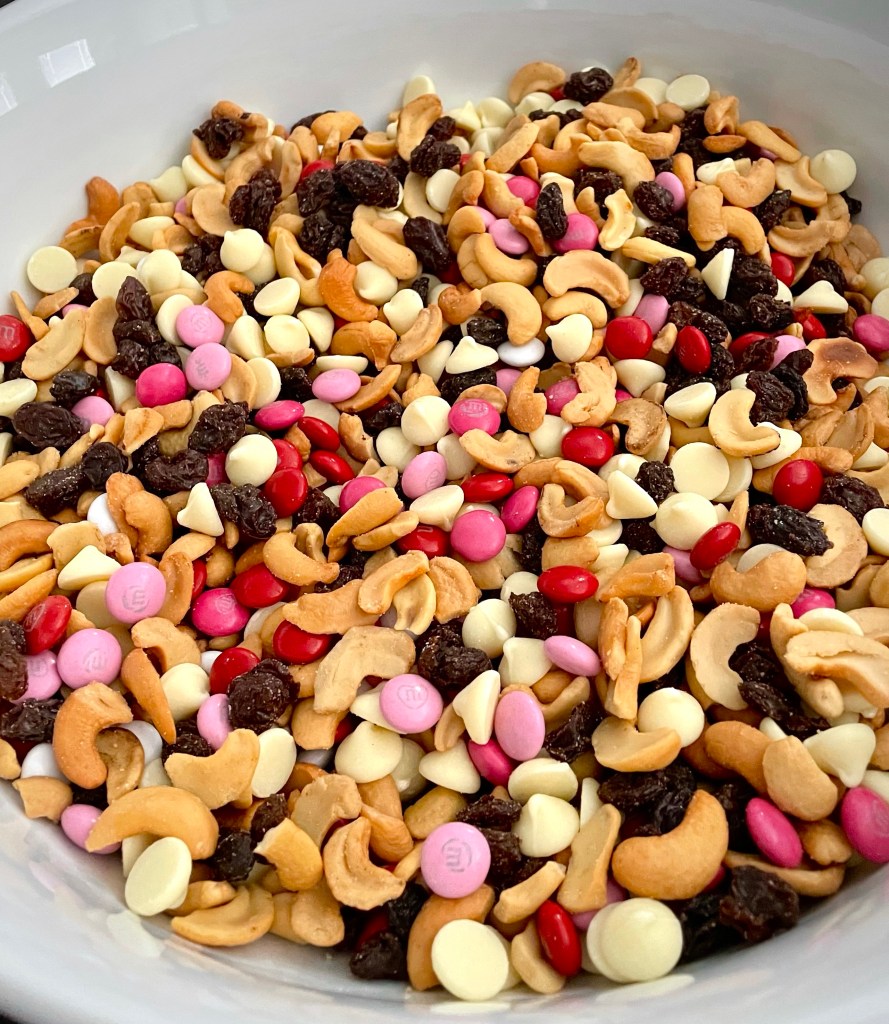
You’ll need cashews (I used halves and pieces in sea salt), raisins, white chocolate chips, and Valentine M&M’s. Not a fan of cashews? Make this tasty treat with your favorite nuts – I would recommend using salted nuts to get the salty/sweet taste that is so yummy.

Then just mix them all together in a big bowl and your Valentine Treat Mix is ready to eat!
I used a 16 ounce can of cashews, an 11.5 ounce bag of white chocolate chips, a 10 ounce bag of M&M’s, and just added raisins until I thought I had enough – maybe 1.5 cups.
You can fill up a clear treat bag, tie it with some red and white twine, and gift it to your family and friends for a sweet Valentine treat.
But…you may need to make a double batch so you’ll have plenty to keep at home, too! I have this fun extra large mason jar that I like to store my Valentine Treat Mix in – it looks so cute on my counter. 😍

I think dried cranberries would also be tasty in place of – or along with – the raisins. You could even add some chocolate chips if you want even more chocolate in the mix. 😊
Happy ❤️ Day!
Anita