Sheet Pan Fudgy Brownies With M&Ms

Hi friends,

Last week I shared this cookie bar recipe. Today I’m sharing this great Sheet Pan Fudgy Brownies recipe that I found here at Six Sisters’ Stuff.

Disclosure: Some of the links on my site are affiliate links, meaning, at no additional cost to you, I will earn a small commission if you click through and make a purchase. As an Amazon Associate I earn from qualifying purchases.

I wanted to take a treat to our youth group Sunday school classes and found this great recipe that makes a ton of brownies since you bake them in a jelly roll pan. The only thing I did differently from the recipe was to add M&Ms to the batter – because you can never have too much chocolate!! 😉 You could also add chocolate chips instead of M&Ms if you want to add something extra to your brownies.

Add the Christmas red and green M&Ms for a yummy holiday dessert. Or maybe even the mint M&Ms for a seasonal treat. 🎄😋

You may already have everything you need in your kitchen to bake up this yummy treat!

Here’s the batter spread onto my pan with more M&Ms sprinkled over the top and ready for the oven. I lined my pan with parchment paper and sprayed it with cooking spray just to make it a little easier when cutting the brownies.

And here are the brownies fresh from the oven. My kitchen smelled so good! 😋

It’s hard to see in the picture, but they are fudgy in the middle. I baked mine for 35 minutes, but I think next time I will check them at 30 minutes so the top will be a little less crusty. Time may vary with your oven. But they are so good – the kids gobbled them up! 😊

If you have any left, you can store them in an airtight container on the counter for a few days. A few seconds in the microwave and they will taste like they are fresh from the oven! I didn’t have any leftover to try freezing, but I think they would also freeze well wrapped tightly in foil and put in a zip top freezer bag. Again, pop them in the microwave for a little treat when a chocolate craving hits. 😉

Enjoy!

Anita

Posted in Recipes, Uncategorized | Tagged | Leave a comment

Crochet Granny Hexagon Ornaments

Hi friends,

If you’ve been following me for a minute, you know that I love to start creating Christmas crafts in July! First, I love making all the things for Christmas. Second, if you get started now it will help to make the Christmas season a little less stressful. So I’m planning to give you some ideas this month to get started on your own Christmas crafting.🎄

Disclosure: Some of the links on my site are affiliate links, meaning, at no additional cost to you, I will earn a small commission if you click through and make a purchase. As an Amazon Associate I earn from qualifying purchases.

First up are these beautiful Crochet Granny Hexagon Ornaments from Briana K Designs. There are 2 lovely options for making the ornaments – Puff Granny Hexagon and Traditional Granny Hexagon. You will need to subscribe to her blog to unlock both patterns – but it’s free and the patterns are also free. There is also a lot more exclusive content available to subscribers only so it’s definitely worth it! 🧶

I had some small (2.625 inch) clear glass disc ornaments in my craft stash that I used to make my ornaments. I used Yarn Bee Soft & Sleek yarn in Mustard, Green Apple, Red, and Ivory with a 3.5mm crochet hook to stitch up my ornaments. Since my ornaments were smaller, I stopped after the 3rd round on each pattern. Crocheting all 4 rounds will fit larger size ornaments. You can find 3.15 inch plastic disc ornaments here and 4 inch plastic disc ornaments here.

Depending on the yarn that you use for your ornaments, you may need to adjust the hook size that you use. The pattern calls for a 4mm hook, but with my yarn I needed to go down to a 3.5mm hook. You’ll easily be able to tell after making your first hexagon if you need to make any adjustments.

A little tip when making your first hexagon: If you are changing colors, don’t cut your yarn until you are completely finished and know it is the right size. If you need to remake it, you can just frog it and start over – no wasting any yarn!

Which pattern is your favorite? 🎄

Anita

Posted in Christmas, Crochet, Gifts | Tagged , , | Leave a comment

Happy Birthday USA!

Hi friends,

Disclosure: Some of the links on my site are affiliate links, meaning, at no additional cost to you, I will earn a small commission if you click through and make a purchase. As an Amazon Associate I earn from qualifying purchases.

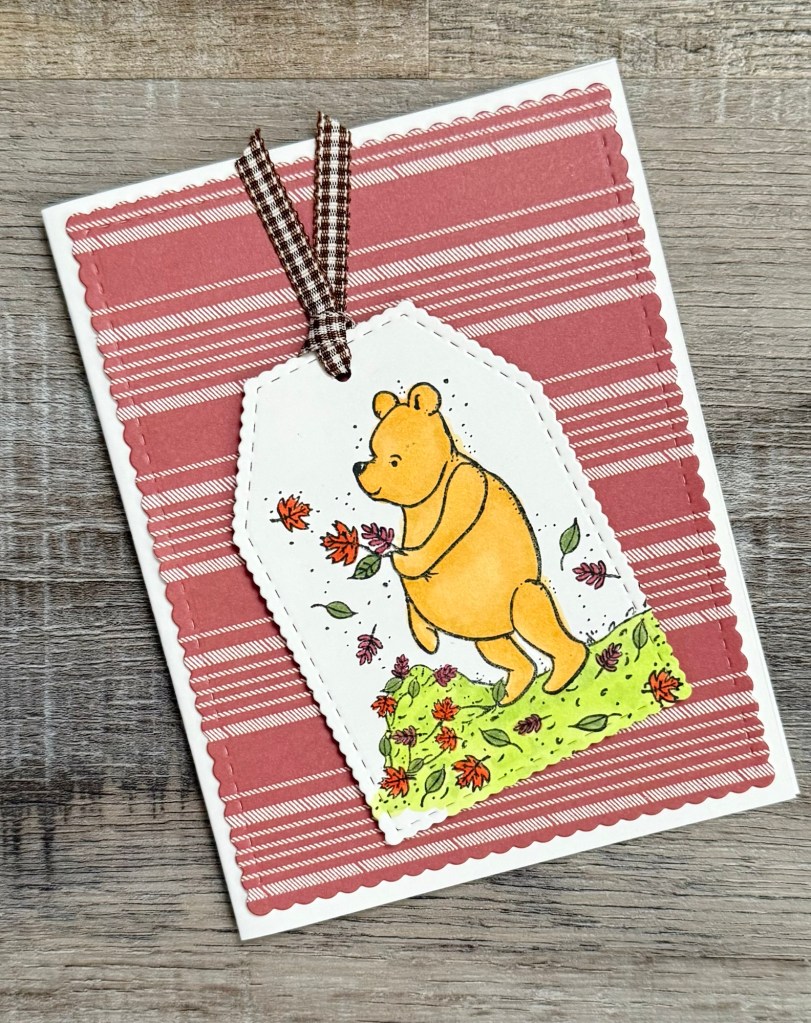
You can find all the details for the Patriotic Poohbear card in this post.

May God bless the USA! ❤️🤍💙

Anita

Posted in Cards, Stamping, Uncategorized | Tagged , | Leave a comment

Monochromatic Cards

Hi friends,

These Monochromatic Cards work up really quickly! They are fun to make and depending on the colors you use, they are perfect for any occasion from thinking of you and birthday to sympathy and so much more.

Disclosure: Some of the links on my site are affiliate links, meaning, at no additional cost to you, I will earn a small commission if you click through and make a purchase. As an Amazon Associate I earn from qualifying purchases.

I used the Insightful Meadows stamp set from Unity Stamp Company to make my cards. I applied ink to a piece of white card stock using Blender Brushes from Taylored Expressions. Then I stamped the flower images with the same ink color. I also stamped the sentiment with the same ink.

Using the Scallops & Rectangles Nesting Dies from Unity Stamp Company, I die cut the stamped image and layered it to matching card stock die cut with the same die set. The piece is then attached to a white card using foam tape.

My “thinking of you” and “Happy Birthday” stamps have been in my collection for a long time and are discontinued – I’m sure you have great sentiment stamps in your collection, too. 🙂 The “deepest sympathy” stamp is from the Just Wanted To Say stamp set from Unity.

This is such a fun technique for making cards! You can even make several of these cards for your stash and leave off the sentiment until you need to send a card. Then just add the appropriate sentiment and you are good to go! 🙂

Anita

Posted in Cards, Stamping | Tagged , | Leave a comment

Yummy M&M Cookie Bars

Hi friends,

Cookie bars are the perfect Summer treat! They don’t take long to make and since you bake the whole batch of dough at once, your kitchen doesn’t get too hot. And using red, white, and blue M&Ms make them great for the 4th of July! 🇺🇸 😊

Disclosure: Some of the links on my site are affiliate links, meaning, at no additional cost to you, I will earn a small commission if you click through and make a purchase. As an Amazon Associate I earn from qualifying purchases.

There are lots of recipes for M&M cookie bars out there. This Soft and Chewy M&M Cookie Bar recipe is one of my favorites! It has chocolate chips as well as M&Ms because you can never have too much chocolate! 😋 You may even have most everything you need already in your kitchen.

This is a large batch recipe – you’ll make them in an 11 x 17 rimmed baking sheet – so it’s a great recipe to take to BBQs and potlucks. The recipe calls for lining your baking sheet with parchment paper – do not skip this step! It makes everything so much easier! I also got my clean hands a little wet to make it easier as I was spreading the dough.

Here’s the dough ready to go into the oven and after about 22 minutes baking. My kitchen smelled so good!

After the cookies are cool, cut them into bars and enjoy!!

These Soft and Chewy M&M Cookie Bars are really easy to make. And you can make them start to finish – including cooling time – in about an hour! I promise everyone will love them! 😋

Anita

Posted in Recipes, Summer | Tagged | 1 Comment

Crochet Pineapple Dishcloth

Hi friends,

Look at these cute Pineapple Dishcloths! 🍍🍍🍍

If we have to do the dishes, we may as well have fun dishcloths, right? 😉

Disclosure: Some of the links on my site are affiliate links, meaning, at no additional cost to you, I will earn a small commission if you click through and make a purchase. As an Amazon Associate I earn from qualifying purchases.

The free pattern can be found here at Yarnspirations. Just an FYI, the written instructions say to begin with 17 chain stitches, but the diagram shows only 16. I found that the diagram is correct and you’ll need to begin with 16 chain stitches. After that, just follow the pattern as written and diagrammed.

I used I Love This Cotton in Curry and Sage with an H/5mm crochet hook to stitch up my pineapple dishcloths. They work up quickly and the popcorn stitches add such a great texture.

These would make such a fun Summer gift along with a cute pineapple dish, pineapple scented candle, and maybe even some pineapple scented soap.

🍍🍍🍍

Anita

Posted in Crochet, Gifts, Summer | Tagged , , | 2 Comments

Balloon Party (Handmade Card)

Hi friends,

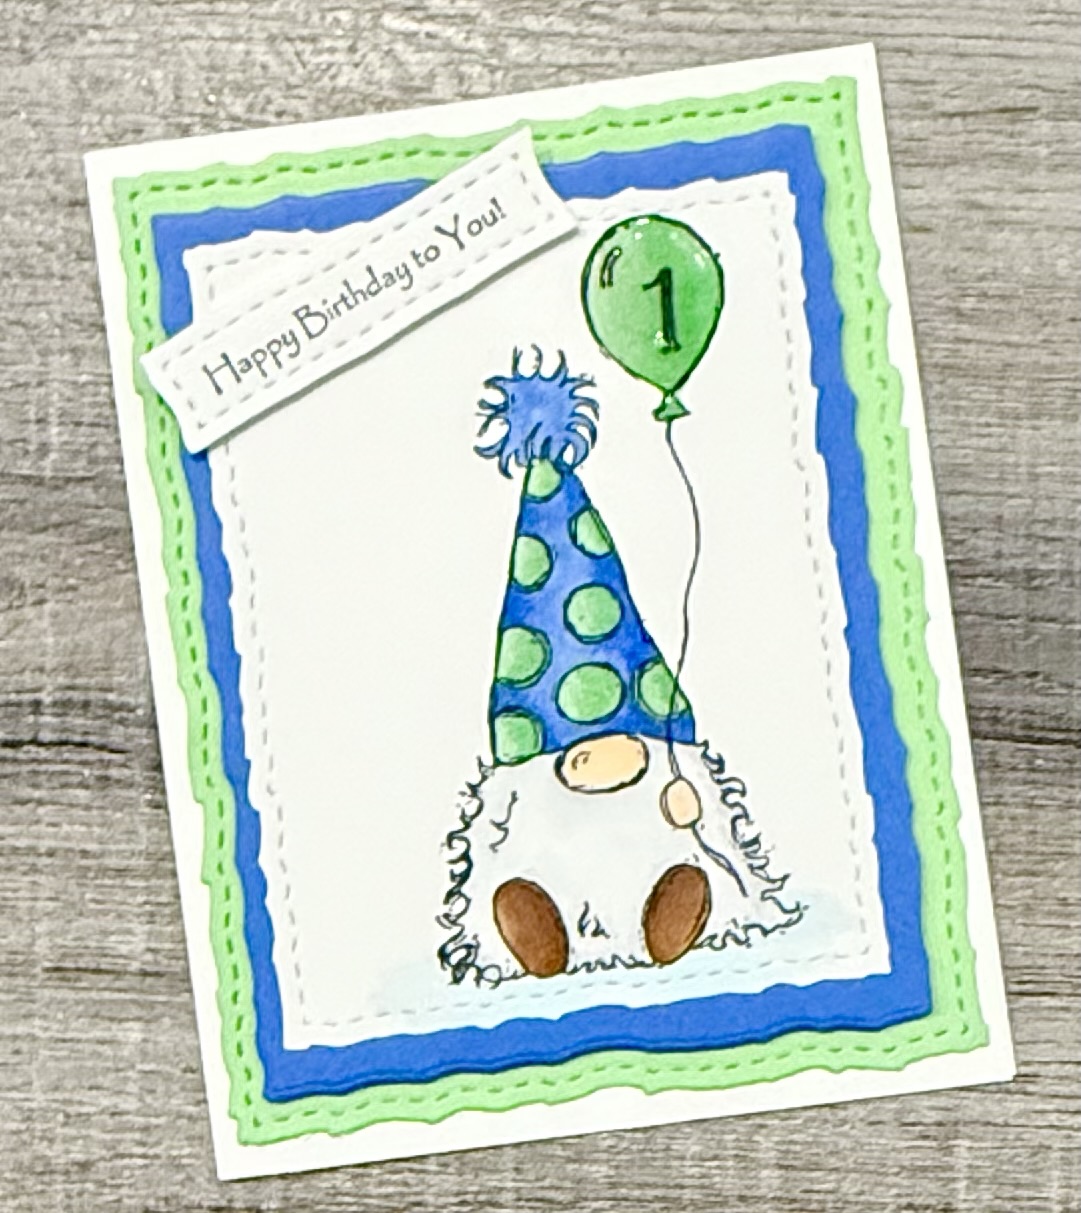
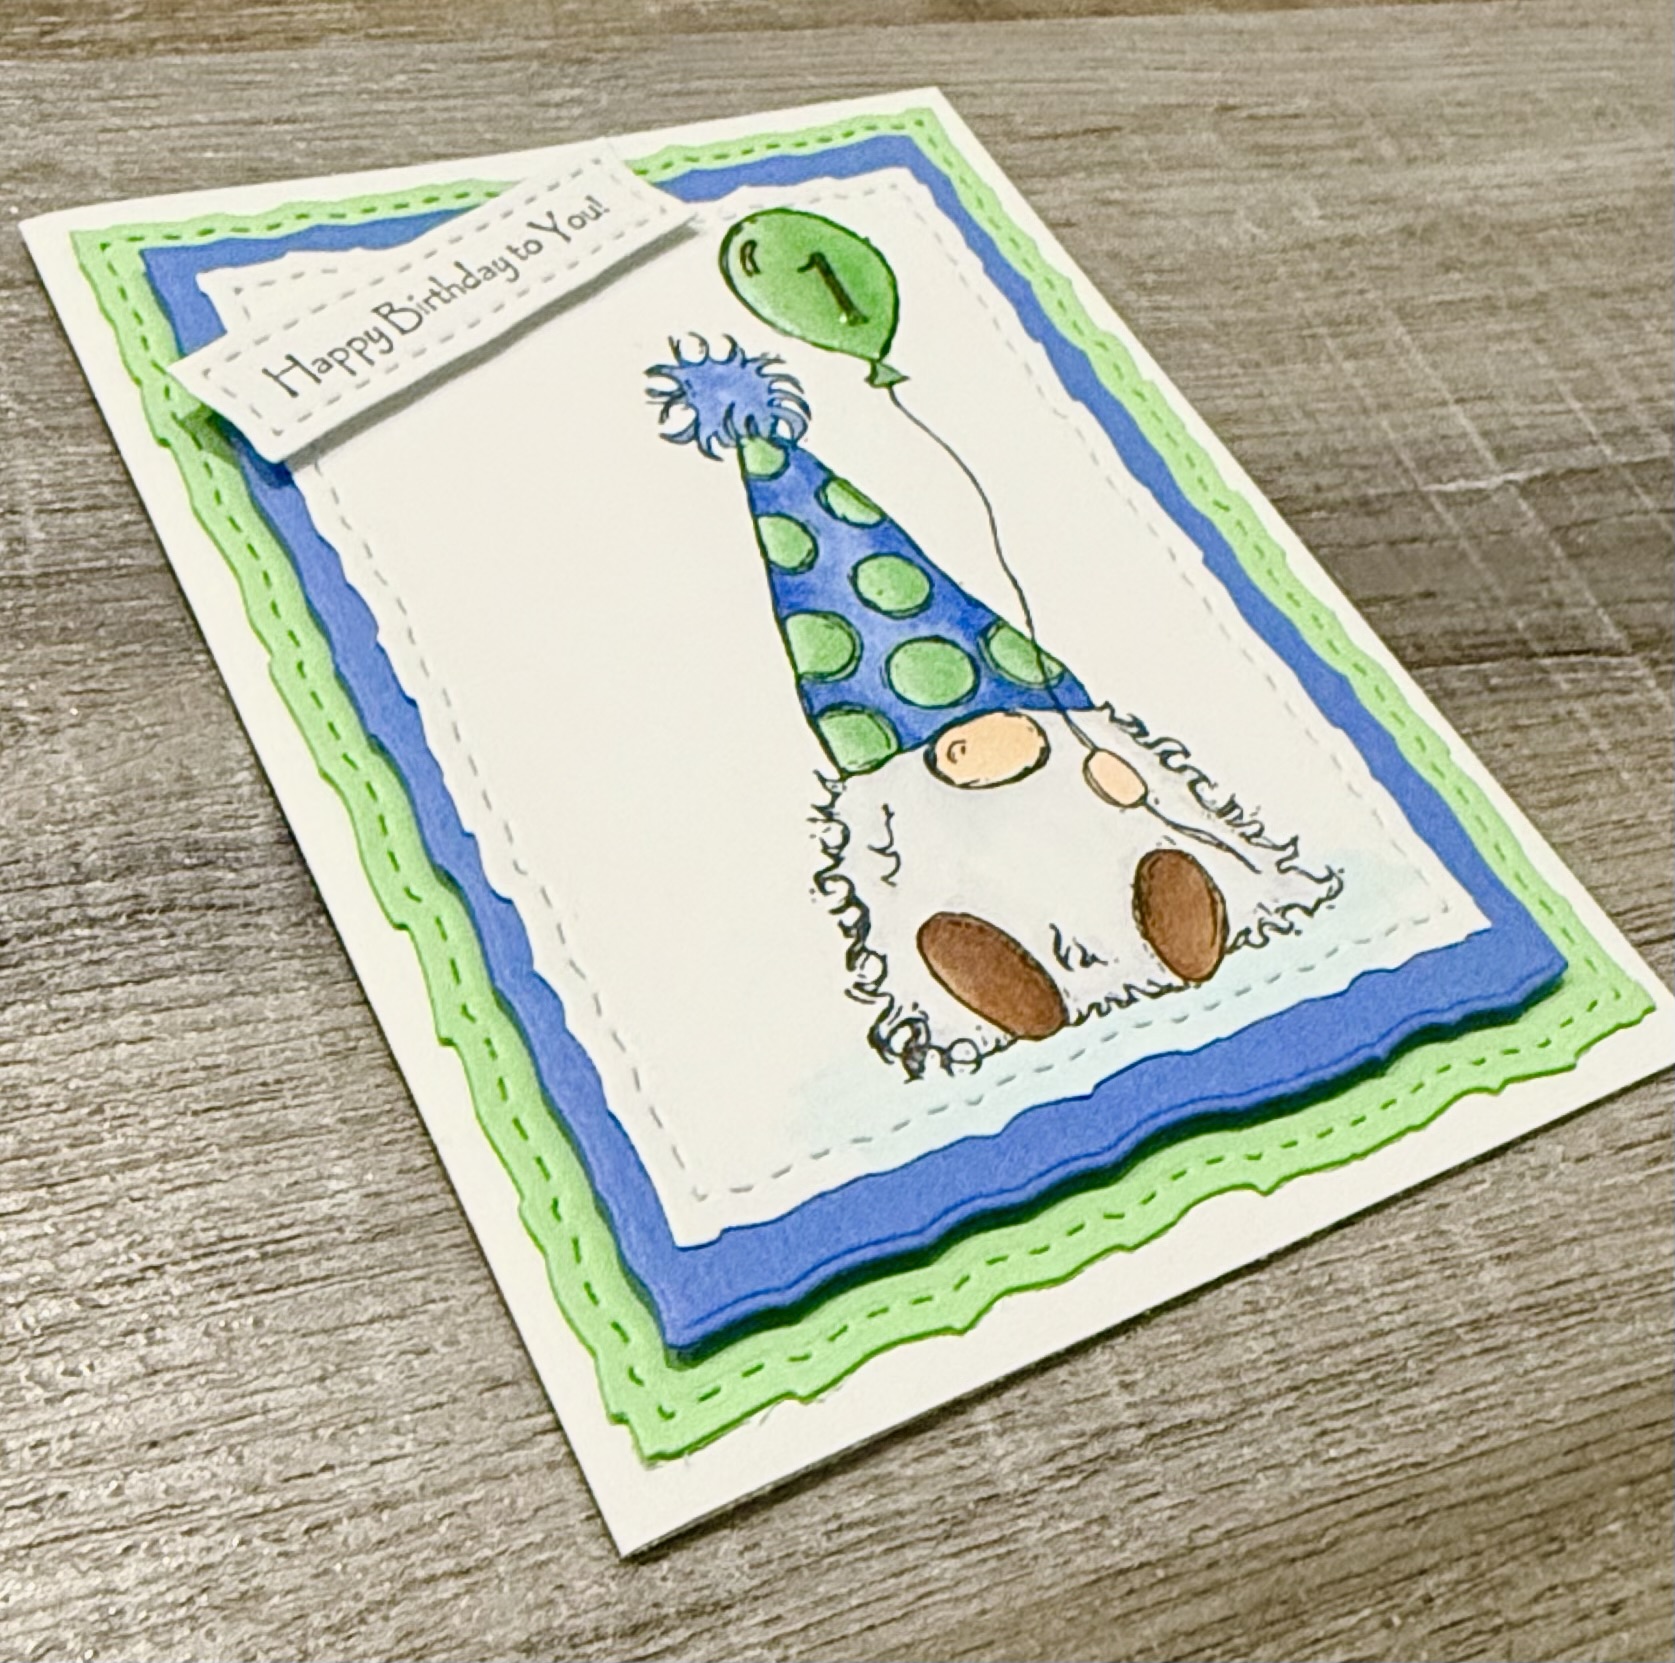
This Balloon Party Background stamp from Unity Stamp Company is so fun! You can use it in so many different ways – add other stamped images over the top using foam tape, add die cut words, add Diamond Glaze to one or more of the balloons, spotlight color one or 2 balloons, or color them like I did in these cards and add a sentiment as the focal point.

Disclosure: Some of the links on my site are affiliate links, meaning, at no additional cost to you, I will earn a small commission if you click through and make a purchase. As an Amazon Associate I earn from qualifying purchases.

I stamped the balloon image with Memento Tuxedo Black ink on white card stock using my Misti stamping tool. I love using this tool for larger stamps because if something doesn’t stamp well the first time, all you have to do is re-ink the stamp and stamp it again. It will be perfectly lined up with the first time you stamped it! If you have or are getting a Misti, I recommend getting one of these pressure tools to go with it – it helps so much with stamping larger images. I colored the balloons with Copic markers. You can see the colors I used in the photo below.

I die cut around the balloon background using the Scallops & Rectangles Nesting Dies from Unity Stamp Company. Then I stamped “happy birthday” in the balloon with black ink. That stamp is in the Rainbow Birthday set from Unity. Of course you can use any sentiment you have in your collection. The piece is layered to coordinating card stock and attached to a white card with foam tape.

This is such a fun image to color – the possibilities are endless! These 2 color combos that I used are great for masculine cards, which can sometimes be challenging to make. 😉

What color will you use on your Balloon Party Background stamp?

Anita

Posted in Cards, Stamping | Tagged , | Leave a comment

Beachy Summer Clothespin Wreath

Hi friends,

Do you use ordinary everyday items in your crafting? With a little imagination, there are lots of things you can use – like simple wood clothespins! They are inexpensive and with a little paint, they make a fun wreath. 🙂

Disclosure: Some of the links on my site are affiliate links, meaning, at no additional cost to you, I will earn a small commission if you click through and make a purchase. As an Amazon Associate I earn from qualifying purchases.

To make this Beachy Summer Clothespin Wreath, you’ll need a wire wreath frame (mine is 14 inches), clothespins, and chalk or acrylic paints. I used chalk paint in white, brown, and turquoise to get a beachy feel, but of course you can use any colors you want to make your wreath. You’ll also want various ribbons, and possibly buttons, if you want to add a bow.

I needed 66 clothespins to fit around my wreath frame. The amount will vary depending on the size of your frame. Mine happened to be a tan color so it was perfect for my beachy theme. You can easily spray paint your frame to get the color you want. The frame will peek through a little so you’ll want it to coordinate with your color scheme.

I painted the top and edges of 22 clothespins in each color. I wanted them to have a bit of a weathered look and painted them with one coat of paint. If you’d like more coverage, add another coat of paint. You can also paint the entire clothespin if you’d like. I liked the added color of the unpainted sides of the clothespins showing through from the back – and I didn’t want to take that much time making my wreath! 😉

Once the clothespins were dry, I simply clipped them over the 2 wire rings closest to the center. You can see what I mean in the photo above. I alternated between my 3 colors.

Using the Re-Fabbed Bow method, I made a bow with various coordinating ribbons and glued it to the top of my wreath. To add a little extra, I glued 3 buttons together and glued them to the center of my bow. I used E600 clear adhesive to attach both my bow and buttons.

And here it is all finished! Super easy and you can hang it from the wire wreath frame so no need to add any kind of hanger on the back.

I made a clothespin wreath using scrapbook paper and you can find all the info on how I did it in this post and a patriotic wreath in this post.

This is a great way to make inexpensive wreaths for all the seasons. And they are so easy to create! 😊

Anita

Posted in Decor, Summer | Tagged , , | Leave a comment

Crochet Suzette Stitch Spa Cloth

Hi friends,

The Crochet Suzette Stitch is a simple stitch that has such a beautiful texture! It’s an easy repeat of single crochet and double crochet so it is perfect for beginners and seasoned crocheters alike.

Disclosure: Some of the links on my site are affiliate links, meaning, at no additional cost to you, I will earn a small commission if you click through and make a purchase. As an Amazon Associate I earn from qualifying purchases.

I used I Love This Cotton Yarn in white with an H/5mm crochet hook to stitch up my Crochet Suzette Stitch Spa Cloths. I’ve included my simple pattern below along with a link to a free PDF for easy printing.

Crochet Suzette Stitch Spa Cloth

I Love This Cotton Yarn

H/5mm crochet hook

Stitches used in US terms:

Chain – ch

Single Crochet – sc

Half Double Crochet – hdc

Double Crochet – dc

Slip Stitch – ss

Note: ch 1 at the end of the row does not count as a stitch. 

Chain 25. 

Row 1: sc in 2nd ch from hook and in each stitch across. ch 1 and turn. (24 stitches)

Row 2: hdc in the first stitch, *skip next stitch, sc and dc in the next stitch*. Repeat from * to * across to last stitch. hdc in the last stitch. Ch 1, turn. (24 stitches)

Row 3: hdc in the first stitch, *skip next stitch, sc and dc in next stitch*. Repeat from * to * across to last stitch. hdc in the last stitch. Ch 1, turn. (24 stitches)

Repeat Row 3 until spa cloth measures about 6 inches. 

Final Row: sc in each stitch across. Do not turn. (24 stitches) 

Do not fasten off. 

Border: ch 1. sc evenly around, working 3 sc in each corner. Join with ss to first sc. 

Fasten off and weave in ends. 

Here’s the link to the free PDF…

Crochet spa cloths make great gifts! Pair a few with her favorite soap, facial cleanser, or body wash in a basket and tie it up with cellophane wrap using a pretty ribbon.

What color will you make your Crochet Suzette Stitch Spa Cloths?

Anita

Posted in Crochet, Gifts | Tagged , | 3 Comments

Tutu Soirée (Handmade Card)

Hi friends,

So much cuteness! This little mouse in her tiny tutu is so adorable! Such a sweet way to wish someone a Happy Birthday. 🧁

Disclosure: Some of the links on my site are affiliate links, meaning, at no additional cost to you, I will earn a small commission if you click through and make a purchase. As an Amazon Associate I earn from qualifying purchases.

This cute little mouse stamp set is Tiny Tutu Soirée from Unity Stamp Company. The set includes 3 sentiments and an extra tiny cupcake for adding even more sweetness to your creations.🧁

I stamped the mouse image with Memento Tuxedo Black ink on white card stock and colored her with Copic markers – the colors I used are in the photo below. Using the Scallops & Arched Nesting Dies from Unity Stamp Company, I die cut around the image. I stamped the sentiment with black ink on white card stock and die cut around it with the Scalloped & Stitched Sentiment Nesting Dies also from Unity. The sentiment is also part of the Tiny Tutu Soirée set.

To make the card, I used a swirl embossing folder on a piece of patterned card stock, layered it to pink card stock, and attached it to a white card. I attached the mouse image to the card with foam tape and then attached the sentiment to the card.

Isn’t she just the cutest?!?! She is sure to make the recipient smile. 🙂

Anita

Posted in Cards, Stamping | Tagged , | Leave a comment