Fun and Easy Birthday Cards

Hi friends,

Just popping in with a few super quick and easy birthday cards!

The stamps I used are all from Unity Stamp Company. The little chick is from the Birthday Wishes Peep set. The sweet Otter is from the Otter Love This Much set. And the cupcake is from the Birthday Treat set. The “birthday wishes” sentiment is part of the Birthday Wishes Peep set and “happy birthday” sentiment is one I received in a grab bag from Unity.

Disclosure: Some of the links on my site are affiliate links, meaning, at no additional cost to you, I will earn a small commission if you click through and make a purchase. As an Amazon Associate I earn from qualifying purchases.

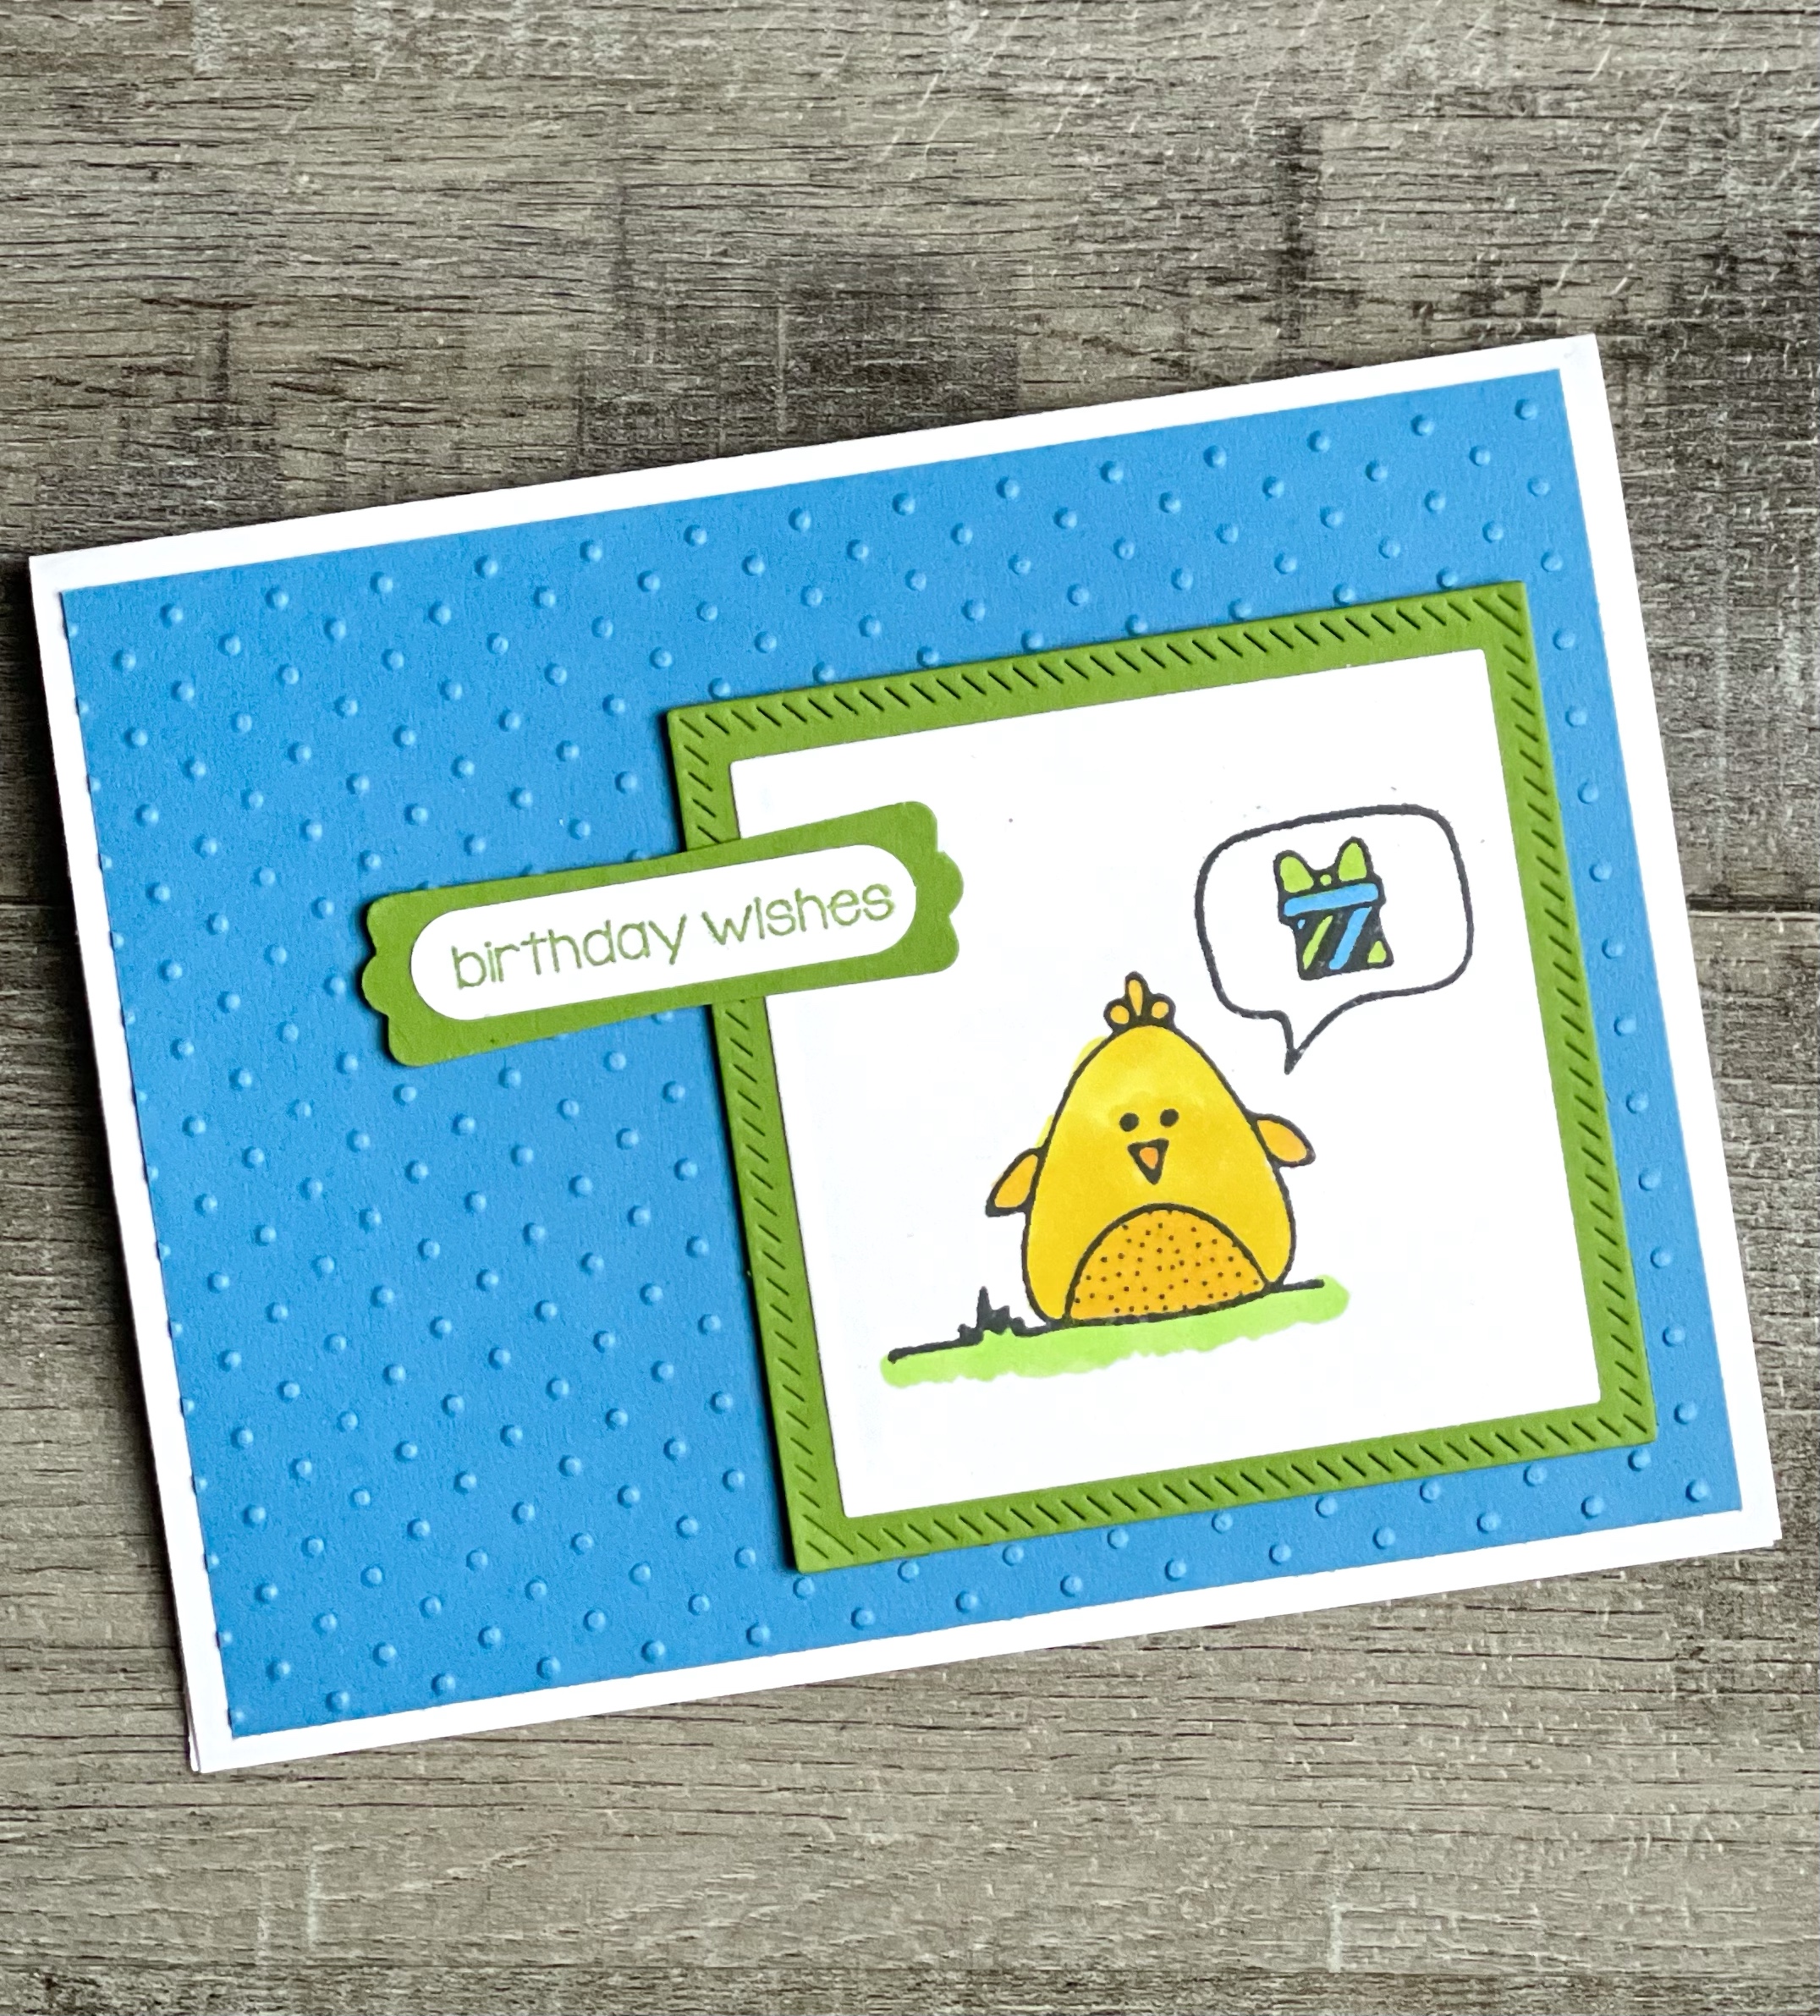
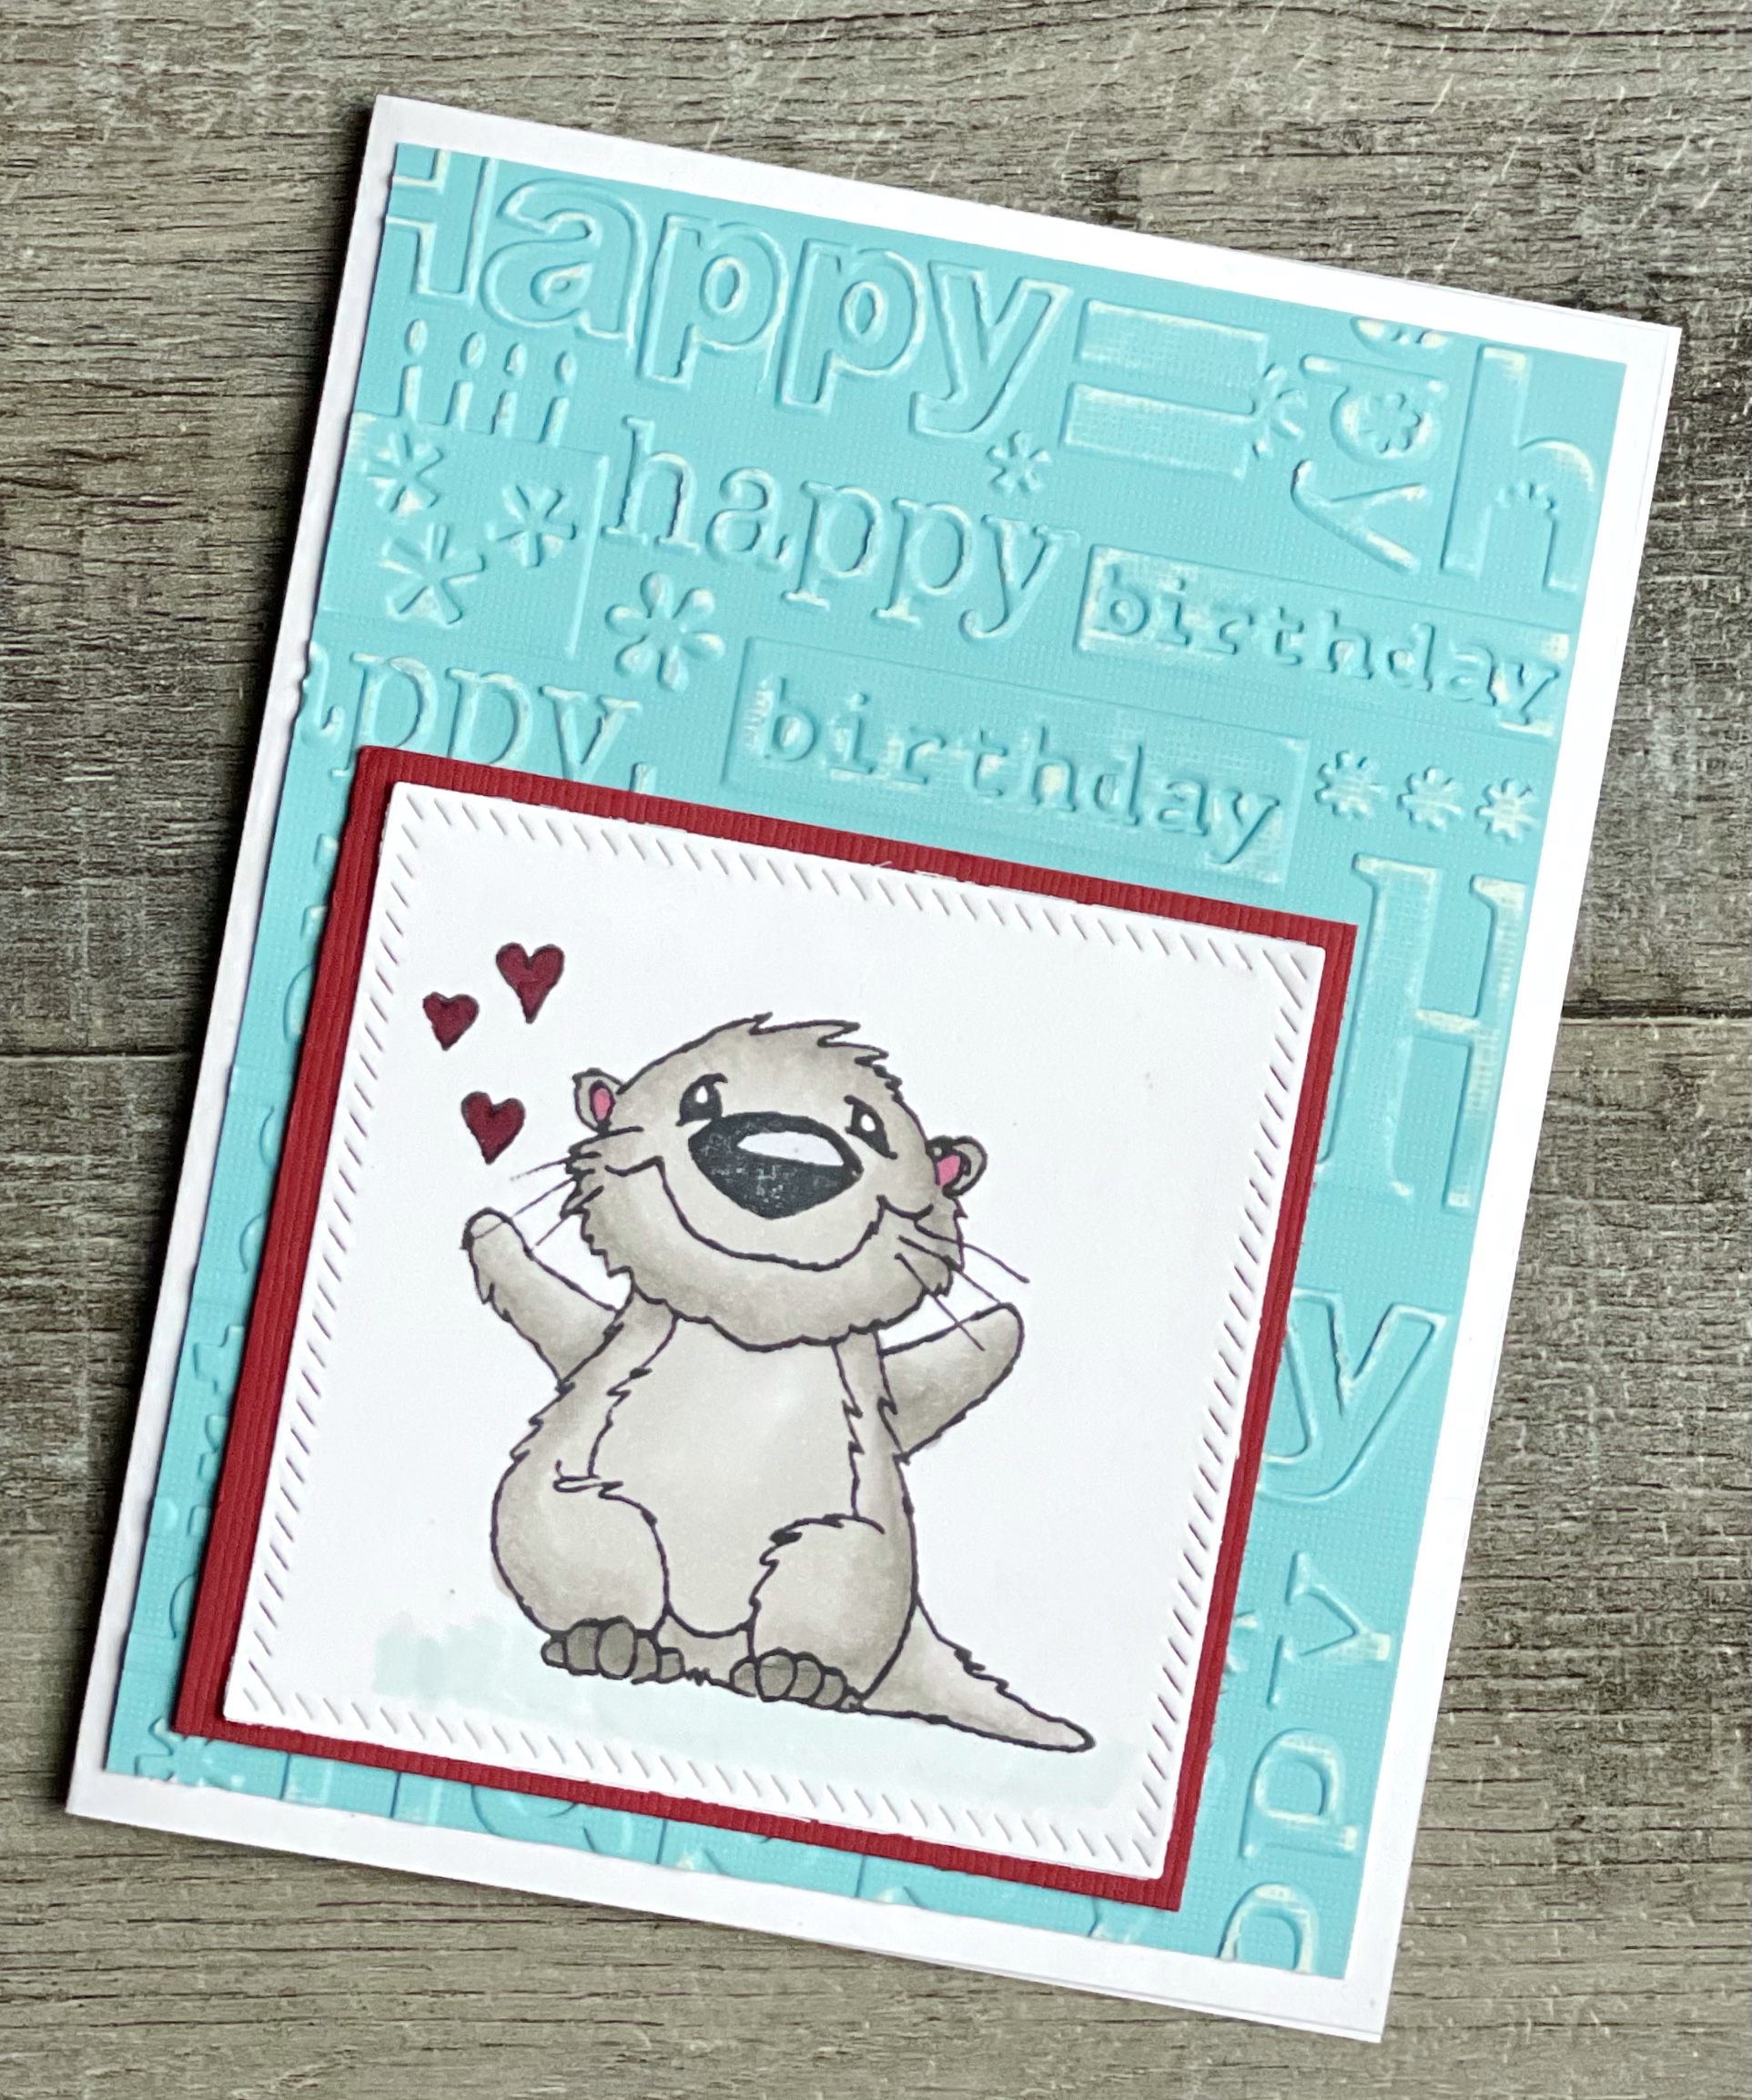
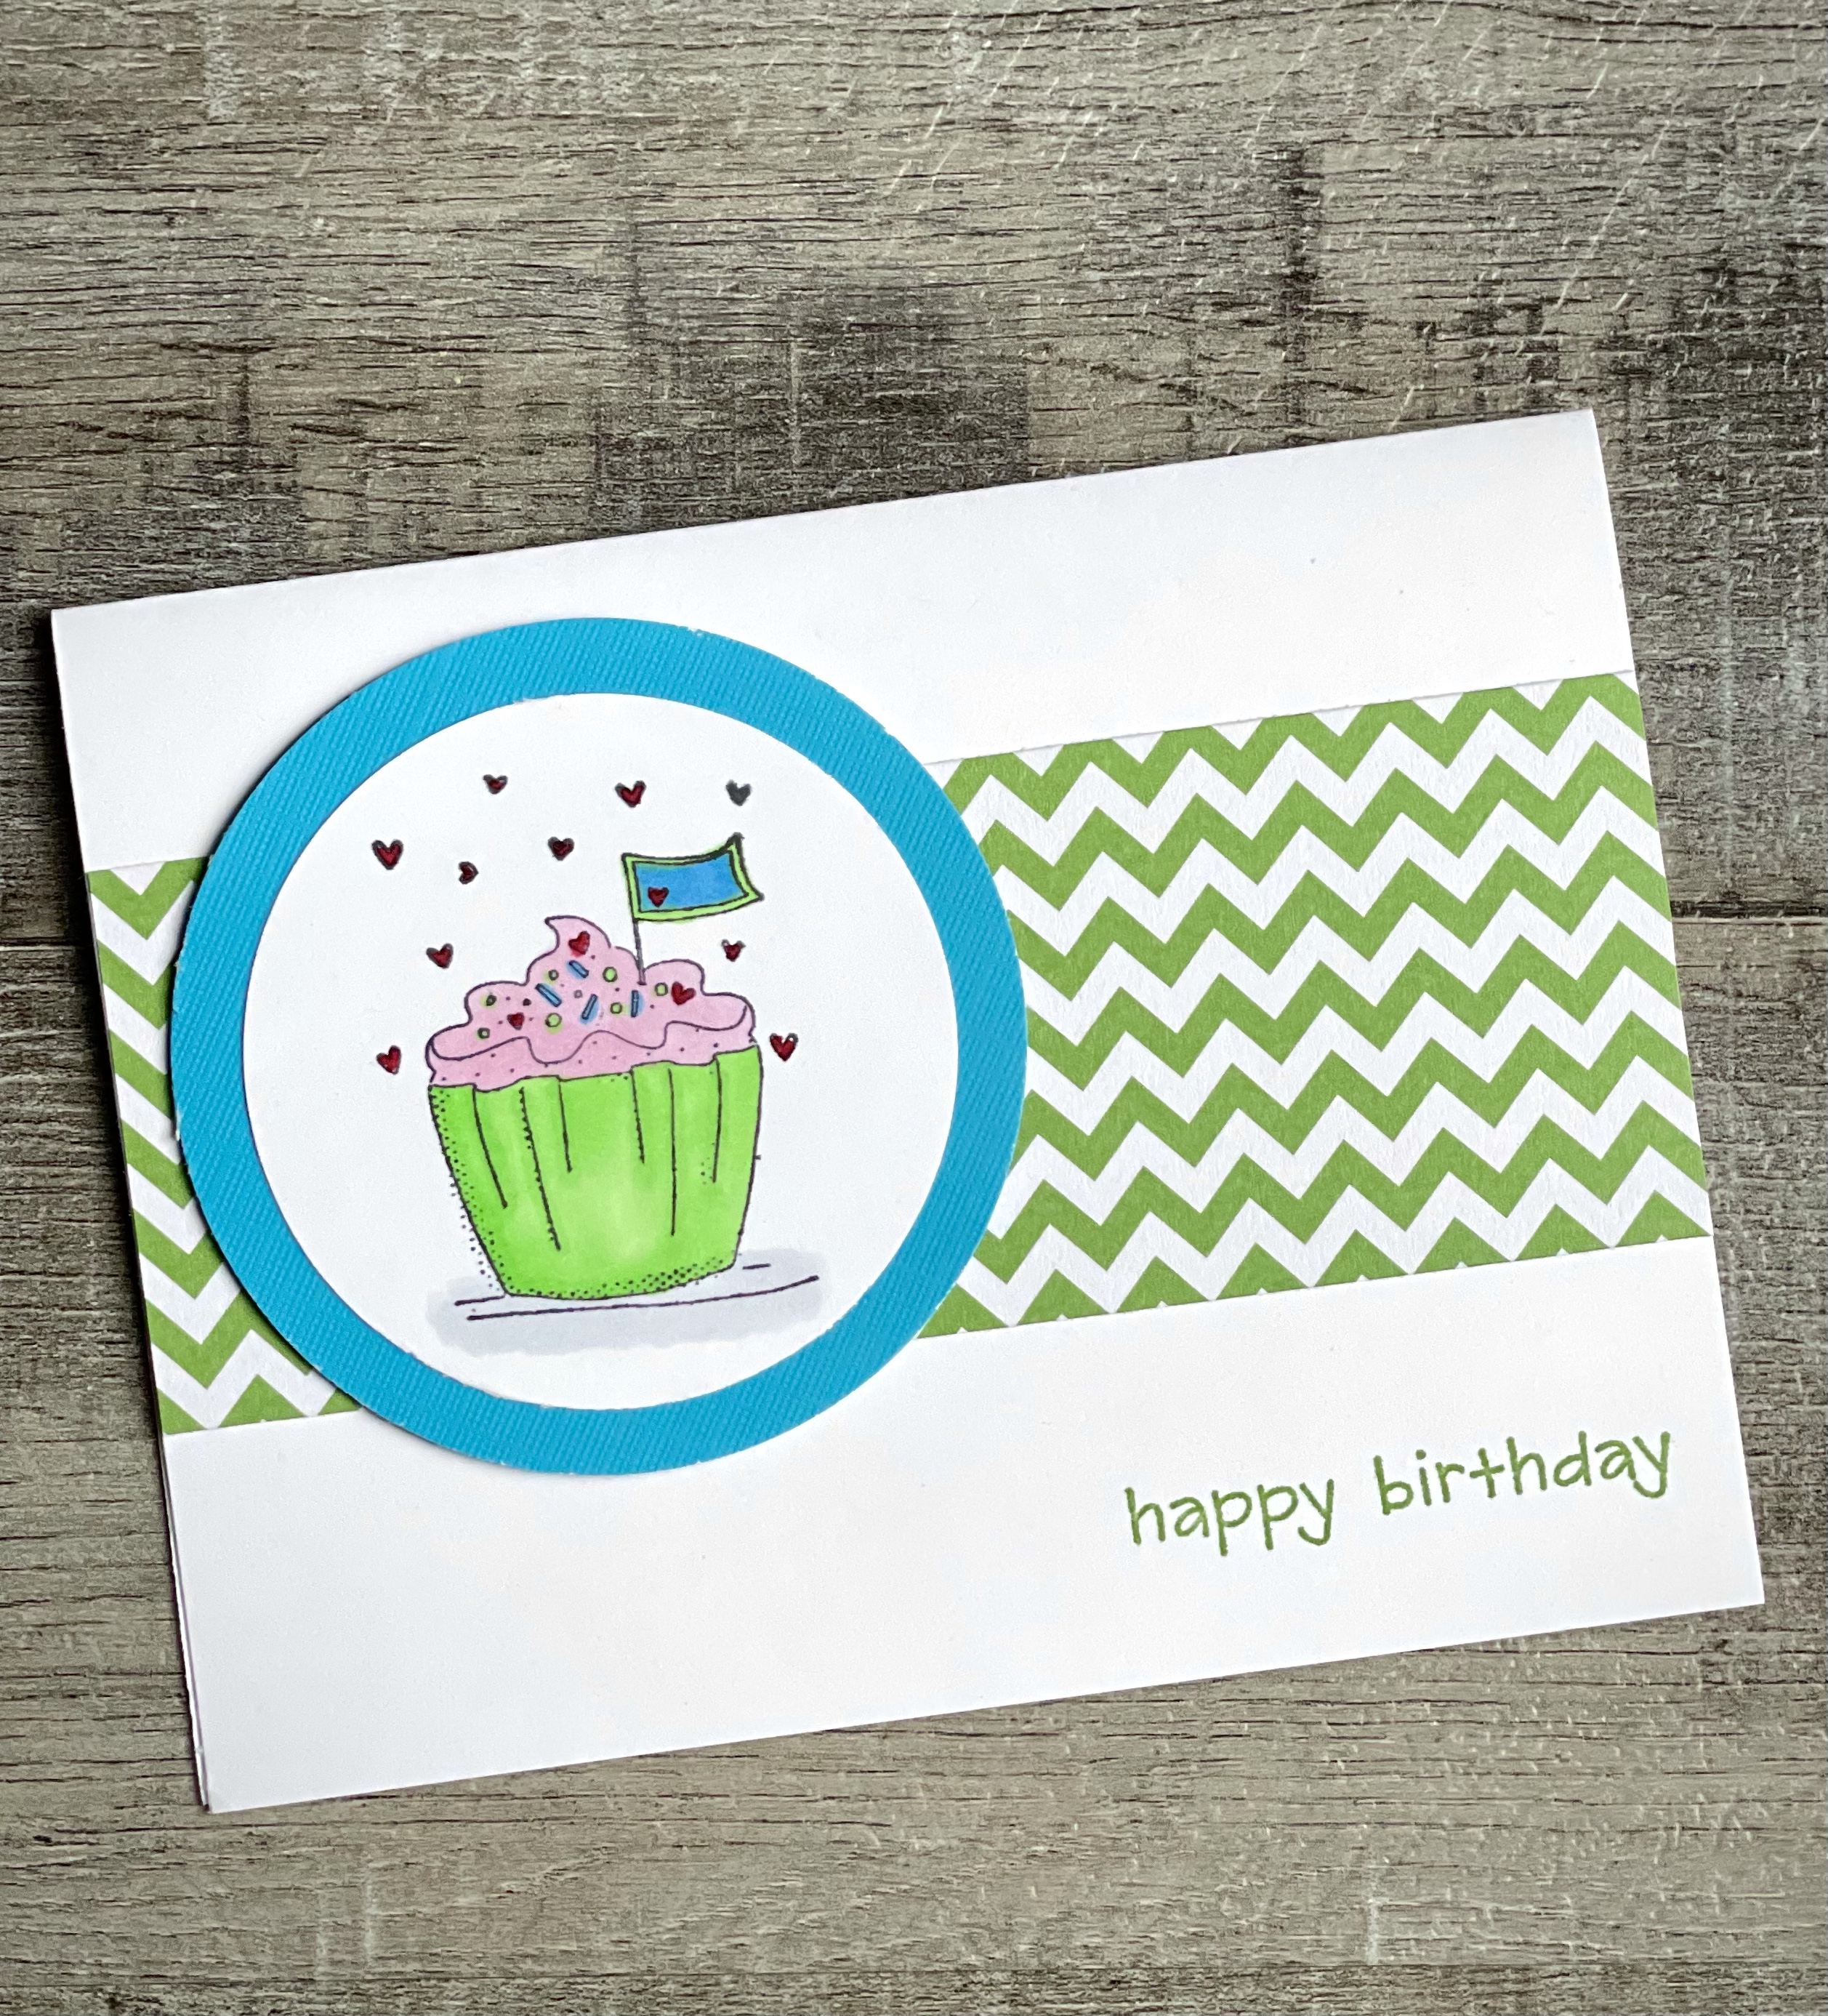
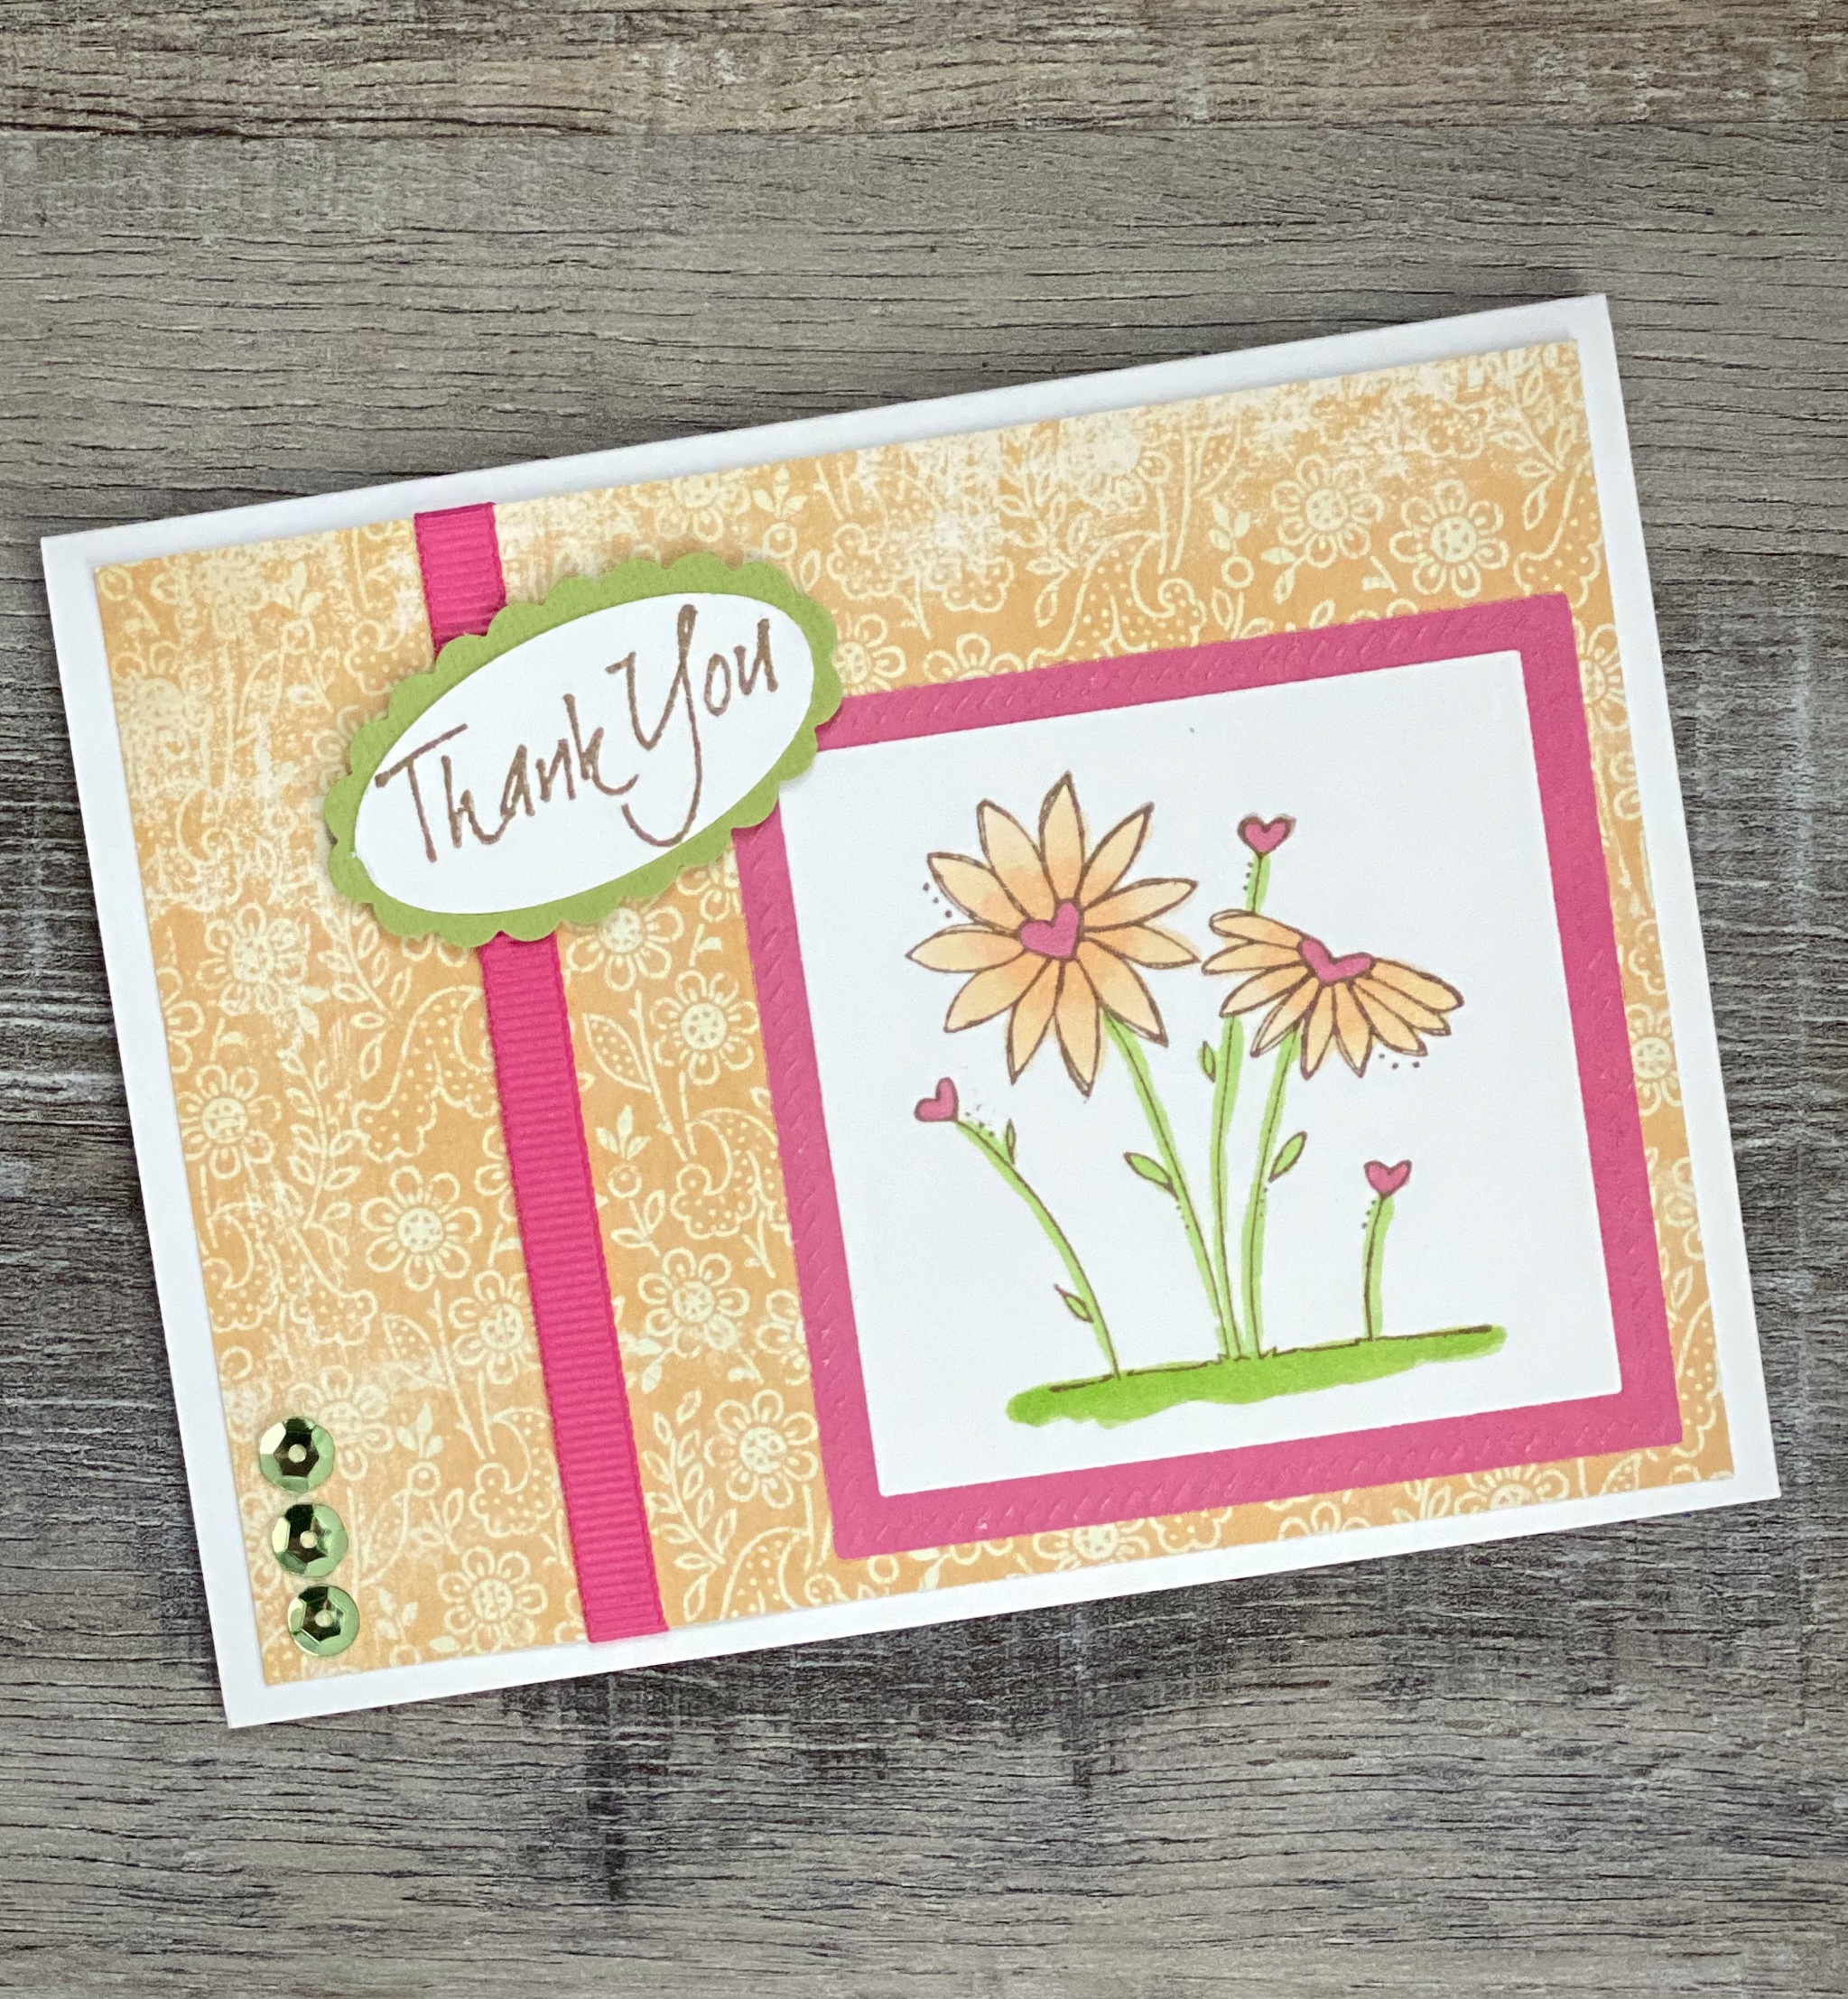
To make the cards, I stamped the images with Memento Tuxedo Black ink on white card stock and colored them with Copic markers.

For the Birthday Peep card, I trimmed the stamped image and then layered it to a green card stock square die cut using Pink Fresh Studio Essentials Diagonal Stitches Square die set. I embossed a panel of blue card stock with a dot embossing folder (similar to this) and attached it to a white card. I stamped the sentiment with green ink on white card stock, punched it with a label punch, and layered it to a larger label punched from green card stock. (The punches I used are no longer available, but this is a great set of label dies if you are looking for some.) The peep image and sentiment are attached to the card with foam tape.

For the sweet Otter card, I die cut him using the Pink Fresh Studio Essentials Diagonal Stitches Square die set and layered the image to red card stock. I embossed a piece of turquoise card stock that had a white core using a birthday embossing folder. (I don’t think the one I used is available anymore, but I love this one!) Then I lightly sanded the raised areas to bring out the white core and attached it to a white card. The otter is attached the the card with foam tape.

For the Cupcake card, I die cut the image with a circle die and layered it to a larger blue card stock circle. (This is a great set of circle dies.) I attached a strip of patterned paper to a white card and stamped the sentiment with green ink. I attached the stamped image to the card with foam tape.

These cards really come together quickly! I think it took me longer to write this post than it did to make the cards! 😉

I hope these will inspire you to pull out your favorite stamps and make some fun cards. 🙂

Happy Stamping!

Anita

Posted in Cards, Stamping | Tagged , | Leave a comment

Crochet Summer Sunnies Pouch

Hi friends,

It’s almost time for beach days, picnics, and fun in the sun! So you’ll want to keep your sunnies handy. 😎

I have a colorful quick and easy Crochet Summer Sunnies Pouch so you can keep your sunglasses close by. It’s perfect to throw in your purse or beach bag and the button closure will keep your sunnies from sliding out.

Disclosure: Some of the links on my site are affiliate links, meaning, at no additional cost to you, I will earn a small commission if you click through and make a purchase. As an Amazon Associate I earn from qualifying purchases.

I made my Sunnies Pouch with I Love This Cotton yarn and an H/5mm hook. I chose the color called Eastern Nova because it’s just so bright and fun!

If you are looking for some new small scissors to add to your crochet tools, I love this Vintage Gold Embroidery Scissors Set. It is a set of 2 scissors, stork scissors and tiny shears, with leather covers. They are the perfect size to snip your yarn as you are working. I received them as a Christmas gift from my mom and I just love them!

You can find the pattern for the Sunnies Pouch below. I’ve also included a free PDF in case you’d like to easily print the pattern.

Crochet Summer Sunnies Pouch

Worsted weight cotton yarn (4) – I used I Love This Cotton in Eastern Nova

H/5mm hook

3/4-inch button

Stitches used US terms:

Chain – ch

Foundation Double Crochet – fdc

Double Crochet – dc

Front Post Double Crochet – fpdc

Back Post Double Crochet -bpdc

Single Crochet – sc 

Slip Stitch – ss

Note: chain 2 at beginning of row counts as a stitch.

Row 1: work 11 fdc. Turn. (11 stitches)

Row 2: ch 2 (counts as 1st stitch). Skip 1st stitch. dc in next stitch and in each stitch across. Turn. (11 stitches)

Row 3: ch 2 (counts as 1st stitch). Skip 1st stitch, dc in next stitch. *fpdc in next stitch, dc in next 2 stitches* Repeat from *to* 1 time. fpdc in next stitch. dc in last 2 stitches. Turn. (11 stitches)

Row 4: ch 2 (counts as 1st stitch). Skip 1st stitch, dc in next stitch. *bpdc in next stitch, dc in next 2 stitches* Repeat from *to* 1 time. bpdc in next stitch. dc in last 2 stitches. Turn. (11 stitches)

Repeat Rows 3 and 4 until your piece measures about 15 inches, ending with Row 4. Turn. (11 stitches)

At this point, I have 32 rows total. Your total rows may be different depending on tension and yarn used.

Last Row: ch 2 (counts as 1st stitch). Skip 1st stitch, dc in next stitch and in each stitch across. (11 stitches)

Do not turn.

Border:

ch 1 (does not count as a stitch). sc evenly around piece, working 3 sc in each corner. Join with ss to 1st sc. 

Fold the bottom up, with right sides together, to about 2 to 3 inches from the top. This will make your flap to close the pouch.

Sew the sides of your pouch together. I used the invisible seam method. This is a great tutorial from BHooked crochet.

Weave in ends. 

Turn your pouch right side out, sew on the button, and slip in your sunnies. 

Here’s the link to the free PDF…

This pattern works up super fast! It would be great for those readers that so many of us need, too. 👓

What color will you make your Crochet Summer Sunnies Pouch? 😎

Happy Stitching!

Anita

Posted in Crochet, Gifts | Tagged | Leave a comment

Mother’s Day Gift Ideas 2021

Hi friends,

Mother’s Day is May 9th in the United States this year. There is still plenty of time to make a handmade gift for your special mom. I’ve put together a post with a few ideas to spark your creativity. Just click on the link below each picture for all the details on each gift.

Disclosure: Some of the links on my site are affiliate links, meaning, at no additional cost to you, I will earn a small commission if you click through and make a purchase. As an Amazon Associate I earn from qualifying purchases.

The Simple Summer Wrap would be beautiful in her favorite color!

Crochet Simple Summer Wrap

Make her a wardrobe of earrings to match all her Summer outfits.

Summer Faux Leather Earrings

Crochet her a basketful of Crochet Spa Cloths and add her favorite soap.

Crochet Spa Cloth

The Crochet Ridged Can Cozy along with her favorite drink would make a fun gift – make it in any color!

Crochet Ridged Can Cozy

I decorated these Chalk Painted Bud Vases for Christmas, but they would be so pretty with a greenery sprig or spring flower and filled with mom’s favorite fresh flowers.

Chalk Painted Christmas Bud Vase

Does mom have a sweet tooth? These Almond Meltaway Cookies are so yummy!

Almond Meltaway Cookies

Or maybe some tasty Cinnamon Swirled Banana Bread…

Cinnamon Swirled Banana Bread

And of course you’ll want to make a card. This one would be so nice, just change the sentiment.

Hello Friend

Or this one with a Happy Mother’s Day sentiment…

Flower Thank You Card

I hope this post gives you some ideas to create something special for your mom!

Happy Mother’s Day!

Anita

Posted in Uncategorized | Leave a comment

Incredible Baked Oatmeal

Hi friends,

This Incredible Baked Oatmeal is such a yummy recipe! It is perfect for just about any time of the day – breakfast, lunch, dinner, or snack time! 😋

It’s very easy to make. You can find the recipe here at Passionate Penny Pincher. It’s part of their Freezer Menu Recipe Plan which includes 60 (yes, 60!) recipes that are freezer friendly along with 12 yummy dessert recipes. It also includes a grocery list for each week so you’ll have everything you need to make all 5 meals for that week. You can find all the info here in their shop.

Disclosure: Some of the links on my site are affiliate links, meaning, at no additional cost to you, I will earn a small commission if you click through and make a purchase. As an Amazon Associate I earn from qualifying purchases.

Passionate Penny Pincher is way more than a menu planning site. Lots of info on saving money, finding great deals, crafting, and much more. I’m not receiving any compensation for this – I just wanted to share this great site with you. 😊

I made the Incredible Baked Oatmeal following the recipe except I put it in a 9×13 pan (instead of an 8×8 pan) and baked it for about 25 minutes. Here it is ready for the oven.

Fresh from the oven. It smells amazing!!

It’s so good while it is still warm. 😋 You’ll want to store it covered in the fridge. But I would pop it in the microwave for a bit – maybe 20 seconds or so – to warm it up before eating.

This is such a versatile recipe. You can use applesauce or canola oil instead of coconut oil. Add raisins or blueberries or peaches. Leave out the craisins or pecans. I even read where someone left out the apples and craisins, but added peanut butter and chocolate chips! There are so many options!

Since it’s part of the Freezer Menu Plan, you can mix it together (don’t bake it yet), wrap it up, and put it in the freezer to save for a lazy Saturday morning. Just thaw it overnight the night before and bake as directed.

Oh, and it’s really good with a little maple syrup drizzled over it!! 😋

Happy Eating!

Anita

Posted in Recipes | Tagged | Leave a comment

Pink Gingham Bunny

Hi friends,

Have you picked up any of these cute unfinished wood bunnies from the craft stores this Spring? I found mine in the seasonal section of Hobby Lobby. She is so fun to dress up for Easter!

Disclosure: Some of the links on my site are affiliate links, meaning, at no additional cost to you, I will earn a small commission if you click through and make a purchase. As an Amazon Associate I earn from qualifying purchases.

I had lots of pink gingham fabric left over from my Bunny Door Hanging that was perfect for this little bunny. 🐰

First I traced the bunny on the back of the fabric using a pencil. Decide which way you want your bunny to face, then turn her over before you trace her onto the fabric. It doesn’t matter which way she’s looking.

Then carefully cut out the bunny shape and set it aside.

I painted the back and sides of my bunny with white acrylic paint, but you could also paint her pink to match the fabric. I used a foam brush to apply 2 coats of paint, letting it dry between coats. I also decided to paint one coat of white on the front of the bunny just in case my fabric didn’t line up perfectly.

Then I applied a thin coat of Mod Podge to the front of my bunny with a foam brush and carefully placed my cut fabric onto the wood, smoothing out any wrinkles and bubbles.

After the Mod Podge dried, I attached a bow using my hot glue gun (I used the super easy Re-fabbed way to make my bow) and added a pink button tied with natural twine to the center. I finished her off with a white pom pom for her tail.

Isn’t she sweet?!?!?

She’s perfect to add to your Easter decor, but I can also see her in a sweet little girl’s room. Of course you don’t have to make her pink or even gingham! There are tons of fabrics out there to choose from – find the perfect one for you. 😊

Happy Crafting!

Anita

Posted in Decor, Easter, Uncategorized | Tagged | 1 Comment

Happy Easter Gnome Cards

Hi friends,

Did you see my cute Mini Easter Gnome Canvases in my last post? Well…I took those same little guys and made them into Easter cards!

The Sweet Easter Gnome stamp set is from Unity Stamp Company. It is one of several Gnome sets they have that are just adorable!

Disclosure: Some of the links on my site are affiliate links, meaning, at no additional cost to you, I will earn a small commission if you click through and make a purchase. As an Amazon Associate I earn from qualifying purchases.

To make the cards, I stamped the gnome images with Memento Tuxedo Black ink on white card stock, colored them with Copic markers, and cut the images out. I stamped the sentiments on white card stock and punched them out with scalloped circle (this is a similar punch) and oval punches. (The oval punch I used is no longer available, but this is a great set of scalloped oval dies.) Then I layered the scalloped circle to a slightly larger circle punched from matching card stock.

I layered patterned paper to card stock, added a strip of a different patterned paper, and then attached it to a white card for the top card. For the bottom card, I embossed a piece of green card stock with a Swiss Dot embossing folder, added a strip of patterned paper and a ribbon, then attached it to a white card. I added the Gnomes and sentiments to the cards with foam tape. I added 3 pink sequins to the bottom card.

I love these little guys and can’t wait to see if Unity Stamp Company will add more!

Happy Stamping!

Anita

Posted in Cards, Easter, Stamping | Tagged , | Leave a comment

Mini Easter Gnome Canvas

Hi friends,

I was in Target the other day and looking at the endcaps where they put all their clearance items. They had 4-packs of 4×4-inch stretched canvases marked down to $3.49, so I picked up a couple packs. I didn’t really have an idea in mind, but knew eventually I’d come up with something. 😉

Disclosure: Some of the links on my site are affiliate links, meaning, at no additional cost to you, I will earn a small commission if you click through and make a purchase. As an Amazon Associate I earn from qualifying purchases.

You probably know by now that I love all the cute Gnome stamps from Unity Stamp Company and their Sweet Easter Gnome stamp set did not disappoint! I mean, look at those bunny slippers!!! 🐰 I decided to stamp them up and use them on my canvases for a cute little addition to my Easter decor.

I stamped the gnome images with Memento Tuxedo Black ink on white card stock, colored them with Copic markers, and cut the images out. I stamped the sentiments on white card stock and punched them out with scalloped circle (this is a similar punch) and oval punches. (The oval punch I used is no longer available, but this is a great set of scalloped oval dies.) Then I layered the sentiments to a slightly larger circle and oval (here is a set of oval dies) punched from matching card stock.

I trimmed pieces of patterned paper to 4×4-inches. Using a foam brush, I applied a thin layer of Mod Podge to the canvas and then attached the patterned paper. I attached my Gnomes and sentiments using foam tape.

They turned out so cute! 🙂

They are the perfect size for tiered trays or anywhere you need to add a little cuteness.

You can find all the info on my Mini Easter Rolling Pins in this post and those cute Clothespin Carrots here.

Happy Crafting! 🐰🥕

Anita

Posted in Decor, Easter, Stamping, Uncategorized | Tagged | 3 Comments

Happy St. Patrick’s Day! ☘️

Hi friends,

Happy St. Patrick’s Day to all you Lads and Lassies! ☘️☘️☘️

We all have a wee bit o’ Irish in us today! ☘️🎩☘️😉

Disclosure: Some of the links on my site are affiliate links, meaning, at no additional cost to you, I will earn a small commission if you click through and make a purchase. As an Amazon Associate I earn from qualifying purchases.

(You can find the info on this card in this post.)

May the luck of the Irish be with you today and always! ☘️☘️💚

Anita

Posted in Cards, Stamping, Uncategorized | Tagged , | Leave a comment

Mini Easter Rolling Pins

Hi friends,

Have you seen these cute Mini Rolling Pins? They are so fun to add to tiered trays, coffee bars, and other kitchen decor.

I ordered my unfinished wood mini rolling pins from Woodpeckers on Amazon. They are 7-inches long and I got the pack of 12 so I can make some for different seasons. The quality of these is wonderful!

Disclosure: Some of the links on my site are affiliate links, meaning, at no additional cost to you, I will earn a small commission if you click through and make a purchase. As an Amazon Associate I earn from qualifying purchases.

I pulled out some paint and scrapbook paper to embellish my mini rolling pins. You can use either acrylic (this is a great set of acrylic paints if you need to resupply your craft room) or chalk paint on your rolling pins. You can find small bottles of chalky finish paint at most craft stores.

I painted the handles of the rolling pins with 2 coats of paint, letting it dry between coats. I trimmed my scrapbook paper to 3-1/4 inches by 3-7/8 inches. You’ll want your paper to overlap about 1/4-inch when wrapped around the rolling pin. I used this great stamp set from Unity Stamp Company called Gotta Love Sentiments to stamp “Happy Easter” and “Celebrate” before I attached the paper to my rolling pins using Tombow Dot Adhesive – be sure to cover the entire edge with adhesive where the paper overlaps. I tied some ribbon around the rolling pins and here’s how they turned out. 🙂

These mini rolling pins are just so fun! You can decorate them any way your imagination takes you. 😊

So fun with my other Easter decor! 🐰 You can see how I made the cute Clothespin Carrots in this post.🥕

Happy Crafting!

Anita

Posted in Decor, Easter | Tagged | 7 Comments

Treat-Size Crochet Easter Basket

Hi friends,

Do you have any little bunnies that you would like to give a sweet Easter treat? This Treat-Size Crochet Easter Basket is just perfect for giving some chocolate or jelly beans. It measures about 2.75 inches tall before adding the handle and will hold about 18-20 Hershey’s Kisses or a handful of Jelly Beans in a small cellophane treat bag.

Disclosure: Some of the links on my site are affiliate links, meaning, at no additional cost to you, I will earn a small commission if you click through and make a purchase. As an Amazon Associate I earn from qualifying purchases.

The quick and easy pattern is below and I’ve also included a link to a free PDF so you can easily print it if you’d like.

Treat-Size Crochet Easter Basket

Finished basket measures about 2.75 inches tall before adding the handle.

Worsted Weight Yarn – I used I Love This Yarn in Light Taupe

G/4.5mm hook

Stitches used US terms:

Magic Ring

Chain – ch

Single Crochet – sc

Half Double Crochet – hdc

Double Crochet – dc

Front Post Double Crochet – fpdc

Back Loop Only – blo

Slip Stitch – ss

Note: chains at the beginning of rounds do not count as stitches.

Make Magic Ring, ch 1.

Round 1: Work 9 hdc in ring. Join with ss to first hdc. Pull ring closed. (9 stitches)

Round 2: ch 1. 2 hdc in same stitch as ss and in each stitch around. Join with ss to first hdc. (18 stitches)

Round 3: ch 1. 2 hdc in same stitch as ss. *hdc in next stitch, 2 hdc in next stitch* Repeat from * to * around to last stitch. hdc in last stitch. Join with ss to first hdc. (27 stitches)

Round 4: ch 1. Working in blo, sc in same stitch as ss and in each stitch around. Join with ss to first sc. (27 stitches)

Rounds 5-6: ch 1. Working in both loops, sc in same stitch as ss and in each stitch around. Join with ss to first sc. (27 stitches)

Round 7: ch 2. dc in same stitch as ss and in each stitch around. Join with ss to first dc. (27 stitches)

Rounds 8-10: ch 2. dc in same stitch as ss. fpdc in next stitch. *dc in next stitch, fpdc in next stitch* Repeat from * to * around to last stitch. dc in last stitch. Join with ss to first dc. (27 stitches)

Round 11: ch 1. (sc, dc, sc) in same stitch as ss. *skip next stitch, (sc, dc, sc) in next stitch* Repeat from * to * around. Join with ss to first sc. (14 shells)

Do not fasten off. 

To make the handle:

Ch 25. sc in second ch from hook and each ch across. ss to basket edge. Fasten off. (24 stitches)

Sew the end of the handle to the opposite side of the basket with a short length of yarn.

Weave in ends.

Here’s the link to the free PDF…

I added cute “Happy Easter” tags tied with colored baker’s twine to my Treat-Size Crochet Easter Baskets. The stamps and tag die are from Taylored Expressions. There is a set of 3 Tag Team dies so you can cut 3 tags at a time. The Tag Team Easter stamp set includes several sentiments and images including the adorable tiny bunny peep I used on my tags. 🐰

These sweet little baskets work up very quickly and you can make them up in any color – they are a great stash buster!

Happy Stitching!

Anita

Posted in Crochet, Easter, Gifts | Tagged , | 2 Comments