Hi friends,
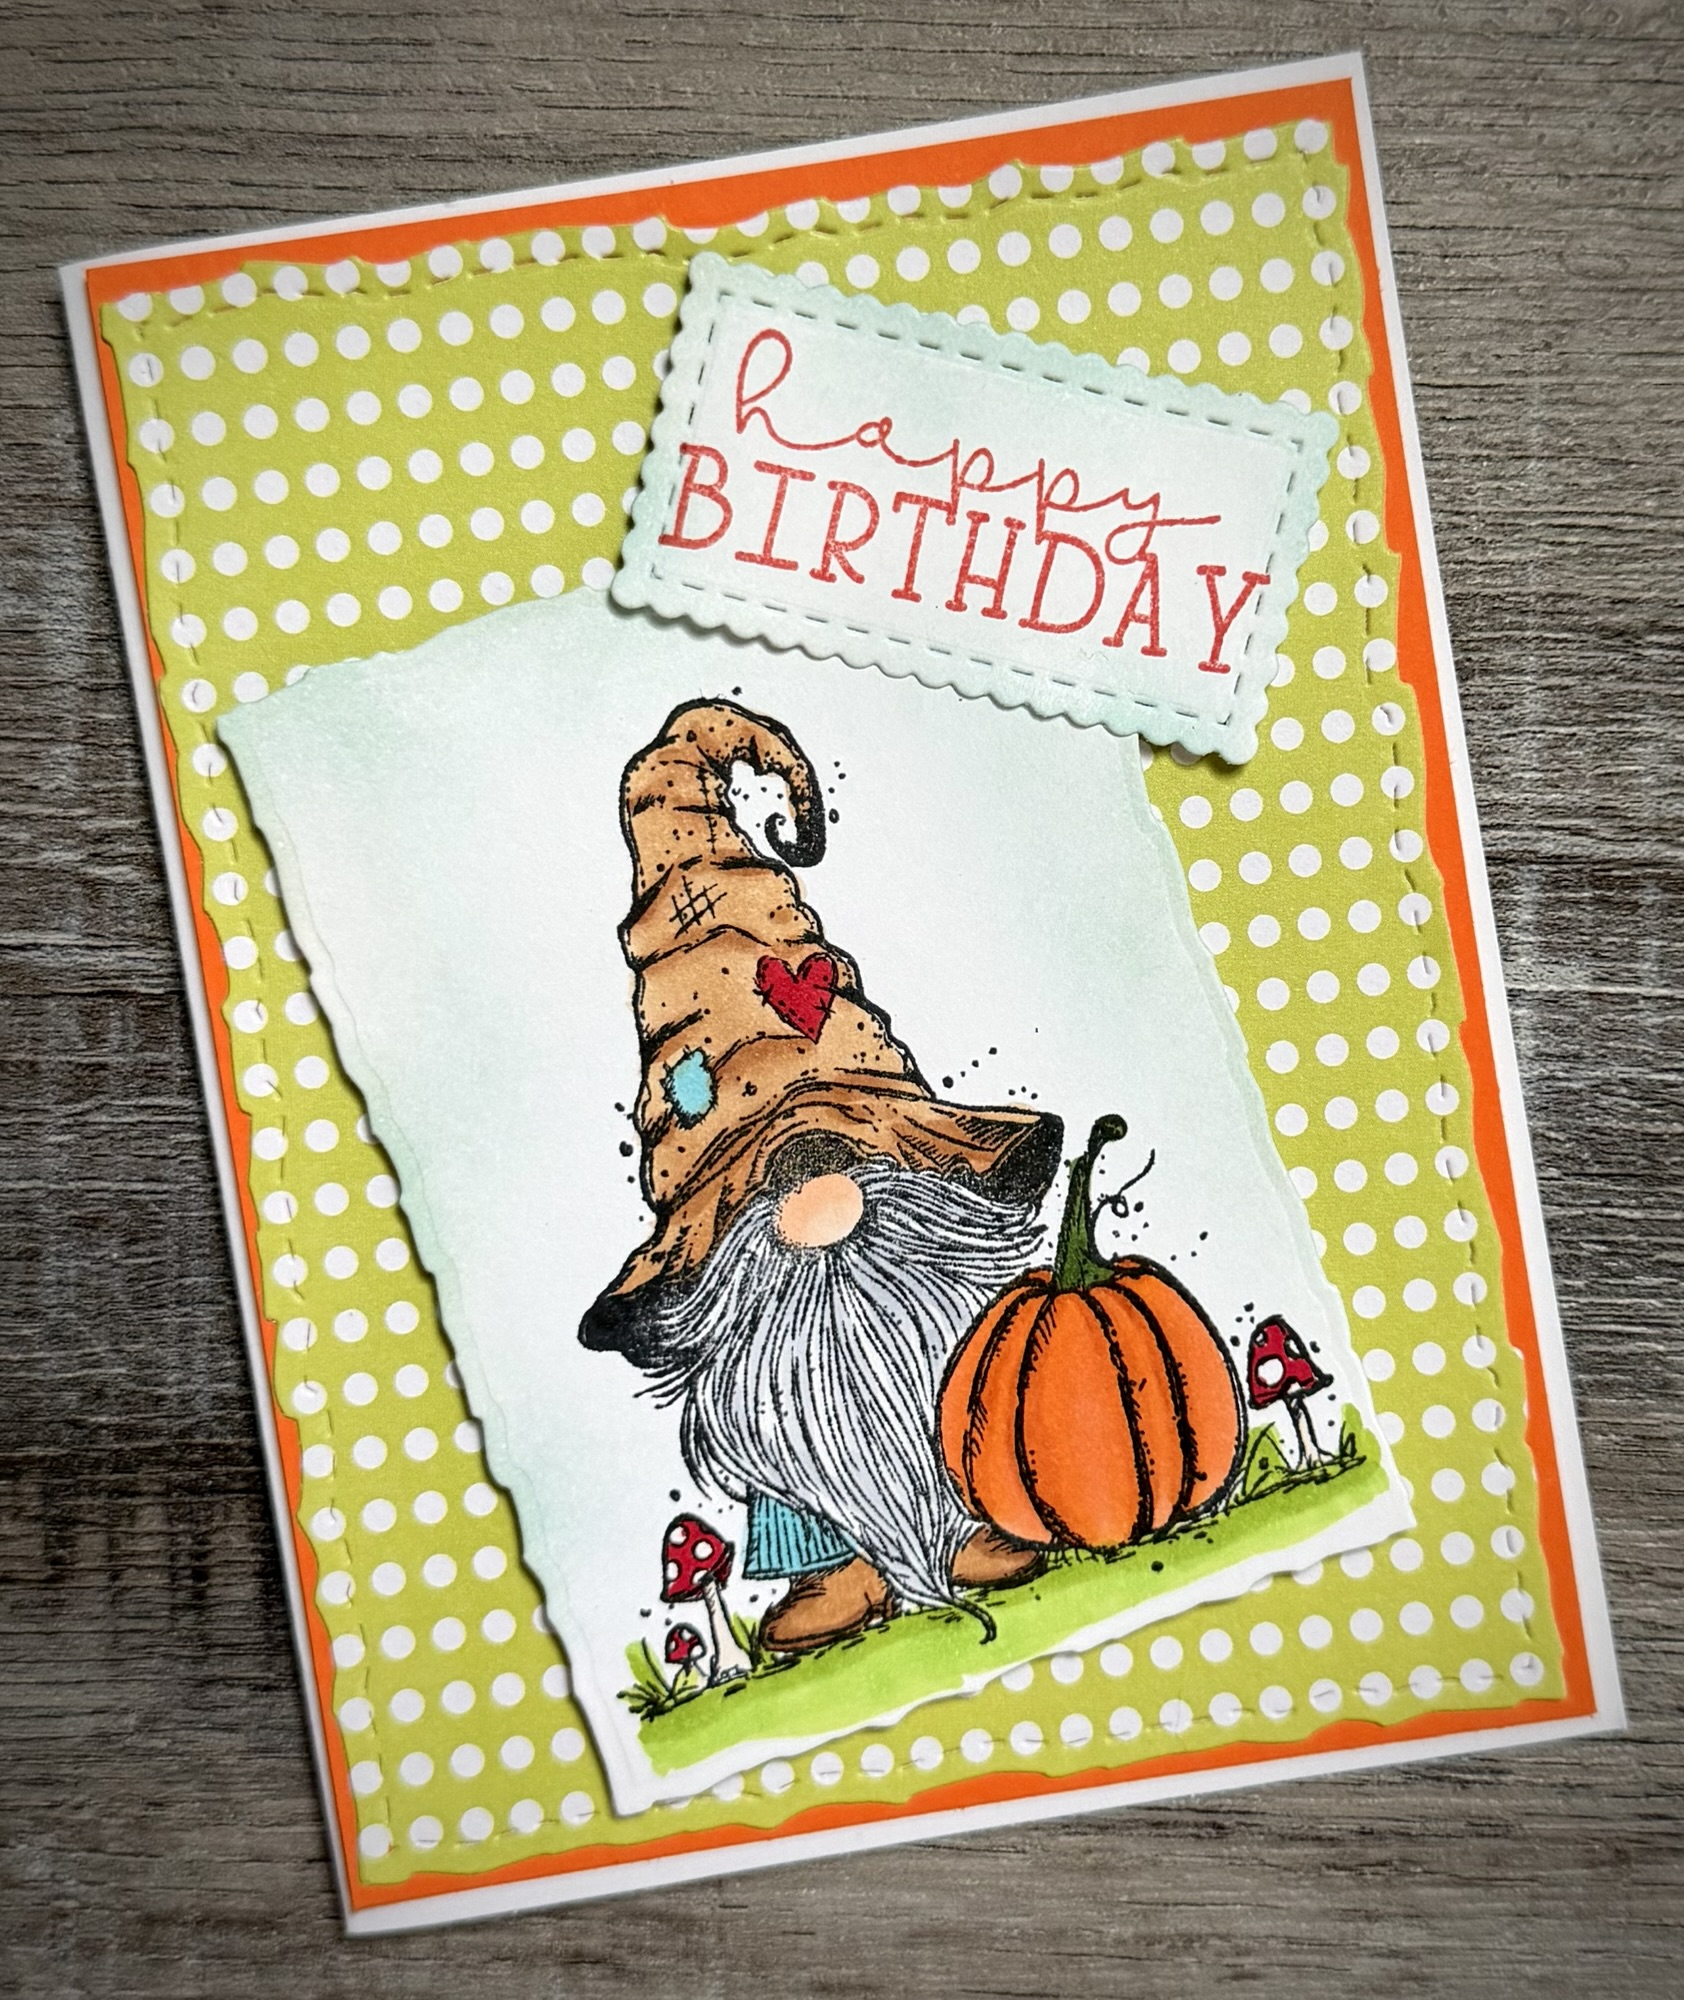
This cute little gnome makes the best Fall birthday card! He’s from the stamp set called Lil’ Cozy Keeper from Unity Stamp Company and the set also includes 2 Fall sentiment stamps. My happy birthday stamp is from the set called Extended Celebration also from Unity Stamp Company.
Disclosure: Some of the links on my site are affiliate links, meaning, at no additional cost to you, I will earn a small commission if you click through and make a purchase. As an Amazon Associate I earn from qualifying purchases.
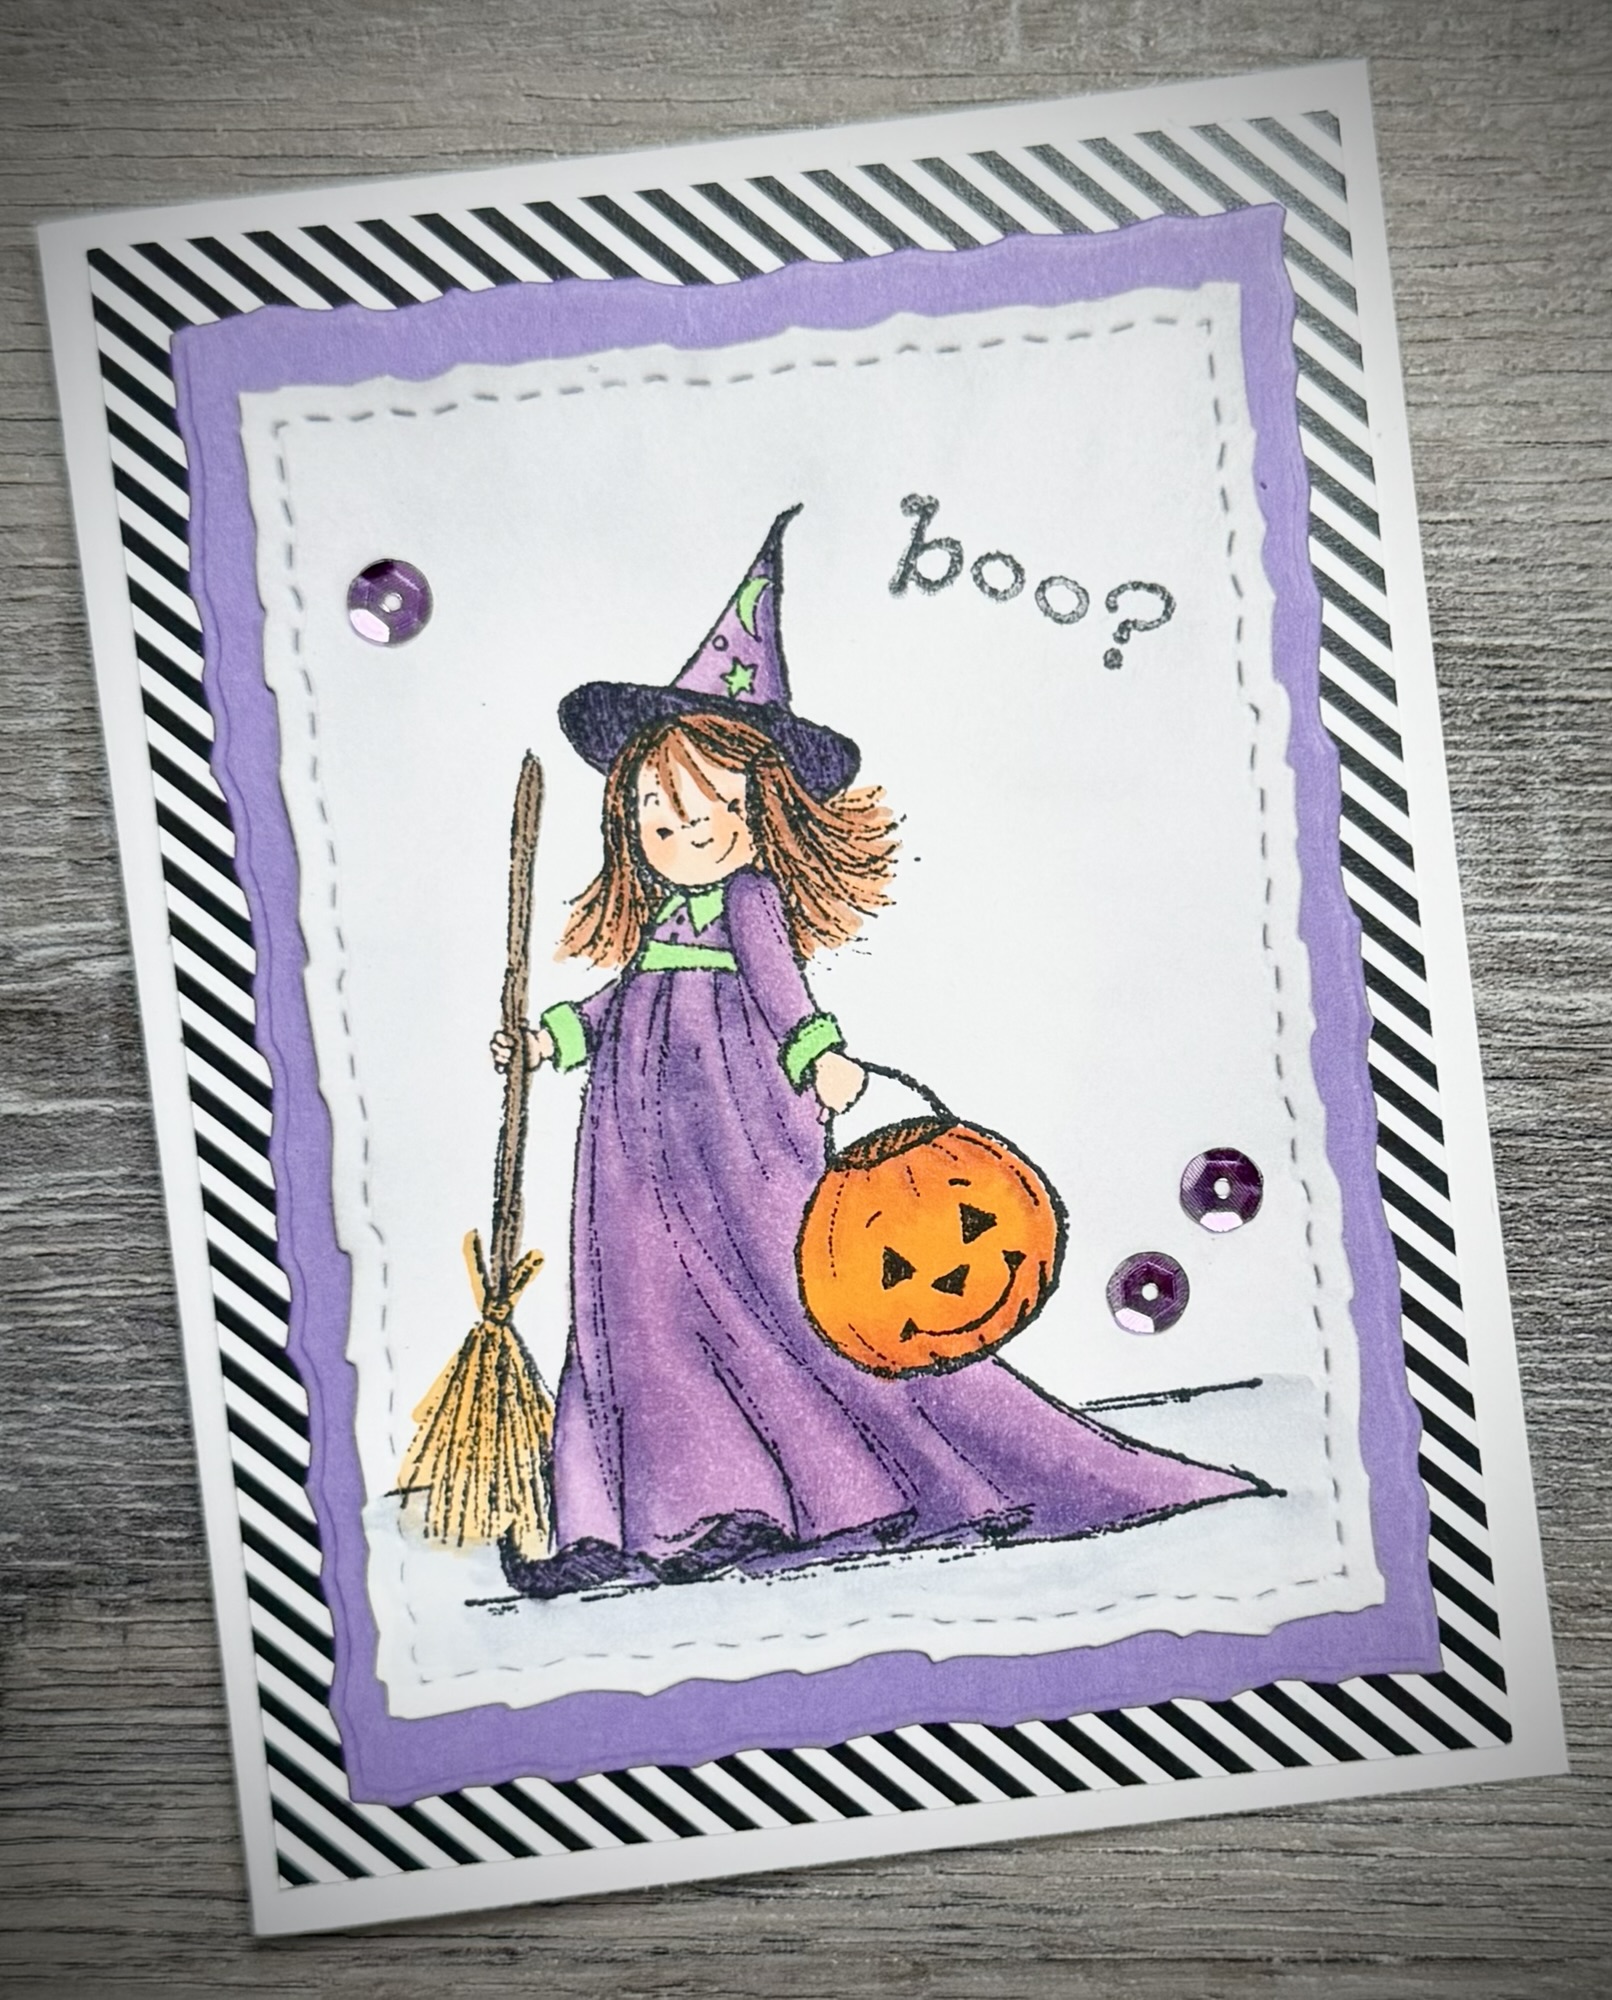
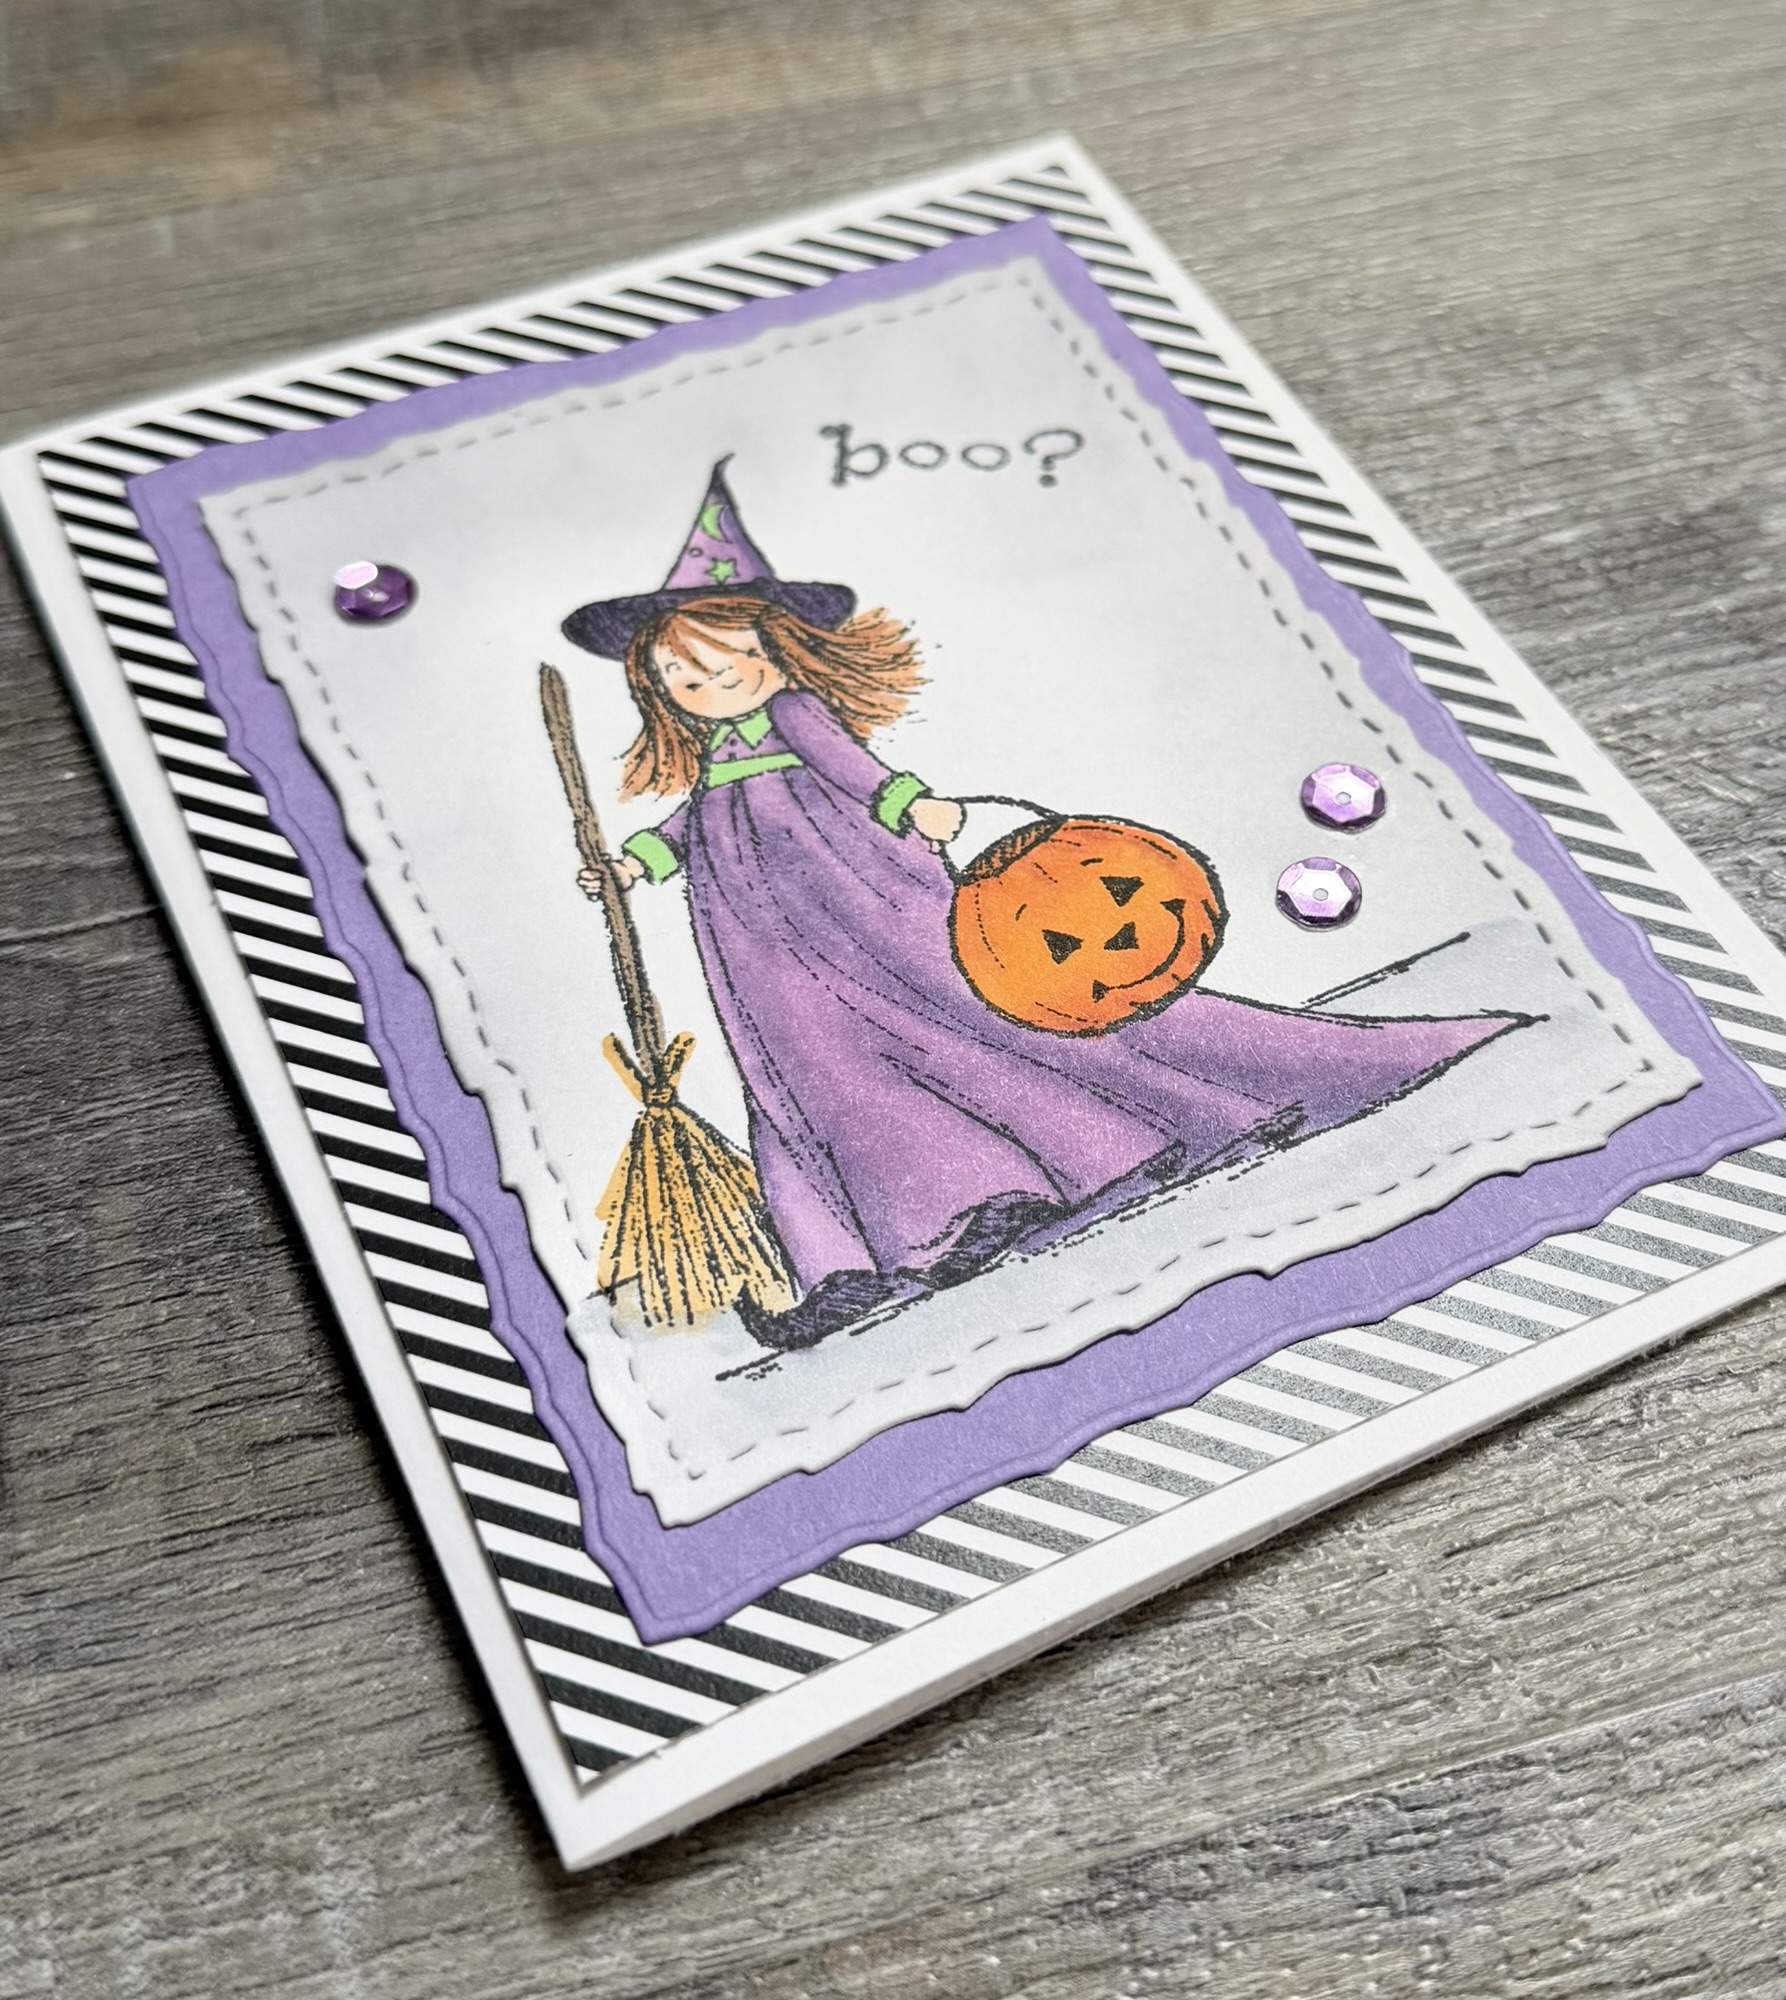
I stamped the gnome with Memento Tuxedo Black Ink on white card stock and colored him with Copic markers. Using these Deckle & Stitched Nesting Dies, I die cut around the image. I applied light blue ink around the image using a blender brush.
I stamped the sentiment with orange ink on white card stock and die cut around it with these Scalloped & Stitched Sentiment Nesting Dies. Then I applied light blue ink around the edges with a blender brush.

To make the card, I attached a piece of orange card stock to a white card. I die cut a piece of polka dot patterned paper with the Deckle & Stitched Nesting Dies and attached it to the card. I attached the gnome image to the card at an angle using foam tape and attached the sentiment to the top right corner also with foam tape.
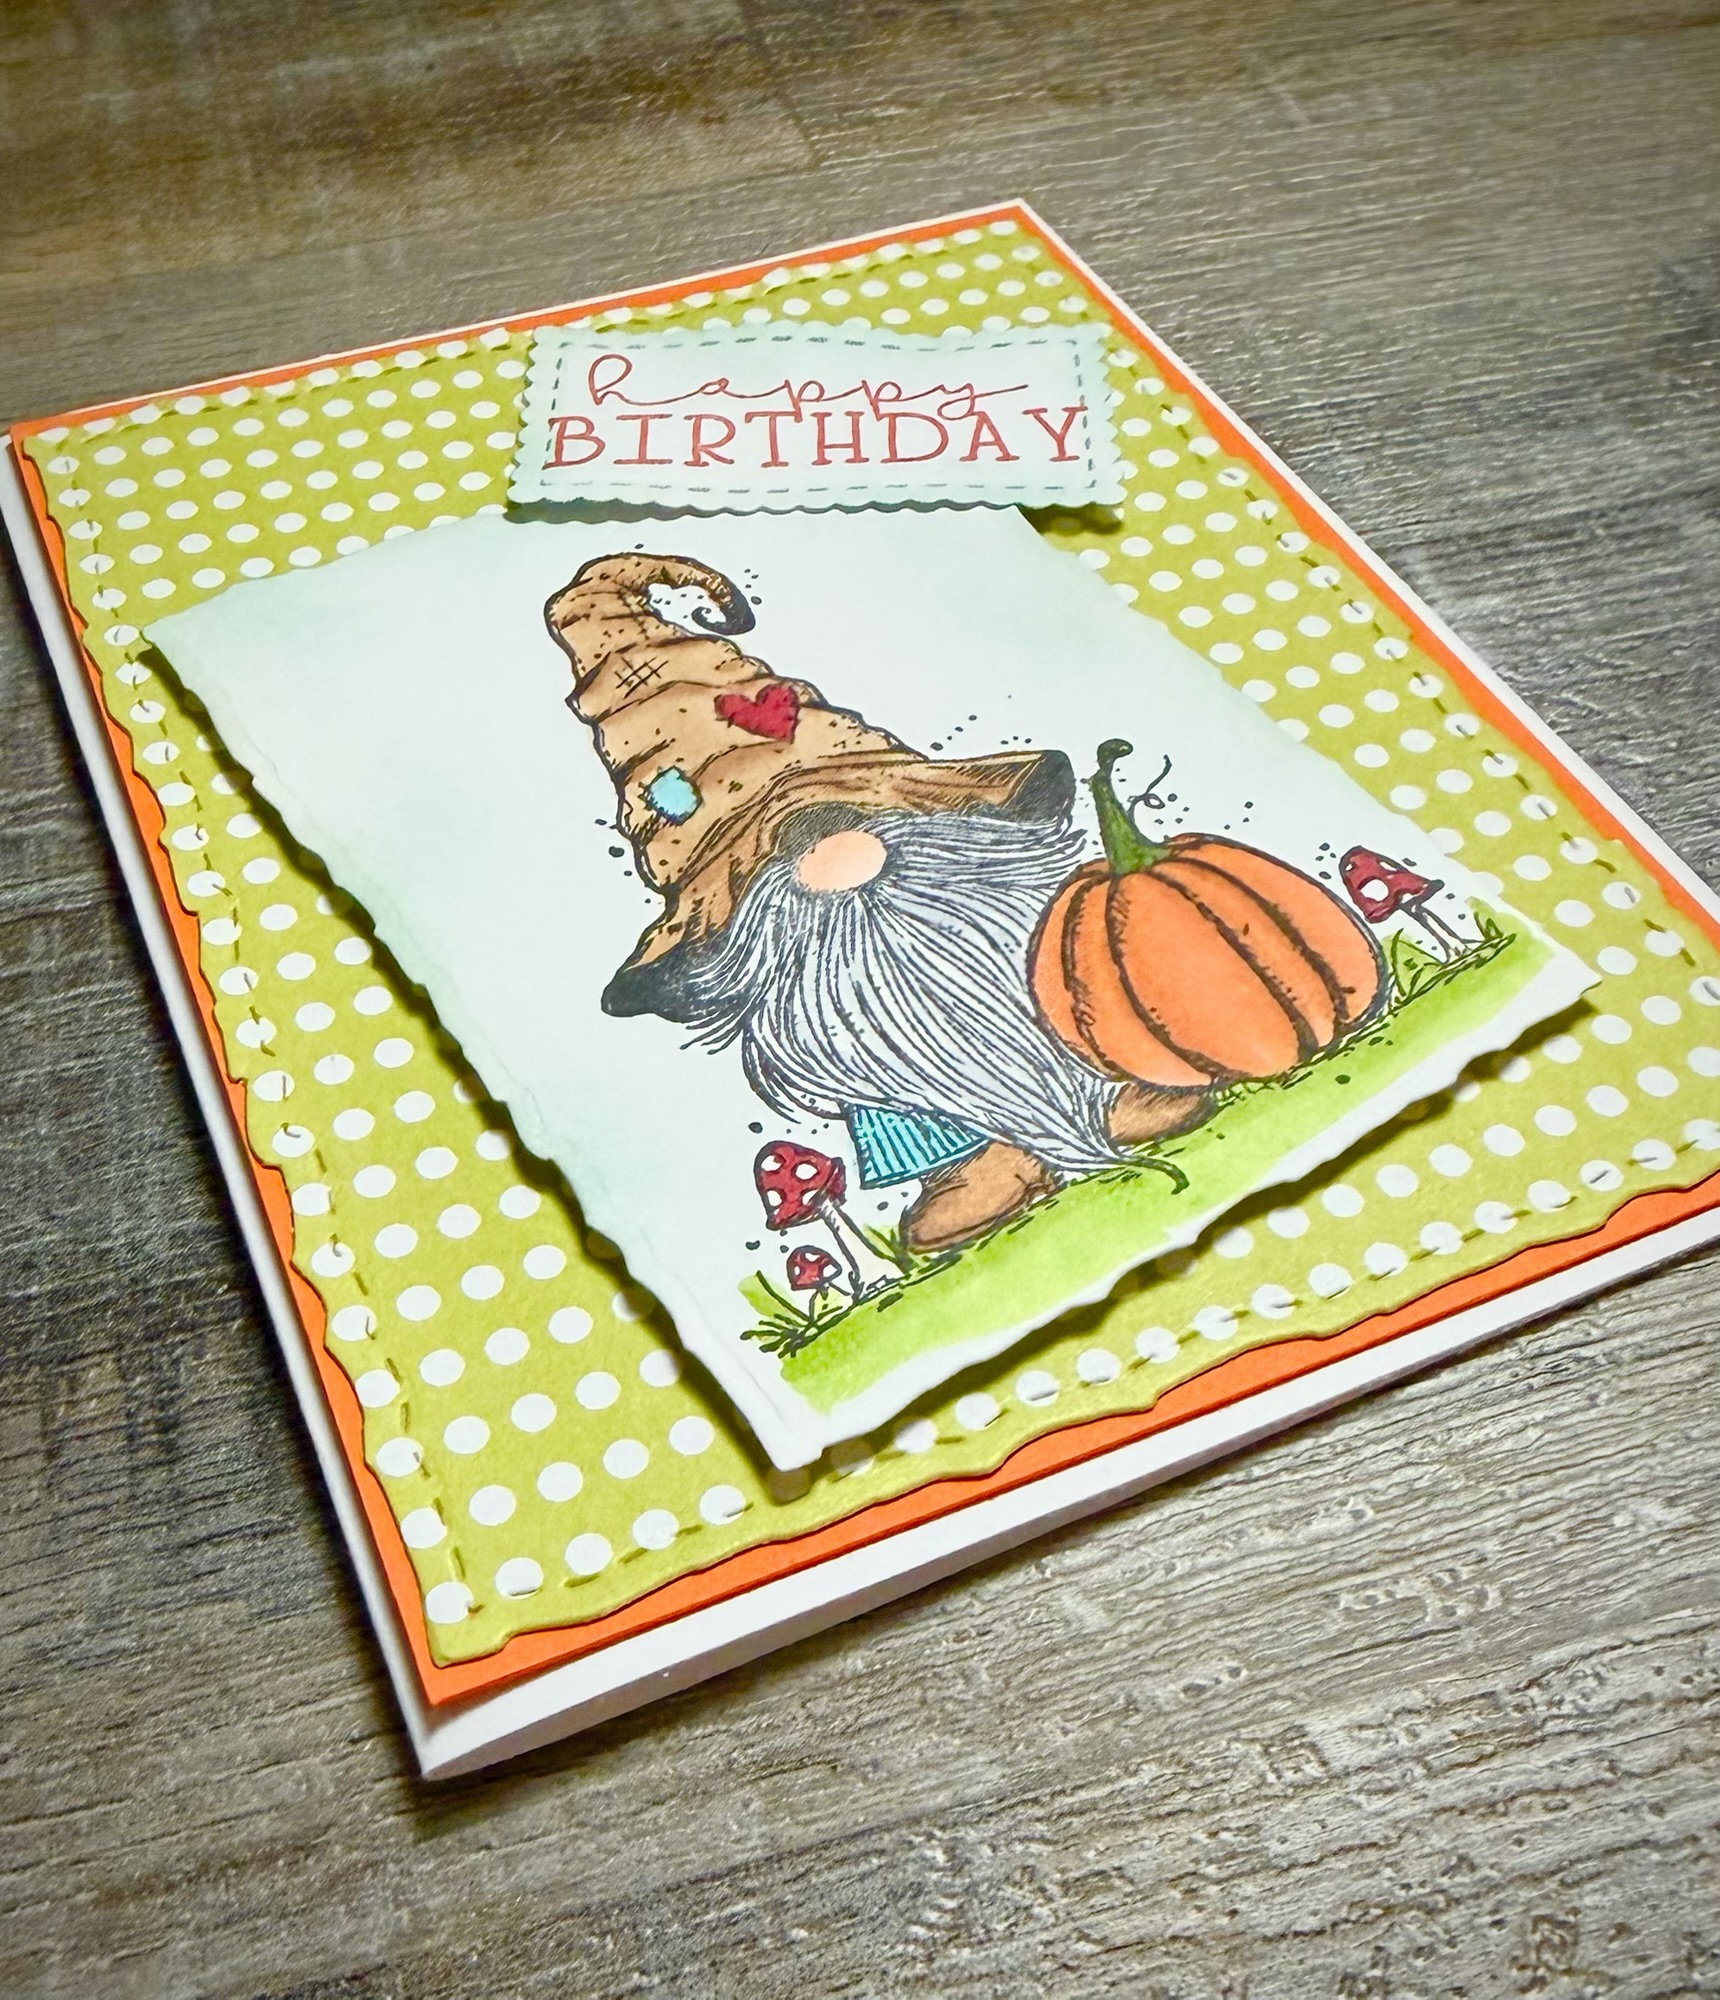
This little guy is a cute, fun way to send all kinds of Fall greetings! 🍁🍂🍁
Anita