Still need a few Last Minute Christmas Gift Tags for wrapping those last few presents? 🎁
These tags only take a few minutes to make and you can use any small Christmas stamp you have in your collection.
Disclosure: Some of the links on my site are affiliate links, meaning, at no additional cost to you, I will earn a small commission if you click through and make a purchase. As an Amazon Associate I earn from qualifying purchases.
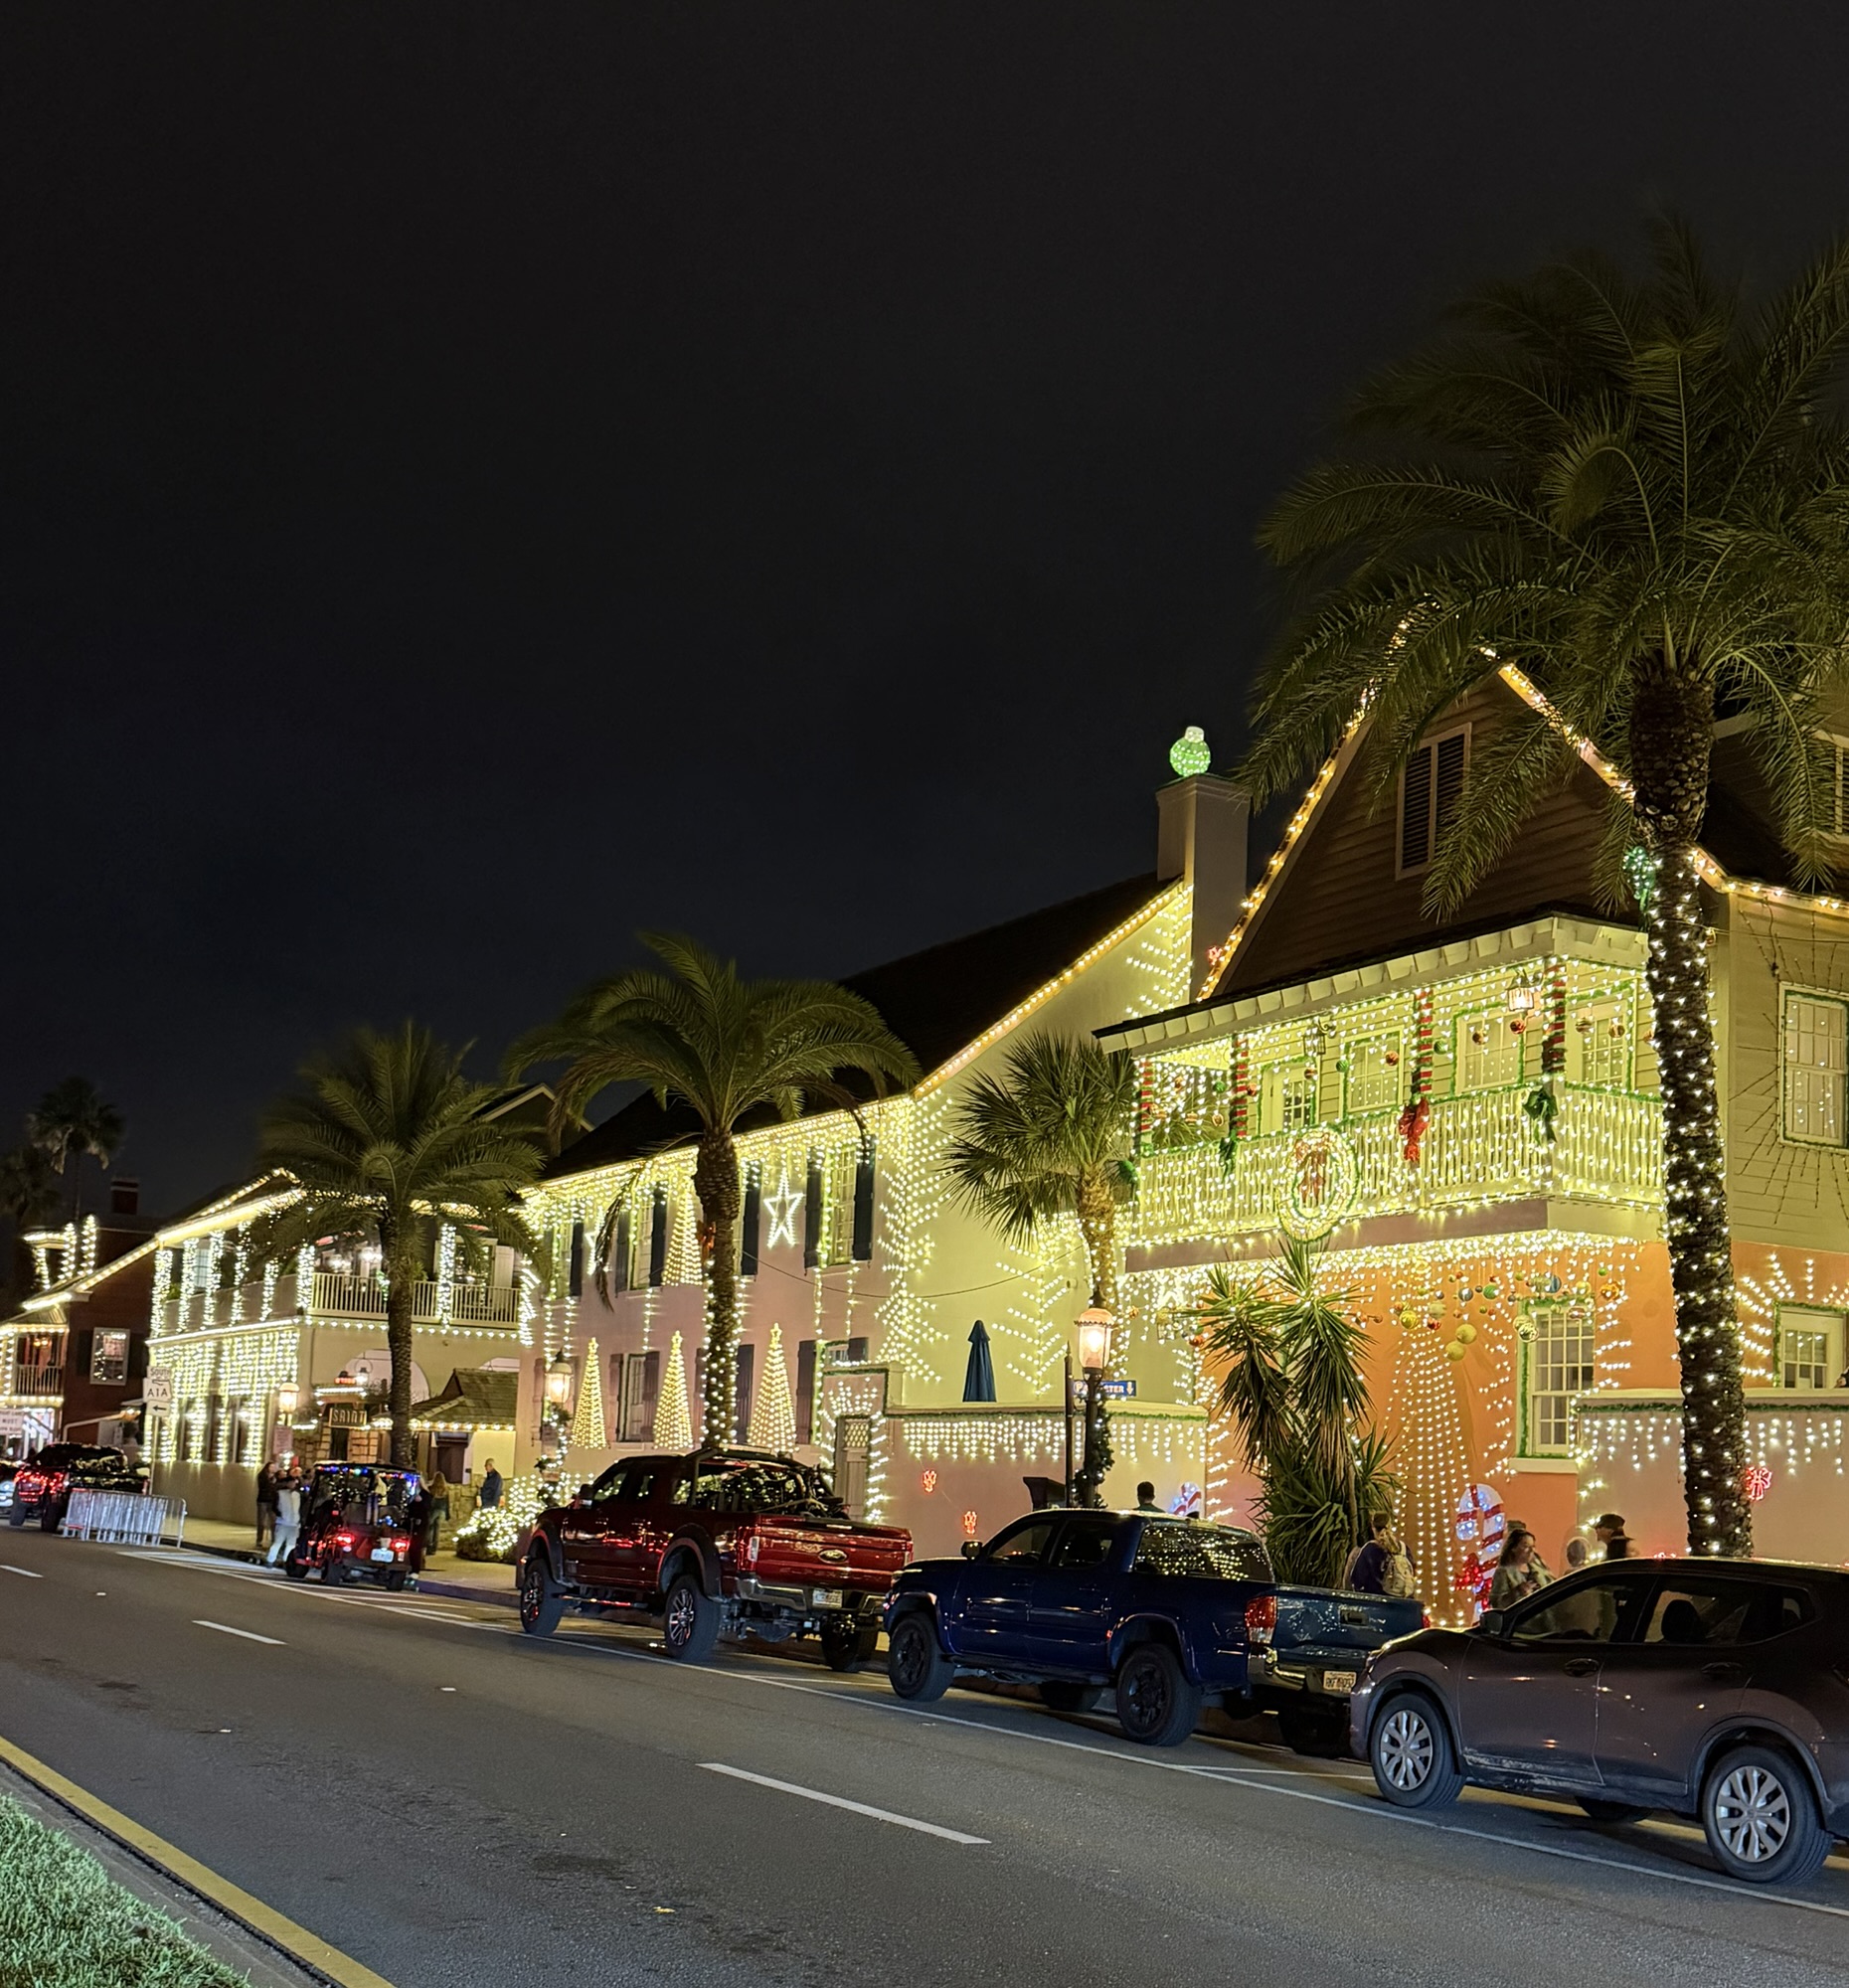
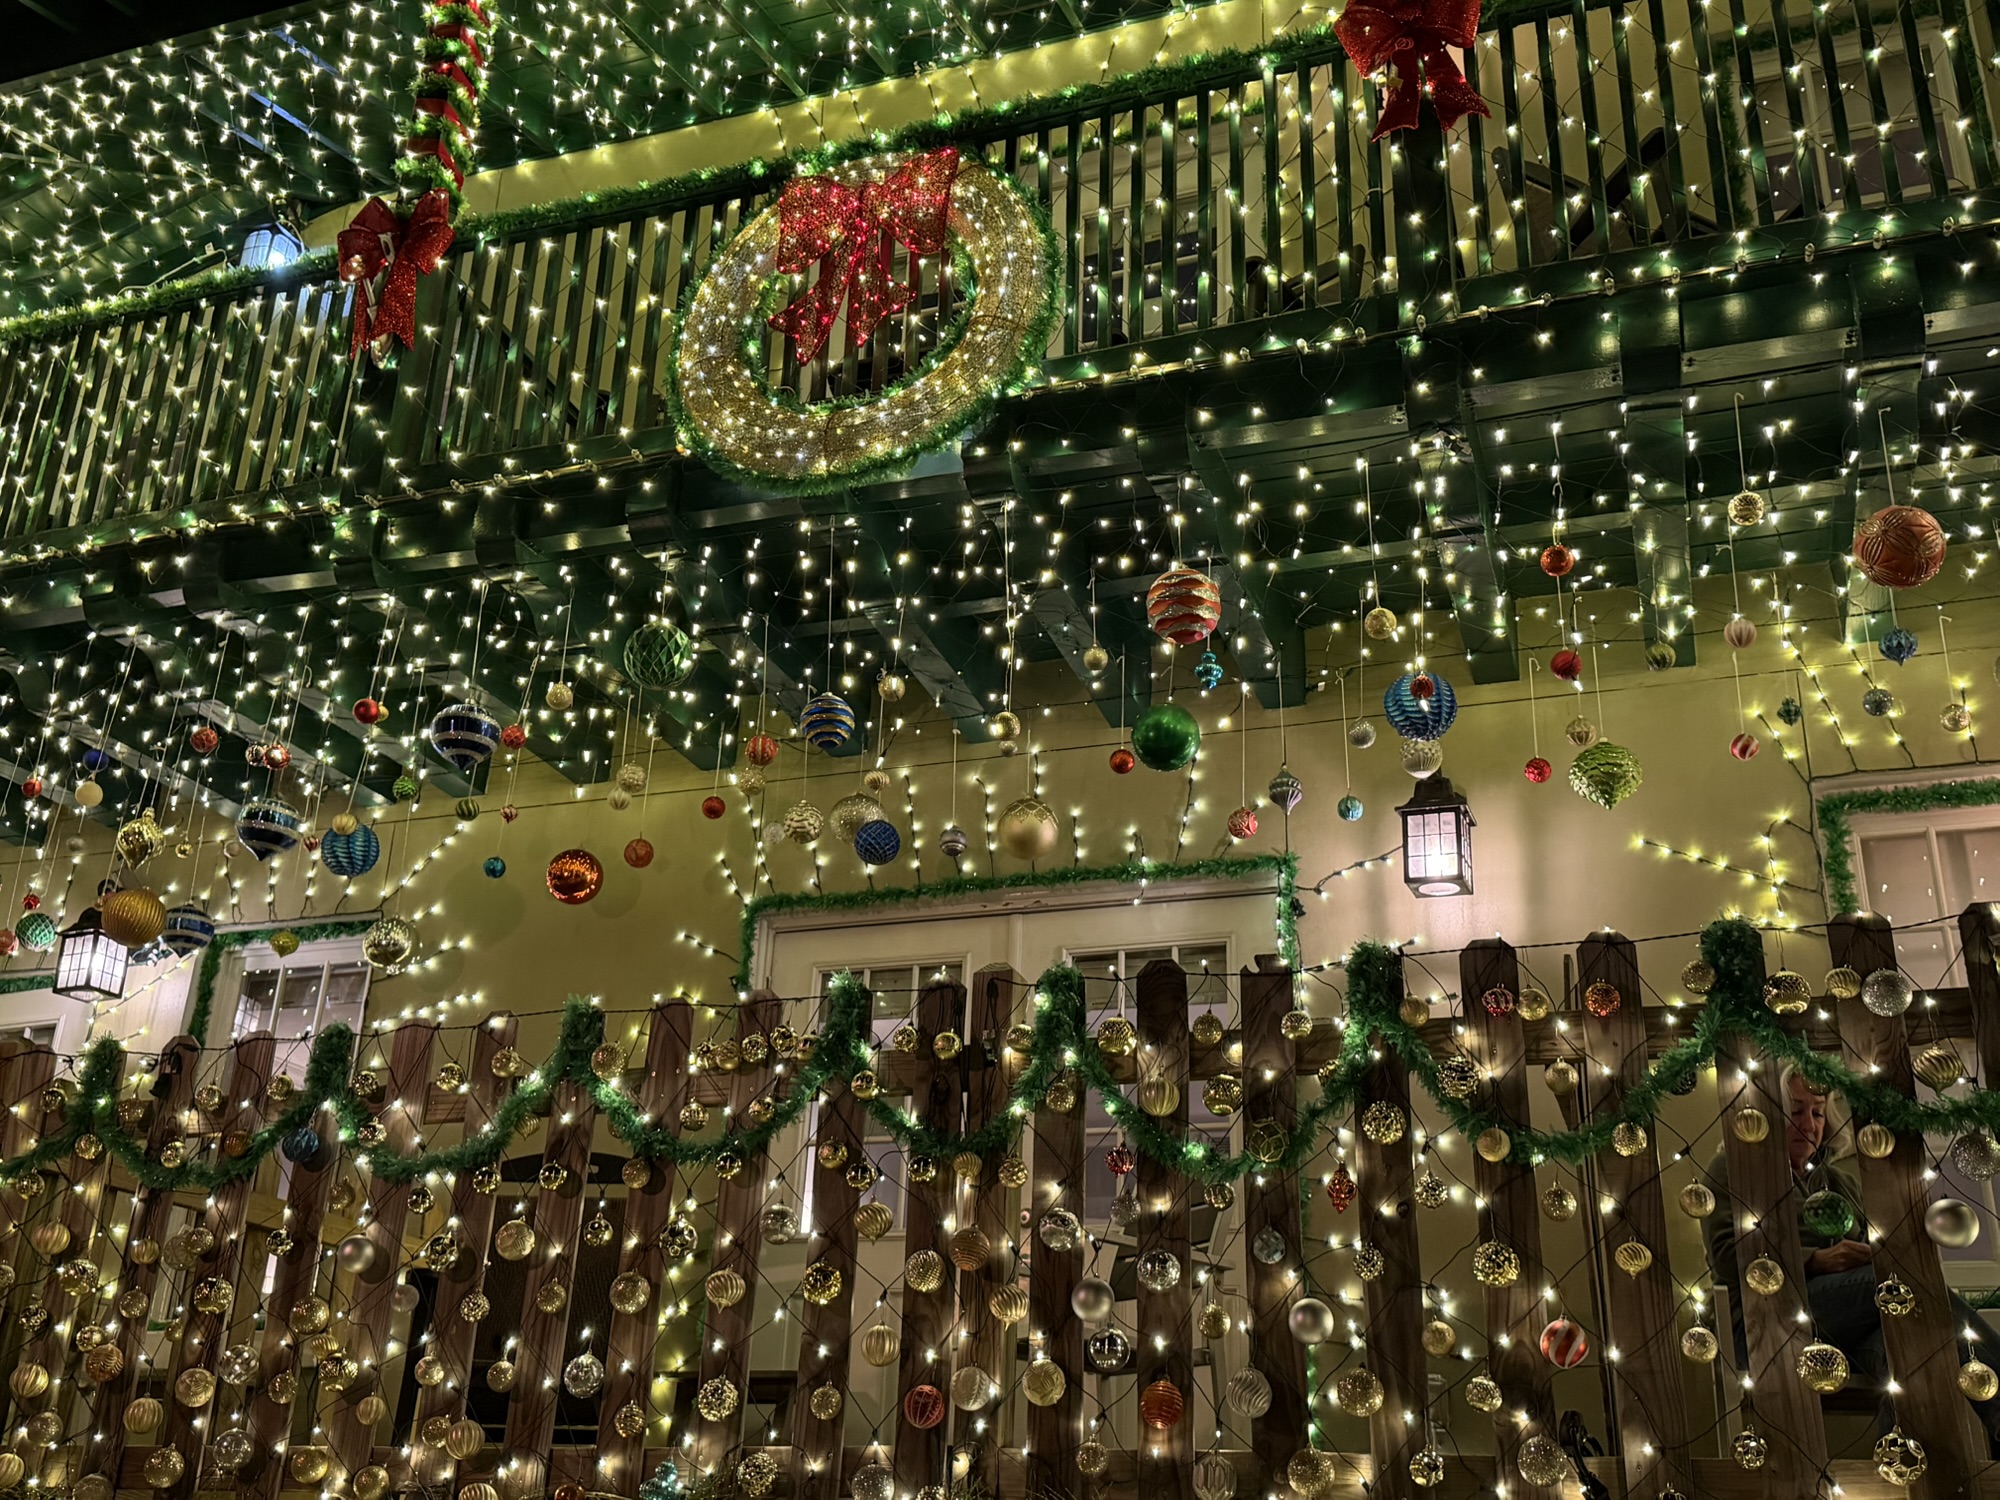
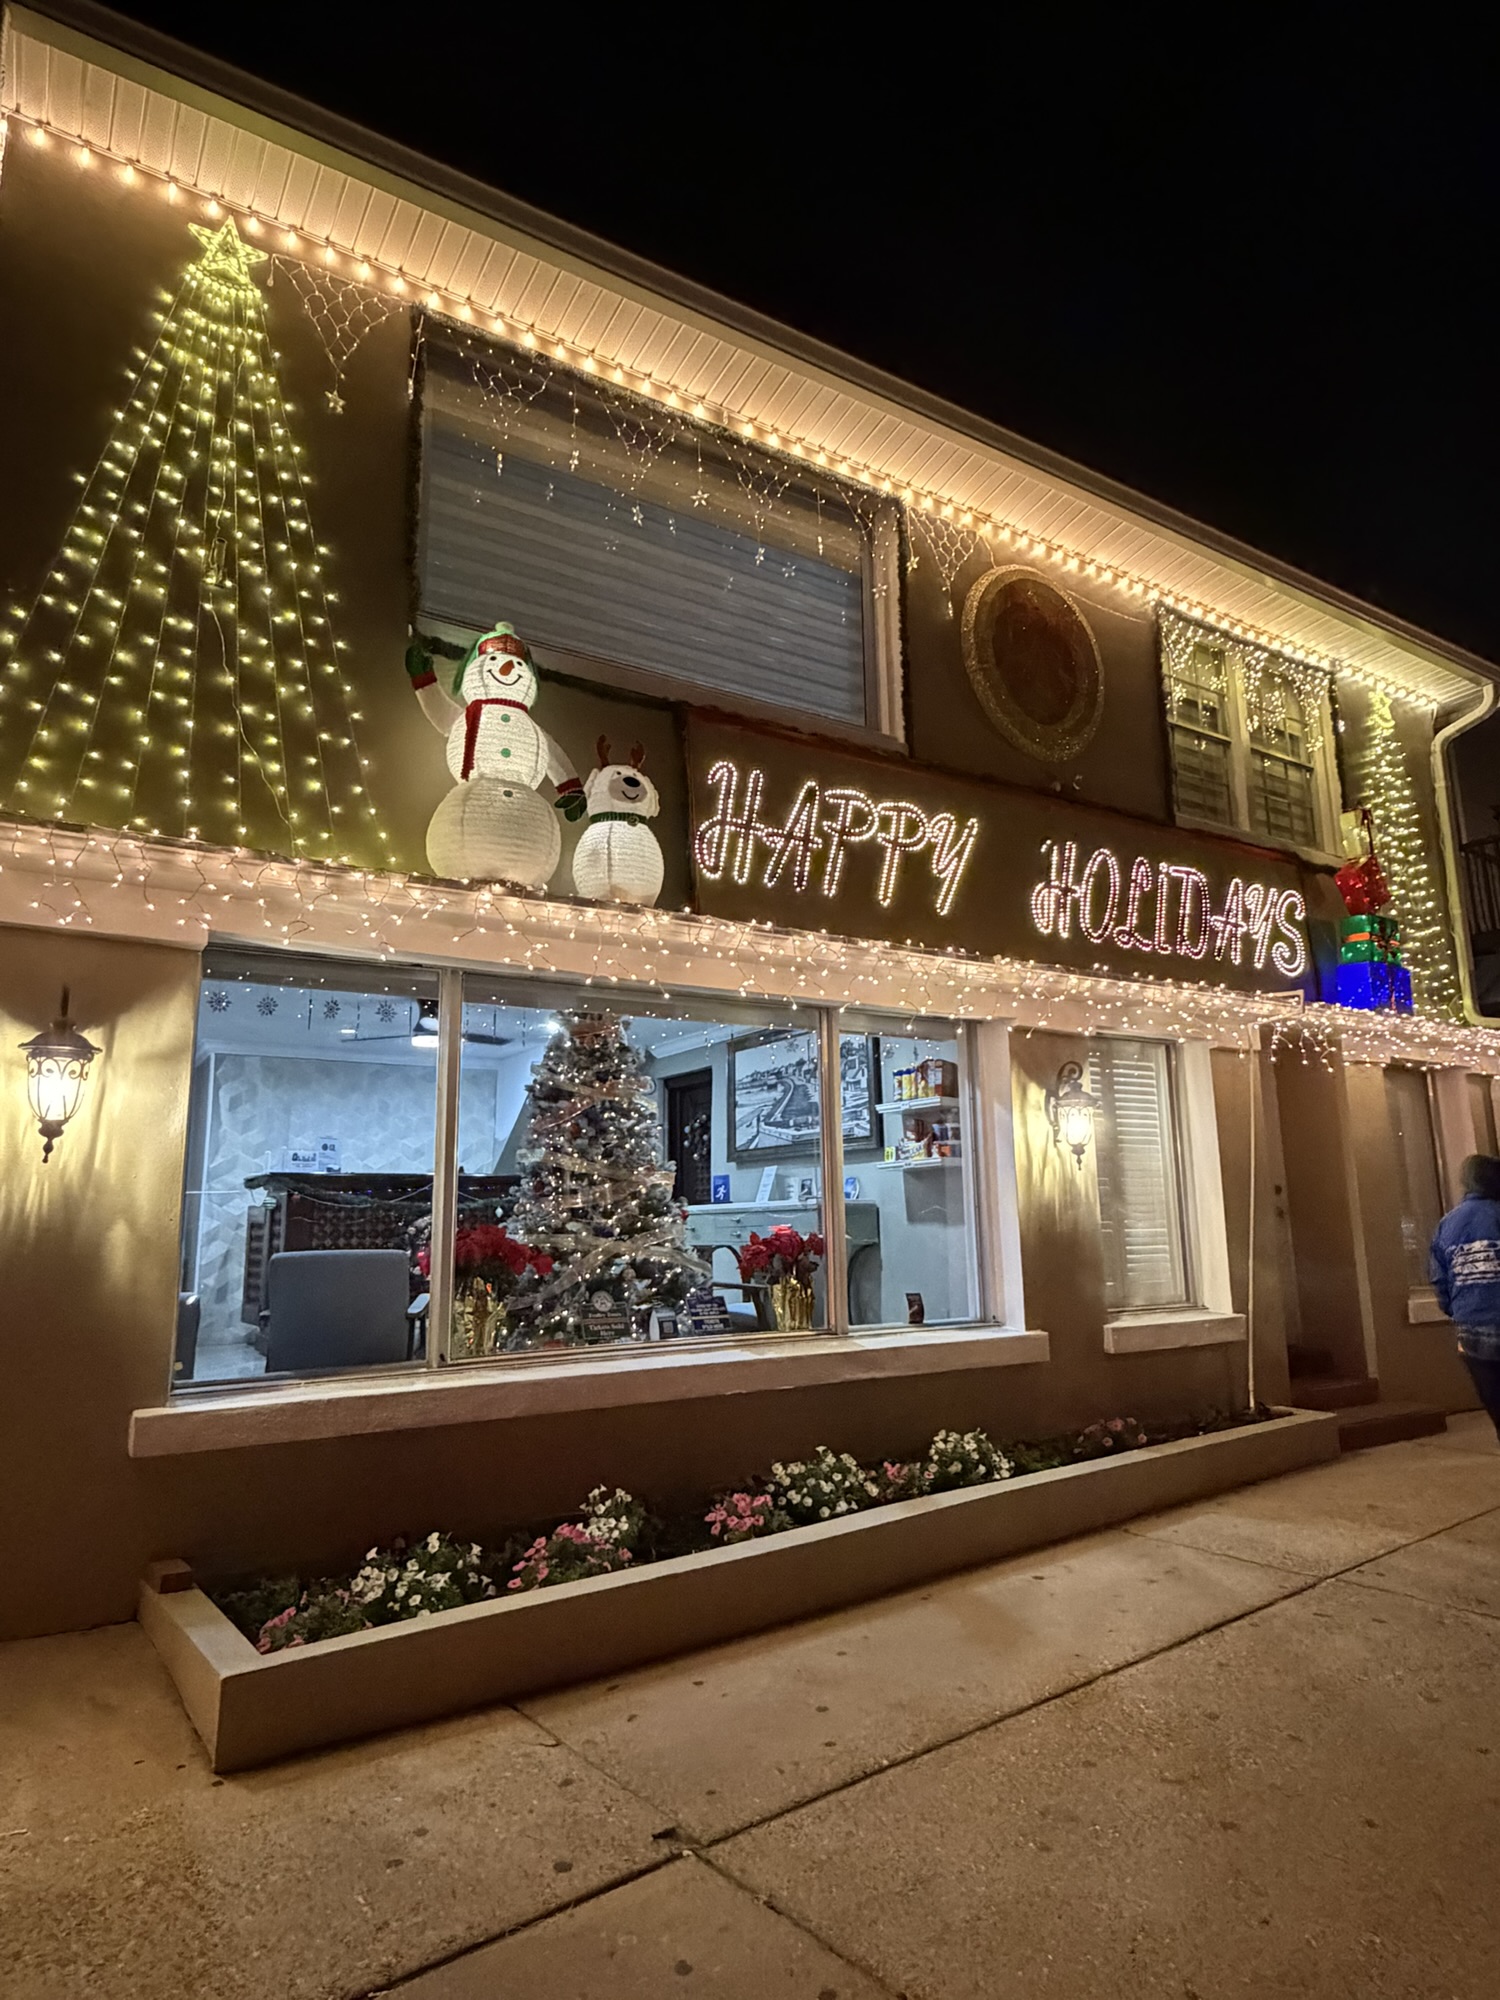
We were in St. Augustine, FL earlier this month and the historic district was all decked out for Christmas.🎄
The Nights of Lights begins in mid-November and lasts to early January. There are millions of lights everywhere! You can take a trolley tour, carriage ride, or just walk through the district like we did.
Disclosure: Some of the links on my site are affiliate links, meaning, at no additional cost to you, I will earn a small commission if you click through and make a purchase. As an Amazon Associate I earn from qualifying purchases.
Here are a few of the photos I snapped during our stroll through the area. So beautiful – but it looks so much more amazing in real life!
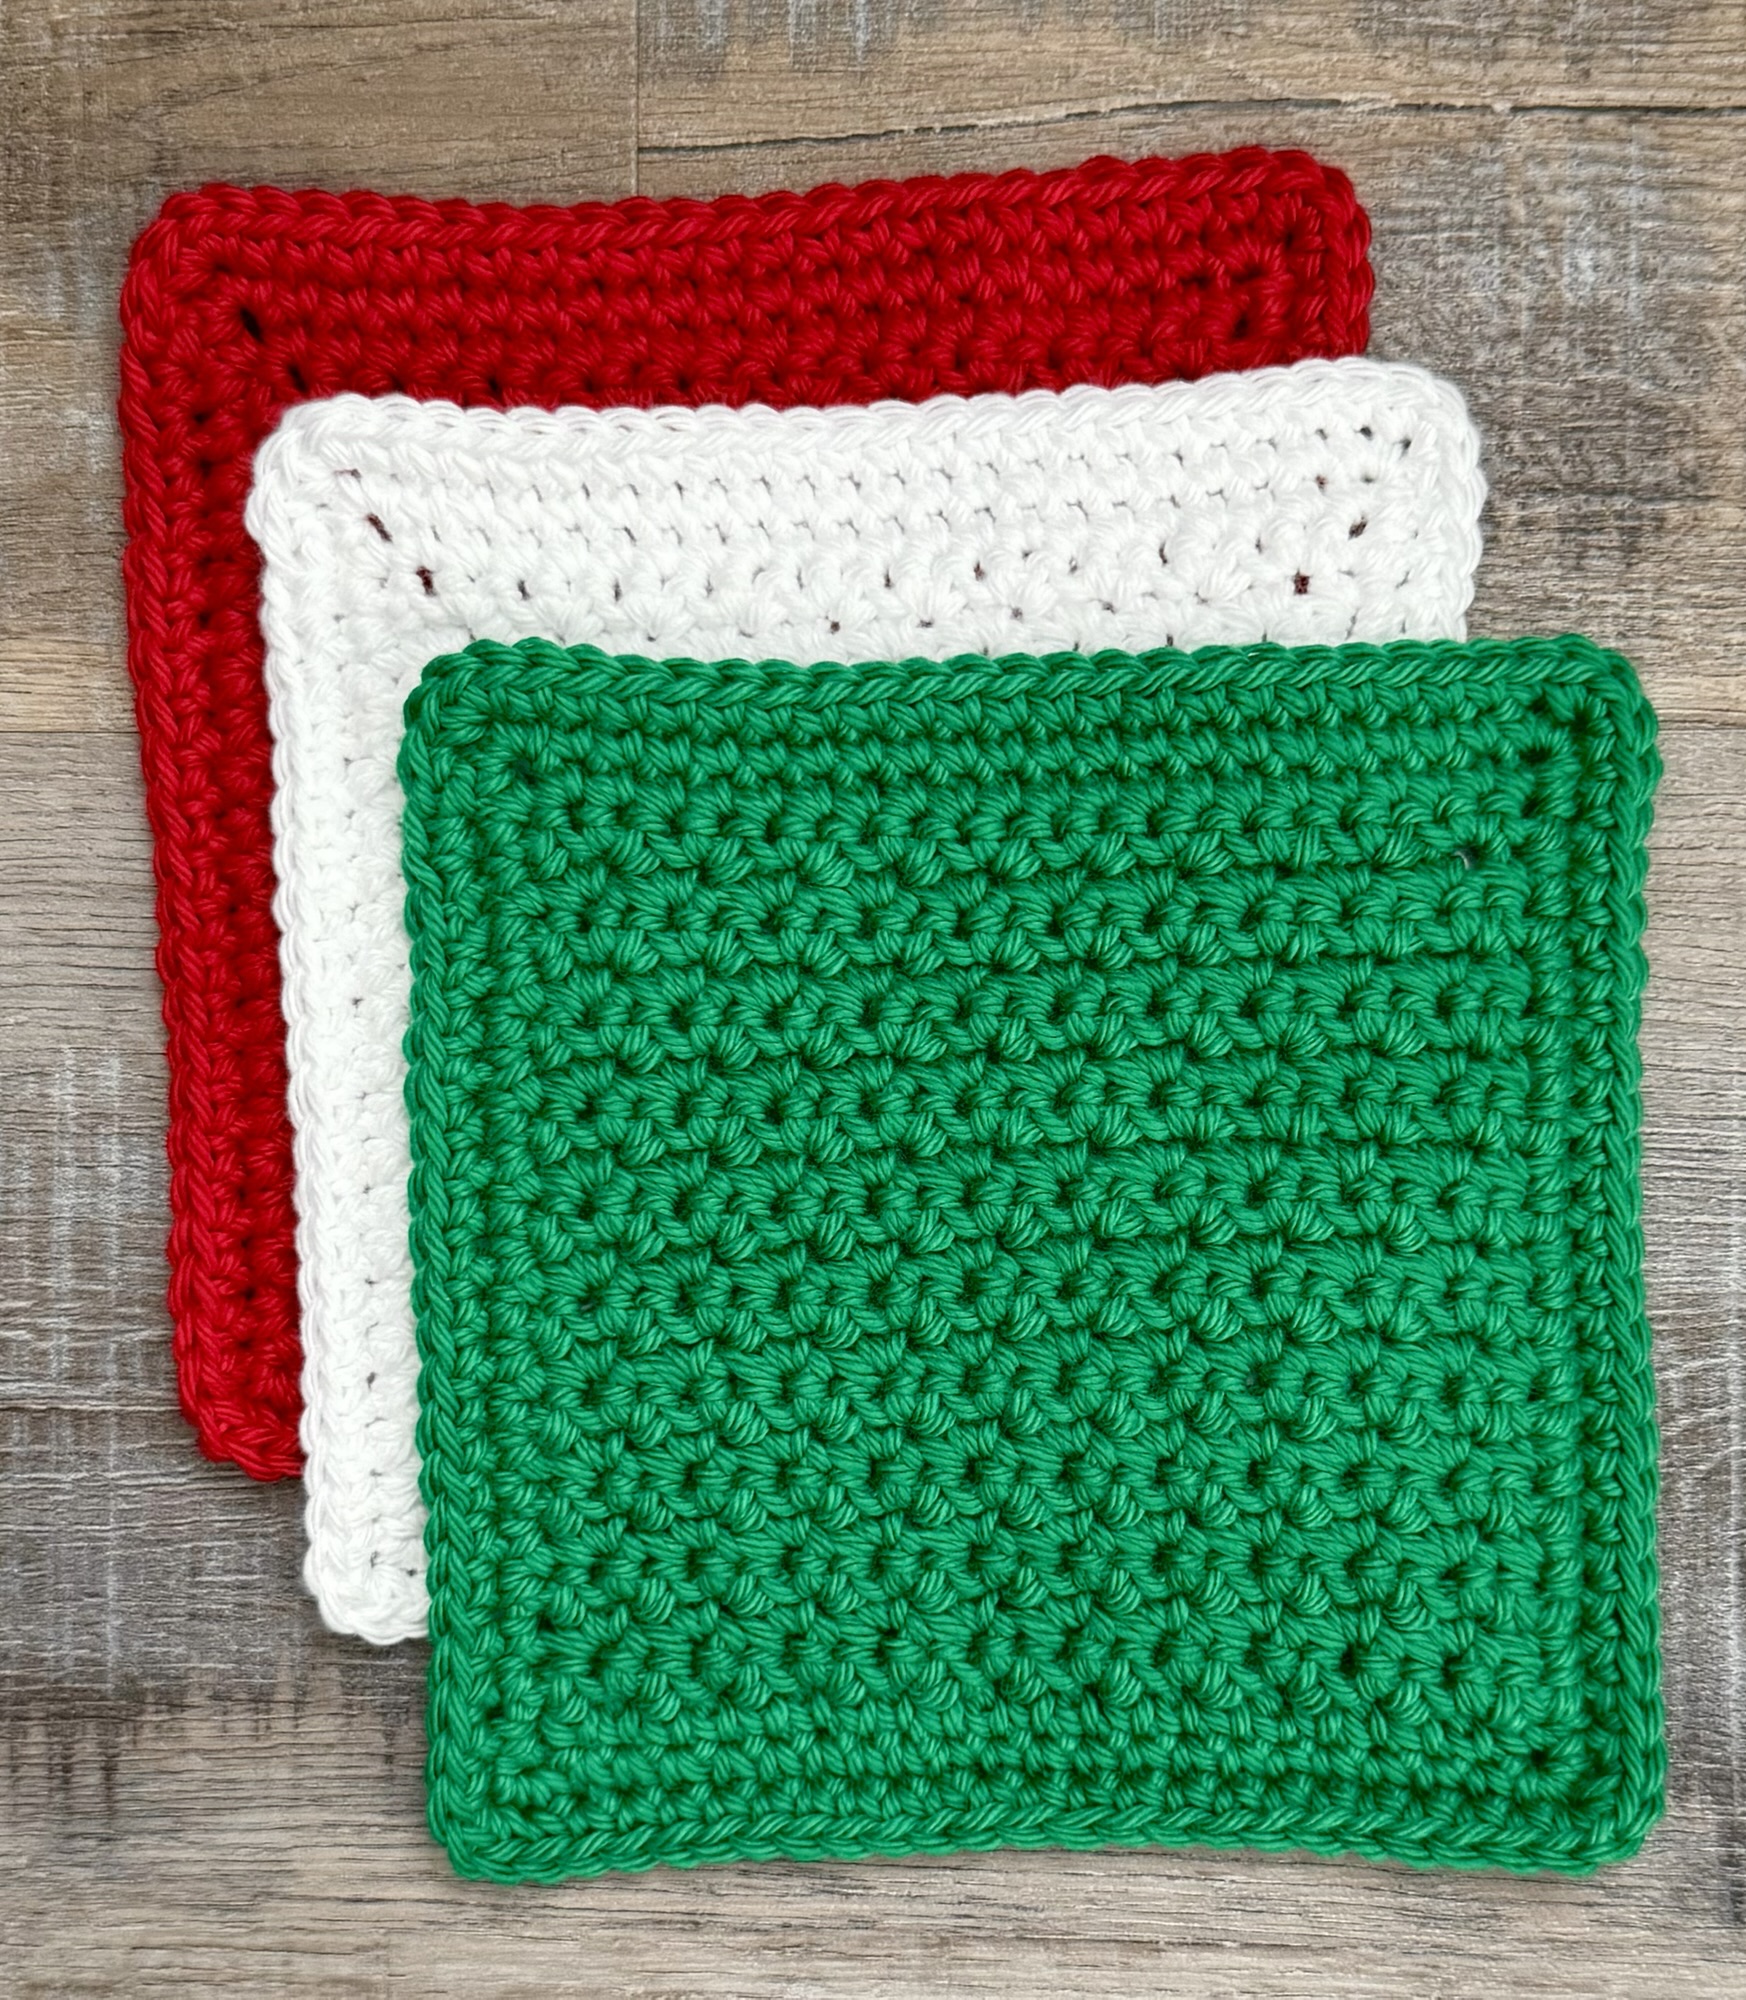
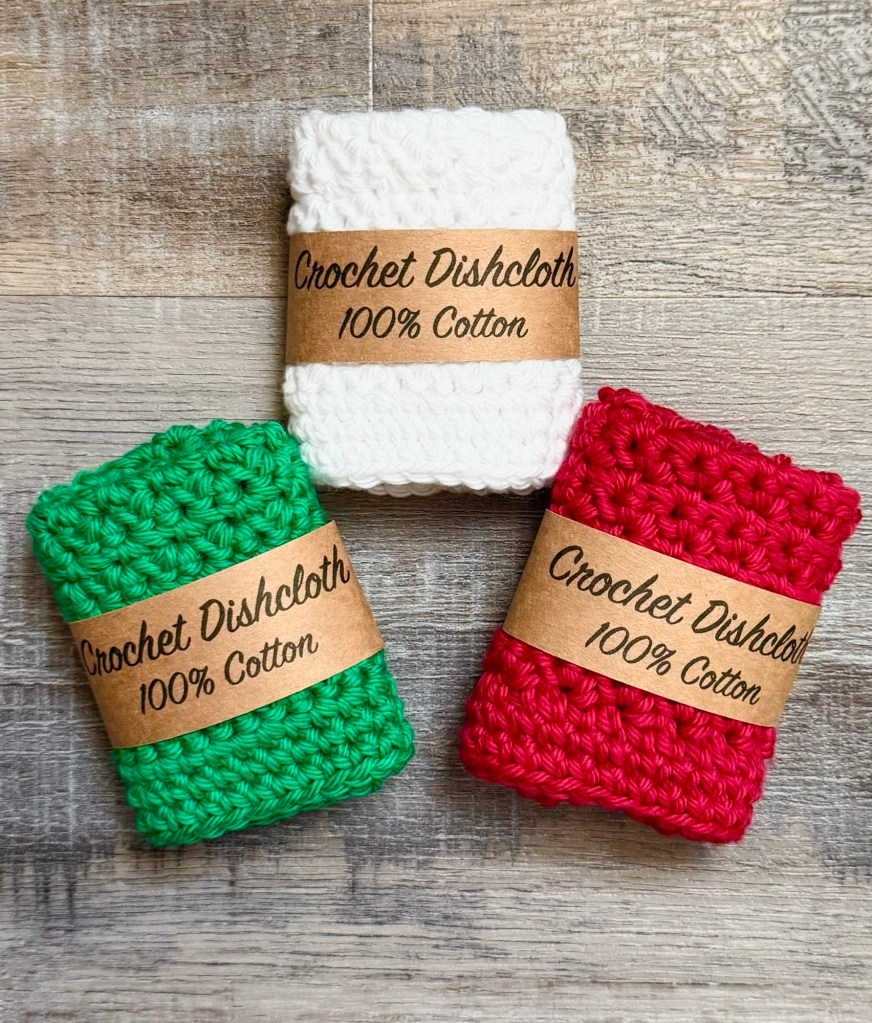
The Crochet Christmas Grit Stitch Dishcloth works up so quickly! A set in red, green, and white makes a fun hostess gift or they also make great stocking stuffers. ♥️💚🤍
Disclosure: Some of the links on my site are affiliate links, meaning, at no additional cost to you, I will earn a small commission if you click through and make a purchase. As an Amazon Associate I earn from qualifying purchases.
I used I Love This Cotton yarn in Red, Bright Green, and White with an H/5mm crochet hook to stitch up my dishcloths. You can find the pattern below along with links to free PDFs – one with photos and one without – if you’d like to easily print it.
Crochet Christmas Grit Stitch Dishcloth
Worsted weight (4) cotton yarn – I used I Love This Cotton in White, Red, and Bright Green
H/5mm crochet hook
Stitches used in US terms:
Chain – ch
Single Crochet – sc
Slip Stitch – ss
Chain 23
Row 1: sc in the back loop of the 2nd chain from hook and in each ch across. ch 1 and turn. (22 stitches)
Rows 2-20: sc in first stitch. *Skip 1 stitch, work 2 sc in next stitch.* Repeat from * to * across to the last stitch. sc in last stitch. ch 1 and turn. (22 stitches)
Row 21: sc in each stitch across. (22 stitches)
Do not turn at the end of the last row.
Border:
Begin working in rounds.
Round 1: ch 1. sc evenly around, working 3 sc in each corner. Join with ss to 1st sc.
Round 2: ch 1. sc in each stitch around, working 3 sc in each corner. Join with ss to 1st sc.
Fasten off and weave in ends.
Finished dishcloth measures about 6.25 by 6.25 inches.
For gifting, I fold up my Crochet Christmas Grit Stitch Dishcloths and add a simple label wrap around them. I’ve created a free PDF for the label wrap and you can find it at the link below.
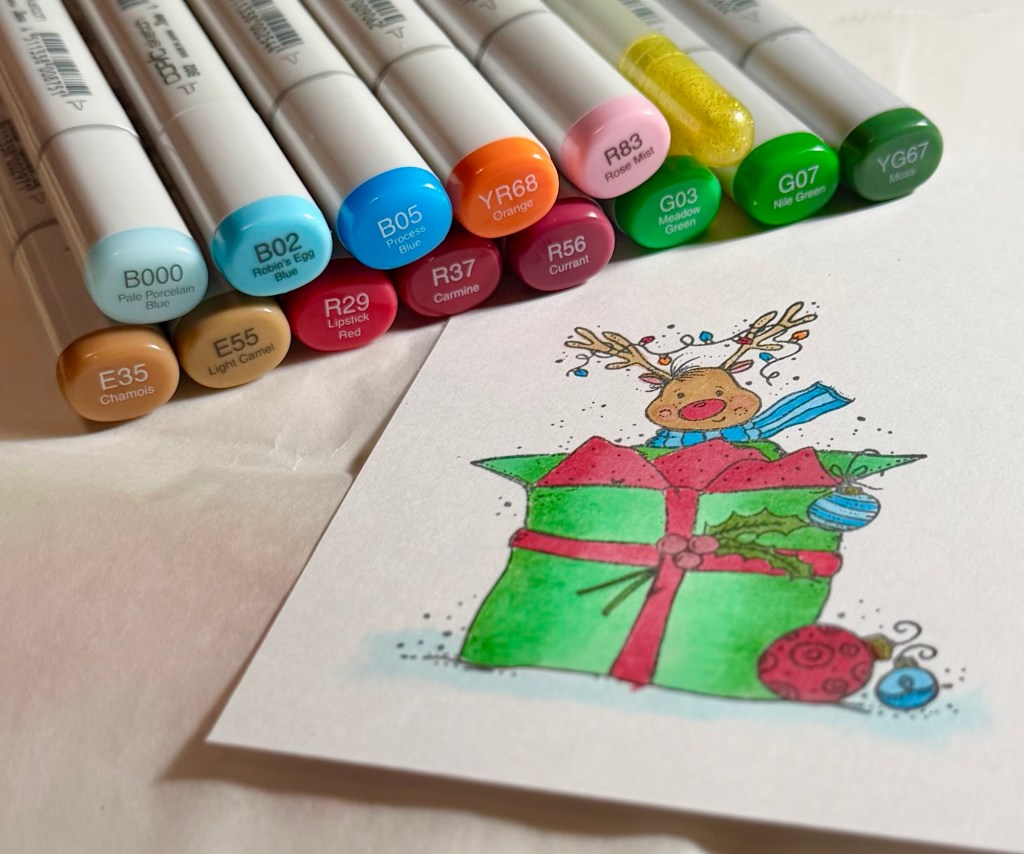
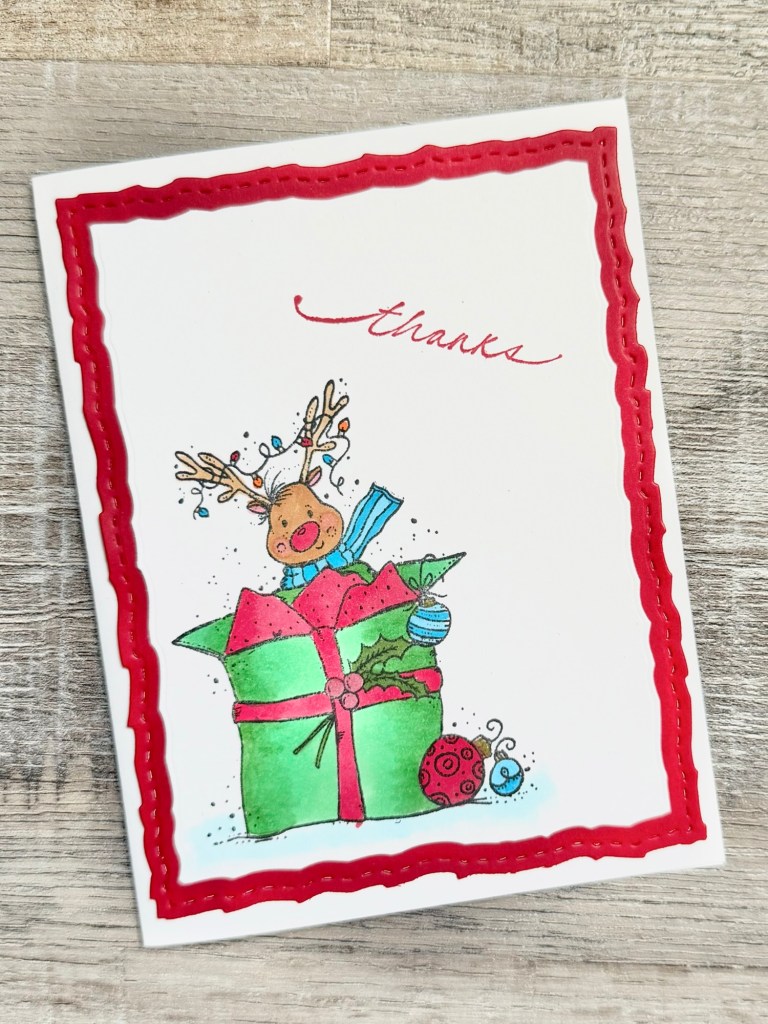
I have a sweet Christmas thank you card to share with you today. The reindeer is fun to color and the card comes together quickly. 🎄
Disclosure: Some of the links on my site are affiliate links, meaning, at no additional cost to you, I will earn a small commission if you click through and make a purchase. As an Amazon Associate I earn from qualifying purchases.
The stamp set is called Here for the Holidays from Unity Stamp Company. I stamped the reindeer with Memento Tuxedo Black Ink on white card stock and colored it with Copic markers. I stamped “thanks” with red ink at an angle on the panel. My stamp is an older one that is discontinued, use your favorite thank you stamp from your collection.
I used these Deckle & Stitches Nesting Dies to die cut around the reindeer. I layered it to red card stock die cut with the same set. The piece is attached to a white card.
Such a cute way to say thank you for those special Christmas gifts. 🎄🎁
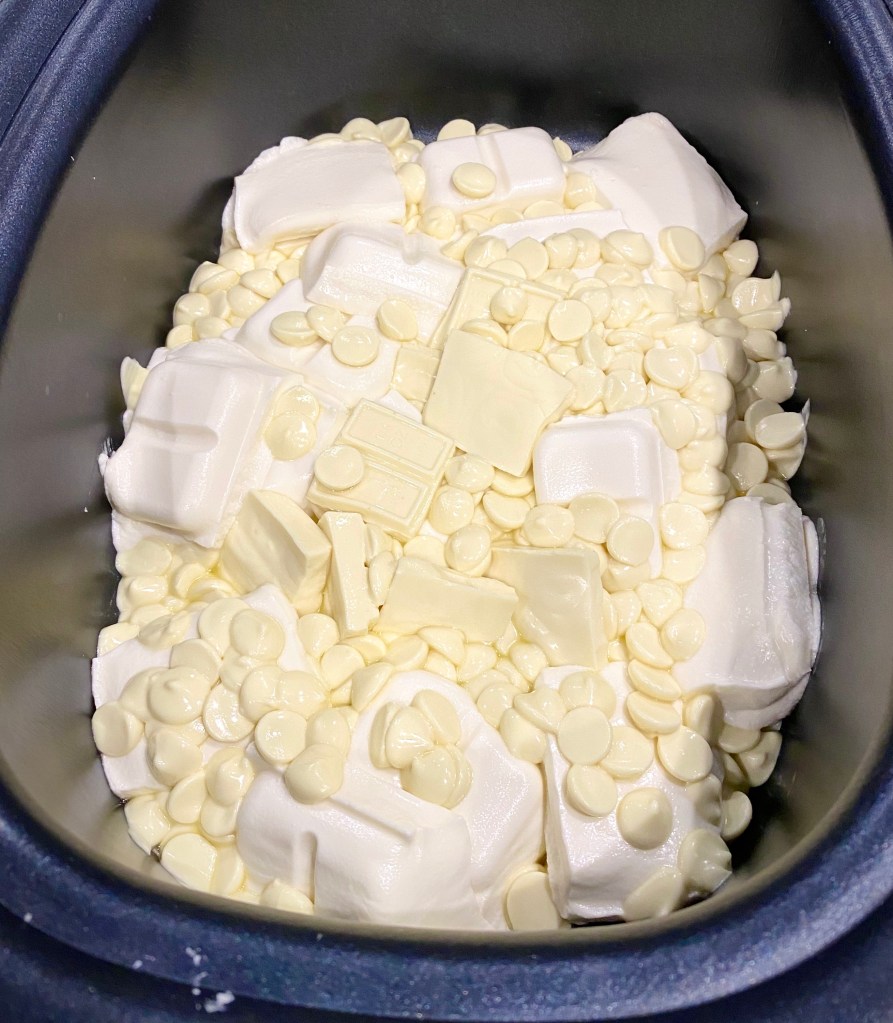
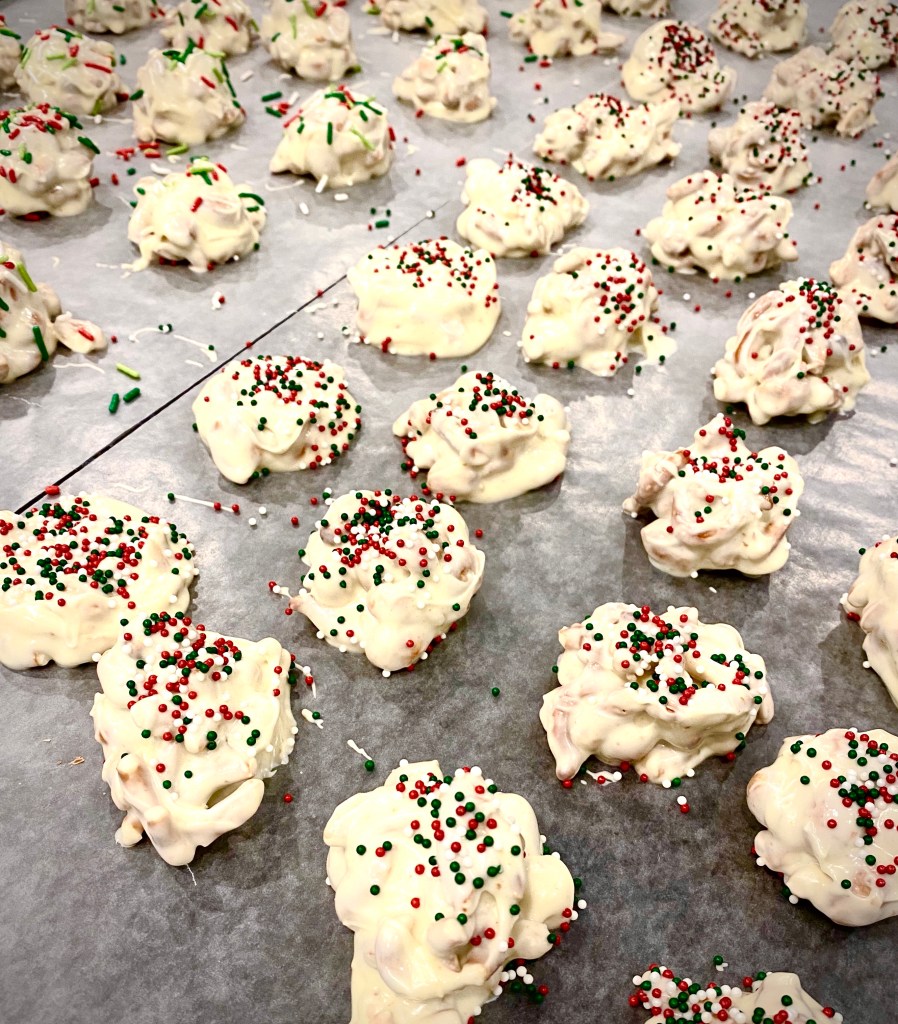
You put all the white chocolate goodness in your slow cooker and walk away for an hour! You can go wrap those last minute gifts while you’re waiting for everything to melt. 🙂
Disclosure: Some of the links on my site are affiliate links, meaning, at no additional cost to you, I will earn a small commission if you click through and make a purchase. As an Amazon Associate I earn from qualifying purchases.
This is what it looks like after an hour on low in the slow cooker.
Stir it all together until it is smooth.
Add in the peanuts and pretzel pieces.
Drop by spoonfuls onto wax paper and add sprinkles. They set up pretty quickly!
These aren’t just for Christmas – change the color of sprinkles for Valentine’s Day, Easter, or Halloween. So easy and so yummy – good for anytime of the year! 🙂
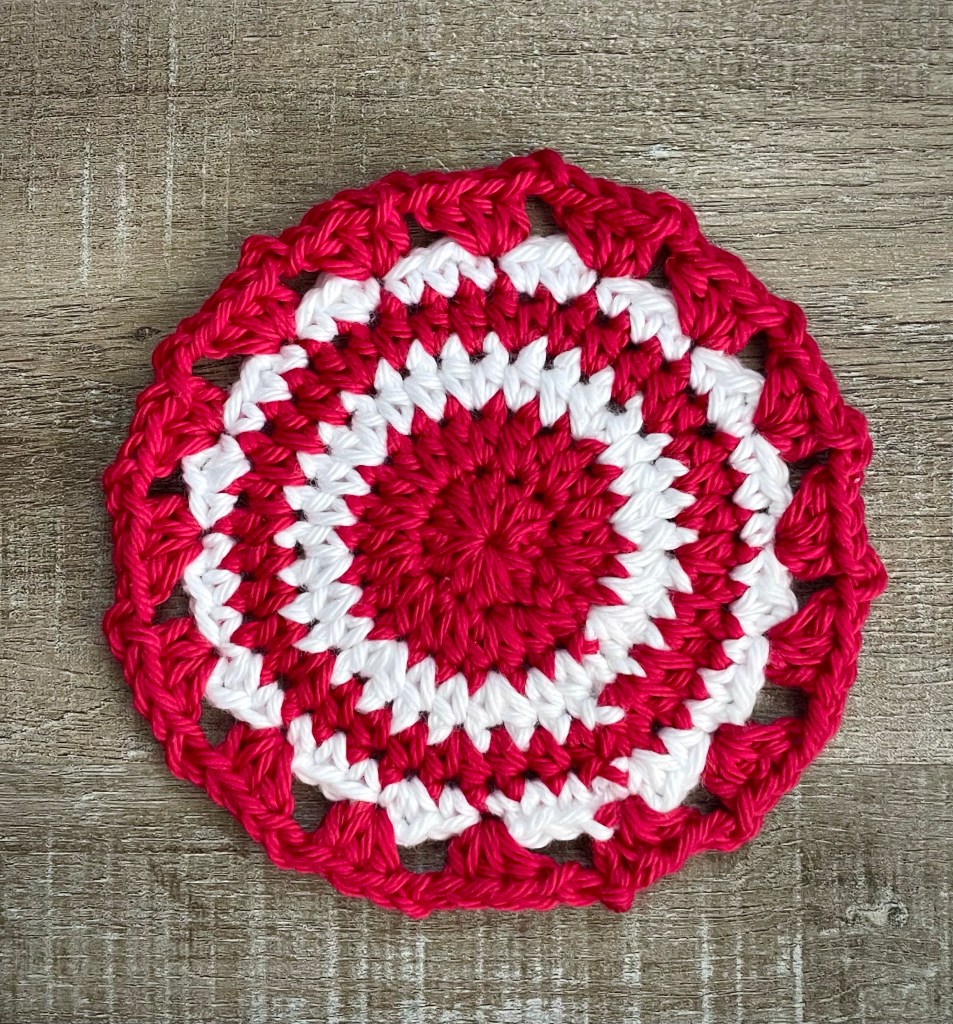
It’s candy cane season! These Candy Cane Inspired Crochet Coasters are easy to make and are so fun to add to your decor – and to protect your table at the same time. 😊
Disclosure: Some of the links on my site are affiliate links, meaning, at no additional cost to you, I will earn a small commission if you click through and make a purchase. As an Amazon Associate I earn from qualifying purchases.
The coasters are stitched up using I Love This Cotton yarn with an H/5mm hook. The pattern is below and I’ve included links to free PDFs – one with photos and one without – if you’d like to easily print it.
Candy Cane Inspired Crochet Coasters
Worsted weight cotton yarn in Red and White (I used I Love This Cotton yarn)
H/5mm hook
Stitches used (US terms):
Chain – ch
Slip Stitch – ss
Single Crochet – sc
Half Double Crochet – hdc
Note: Chains at the beginning of each round do not count as stitches (except in round 6).
Make a magic ring with color Red. Ch 2.
Round 1: Work 12 hdc in ring. Join with ss to first hdc. Pull ring tight. (12 stitches)
Round 2: Ch 2. Work 2 hdc in same stitch as ss and each stitch around. Join with ss to first hdc. (24 stitches)
Change to White.
Round 3: Ch 2. Work 2 hdc in same stitch as ss, hdc in next 2 stitches. *2 hdc in next stitch, hdc in each of next 2 stitches* Repeat from * to * around. Join with ss to first hdc. (32 stitches)
Change to Red.
Round 4: Ch 2. Work 2 hdc in same stitch as ss, hdc in next 3 stitches. *2 hdc in next stitch, hdc in each of next 3 stitches* Repeat from * to * around. Join with ss to first hdc. Change to color B. (40 stitches)
Change to White.
Round 5: Ch 1. Work 2 sc in same stitch as ss. Sc in next 4 stitches. *2 sc in next stitch, 1 sc in each of next 4 stitches* Repeat from * to * around. Join with ss to first sc. (48 stitches)
Change to Red.
Round 6: Ch 2. (counts as first stitch) Work 2 hdc in same stitch as ss, ch 2. *Skip 2 stitches, 3 hdc in next stitch, ch 2* Repeat from * to * around. Join with ss to top of beginning ch 2. (16 hdc clusters and 16 ch 2 spaces).
These will look so cute on your holiday table! They would also make a fun gift. Stitch up a set of 4 or 6 and add them to a basket with some cute mugs. Include some Homemade Hot Cocoa Mix, teas, or coffees – and don’t forget the candy canes! 😉
Disclosure: Some of the links on my site are affiliate links, meaning, at no additional cost to you, I will earn a small commission if you click through and make a purchase. As an Amazon Associate I earn from qualifying purchases.
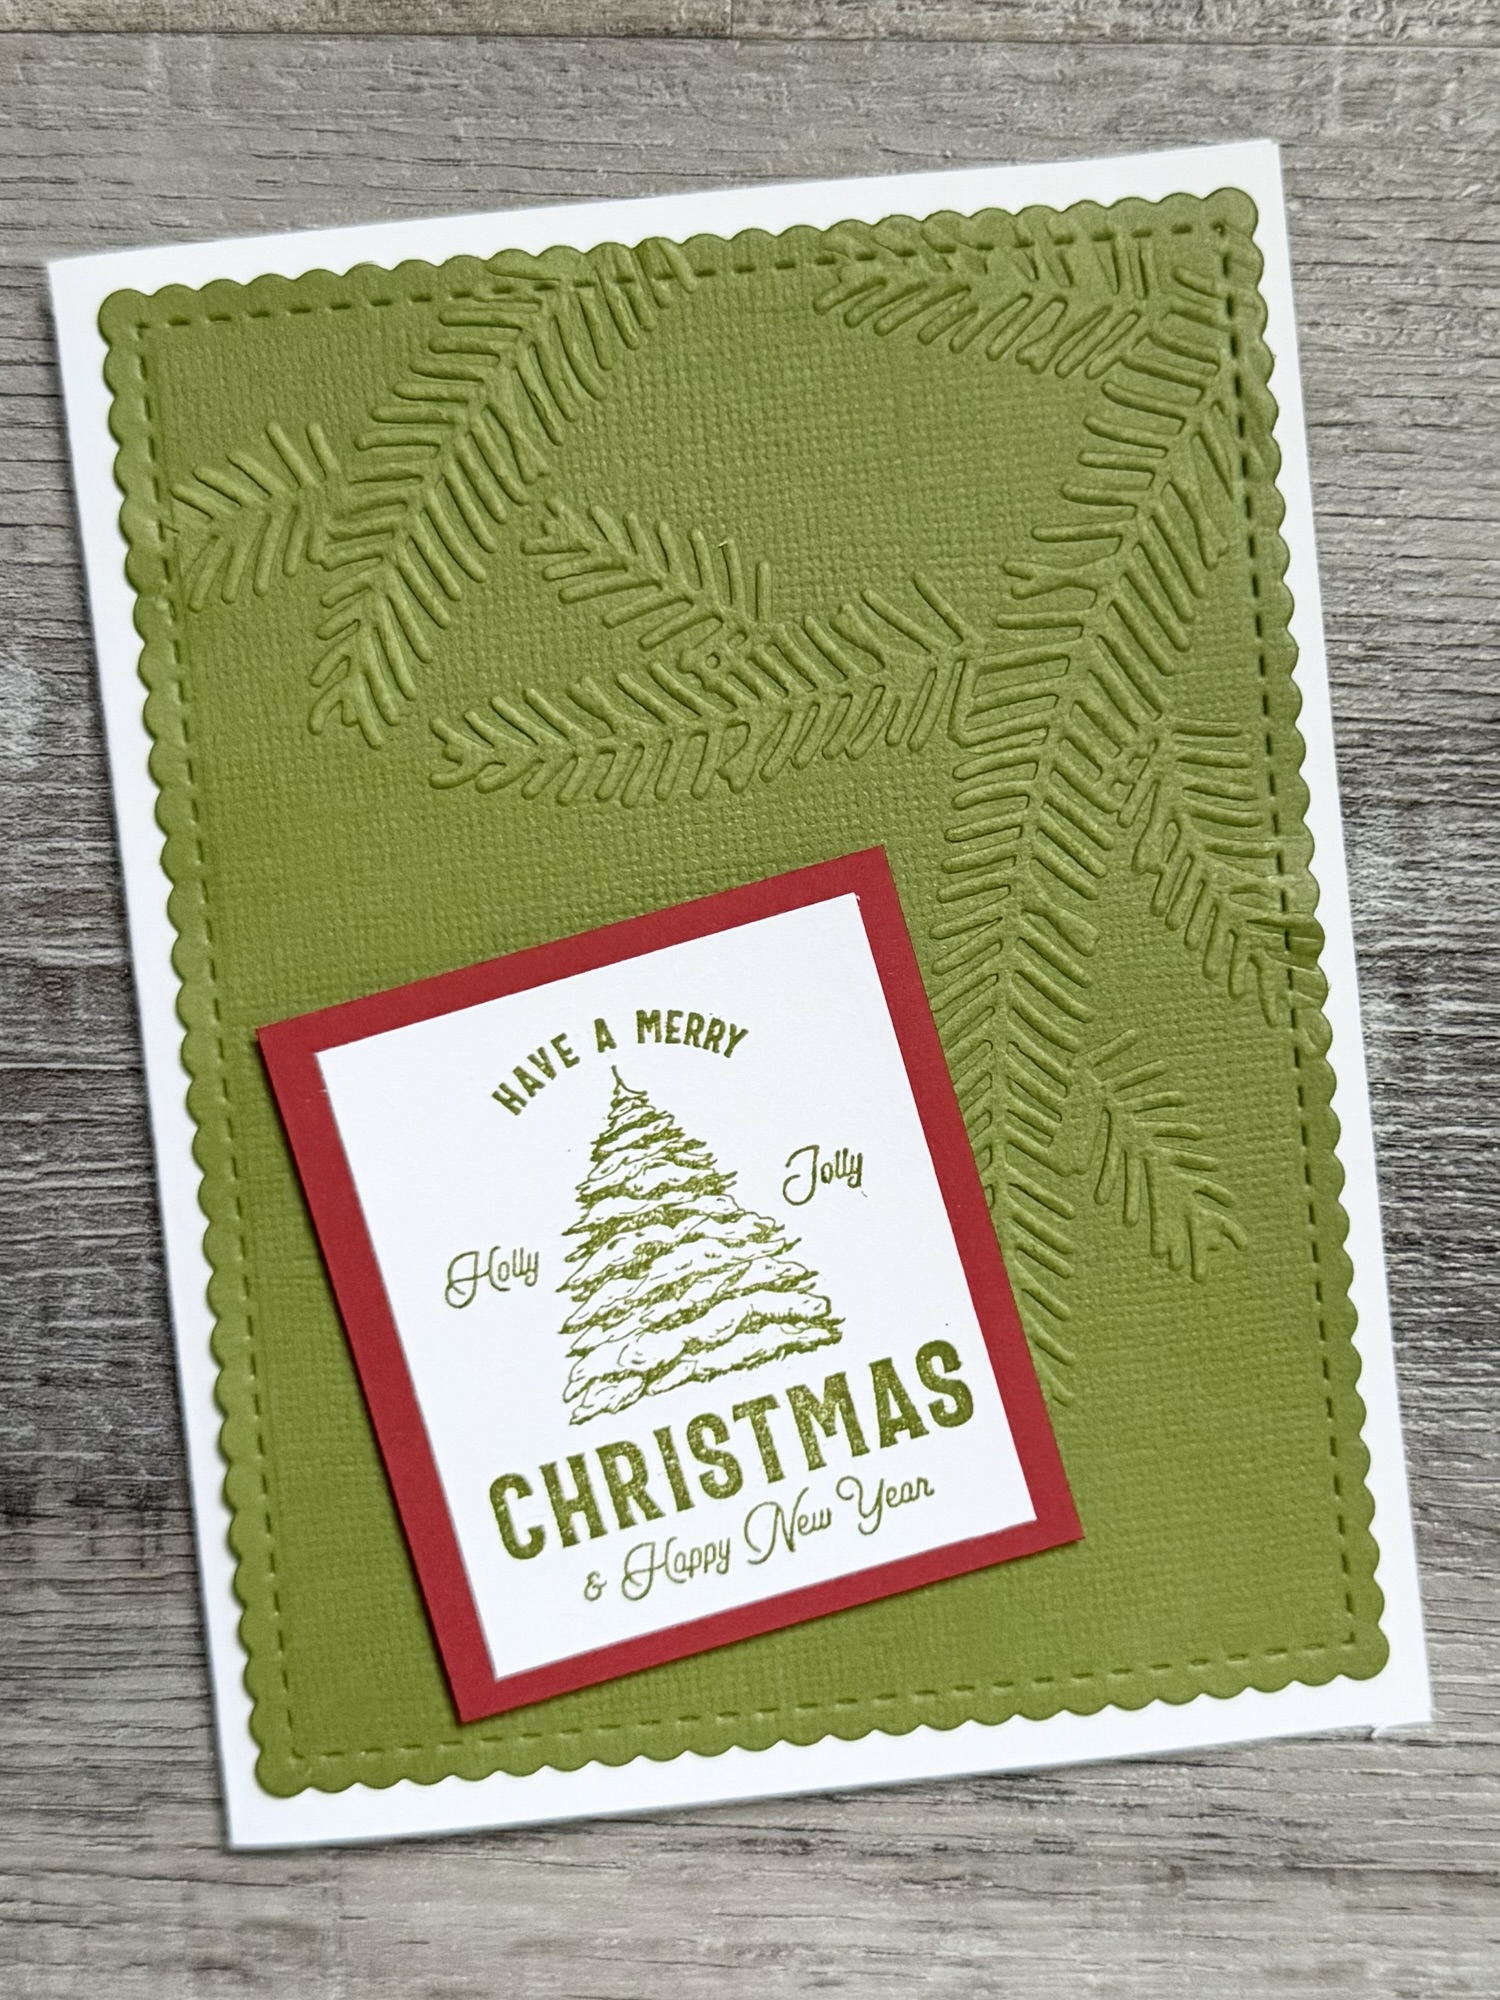
I embossed a piece of green card stock using a pine bough embossing folder (similar to this). Then using these Scallops & Rectangles Nesting Dies, I die cut the piece. I attached it to a white card and then attached the stamped piece to the card using foam tape.
This is a super simple card to make that comes together quickly. 🎄
December can get crazy with getting ready for Christmas – decorating, parties, shopping, wrapping gifts, preparing to travel, and so many other things! 🎄
Disclosure: Some of the links on my site are affiliate links, meaning, at no additional cost to you, I will earn a small commission if you click through and make a purchase. As an Amazon Associate I earn from qualifying purchases.
This Chicken and Wild Rice Casserole is simple to make and great for a weeknight dinner in all the busy-ness of the season. It only has a few ingredients and comes together quickly. You can find the recipe here.
I used a couple of chicken breasts and cut them into bite-sized pieces before mixing it together with the other ingredients instead of using chicken breast tenderloins. The recipe makes a 9 by 13 pan, but I split mine into 2 eight inch square pans and shared one with a friend.
I roasted some yummy veggies in the oven while the casserole was baking for a tasty dinner. Adding some warm artisan bread would be great, too. 😋
The Crochet Suzette Stitch has such a beautiful texture. It can be used to stitch up so many wonderful projects. I stitched up some quick coasters with this pretty stitch and you can find the pattern below.
Disclosure: Some of the links on my site are affiliate links, meaning, at no additional cost to you, I will earn a small commission if you click through and make a purchase. As an Amazon Associate I earn from qualifying purchases.
For my coasters, I used I Love This Cotton yarn in Royal and White with a G/4mm crochet hook. The pattern is below along with links to free PDFs – one with photos and one without – if you’d like to easily print it.
Crochet Suzette Stitch Coasters
Cotton worsted weight yarn – I used I Love This Cotton in Royalty and White
G/4mm crochet hook
Stitches used in US terms:
Chain – ch
Single Crochet – sc
Double Crochet – dc
Chain 18.
Row 1: sc, dc in 2nd stitch from hook. Skip next ch. *sc, dc in next ch, skip next ch* Repeat from * to * across to last 2 ch. Skip next ch, sc in last ch. Turn. (17 stitches)
Row 2: ch 1. (Does not count as a stitch.) sc, dc in first stitch. *Skip next stitch. sc, dc in next stitch* Repeat from * to * across to last 2 stitches. Skip next stitch, sc in last stitch. Turn. (17 stitches)
Repeat Row 2 until coaster measures about 4.25 inches.
Fasten off and weave in ends.
Finished coaster measures about 4.25 by 4.25 inches.
Happy Thanksgiving to all of my friends and family in the United States! 🦃🥧🧡
I hope you are able to spend some time with those you love eating some yummy food and just enjoying being together.
Disclosure: Some of the links on my site are affiliate links, meaning, at no additional cost to you, I will earn a small commission if you click through and make a purchase. As an Amazon Associate I earn from qualifying purchases.
I wanted to pop in and say how thankful I am for each one of you who take a moment out of your day to view, comment, like, and share my blog posts. I really enjoy sharing my creations with you and each interaction I receive from you makes me smile. 😊
The card above is a simple way to say Happy Thanksgiving and to show off the colors of the season. 🍁🍂🍁
Here are the details for the card. The giant leaf is from the stamp set called Letting Go from Unity Stamp Company. My swoosh stamp is discontinued – it’s from the stamp set called Work of Art from Stampin’ Up from a long time ago, although I have seen it available on Ebay.😉 You can also get the same effect by taking small square ink cubes and “dragging” them across your card stock.
I stamped the swoosh on white card stock in 4 different colors and then stamped the leaf over it using Memento Tuxedo Black ink. I used my Misti stamping tool so I could stamp the leaf twice to get a good, dark image.
I used these Deckle & Stitches Nesting Dies to cut around the image. I embossed a piece of green card stock with a dotted embossing folder, die cut it with the same die set, and attached it to a white card. Then I attached the stamped piece to the card. To finish the card, I added 3 light green Dew Drops. You could also use clear resin beads instead.
Thank you all so much for all the love you show Creatingme! It really does mean the world to me. 🥰
Disclosure: Some of the links on my site are affiliate links, meaning, at no additional cost to you, I will earn a small commission if you click through and make a purchase. As an Amazon Associate I earn from qualifying purchases.