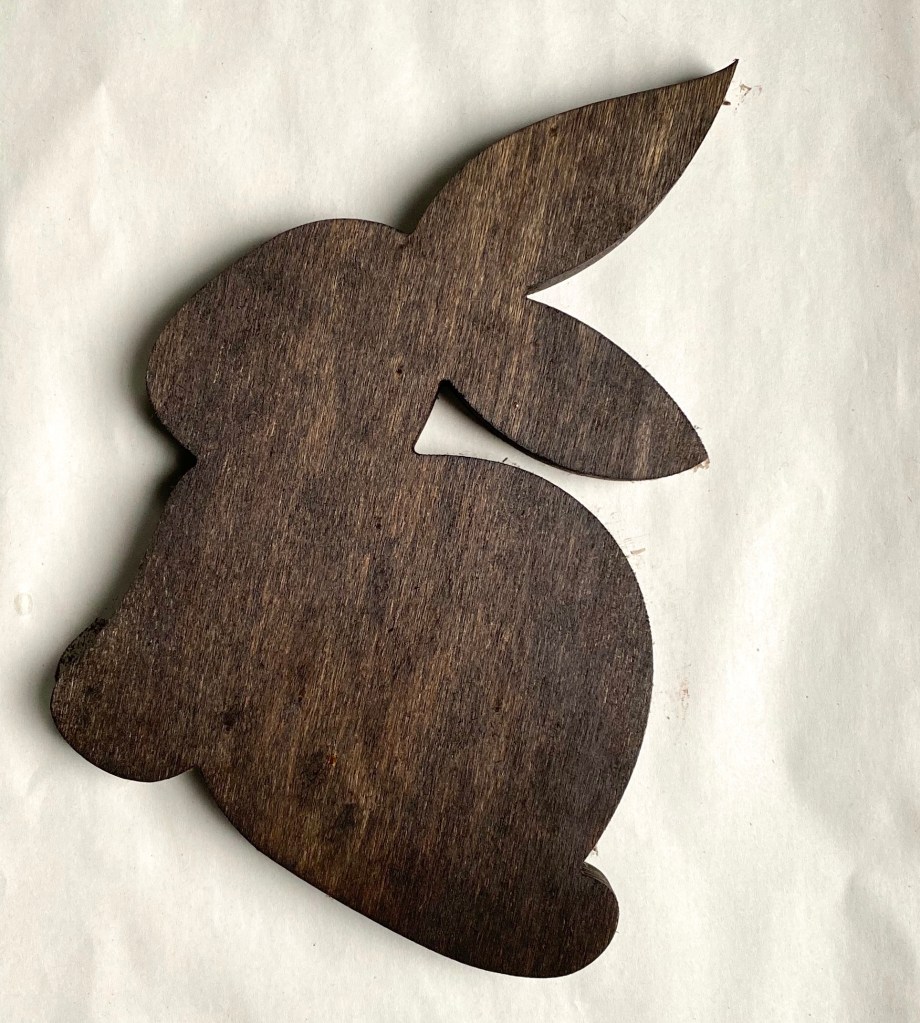
I found this cute, chunky wood bunny at Hobby Lobby and knew I had to bring her home to play. 🐰
I started by brushing on some espresso stain I had left over from another project and wiping the excess off with a soft cloth. Then I brushed on some Americana DecoArt Chalky Finish paint in Everlasting (white). I didn’t cover the surface completely because I wanted some of the stained finish to show through to give it that rustic feel.
Disclosure: Some of the links on my site are affiliate links, meaning, at no additional cost to you, I will earn a small commission if you click through and make a purchase. As an Amazon Associate I earn from qualifying purchases.
Here’s the bunny after I brushed on the stain.
Here she is after brushing on the white chalk paint.
I’m terrible at making bows so you can imagine my excitement when I found this super easy way to make bows at Re-fabbed – so simple even I can do it! 😉 I made the bow using 5 different ribbons and hot glued it to her neck. To finish her, I added a 1-inch white pom pom to her tail.
Such a cute and easy addition to your Easter (or everyday) decor!
Disclosure: Some of the links on my site are affiliate links, meaning, at no additional cost to you, I will earn a small commission if you click through and make a purchase. As an Amazon Associate I earn from qualifying purchases.
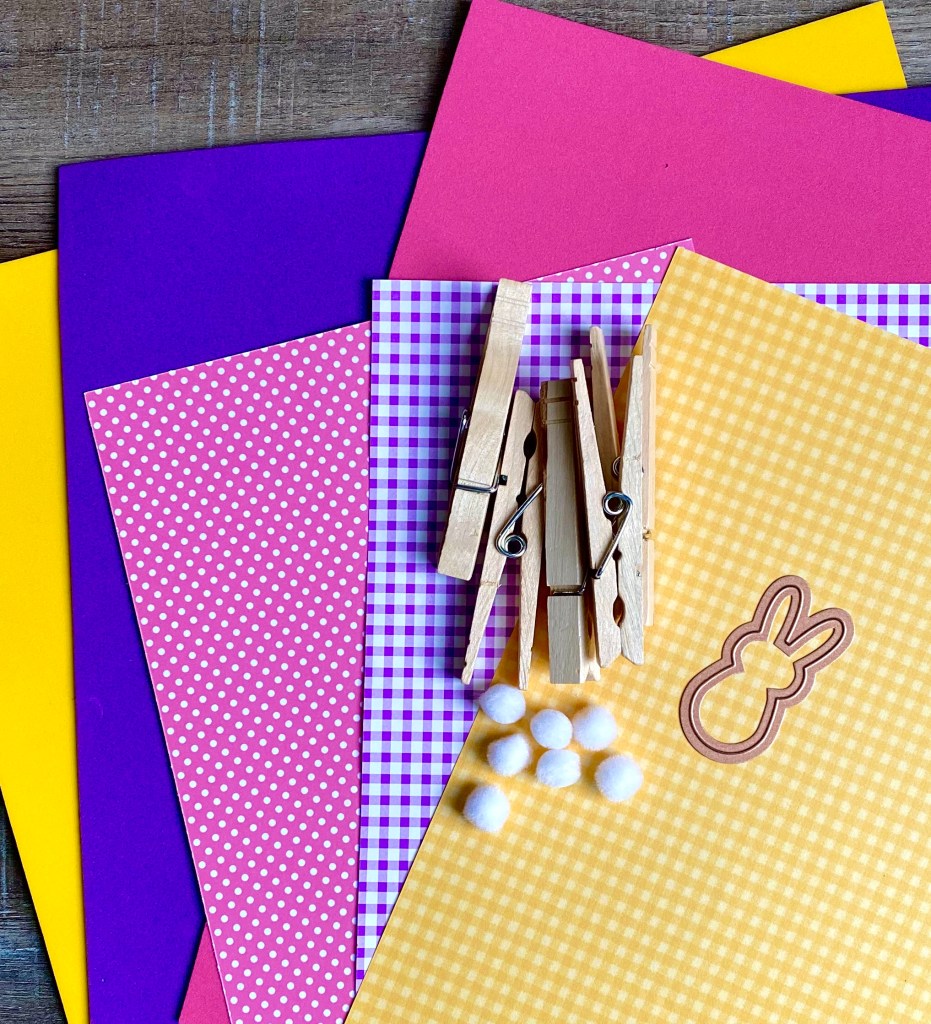
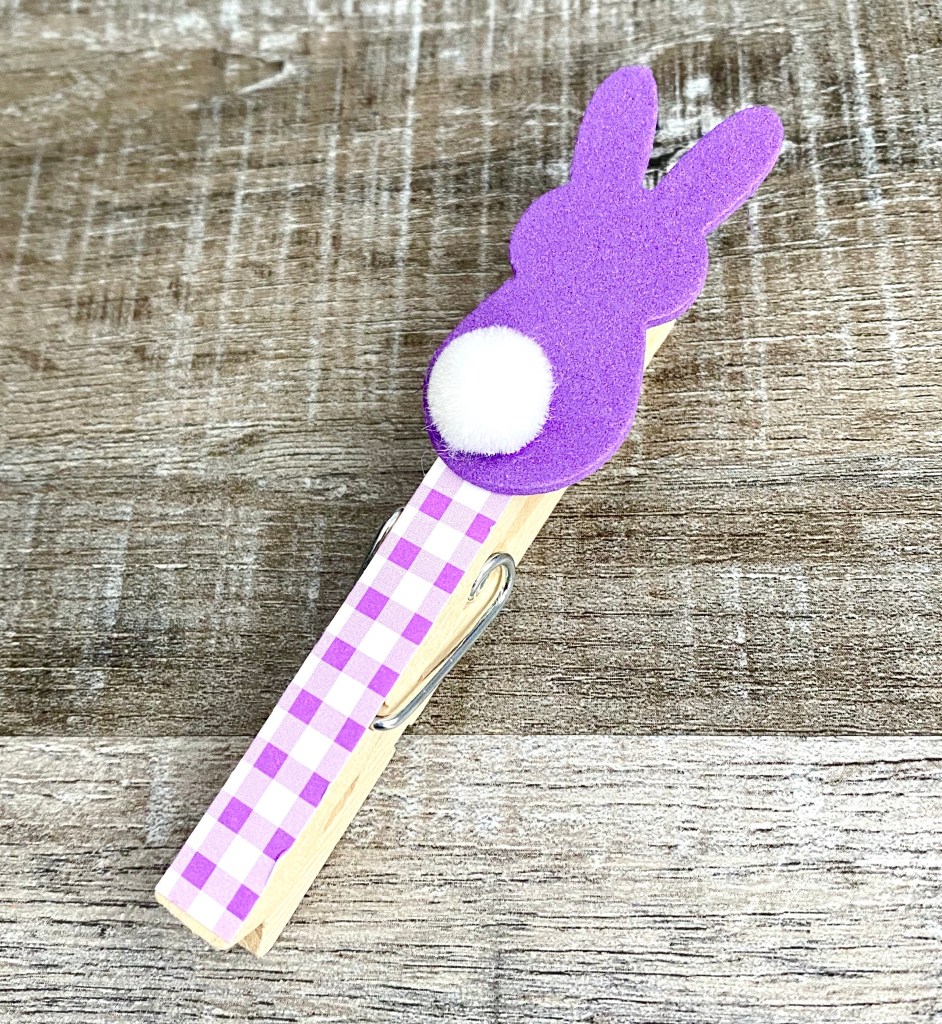
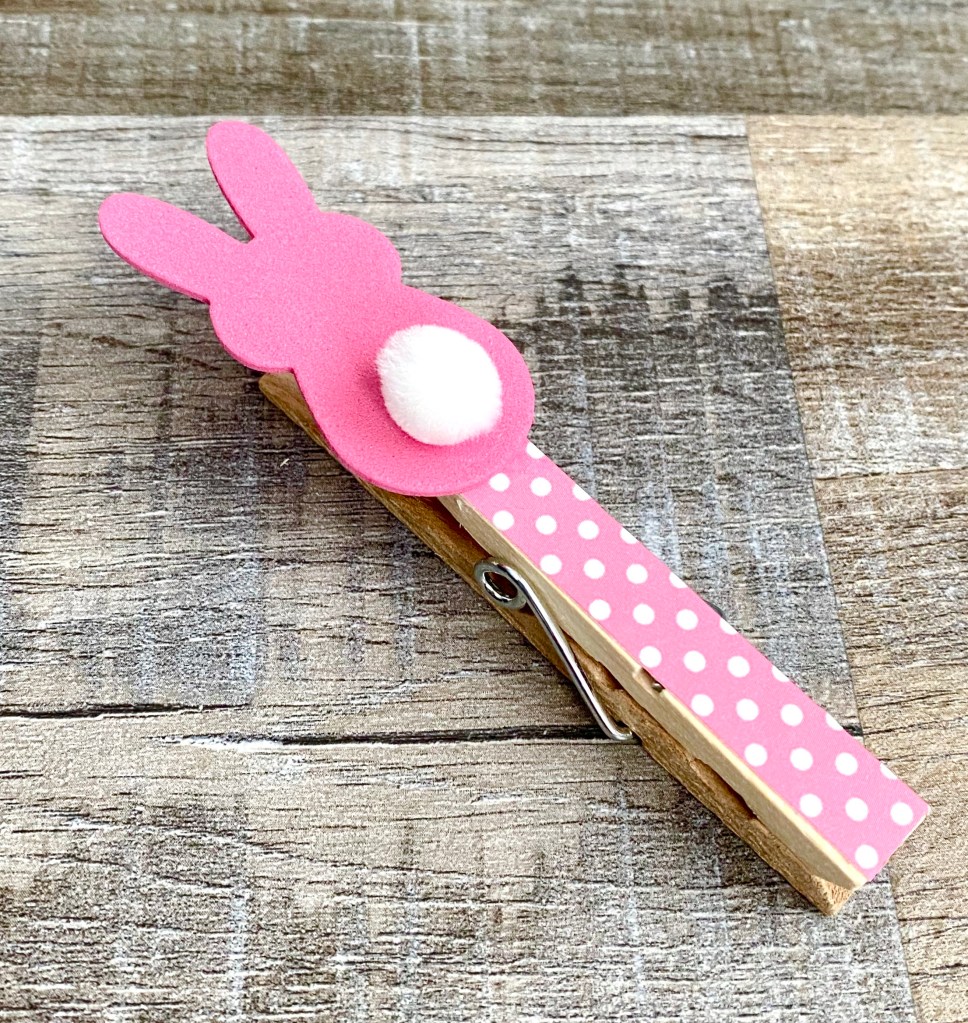
Cut strips of scrapbook paper to fit the clothespins and glue them to the clothespins. I used this tape runner that I use for all of my paper crafting, but white craft glue or Mod Podge would work as well. Die cut the bunnies from the fun foam and attach to the clothespins. I used the same tape runner to glue on the bunnies. Attach a white pom pom for their cute little tails. I found the best adhesive for this was clear E6000 glue. It seemed to work best adhering the two materials together.
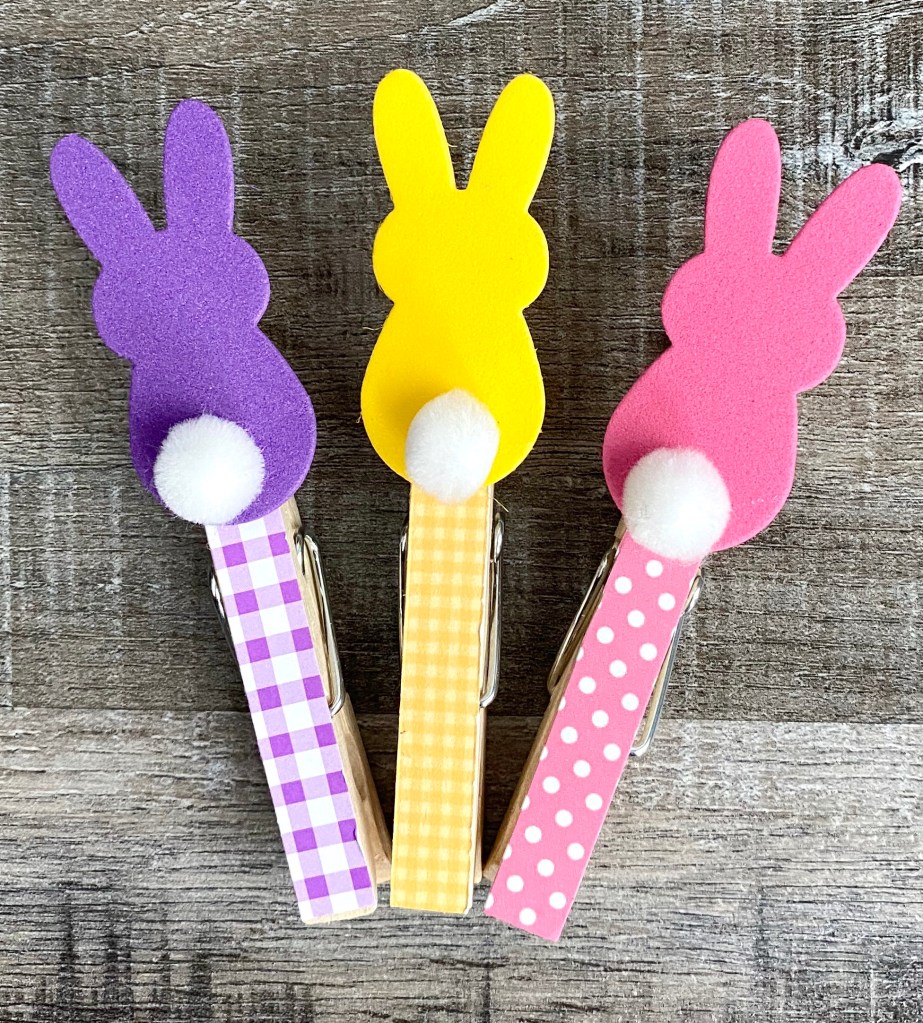
I made about 45 of these in just a couple of hours – they come together so quickly! I’m planning to use these cute Bunny Clips on Easter treat bags. They would also be cute attached to Easter baskets or would be fun to hold place cards on your Easter table. Or maybe clipped onto a napkin ring. What will you use them for?
Unity Stamp Company has done it again! They have THE BEST stamp sets and this one does not disappoint! It’s called A Little Mousy and includes 5 adorable little mice for different occasions along with 5 tiny sentiments and 3 extra accessory stamps.
I used the cute little mouse with the balloon to create this quick and easy birthday card.
Disclosure: Some of the links on my site are affiliate links, meaning, at no additional cost to you, I will earn a small commission if you click through and make a purchase. As an Amazon Associate I earn from qualifying purchases.
I stamped the sentiment, which is from the Hoppy & Hedgie set by Unity Stamp Company, with green ink on white card stock and trimmed it close. I added a piece of patterned paper to a turquoise card. Both the stamped mouse and the sentiment are added to the card with foam tape.
You can make so many cards for different occasions with this set – everything from Christmas to Birthday to New Baby and more! You can see a Christmas thank you card that I made with this set in this post.
You can never have too many dishcloths! 🙂 This pattern is quick and easy to make – perfect for beginners and great to use up cotton yarn leftover from other projects. They also make great little gifts. Tie them up with a pretty ribbon and add a small bottle of dishsoap to a cute basket or bag.
(Looking for new, easy on your hands crochet hooks? These Clover Hooks are my favorite!)
Disclosure: Some of the links on my site are affiliate links, meaning, at no additional cost to you, I will earn a small commission if you click through and make a purchase. As an Amazon Associate I earn from qualifying purchases.
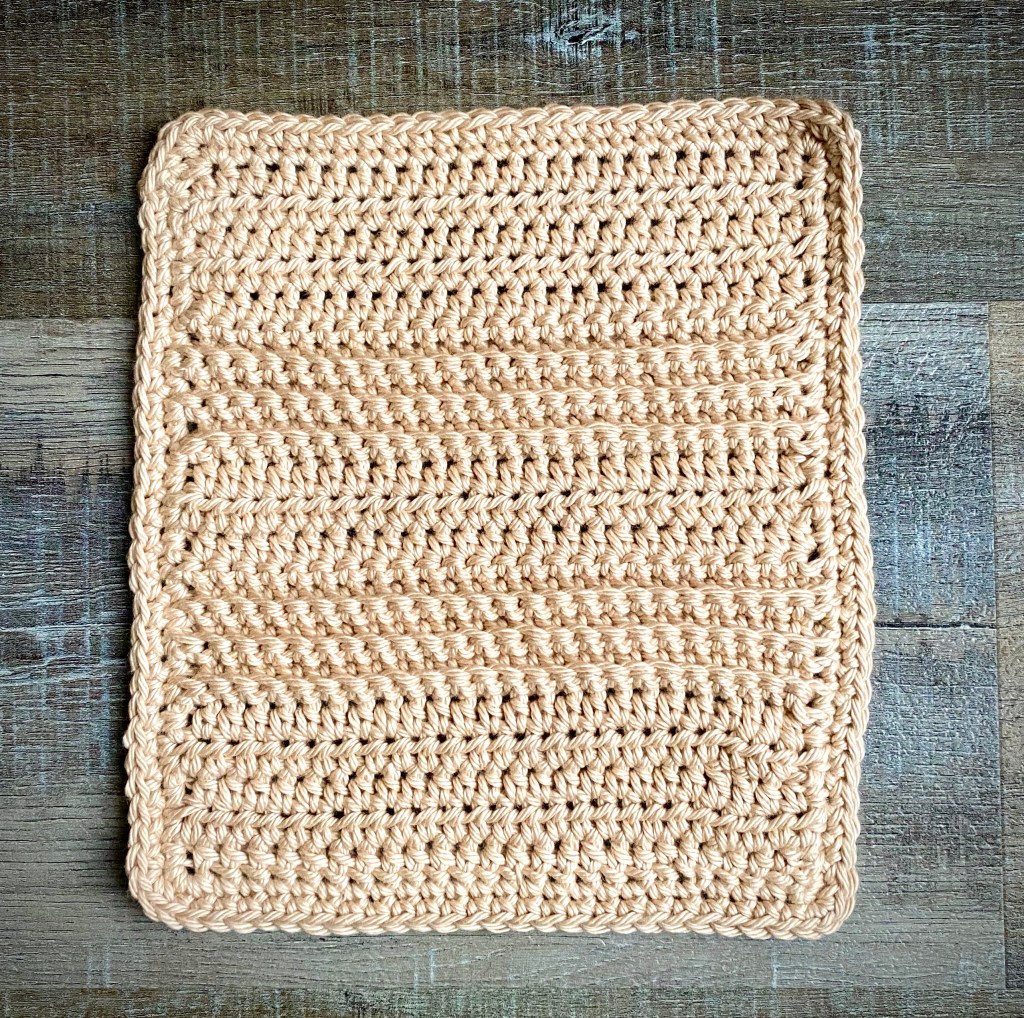
Here’s my pattern. You’ll also find a link to a pdf below for easy printing!
Quick and Easy Crochet Dishcloth
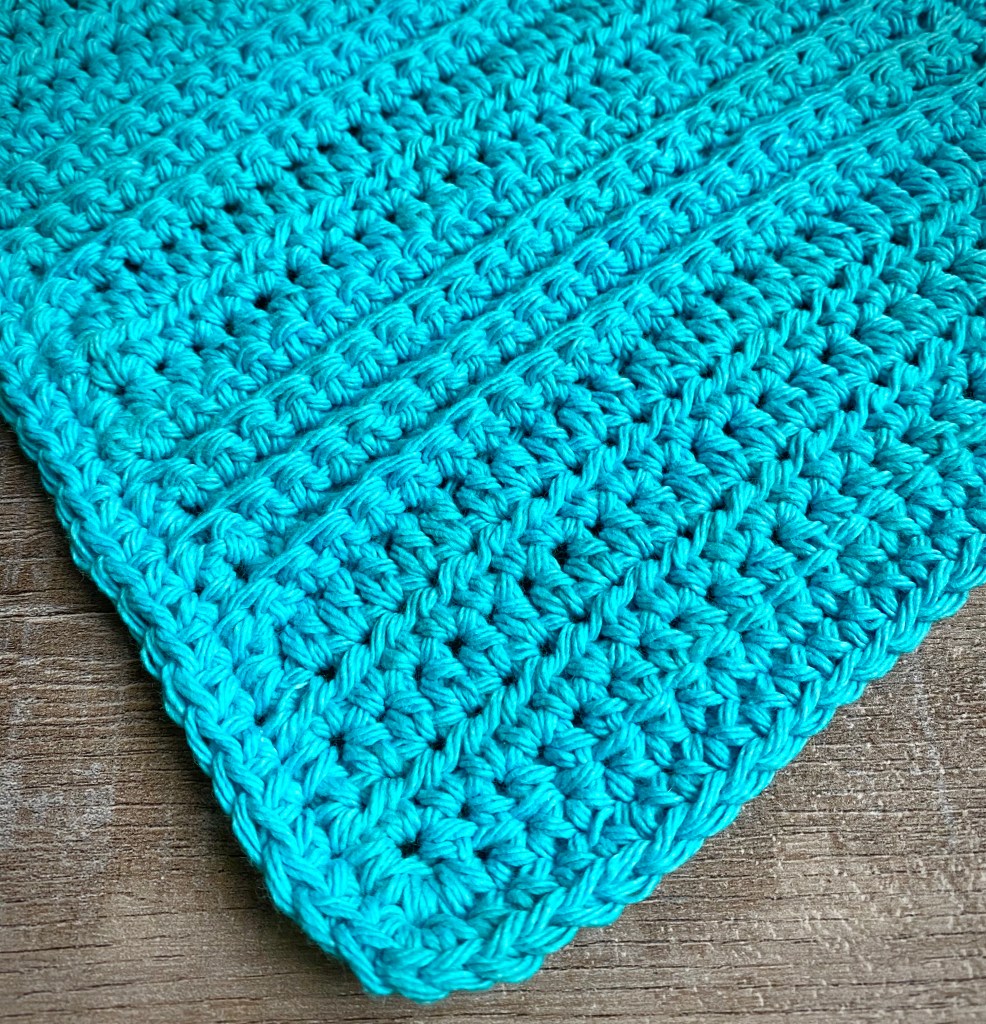
Worsted weight cotton yarn – I used I Love This Cotton in Antique Cream and Lily Sugar ‘n Cream in Mod Blue
H/5mm hook
Stitches used US terms:
Chain – ch
Foundation half double crochet – fhdc
Half double crochet – hdc
Single crochet – sc
Back loop only – blo
Slip stitch – ss
Note: chain does not count as a stitch.
Row 1: work 25 fhdc. Turn. (25 stitches)
Rows 2-5: ch 1. hdc in each stitch across. Turn. (25 stitches)
Rows 6-12: ch 1. Working in blo, sc in each stitch across. Turn. (25 stitches)
Rows 13-15: ch 1. Working in both loops, hdc in each stitch across. Turn. (25 stitches)
Rows 16-22: ch 1. Working in blo only, sc in each stitch across. Turn. (25 stitches)
Rows 23-26: ch 1. Working in both loops, hdc in each stitch across. Turn. (25 stitches)
Row 27: ch 1. Working in both loops, hdc in each stitch across. Do Not Turn. (25 stitches)
Border:
Round 1: ch 1. Sc evenly around, working 3 sc in each corner. Join with ss to first sc. Do Not Turn.
Round 2: ch 1. Sc evenly around, working 3 sc in each corner. Join with ss to first sc.
Using I Love This Cotton yarn makes a dishcloth that measures about 7-1/2 by 8-1/2 inches. Lily Sugar and Cream cotton yarn makes a slightly larger dishcloth that measures about 8 by 9 inches.
Make a set of these in your favorite colors to match your kitchen – or to give as a gift.
I have the cutest little Koala Bear birthday card to share with you today! 🎈
This adorable little guy is from the Koala-ty Friend stamp set by Unity Stamp Company. The set includes another sweet Koala stamp – a mama hugging her baby, tiny birds, and 2 sentiments. (The birthday sentiment I used on the card is not from this set. It’s one I’ve had for a long time – I’m not sure what company it is from. 🤷🏼♀️)
Disclosure: Some of the links on my site are affiliate links, meaning, at no additional cost to you, I will earn a small commission if you click through and make a purchase. As an Amazon Associate I earn from qualifying purchases.
I stamped the birthday sentiment with red ink on white card stock, die cut it with a scalloped oval, and layered it to an oval die cut from turquoise card stock. If you are looking for scalloped oval dies, this is a great set. And here’s a good oval set.
I designed this Simple Stripes Crochet Baby Blanket for a sweet baby boy. It’s crocheted using simple stitches so it’s perfect for beginners as well as seasoned crocheters. Once you get the pattern going, you can binge on your favorite Netflix show while you stitch away. 🙂
I made this blanket with a lighter worsted weight yarn. You can use whatever weight yarn you would like – just adjust the hook to match the yarn. If you use a heavier weight yarn, you may want to start with fewer stitches in the first row unless you want your finished blanket to be larger.
Disclosure: Some of the links on my site are affiliate links, meaning, at no additional cost to you, I will earn a small commission if you click through and make a purchase. As an Amazon Associate I earn from qualifying purchases.
Disclosure: Some of the links on my site are affiliate links, meaning, at no additional cost to you, I will earn a small commission if you click through and make a purchase. As an Amazon Associate I earn from qualifying purchases.
It seems like I have been asked to bring desserts to all of our get togethers in the last couple of months. 😋I don’t really mind – I do like to bake and try new sweet recipes. And it also lets me share another yummy treat with you!
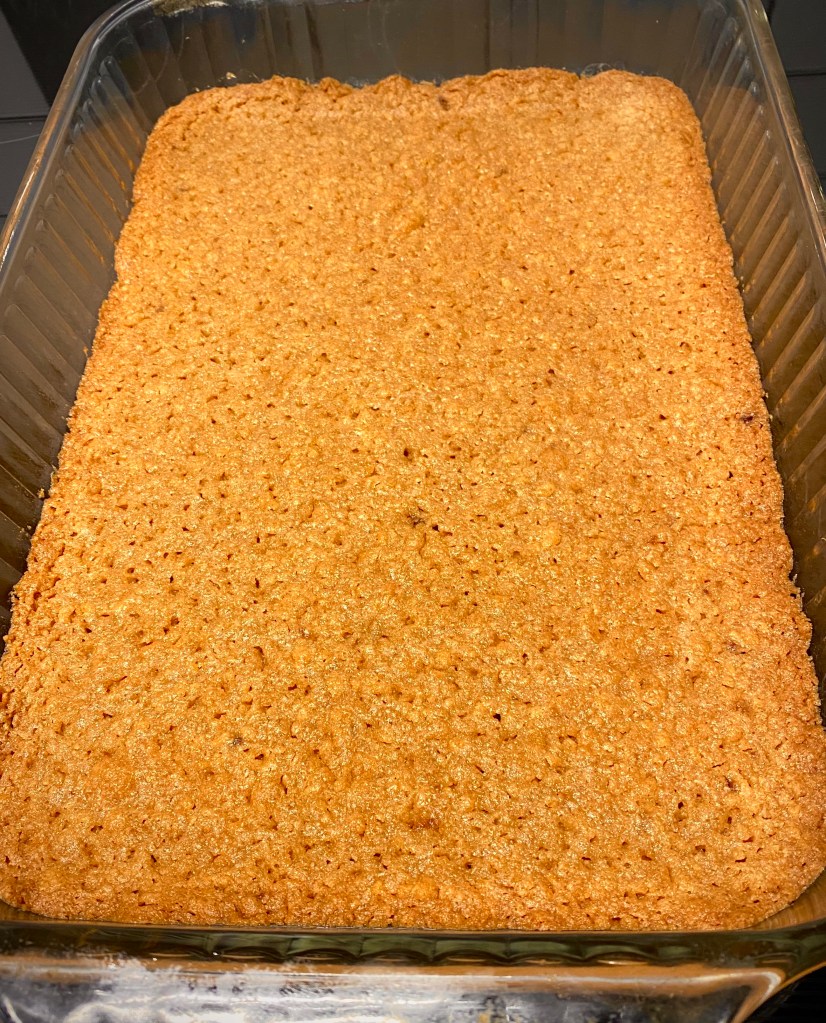
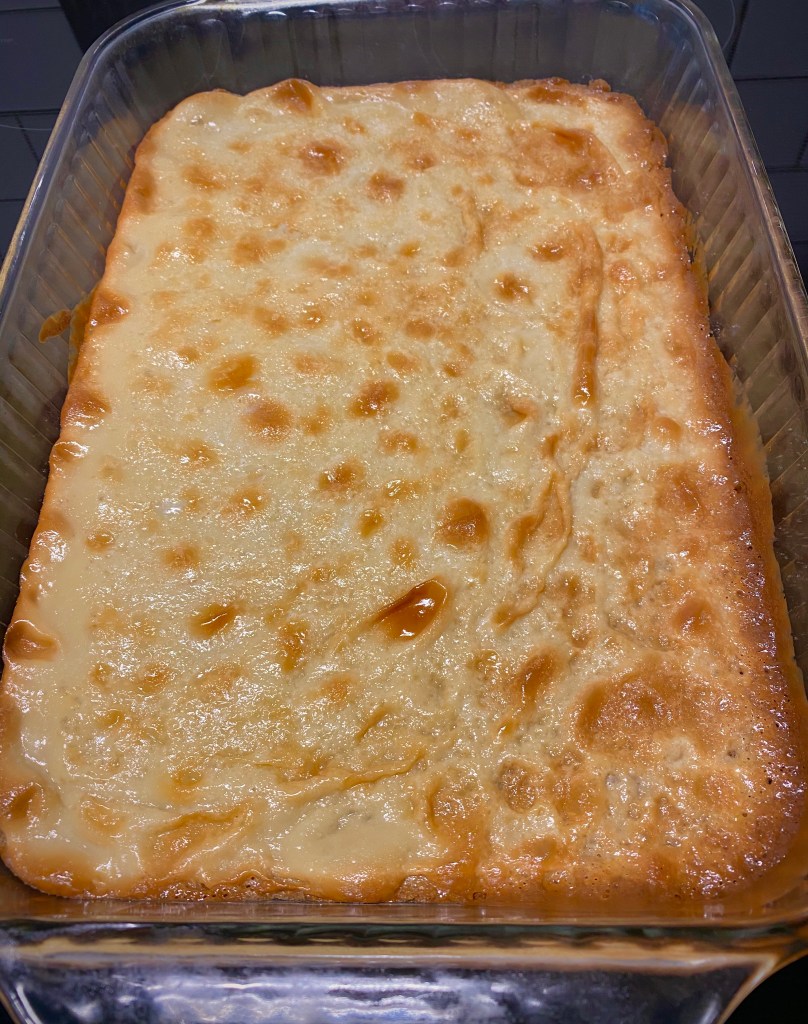
I found the recipe for Toffee Chocolate Bars here. I used butter instead of margarine because that’s what I had on hand. I should have sprayed my pan with non-stick spray before pressing the crust in the pan – just a tip. 🙂 But the bars were quite tasty! (Oh, and I also used a 14 ounce can of sweetened condensed milk because I couldn’t find a 10 ounce can.)
Disclosure: Some of the links on my site are affiliate links, meaning, at no additional cost to you, I will earn a small commission if you click through and make a purchase. As an Amazon Associate I earn from qualifying purchases.
The crust fresh from the oven..
After baking the sweetened condensed milk layer…
Can hardly wait for them to cool so I can cut them into bars..
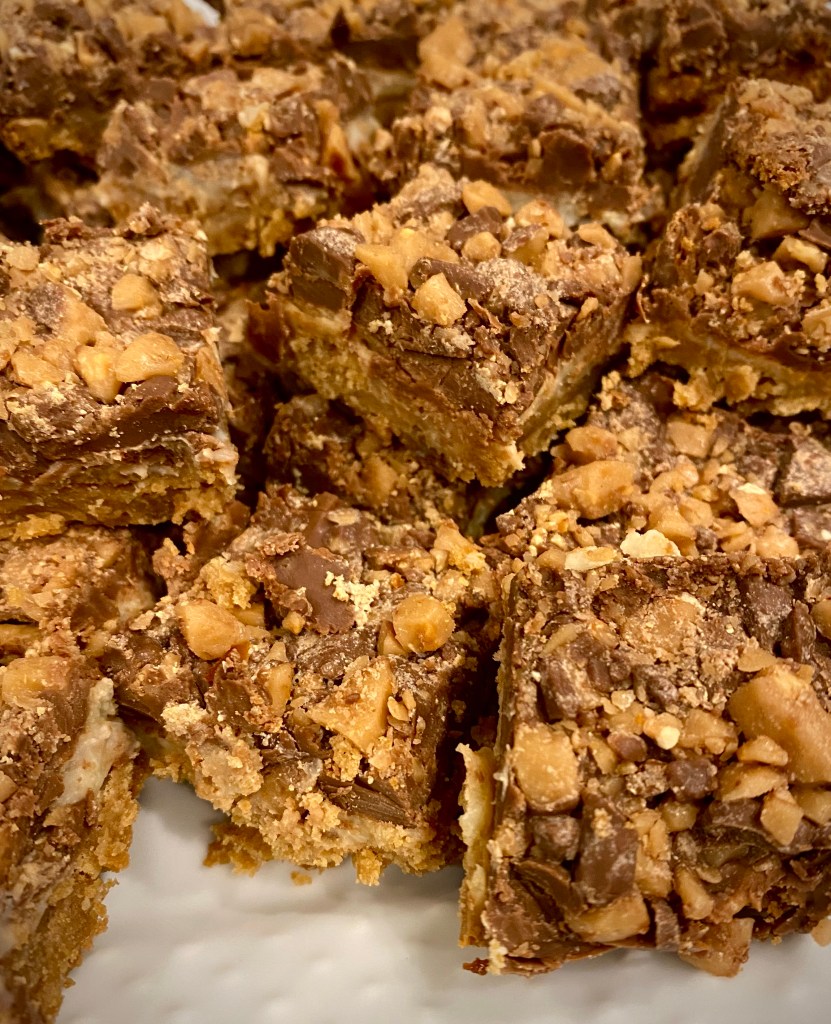
Finally ready to eat!
Mine didn’t turn out quite as pretty as the ones from the recipe, but they tasted wonderful!
Disclosure: Some of the links on my site are affiliate links, meaning, at no additional cost to you, I will earn a small commission if you click through and make a purchase. As an Amazon Associate I earn from qualifying purchases.
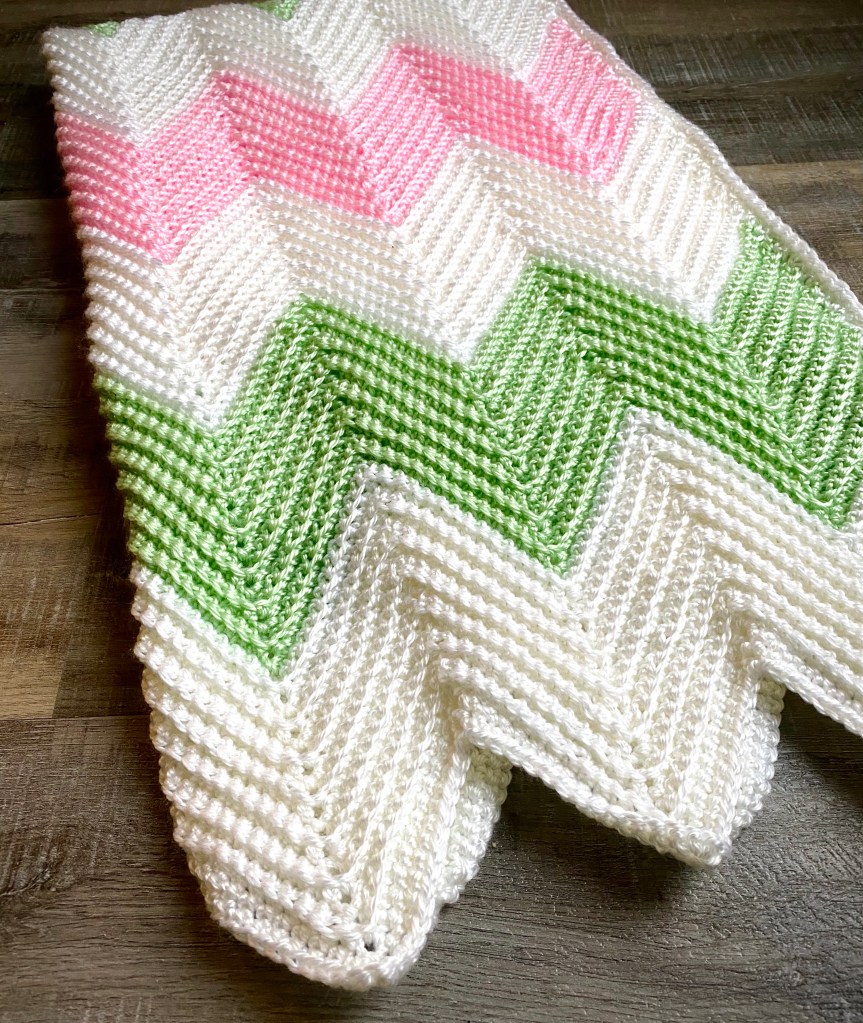
I began my blanket with white, crocheting 14 rows of each color. I crocheted 9 stripes total (white, pink, white, seafoam, white, pink, white, seafoam, white) for a total of 126 rows. Then I crocheted a border of 2 rows of single crochet around the blanket, which is not in the pattern.
I love the texture this pattern has by working in the back loop only of each stitch.
The finished size of my blanket is about 31 by 45 inches. Your finished blanket size may vary depending on the yarn and hook that you use.
This is a classic ripple pattern that is easy and fun to make. Try it the next time you need to make a baby blanket.
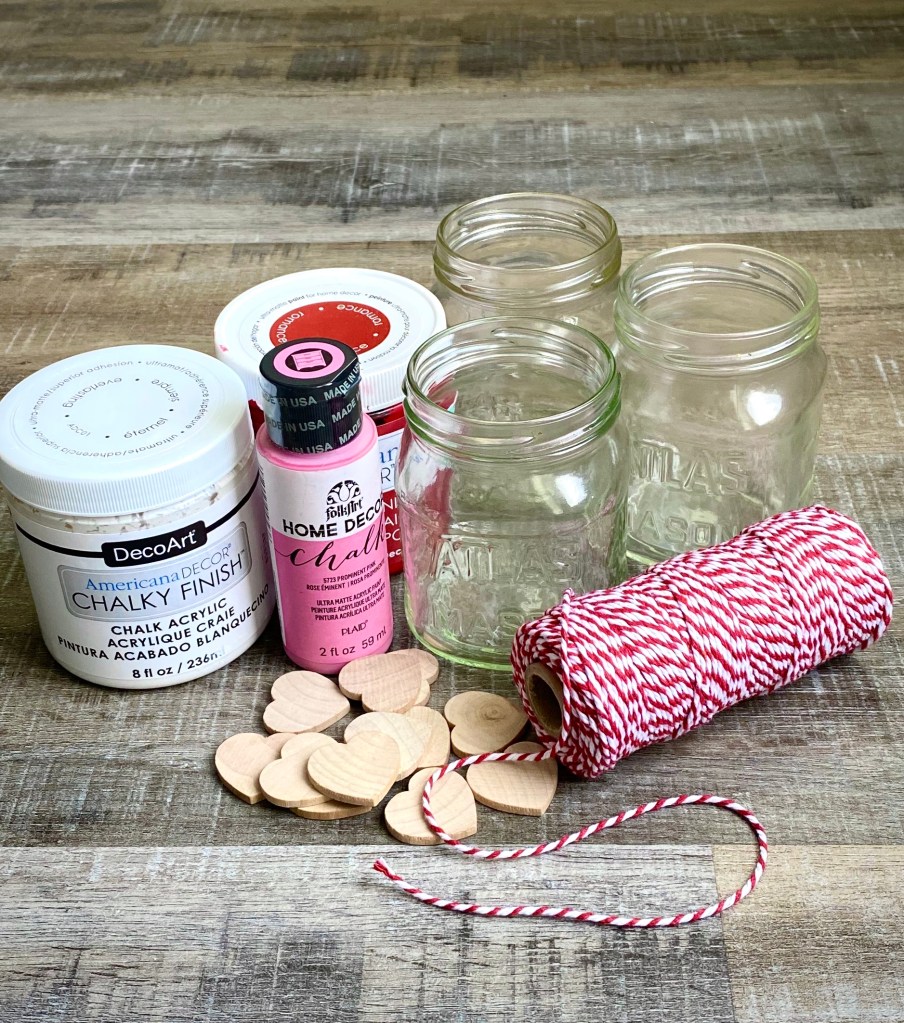
Do you save jars to repurpose? Sometimes the jars are just too cute to toss into the recycle bin – like these little mason jars from Classico Pesto. I’ve had these for a while and thought they would be perfect to use for these Vintage-Look Valentine Treat Jars.
You’ll need jars, chalk-finish paint, antiquing wax, 1-inch wood hearts, and red/white bakers twine.
Disclosure: Some of the links on my site are affiliate links, meaning, at no additional cost to you, I will earn a small commission if you click through and make a purchase. As an Amazon Associate I earn from qualifying purchases.
First, remove any labels from the jar and thoroughly wash and dry. Apply a thin layer of chalk paint to the jar using a foam brush. Let dry completely and then apply a second coat of paint. Let dry. Brush the jar with the antiquing wax, being sure to get into all the nooks and crannies. Wipe excess wax off with a paper towel. Let dry.
Paint the hearts with 2 coats of chalk paint, letting dry between coats. Apply antiquing wax and wipe off excess with a paper towel. Let dry.
Wrap a length of twine several times around the top of the jar and tie in a knot. Glue the painted heart over the knot.
Fill a treat bag with yummy chocolate hearts and kisses and place in the jar for a sweet Valentine! ❤️🤍💗
These would also be a cute addition to your Valentine Decor. 😍
Disclosure: Some of the links on my site are affiliate links, meaning, at no additional cost to you, I will earn a small commission if you click through and make a purchase. As an Amazon Associate I earn from qualifying purchases.