Do you like to decorate for Valentine’s Day? I like to add a little “love” around the house – it just makes me smile.
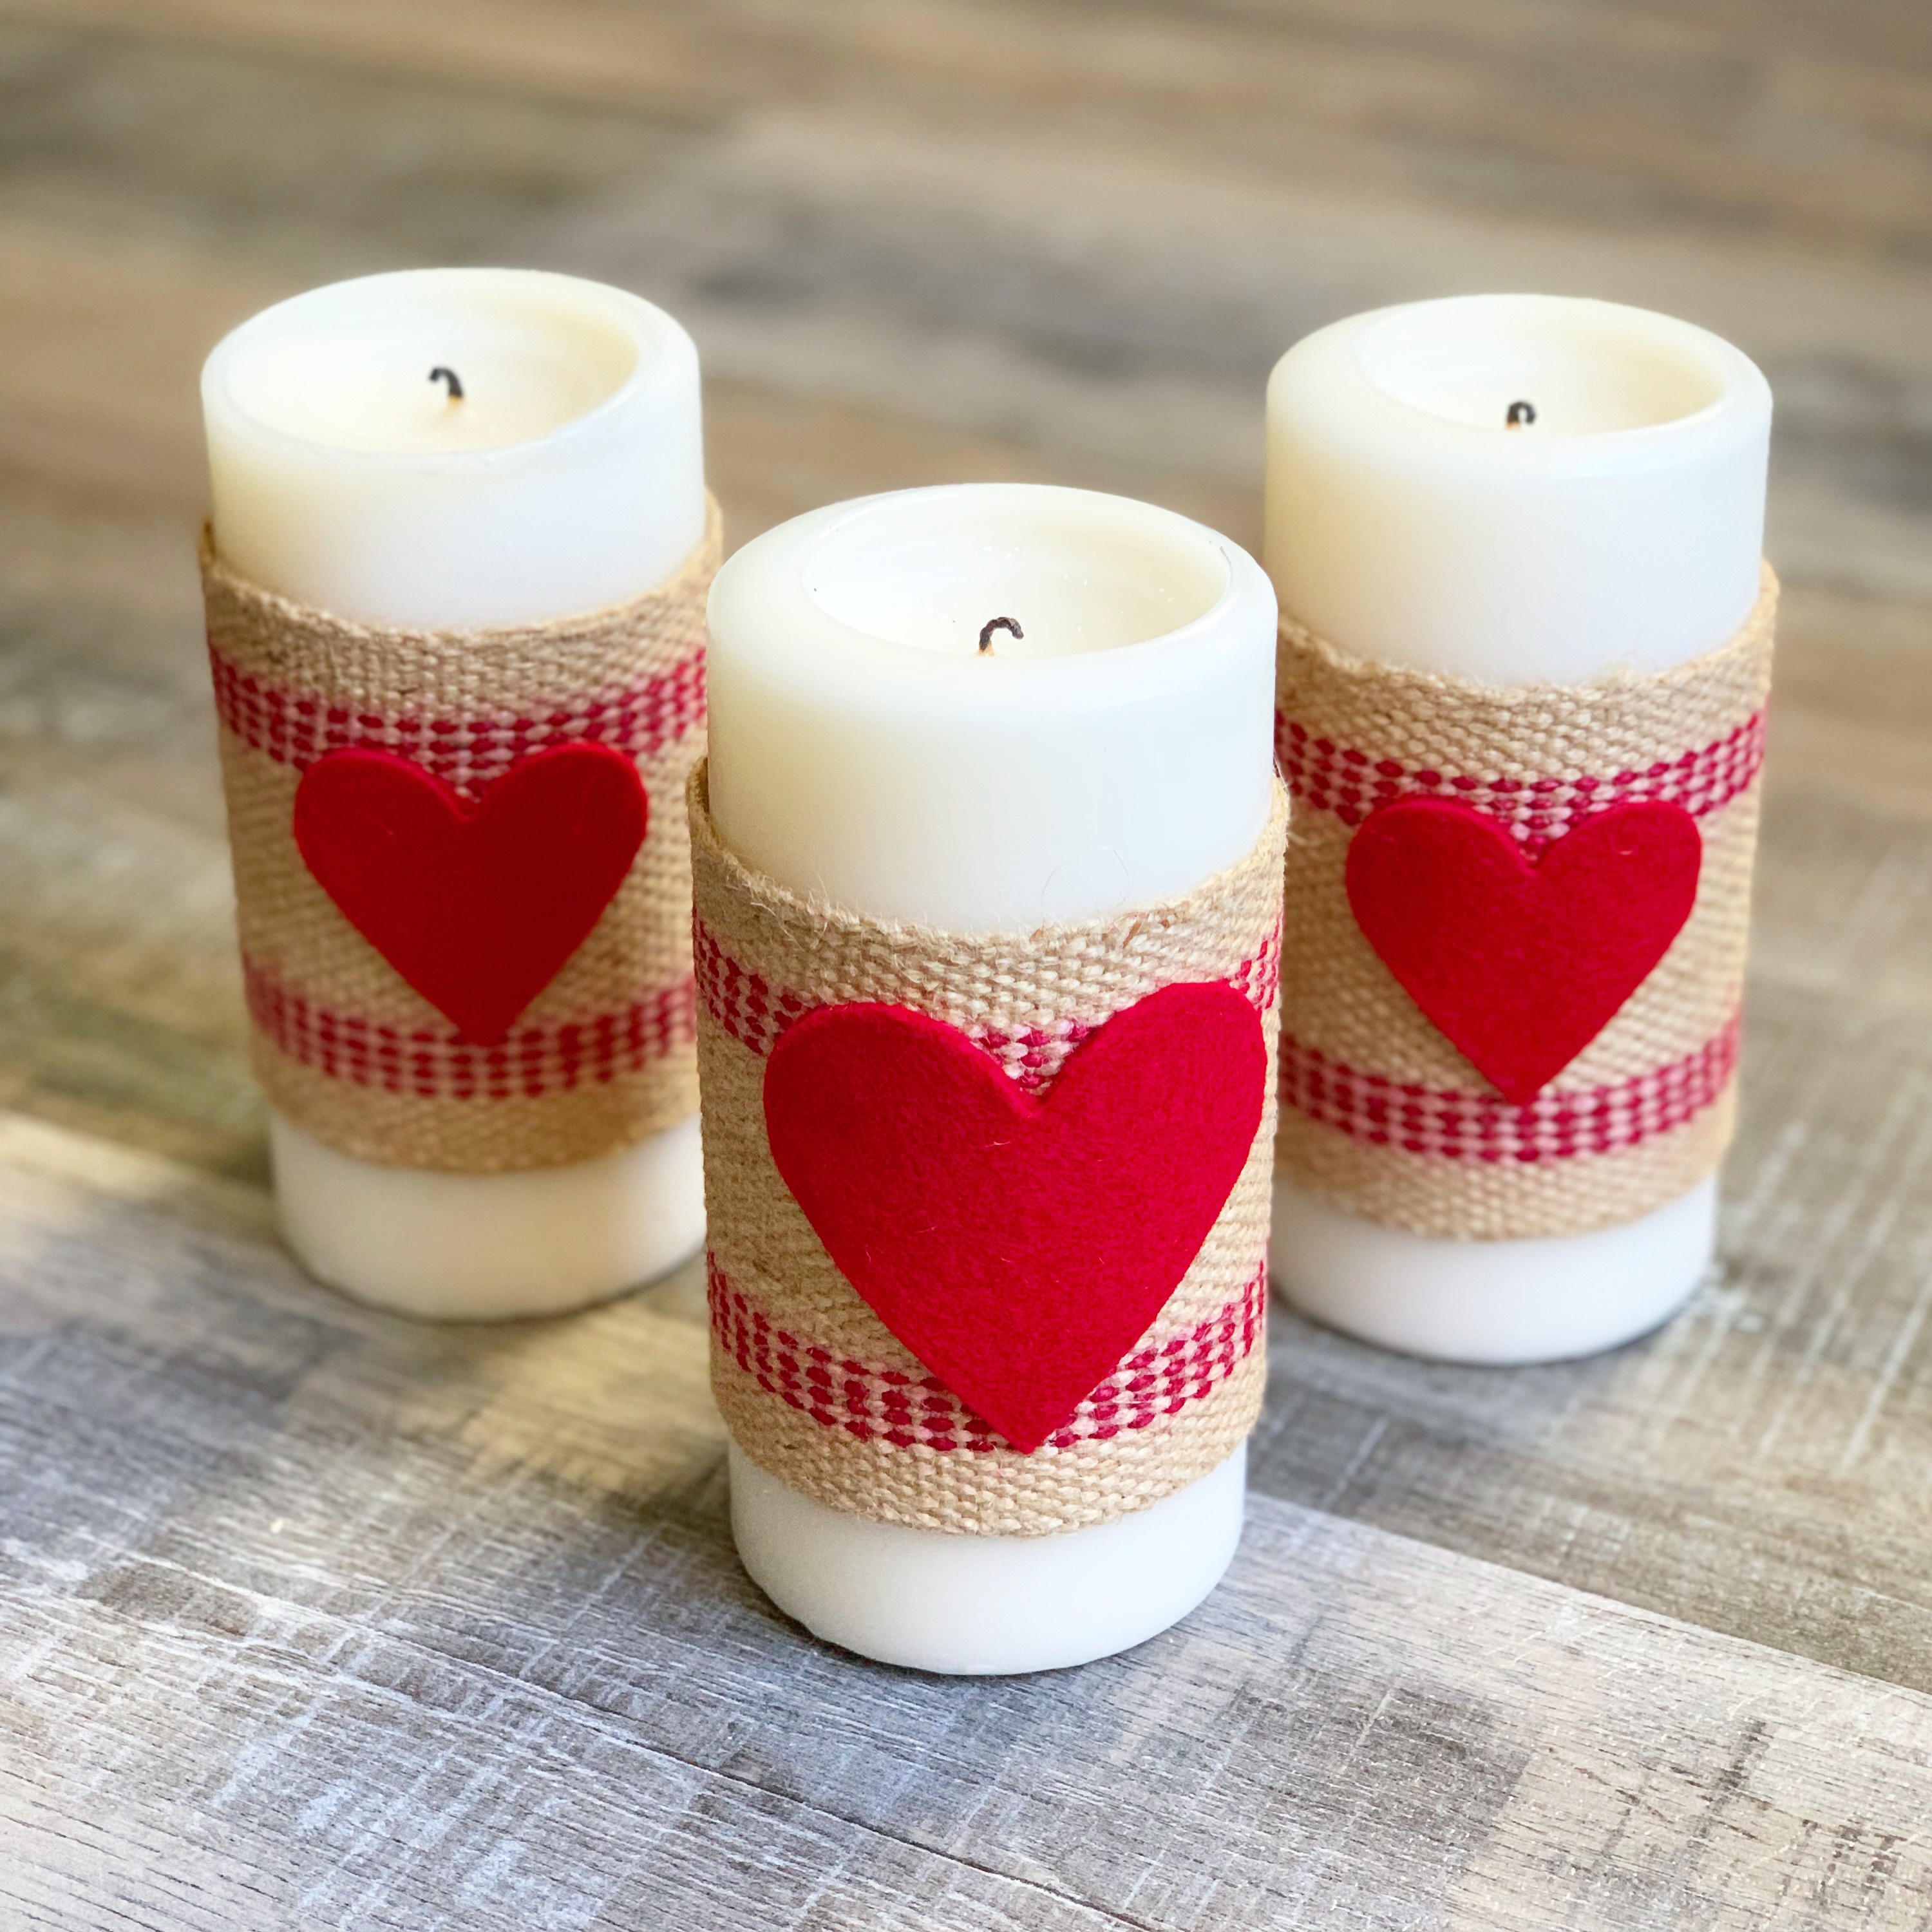
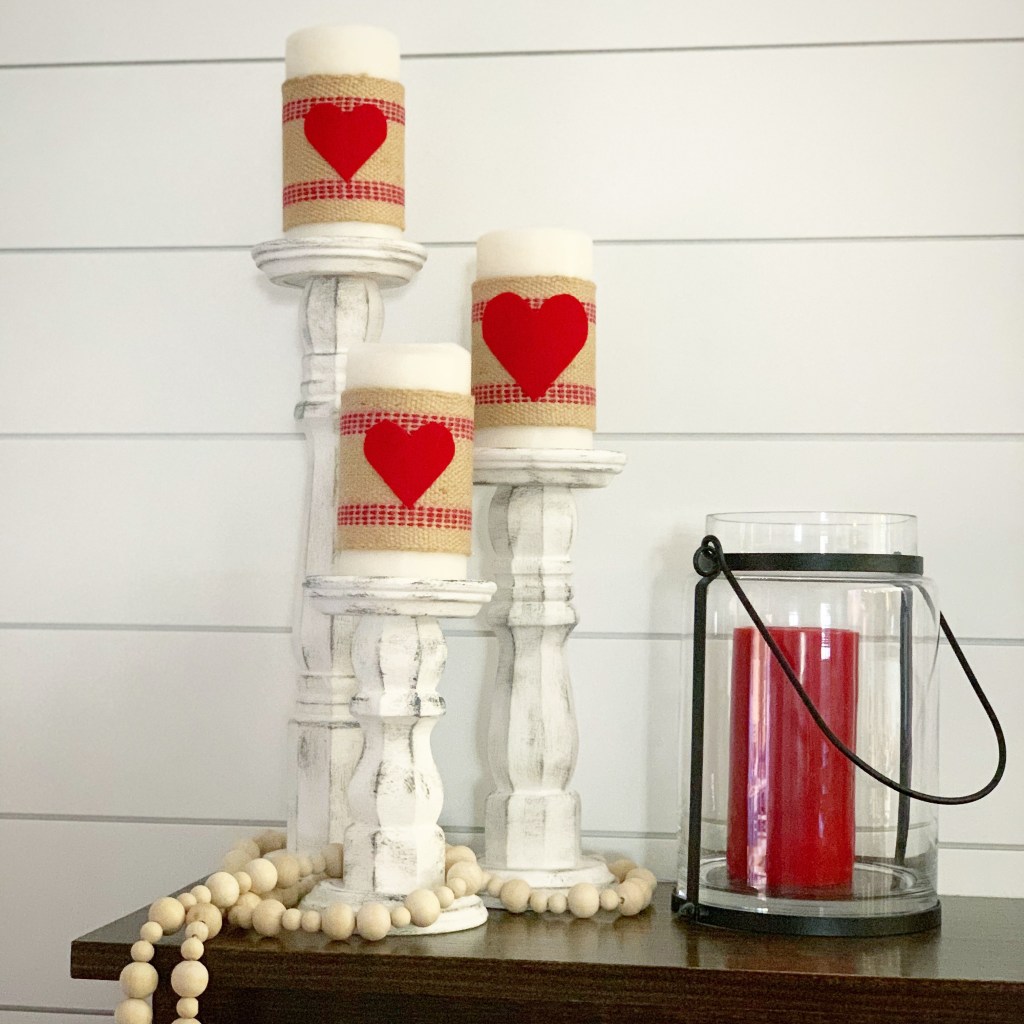
Here’s a super fast and easy way to add some Valentine decor to your mantel or table. All you need are some pillar candles, burlap ribbon, and felt hearts.
I picked up my candles at Walmart. The ribbon I used is actually jute chair webbing I found at Amazon. It is 3-1/2 inches wide – use any ribbon you like. I cut my hearts from red felt using these heart dies from Spellbinders. You can also just trace a heart onto the felt and cut it out.
Simply cut your ribbon to fit around your candle, allowing it to overlap about 1/4 inch. Hot glue the ribbon to the candle. I glued one short edge to the candle and then glued the other short end, slightly overlapping the first end.
Cut hearts from red felt and hot glue to the front of the candle.
And that’s it! A super fast and easy addition to your Valentine decor.
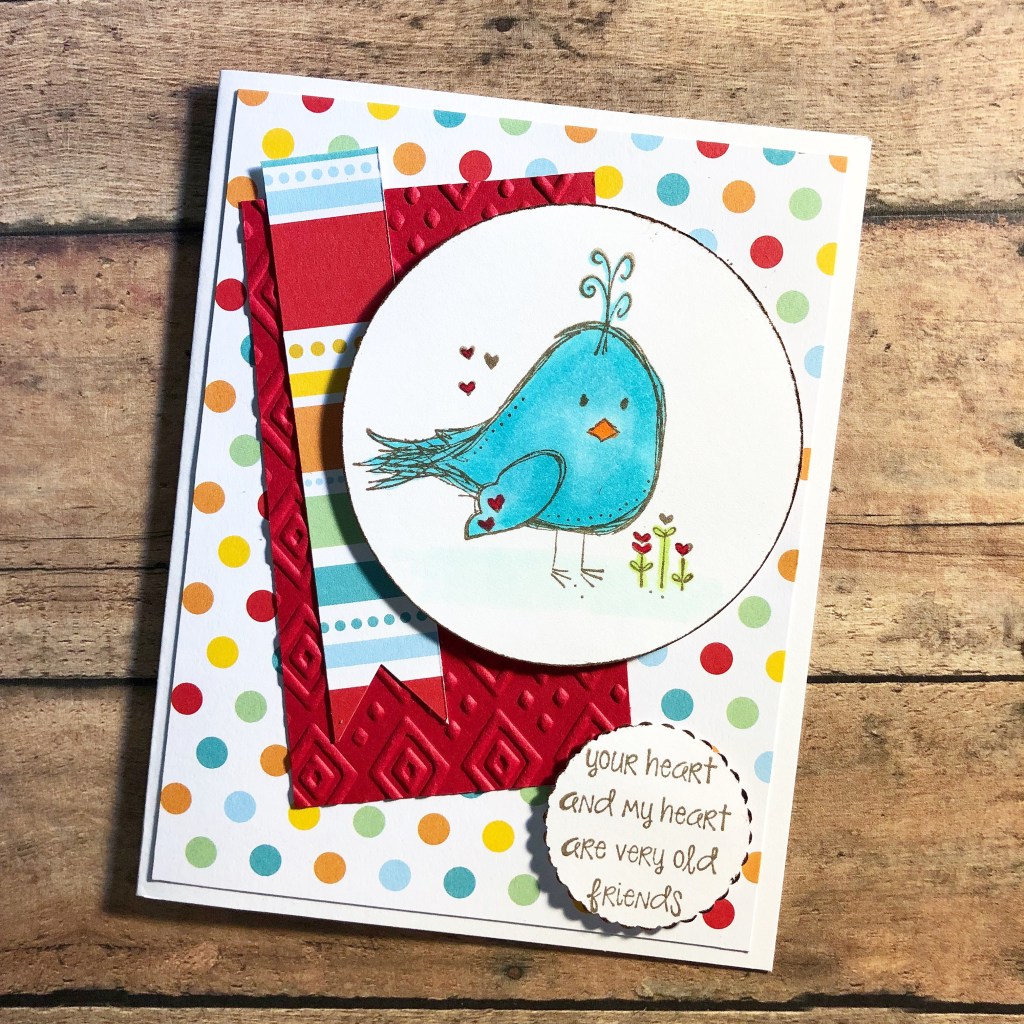
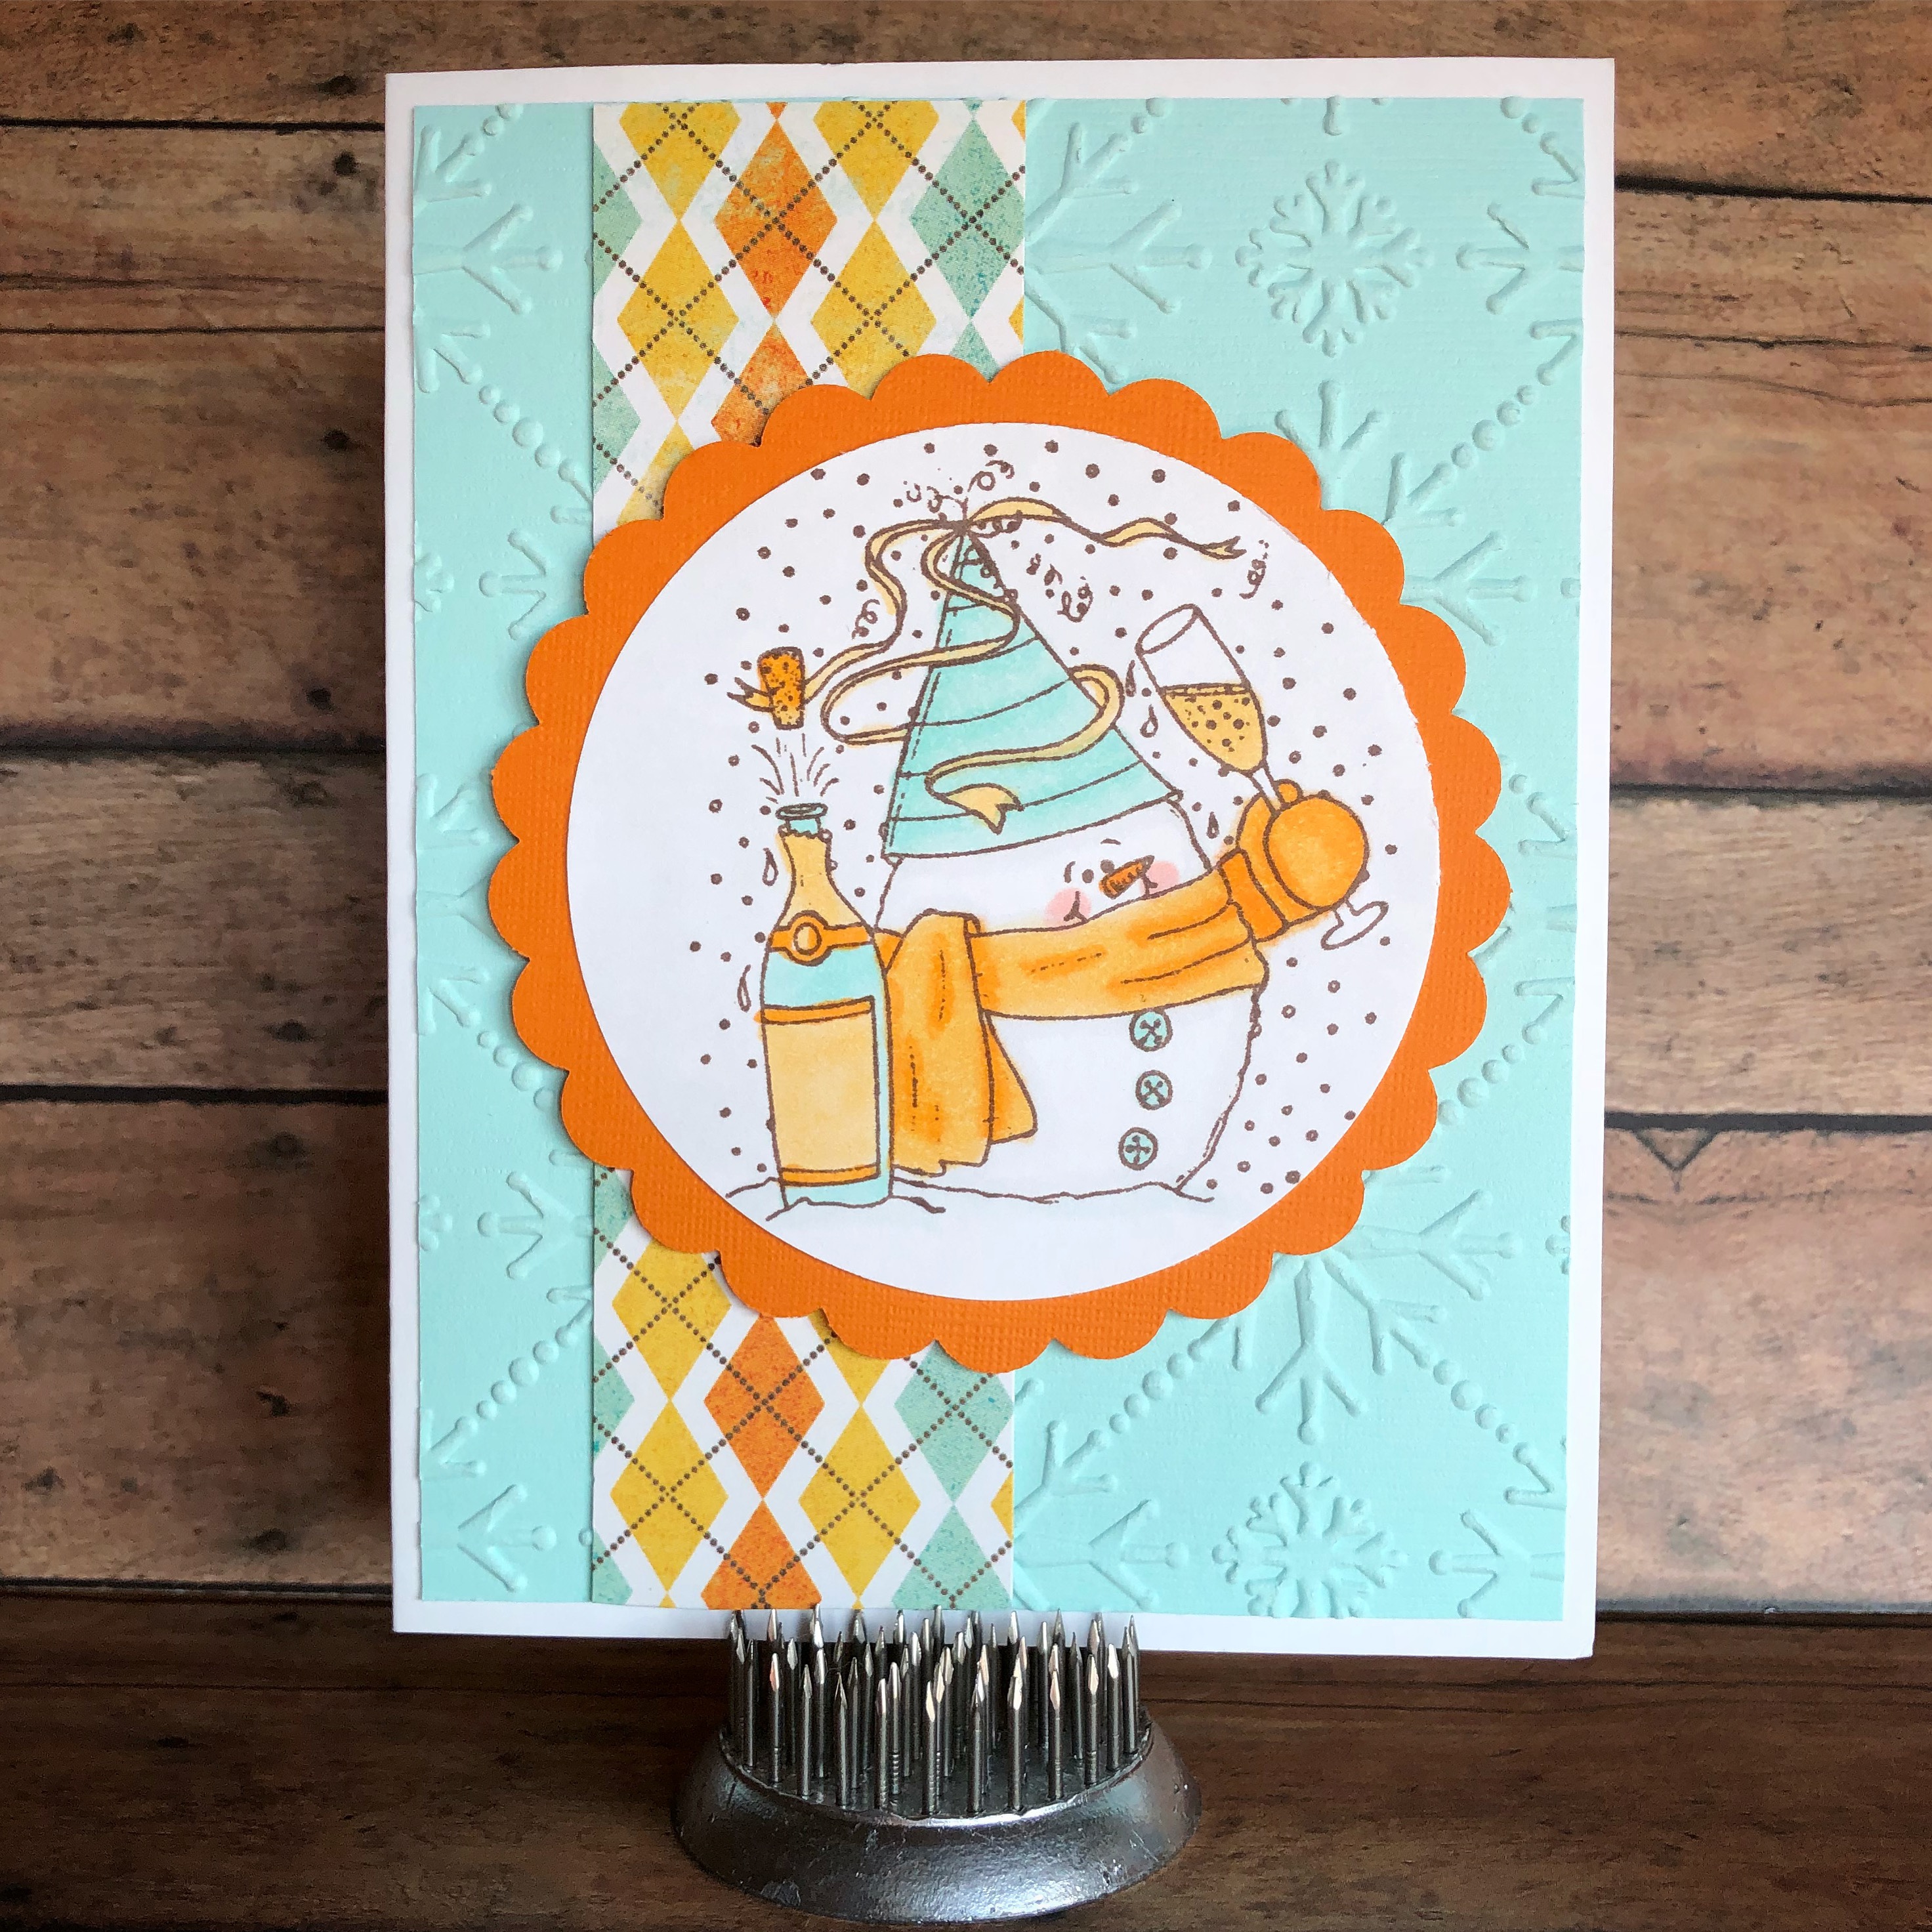
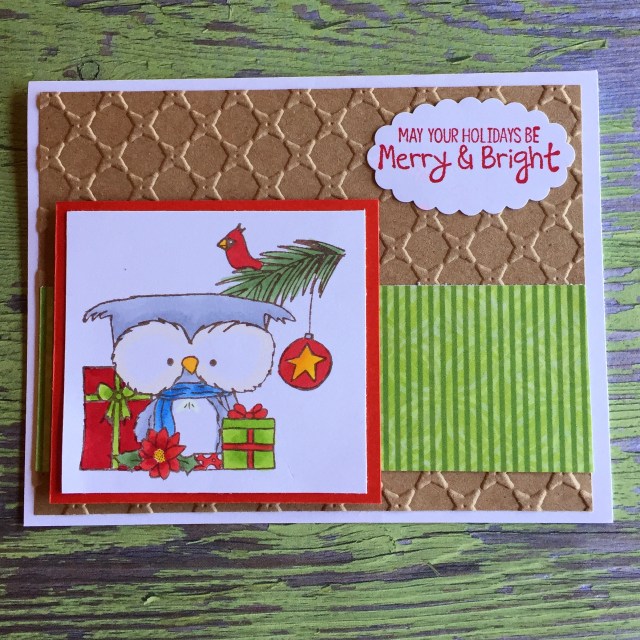
I stamped the bird with Memento Rich Cocoa ink and colored the image with Copic markers. Then I punched out the image with a circle punch and inked the edges with the Rich Cocoa ink. I stamped the sentiment with the same brown ink on white card stock, punched it out with a scalloped circle punch, and inked the edges with brown ink.
To make the card, attach a piece of pattered paper to a white card. Emboss a piece of red card stock with your favorite embossing folder. (The one I used is no longer available, but you can find a similar one here.) Attach the embossed piece at an angle to the card. Trim a small strip of another patterned paper into a banner shape and attach to the card. Attach both stamped images to the card with foam tape.
A sweet way to connect the hearts of “old friends”!
I’m ready for Spring! Yes, I know it’s only January and it will be a while before warmer temps come our way. 😕 So I have a sweet, Springy birthday card to brighten your day (and mine 😊)
I sponged the sky with light blue ink using a cloud template similar to this. Then I added a grass border punched from green card stock. I stamped the hippo, party hat, balloons, and little birds on white card stock with black ink. After coloring the images with Copic markers, I die cut them using the matching die set. The images are attached to the card with foam tape. I stamped the sentiment using the same ink I used for the sky.
I hope this sweet card adds a little Springtime to your day!
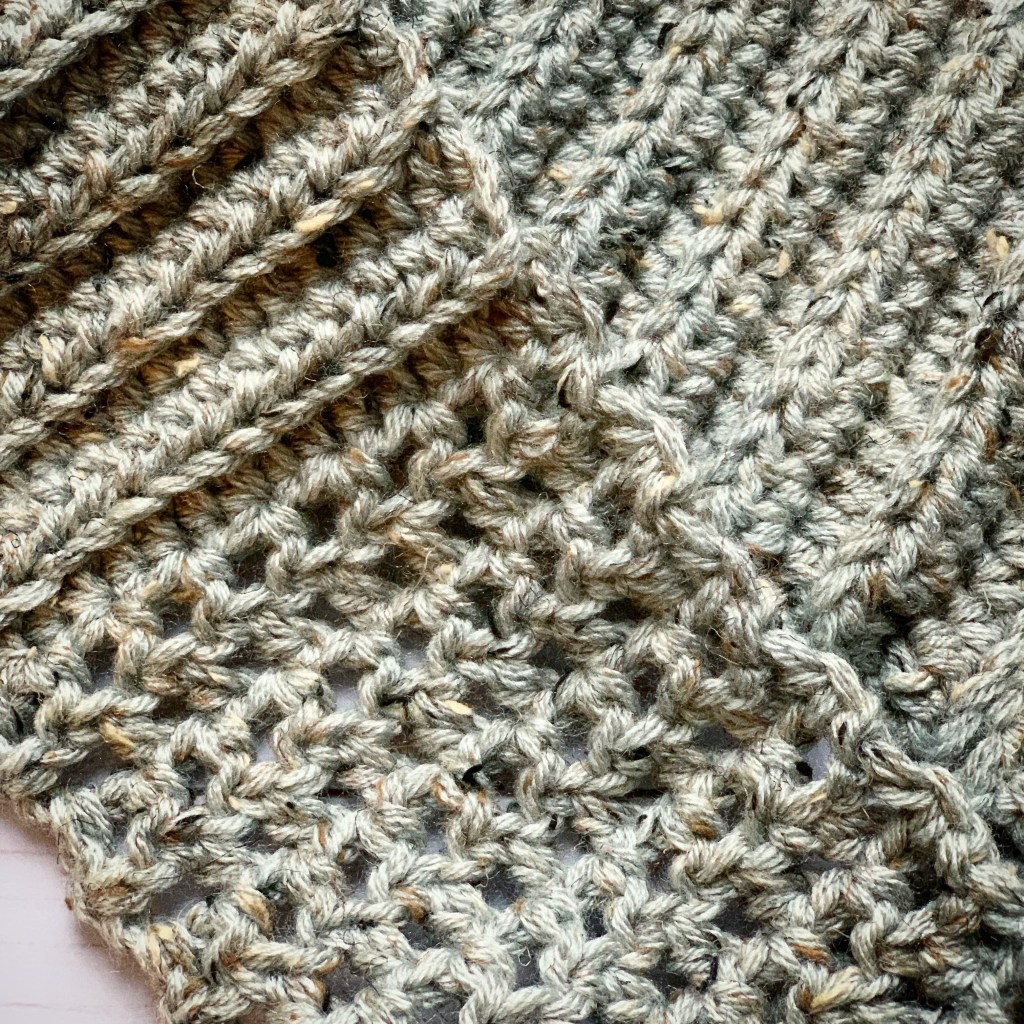
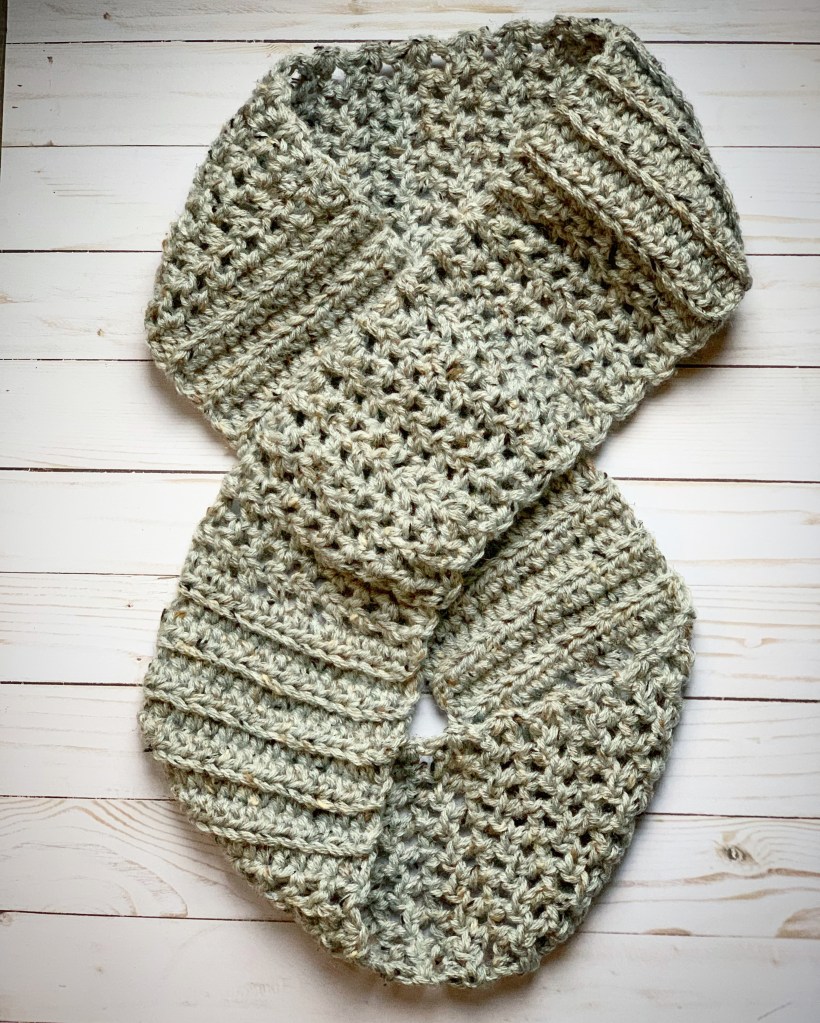
It’s January 2019!! Can you believe it!?!?! Is it cold where you live? Here in Alabama it can be cold in January – or it can be warm…you just never know. So I created this pattern for a Chunky Crochet Infinity Scarf for those chilly days that may come along.
I used 2 strands of worsted weight yarn held together to crochet this scarf. But I think it would work great with 1 strand of a bulky yarn as well. Here’s the pattern…
Chunky Crochet Infinity Scarf
N/9mm hook
7 to 7.5 ounces worsted weight yarn
Crochet with 2 strands held together – I used Lion Brand Vanna’s Choice Grey Marble
Stitches used (US terms)
Chain – ch
Half double crochet – hdc
Back loop only – blo
Slip stitch
Note: ch 2 counts as a stitch
Ch 17 using 2 strands of yarn held together.
Row 1: hdc in 3rd ch from hook and each ch across. Turn. (16 stitches)
Row 2: ch 2. Skip 1st stitch. Hdc in blo of next stitch and in each stitch across, ending with hdc in top of turning ch from previous row. Turn. (16 stitches)
Rows 3 – 10: Repeat row 2.
Row 11: ch 3 (counts as 1 hdc and 1 ch). Skip 1st stitch. Hdc in next stitch. * ch 1, skip 1 stitch, hdc in next stitch* Repeat from * to * across, ending with hdc in 2nd ch of ch 3 from previous row. Turn. (8 ch 1 spaces and 9 hdc)
Row 12: ch 3 (counts as 1 hdc and 1 ch). Skip 1st hdc and 1st ch 1 space. Hdc in next hdc. *ch 1, skip ch 1 space, hdc in next hdc* Repeat from * to * across, ending with hdc in 2nd ch of ch 3 from previous row. Turn. (8 ch 1 spaces and 9 hdc)
Row 31: ch 2. Skip 1st hdc. *Hdc in next ch, hdc in next hdc* Repeat from * to * across, ending with hdc in 2nd ch of ch 3 from previous row. Turn. (16 stitches)
Fold scarf in half and slip stitch ends together. Fasten off and weave in ends.
Finished size is approximately 6 inches by 60 inches. I used approximately 7 to 7.5 ounces of yarn for my scarf.
I made my scarf long enough to double it, but you can easily adjust the length of this scarf. If you want it to be a single cowl, you can stop around row 60. Need it to be longer? Just continue with the pattern until it’s the length you want.
(Please link back to my pattern if you make this scarf. I’d appreciate it if you wouldn’t copy or rewrite my pattern onto another page. Thank you!)
Click the link below if you’d like to print out a free PDF of the pattern.
It’s hard to believe that another year has flown by! They really do seem to go by faster and faster!
This past year for us seemed to have been consumed with a major remodel in our home – kitchen, living area, and one of our bathrooms. Lots of planning, noise, and dust…but so worth it in the end! It was something we have wanted to do for a long time and finally found an amazing contractor to do the job for us. (If you’re local, I highly recommend Gothart Homes and Renovations.) Here are a few before and after pics.
In August, my nephew and his bride had their dream wedding at Disney World…
The Groom and his Bride
After their wedding, we flew down to Key West. Let me just say…Key West in August is hot!!! ☀️☀️☀️
Our plane from Orlando to Key WestSpeaks for itself 🙂Sunset at Key WestErnest Hemingway’s HomeBeautiful tiles at Ernest Hemingway’s homeThe lighthouse that guided Ernest Hemingway home
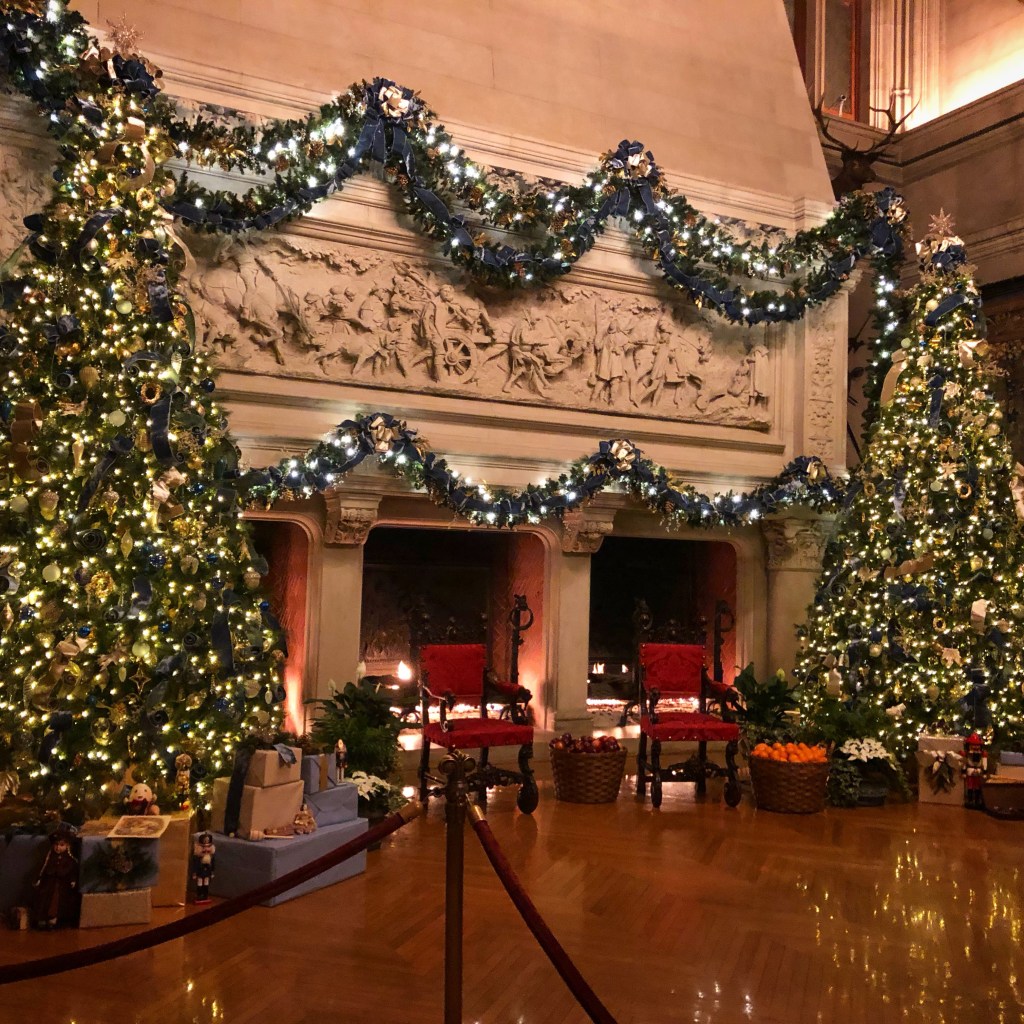
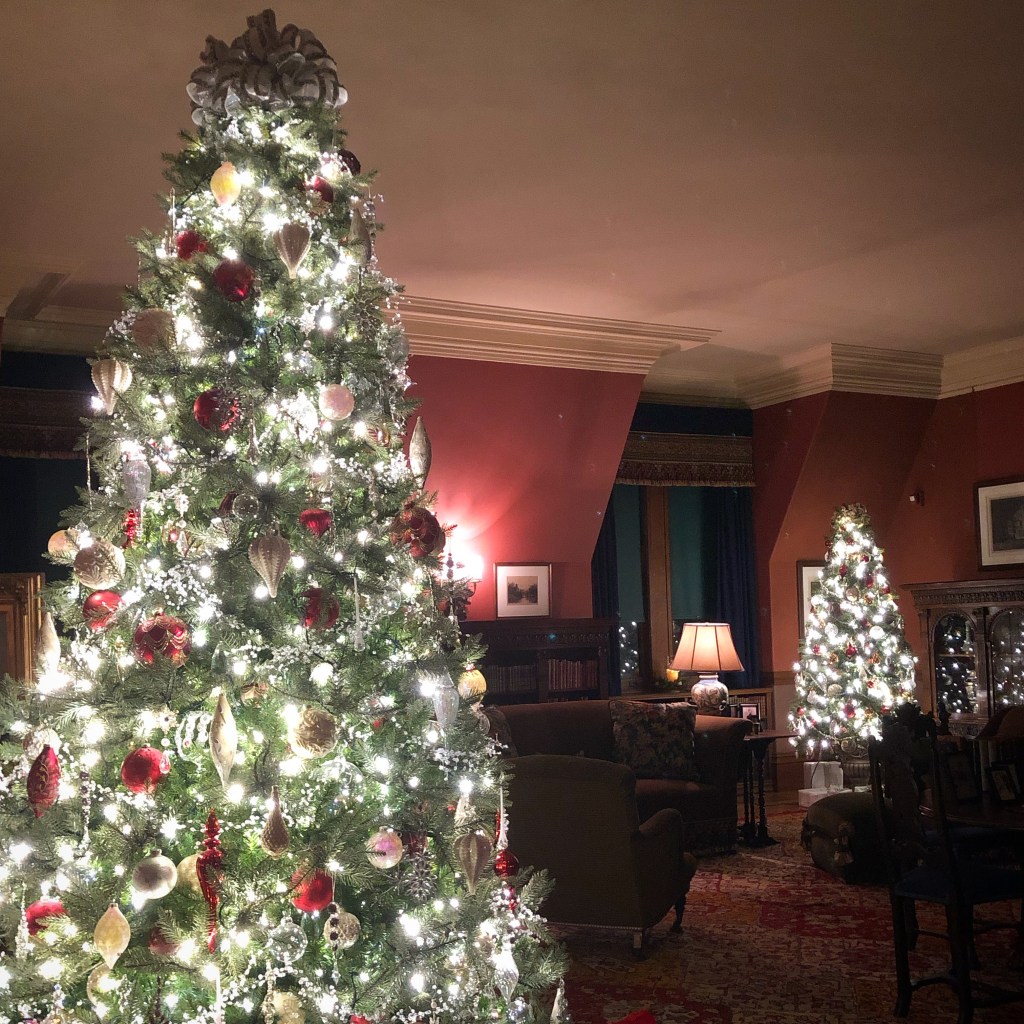
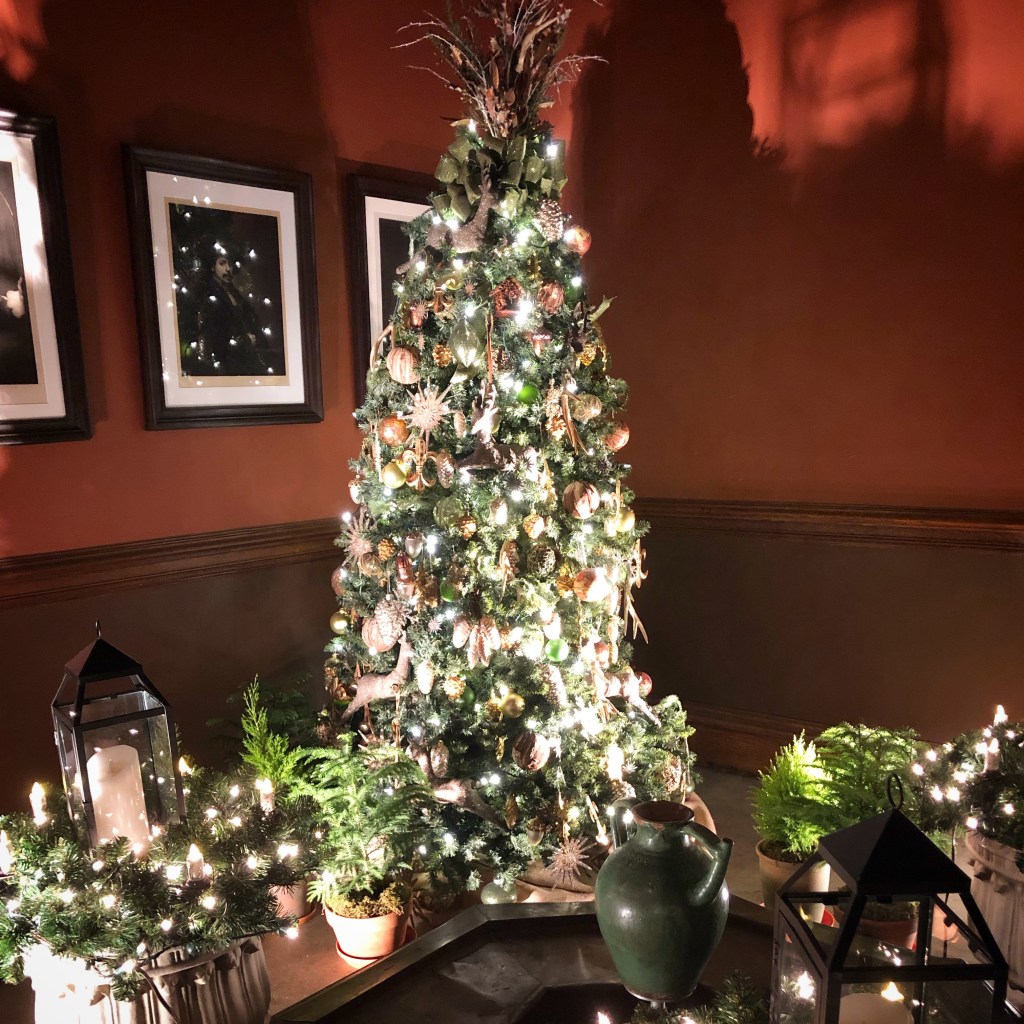
In early December, we made a quick visit to Biltmore Estate to tour the “house” (that’s what they called it – quite the estate!) while she was decked out in all her Christmas finery! Absolutely gorgeous!!
The “House”Fireplace in the dining room
The Library – My favorite room!Beautiful NativitySome of the lights in Antler Hill Village
Just a few highlights of our year…of course it was also filled with cleaning, errands, and laundry as well as crafting and creating. I can’t wait to see what 2019 brings!
Have you sent out your Thank You notes for the Christmas gifts you received? If you are looking for a clean and simple Thank You card to make, I have just the thing for you! It truly comes together in just minutes…
To make the card, layer a piece of red card stock to a white card. Emboss a panel of white card stock with the embossing folder and attach to the card. Stamp “thanks” on white card stock with red ink and punch with an oval punch. Layer to a scalloped oval punched from red card stock. Attach to the card with foam tape.
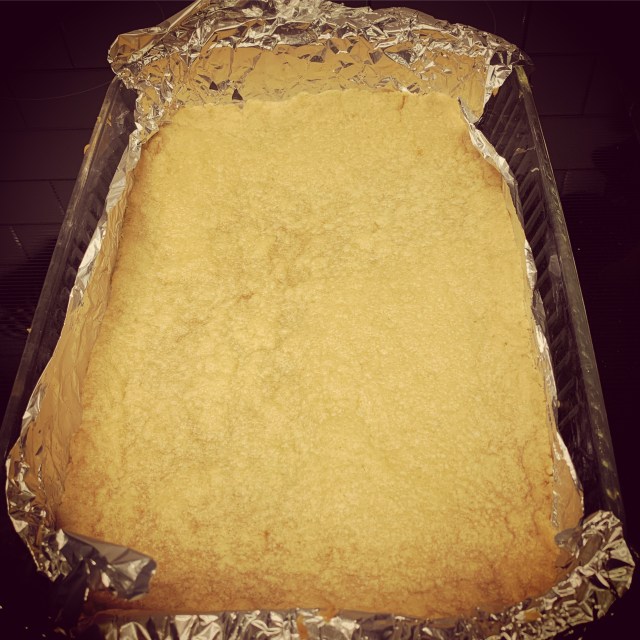
Are you in need of a yummy dessert to ring in the New Year? I’m always ready to try new dessert recipes! 🙂 I found this recipe for Shortbread Toffee Cookie Bars here at Cookies & Cups and knew I just had to try it!
Shortbread, chocolate, and toffee bits – of course it would be delicious!
The Shortbread Cookie layer fresh from the oven!
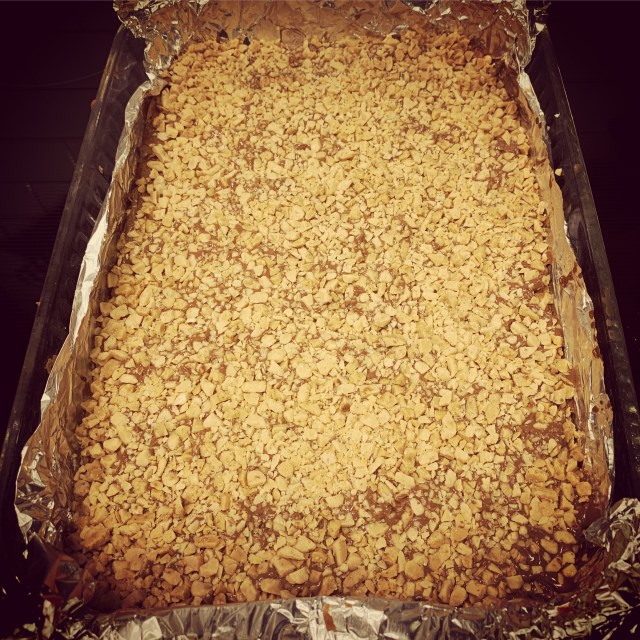
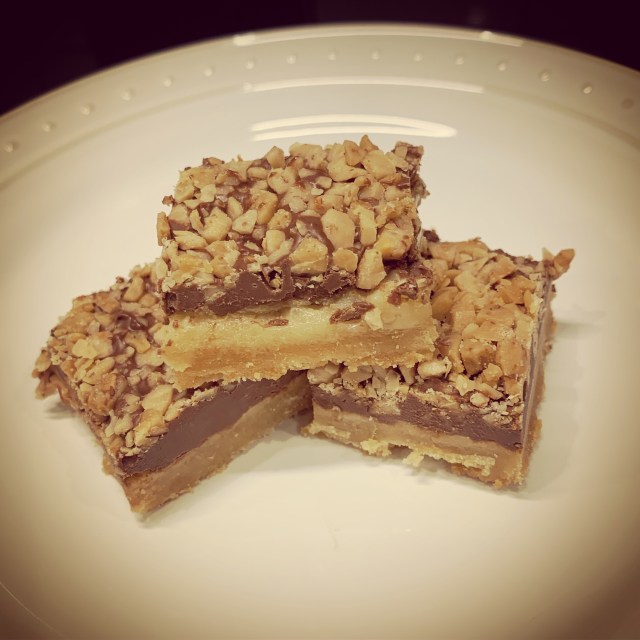
Sweetened Condensed Milk layer all hot and bubbly!What’s better than melted chocolate??Toffee Bits!!!How can you resist?!?!?
If you want to make these incredibly yummy Shortbread Toffee Cookie Bars click over to Cookies & Cups for the full recipe. I promise you won’t be disappointed!!
Disclosure: Some of the links on my site are affiliate links, meaning, at no additional cost to you, I will earn a small commission if you click through and make a purchase. As an Amazon Associate I earn from qualifying purchases.