
Hi friends,
Crochet Mini Pumpkins are the perfect size to tuck just about anywhere in your Fall decor! I’m sharing a simple pattern for making your own mini pumpkin patch. It’s perfect for beginners and seasoned crocheters alike. 🙂
Disclosure: Some of the links on my site are affiliate links, meaning, at no additional cost to you, I will earn a small commission if you click through and make a purchase. As an Amazon Associate I earn from qualifying purchases.
The pattern works up quickly – make them in all your favorite Fall colors! 🧡💛🤎 I stitched mine up with I Love This Yarn in Cinnamon Cedar with an H/5mm crochet hook. You’ll also need some Poly-Fil and something for the stem. I used a small piece of a stick from my yard and tied on a piece of natural twine.
You can find the pattern below along with links to free PDFs – one with photos and one without – if you’d like to easily print it.
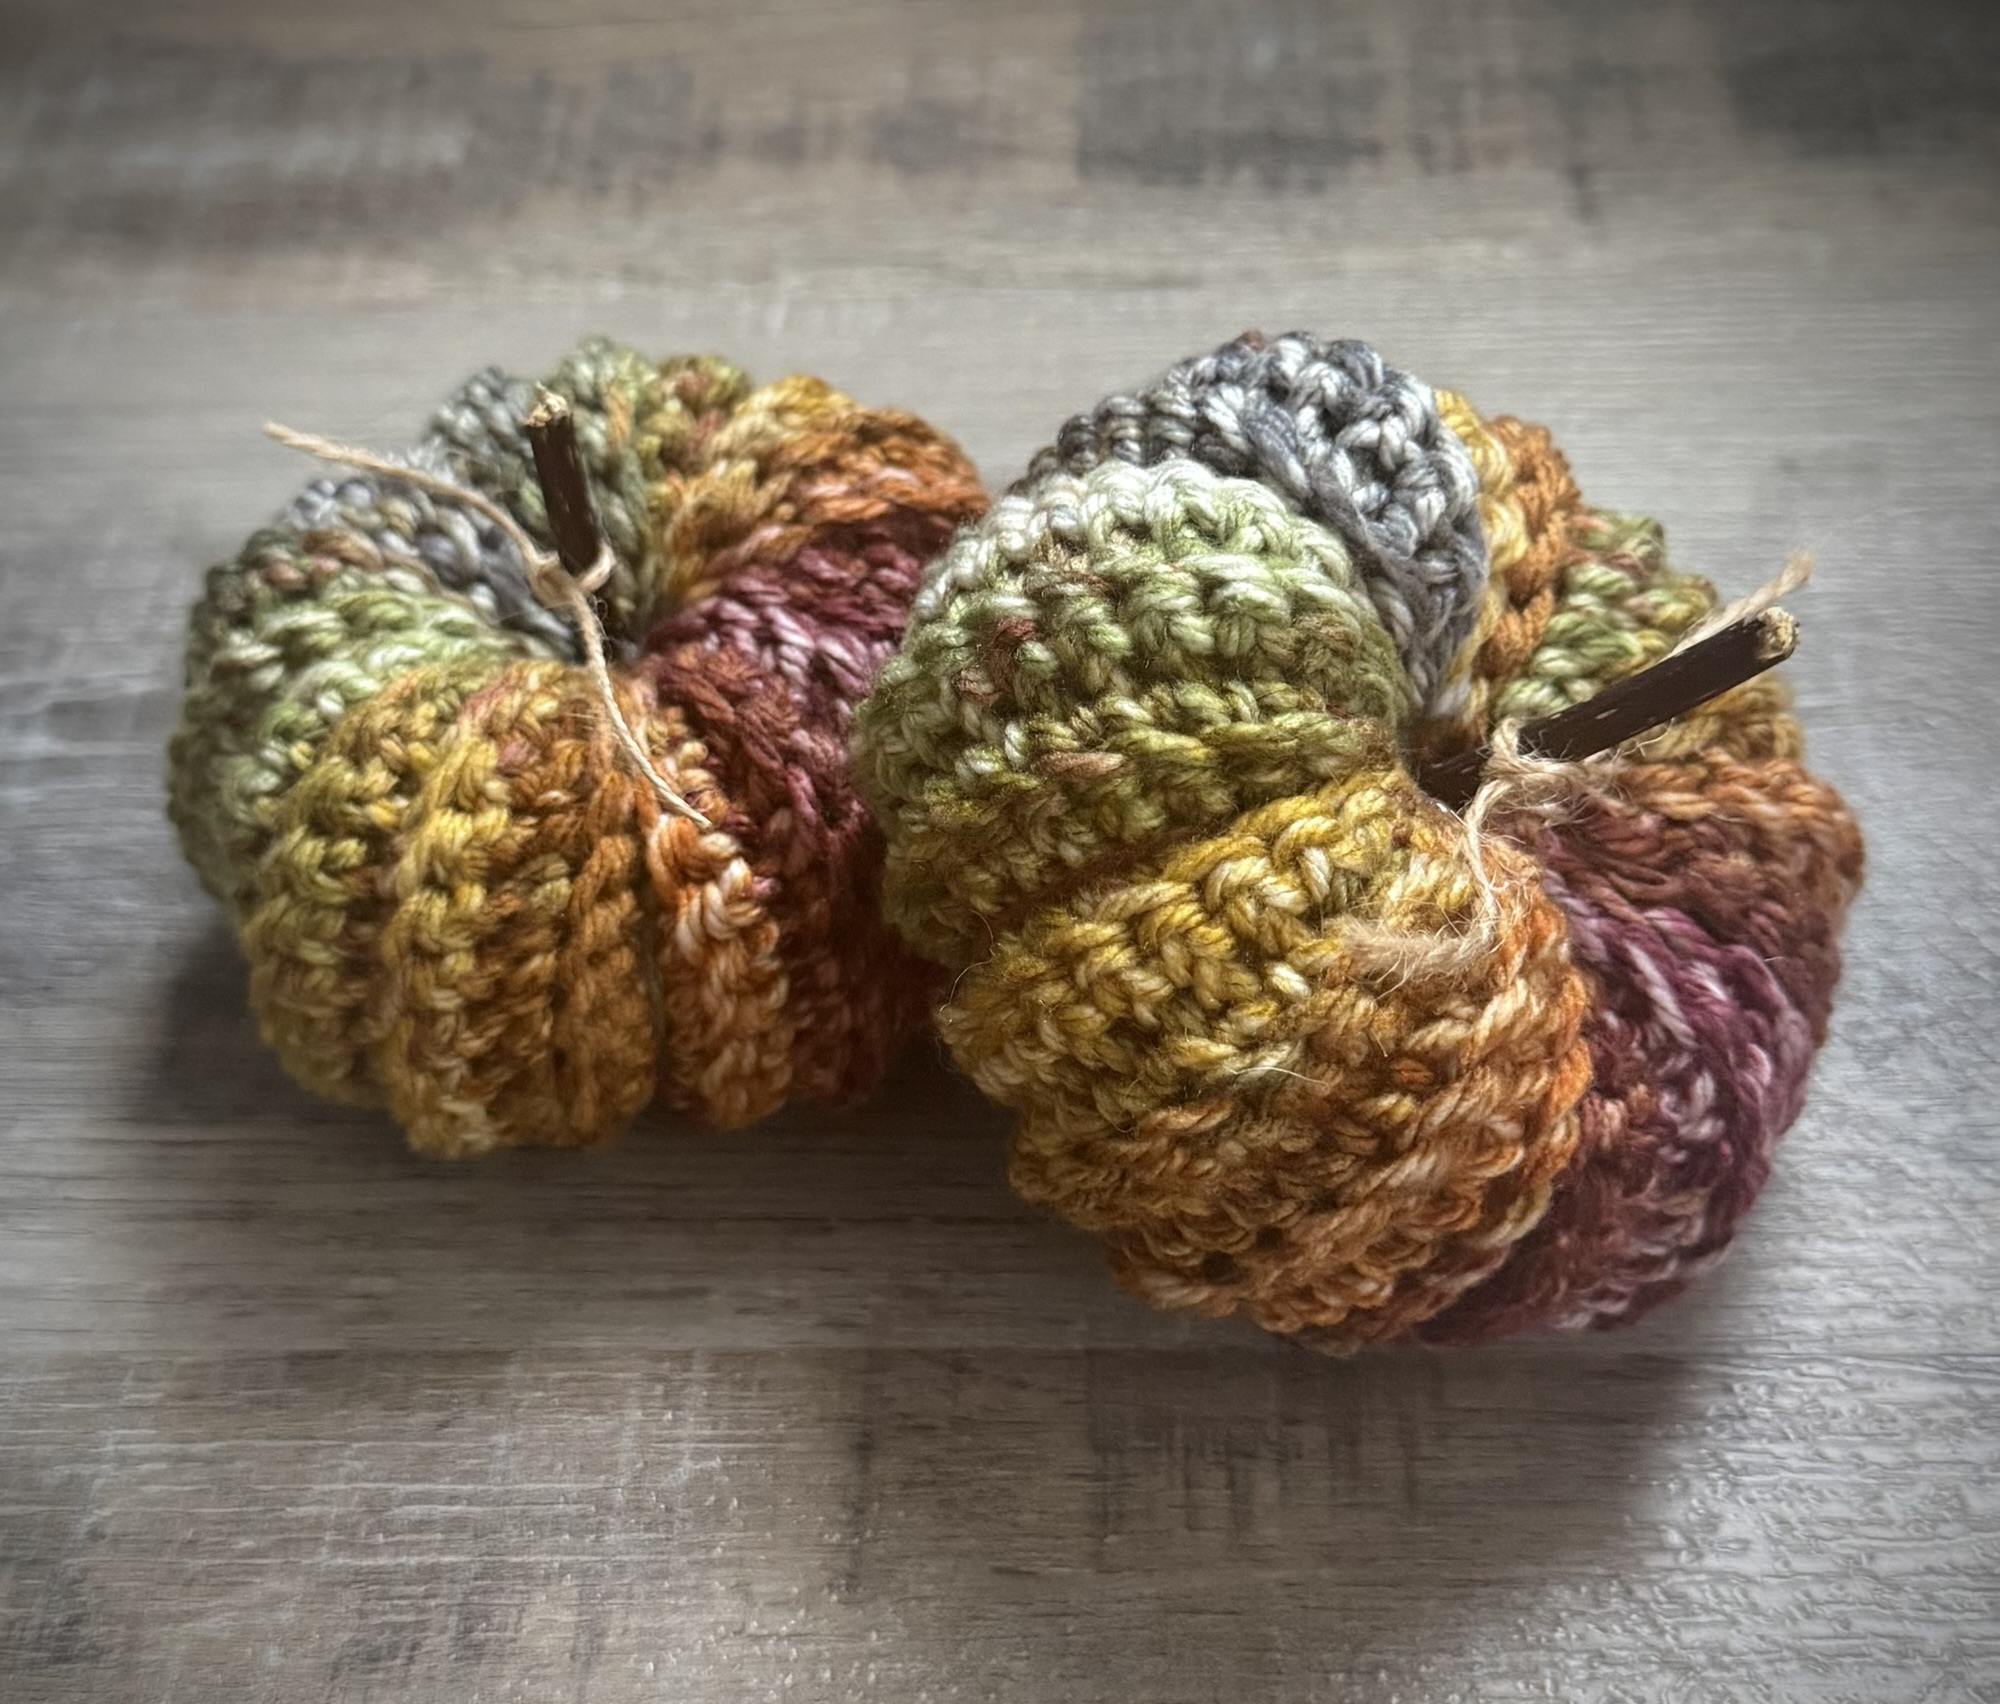
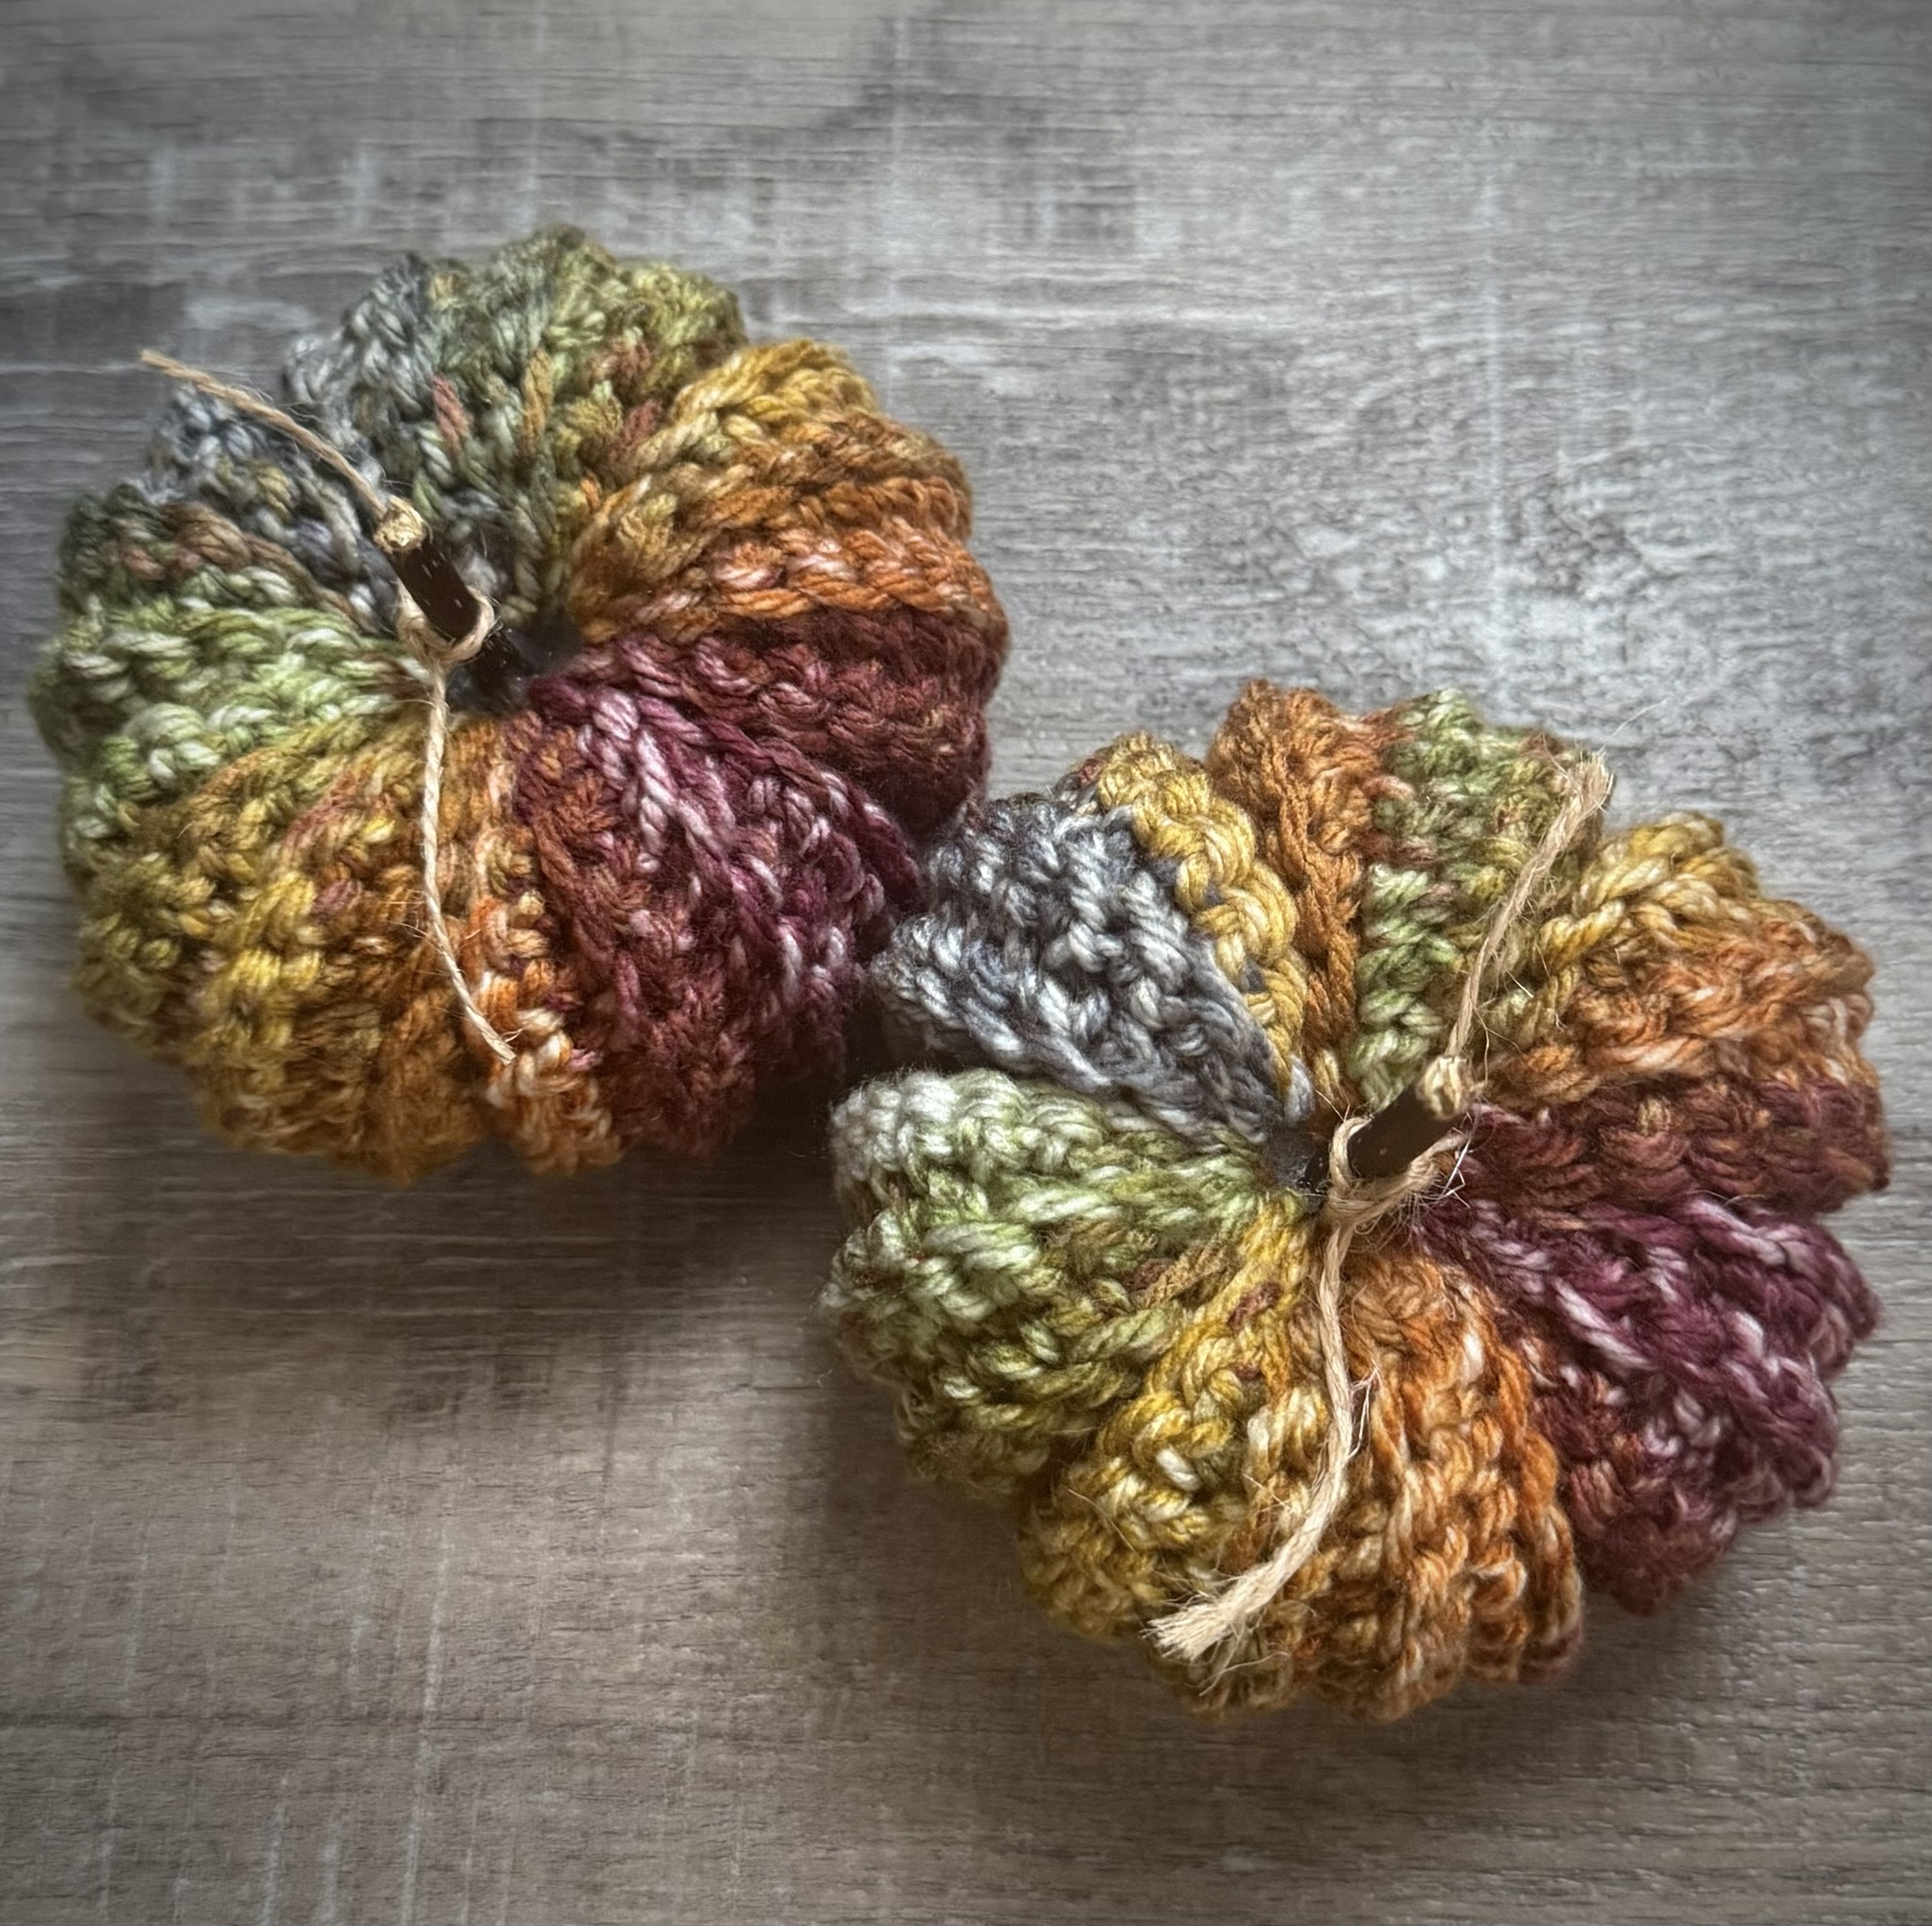
Crochet Mini Pumpkin
Worsted Weight (4) yarn (approximately 1 ounce)- I used I Love This Yarn in Cinnamon Cedar
H/5mm hook
Gauge is not important
Stitches used:
Chain – ch
Single Crochet – sc
Slip Stitch – ss
Back Loop Only – blo
Ch 17, leaving a long tail.
Row 1: sc in 2nd ch from hook and each stitch across. Ch 1 and turn. (16 stitches)
Row 2 – 37: sc in blo of each stitch across. Ch 1 and turn. (16 stitches)
Do not turn at the end of row .
Fold piece in half, matching short sides, ch 1 and ss together. Finish off leaving a very long tail. You will need this to shape the pumpkin.
Turn piece so seam is on the inside.
Using a yarn needle and your beginning tail, run a gathering stitch around the bottom of the pumpkin. Pull tight to close the opening, tie a knot, and weave in the end.
If the opening doesn’t close completely, just run a few stitches back and forth across the hole. Fasten off and weave in the end.
Stuff pumpkin with poly-fil and gather the top in the same manner, using the very long tail. Do not cut yarn.
Using your needle, draw the yarn through the center top of the pumpkin to center bottom of the pumpkin. Wrap the yarn around to the top of the pumpkin and pull it through again, pulling it tightly to form a “ridge”. Do this 5 or 6 times to give the pumpkin “ridges”. Tie it off tightly at the bottom after the last wrap around and weave in your end.
You can find photos of how I gathered the top and bottom and shaped another pumpkin in the same manner in this post.
Glue a small stick or cinnamon stick to the center for the stem. Add twine, ribbon, or other embellishments as desired.
Finished pumpkin measures about 3.5 inches across by 2 inches high.
Here are the links to the free PDFs…
These look so cute filling a dough bowl, as part of a Fall centerpiece, or tucked onto your mantel with your other Fall decor!🧡💛🤎
Anita




