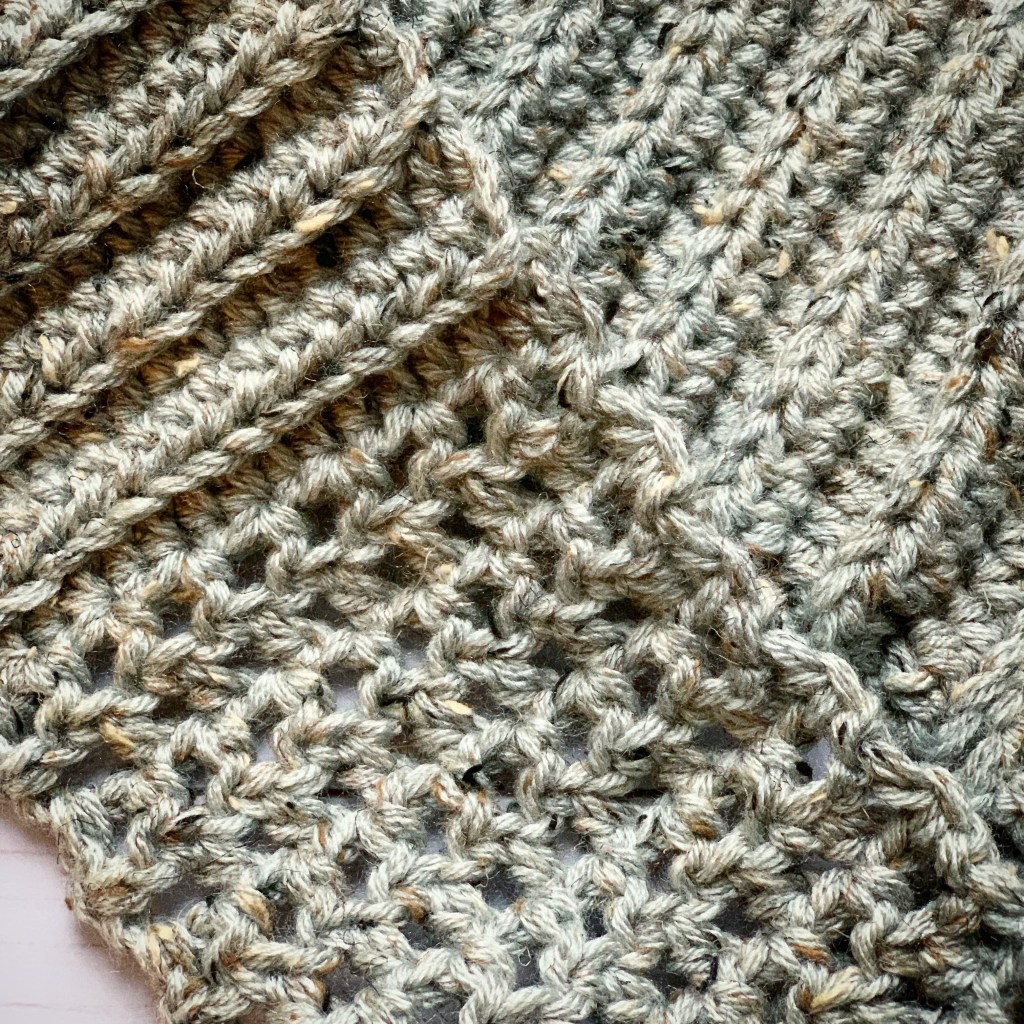
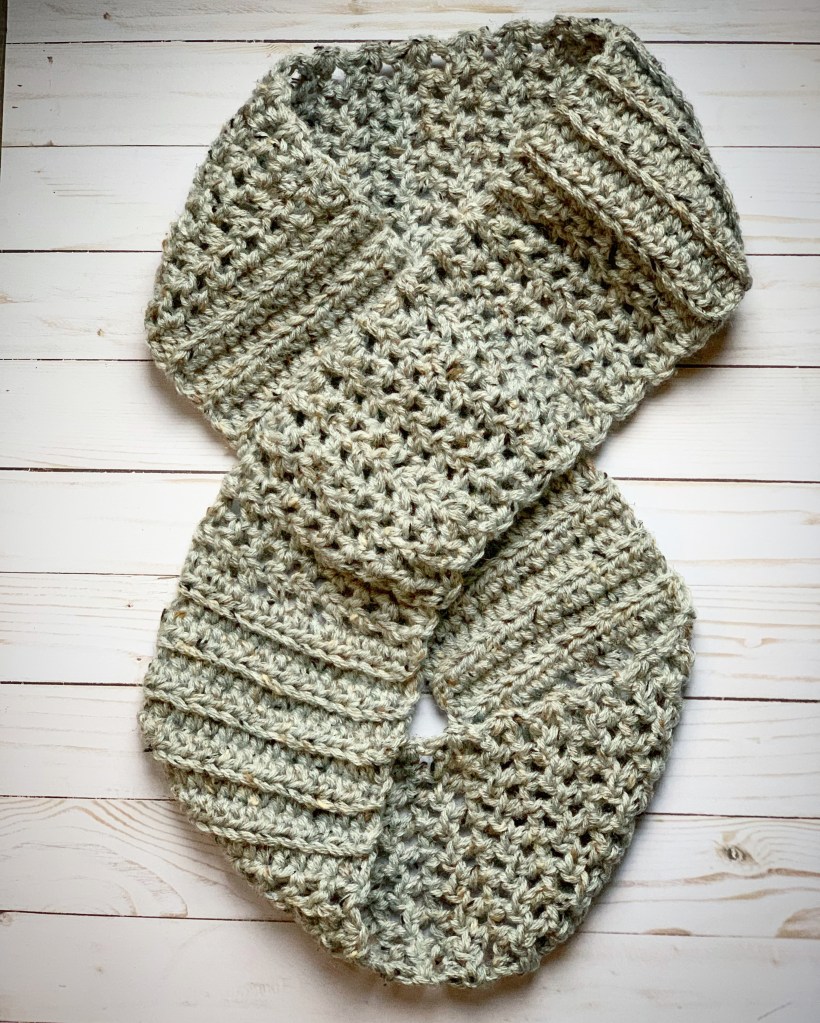
It’s January 2019!! Can you believe it!?!?! Is it cold where you live? Here in Alabama it can be cold in January – or it can be warm…you just never know. So I created this pattern for a Chunky Crochet Infinity Scarf for those chilly days that may come along.
I used 2 strands of worsted weight yarn held together to crochet this scarf. But I think it would work great with 1 strand of a bulky yarn as well. Here’s the pattern…
Chunky Crochet Infinity Scarf
N/9mm hook
7 to 7.5 ounces worsted weight yarn
Crochet with 2 strands held together – I used Lion Brand Vanna’s Choice Grey Marble
Stitches used (US terms)
Chain – ch
Half double crochet – hdc
Back loop only – blo
Slip stitch
Note: ch 2 counts as a stitch
Ch 17 using 2 strands of yarn held together.
Row 1: hdc in 3rd ch from hook and each ch across. Turn. (16 stitches)
Row 2: ch 2. Skip 1st stitch. Hdc in blo of next stitch and in each stitch across, ending with hdc in top of turning ch from previous row. Turn. (16 stitches)
Rows 3 – 10: Repeat row 2.
Row 11: ch 3 (counts as 1 hdc and 1 ch). Skip 1st stitch. Hdc in next stitch. * ch 1, skip 1 stitch, hdc in next stitch* Repeat from * to * across, ending with hdc in 2nd ch of ch 3 from previous row. Turn. (8 ch 1 spaces and 9 hdc)
Row 12: ch 3 (counts as 1 hdc and 1 ch). Skip 1st hdc and 1st ch 1 space. Hdc in next hdc. *ch 1, skip ch 1 space, hdc in next hdc* Repeat from * to * across, ending with hdc in 2nd ch of ch 3 from previous row. Turn. (8 ch 1 spaces and 9 hdc)
Row 31: ch 2. Skip 1st hdc. *Hdc in next ch, hdc in next hdc* Repeat from * to * across, ending with hdc in 2nd ch of ch 3 from previous row. Turn. (16 stitches)
Fold scarf in half and slip stitch ends together. Fasten off and weave in ends.
Finished size is approximately 6 inches by 60 inches. I used approximately 7 to 7.5 ounces of yarn for my scarf.
I made my scarf long enough to double it, but you can easily adjust the length of this scarf. If you want it to be a single cowl, you can stop around row 60. Need it to be longer? Just continue with the pattern until it’s the length you want.
(Please link back to my pattern if you make this scarf. I’d appreciate it if you wouldn’t copy or rewrite my pattern onto another page. Thank you!)
Click the link below if you’d like to print out a free PDF of the pattern.
It’s hard to believe that another year has flown by! They really do seem to go by faster and faster!
This past year for us seemed to have been consumed with a major remodel in our home – kitchen, living area, and one of our bathrooms. Lots of planning, noise, and dust…but so worth it in the end! It was something we have wanted to do for a long time and finally found an amazing contractor to do the job for us. (If you’re local, I highly recommend Gothart Homes and Renovations.) Here are a few before and after pics.
In August, my nephew and his bride had their dream wedding at Disney World…
The Groom and his Bride
After their wedding, we flew down to Key West. Let me just say…Key West in August is hot!!! ☀️☀️☀️
Our plane from Orlando to Key WestSpeaks for itself 🙂Sunset at Key WestErnest Hemingway’s HomeBeautiful tiles at Ernest Hemingway’s homeThe lighthouse that guided Ernest Hemingway home
In early December, we made a quick visit to Biltmore Estate to tour the “house” (that’s what they called it – quite the estate!) while she was decked out in all her Christmas finery! Absolutely gorgeous!!
The “House”Fireplace in the dining room
The Library – My favorite room!Beautiful NativitySome of the lights in Antler Hill Village
Just a few highlights of our year…of course it was also filled with cleaning, errands, and laundry as well as crafting and creating. I can’t wait to see what 2019 brings!
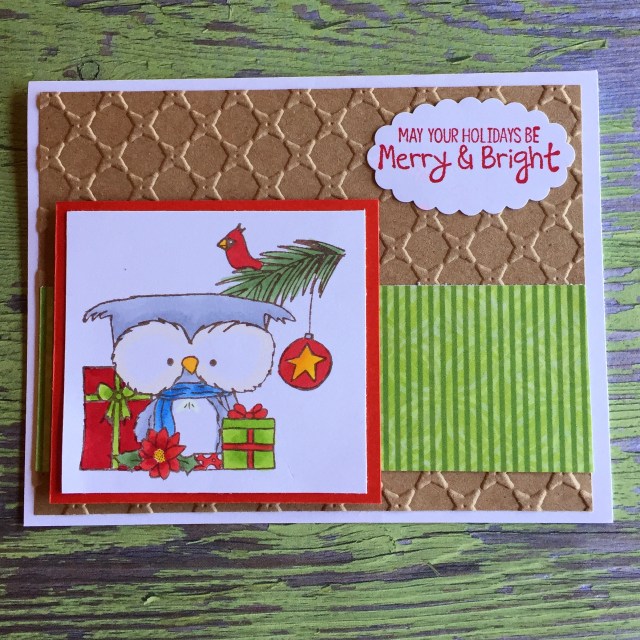
Have you sent out your Thank You notes for the Christmas gifts you received? If you are looking for a clean and simple Thank You card to make, I have just the thing for you! It truly comes together in just minutes…
To make the card, layer a piece of red card stock to a white card. Emboss a panel of white card stock with the embossing folder and attach to the card. Stamp “thanks” on white card stock with red ink and punch with an oval punch. Layer to a scalloped oval punched from red card stock. Attach to the card with foam tape.
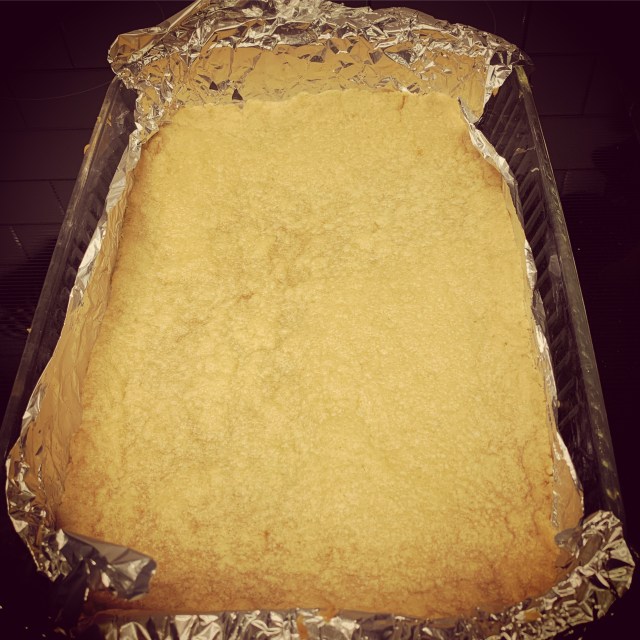
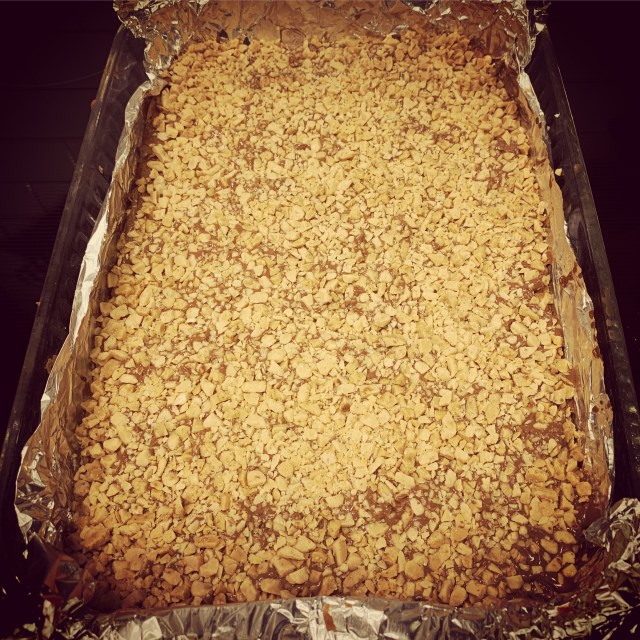
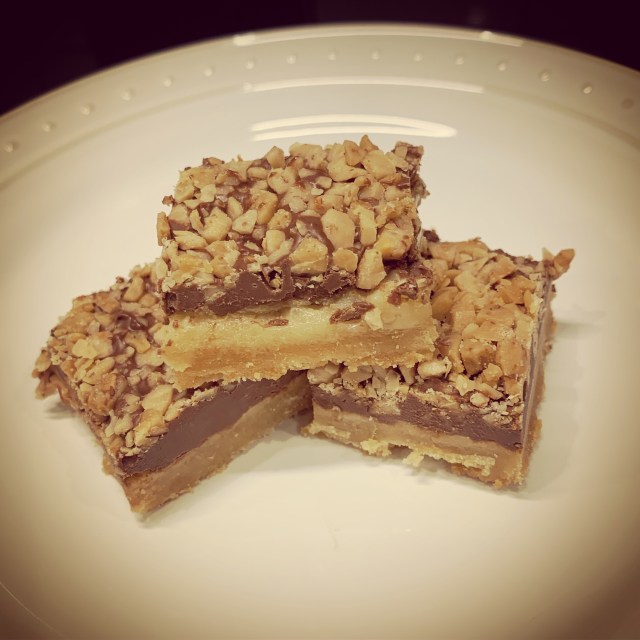
Are you in need of a yummy dessert to ring in the New Year? I’m always ready to try new dessert recipes! 🙂 I found this recipe for Shortbread Toffee Cookie Bars here at Cookies & Cups and knew I just had to try it!
Shortbread, chocolate, and toffee bits – of course it would be delicious!
The Shortbread Cookie layer fresh from the oven!
Sweetened Condensed Milk layer all hot and bubbly!What’s better than melted chocolate??Toffee Bits!!!How can you resist?!?!?
If you want to make these incredibly yummy Shortbread Toffee Cookie Bars click over to Cookies & Cups for the full recipe. I promise you won’t be disappointed!!
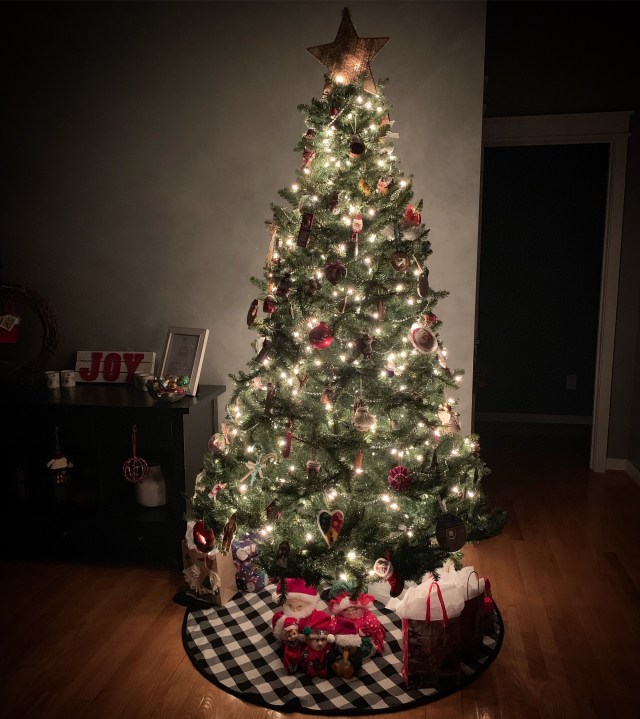
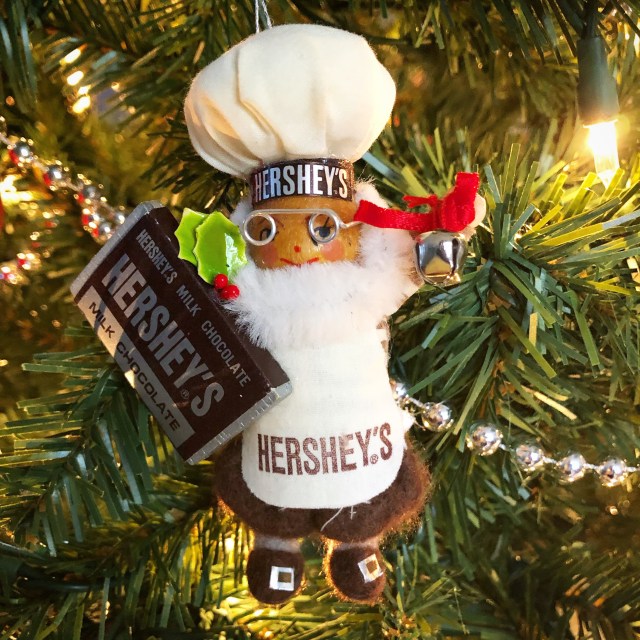
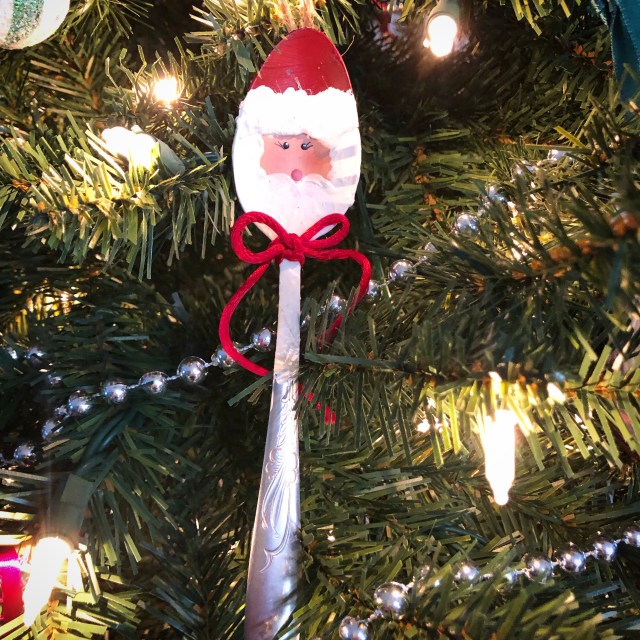
I have seen so many themed trees with gorgeous matching ornaments and amazing bows. And they are so beautiful! And I think maybe it might be nice to decorate our tree that way.
But then I pull out my boxes of Christmas decorations and all of the ornaments I’ve collected over the years – and I know that it just wouldn’t be Christmas without these precious keepsakes on our tree.
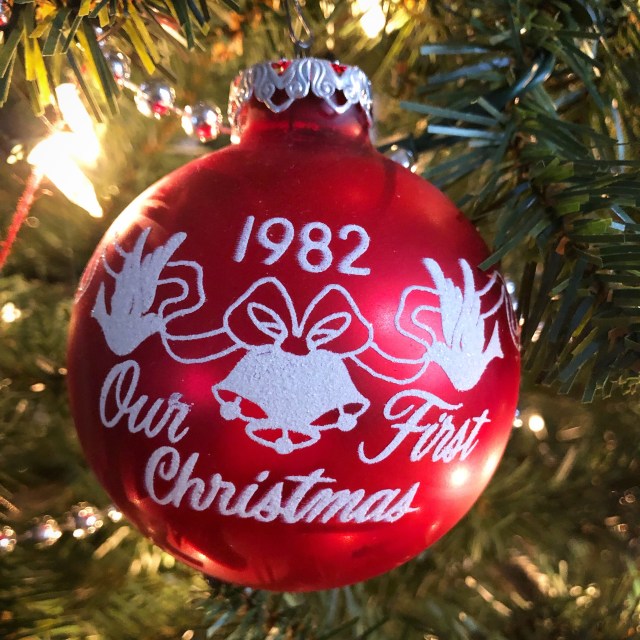
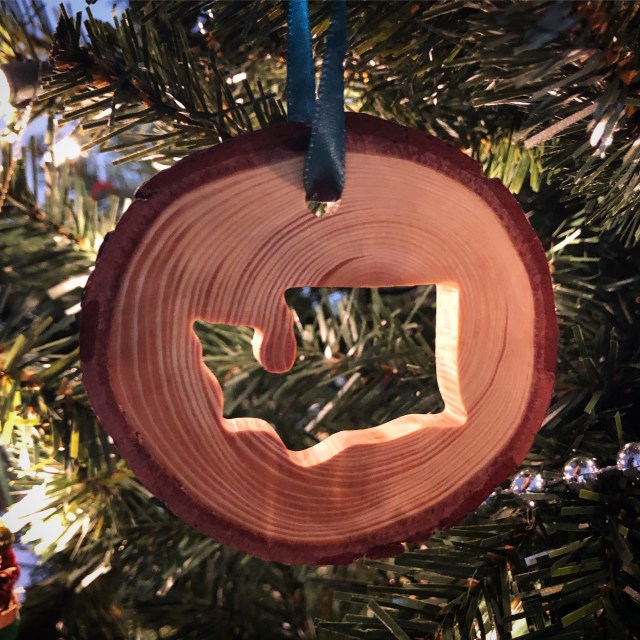
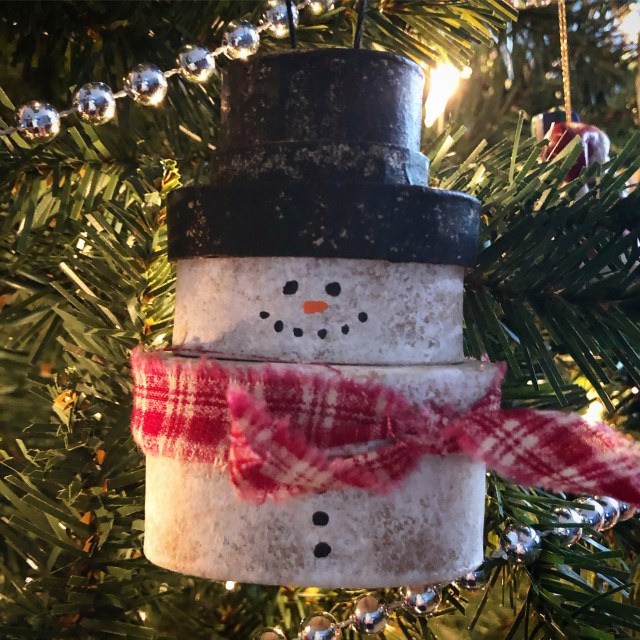
I have ornaments that some sweet friends have made for me. I have ornaments that I’ve picked up on our various vacations. I have ornaments that were given to me as gifts. And I have ornaments that I’ve made. Each ornament evokes a special memory. I just can’t imagine any other way to decorate our tree!
Here are just a few of my favorites…there are way too many to post them all! 🙂
I know that you love your tree just as much as I love mine. I hope your season is filled with family, friends, and love as we celebrate the birth of Jesus.
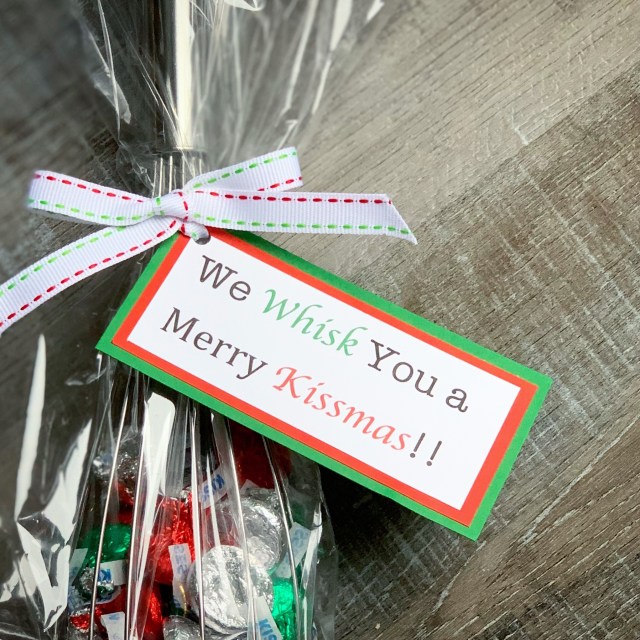
Do you need a last minute gift? Or something fun for friends and neighbors? I love this cute idea using a simple whisk from the kitchen section of your favorite store. I’ve seen it done several ways on Pinterest – here’s my take on it.
You’ll need a whisk (I found mine at Walmart), chocolate kisses, cellophane bags (you can find these in the cake decorating area of Walmart or your local craft store), ribbon, and the tag to tie onto the package. If you like the tag I created, click on the “Gift Tag” link below for the pdf to print. It will print on an 8 1/2 x 11 sheet of paper. I printed mine on white card stock, trimmed each tag, and then layered them to red and green card stock.
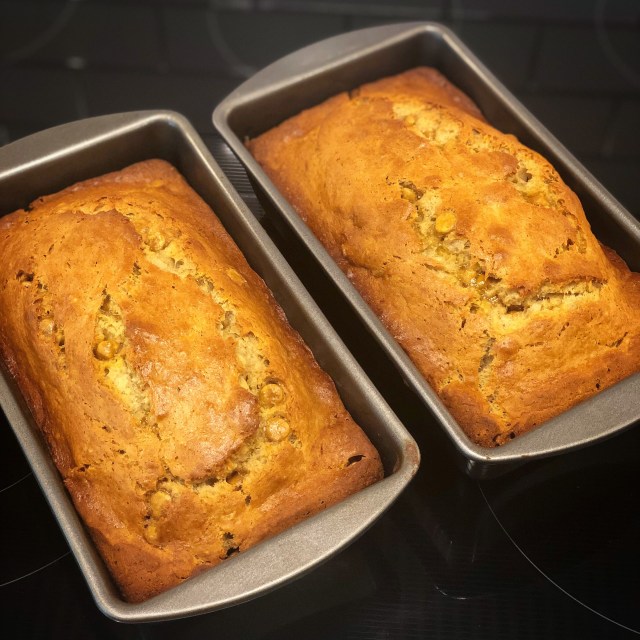
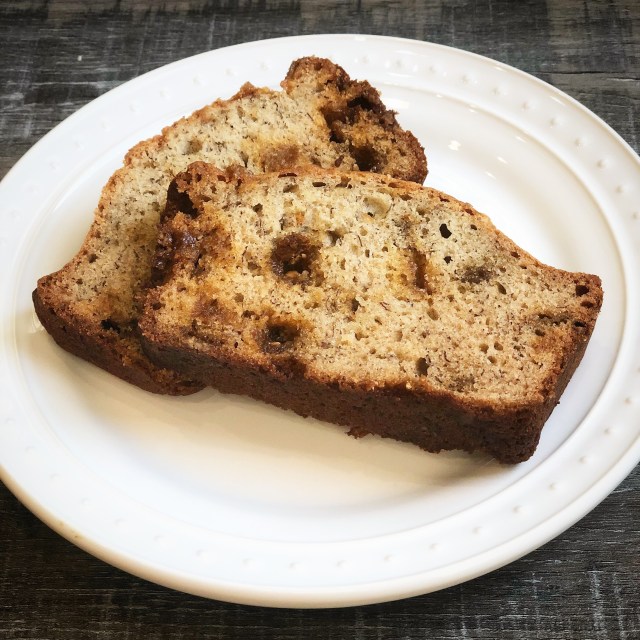
Do you end up with bananas that get too ripe and mushy to eat? Yeah, me too! Of course the go to way to use them up is to make banana bread. I found this recipe for Butterscotch Banana Bread here at Six Sisters’ Stuff and it adds a little twist to the normal recipe.
It’s super easy to make and easy to double if you have a lot of bananas you need to use up! 😉
2 loaves ready for the oven!Golden brown and they smell so good!!So yummy with a hot cup of coffee or tea – or a tall glass of cold milk!
You can also make these in mini loaf pans. Perfect to tie with a ribbon and a cute tag for a sweet Christmas gift.
Disclosure: Some of the links on my site are affiliate links, meaning, at no additional cost to you, I will earn a small commission if you click through and make a purchase. As an Amazon Associate I earn from qualifying purchases.