The Best Sugar Cookies

I shared this yummy Sugar Cookies recipe a couple of years ago and just had to share it again! It’s the perfect cookie to make with the kids – let them decorate their own treats! Enjoy!

These are the most yummy sugar cookies! They are soft, light, and just wonderful with homemade buttercream icing and sprinkles!

As you can see by the photos, I made these for Valentine’s Day, but you can change the shape of your cookie cutter for any holiday (Easter is coming!) – or just use a round cookie cutter and make them any time. 🙂

Soft Sugar Cookies

  • 1/2 cup butter, softened
  • 1/2 cup crisco
  • 1 cup sugar
  • 1  1/2 teaspoons vanilla
  • 3 eggs

Cream together until smooth.

  • 3  1/4 cups flour
  • 1 teaspoon baking soda
  • 3/4 teaspoon salt
  • 2 teaspoons cream of tartar

Mix together and add to creamed mixture. Mix well. Cover dough and chill for at least 8 hours or overnight.

Preheat oven to 400°. Roll dough to 1/4-inch thickness on a floured surface and cut out with cookie cutter. Bake on an ungreased baking sheet or non-stick baking mat 6 to 8 minutes. Cookies will be pale in color. Let cool completely on cooling rack before icing.

Buttercream Icing

  • 1/2 cup (1 stick) butter, softened
  • 1 teaspoon vanilla
  • 1 lb powdered sugar (or more if needed)
  • 2 to 4 tablespoons milk
  • food coloring if desired

Cream butter with vanilla until smooth. Slowly add powdered sugar, mixing well. Add milk as needed to make icing spreadable. Add food coloring if desired. Make sure icing is not too thin; add more powdered sugar if needed.

I added a little red food coloring to make the icing light pink for my Valentine cookies. I topped them off with sprinkles and some of them with dark chocolate hearts – because you can never have enough chocolate. 🙂

This is a great recipe to make with your little ones – let them decorate their own cookies just the way they like them!

Thanks for stopping by,

Anita

Posted in Recipes, Uncategorized, Valentine | Leave a comment

Owl be your Valentine

Hi friends,

There’s still time to make this cute Valentine! This sweet little owl is from the My Kinda Favorite Owl set by Unity Stamp Company. They also have several other adorable sets for different seasons using this cutie. You can find them here on the Unity site – just search for “owl”.

My Kinda Favorite Owl

I stamped the owl with Memento Tuxedo Black ink on white card stock, colored him with Copic Markers, and punched him out with a circle punch. Then I layered him to a scalloped circle punched from patterned paper.

In the market for a set of circle dies? This would be a great set to add to your craft tools. This is also a great set of scalloped circle dies.

I embossed a panel of white card stock with a heart embossing folder. (This one is discontinued, but here’s a similar one.) The embossed panel is attached to a white card. The sentiment, from the My Kinda Favorite Owl, is stamped with red ink on white card stock and punched with an oval punch. (Great set of oval dies here.) Both the sentiment and the owl image are attached to the card with foam tape.

This is a simple layout that you can use to make a card for any occasion. Just change the focal image, sentiment, and embossing folder for a quick and easy birthday, thinking of you, or Christmas card!

Happy ❤️ day!

Anita

Posted in Cards, Stamping, Uncategorized, Valentine | 2 Comments

Delivered with Love

Hi friends,

I have another quick and easy Valentine card to share with you today. This one uses the set called A Guy and his Truck from Unity Stamp Company. If you haven’t checked this stamp company out yet, you NEED to!! Seriously, they have the best red rubber stamps and sales all the time!

A Guy and his Truck

I stamped the truck with Memento Tuxedo Black ink on white card stock and colored it with Copic markers. I layered it to turquoise card stock and attached it to a white card.

The sentiment is stamped with red ink on white card stock and punched with a label punch. (Here’s a similar punch.) I attached it to an oval punched from red card stock with foam tape. (This is a great set of oval dies.) The oval is attached to the card with foam tape.

And that’s it! Ready to be delivered with love! ❤️

Happy ❤️ day!

Anita

Posted in Cards, Stamping, Uncategorized, Valentine | 1 Comment

Be My Valentine

Hi friends,

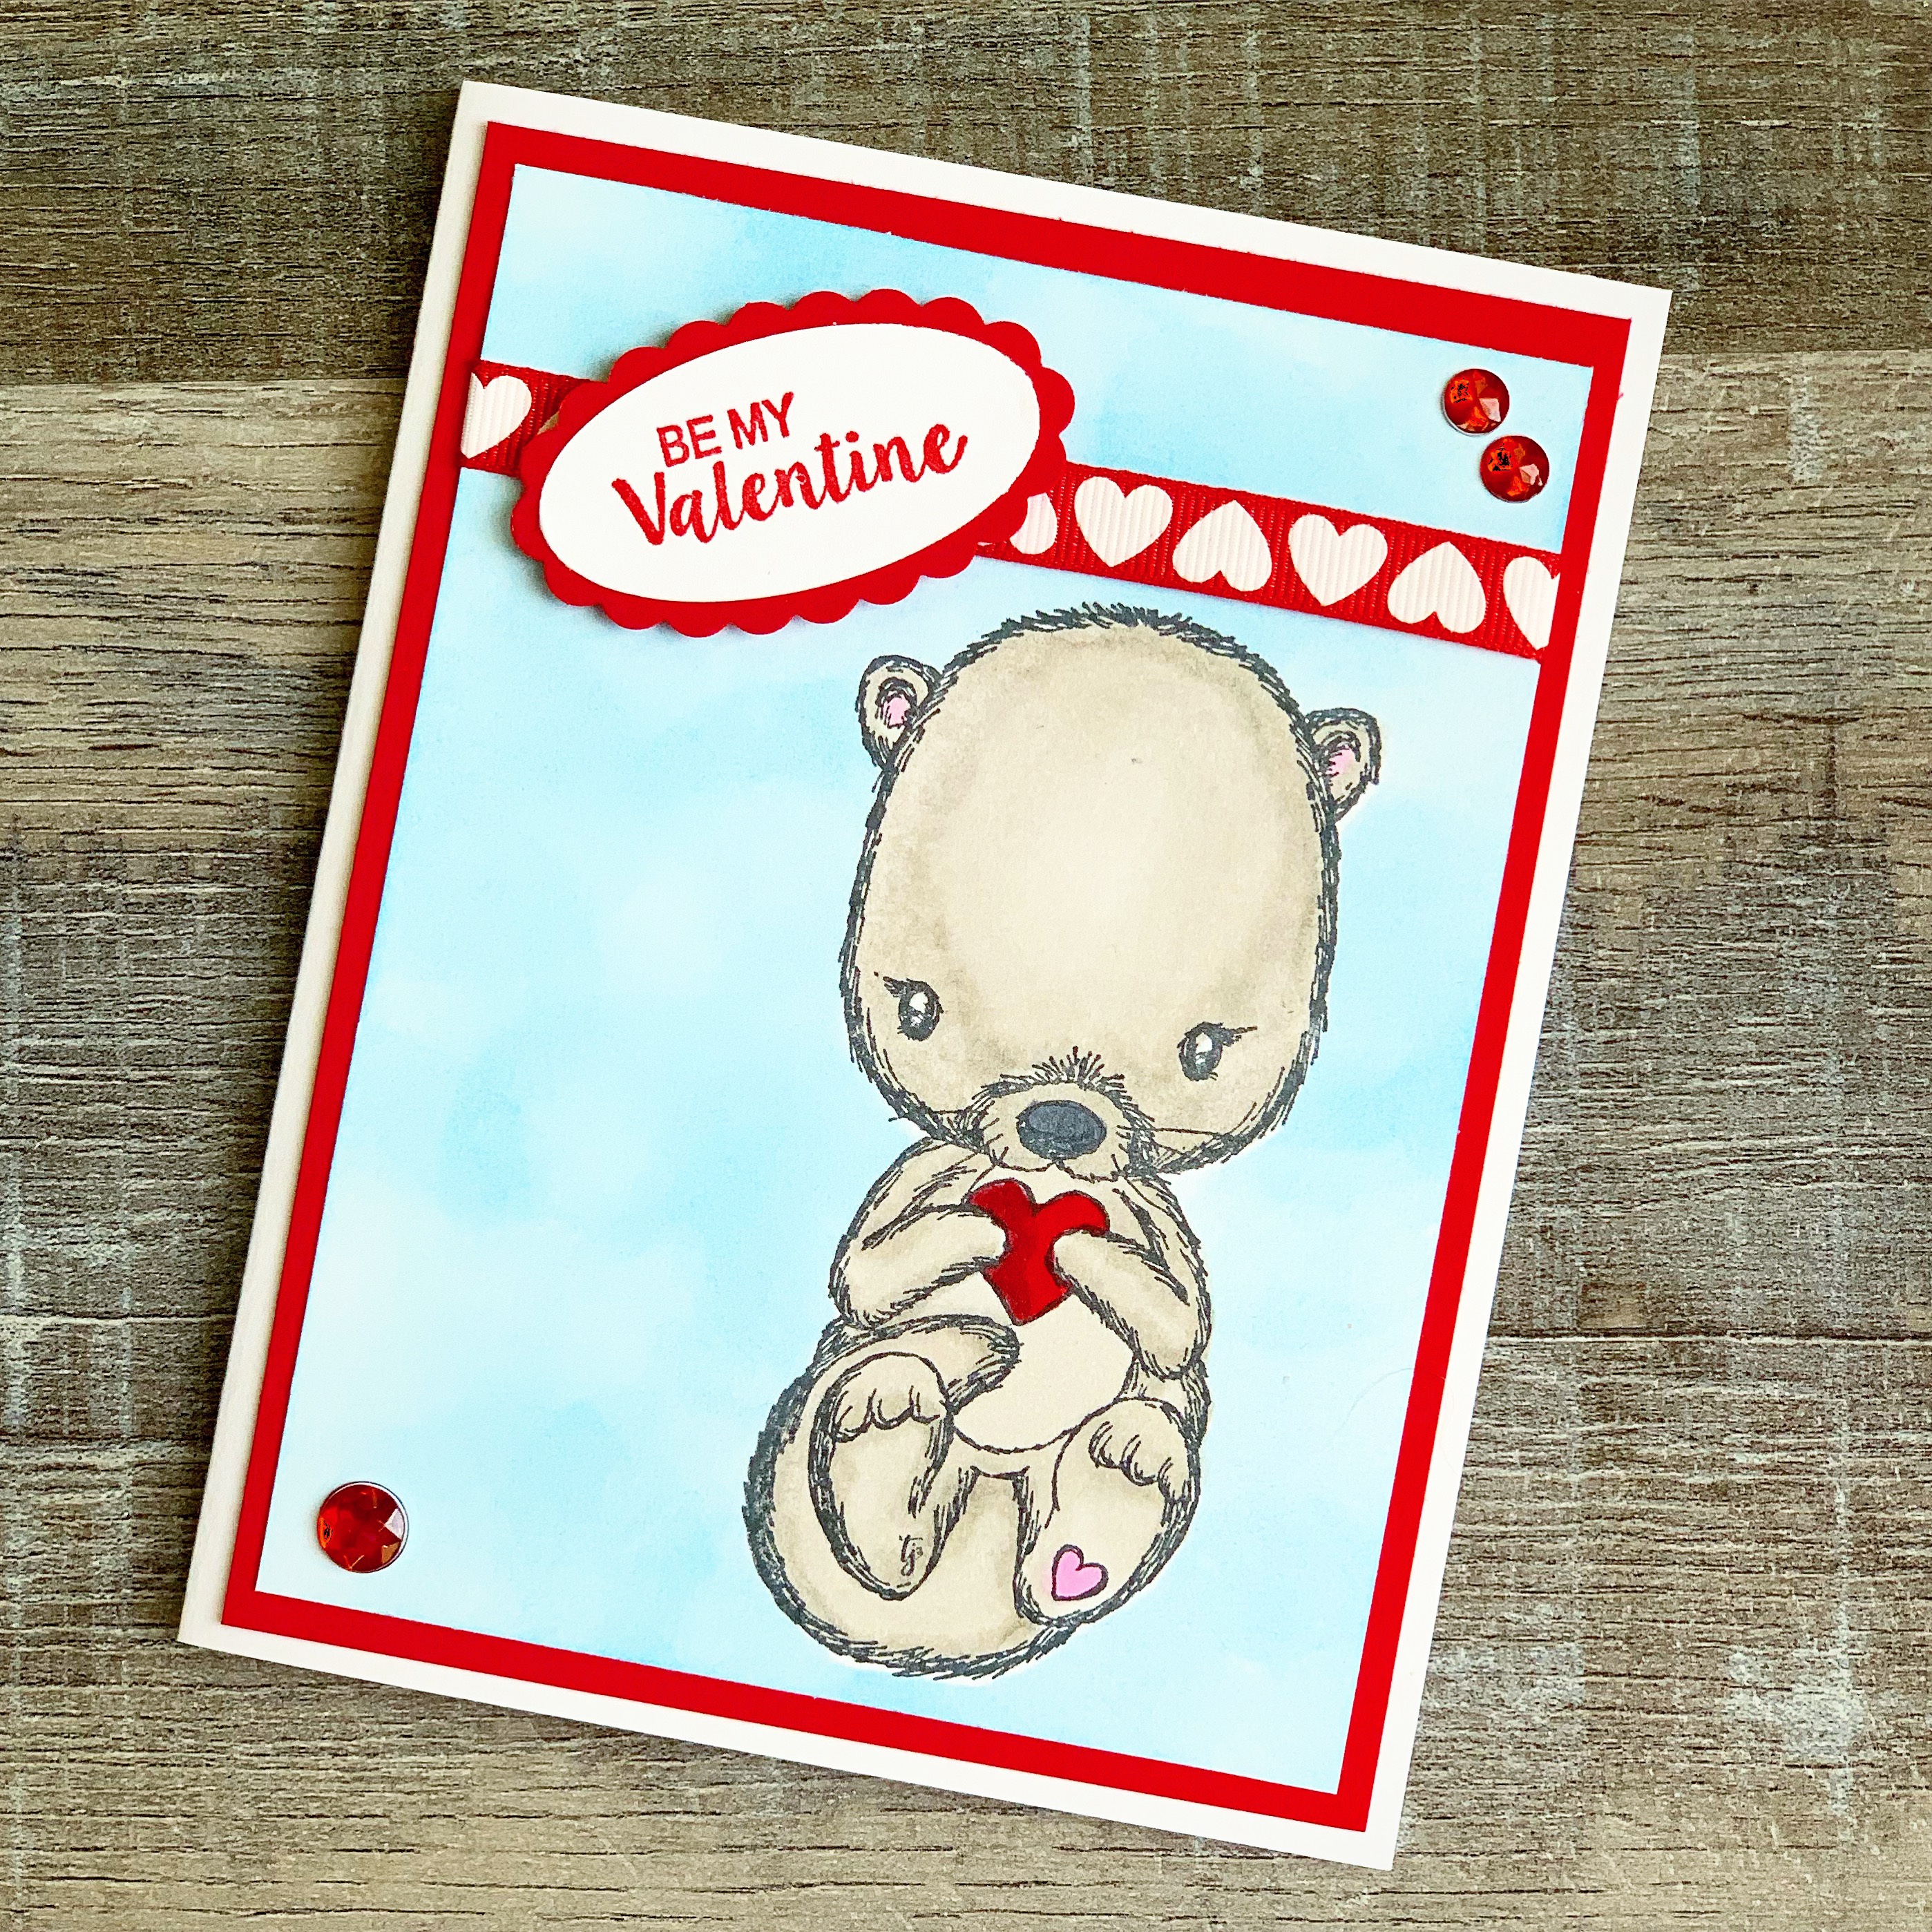
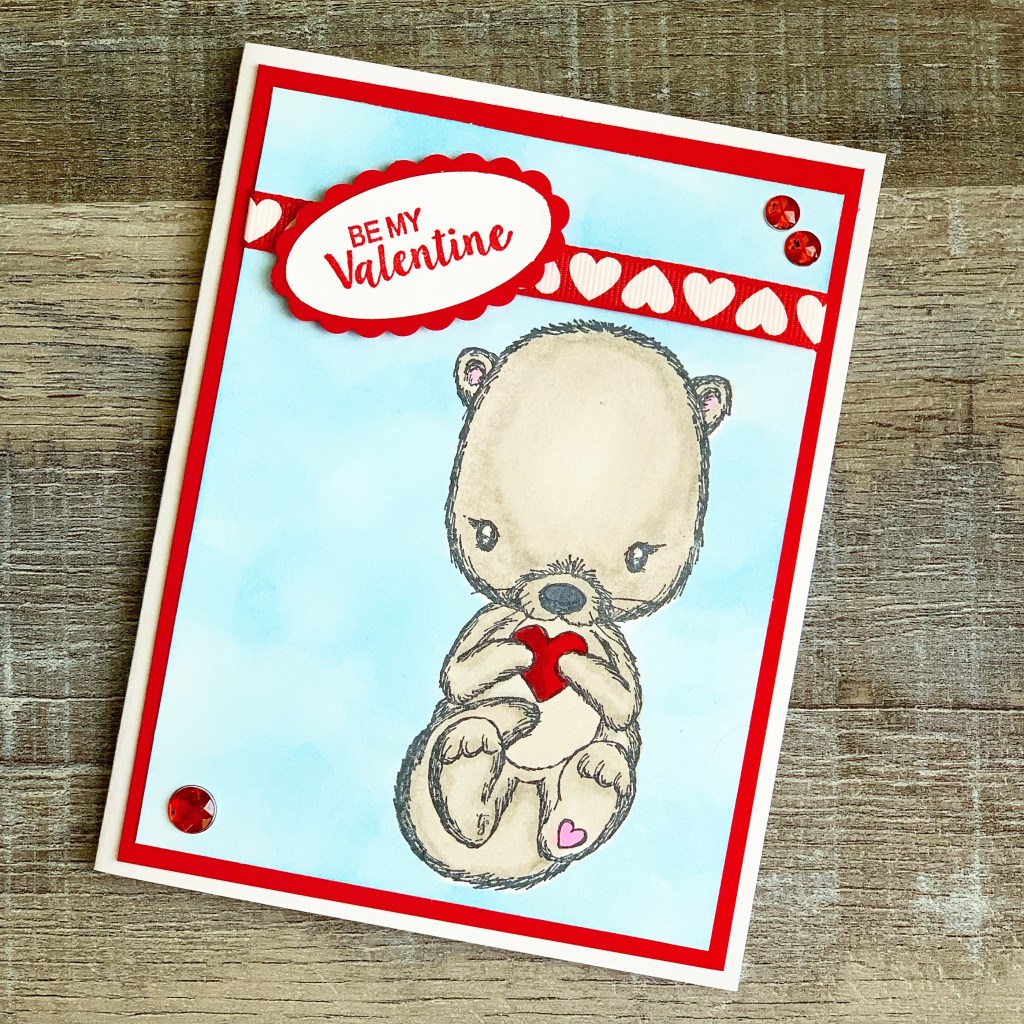
It’s almost Valentine’s Day! ❤️ This cute little Cuddlebug Otter from Unity Stamp Company is a sweet way to send a bit of love to someone special.

Cuddlebug Otter from Unity Stamp Company

This card is super quick and easy to make! Stamp the otter with black ink (my favorite is Memento Tuxedo Black) on a panel of white card stock. Color with Copic markers. Then make a mask of the otter by stamping him on text weight paper and cutting out the image. Using a little removable adhesive, attach the mask over your colored image. Sponge a background of light blue ink over the entire stamped panel of white card stock. (This Mini Ink Blending Tool works great for this technique.)

Add a ribbon across the top of the panel and layer the panel to red card stock. Attach entire panel to a white card.

Stamp “Be My Valentine” with red ink on white card stock. (This stamp is from the Love You Every Day set by Unity Stamp Company.) Punch with an oval punch and layer to a scalloped oval punched from red card stock. (The punches I used are discontinued from Stampin’ Up, but this is a great set of oval dies and another set of scalloped oval dies.) Attach to the card with foam tape. Finish the card by adding three red gems.

Isn’t he just adorable?!?!? ❤️

If you don’t have the stamps or punches I used, no worries! Just use my card as inspiration and use what you do have!!

Happy ❤️ Day!

Anita

Posted in Cards, Stamping, Uncategorized, Valentine | Leave a comment

Crochet Heart Pillow

Hi friends,

I love all the cute things for Valentine’s Day – maybe because one of my favorite colors is red? 😉 Whatever the reason, it’s fun to add a little something cute and red to celebrate the day.

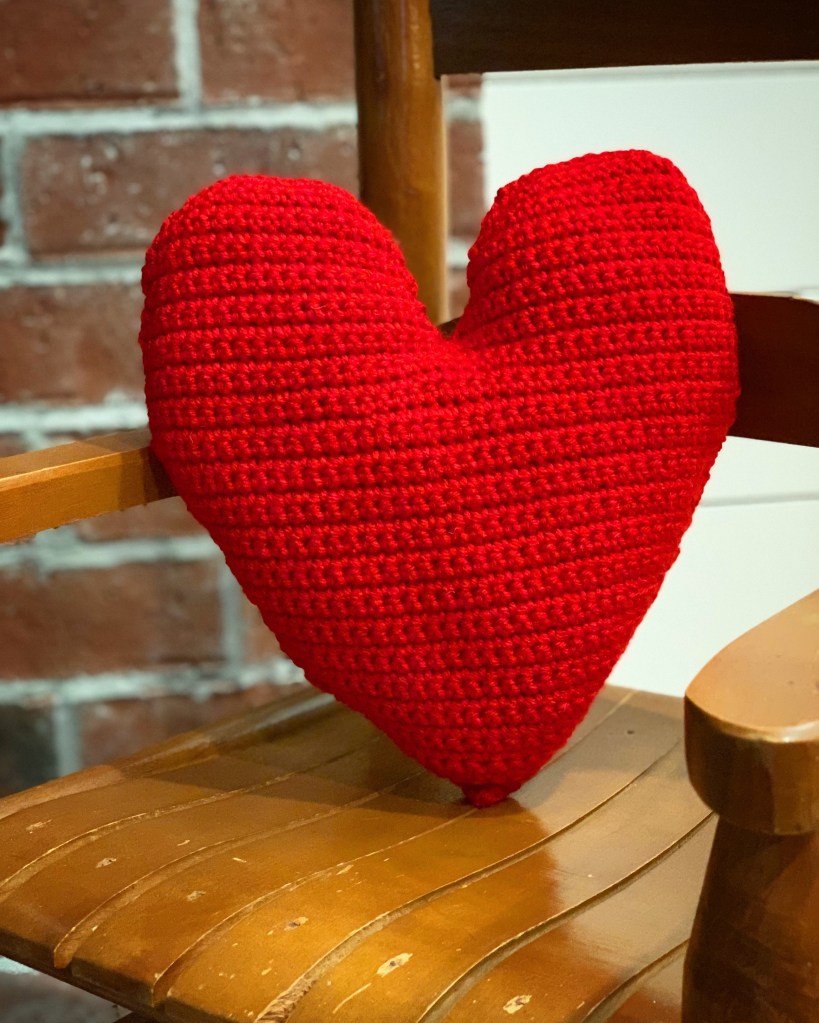
I found the pattern for this cute Crochet Heart Pillow here at Leelee Knits. If you want to make it a little whimsical, she adds the cutest little face to her pillow!

I used I Love This Yarn in Red and a G/4mm hook to make my pillow. It is a a worsted weight yarn so my pillow came out a little smaller than the one in the pattern. It’s about 9.5 inches across by 10.5 inches high. It’s the perfect size to sit on my little rocking chair!

A cute and easy way to add a little ❤️ to your home.

Thanks for stopping by,

Anita

Posted in Crochet, Decor, Uncategorized, Valentine | Leave a comment

Crochet Heart Dishcloth

Hi friends,

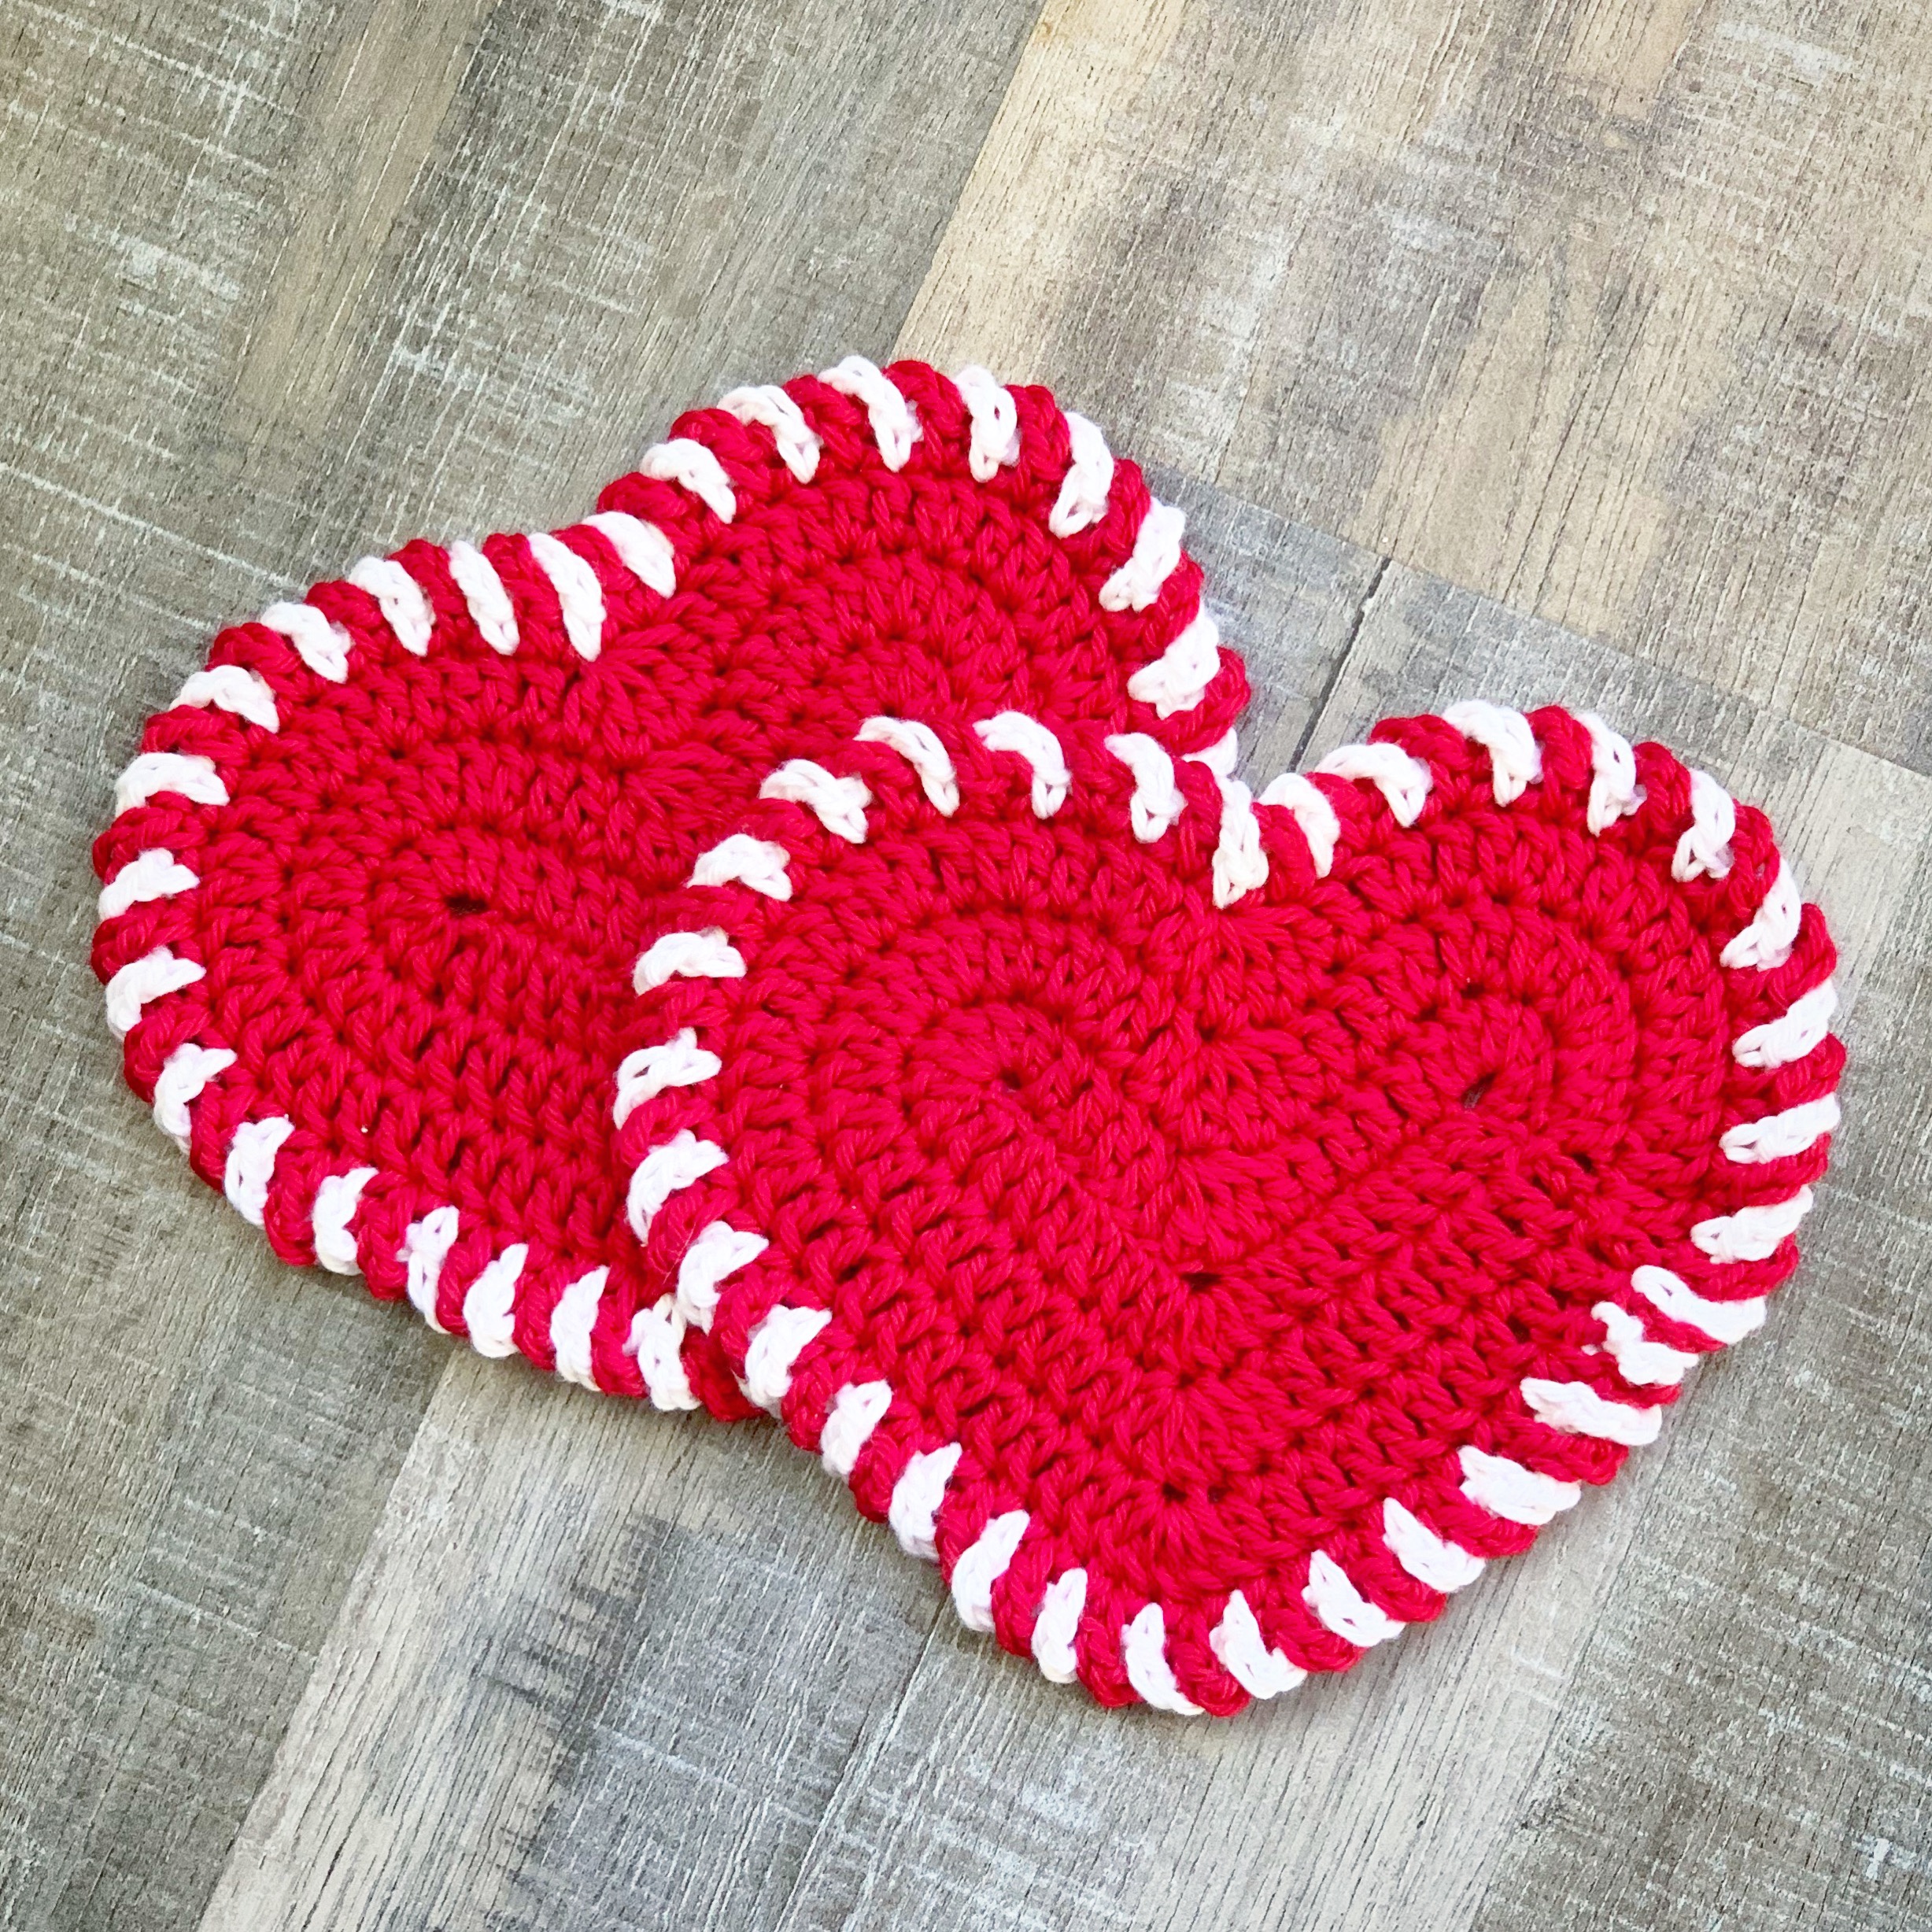
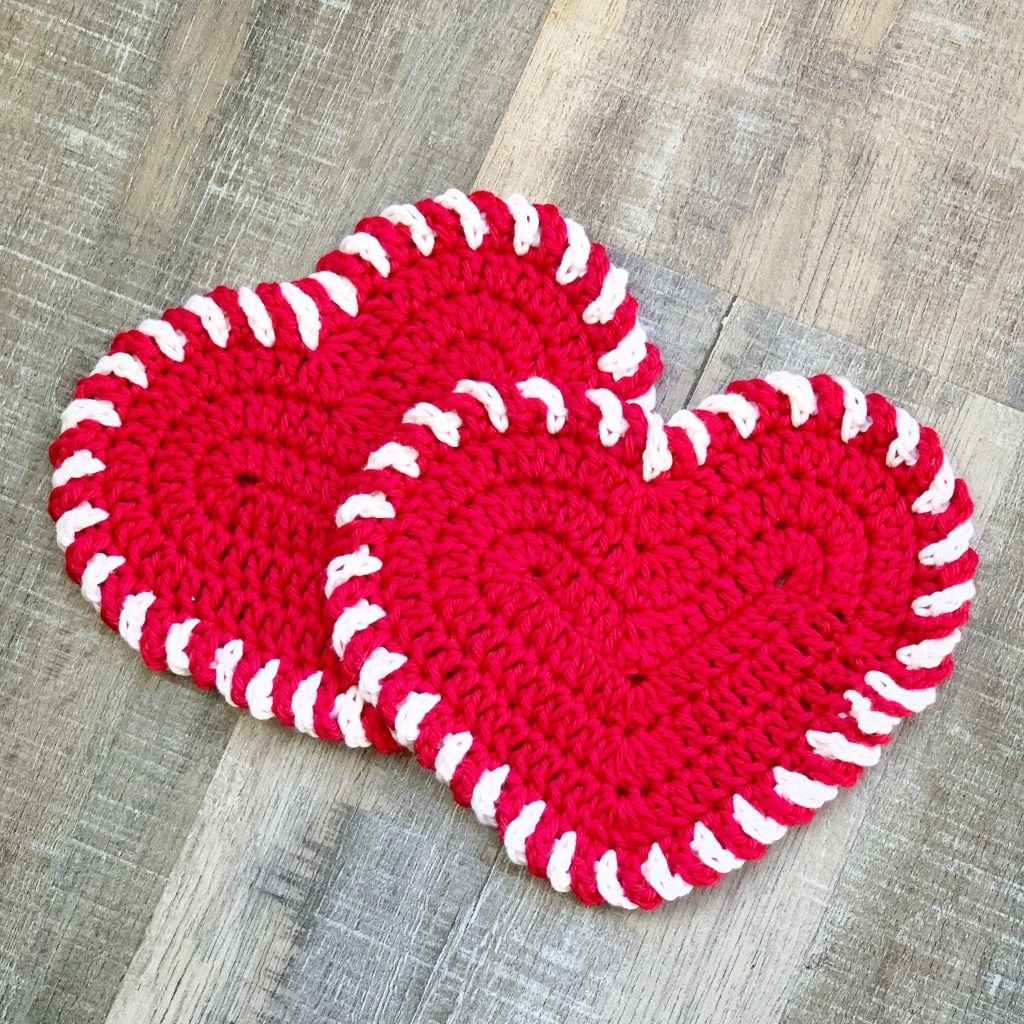
I found this cute Crochet Heart Dishcloth free pattern here while I was perusing Pinterest. It works up really quickly and would make a fun little Valentine surprise to give to a friend. ❤️

I used I Love This Cotton yarn in Red and White and an H/5mm hook to stitch up my dishcloth. It ended up a bit smaller than the size stated in the pattern – about 7.5 inches by 6 inches. Still a great size!

Put one or two in a cute basket with a few chocolates and you have a sweet Valentine to share with someone special! ❤️

Happy ❤️ Day!

Anita


Posted in Crochet, Gifts, Uncategorized, Valentine | 2 Comments

Valentine Treat Cups

Hi friends,

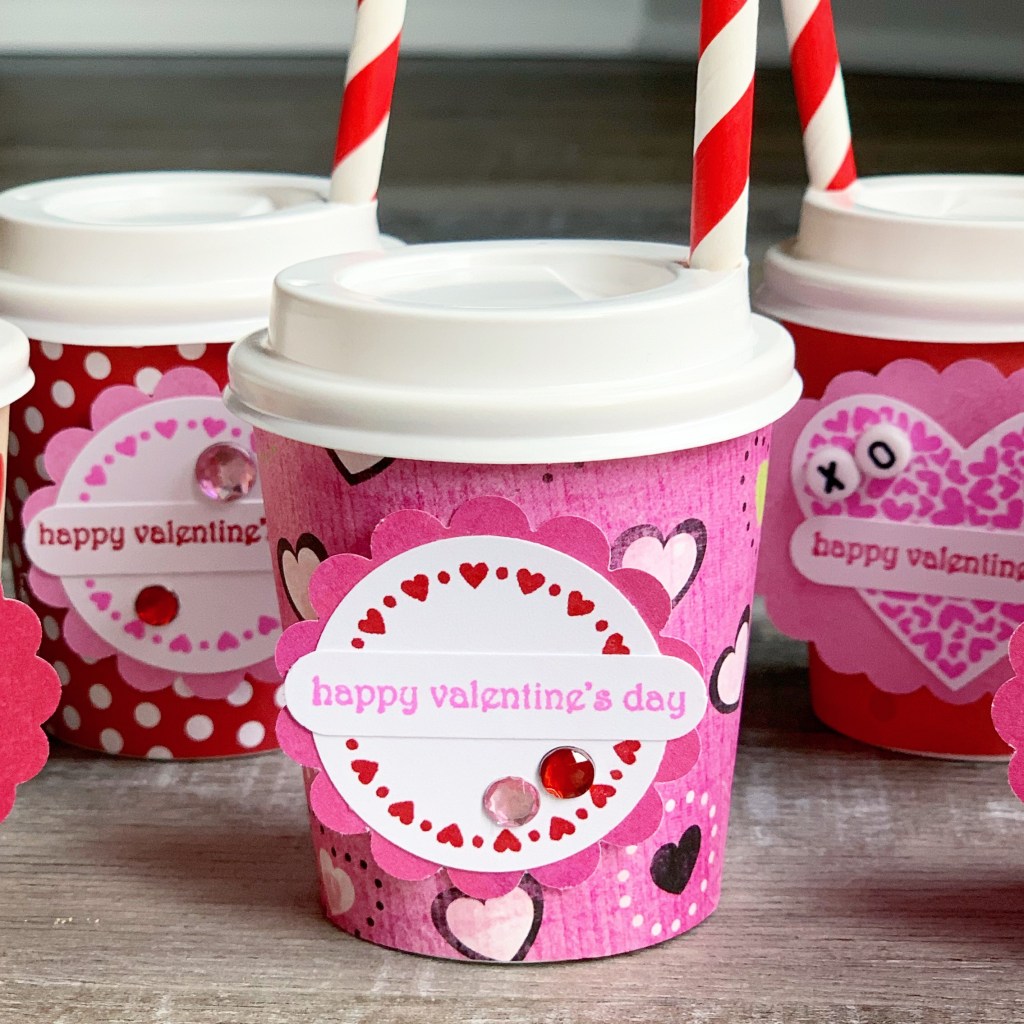
I have the cutest little Valentine Treat Cups to share with you today! They are only about 3 inches tall – just the perfect size for a sweet treat!

You’ll need some of these tiny 4 ounce disposable coffee cups (I found mine here), some scrapbook paper, stamps, punches, and other embellishments. 

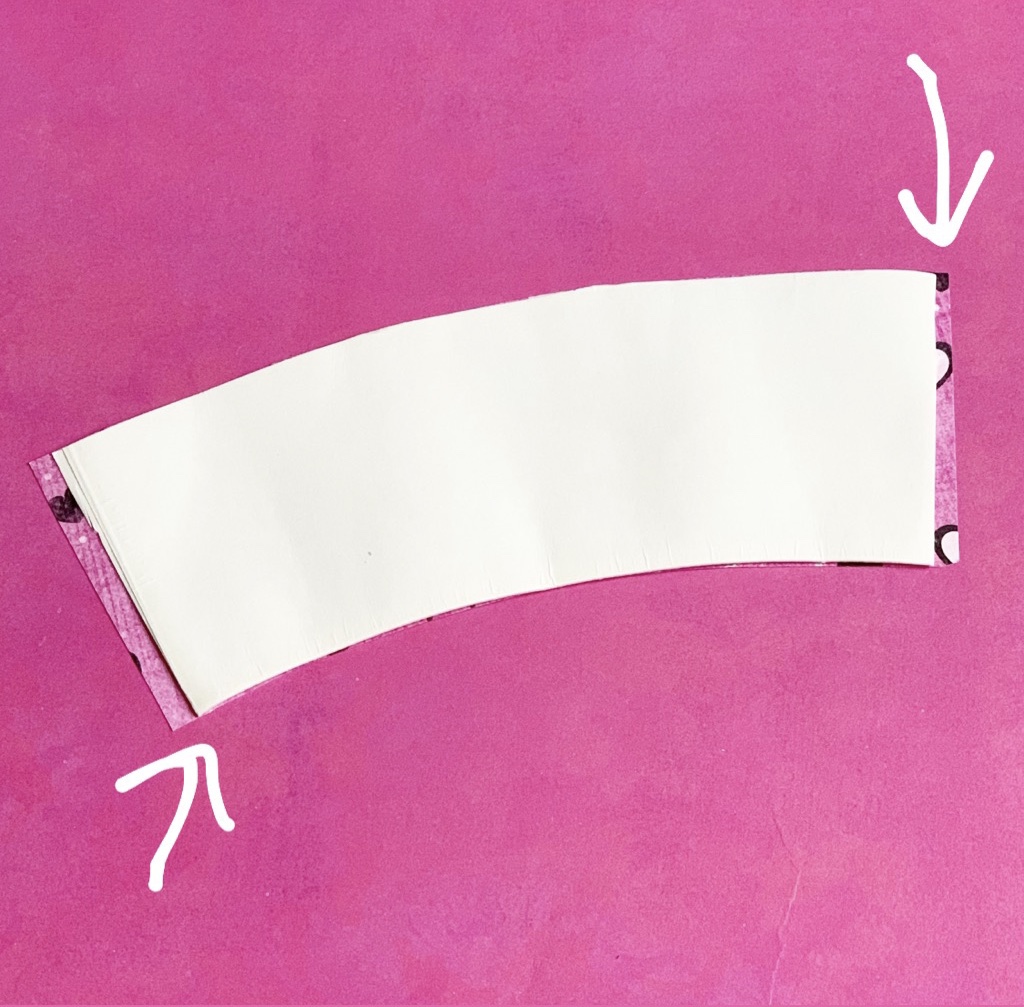
First you’ll need to make a template to cut your paper to wrap around the cups. Take one of your cups and cut out the bottom circle using a craft knife. Then cut up the seam of the cup so it will lay flat. Finally, cut off the small lip on the top indicated by the arrow.

Using your template, cut a piece of patterned paper to wrap around the cup, adding about 1/4-inch to each end so it will overlap when attached to the cup.

Glue the patterned paper to the cup, overlapping the edge. Use the seam on the cup as a guide on where to glue the first edge and make sure the top edge of the paper is pushed up to the lip of the cup. I used Aleene’s Tacky Glue for this step. It dries quickly, but not too quickly, so you can adjust your paper if you need to.

Then embellish however you’d like! I used different punches and embellishments as well as stamps to decorate my cups. Use whatever you have in your craft room! (If you are looking for some heart stamps, this is a cute set. Here’s a great set of heart dies or a good heart punch to add to your tools.)

Just look how cute they are! ❤️

Fill them with treats for a sweet Valentine! ❤️

Happy ❤️ Day!

Anita

Posted in Gifts, Uncategorized, Valentine | Leave a comment

Valentine Candles

Hi friends,

Do you like to decorate for Valentine’s Day? I like to add a little “love” around the house – it just makes me smile.

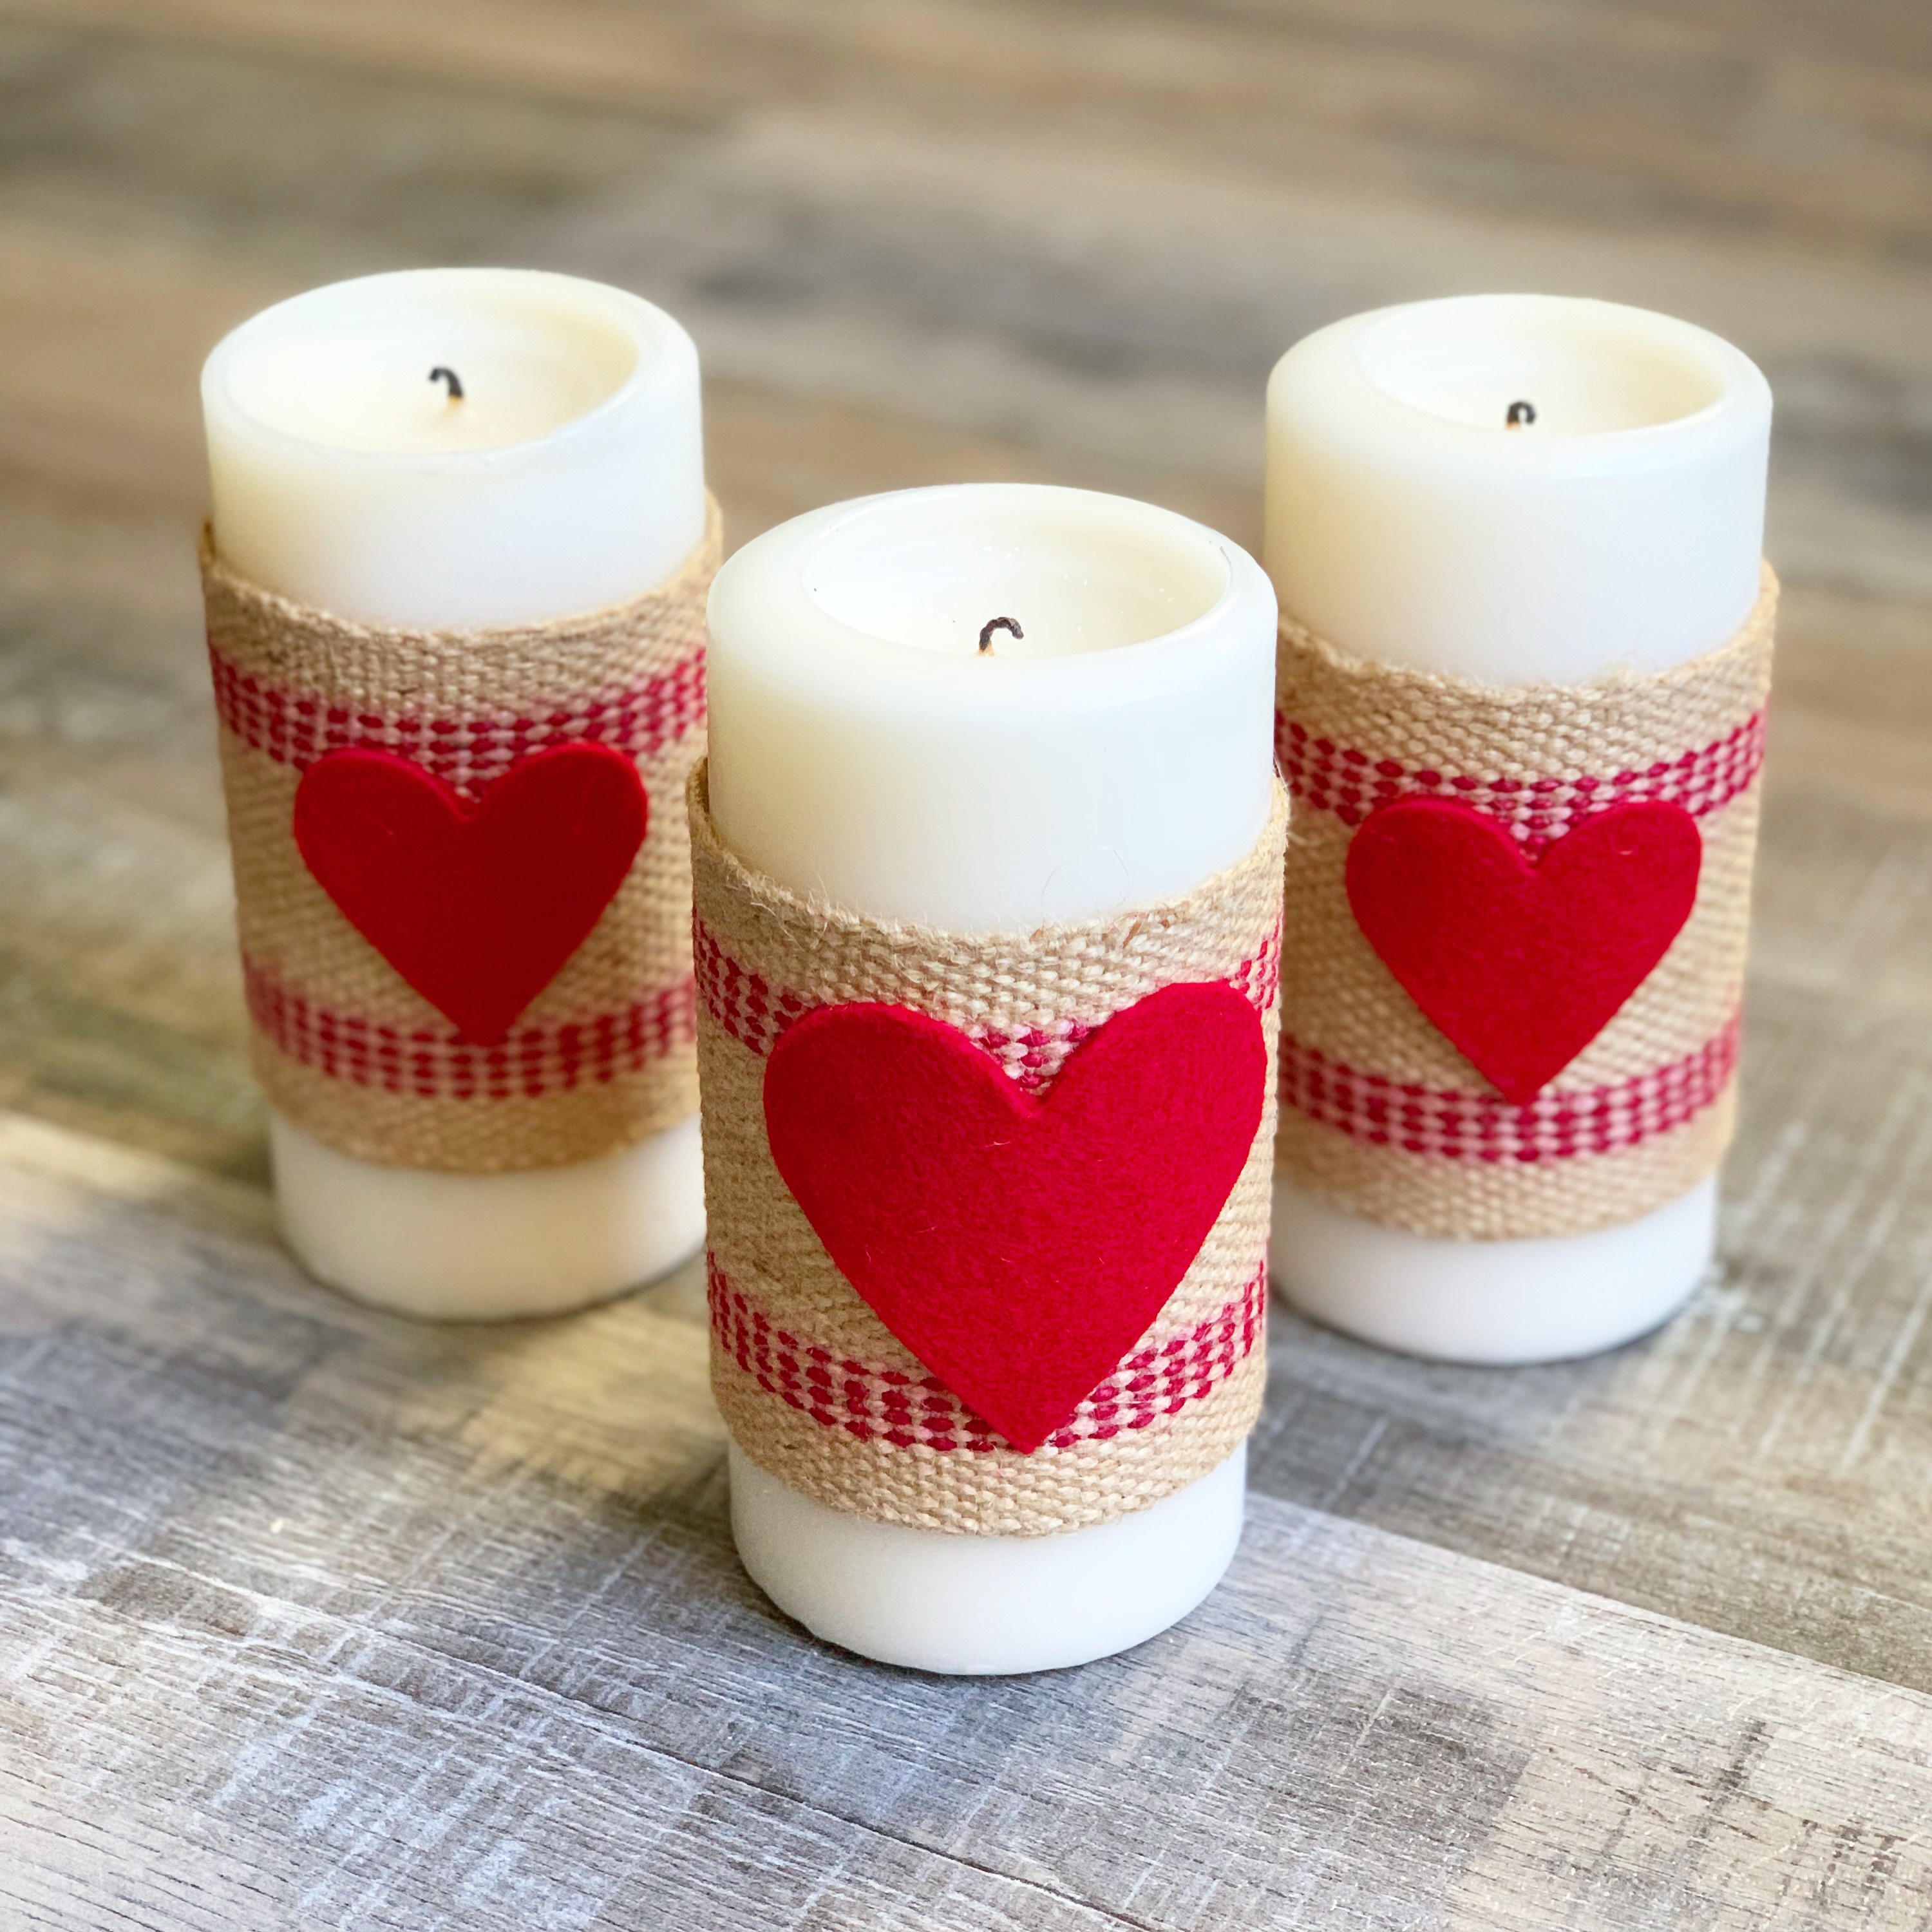
Here’s a super fast and easy way to add some Valentine decor to your mantel or table. All you need are some pillar candles, burlap ribbon, and felt hearts.

I picked up my candles at Walmart. The ribbon I used is actually jute chair webbing I found at Amazon. It is 3-1/2 inches wide – use any ribbon you like. I cut my hearts from red felt using these heart dies from Spellbinders. You can also just trace a heart onto the felt and cut it out.

Simply cut your ribbon to fit around your candle, allowing it to overlap about 1/4 inch. Hot glue the ribbon to the candle. I glued one short edge to the candle and then glued the other short end, slightly overlapping the first end.

Cut hearts from red felt and hot glue to the front of the candle.

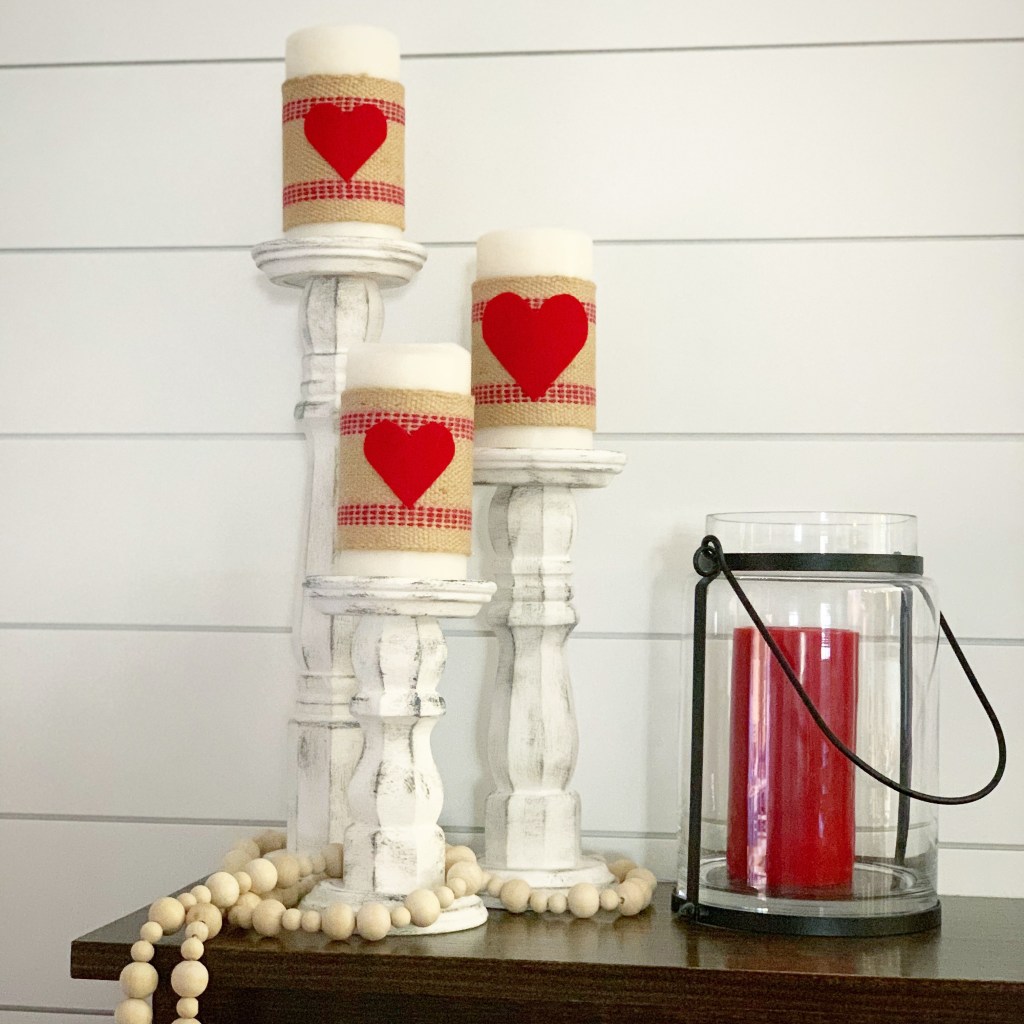
And that’s it! A super fast and easy addition to your Valentine decor.

You can find out how to make these DIY Farmhouse Candlesticks here. And if you like the DIY Farmhouse Natural Wood Bead Garland, this post has all the details on how to make your own.

Happy ❤️ Day!

Anita

Posted in Decor, Uncategorized, Valentine | 14 Comments

Heart Friends

Hi friends,

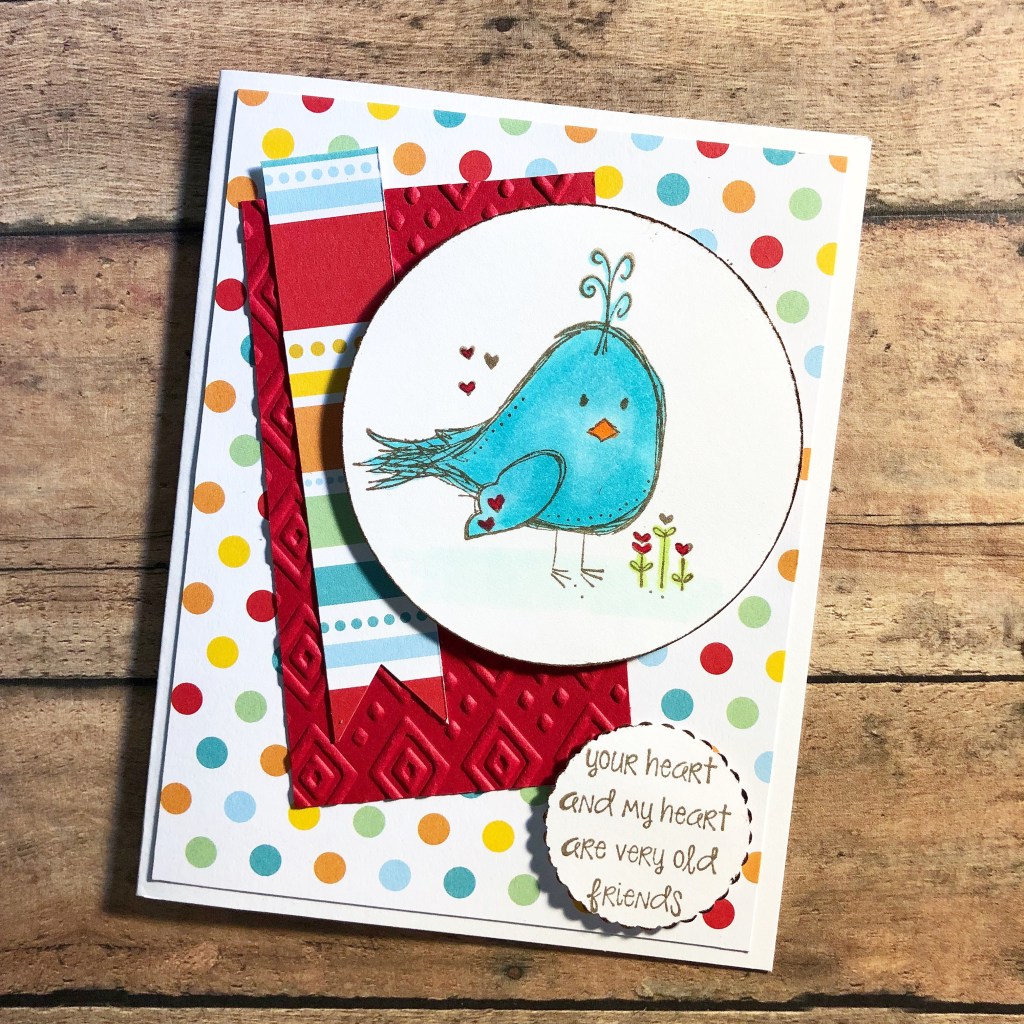
Valentine’s Day will be here soon. ❤️ I love this Old Chicks set from Unity Stamp Company – it makes such a fun card to send to your “old friends”.

I stamped the bird with Memento Rich Cocoa ink and colored the image with Copic markers. Then I punched out the image with a circle punch and inked the edges with the Rich Cocoa ink. I stamped the sentiment with the same brown ink on white card stock, punched it out with a scalloped circle punch, and inked the edges with brown ink.

To make the card, attach a piece of pattered paper to a white card. Emboss a piece of red card stock with your favorite embossing folder. (The one I used is no longer available, but you can find a similar one here.) Attach the embossed piece at an angle to the card. Trim a small strip of another patterned paper into a banner shape and attach to the card. Attach both stamped images to the card with foam tape.

A sweet way to connect the hearts of “old friends”!

Thanks for stopping by,

Anita
Posted in Cards, Stamping, Uncategorized, Valentine | Leave a comment

Hippo Bird-Day

Hi friends,

I’m ready for Spring! Yes, I know it’s only January and it will be a while before warmer temps come our way. 😕 So I have a sweet, Springy birthday card to brighten your day (and mine 😊)

The stamp set is called Happy Hippos and is from My Favorite Things. They also have a set of Happy Hippo Die-namics to go with the stamps. The grass border punch is from Fiskars.

I sponged the sky with light blue ink using a cloud template similar to this. Then I added a grass border punched from green card stock. I stamped the hippo, party hat, balloons, and little birds on white card stock with black ink. After coloring the images with Copic markers, I die cut them using the matching die set. The images are attached to the card with foam tape. I stamped the sentiment using the same ink I used for the sky.

I hope this sweet card adds a little Springtime to your day!

Thanks for stopping by,

Anita

Posted in Cards, Stamping, Uncategorized | Leave a comment