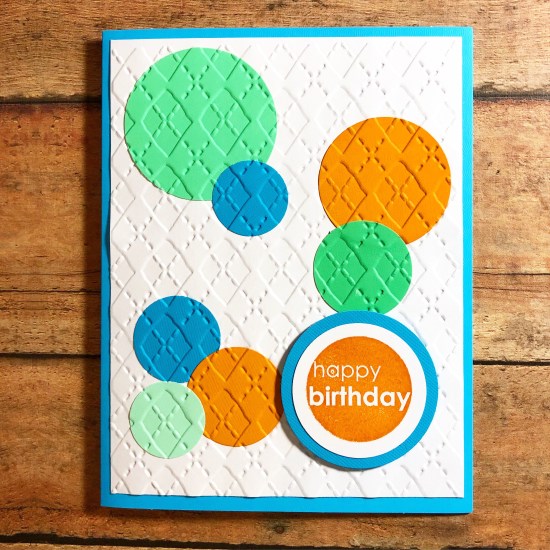
Here’s a simple and easy idea when you need to whip up a birthday card super fast! You can put this card together in just minutes…all you need is some card stock, an embossing folder, your favorite birthday stamp, and circle punches or dies.
Punch or die cut several circles in different sizes from different colors of card stock. Attach randomly to a piece of white card stock. Emboss the panel with the argyle embossing folder and attach to a coordinating card. Stamp greeting onto white card stock, punch out, and layer to a larger card stock circle. Attach to the card with foam tape.
Super fast! Super easy! Make it in any color combo – with any greeting that fits into a circle!
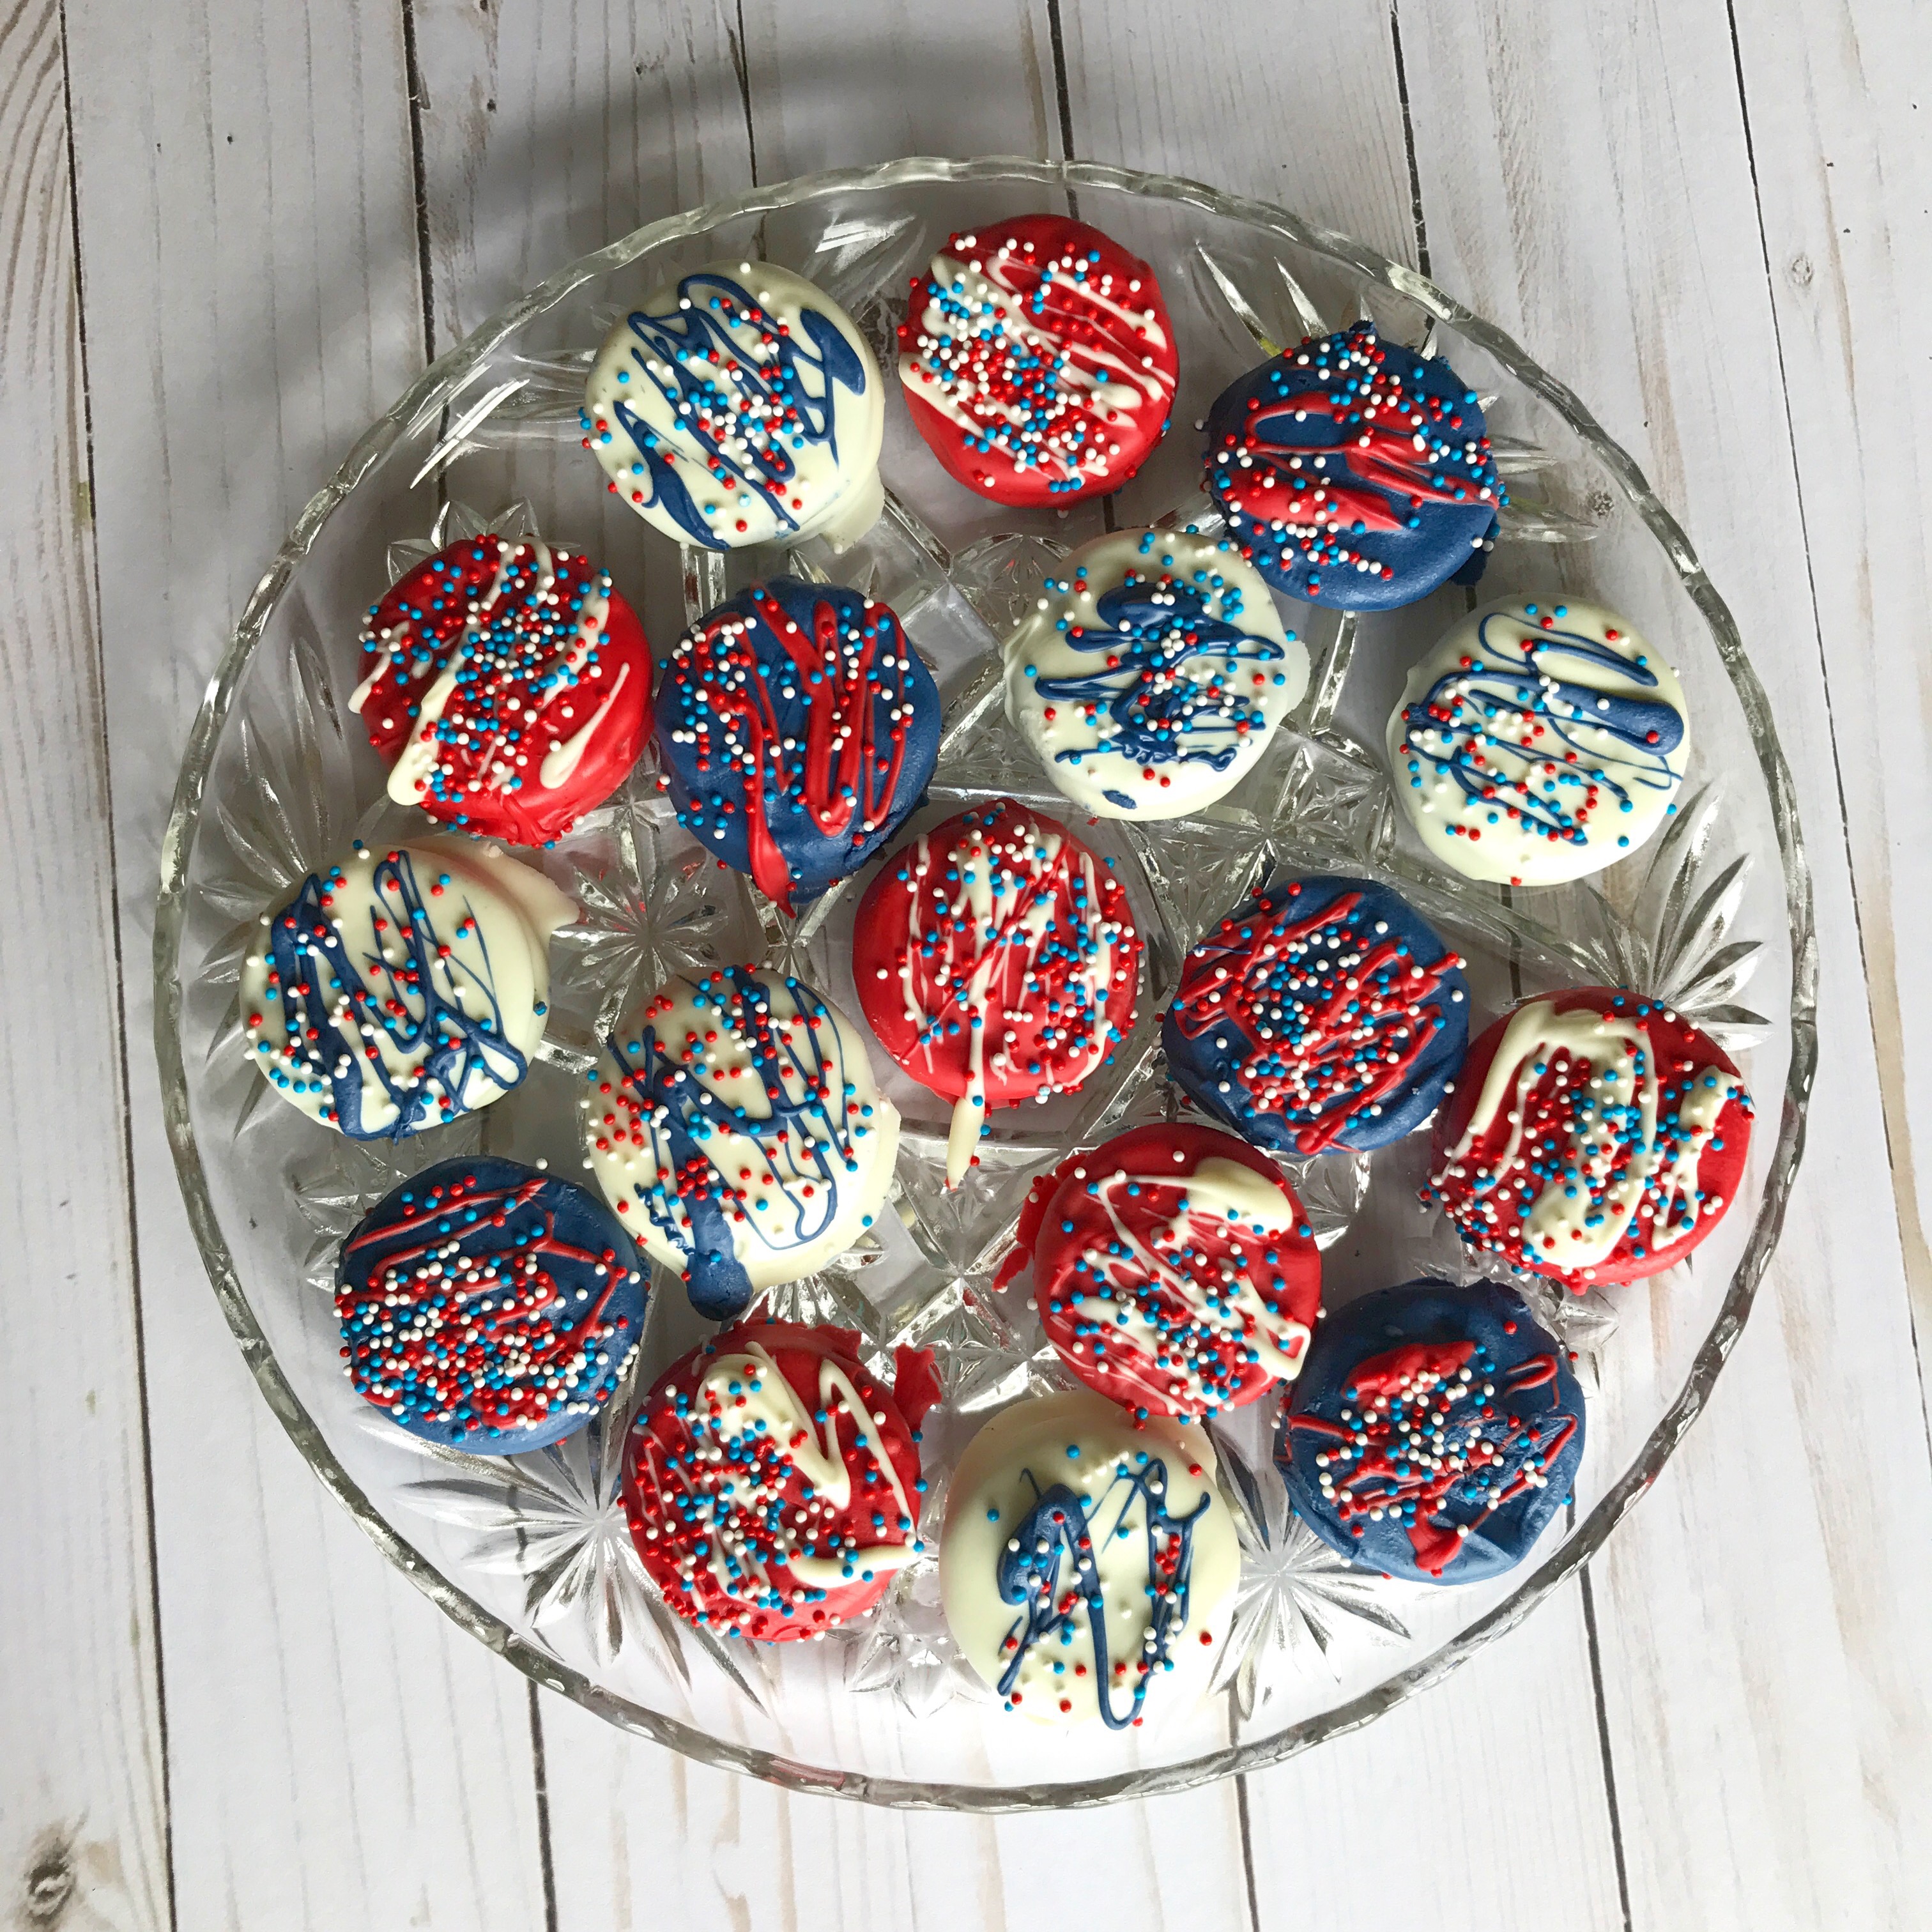
Here’s a fun Summertime sweet treat that I shared last year – these Summer Dipped Oreos are so tasty and fun to make that I just had to repost them! 🙂
Have fun making them for all your Summer get-togethers!!
June 16, 2017
Do you need a fun dessert to take to your Summer BBQ, family reunion, or picnic? These easy to make Summer Dipped Oreos may be just the thing!
All you need are vanilla candy melts in red, white, and blue, some sprinkles, and, of course, Oreos. 🙂 I got my candy melts at Hobby Lobby in the cake/candy decorating section and the sprinkles were in the 4th of July section. Most craft or cake decorating stores will carry the supplies you’ll need – except the Oreos…you’ll have to go to the grocery store for those. 😉
Line a rimmed baking sheet or two with wax paper – this will make cleanup easier especially if you use the sprinkles. Melt the candy melts in the microwave according to the package directions. Dip the Oreos one at a time into the melted candy. Remove with a fork and place directly onto the wax paper. Drizzle a different color of candy over the cookies and add the sprinkles. Be sure to do this before the candy has cooled or the sprinkles won’t stick! Let sit for a while until the candy has cooled and set.
And here they are!! A fun addition to any Summer gathering…
This would be great to do with the kids! I’m sure they would enjoy decorating their own cookies!! 🙂
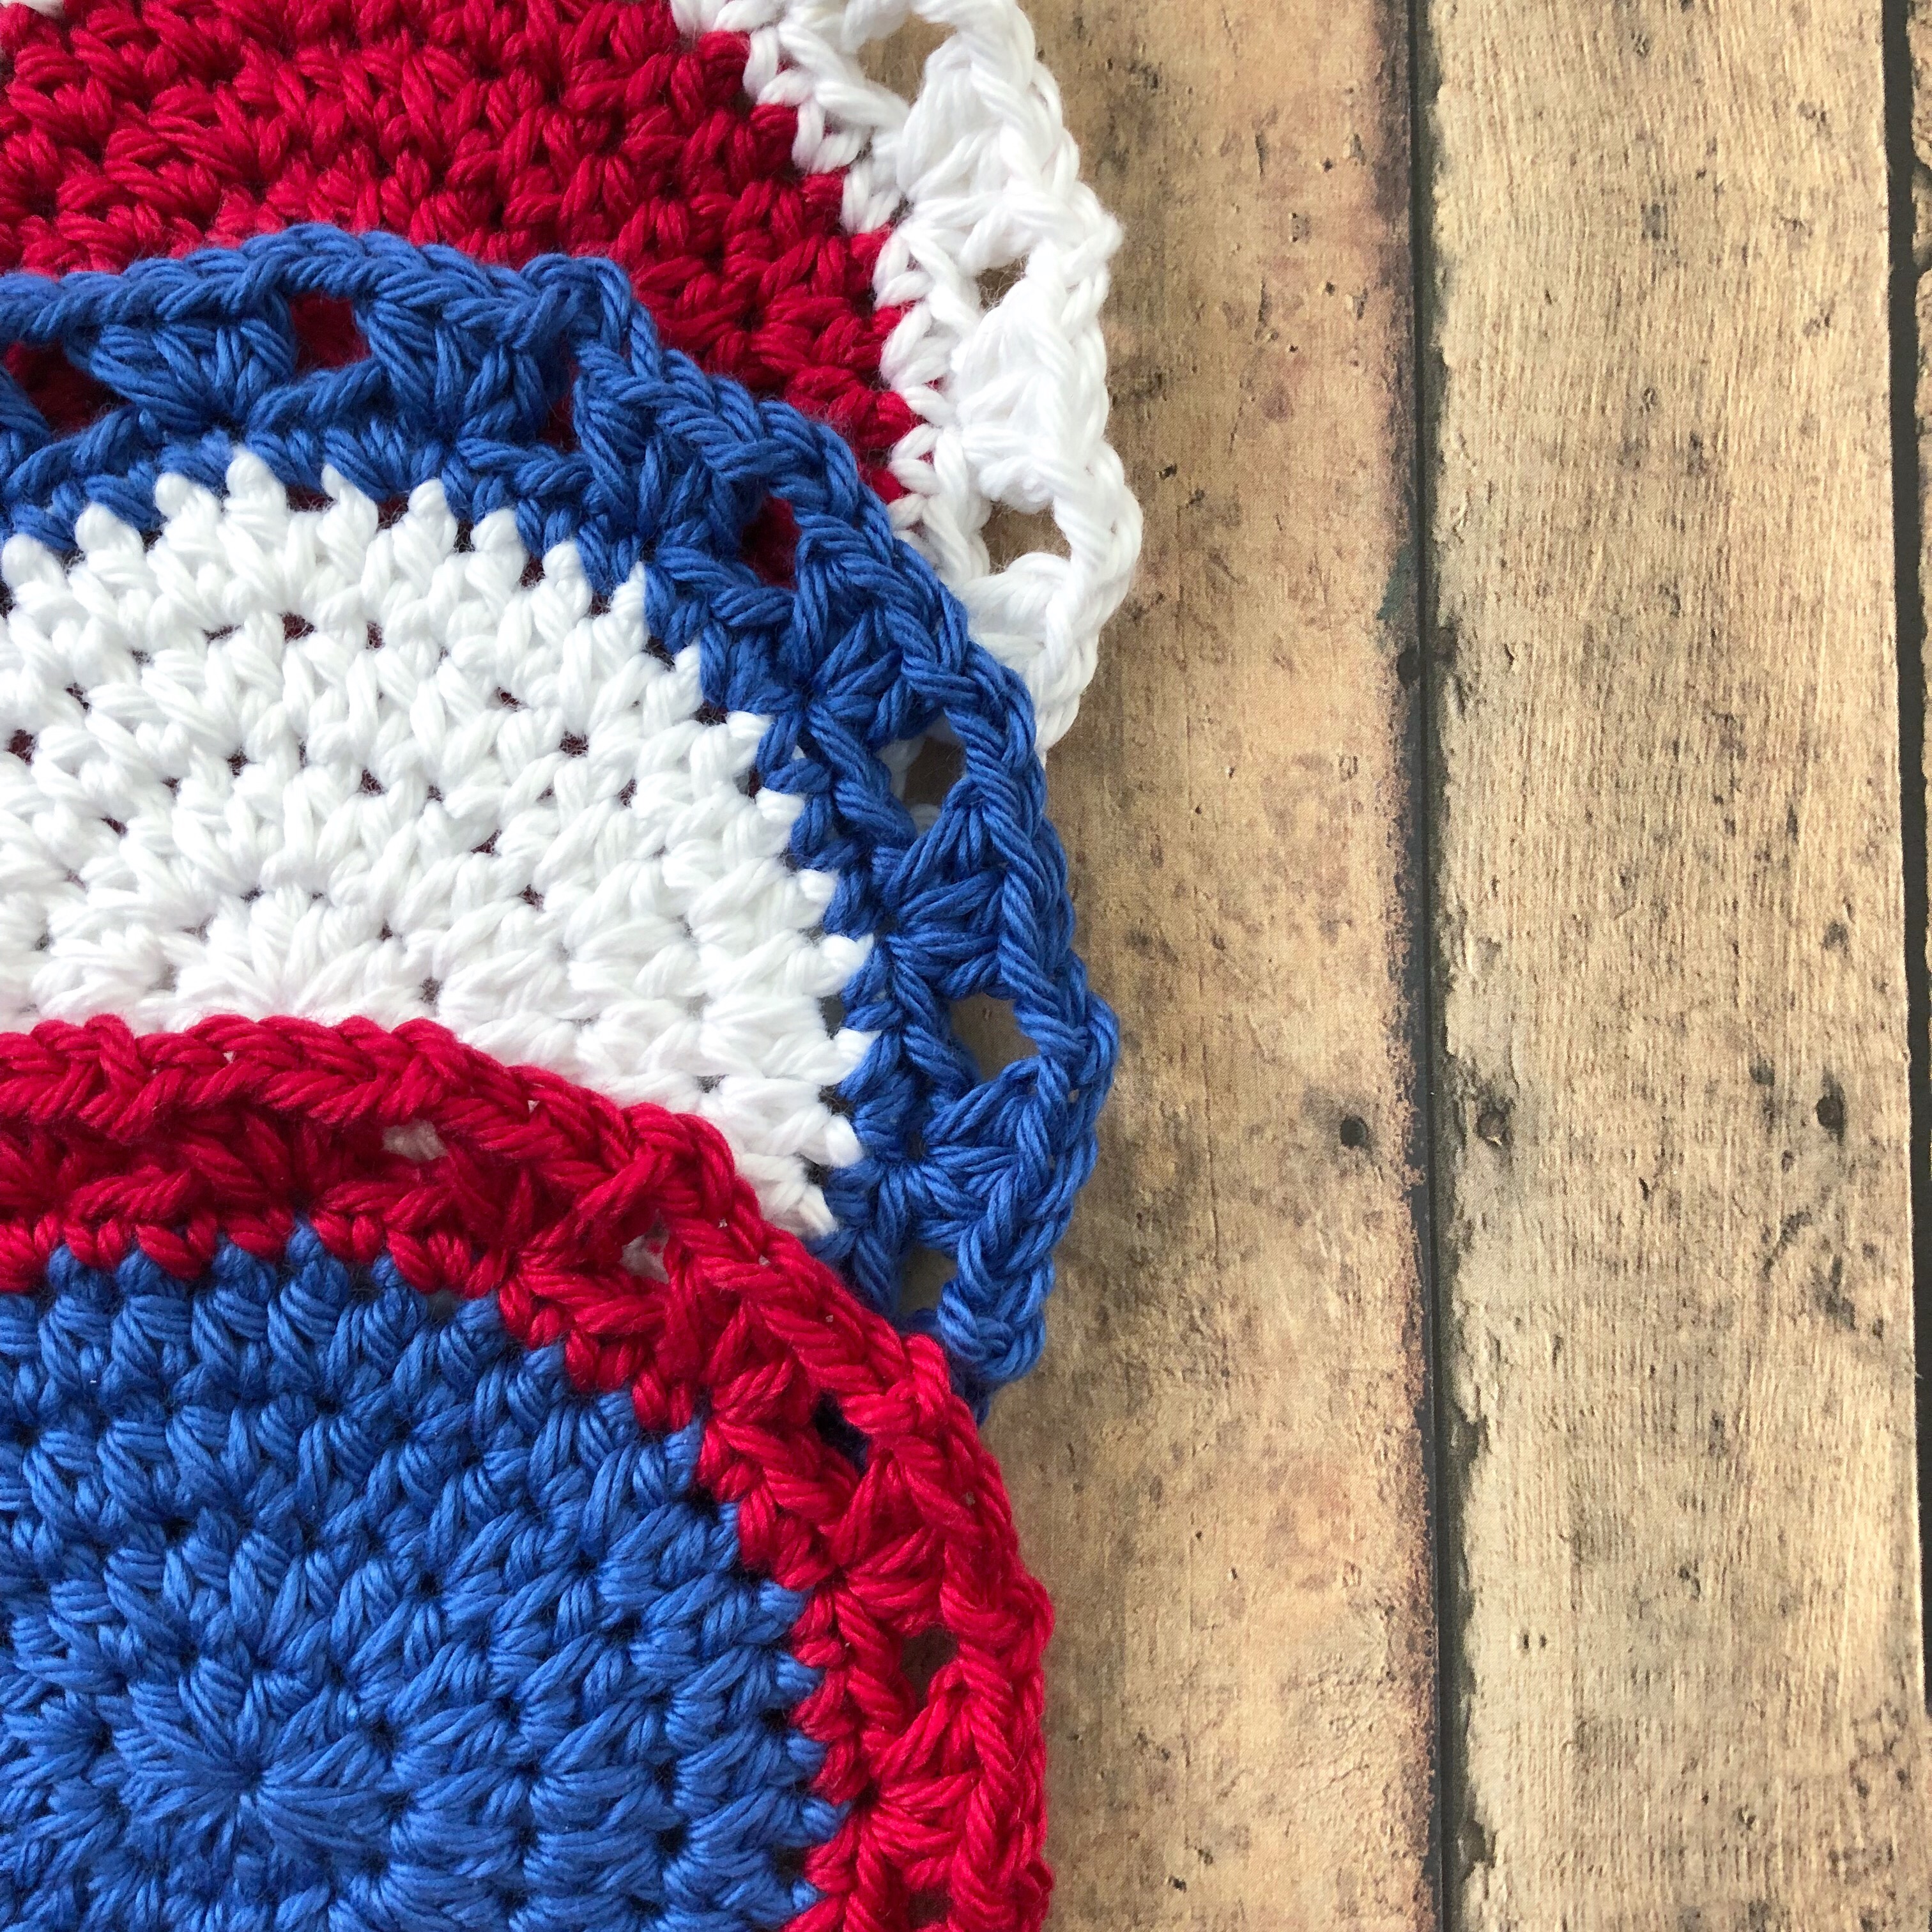
July 4th is just around the corner – Independence Day in the USA. Add a little red, white, and blue to your picnic table with these cute, super fast Crochet Patriotic Coasters.
These coasters work up very quickly with worsted weight cotton yarn and an H/5mm hook. I used I Love This Cotton from Hobby Lobby in red, white, and royalty (blue).
You can find the pattern I created to stitch up these simple coasters below.
Crochet Patriotic Coasters
You’ll need:
2 colors worsted weight cotton yarn (I used 3 colors and made different combinations, but you only need 2 colors to make each coaster)
H/5mm hook
yarn needle
Stitches used (US terms):
Chain – ch
Slip Stitch – ss
Single Crochet – sc
Half Double Crochet – hdc
Note: Chains at the beginning of each round do not count as stitches (except in round 6).
Round 1: Work 12 hdc in ring. Join with ss to first hdc. Pull ring tight. (12 stitches)
Round 2: Ch 2. Work 2 hdc in same stitch as ss and each stitch around. Join with ss to first hdc. (24 stitches)
Round 3: Ch 2. Work 2 hdc in same stitch as ss, hdc in next 2 stitches. *2 hdc in next stitch, hdc in each of next 2 stitches* Repeat from * to * around. Join with ss to first hdc. (32 stitches)
Round 4: Ch 2. Work 2 hdc in same stitch as ss, hdc in next 3 stitches. *2 hdc in next stitch, hdc in each of next 3 stitches* Repeat from * to * around. Join with ss to first hdc. Change to color B. (40 stitches)
Round 5: Ch 1. Work 2 sc in same stitch as ss. Sc in next 4 stitches. *2 sc in next stitch, 1 sc in each of next 4 stitches* Repeat from * to * around. Join with ss to first sc. (48 stitches)
Round 6: Ch 2. Work 2 hdc in same stitch as ss, ch 2. *Skip 2 stitches, 3 hdc in next stitch, ch 2* Repeat from * to * around. Join with ss to top of beginning ch 2. (16 hdc clusters and 16 ch 2 spaces).
(Please link back to my pattern if you make any of these cute coasters. I’d appreciate it if you wouldn’t copy or rewrite my pattern onto another page. Thank you!)
You can make these coasters in any color combo – or in just a single color! Tie up a set of 6 or 8 coasters with a pretty ribbon for a great gift…add the recipient’s favorite beverage or a set of pretty glasses or mugs. 🙂
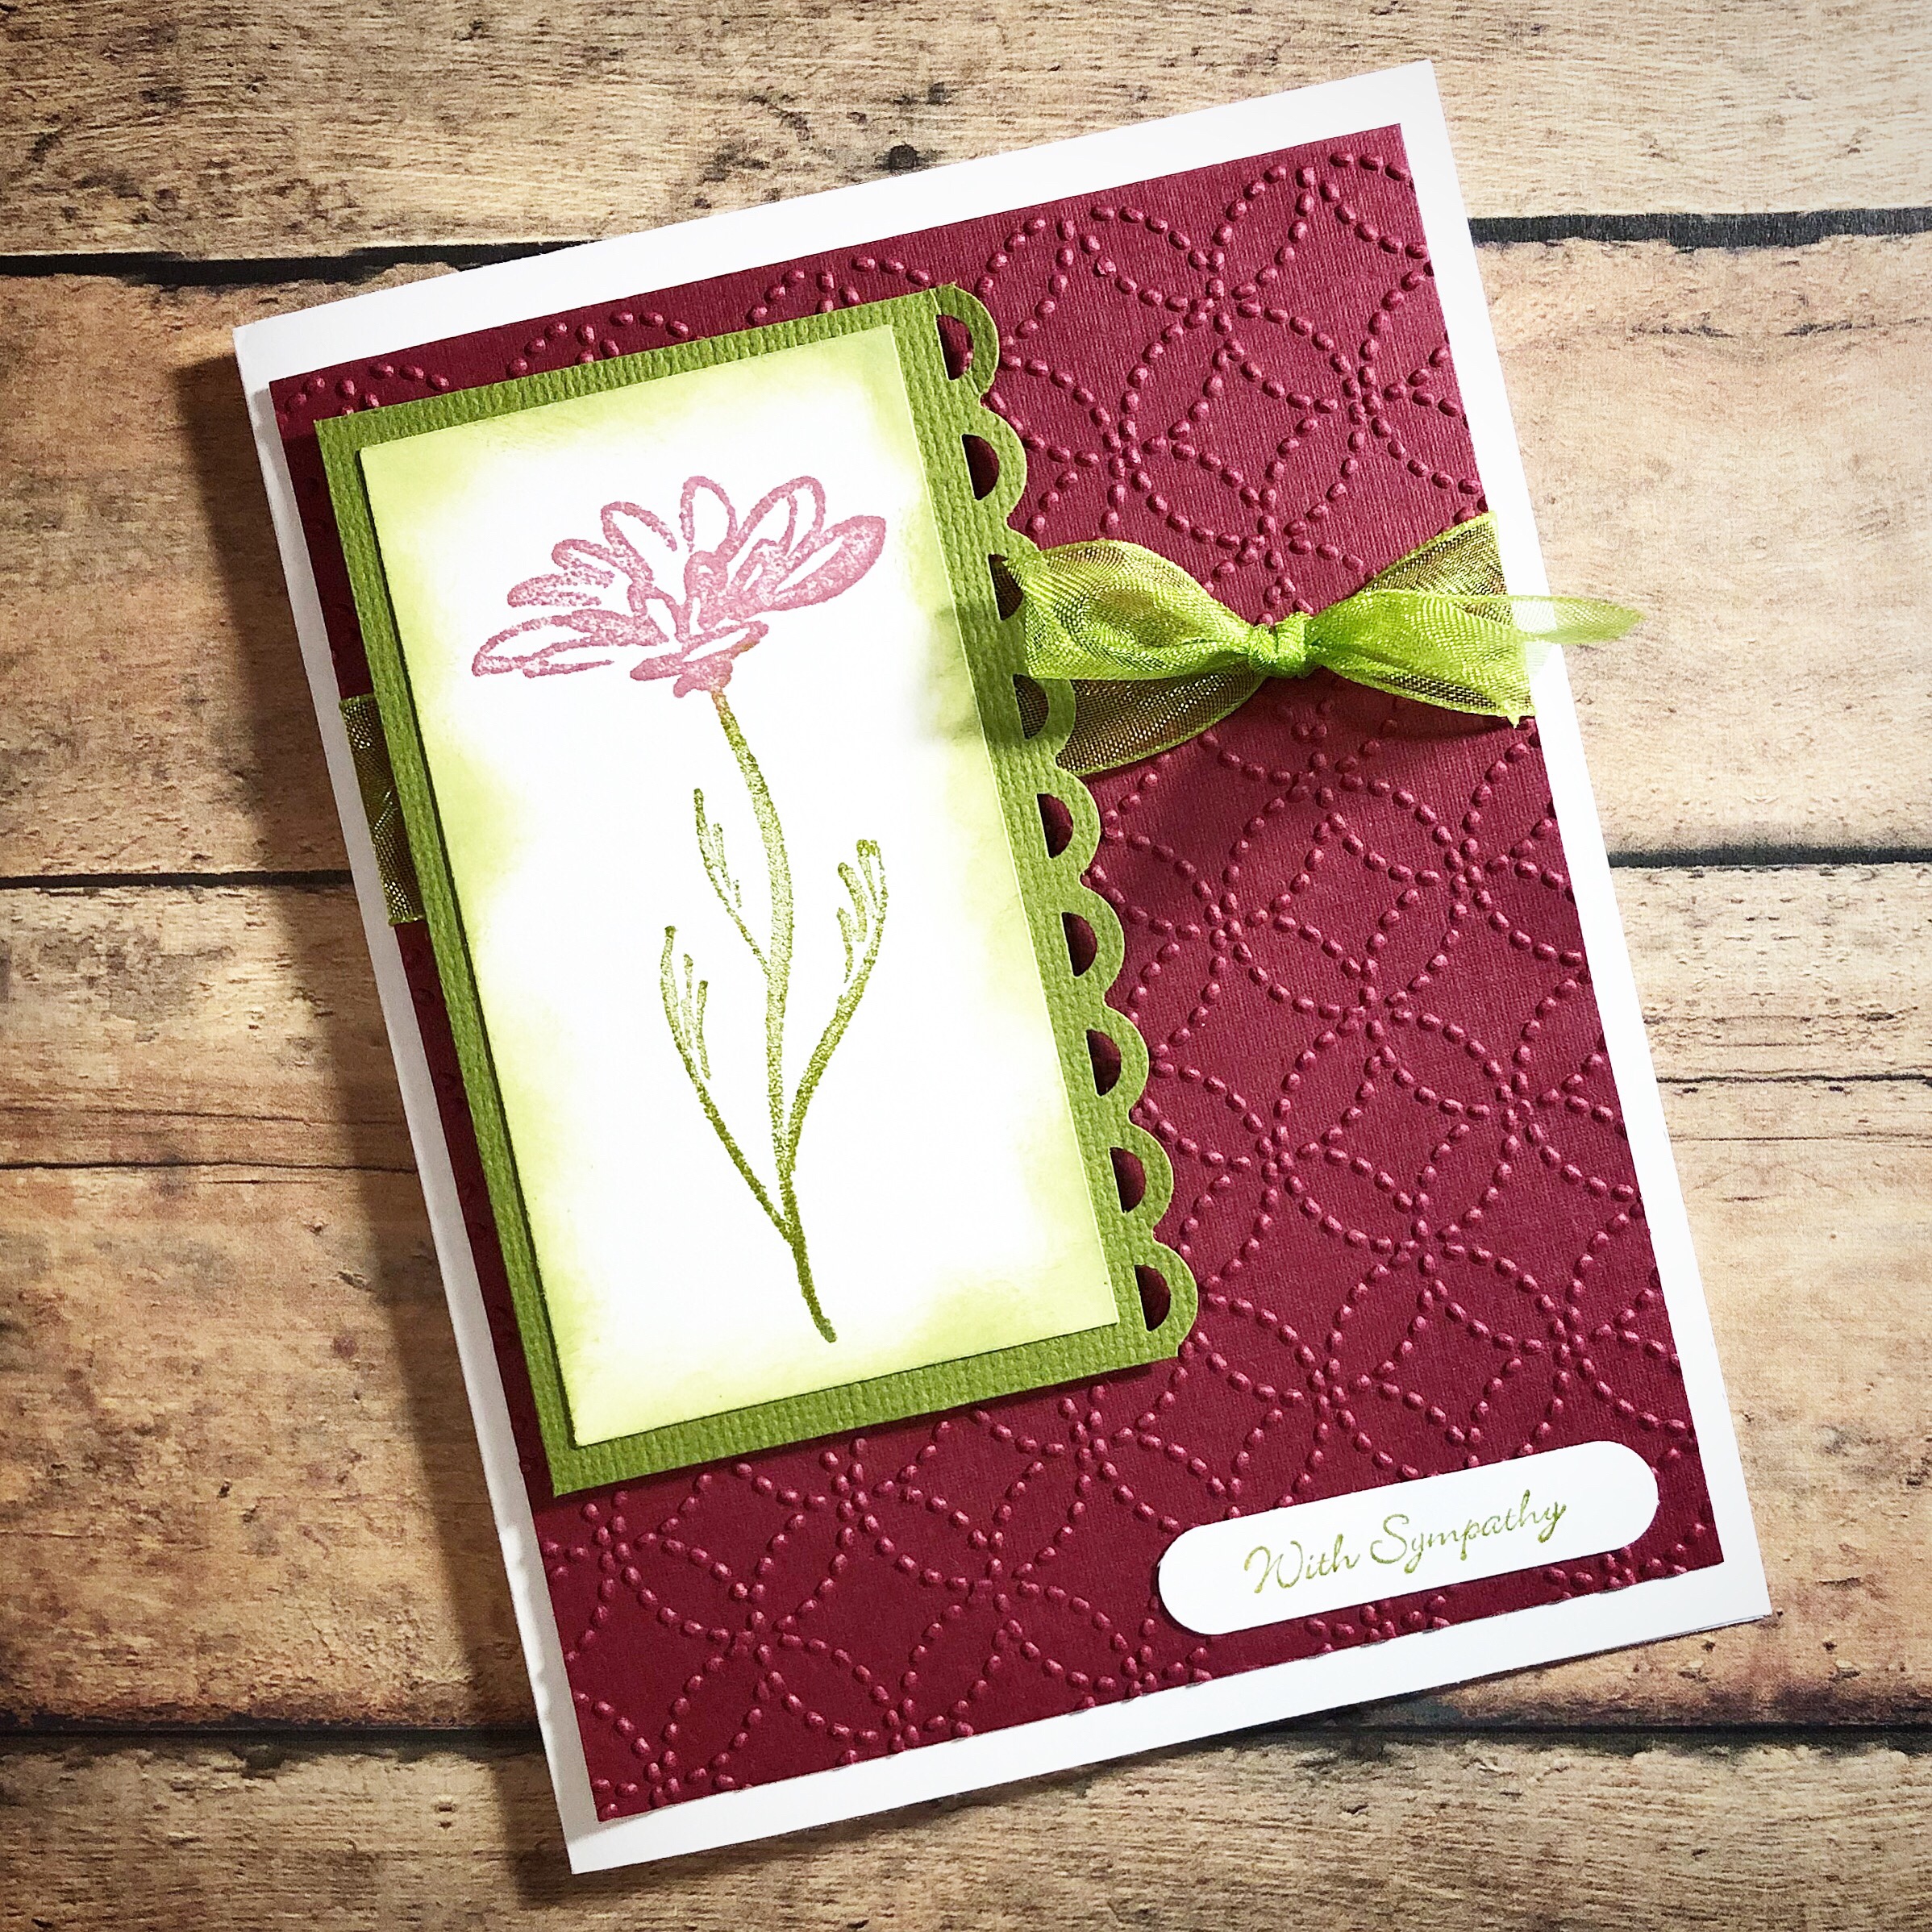
Sadly, sometimes we need to send sympathy cards to loved ones who have lost someone special. This card is for one of those times.
The flower stamp is an older stamp from Hero Arts. It’s discontinued, but this set from Penny Black is similar. The sentiment is part of a discontinued set from Stampin’ Up, but they have this great new set filled with wonderful greeting stamps. The embossing folder is the Quilt Top from Stampin’ Up. The Apron Lace border punch is from Fiskars – you can find it here or here. Here is a similar word label die set that would be great to have in your stash.
To make the card, ink the stamp with cranberry and green ink and stamp on white card stock. Trim and lightly sponge the edges with green ink. Punch the edge of a piece of green card stock with the border punch and attach the stamped image. Emboss a piece of cranberry card stock with the Quilt Top folder, tie with green ribbon, and attach to a white card. Attach flower image with foam tape. Stamp sentiment with green ink, punch with word label die, and attach to the card. This card can be used for any occasion by simply changing the sentiment.
A simple card sending heartfelt love when it is needed most.
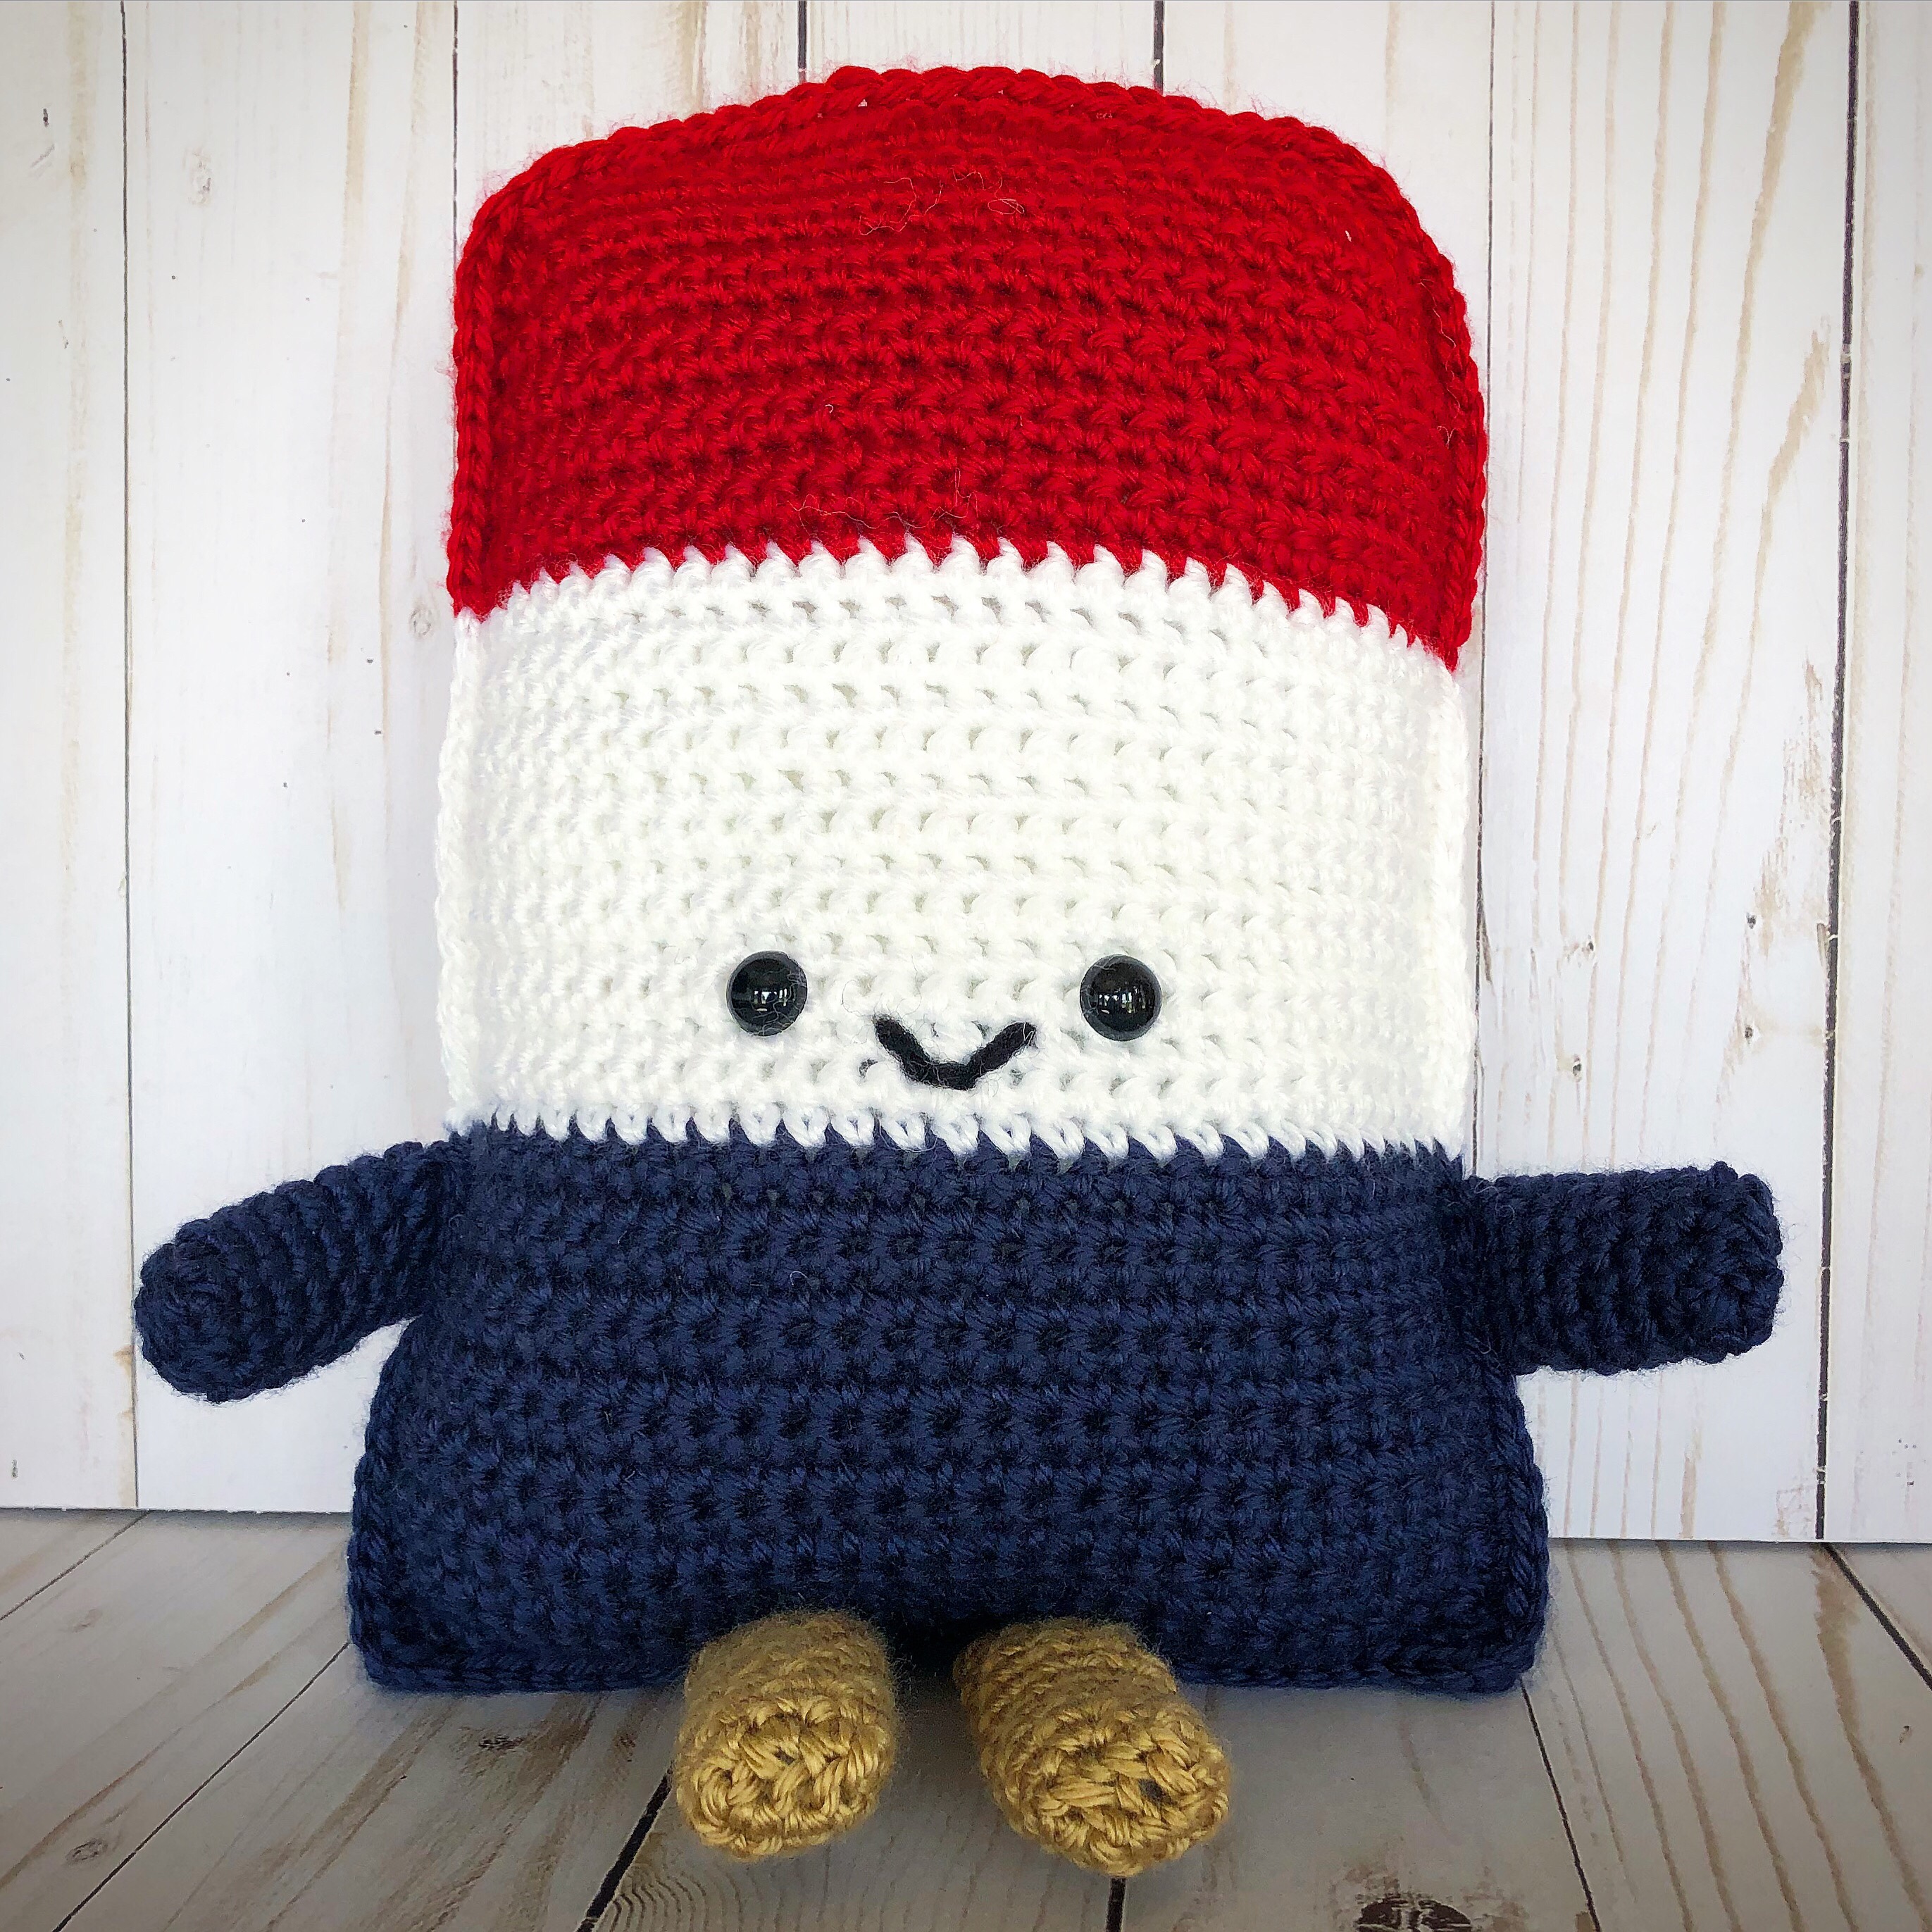
This is just the cutest little Cuddle Buddy! You can find the free pattern for this adorable Patriotic Popsicle Crochet Cuddle Buddy by Repeat Crafter Me here. She used the best color of blue to make it look just like a Bomb Pop popsicle! I didn’t have any of the light blue so I used navy instead – I think it still works great with the patriotic theme. 🙂
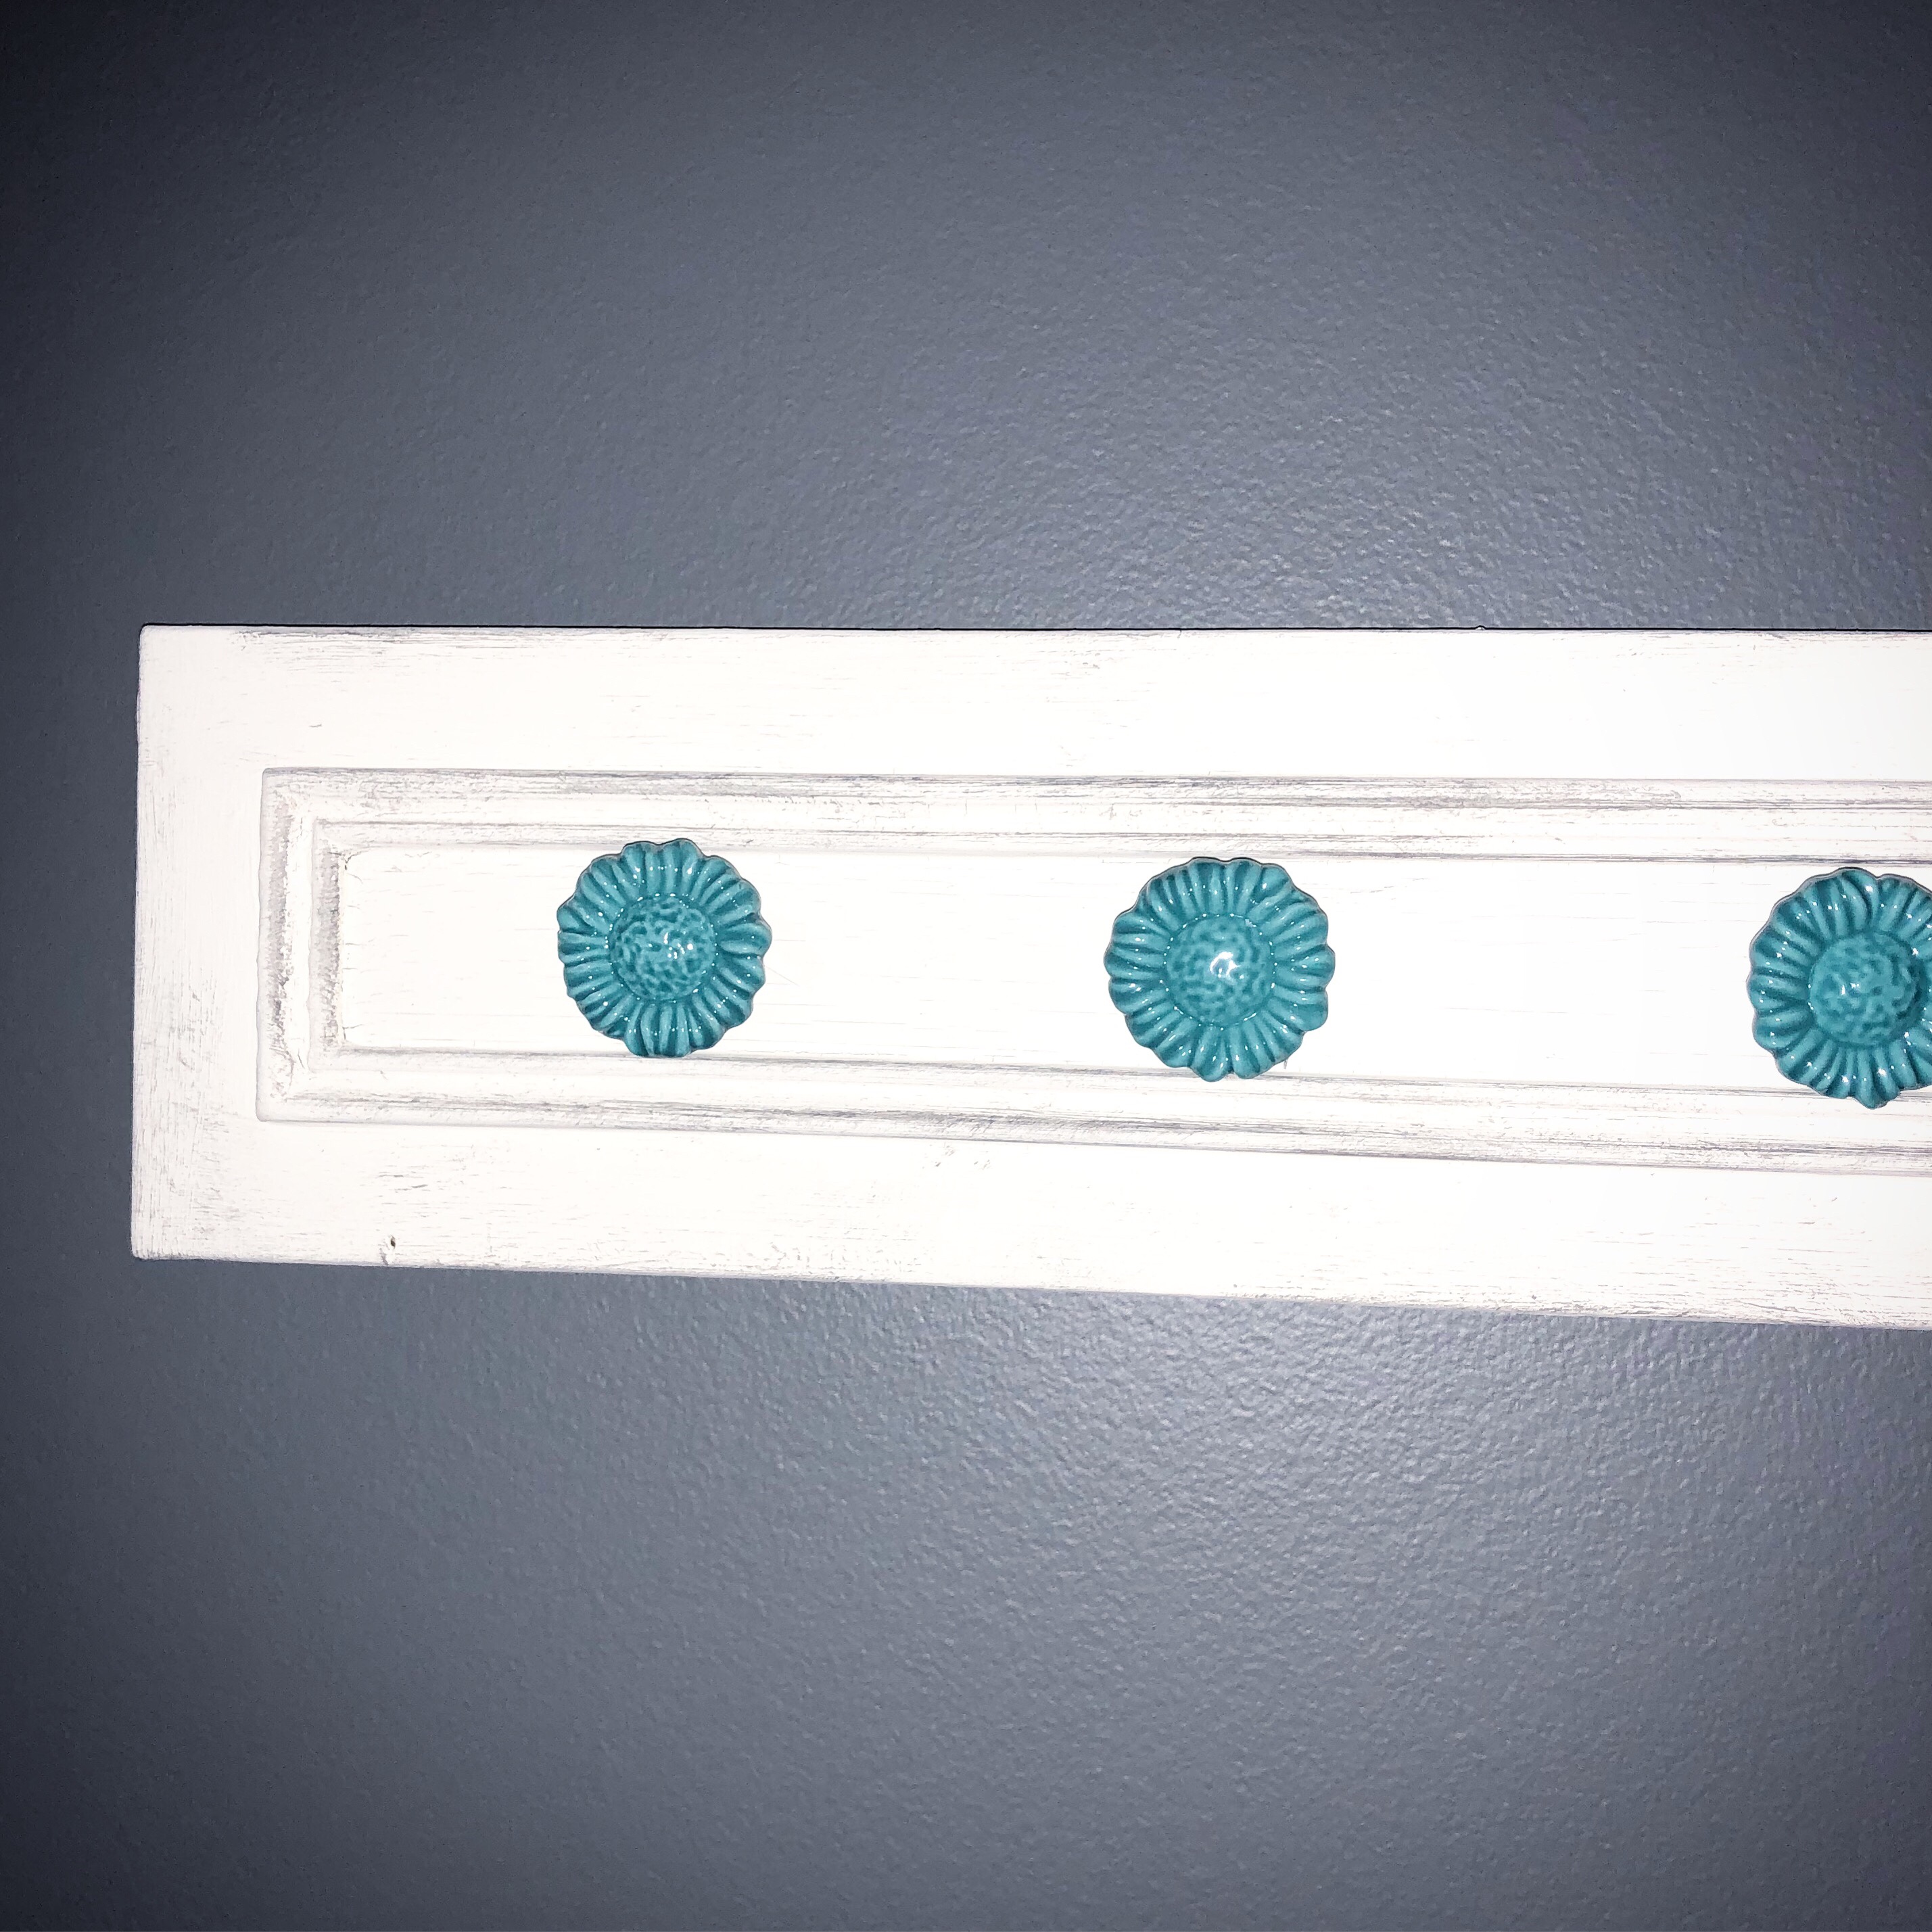
I have several long necklaces that always seem to get tangled together in my drawer. And I can never find the one I want without looking through all of them! I have been looking for just the right DIY piece to transform into an organizer to hang on my wall.
I found this piece at a local vintage store and although I didn’t like the color at all, I thought it would be perfect for what I needed. It measures 31 1/2-inches long by 4 1/2-inches wide. I think it may have been the front panel of a vanity or cabinet drawer at some point. The price tag listed it as a “project piece” and it was only $5 – I think it was meant for me. 😉
I painted the piece with Lace Americana Decor Chalky Finish Paint. I had to paint 4 coats to get the coverage I wanted, making sure to let it dry between coats. Then I dry brushed it with leftover wall paint from my bedroom (Valspar Pewter) to soften the look and give it a more vintage-y (is that a word 😉 ) feel.
I found these great knobs at Amazon. They come in several colors and are a deal at only $12.99 for 12! They come in several different colors if turquoise is not for you. I love that they are flat on the bottom – I was hoping to be able to glue them onto the wood and these work great! I used clear E6000 glue (also available here on Amazon) to adhere my knobs evenly across the board.
And here it is!
It’s one of those projects that turned out exactly as I wanted! I just love it! Now I can find the necklace I want in seconds. 🙂
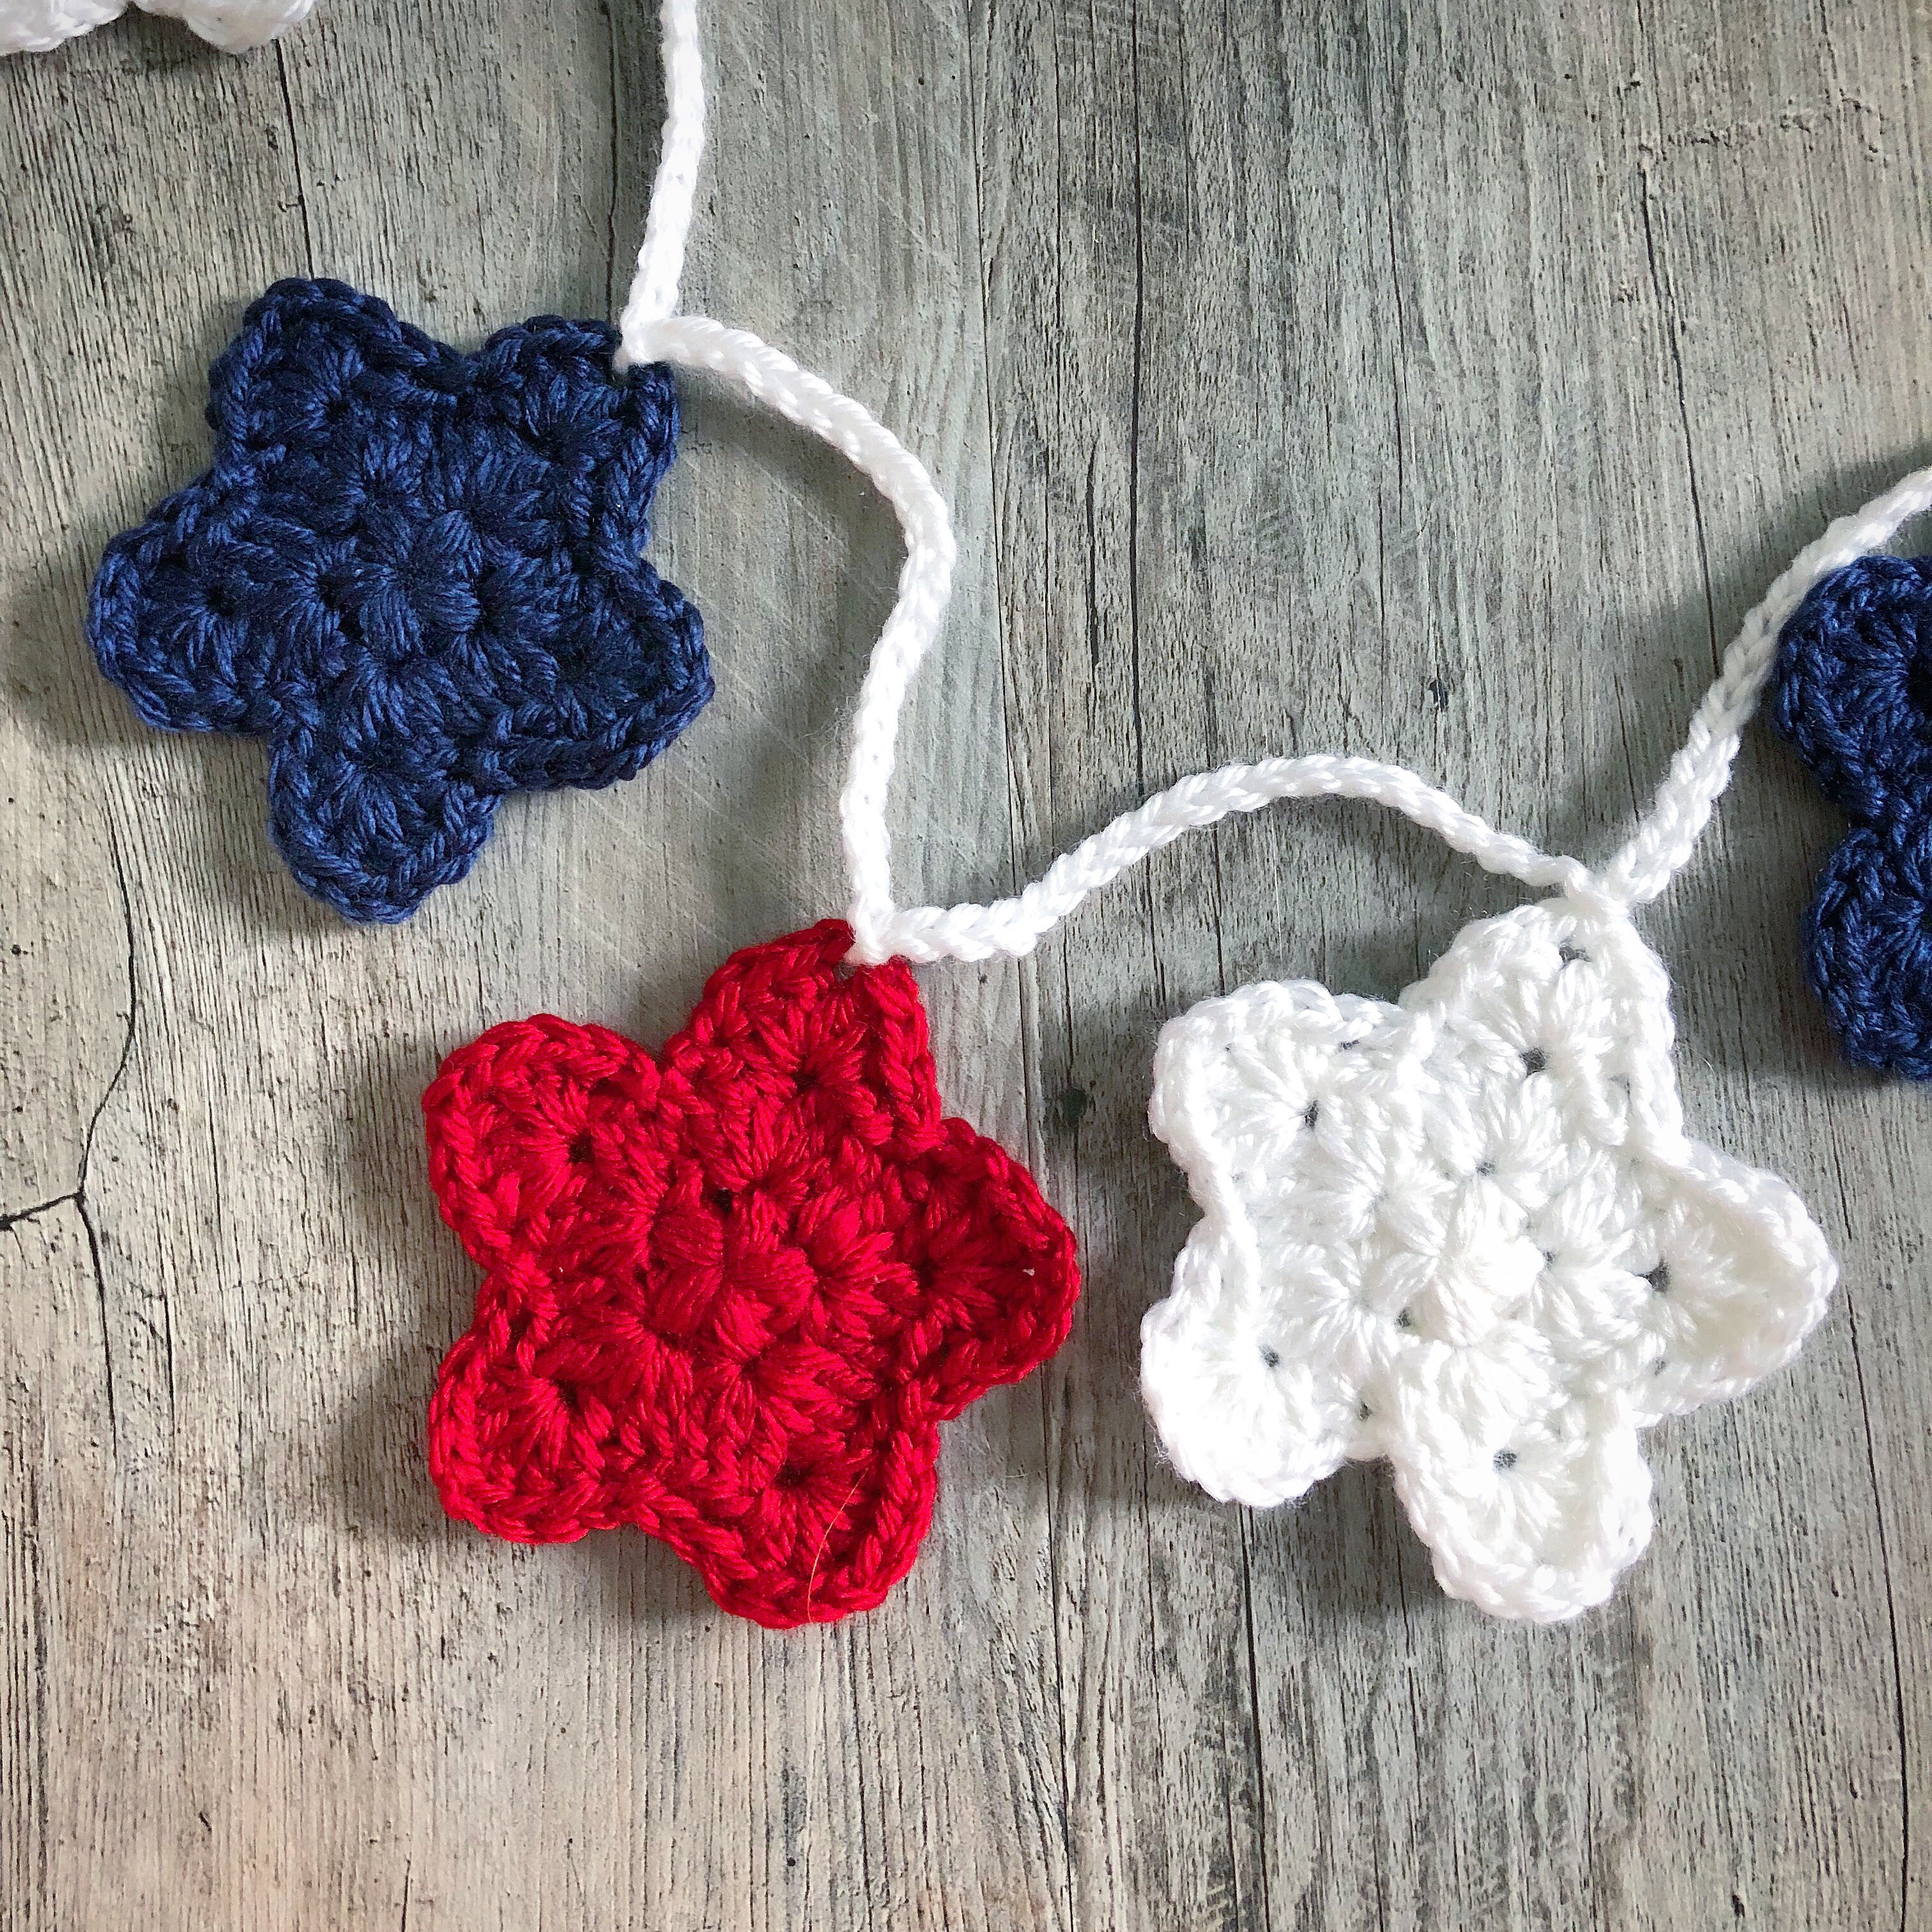
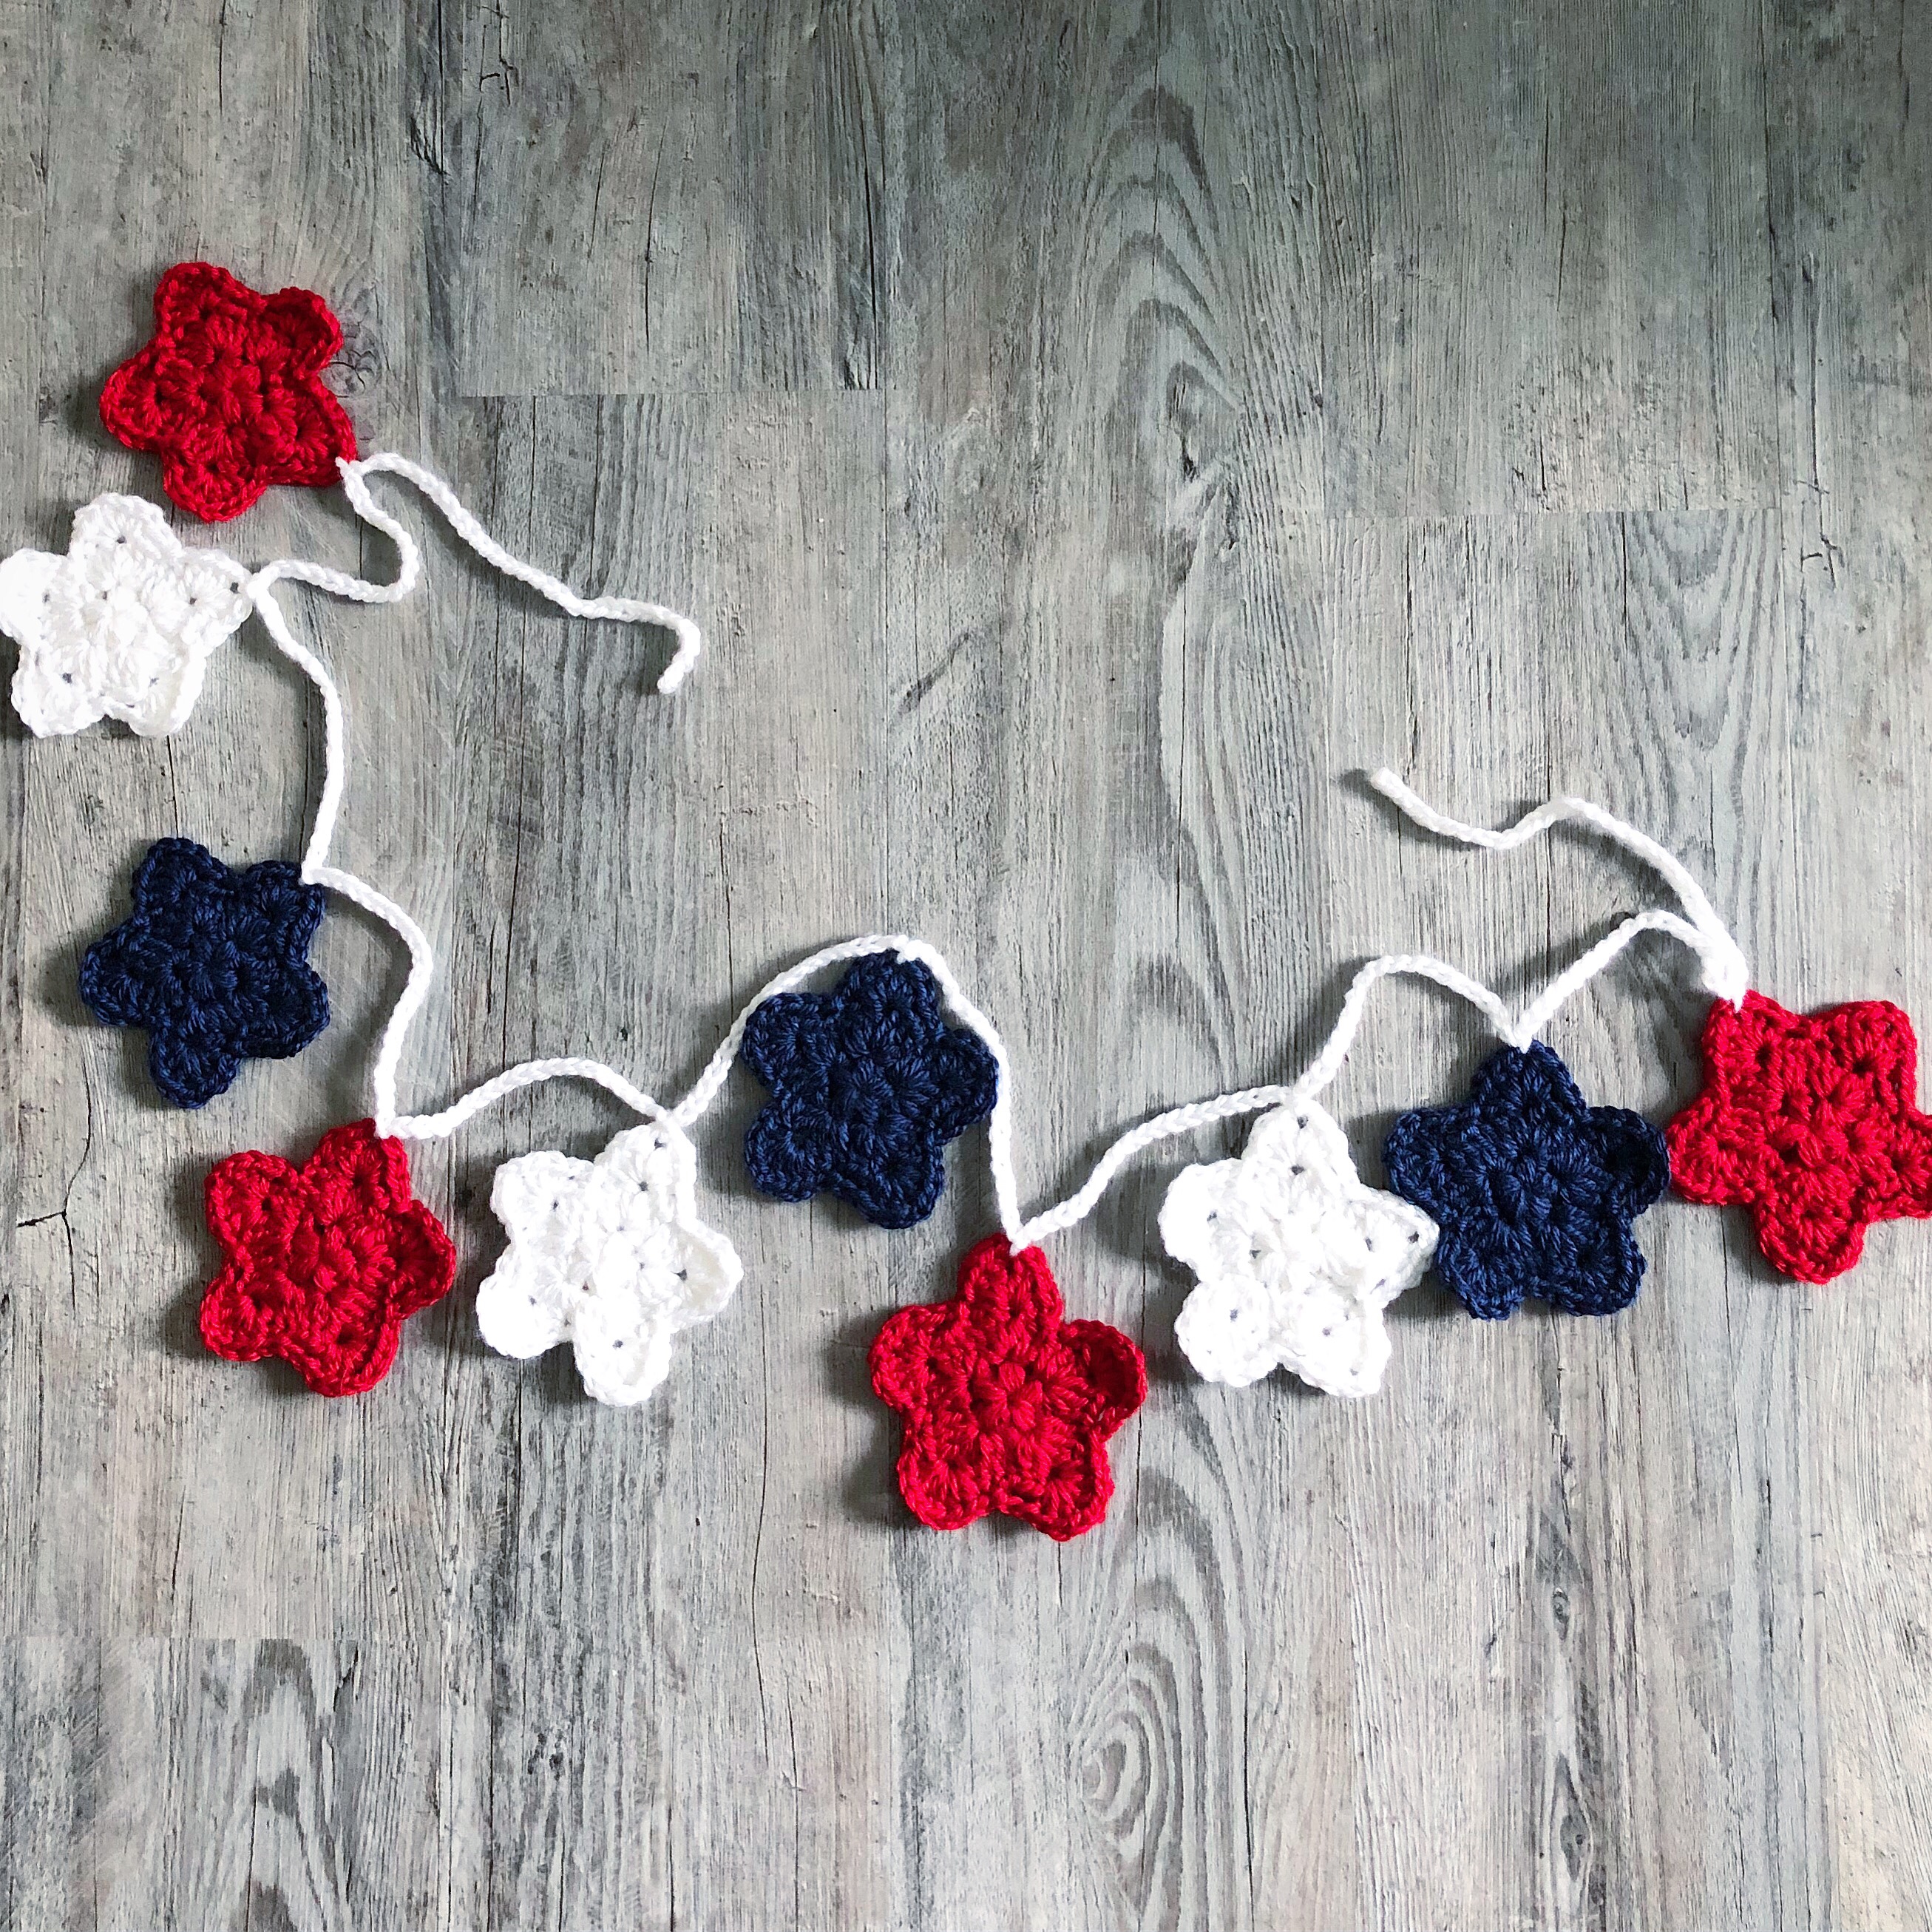
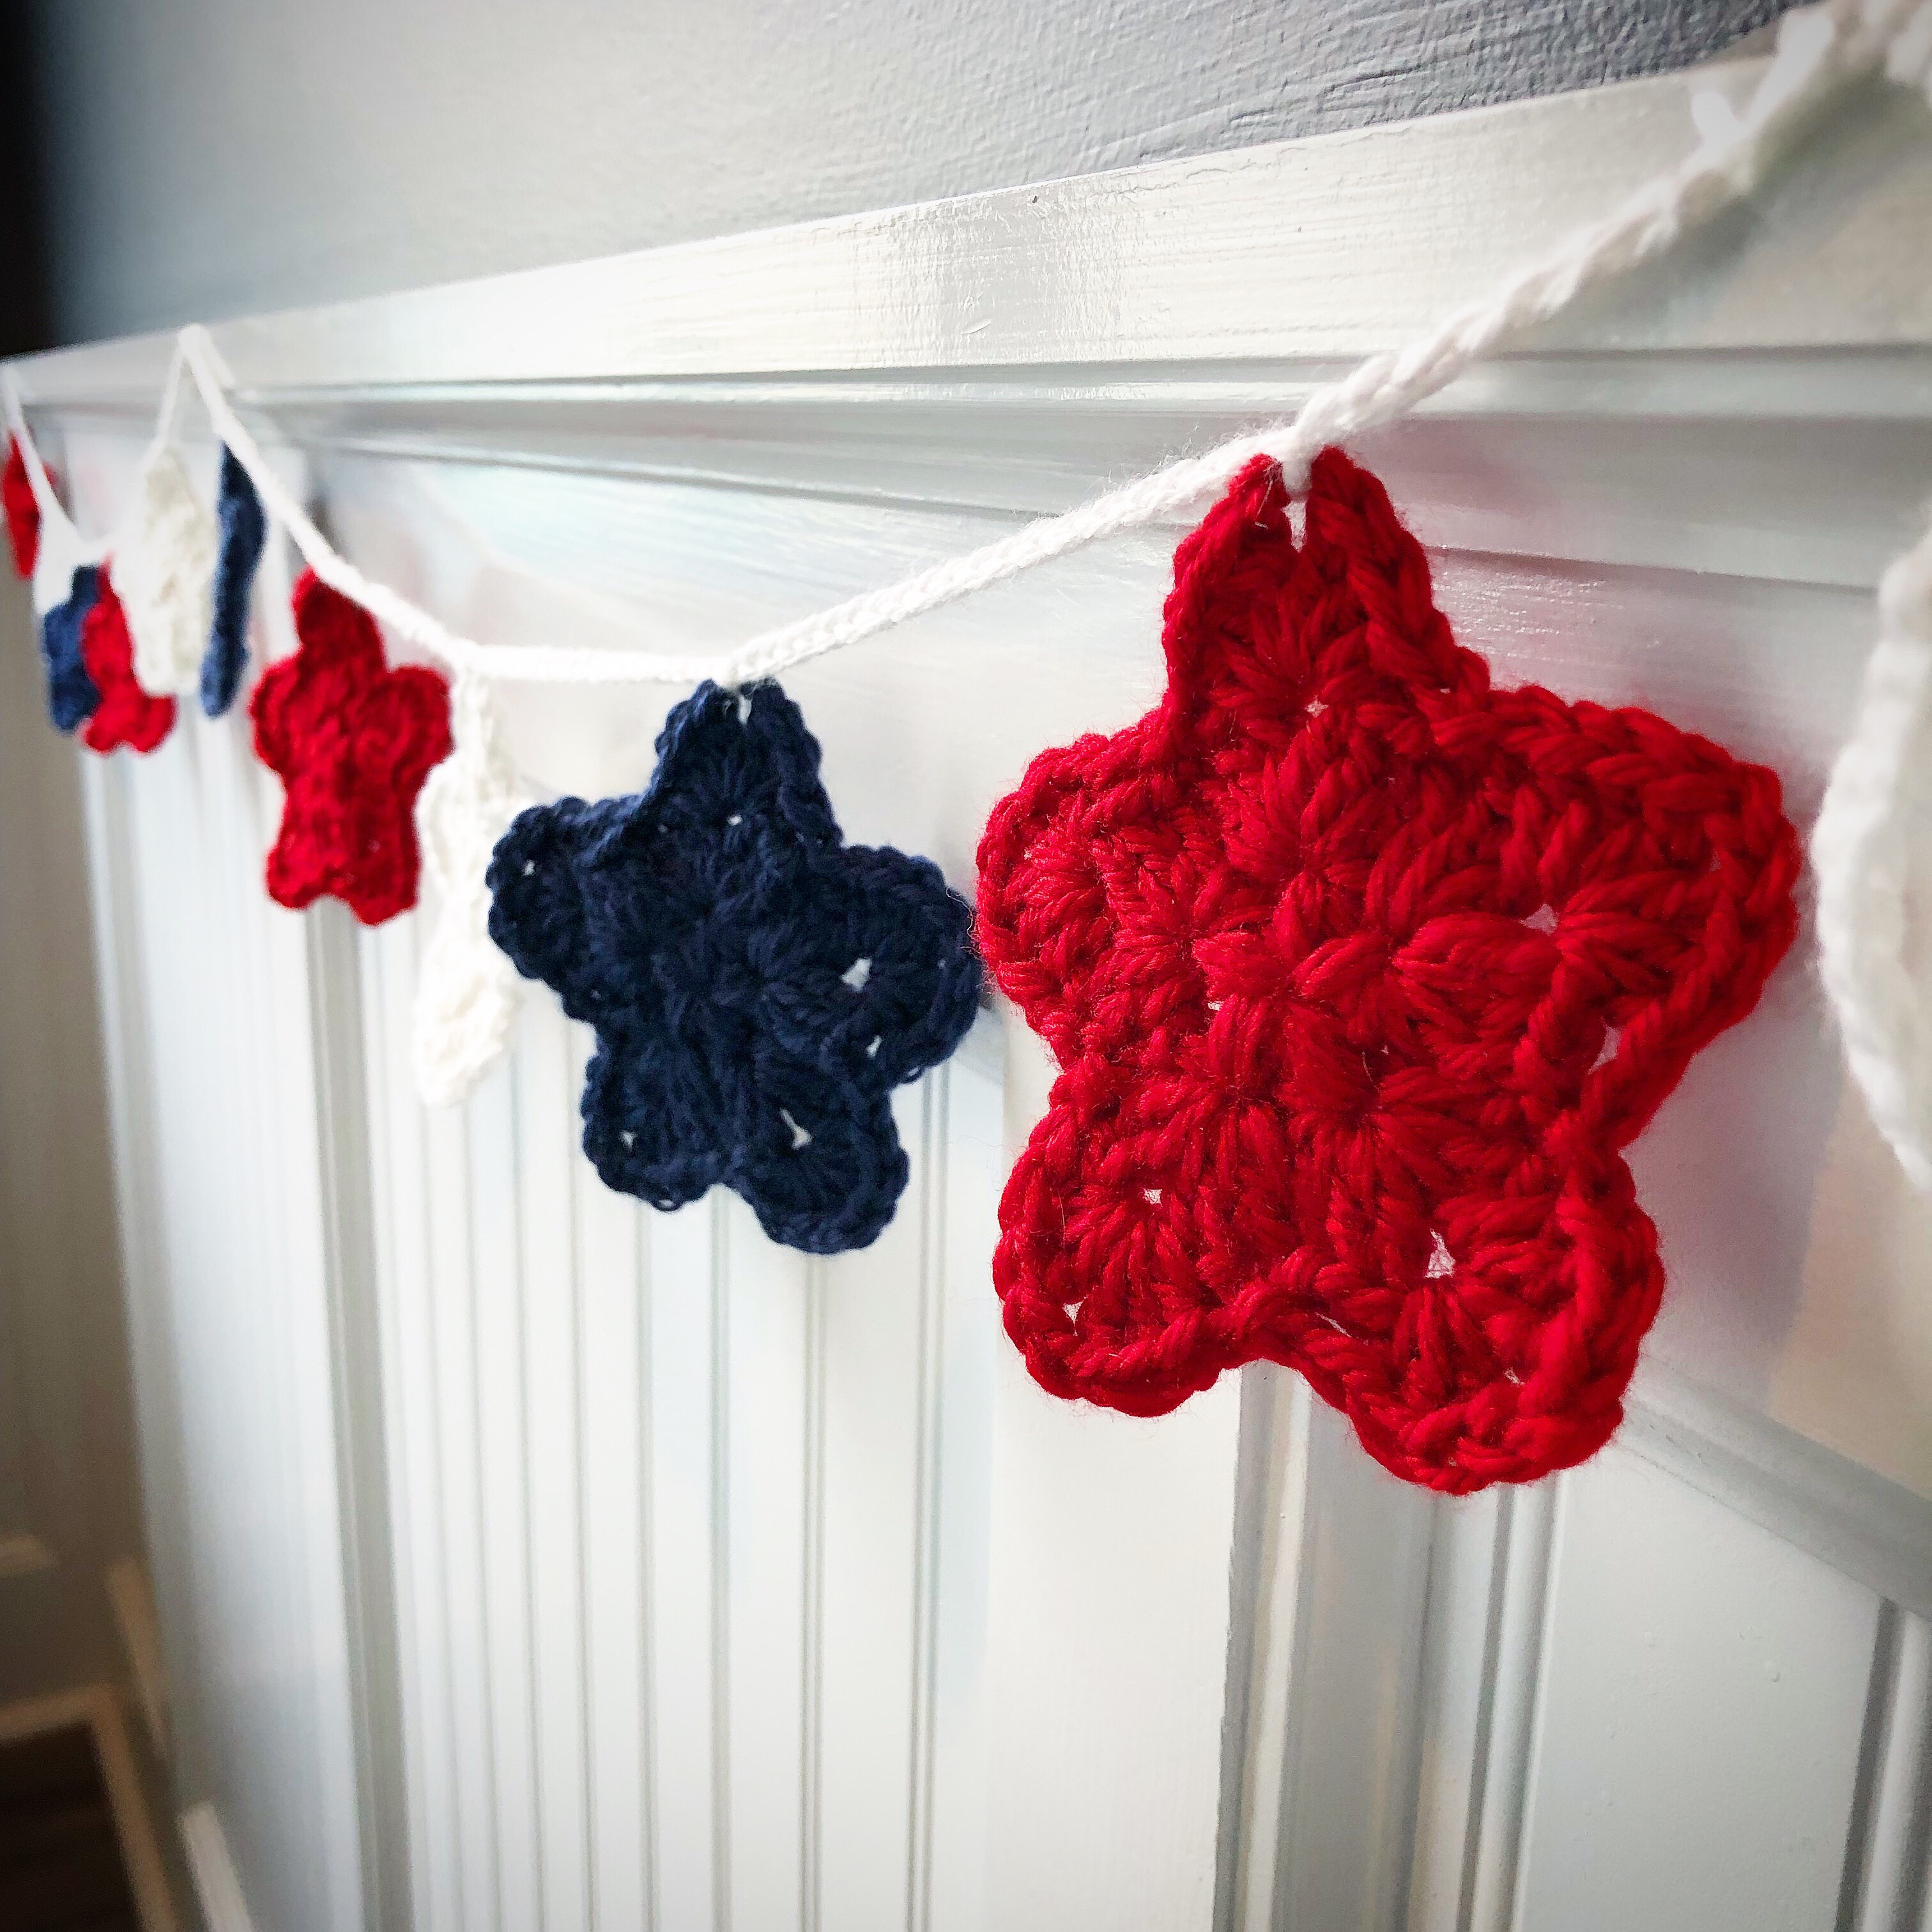
Summer brings to mind hot weather, BBQs, and fireworks. It also makes me think of red, white, and blue as we celebrate Independence Day on July 4th in the USA. This cute Crochet Patriotic Star Garland is just the thing to celebrate all Summer long!
I made a total of 10 stars – 4 red, 3 white, and 3 blue. You can make as many or as few as you need to get the length you want. To connect the stars, I chained 30 then slip stitched into the top of a star. Then I chained 20 before slip stitching into the next star. I continued until all my stars were connected and ended by chaining 30 after the last star. Then weave in the ends and that’s it.
This Crochet Patriotic Star Garland is great for your mantel, window, or any place you decide to hang it!
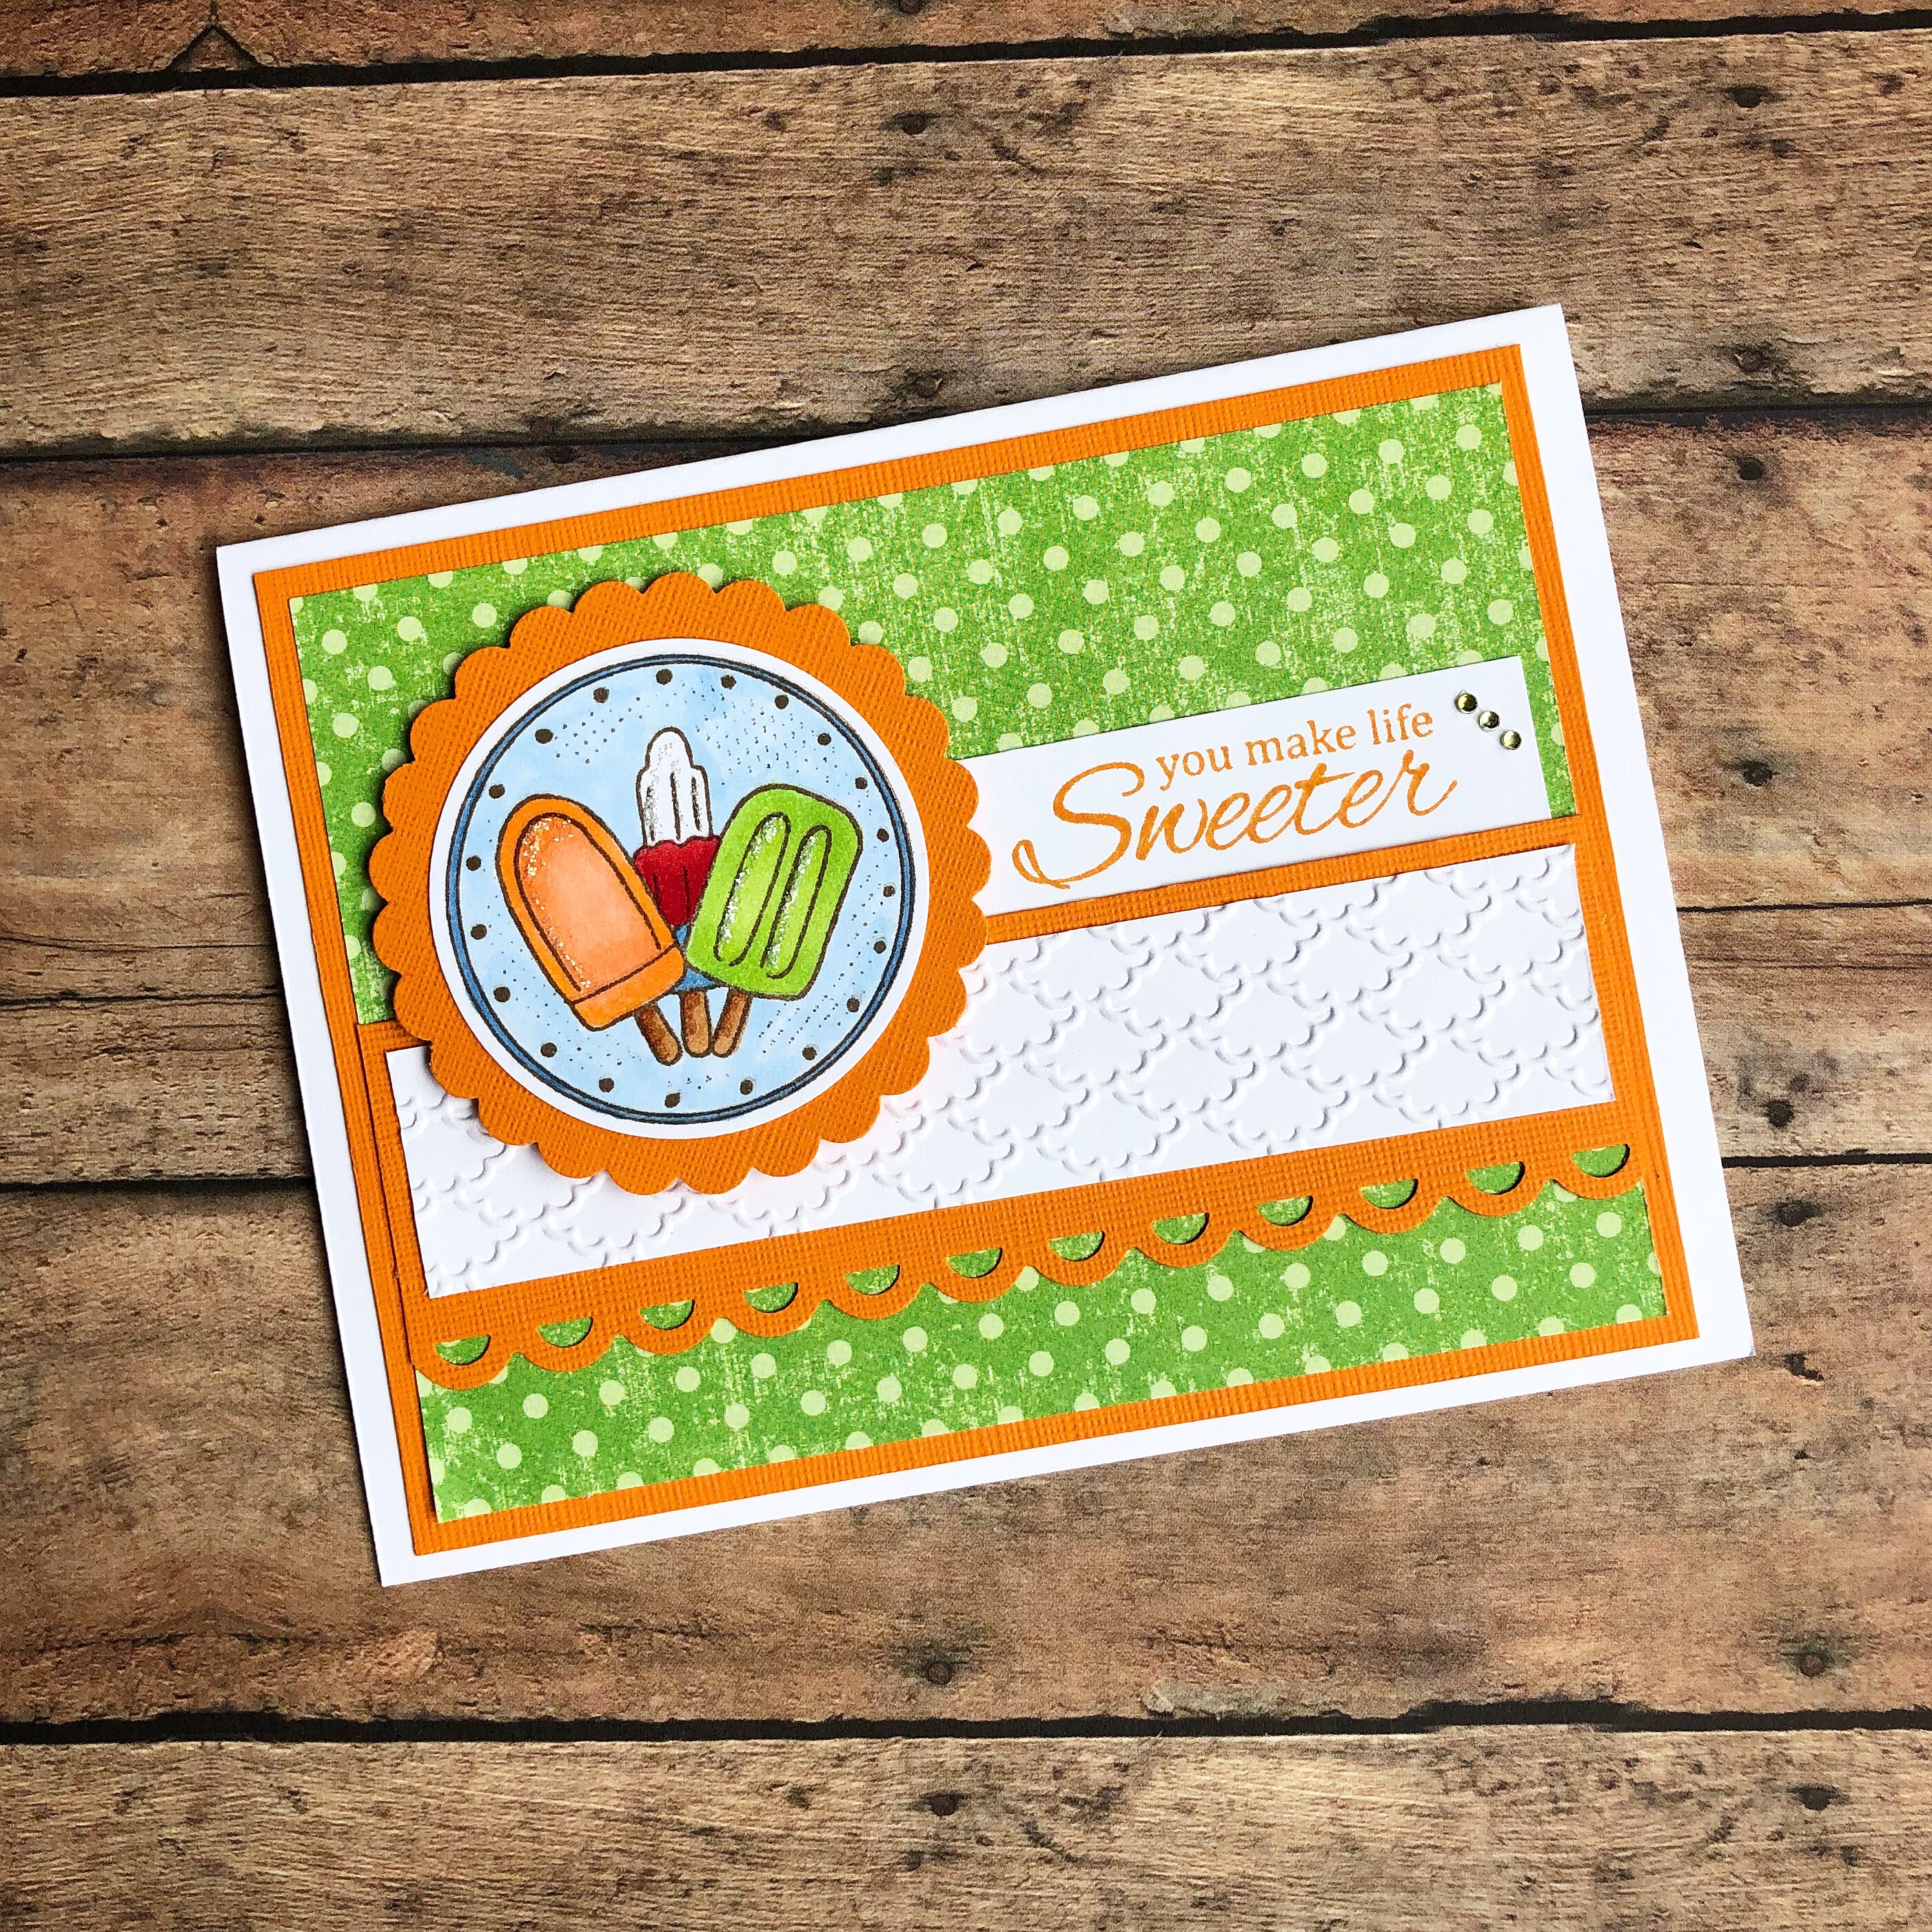
I punched the edge of a strip of orange card stock with the Apron Lace Border punch by Fiskars that you can find here or here. I dry embossed a strip of white card stock and attached it to the punched orange piece. (This folder is discontinued from Stampin’ Up, but here is a similar one.)
I stamped the sentiment with orange ink on white card stock and trimmed it close.
To assemble the card, attach a piece of orange card stock to a white card. Layer a slightly smaller piece of green polka dot paper over the orange card stock. Attach the punched border piece to the card. Attach the stamped sentiment, tucking it slightly under the orange card stock. Attach the stamped frozen treats to the card with foam tape. To finish the card, add 3 tiny gems next to the sentiment.
Such a cute card for a Summer birthday, a thank you, or just thinking of you!
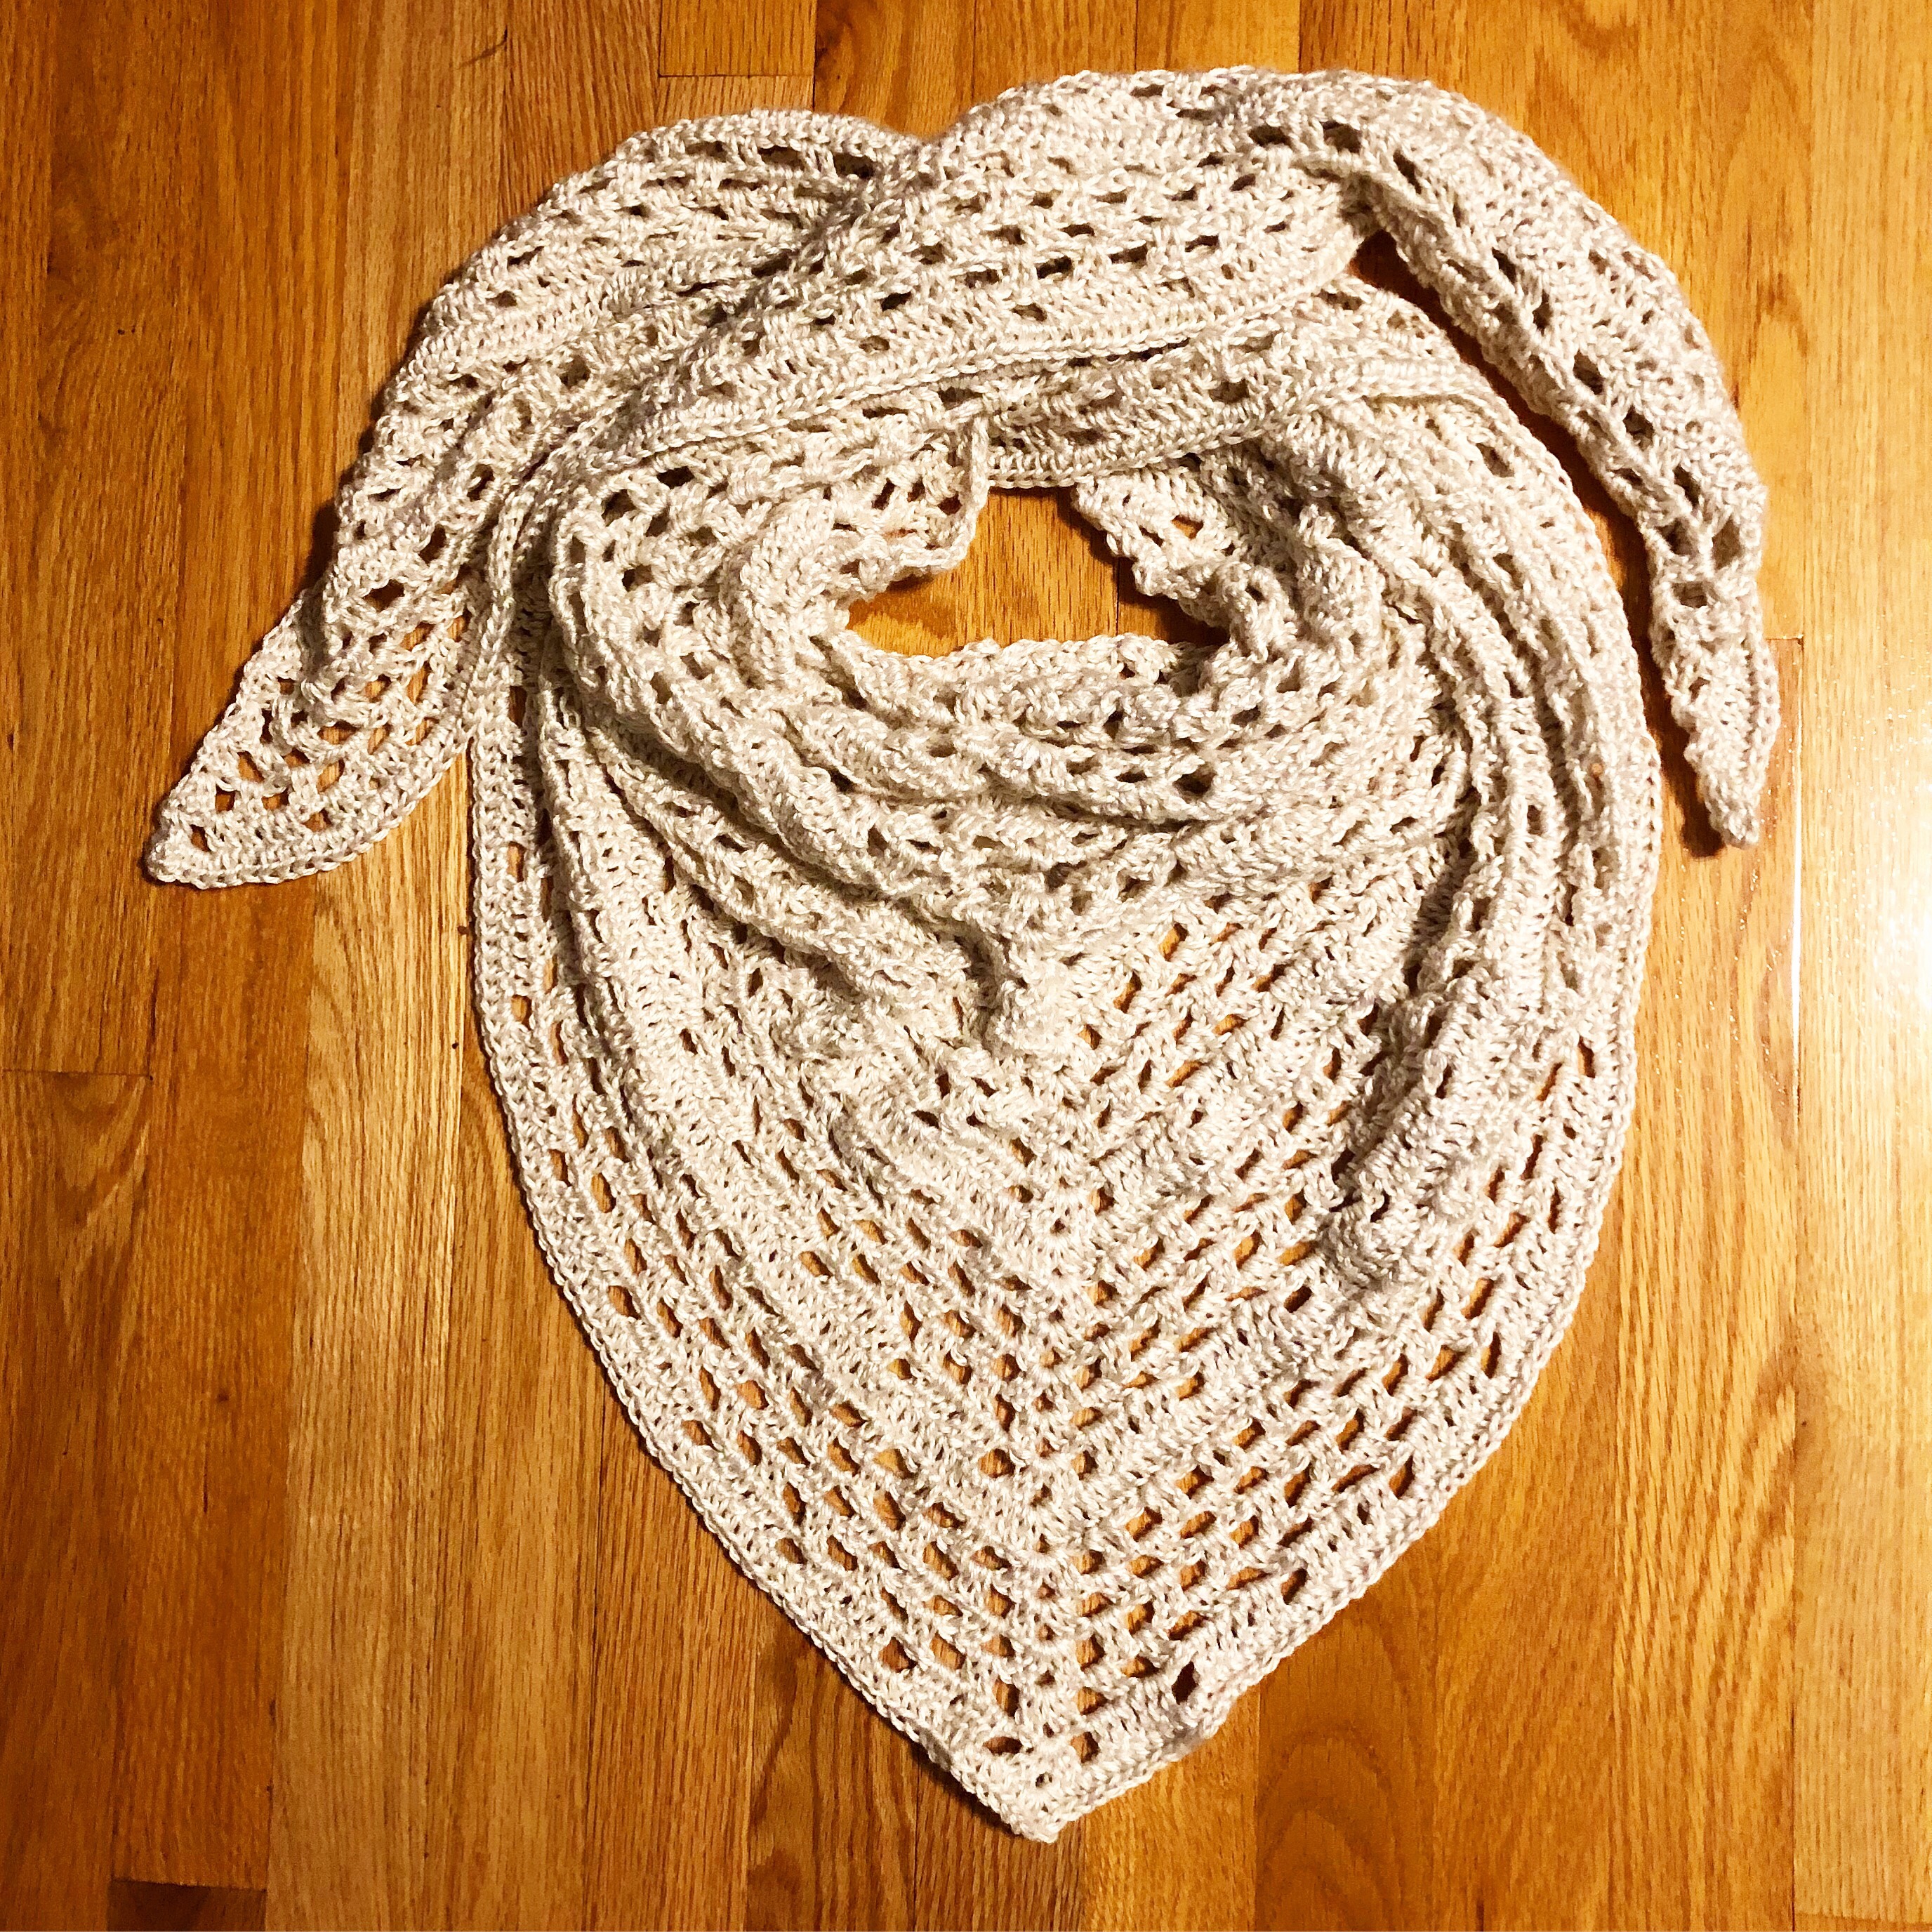
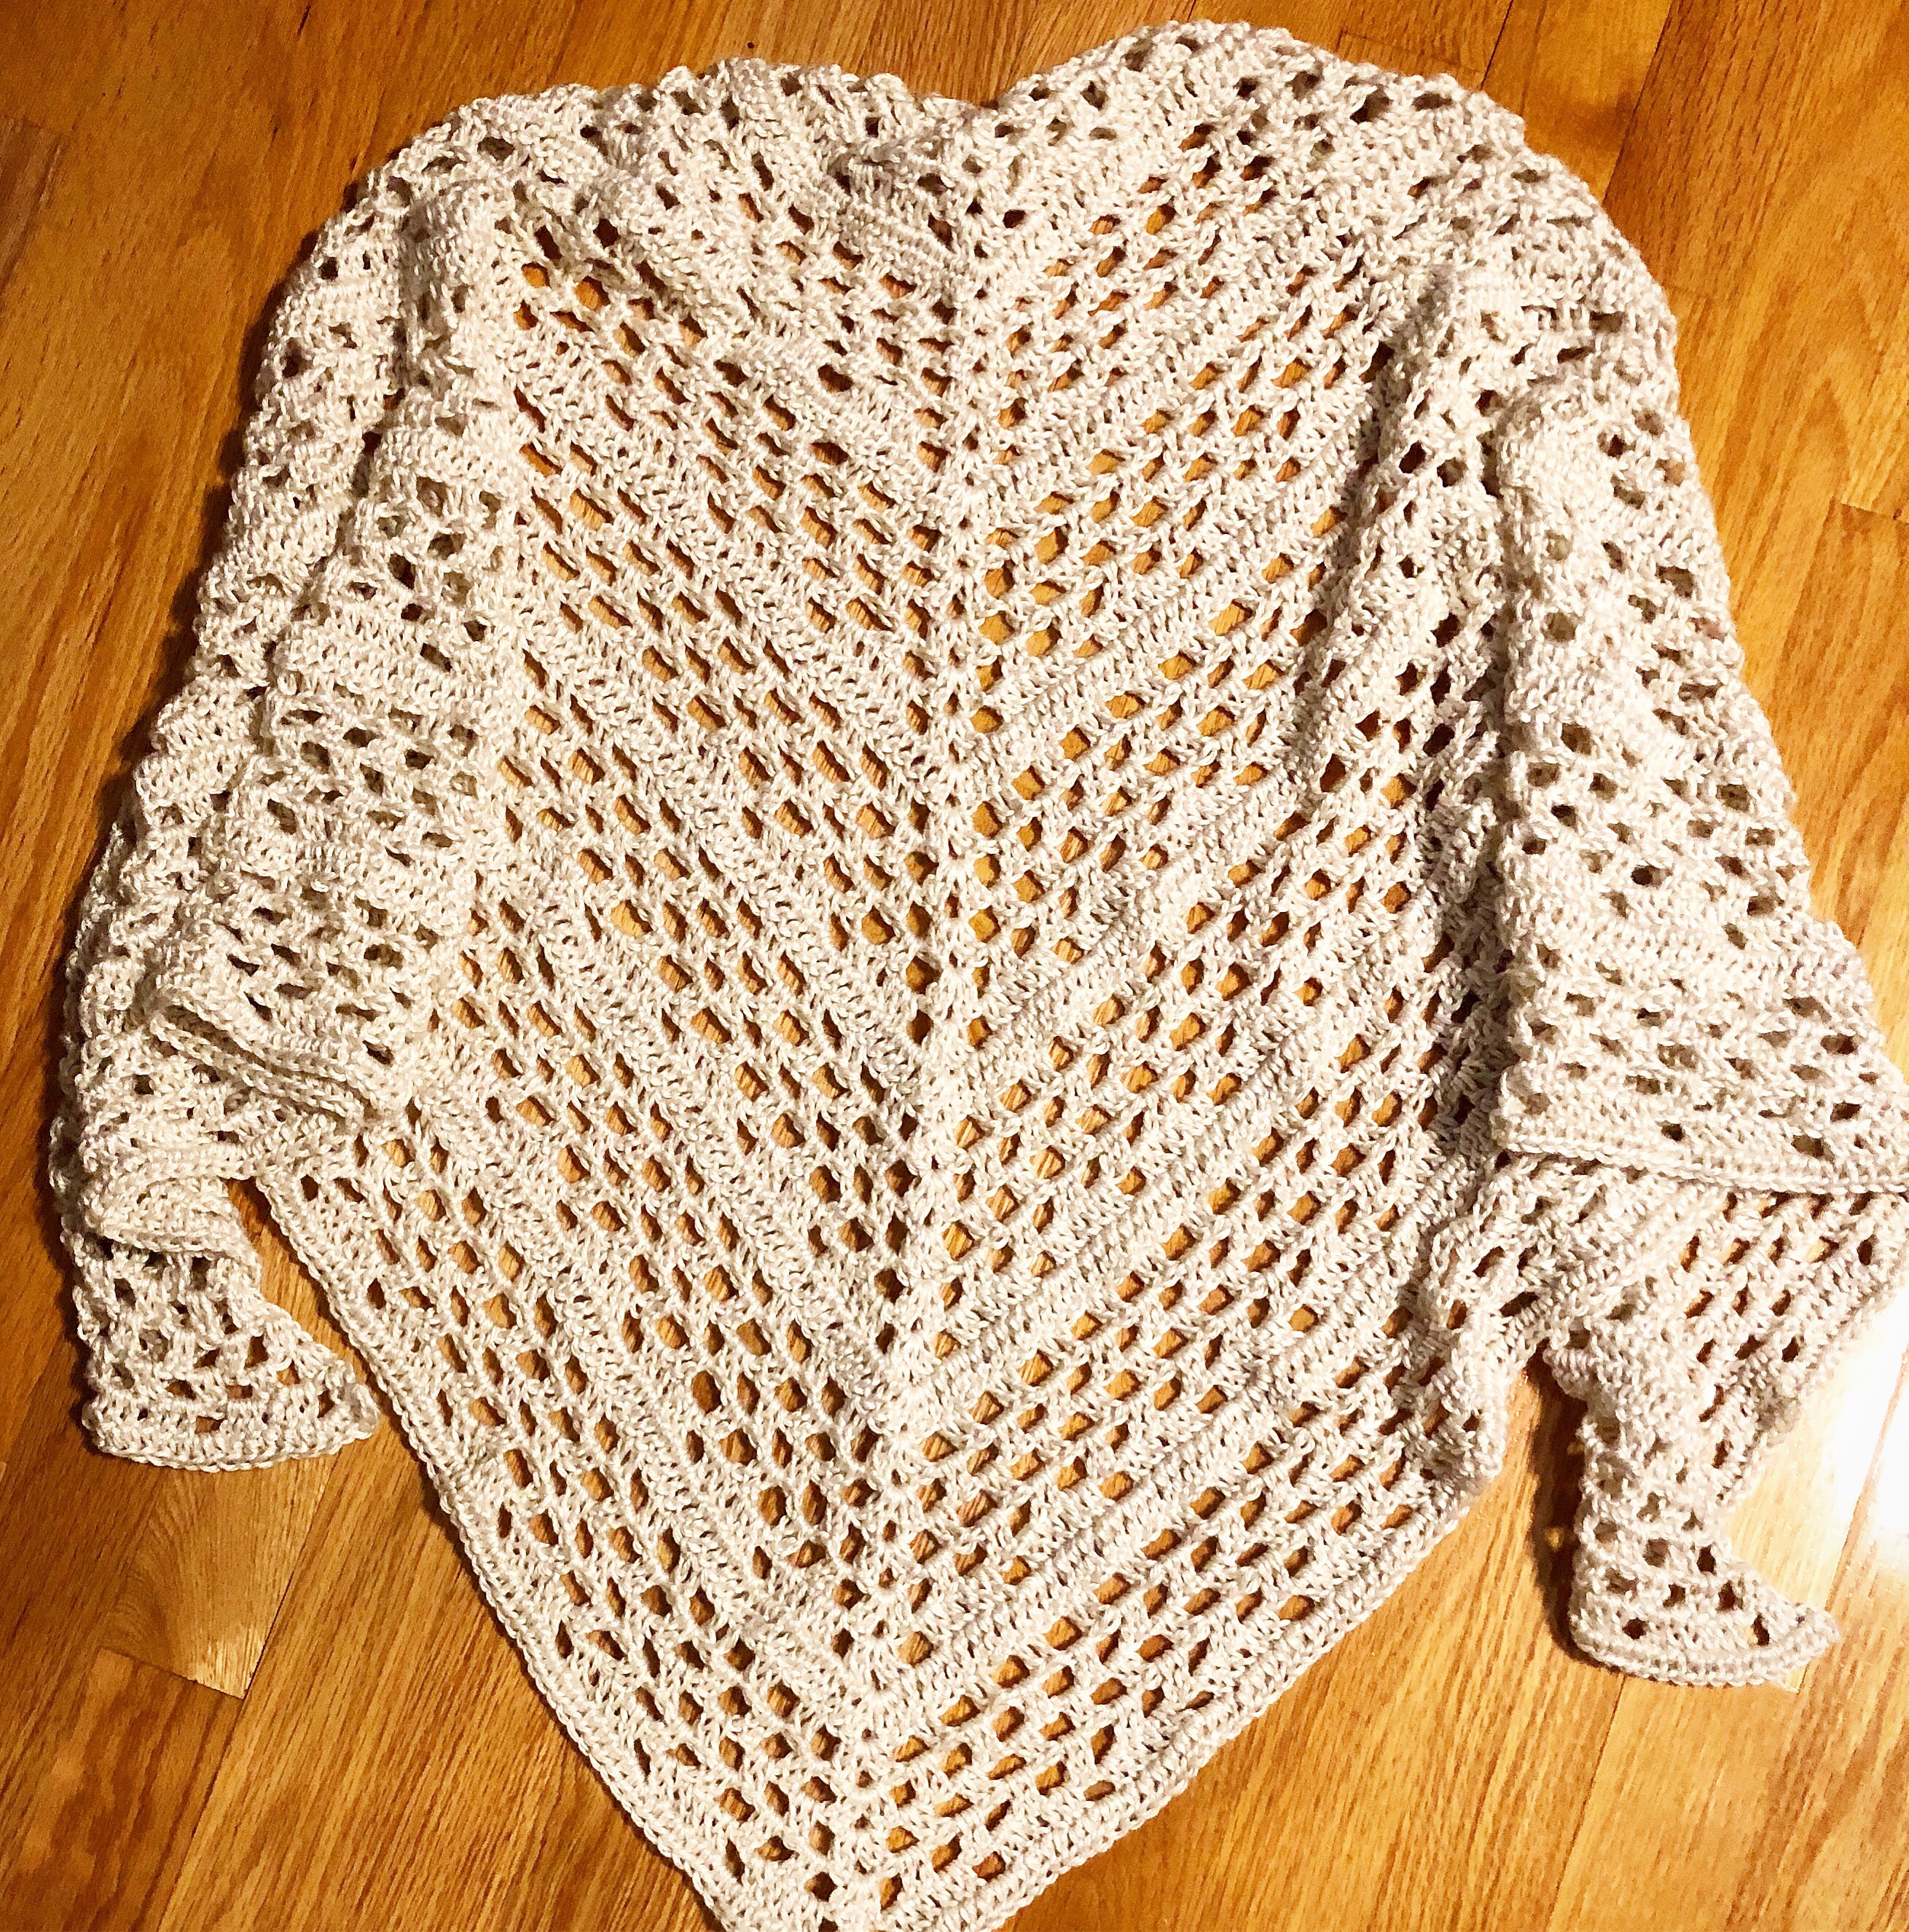
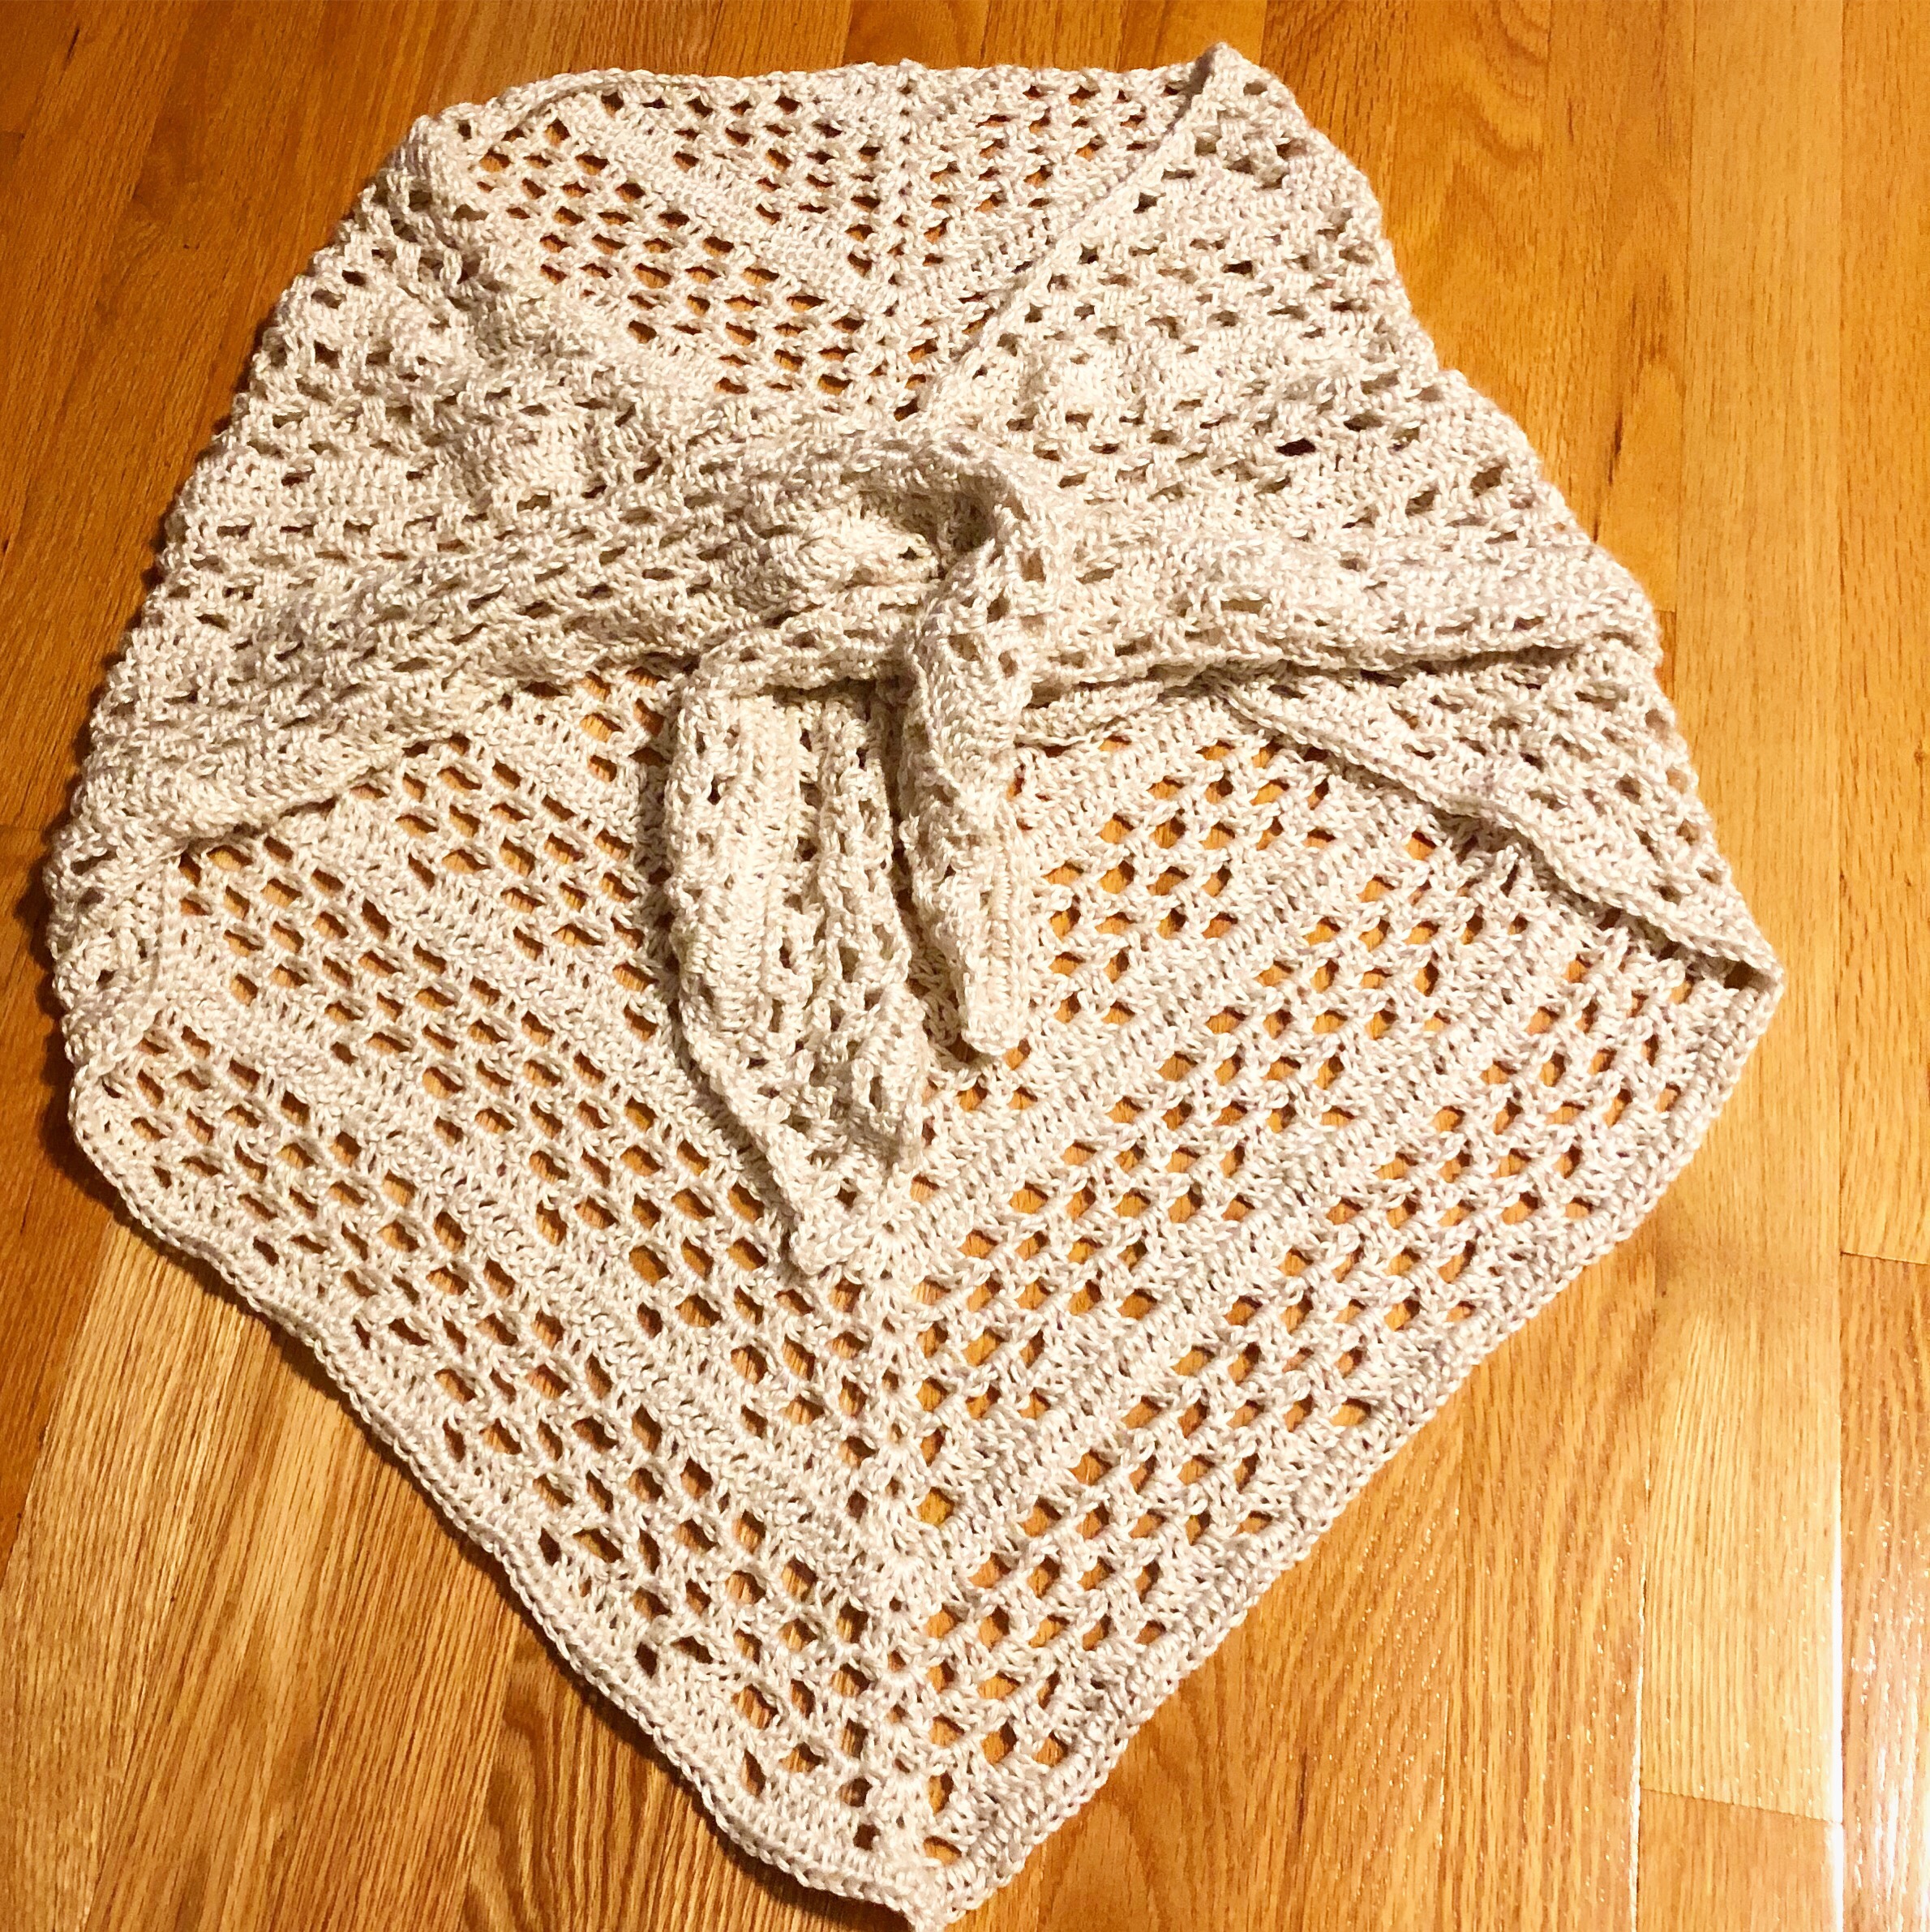
I followed the pattern with just a little change at the end. I decided not to add the scalloped edging to the shawl for 2 reasons. The first reason was because I really liked the way it looked without it. The second reason was because I ran out of yarn (I used 6 skeins) – so it’s a good thing I liked it the way it was! 🙂
Once you work the first 9 rows of the pattern, the shawl continues by repeating rows 4 through 9 until you get the length you want. After the initial 9 rows, I worked 6 repeats of the pattern and then fastened off.
Patons Silk Bamboo yarn is incredibly soft and drapes beautifully! This stone color would also make a wonderful neutral color shawl. The pattern works up quickly – so you’ll have it all Summer to ward off that air conditioning chill!
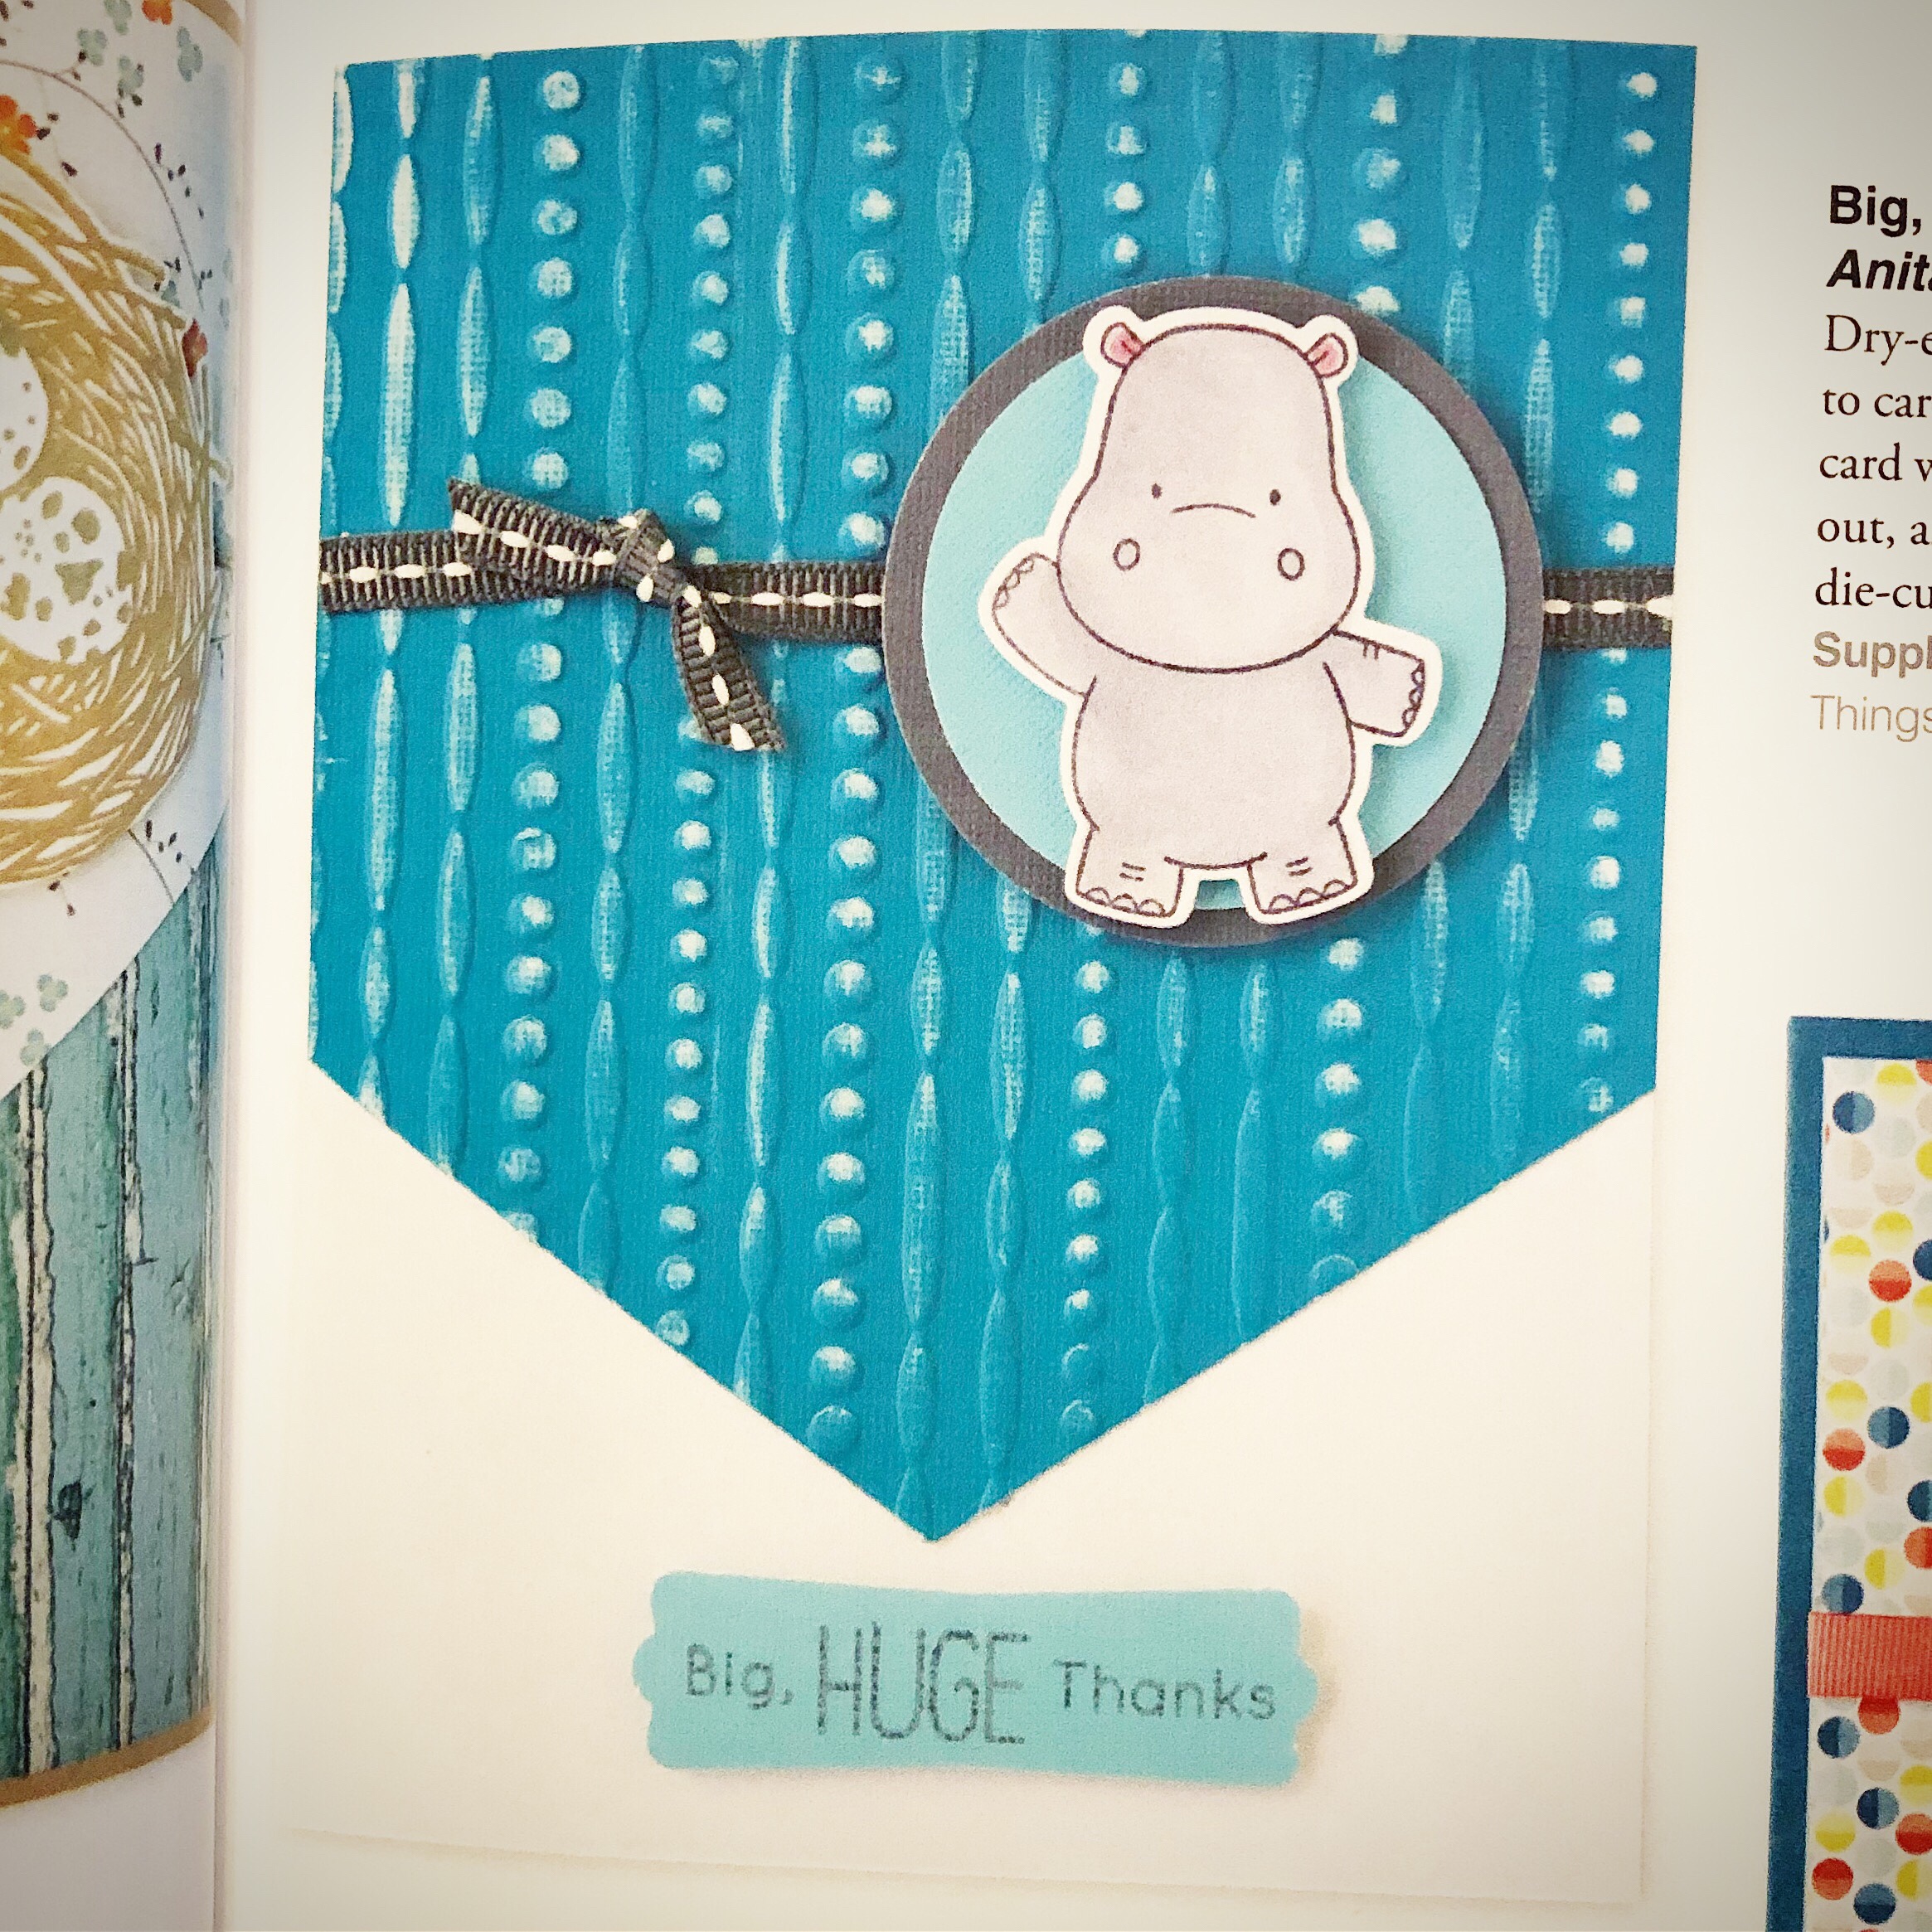
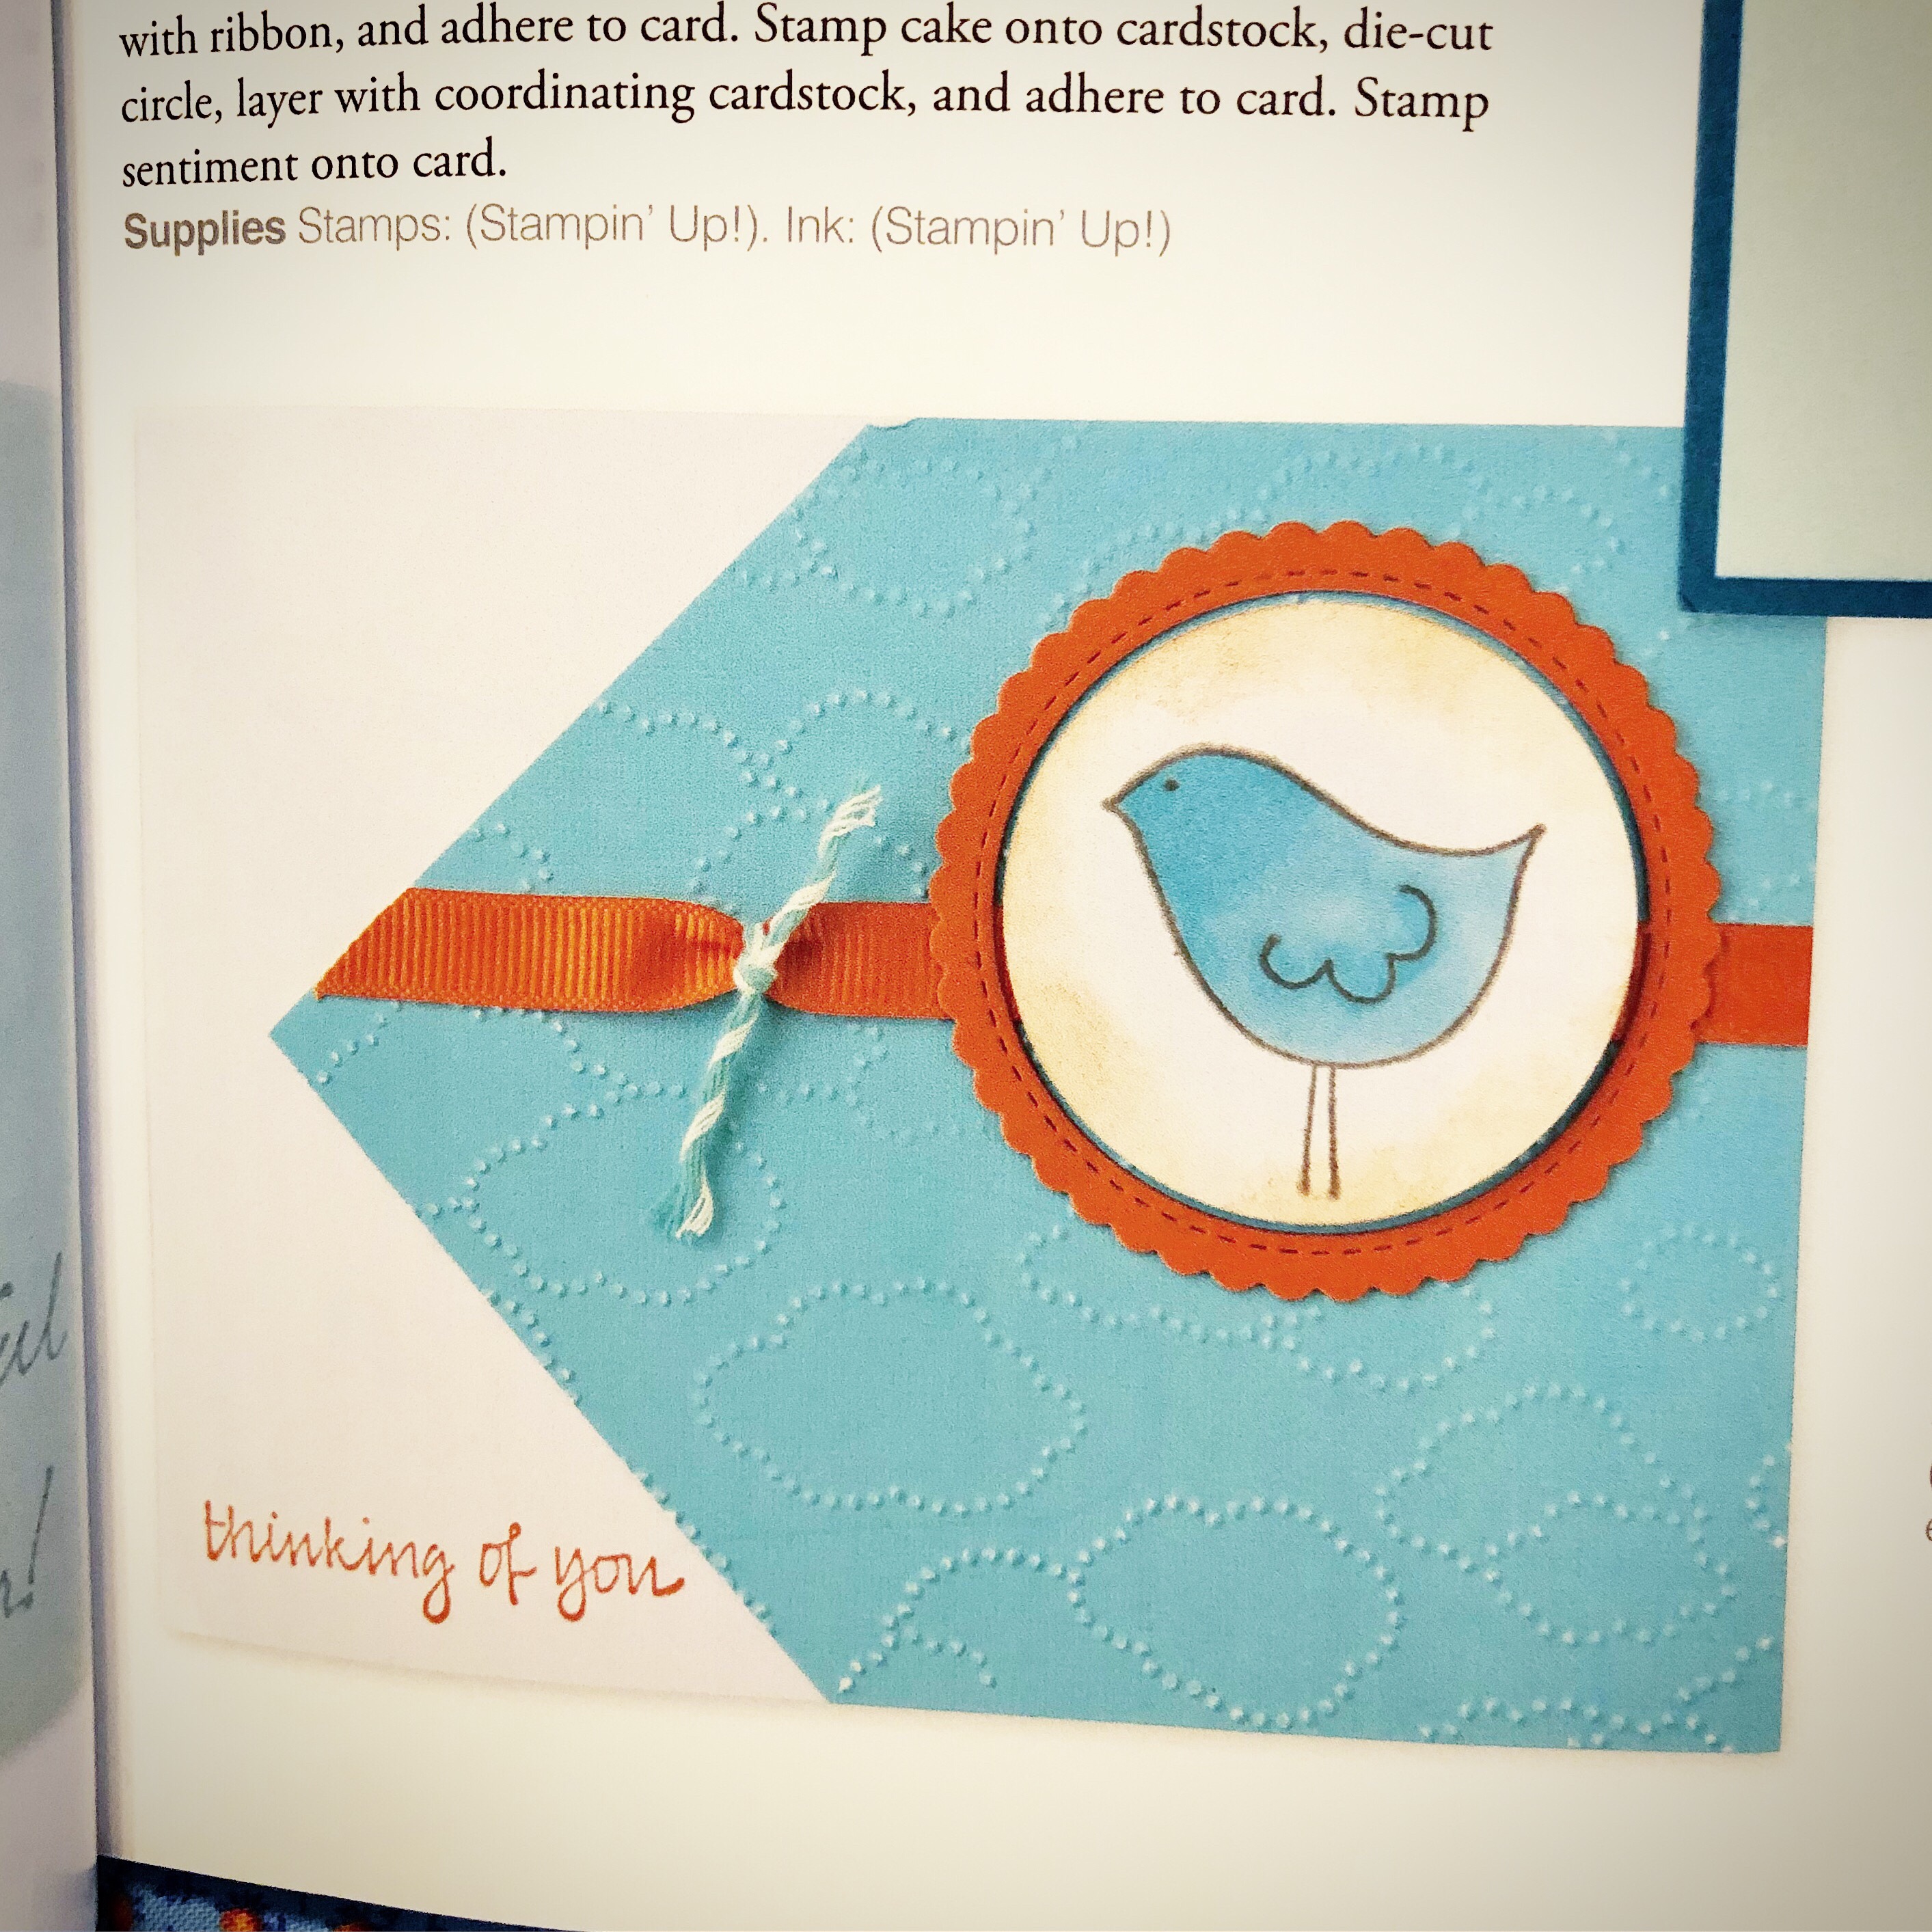
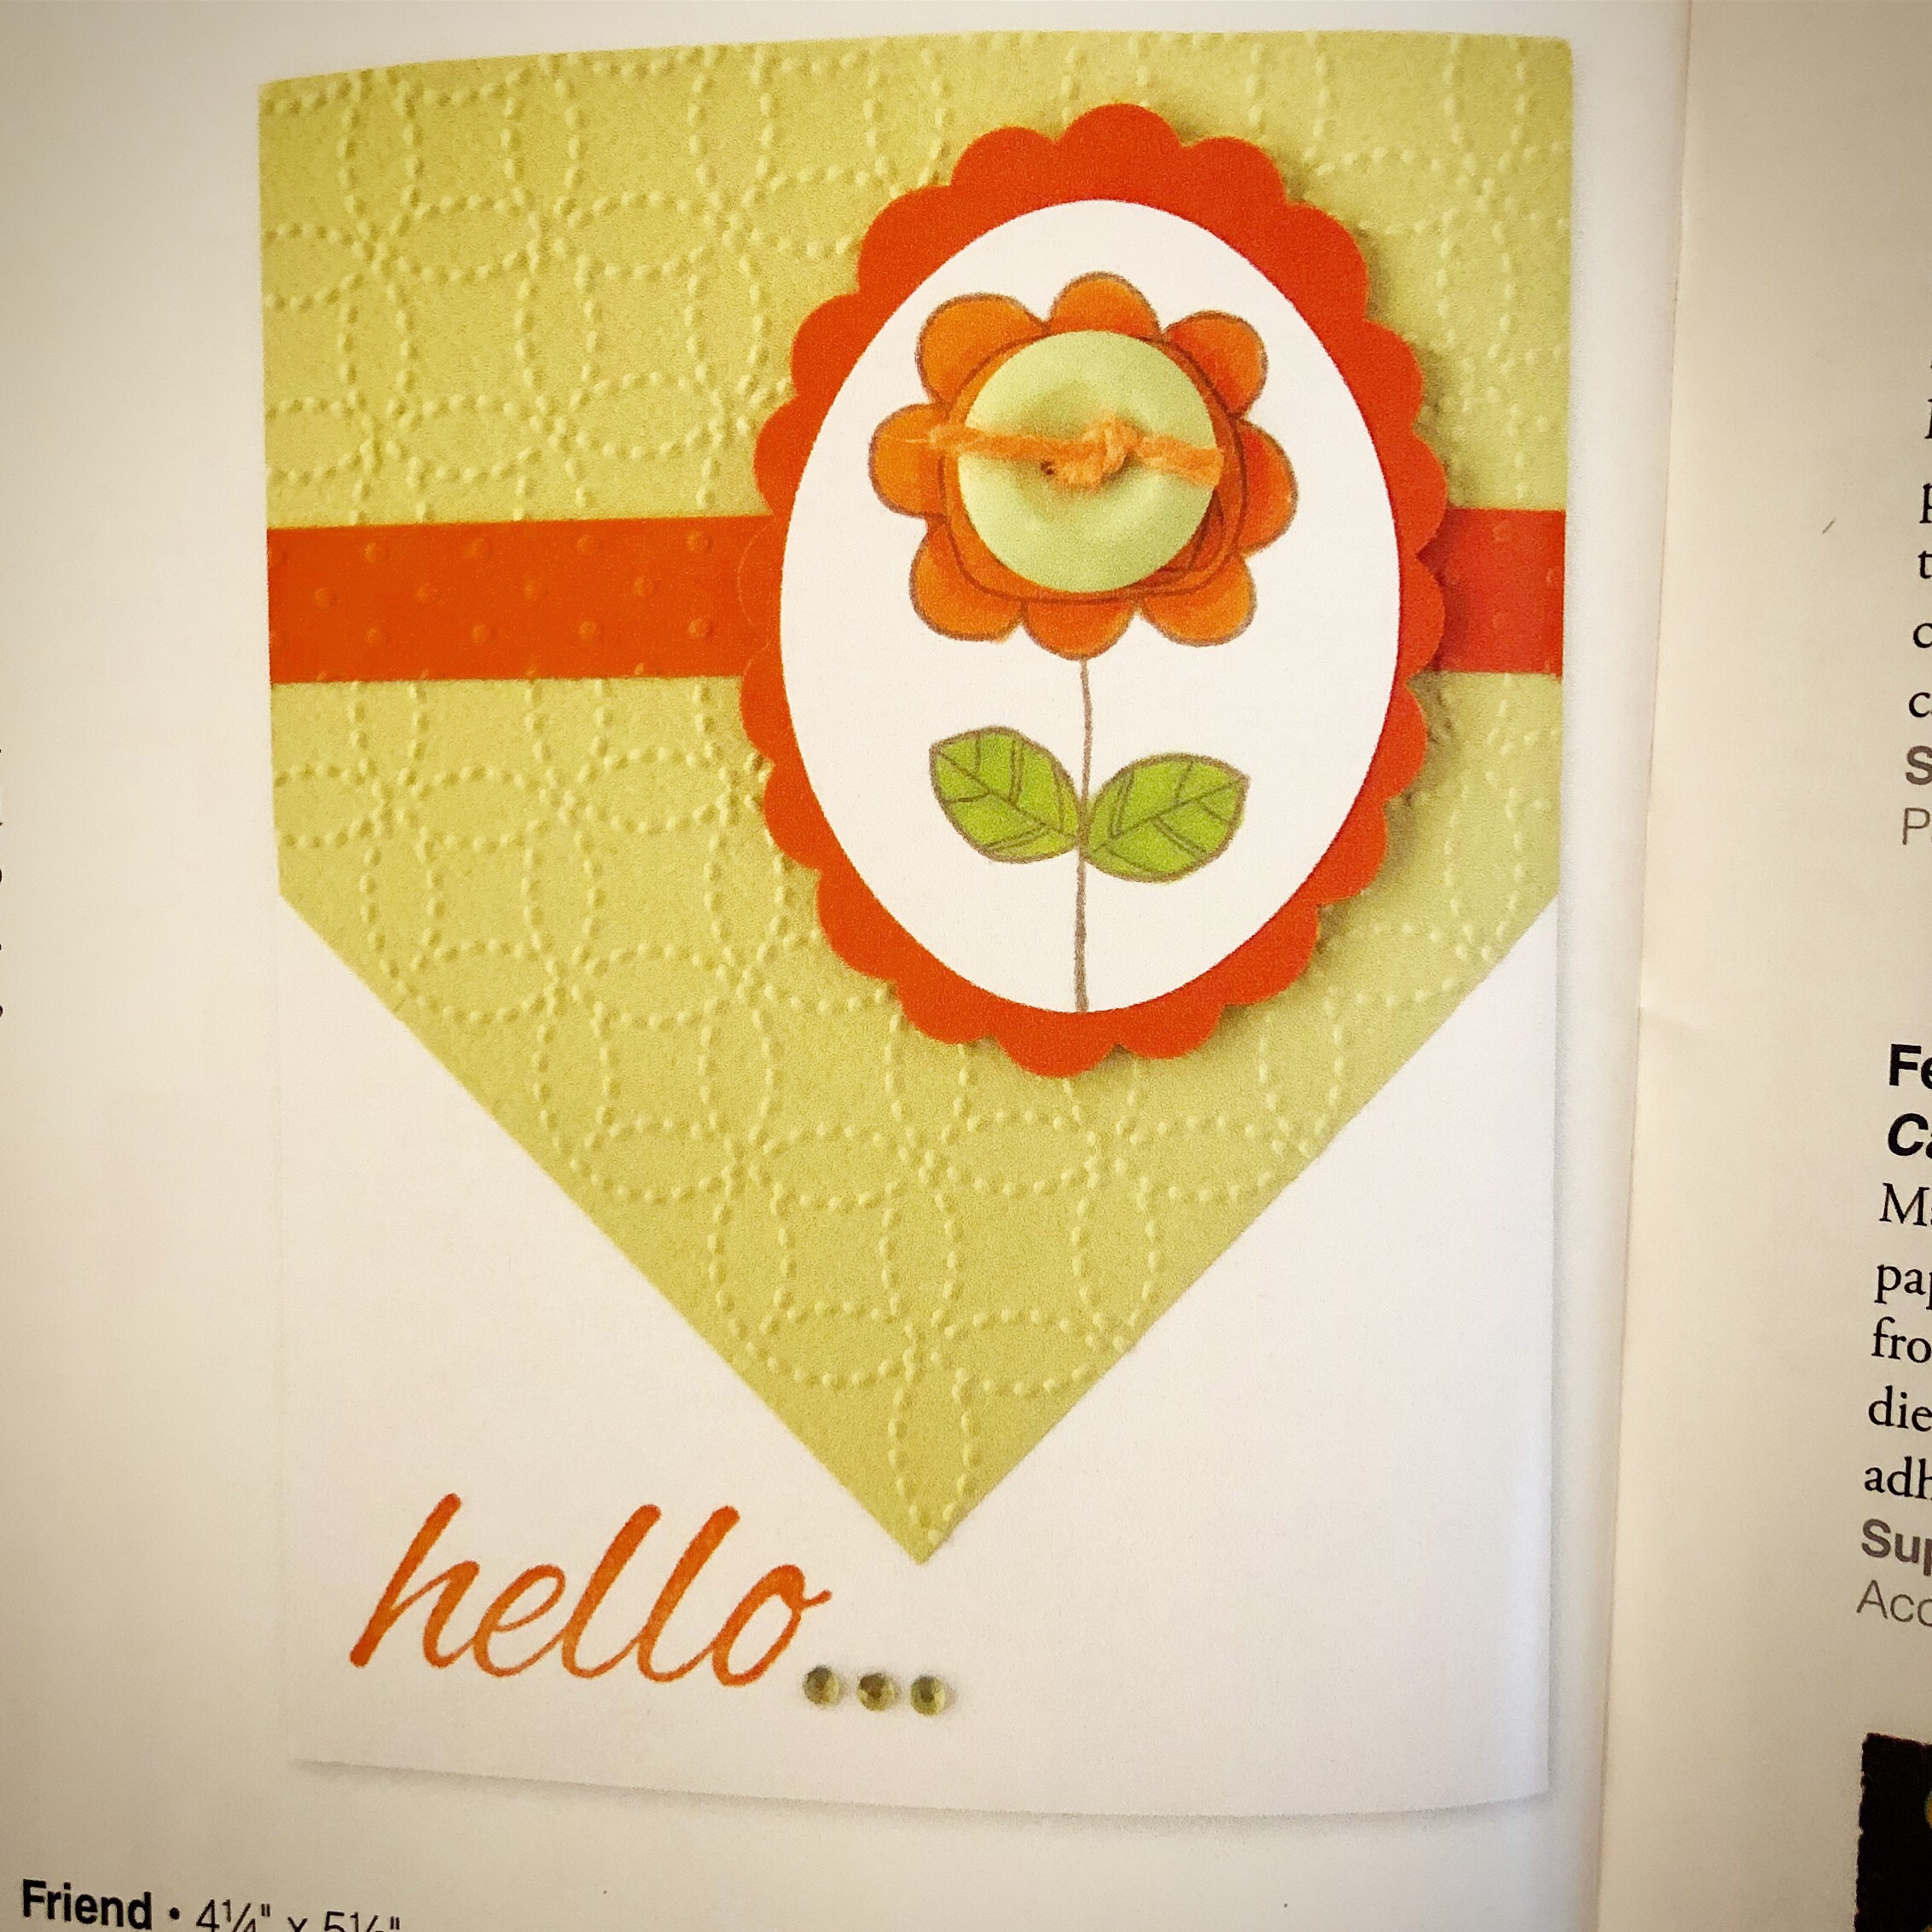
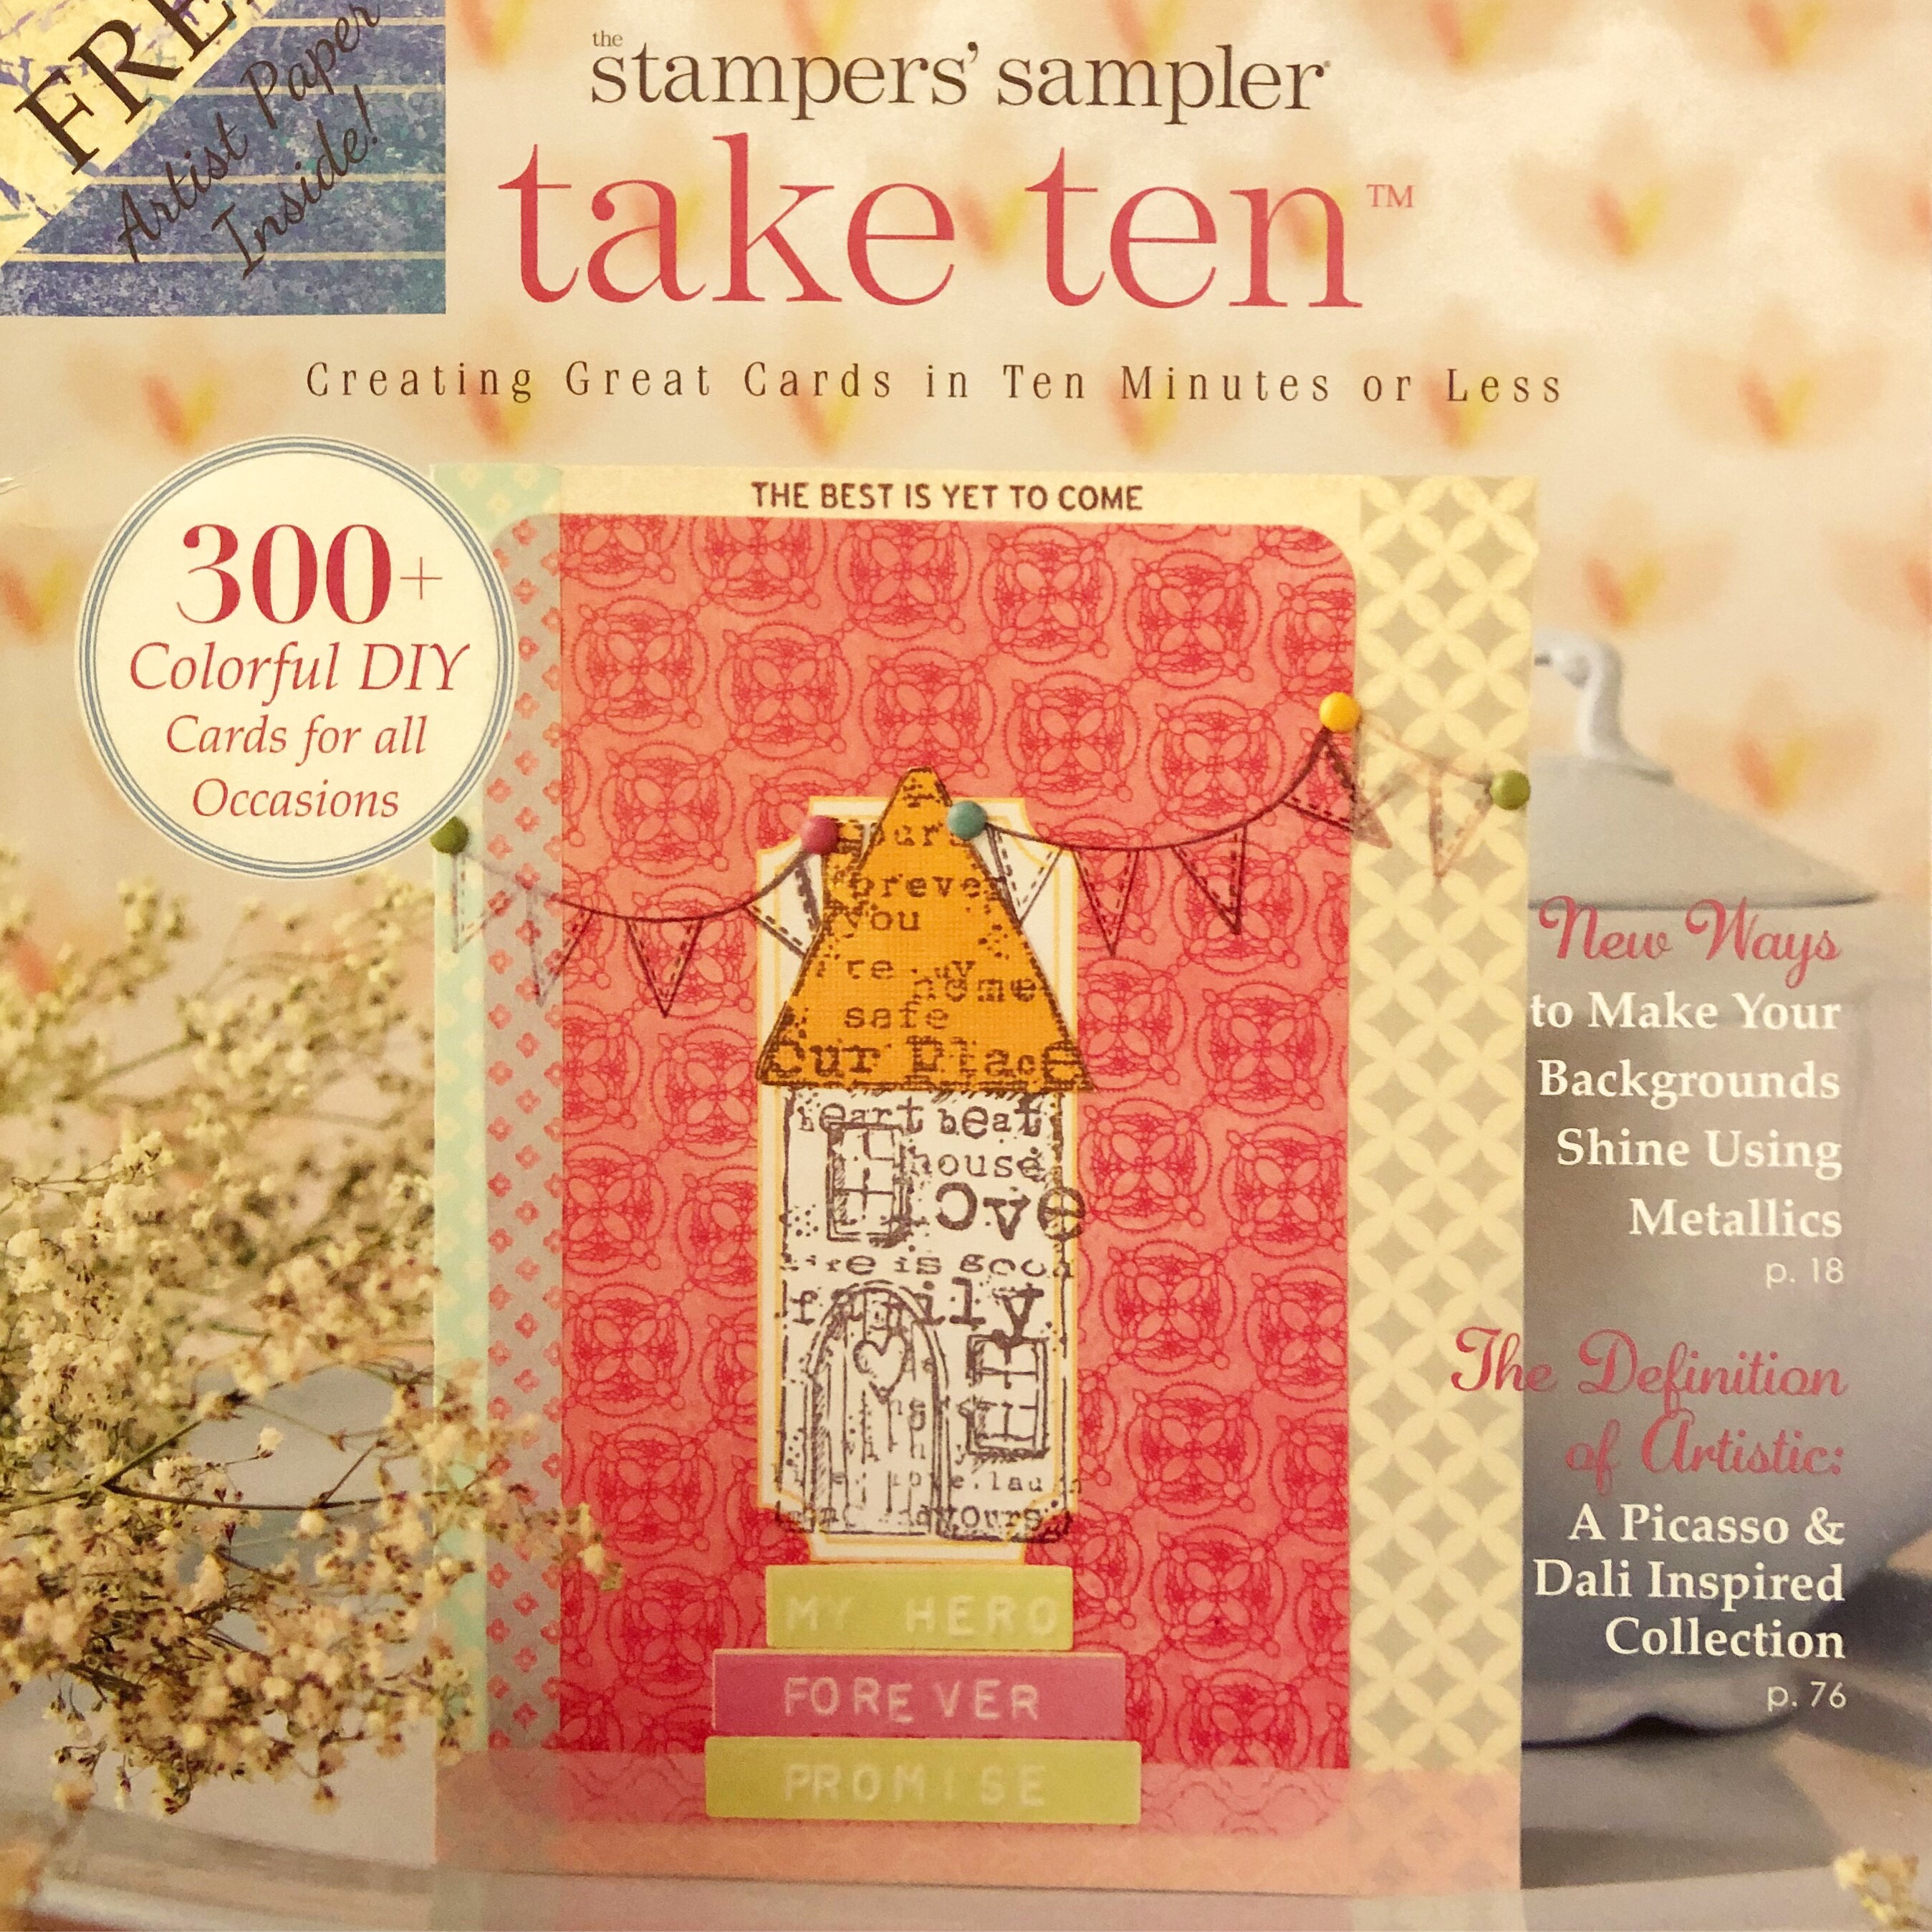
The new Take Ten Summer 2018 issue will be available June 1st! I’m so excited to have 3 cards published in this issue!! 😊
Somehow I forgot to take pictures of these cards before I mailed them in. 😕 So I apologize for the quality of the pics, I just snapped pictures from the magazine – but you can order your very own copy of Take Ten Summer 2018 here.
The stamps I used on the 2 cards below (except the “thinking of you”) are from the Hello Birdie stamp set by Unity Stamp Company. The “thinking of you” stamp is an older stamp from Savvy Stamps.
I used this Dots Embossing Folder for the orange strip of card stock on the card above. The other 3 folders are from Stampin’ Up – the Quilt one is available here, but the other 2 are discontinued – just use your favorites to create your own background.
It’s so fun to have my cards published in my favorite magazine! If you’re looking for a magazine with tons of inspiration, check out Take Ten Magazine. I don’t think you’ll be disappointed!!
Disclosure: Some of the links on my site are affiliate links, meaning, at no additional cost to you, I will earn a small commission if you click through and make a purchase. As an Amazon Associate I earn from qualifying purchases.