Hi friends,
I’m still thinking about Christmas in July on these hot Summer days! It’s the perfect time to spend some time indoors crafting for the season. 🎄
Disclosure: Some of the links on my site are affiliate links, meaning, at no additional cost to you, I will earn a small commission if you click through and make a purchase. As an Amazon Associate I earn from qualifying purchases.
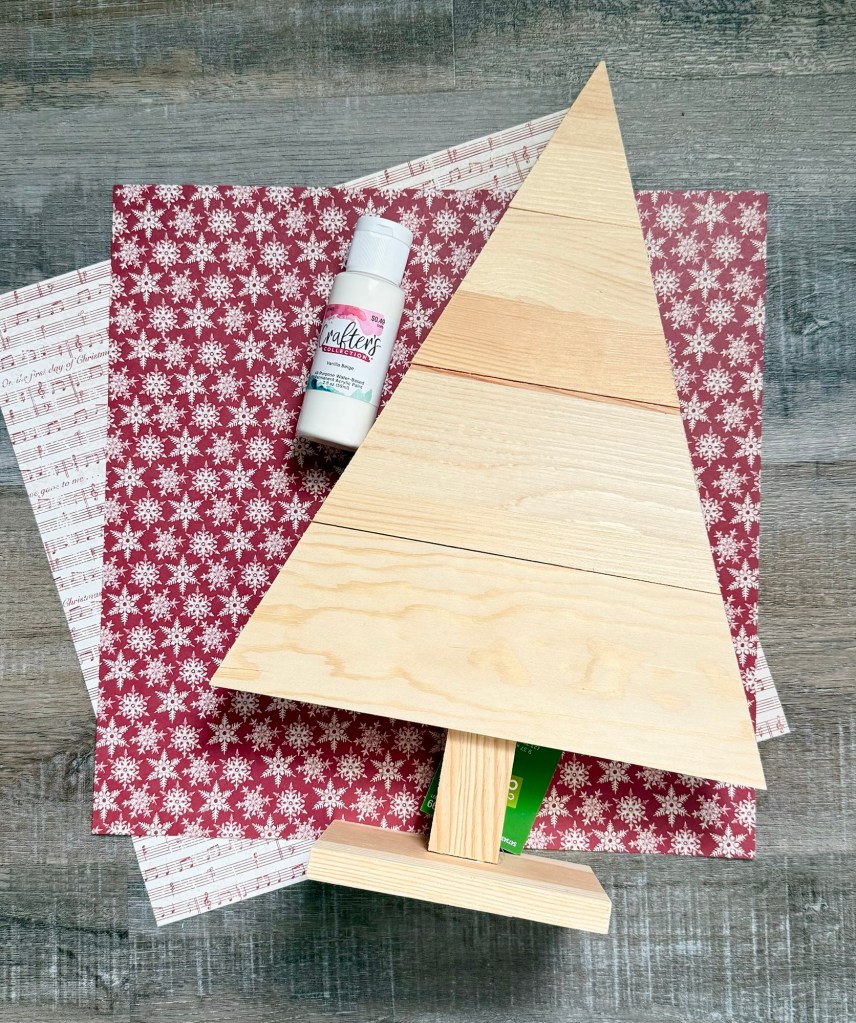
Today I’m sharing an easy to make Wood Snowflake Star. It will be fun to hang on a door, prop up on your mantel, or even hang on your tree if you want to make a big statement. 😉


You’ll need a 10-inch unfinished wood star, 8-inch unfinished wood snowflake, scrapbook paper, white acrylic paint, extra fine glitter, Mod Podge, and various ribbons for the bow. I got my star and snowflake from Hobby Lobby last Christmas season – I suspect they will have them again this year. You can also find a similar star here and similar snowflake here on Amazon.
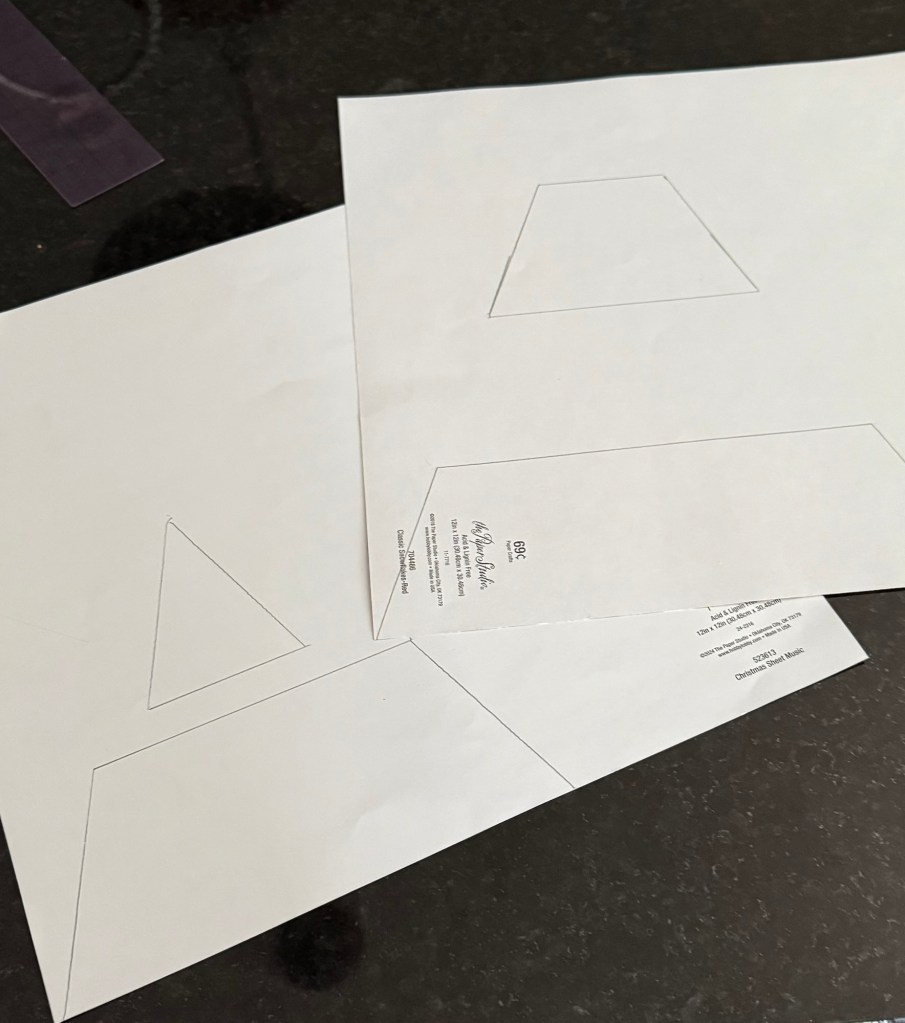
First, trace the star on the back of the scrapbook paper and cut it out. Using a foam brush, apply a thin coat of Mod Podge on the star and smooth the scrapbook paper onto the star. Once dry, apply a thin coat of Mod Podge over the top.
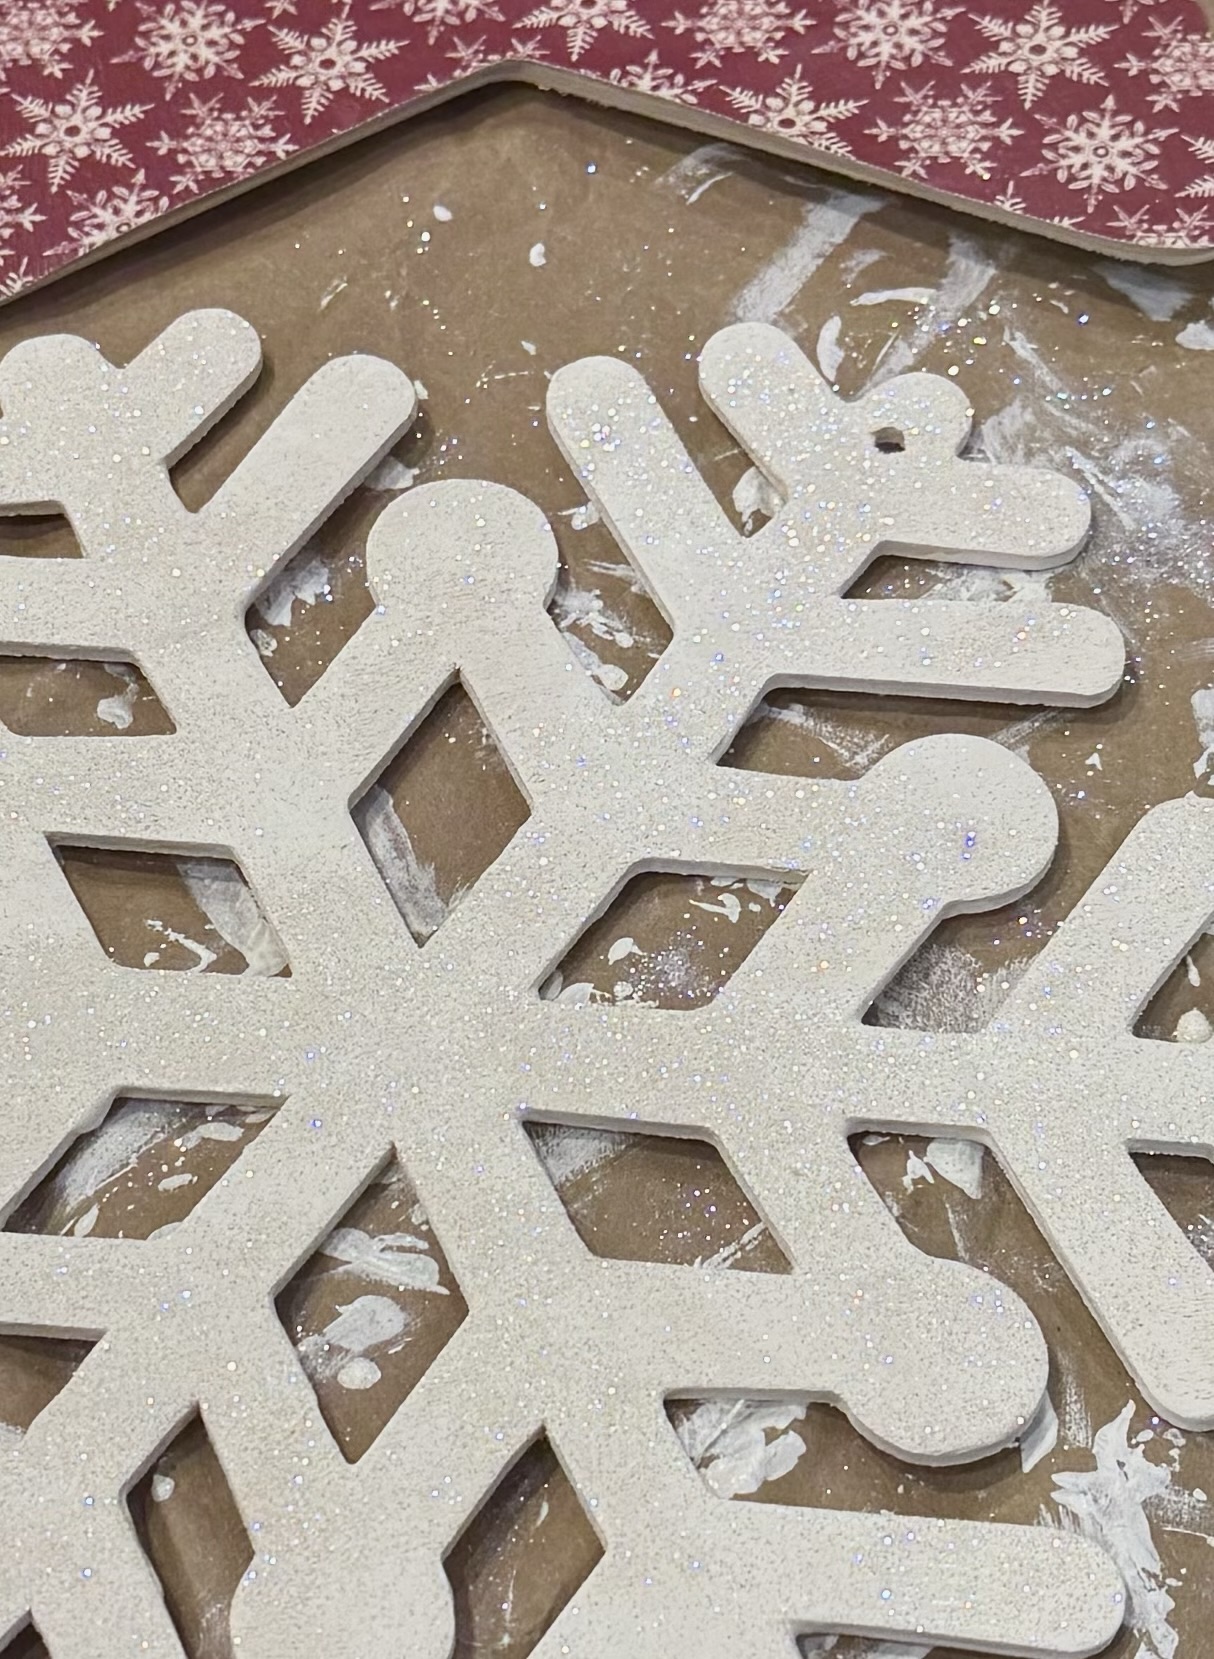
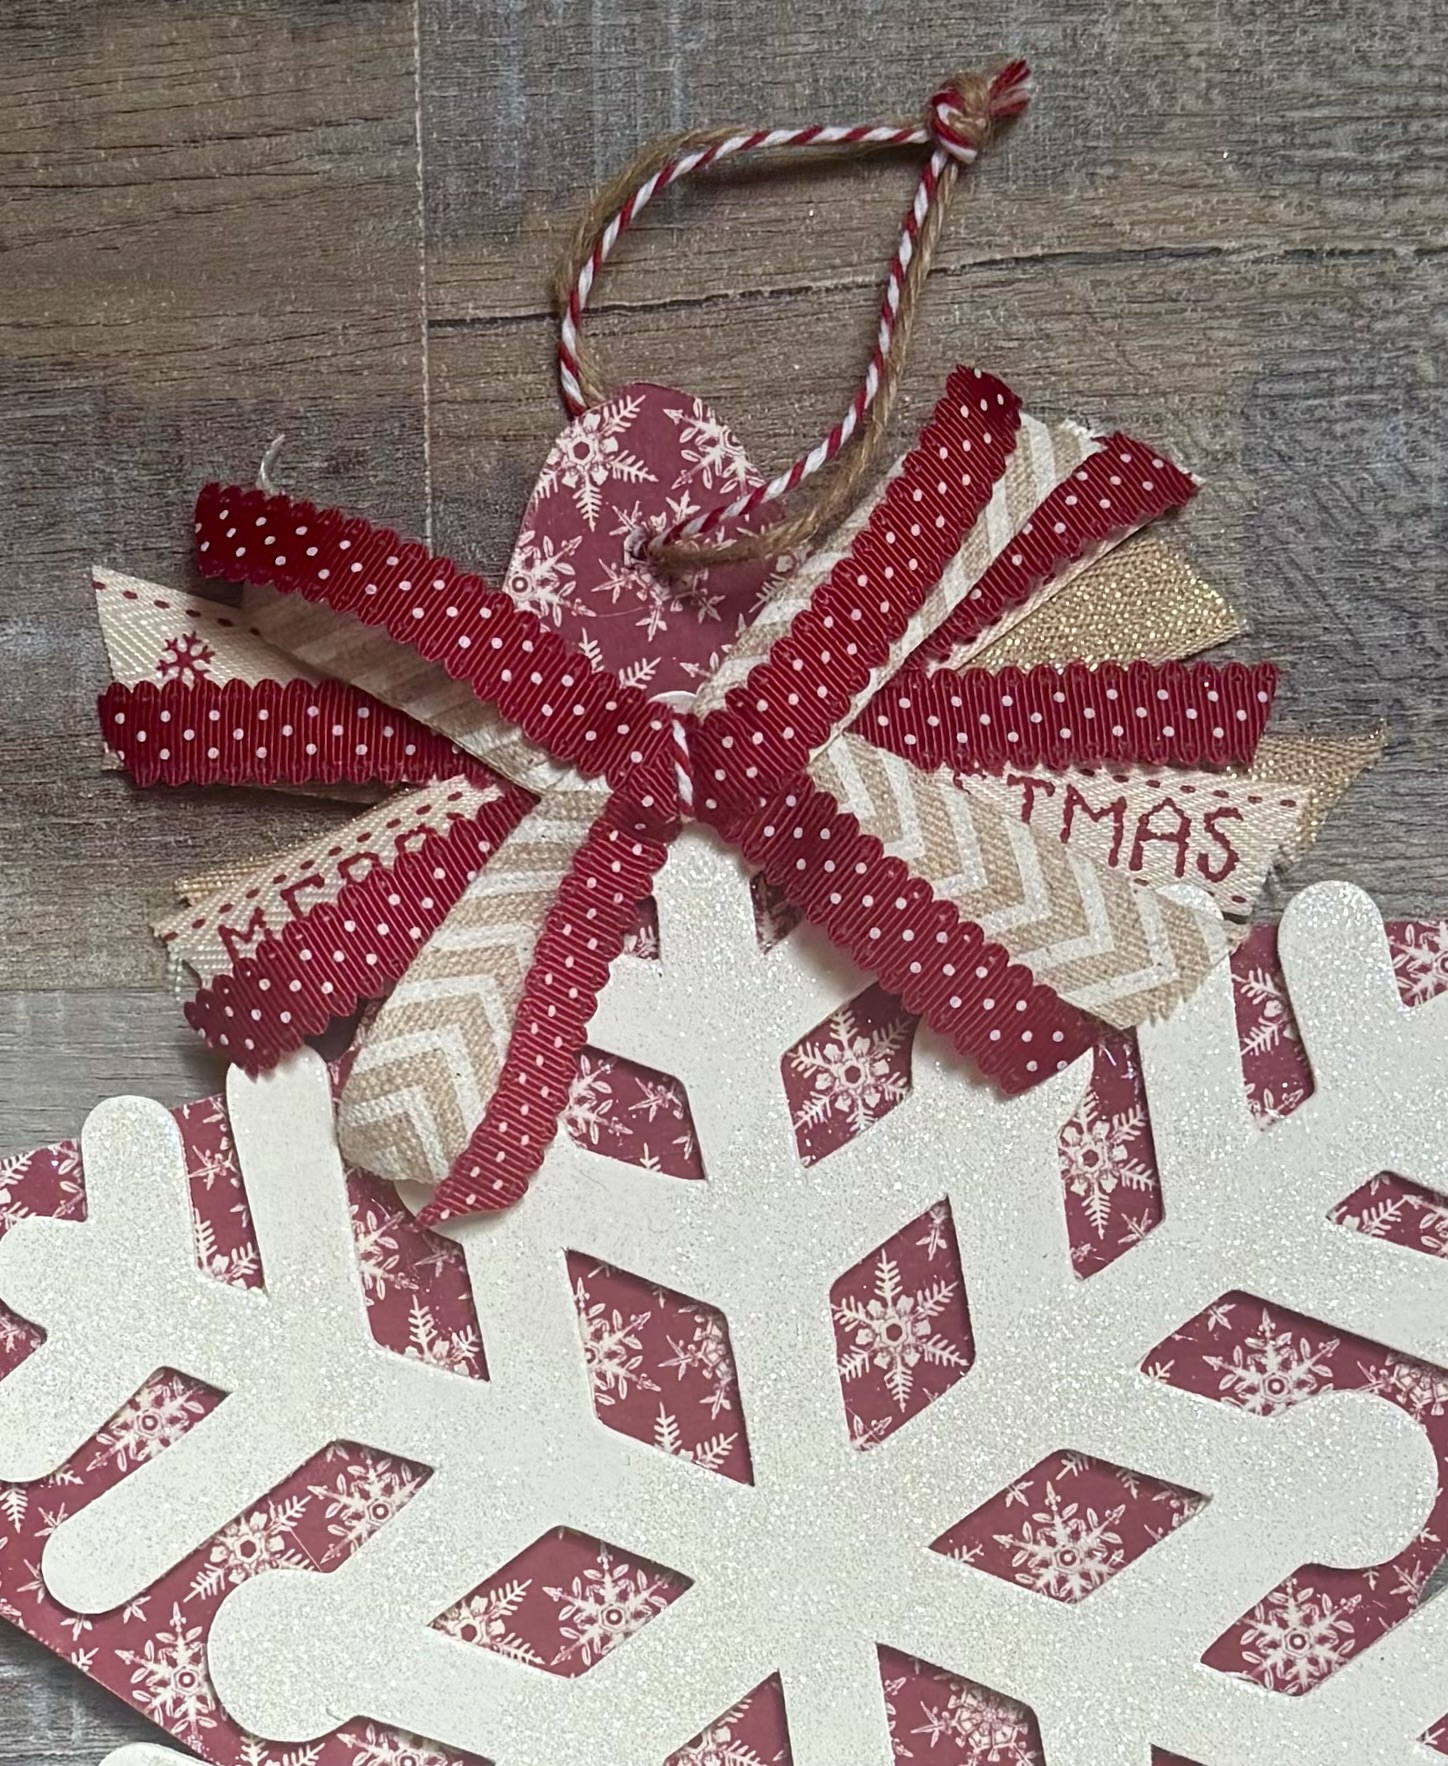
Paint the snowflake with 2 coats of white paint, letting it dry between coats. Before the 2nd coat is dry, sprinkle the glitter onto the snowflake. Once the paint was completely dry, I sprayed a light coat of matte sealing spray over the top to help seal in the glitter.

Using E6000 clear adhesive, I glued the snowflake to the star. I made a simple Re-Fabbed bow with various ribbons and glued it to the top of the snowflake. I tied a loop of natural twine and red/white bakers twine through the hole at the top of the star for a hanger. If your star doesn’t have a hole, you can add one before adhering the paper or glue your hanger to the back on the star.
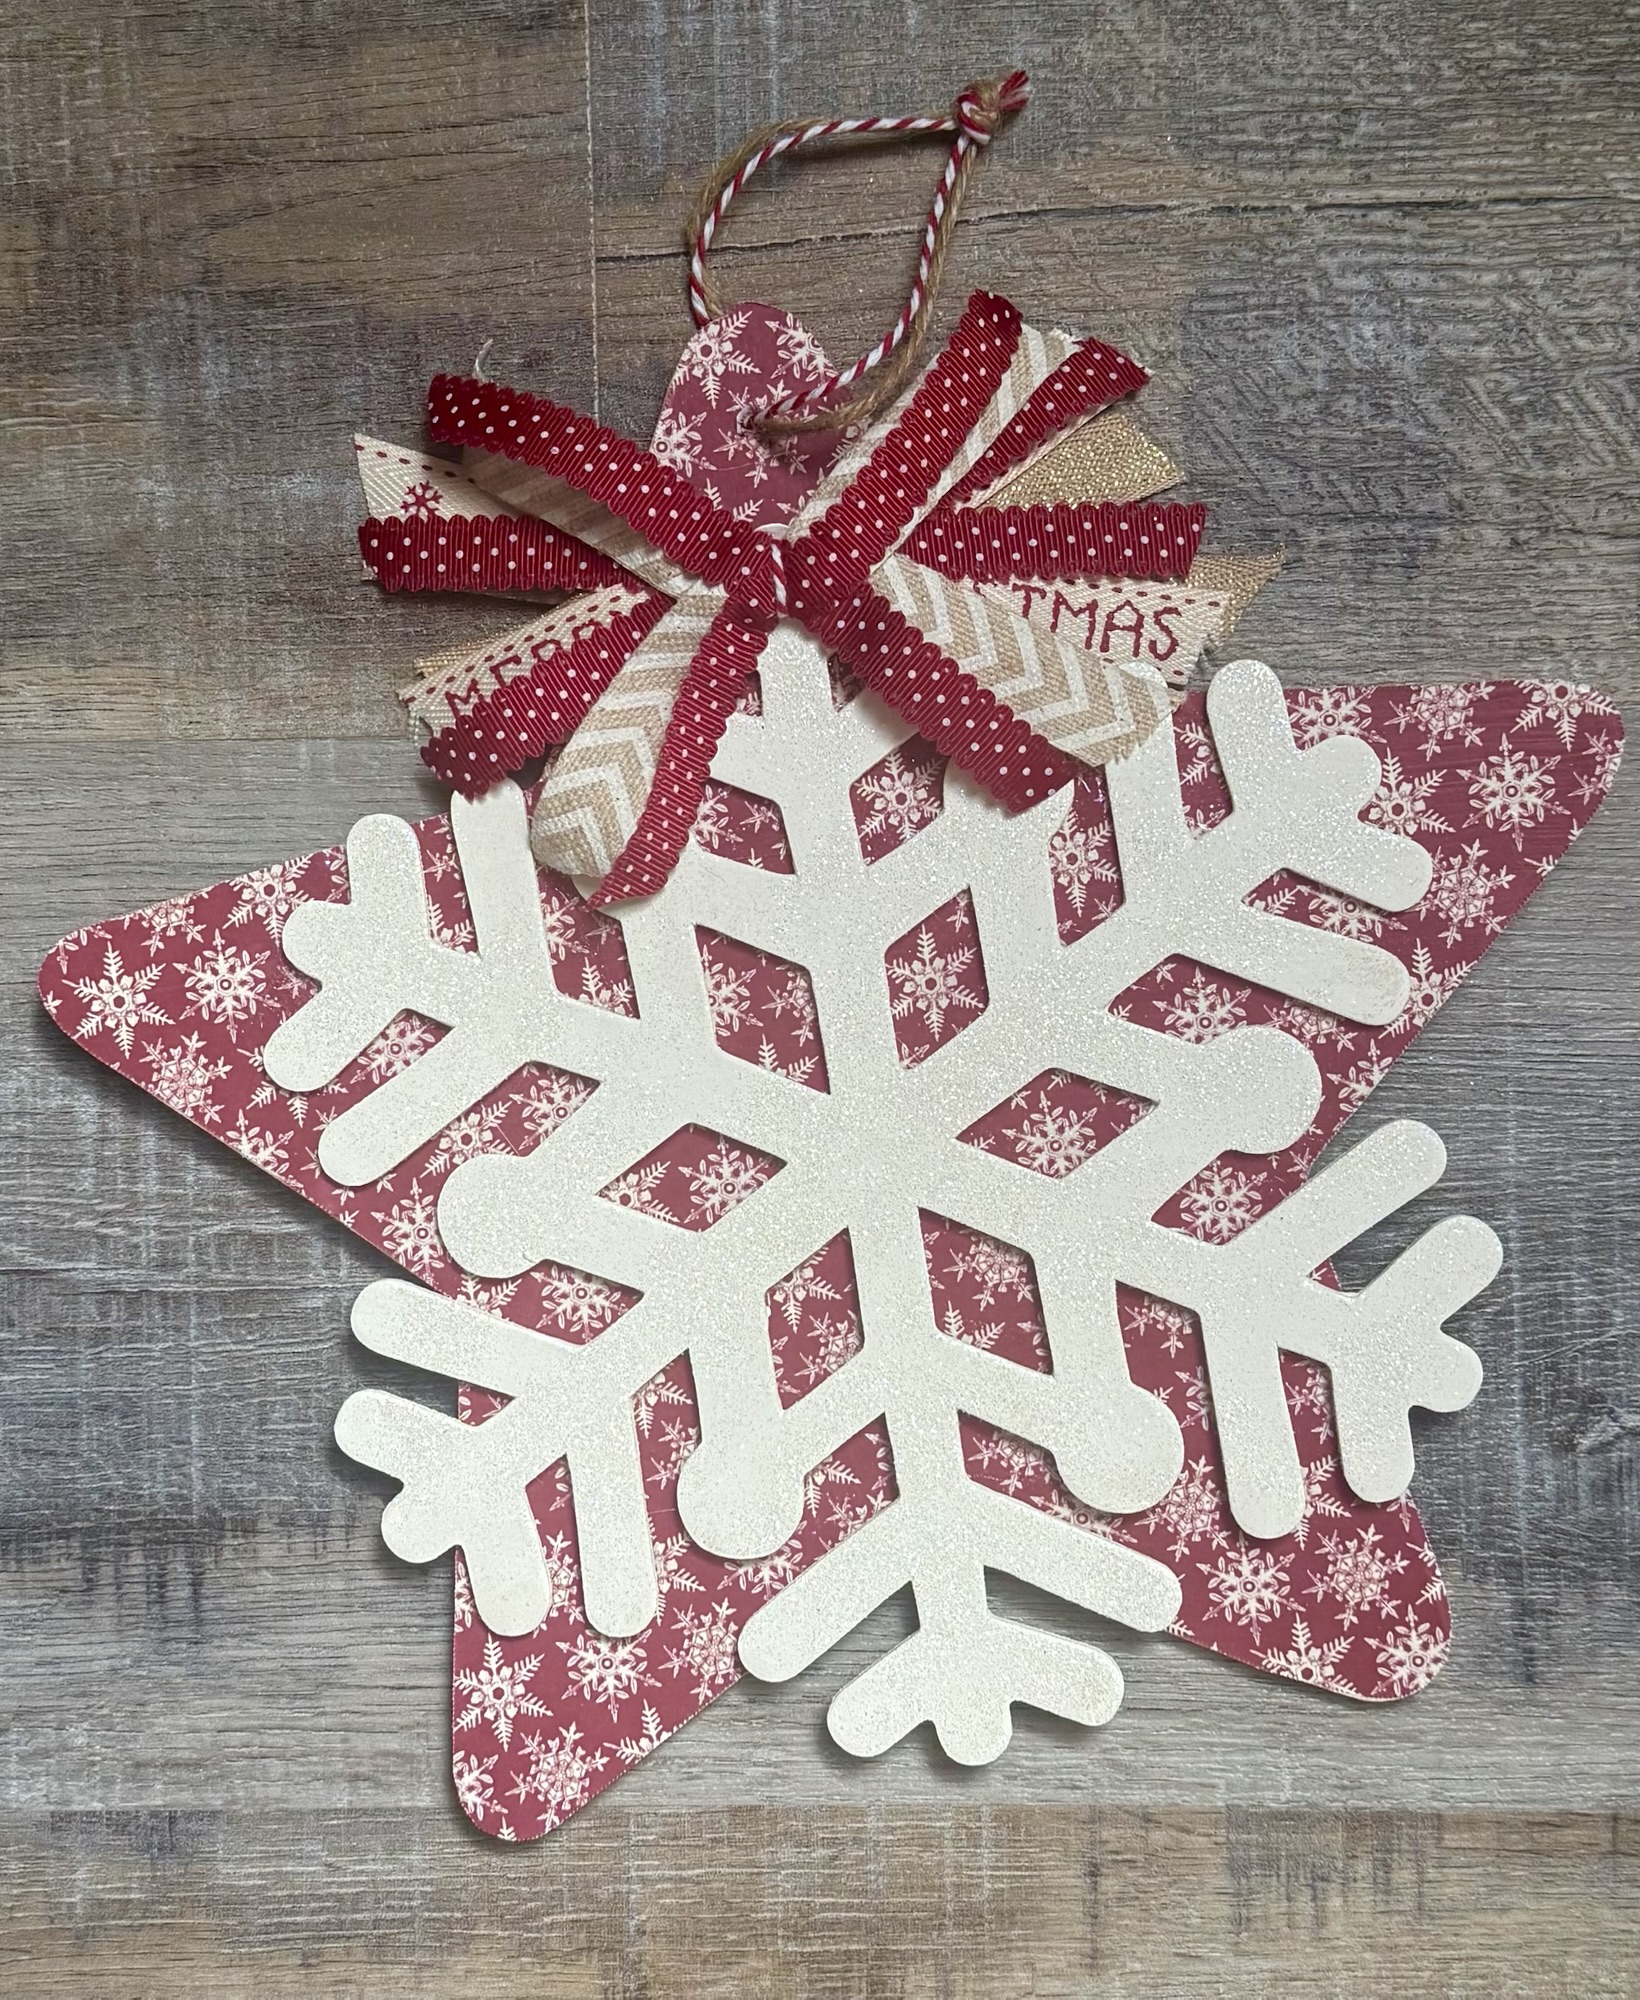
This was a fun project to make! You can also make a smaller version of the Wood Snowflake Star by using smaller wood pieces. Smaller ones would make great packages tie-ons.🎁
Anita