
I would like to take a moment to remember all those who gave the ultimate sacrifice in defense and protection of our great country. May we never forget those who served and gave their all.

In memory of those we have lost,
Anita
I would like to take a moment to remember all those who gave the ultimate sacrifice in defense and protection of our great country. May we never forget those who served and gave their all.
In memory of those we have lost,
Anita
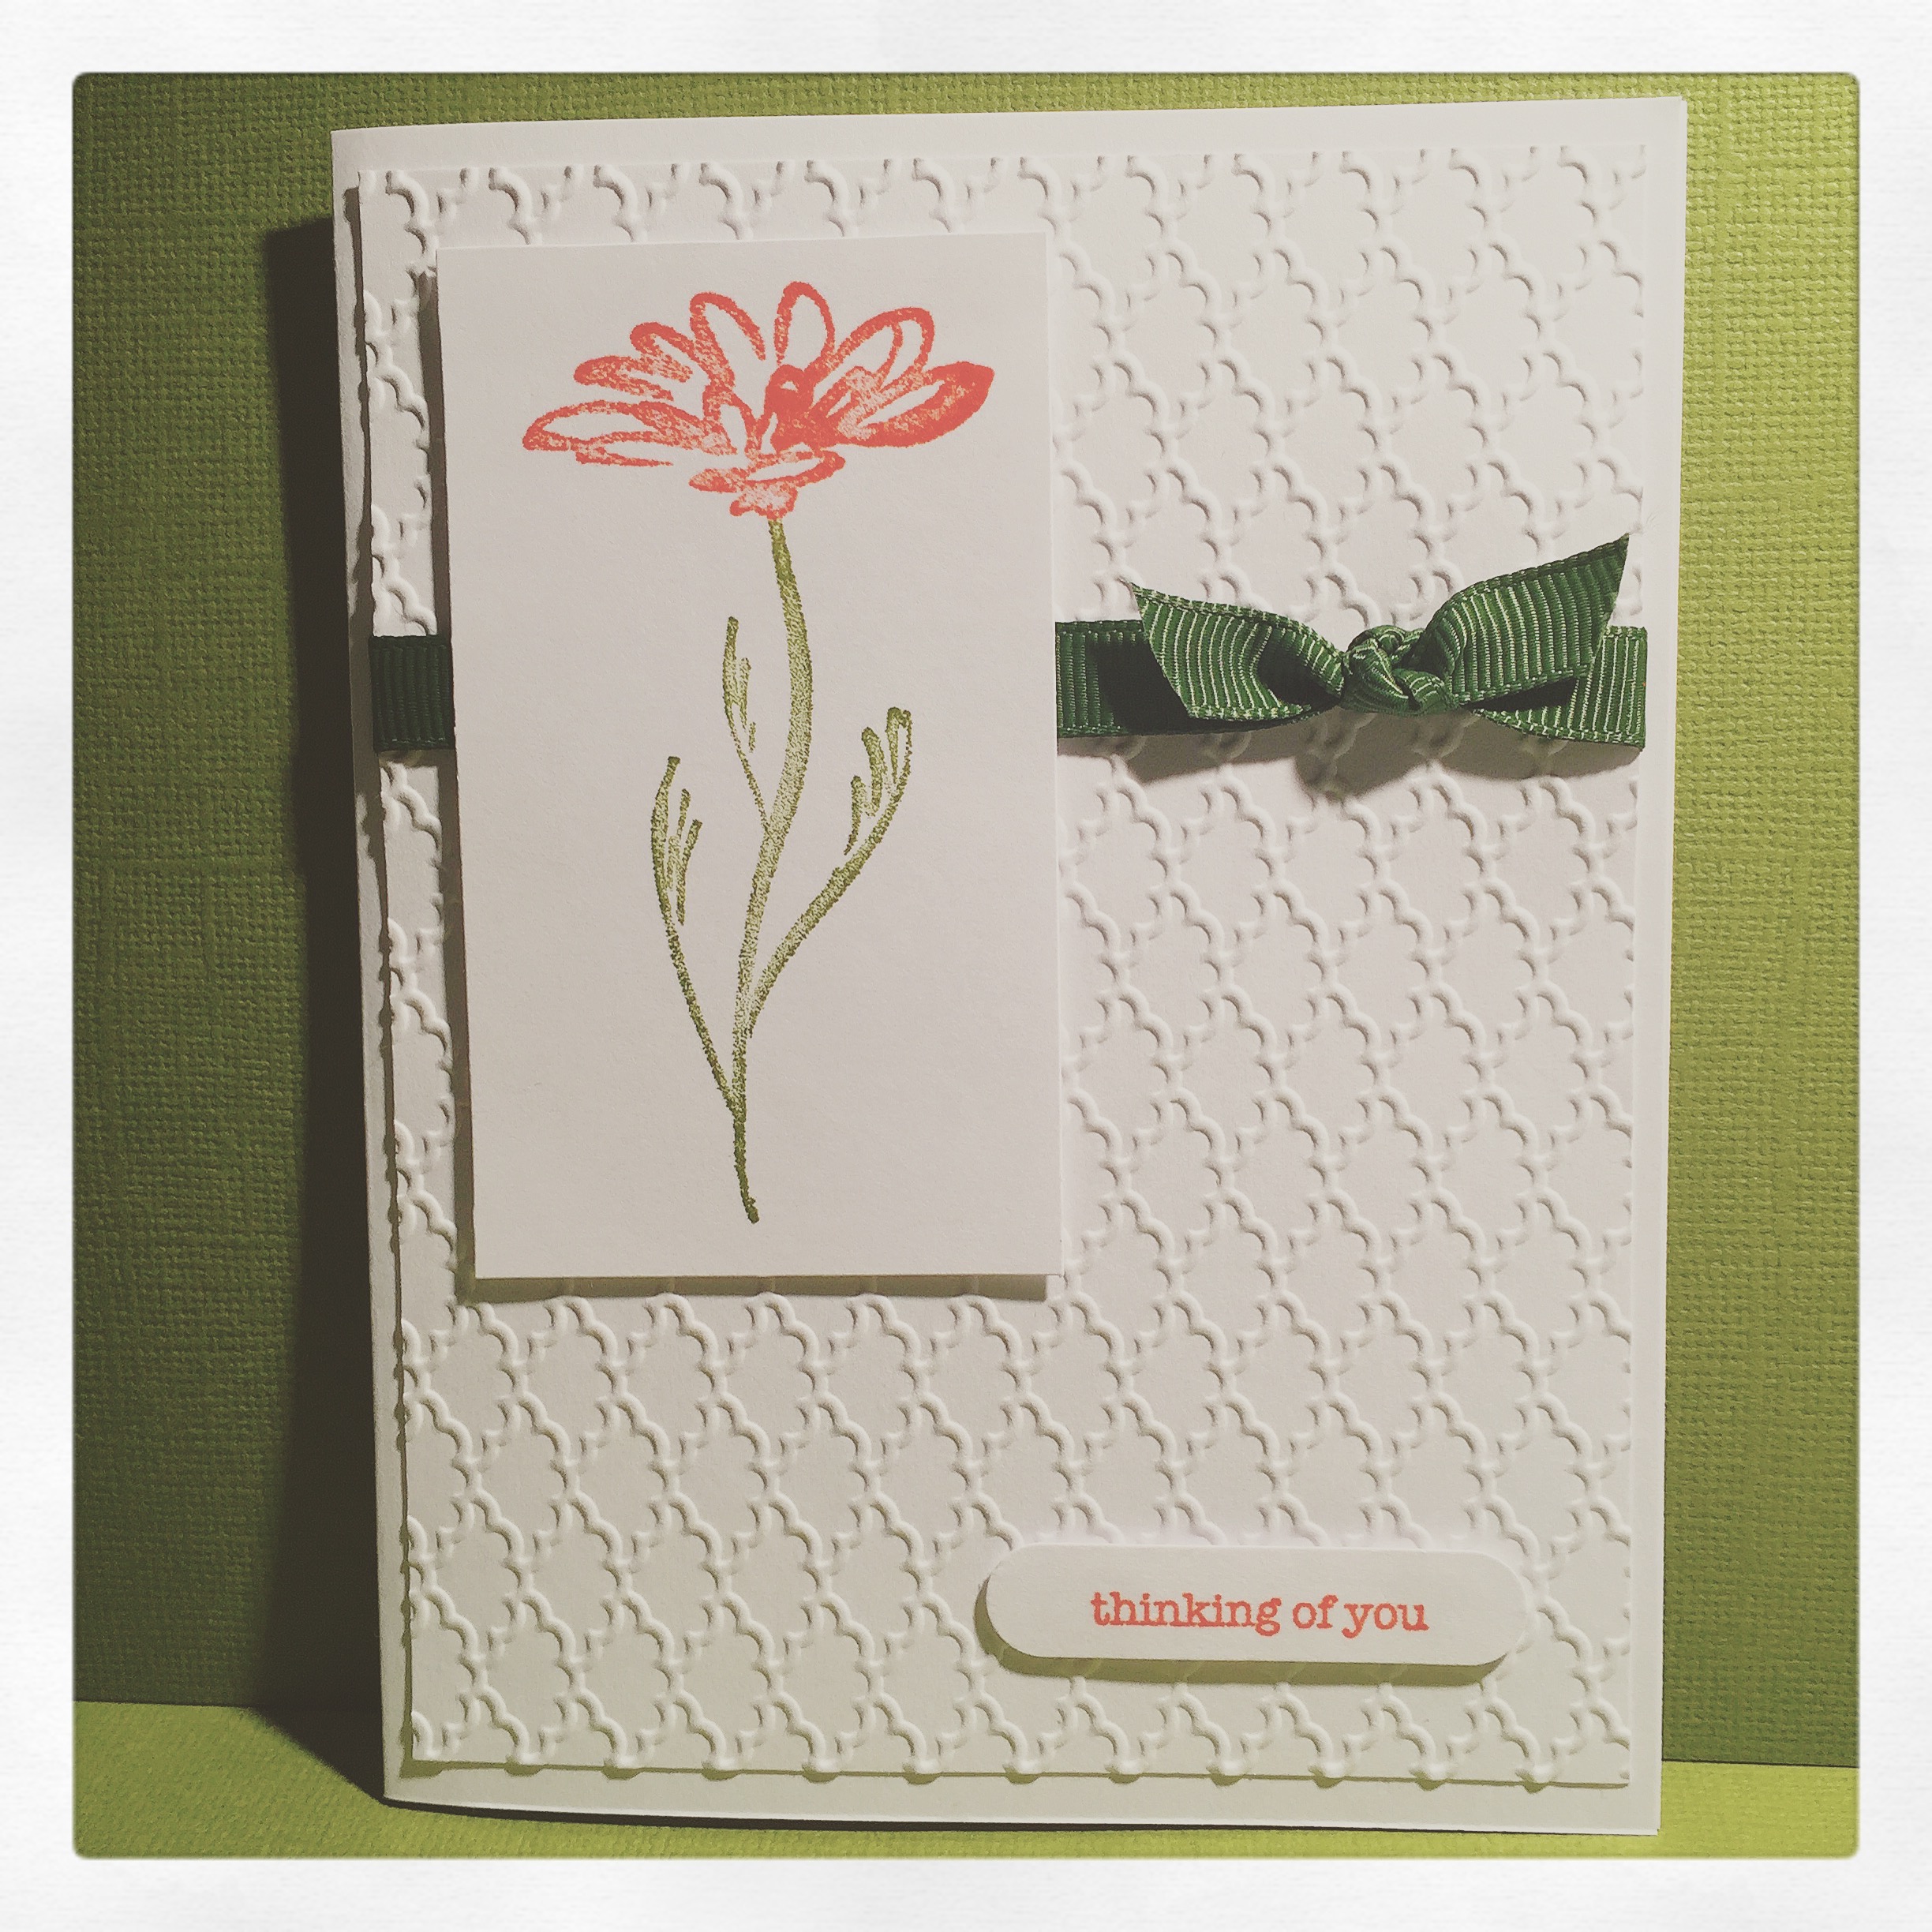
Making cards is one of my most favorite things! This card came together super fast and can be used for just about any occasion.
The embossing folder, word window punch, and “thinking of you” stamp are from Stampin’ Up. The flower is an older stamp from Hero Arts that I don’t think is available anymore, but they have lots of great flower stamps to choose from.
Simply emboss a white card stock panel and attach the ribbon. Attach the panel to a white card. Stamp the flower in your choice of colors on a scrap of white card stock, trim, and use pop dots to attach to the card. Stamp the sentiment, punch it out, and attach with pop dots. That’s it!! Truly a clean and simple card that takes only minutes to create.
Thanks for stopping by,
Anita
I’ve seen a lot of beautiful pendants made with washers on Pinterest. I decided to give it a try and was so happy with the results! Here is my take on how to make this incredibly simple necklace.
First you need to gather all your supplies. You will need:

The washers are available at your local hardware store (Home Depot and Lowes carry them) and come in lots of different sizes. I used a 1 1/2-inch washer with a 3/4-inch center. I picked up a 10 yard spool of the ball chain at Michaels (don’t forget to use your coupon!) in the jewelry section where you’ll also find the ball chain connectors. My favorite dimensional adhesive is Diamond Glaze by JudiKins but any brand that dries clear will work just fine. The beads I added to the chain are from Hobby Lobby ~ just be sure that the hole in the bead is large enough so it will slide easily onto the chain!
To make your pendant, simply punch a 1 1/2-inch circle from the scrapbook paper. Then punch the center out with the 3/4-inch circle punch. I just eyeballed it to get it as close to the center as possible. Brush some Mod Podge onto the washer, smooth the punched circle on the washer, and brush the top with another coat of Mod Podge. Let that dry (it won’t take very long). Squeeze a layer of dimensional glaze over the scrapbook paper, being careful to get close to the outside and inside edges of the washer. If you have any air bubbles, you can pop them with a pin or just leave them there for added texture. Then set this aside to dry overnight. Trust me, you do not want to try to finish your necklace before the dimensional glaze is completely dry!!
Now that the pendant is ready it will only take a few minutes to complete the necklace. Cut a 36-inch length of ball chain, loop it in half, and thread the loop through the washer. Pull the 2 ends of the chain through the loop and pull tight. Thread the beads onto the chain and attach the ball chain connector. That’s it ~ you’re done!!
The possibilities are truly endless!! Vary your washer size. Stack different size washers together. Use different types of chains or cords. Don’t use any beads or add as many as you’d like. Make it your own creation!
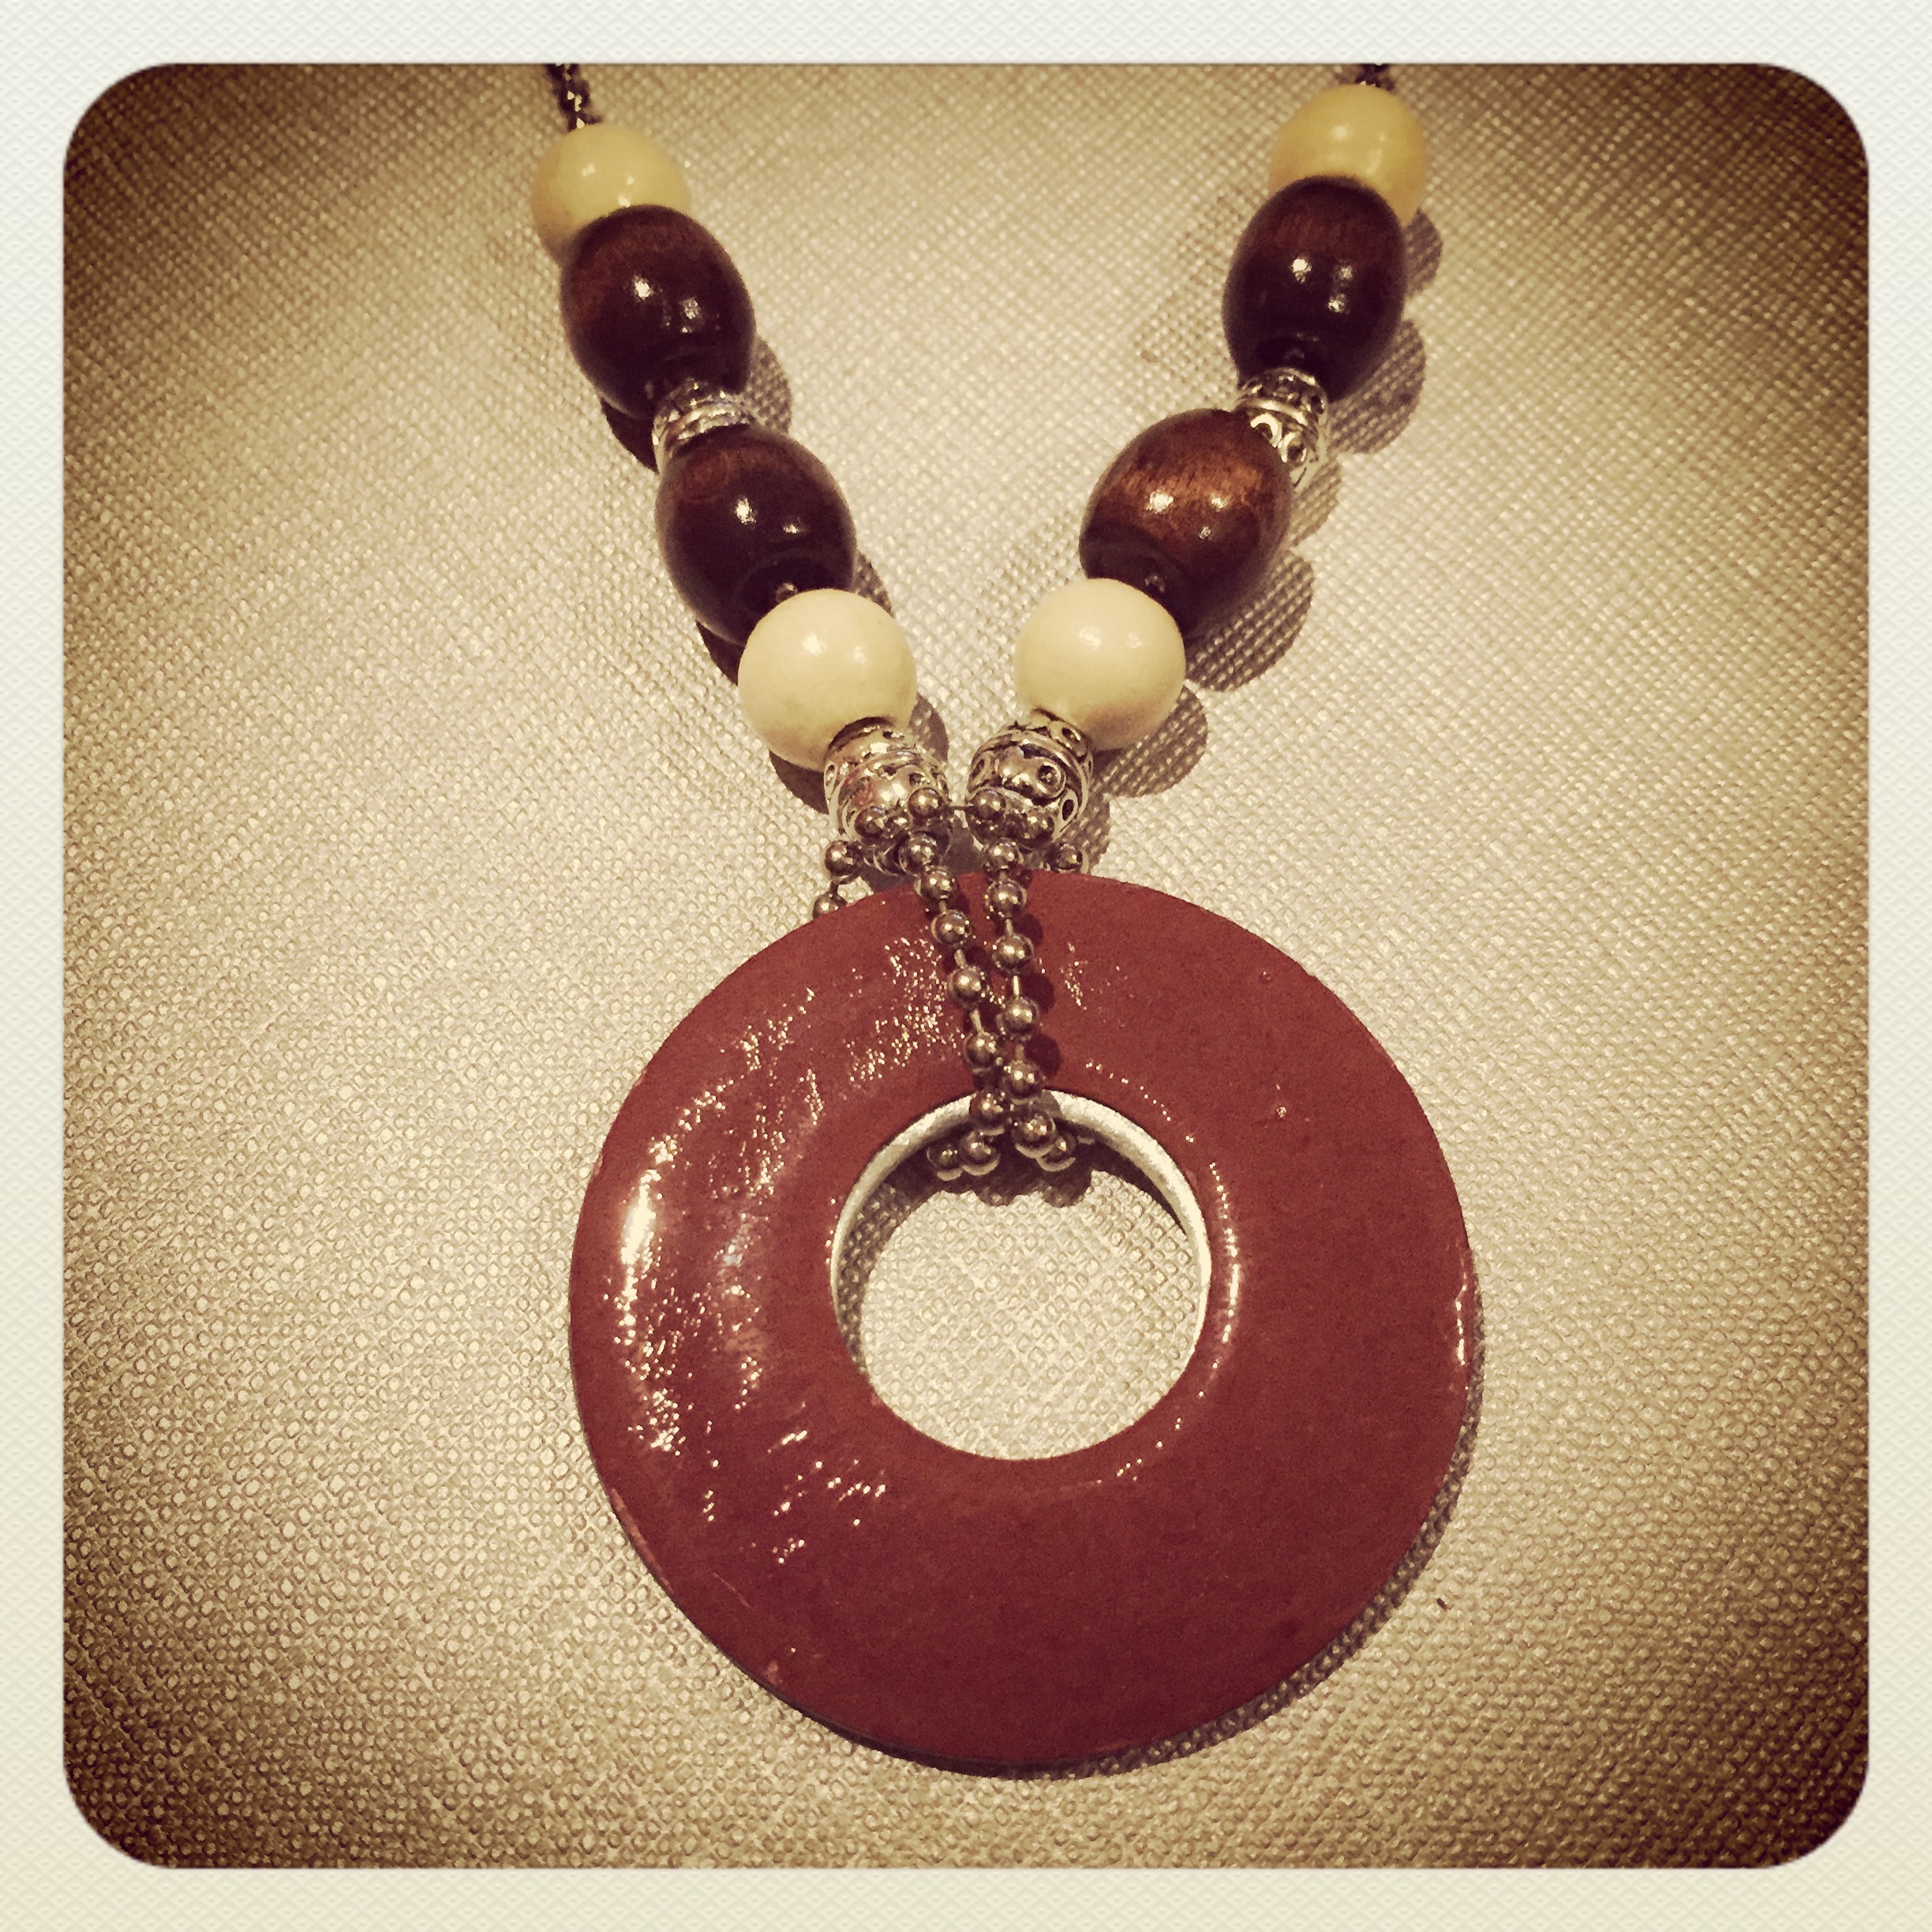
Who knew that washers from the hardware store could look so good?
Thanks for stopping by,
Anita
I have accumulated quite the button collection. I used to have them in one jar all mixed up together. It looked pretty on the shelf, but it was not very practical. I would have to dump out half the jar just to find the color I was looking for! And then, of course, I would have to put them all back in, taking up precious crafting time.
I decided to take an evening and sort them by color. These half-pint, wide mouth mason jars worked perfectly to store them. A sweet friend also gave me some antique mason jar lids like the one you can see on the yellow button jar. Those fit the regular mouth mason jars so I used those on a couple of jars I had. This has made it so much easier to find the perfect color button for my projects and looks so cute on the shelf!

Thanks for stopping by,
Anita
I have this dream of having the perfectly organized craft space. A place where everything is color coordinated in cute little containers, all my ink pads are at my fingertips, and I can find just the perfect embellishment in 5 seconds flat. It is a dream I have been working on for a very long time 🙂 I’m taking baby steps to get there…
I found these cute little bottles in the dollar section at Target. I think they were actually 2 for $3, but still a great deal! I already had the chalkboard contact paper that I picked up from Walmart, I think. Using one of my oval dies from Spellbinders, I cut out the oval label, used a chalk marker to list the contents (you’ll have to excuse my handwriting), and put it on the bottle. Easy peasy 🙂 You can easily change the label by wiping it with a damp cloth or take it off completely without leaving any residue. I love contact paper!!
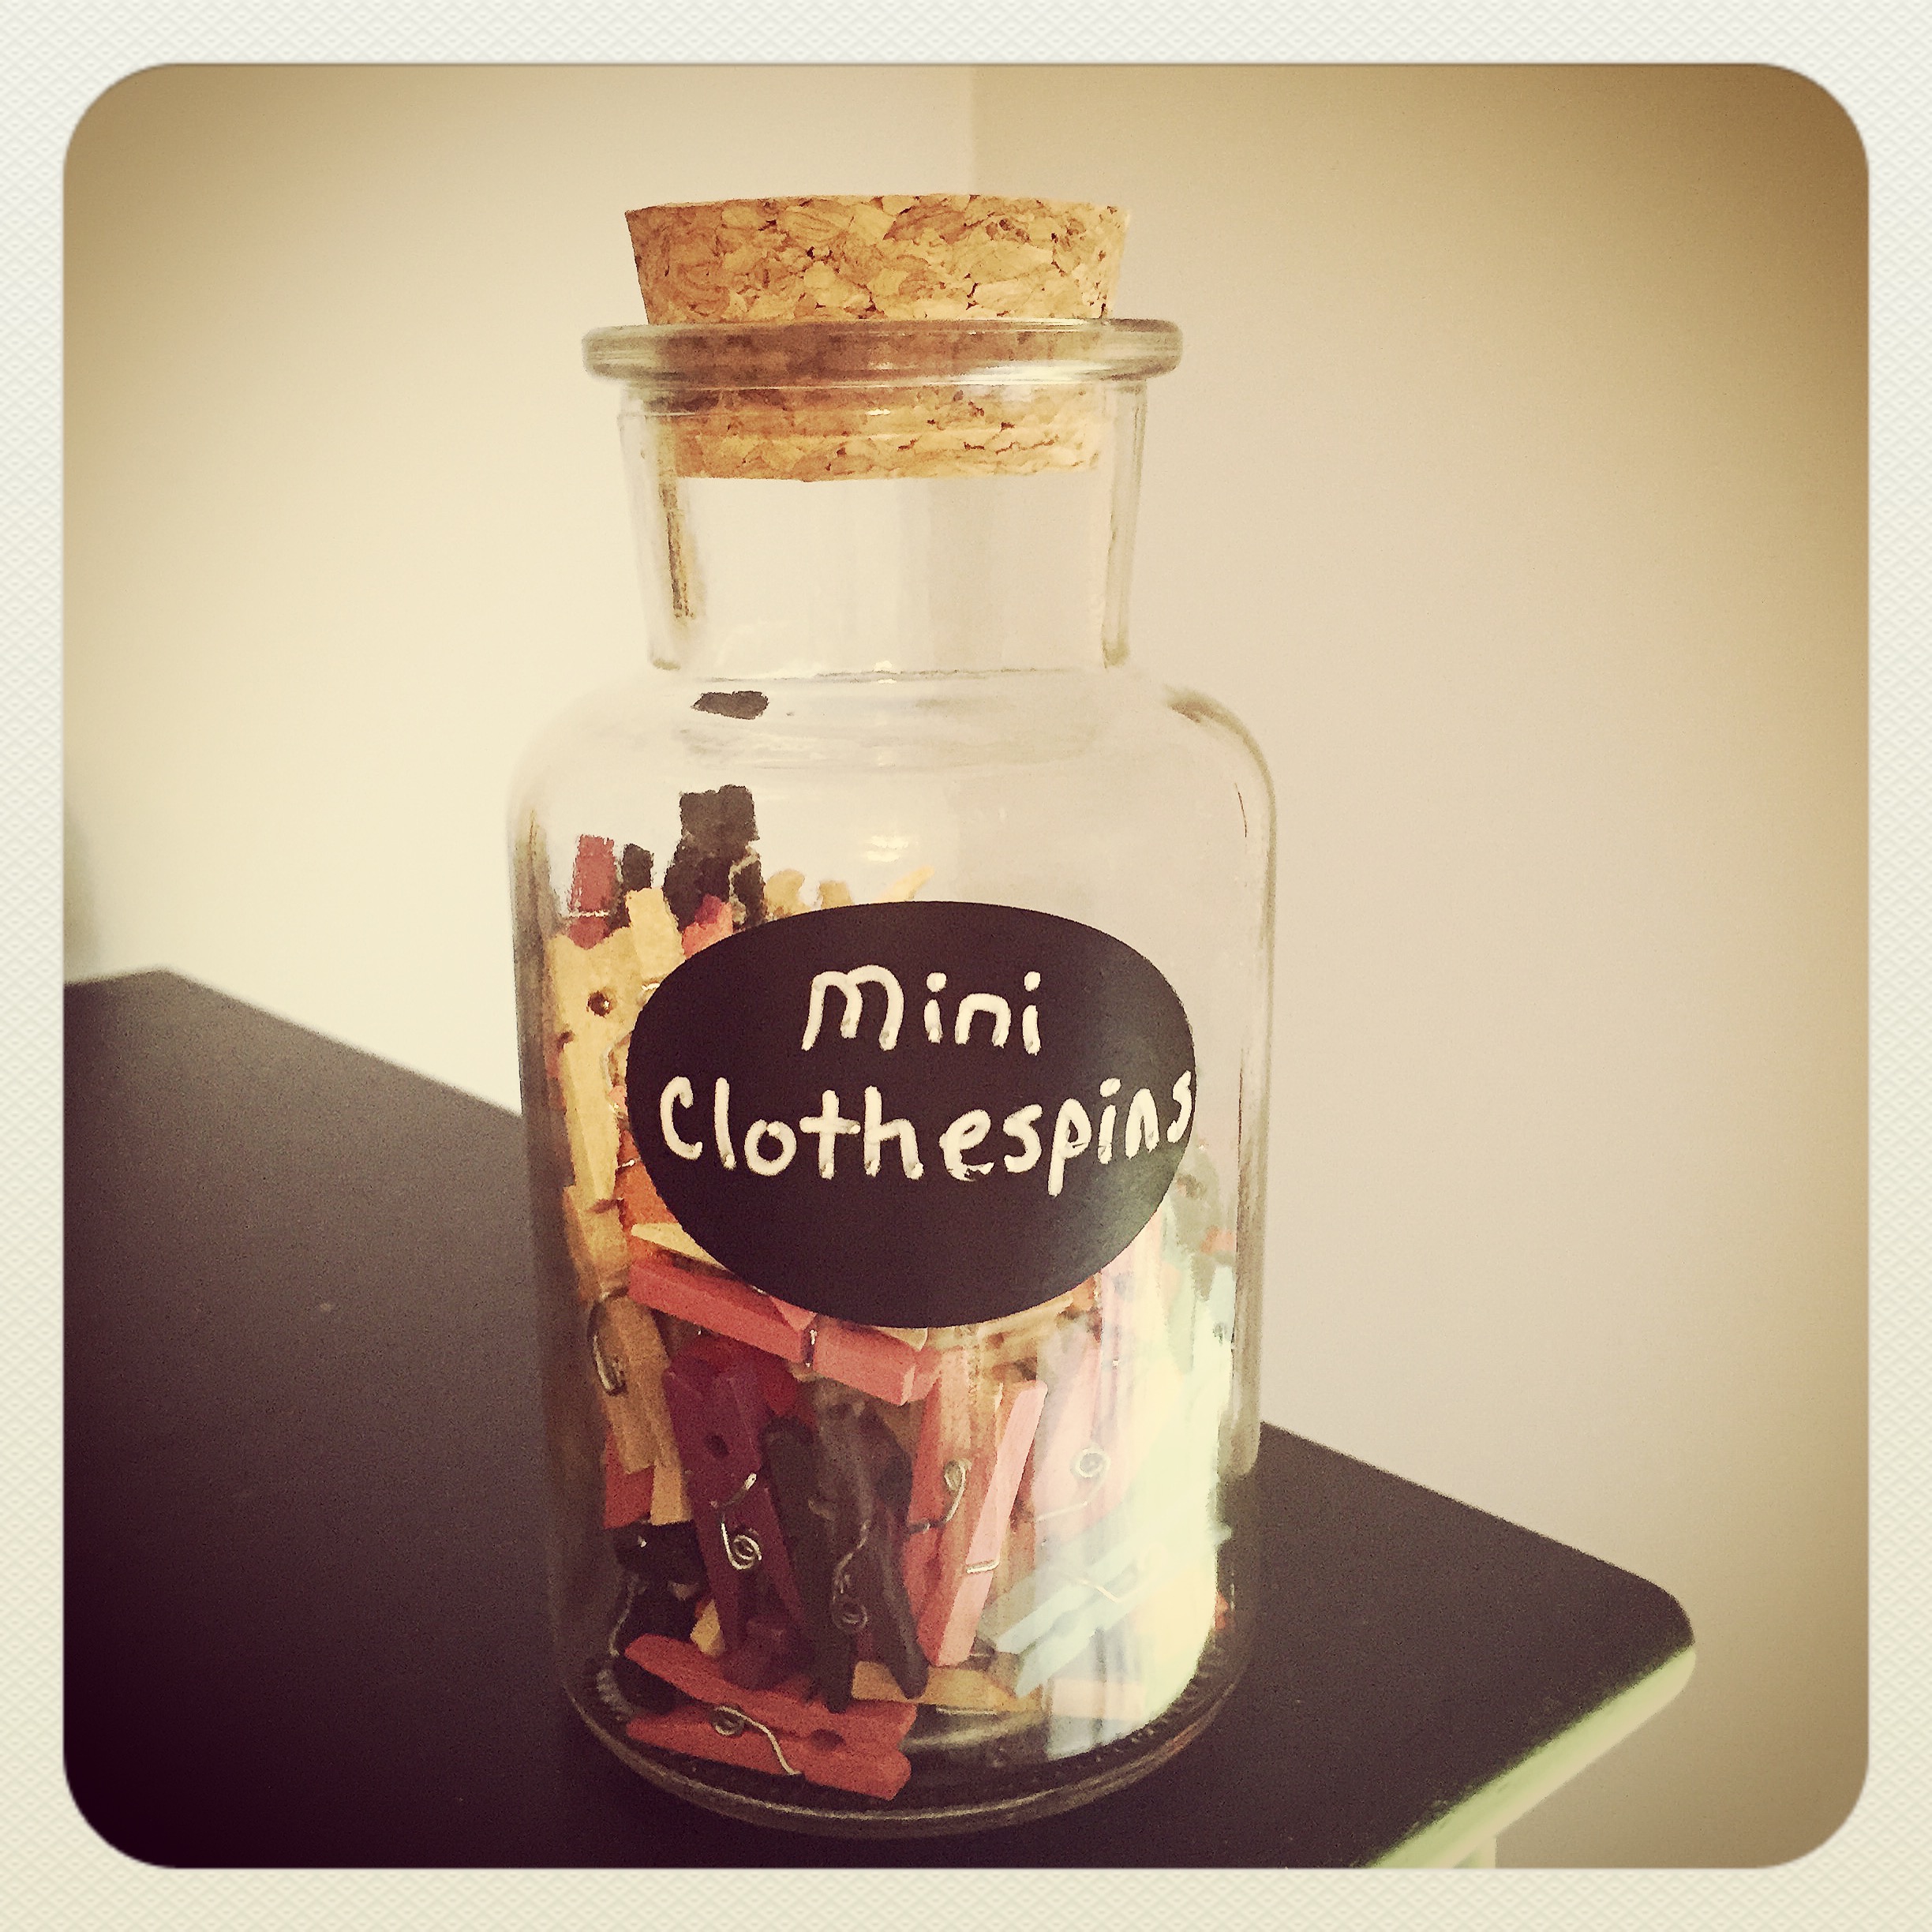
I may never get perfectly organized, but it’s a fun journey 🙂
Thanks for stopping by,
Anita





