It’s 165 days until Christmas…

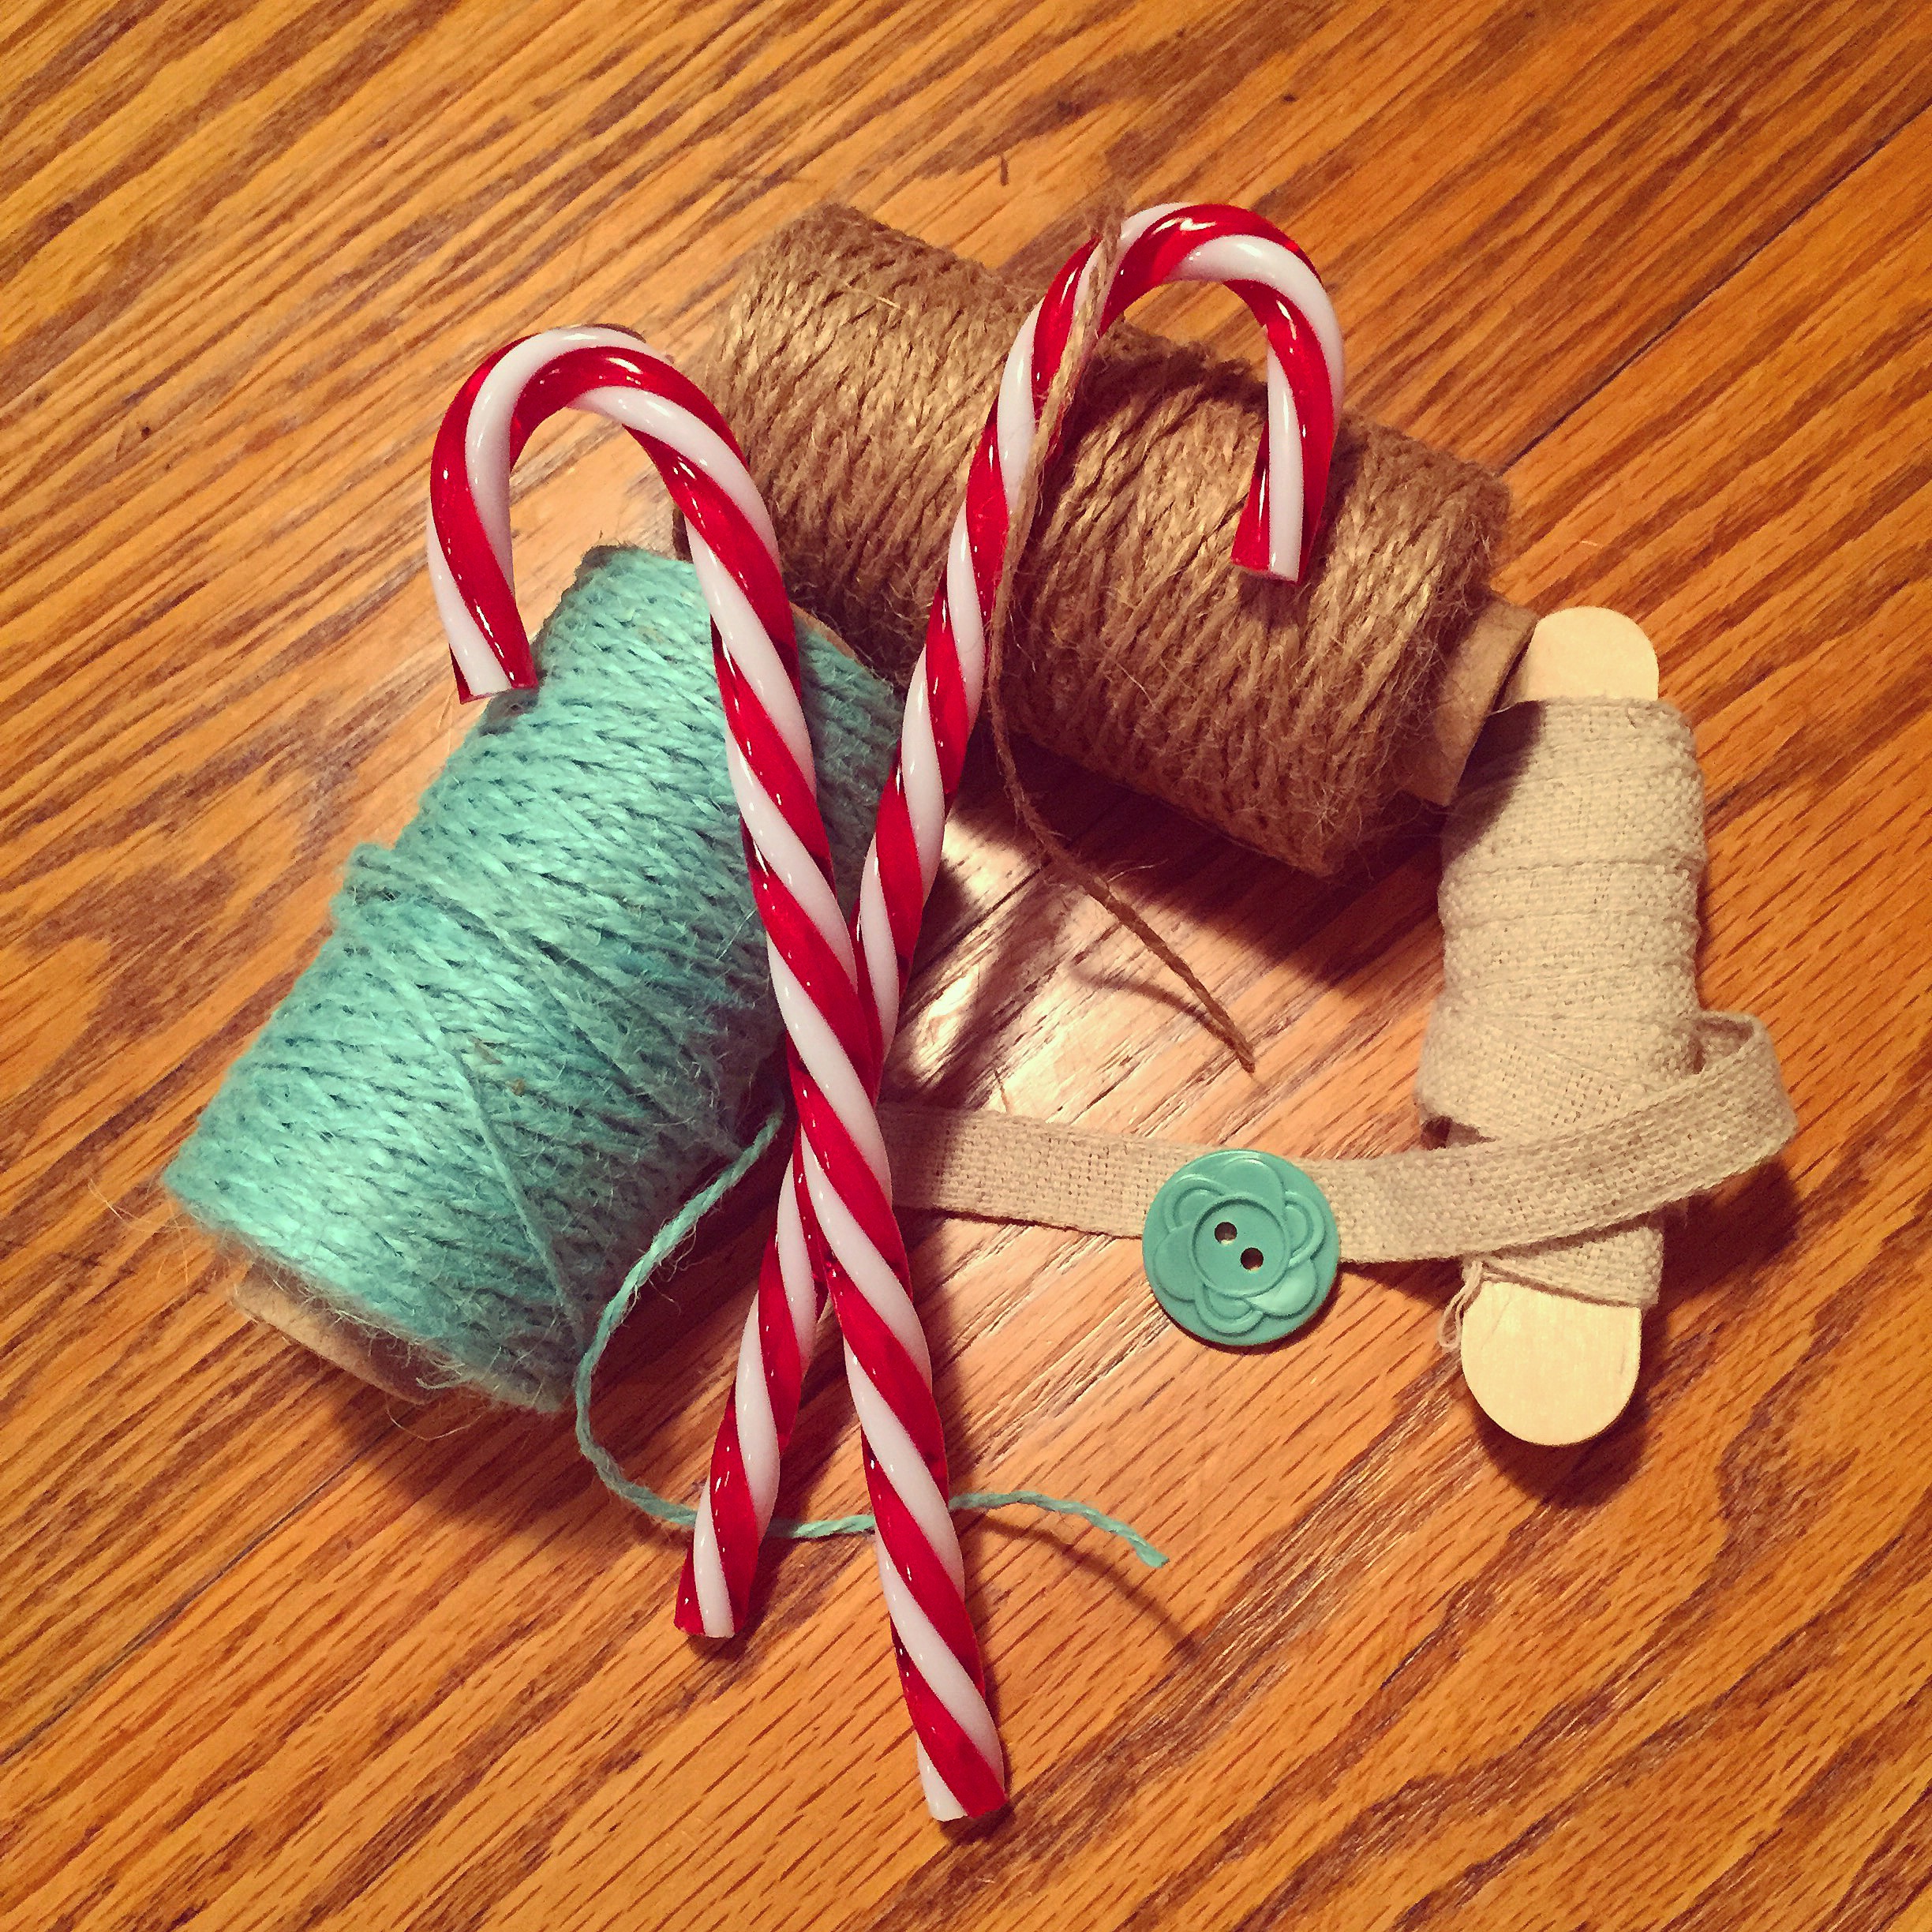
…and we all know how fast that time will fly by!!! I found these plastic candy canes at the after Christmas clearance sale at Michaels last year. I wanted to alter them from the traditional red and white for a more vintage look. I found some great spools of twine, also at Michaels, in natural and turquoise that were perfect for what I had in mind.
IMG_4374

I started by putting a strong glue that dries clear (I like Crafter’s Pick) on the bottom of the candy cane. I wound the twine into a tiny circle (no need to cut the twine, you can just continue wrapping from here), glued it to the bottom of the candy cane, and held it there for a couple of minutes to dry. Then I added a little more glue up the sides of the candy cane and just started wrapping the twine tightly around the candy cane. Continue wrapping around the curve to the other end. I added glue on the sides near the end to keep the twine in place. Finish the wrapping by making another tiny circle and glue it in place on the end. Before tying the wrapped candy canes with linen ribbon, I added a drop or two of glue to hold them together. I tied a turquoise button with natural twine and glued it to the center of the bow

. IMG_4373
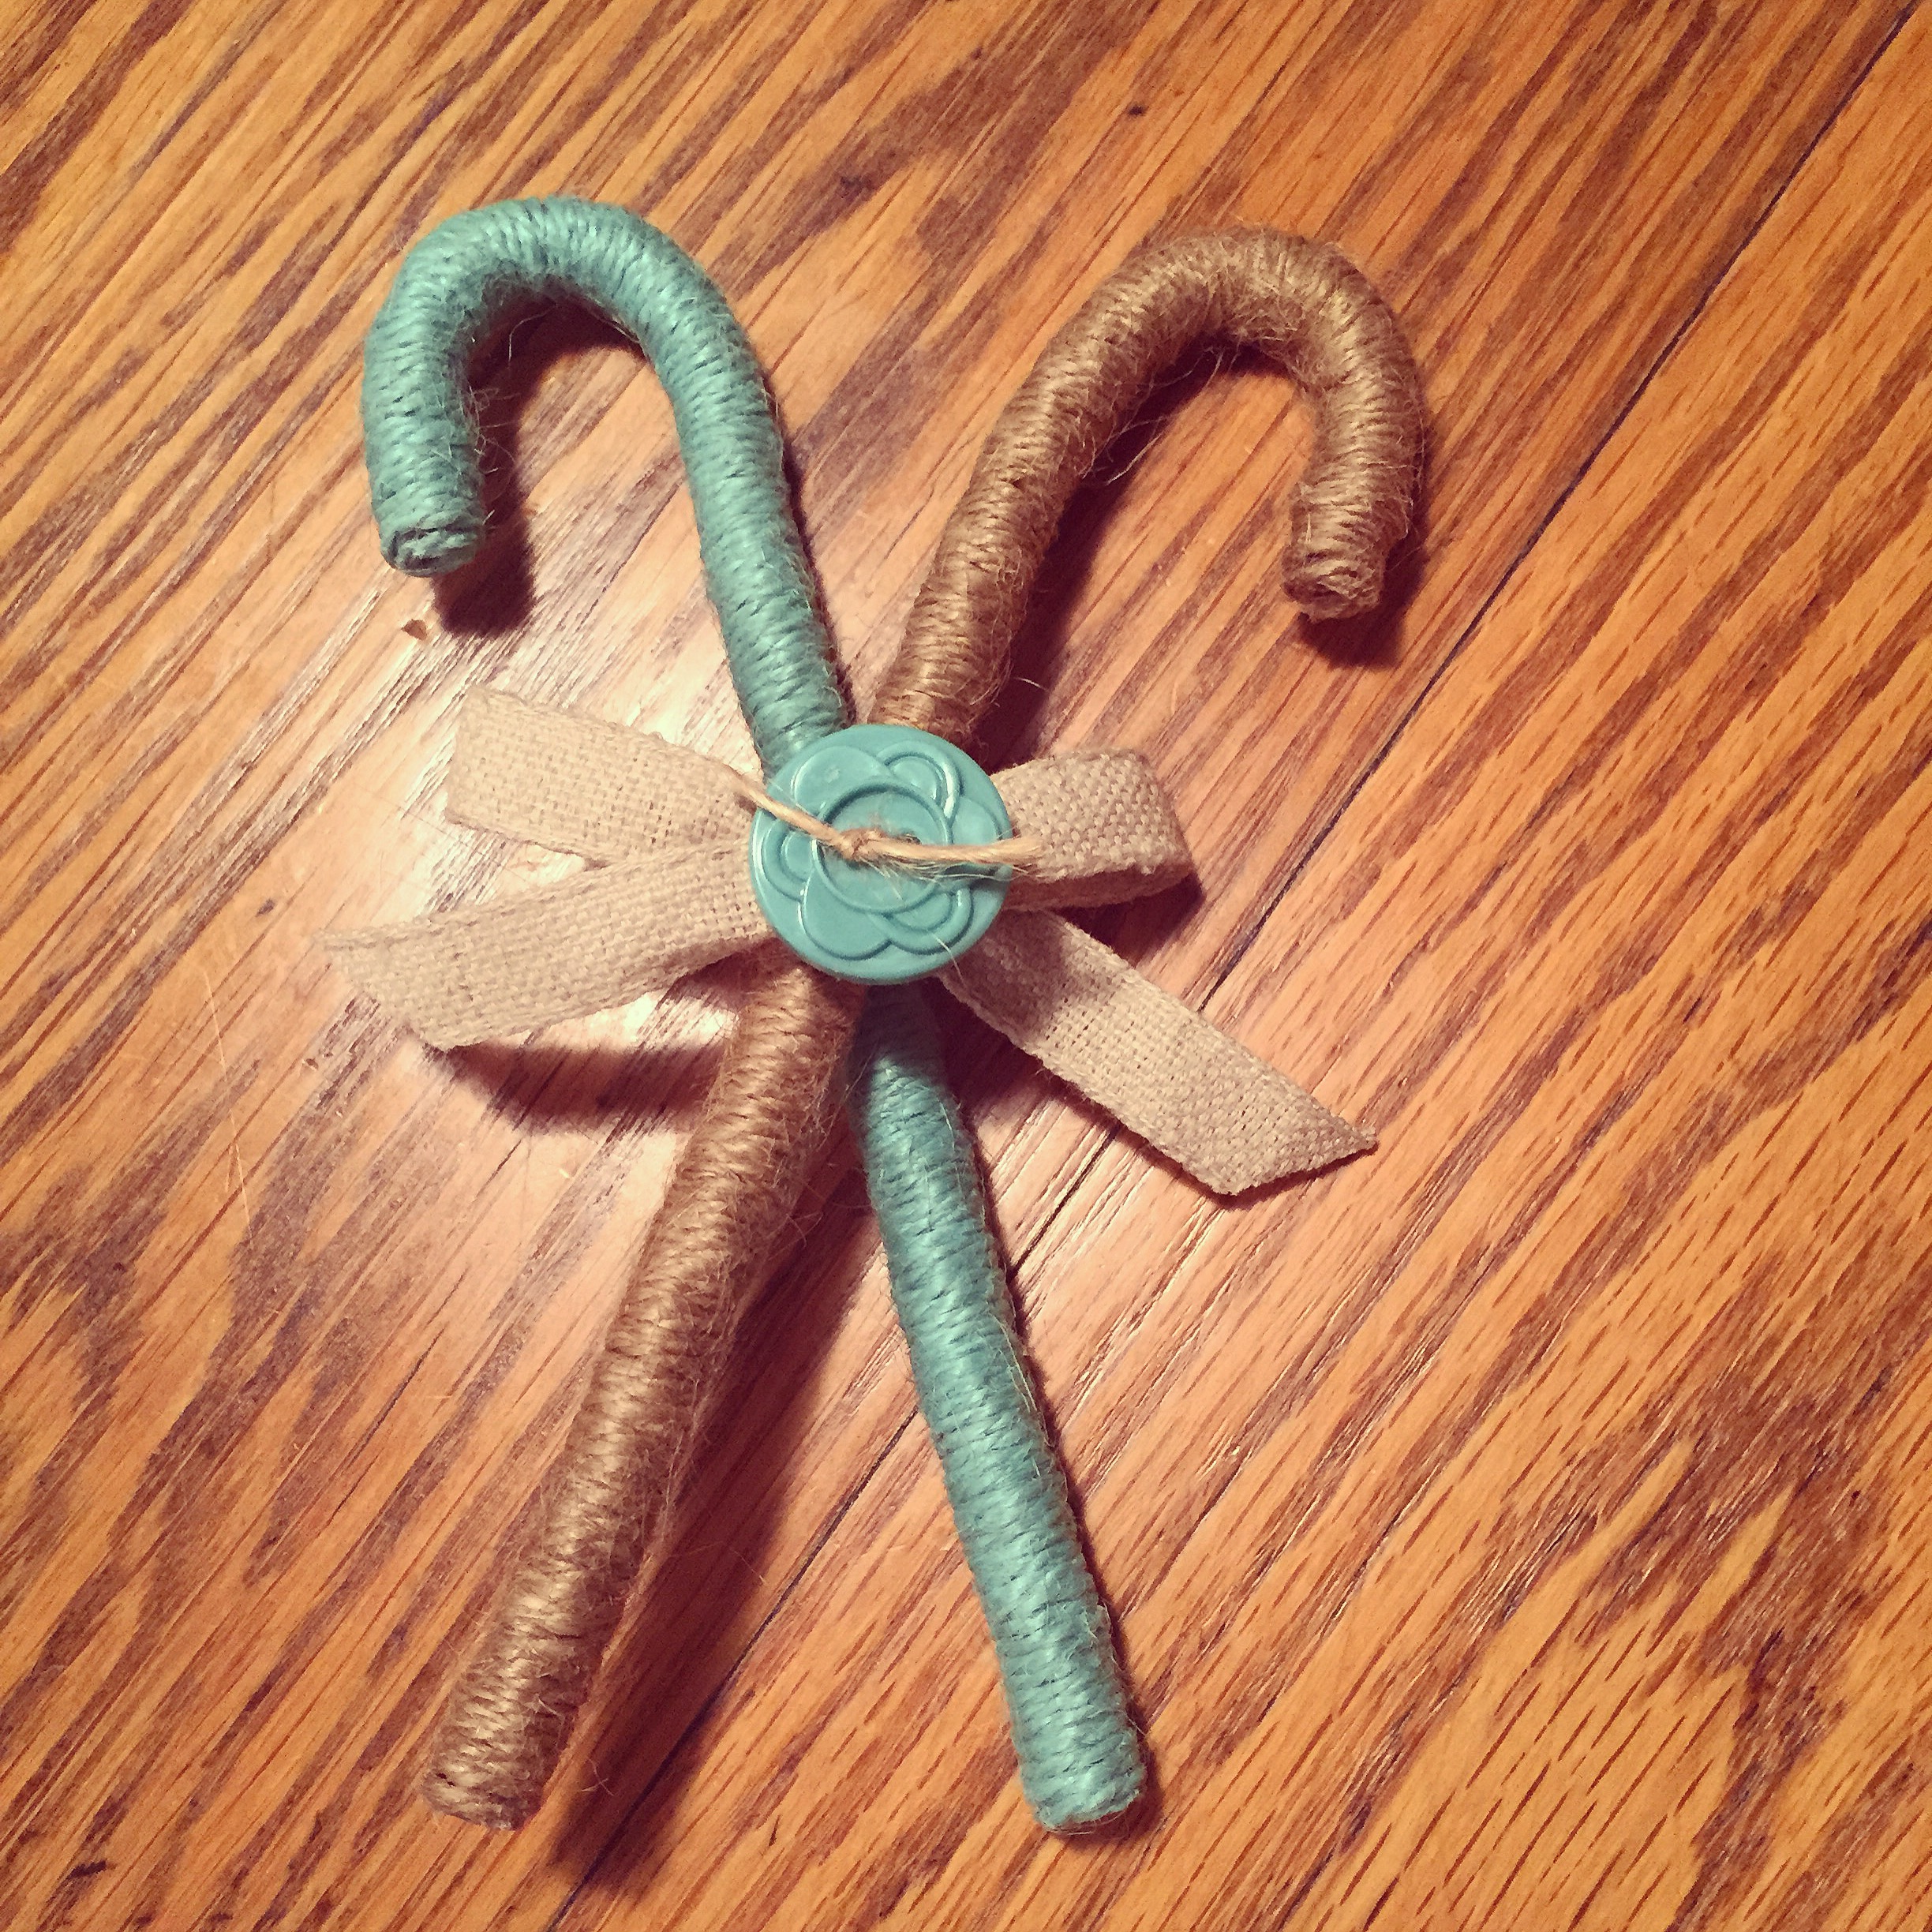
Attach an ornament hanger to the back and these will look so pretty on your tree. Or maybe fill a cute basket with them. You can also use them individually instead of tying them together. There are so many beautiful colors of twine out there, so pick your favorite colors and start wrapping :).

Thanks for stopping by,

Anita
Posted in Christmas | 2 Comments

Christmas in July

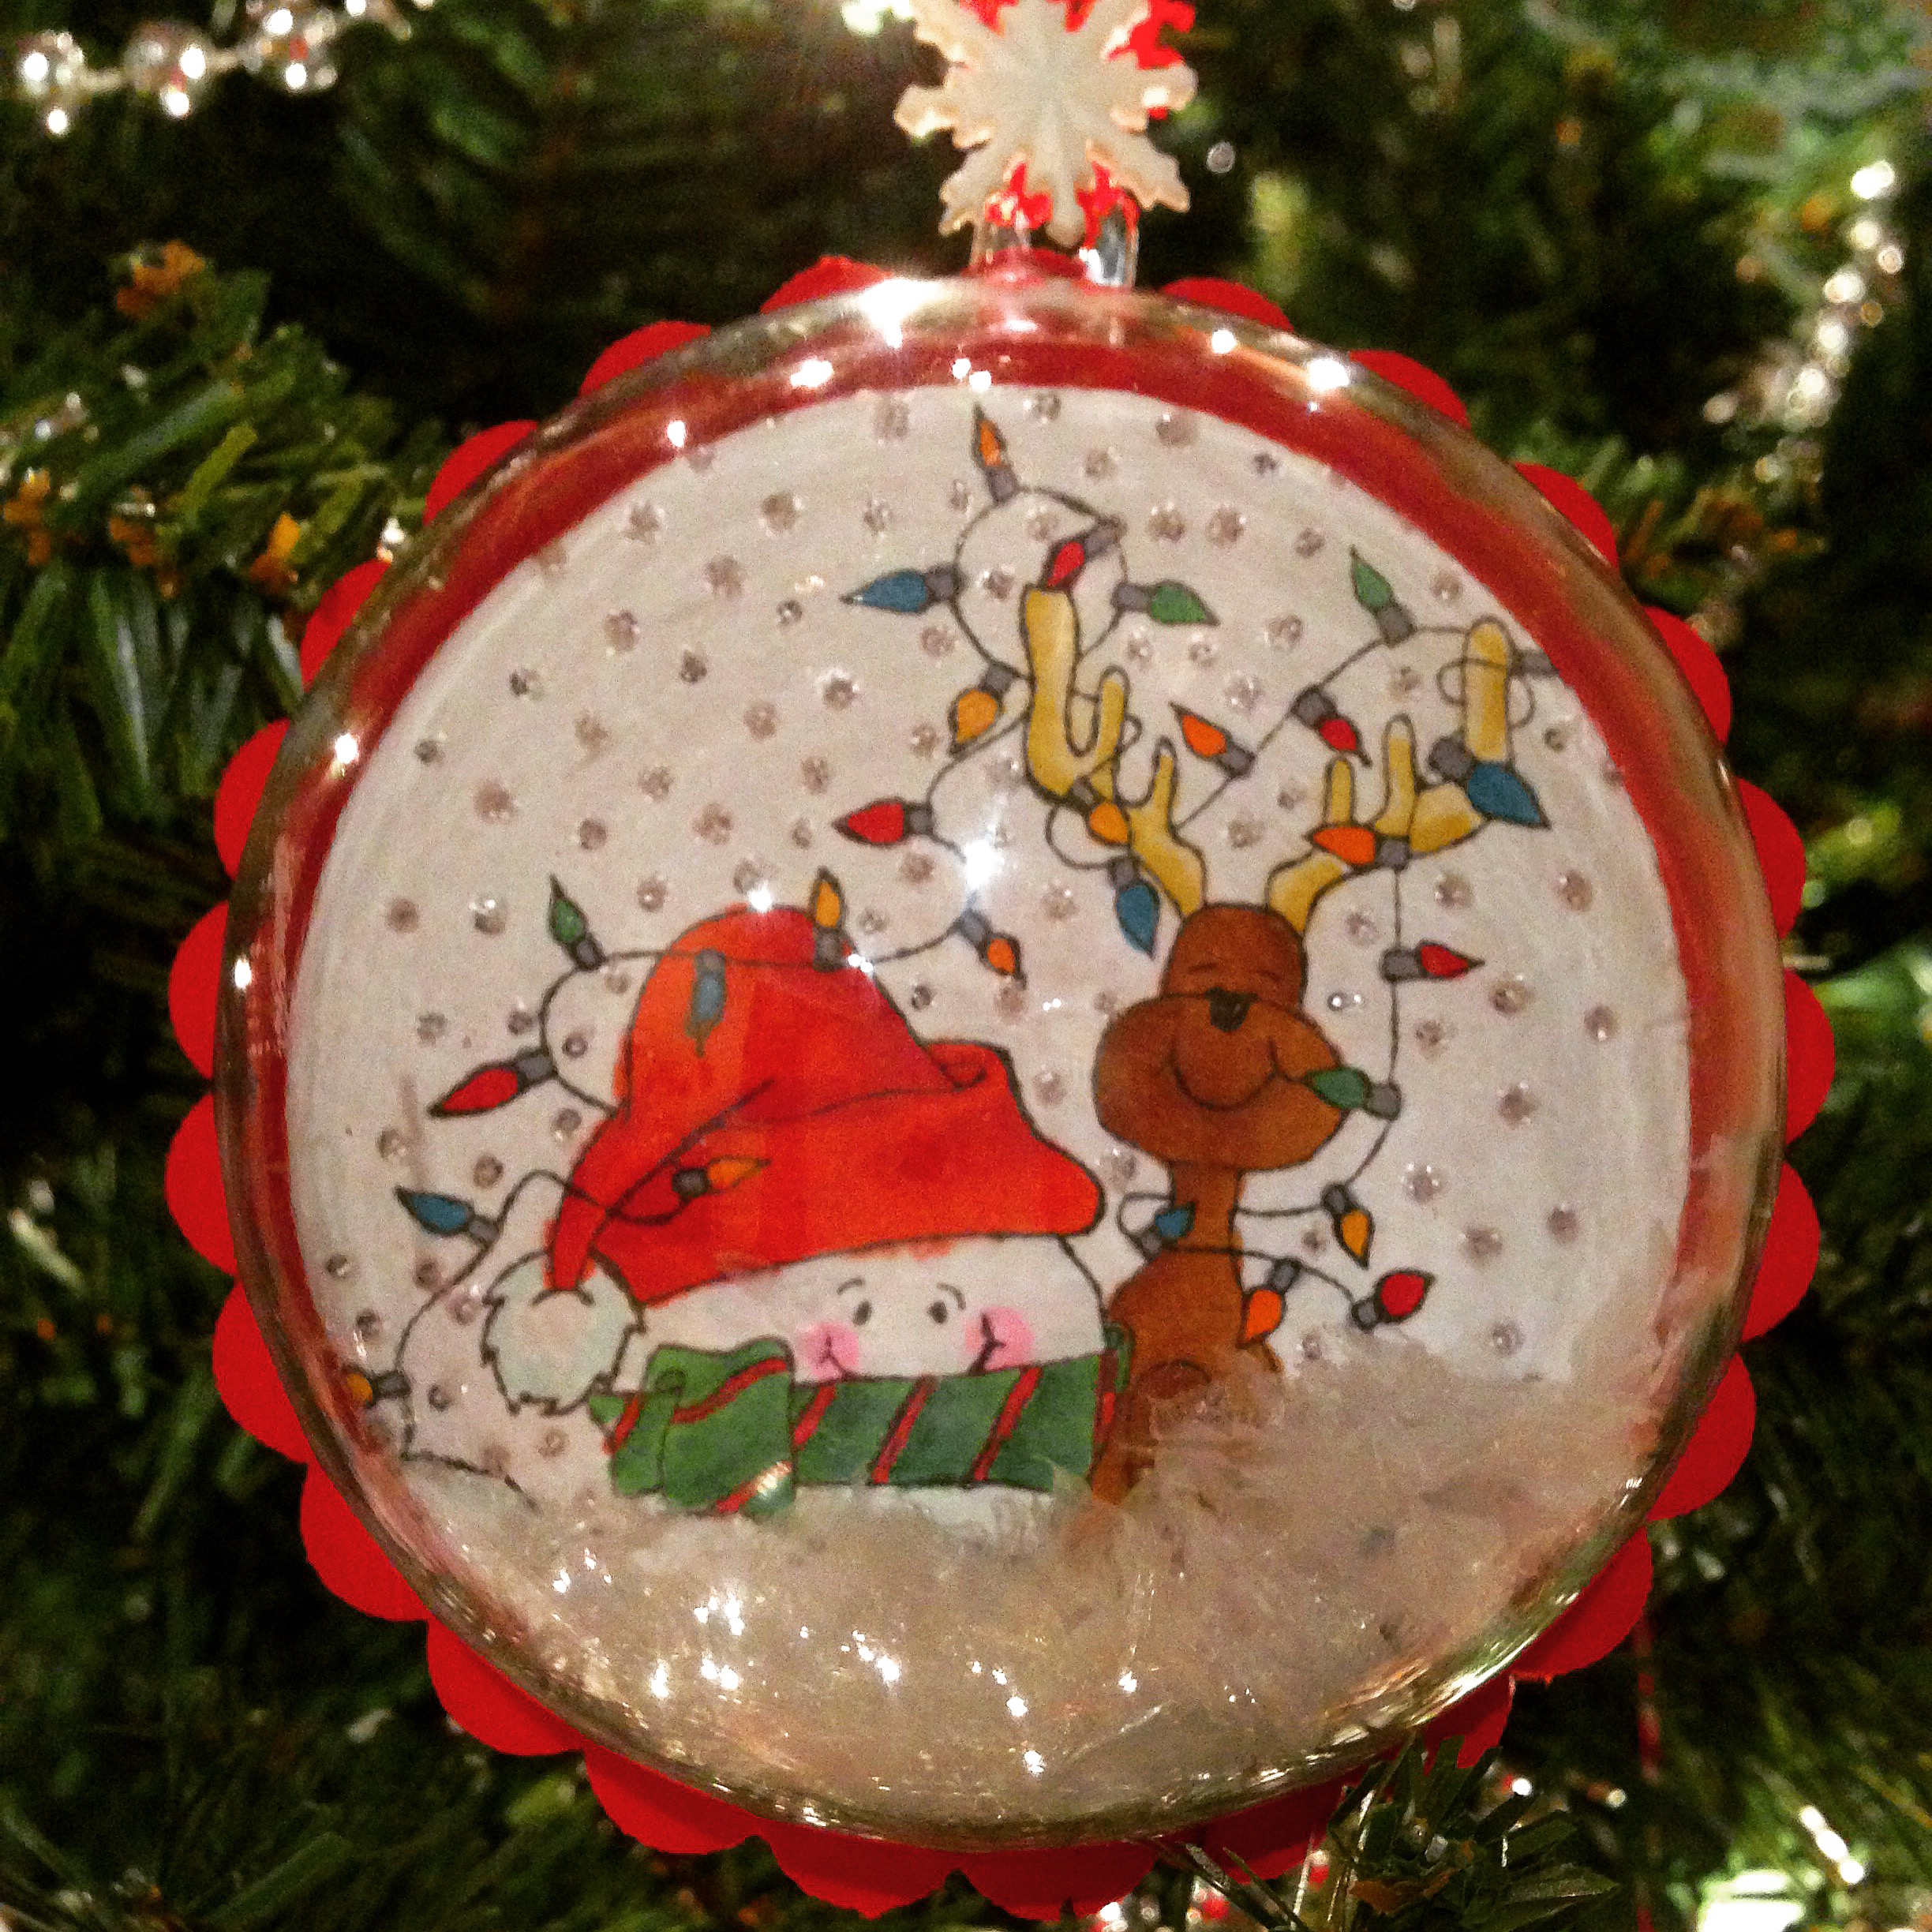
It is definitely Summer in Alabama!! Hot, hazy, and humid ~ very thankful for air conditioning ;). I thought I’d try to cool off a little with thoughts of Christmas and share these fun ornaments. 

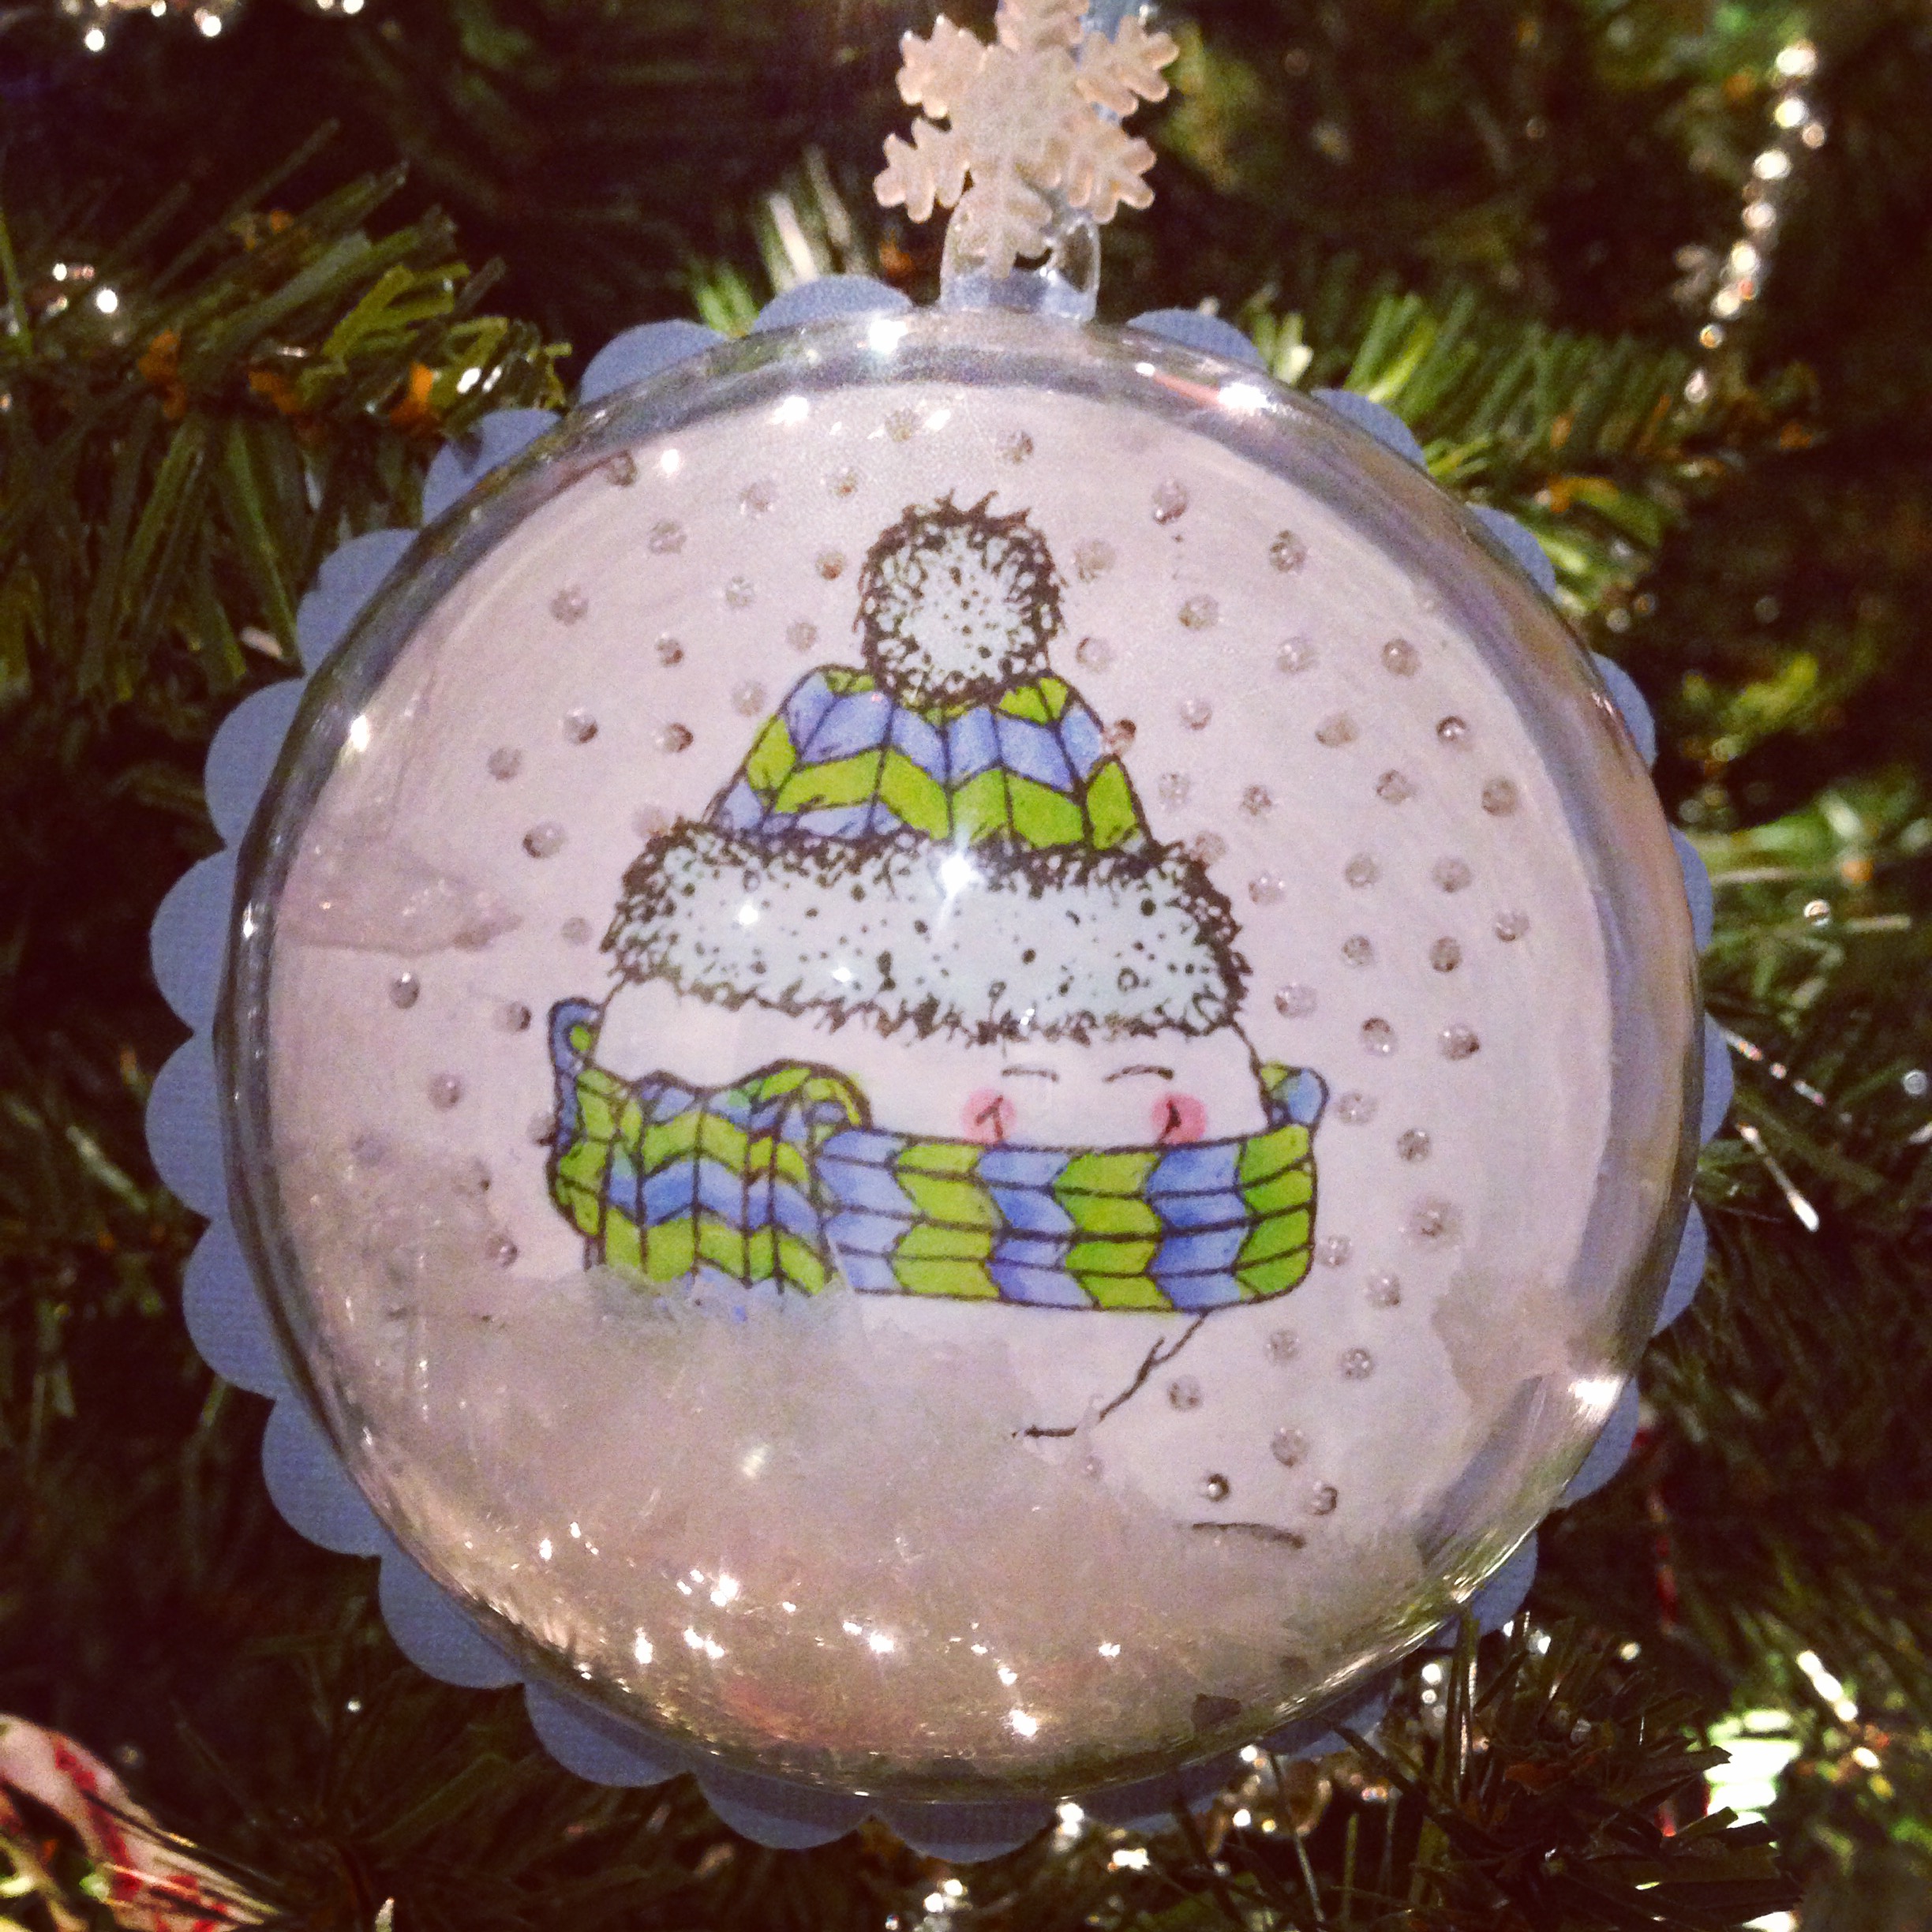
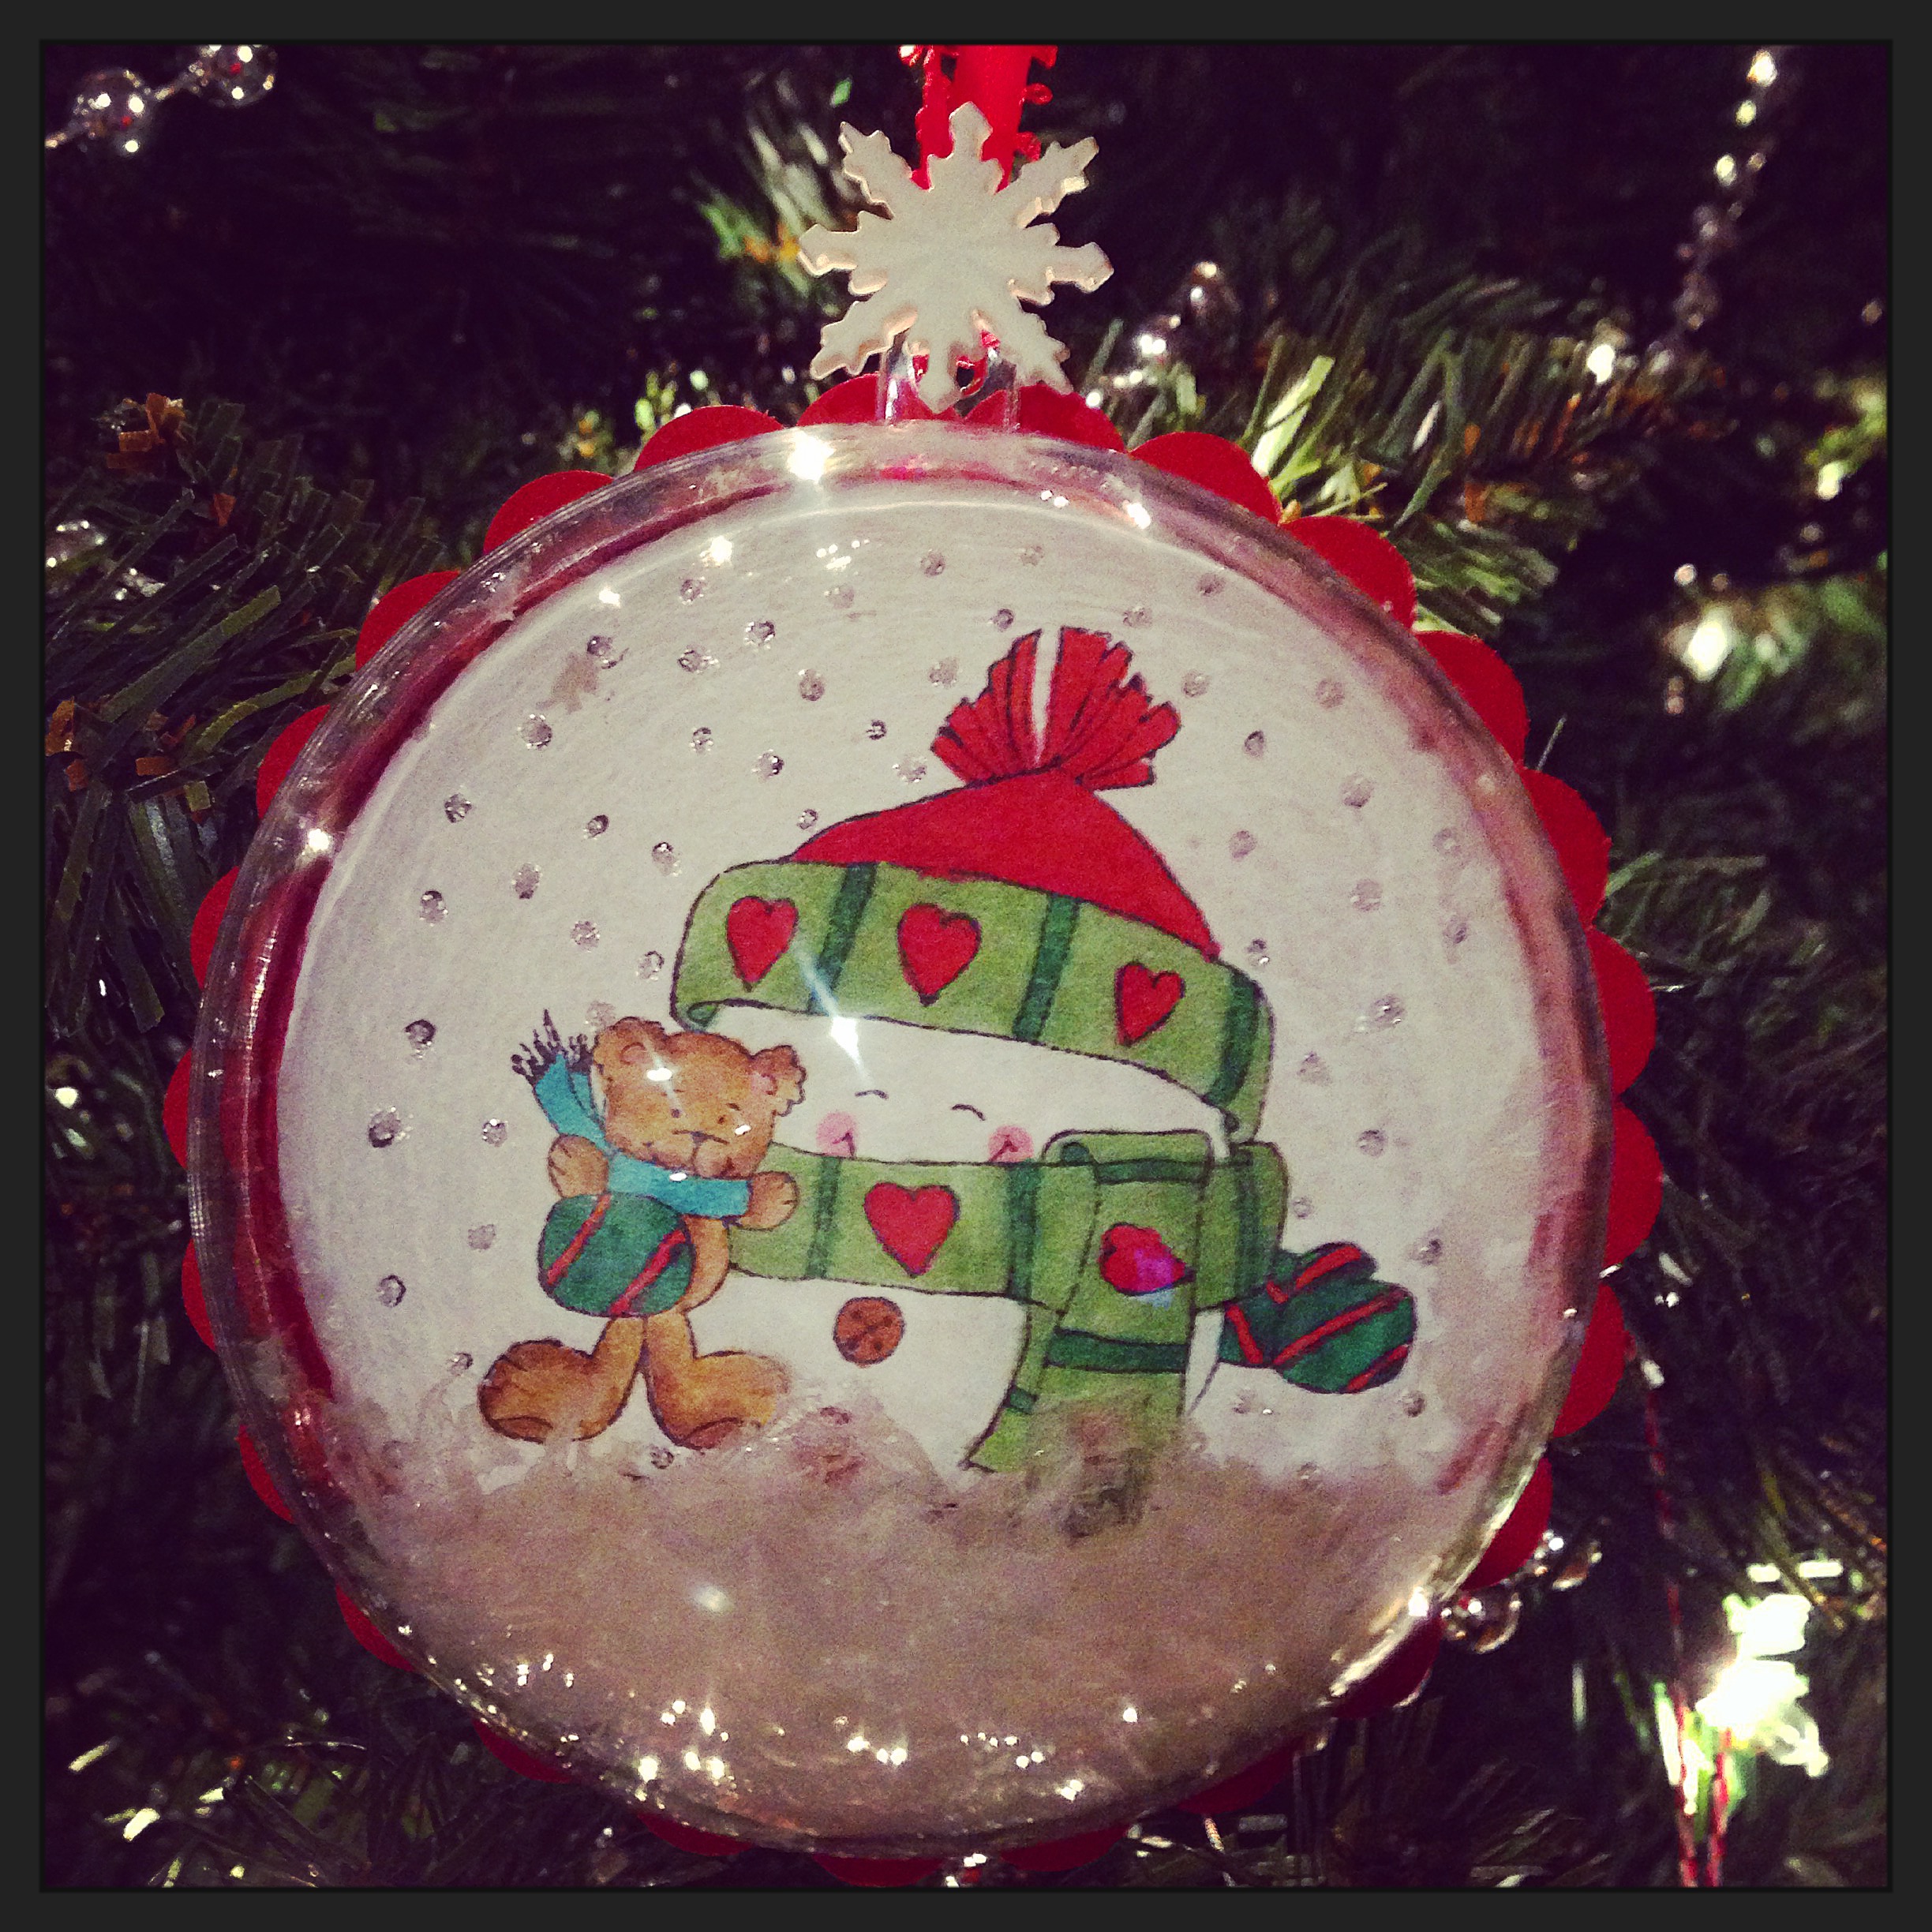
The snowmen images are Snow Peeps from Unity Stamp Company. I have to admit I have a whole collection of these stamps. They are just so cute that I couldn’t decide on just one :).

IMG_4359

IMG_3613

IMG_3610

So here’s what you’ll need :

  • Snow Peeps stamps from Unity Stamp Company 
  • White, red, and blue card stock (or colors of your choice)
  • Black ink (I used Memories dye ink)
  • Copic markers (or your favorite coloring tools)
  • Round plastic fillable Christmas ornaments (you can find these at your local craft store)
  • 3.5-inch circle punch and 3.5-inch scalloped circle punch from Marvy Uchida
  • Clear glitter glue (optional)
  • Artificial snow
  • Glue that dries clear (I like Crafter’s Pick)
  • Ribbon for hanging
  • Snowflake buttons (optional)

Stamp snowman on white card stock. Color and punch out with circle punch. Punch out scalloped circle from colored card stock and attach stamped circle to this piece. Accent with glitter glue, if desired, and let dry. Put a small amount of artificial snow in half of the ornament. Put a thin bead of glue around the edge of the ornament. Carefully place the scalloped circle on the ornament, keeping snow inside and making sure the snowman’s head is lined up with the top of the ornament (don’t ask!!). Let dry. Thread snowflake button onto ribbon and tie onto ornament for hanging. 

These are so cute on your tree, but you could also use them on a wreath or garland. Maybe personalize them for all of your favorite peeps! Happy Christmas in July!!

Thanks for stopping by,

Anita

Posted in Christmas | 1 Comment

Mr. & Mrs.

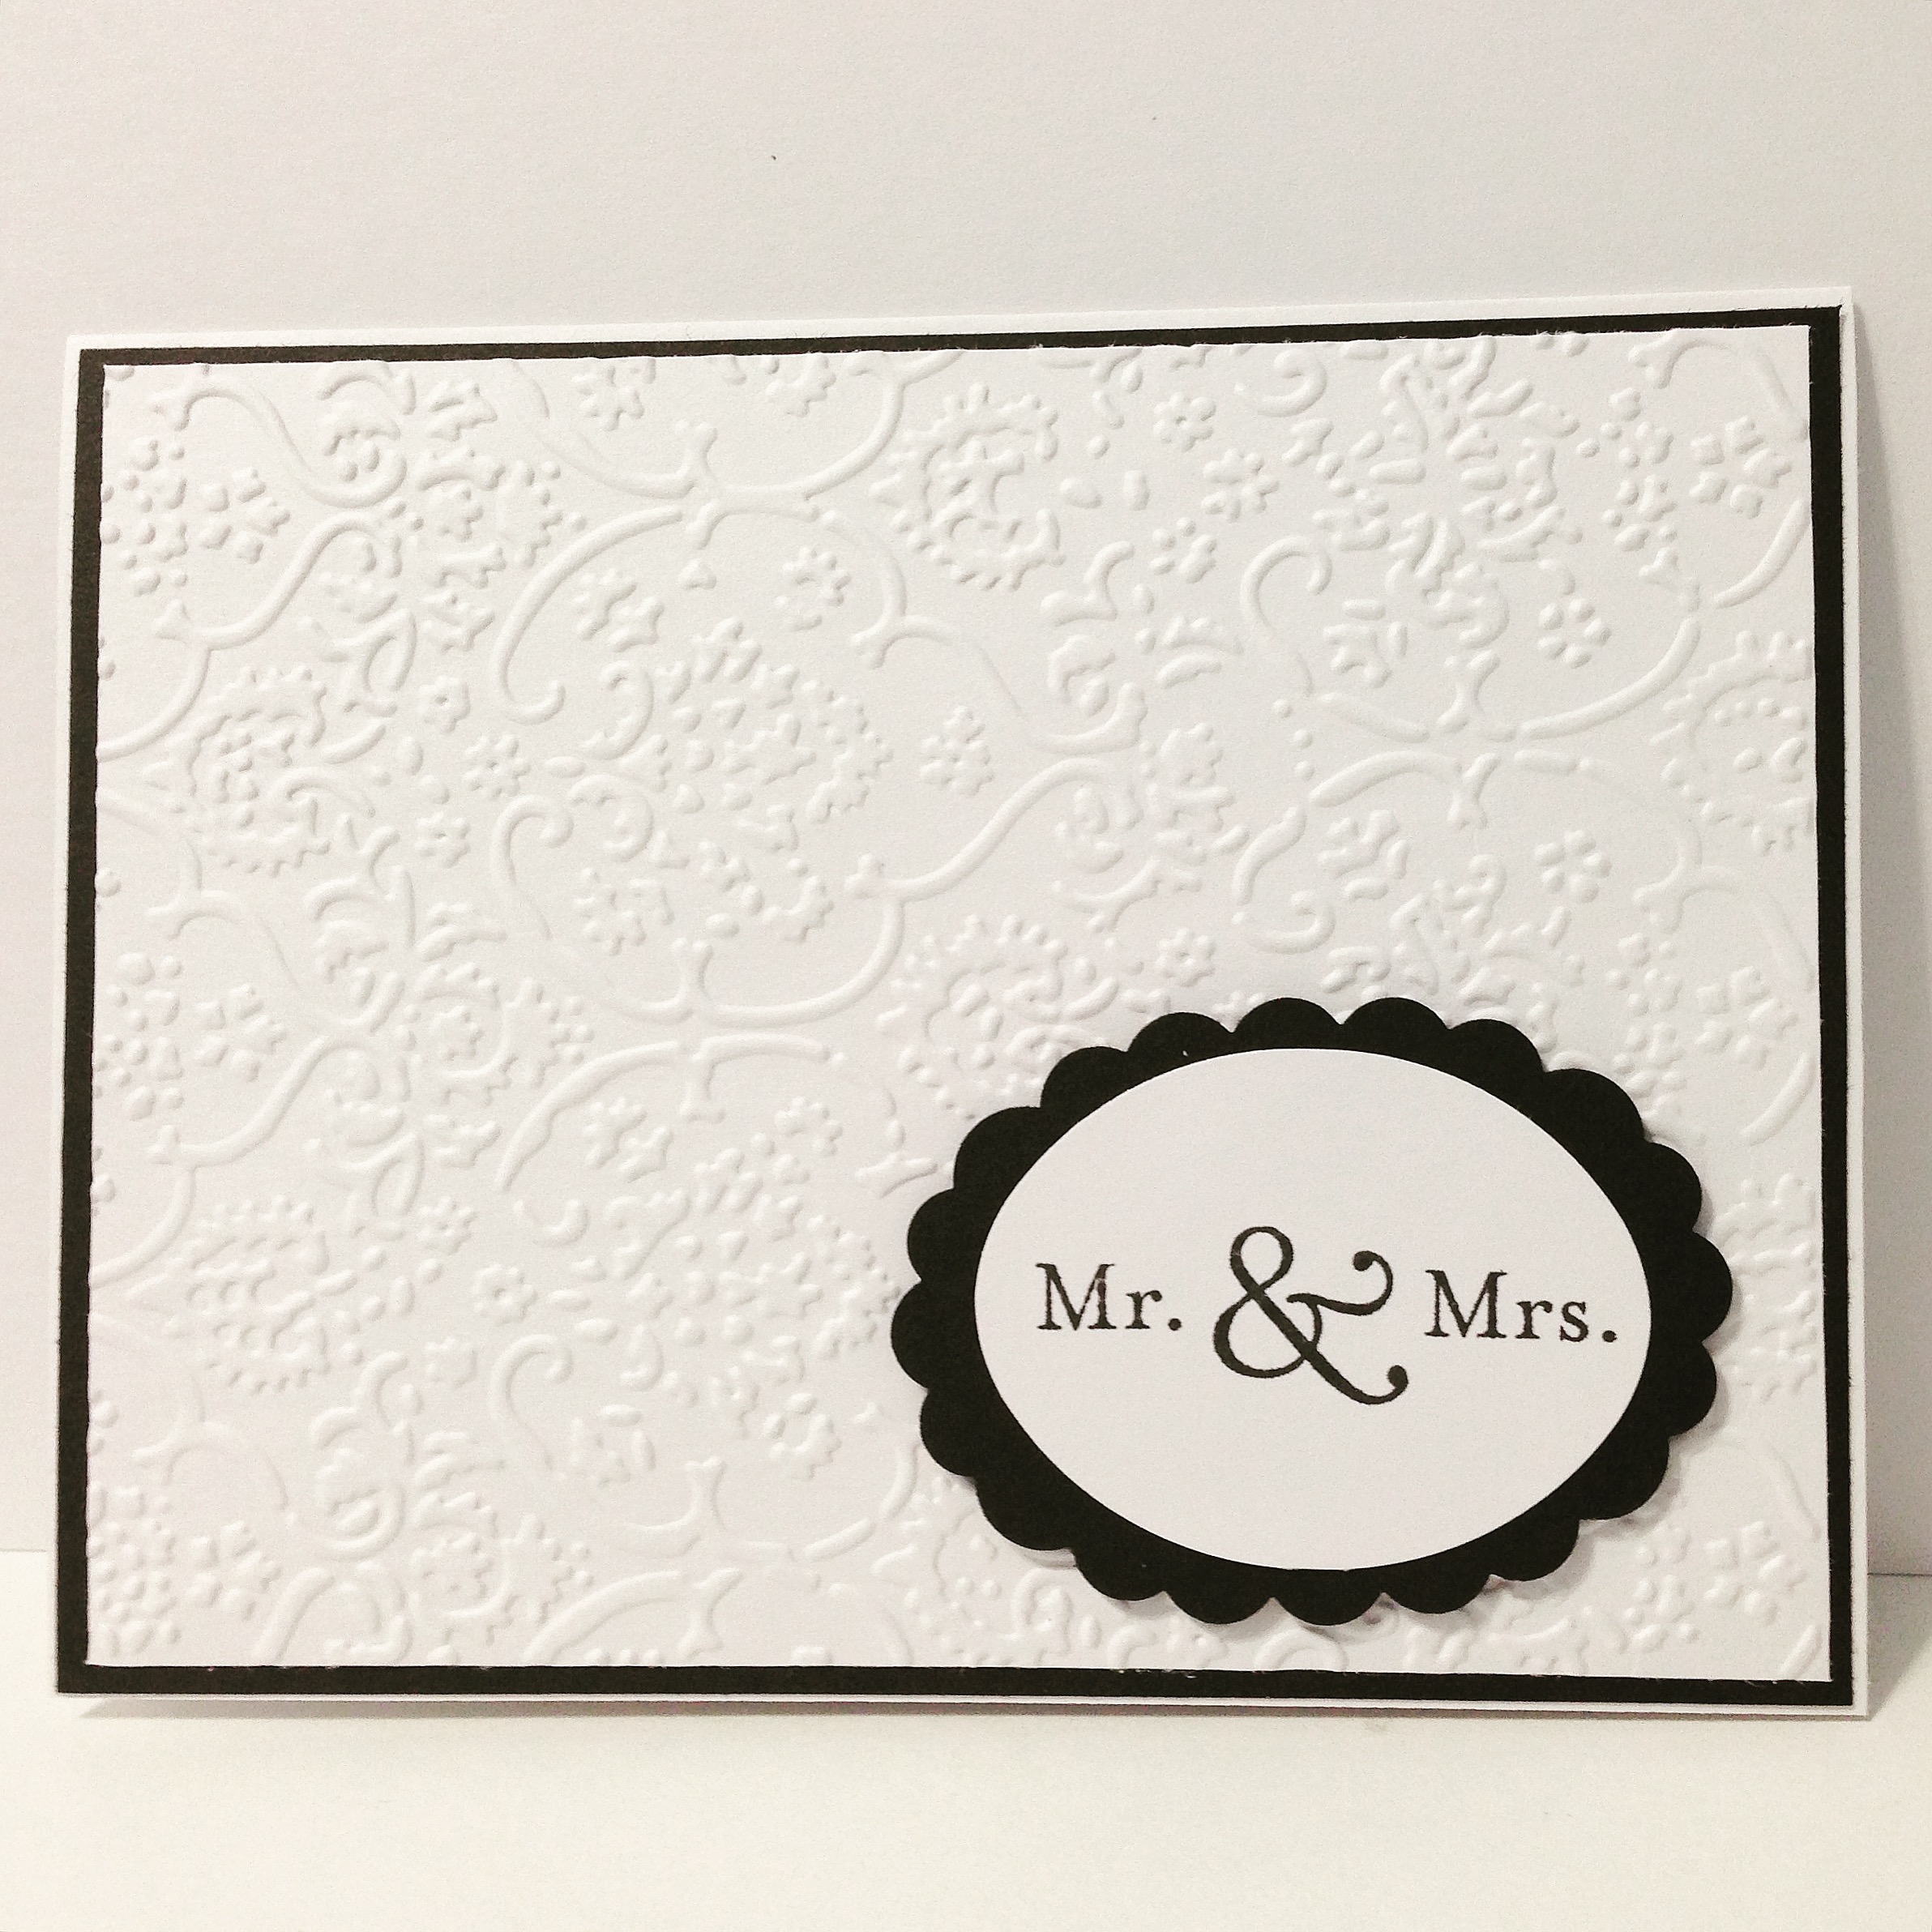
Summer often means wedding season. This is a quick and easy wedding card for that special Bride and Groom.

IMG_4341

Here’s what you’ll need:

Attach a black card stock panel to a white card. Emboss a white card stock panel with floral embossing folder and attach over black panel. Punch scalloped oval from black card stock. Stamp “Mr. & Mrs.” with black ink on white card stock, punch out with oval punch, and attach to black scalloped oval. Attach to card with pop dots.

So simple and elegant ~ and it comes together in just a few minutes! You can also change the colors to match the color scheme of the wedding.

Thanks for stopping by,

Anita

Posted in Cards | Leave a comment

Muslin Flower Jelly Jar

This cute little jar was one of the first projects I made after discovering Pinterest a few years ago. I thought maybe I should justify all the hours I spent pinning by actually making something 😉

IMG_1001

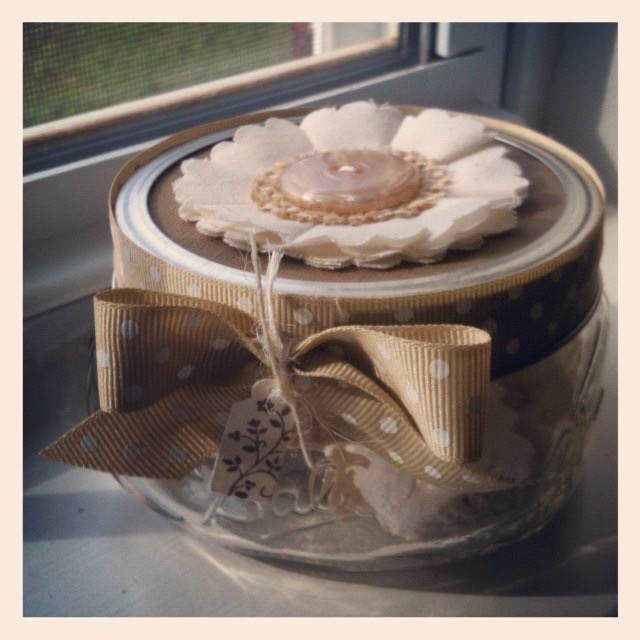
I followed the instructions by a fellow pinner found here to make the muslin flower. Using my scalloped circle Spellbinders die, I cut the muslin with my Cuttlebug. Using a smaller die, I cut the center from burlap and sewed it on with a cute button.

The little jelly jar is made by Ball. I found mine at Walmart. They come in a package of four and are with the canning supplies. I traced the jar lid onto brown card stock, cut the circle out, and glued it to the lid. Then I glued the flower in the center. I attached dotted grosgrain ribbon to the band. I made a bow with the same ribbon and attached it to the band. The tag was made with the Tiny Tags stamp set and punch from Stampin’ Up and tied with twine around the bow.

I use my cute little jar to display shells we collected on one of our beach trips. Use your jar to display your favorite treasures. Or make one to give as a little gift. Or maybe favors for a party. The possibilities are endless…

Thanks for stopping by,

Anita

Posted in Decor, Organization | 1 Comment

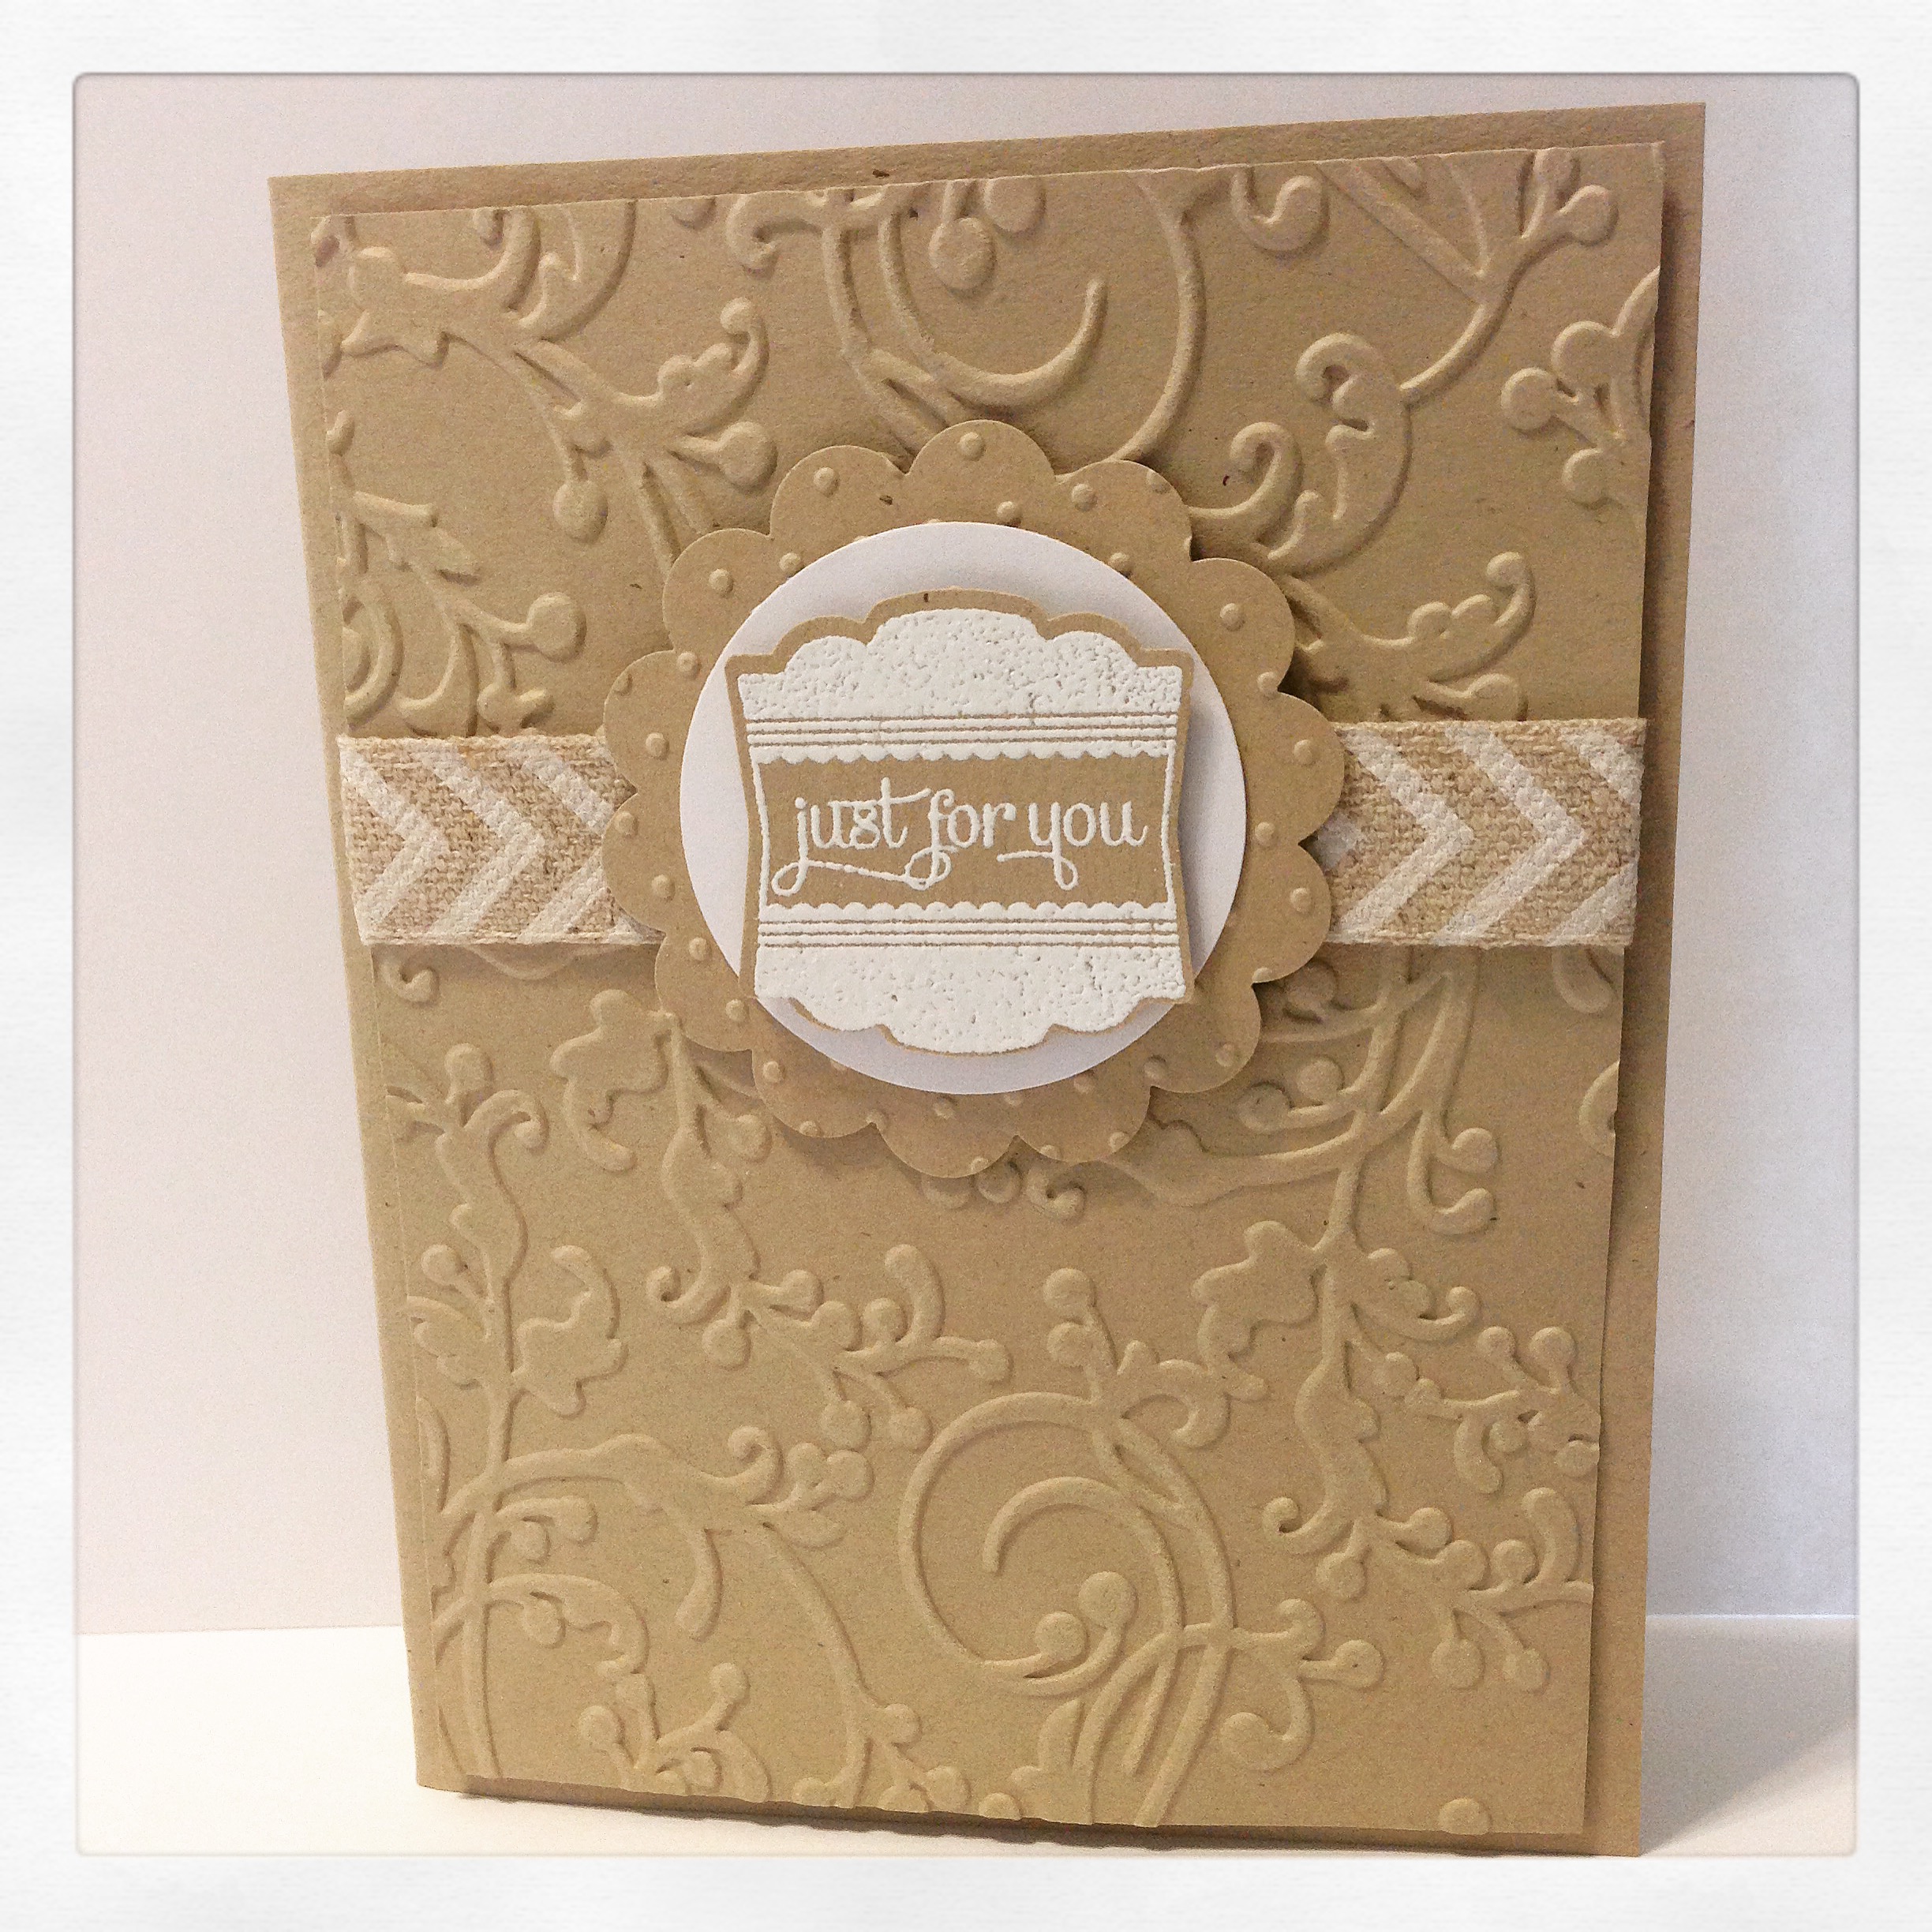
Just For You

Kraft and white. I love this combination. It’s clean, crisp, and just perfect! This card can be used for so many different occasions and can be put together in just a few minutes.

IMG_4316

Heres’ what you’ll need:

  • Kraft card stock and a scrap of white card stock
  • Label Love stamp set and matching punch from Stampin’ Up
  • Chevron ribbon from Stampin’ Up
  • Scalloped circle punch and circle punch from Marvy Uchida
  • Floral embossing folder from Sizzix
  • Dotted embossing folder from Cuttlebug
  • White ink and white embossing powder

Emboss a panel of kraft card stock with floral folder and attach chevron ribbon. Attach panel to a kraft card. Punch out a scalloped circle and emboss with dot folder. Punch a smaller circle of white card stock and attach to the scalloped circle. Attach this piece over the ribbon with pop dots. Stamp “just for you” with white ink on kraft card stock and emboss with white powder. Punch out and attach with pop dots to white circle. And that’s it ~ you’re done!

Thanks for stopping by,

Anita

Posted in Cards | Leave a comment

My Favorite Oatmeal Cookies

I wanted to share my very favorite Oatmeal Cookie Recipe with you. It came from this little booklet that my Mom put in my Christmas stocking over 30 years ago. The booklet was printed in 1980 ~ I’m not sure what year she actually gave it to me, but good recipes never get old! It also has a great Snickerdoodle Recipe, but that’s for another day…

IMG_4303

Oatmeal Cookie Recipe

  • 2 cups lightly packed brown sugar
  • 1 cup melted margarine
  • 2 eggs
  • 2 cups flour
  • 1 tsp baking powder
  • 1 tsp baking soda
  • 2 cups oatmeal
  1. Beat sugar, margarine, and eggs together.
  2. Combine flour, baking powder, and baking soda and add to first mixture.
  3. Add oatmeal and blend completely.
  4. Drop by teaspoonfuls onto greased cookie sheet (or use nonstick baking mat) leaving 2 inches between each cookie.
  5. Bake in 350°F oven 12 to 15 minutes.

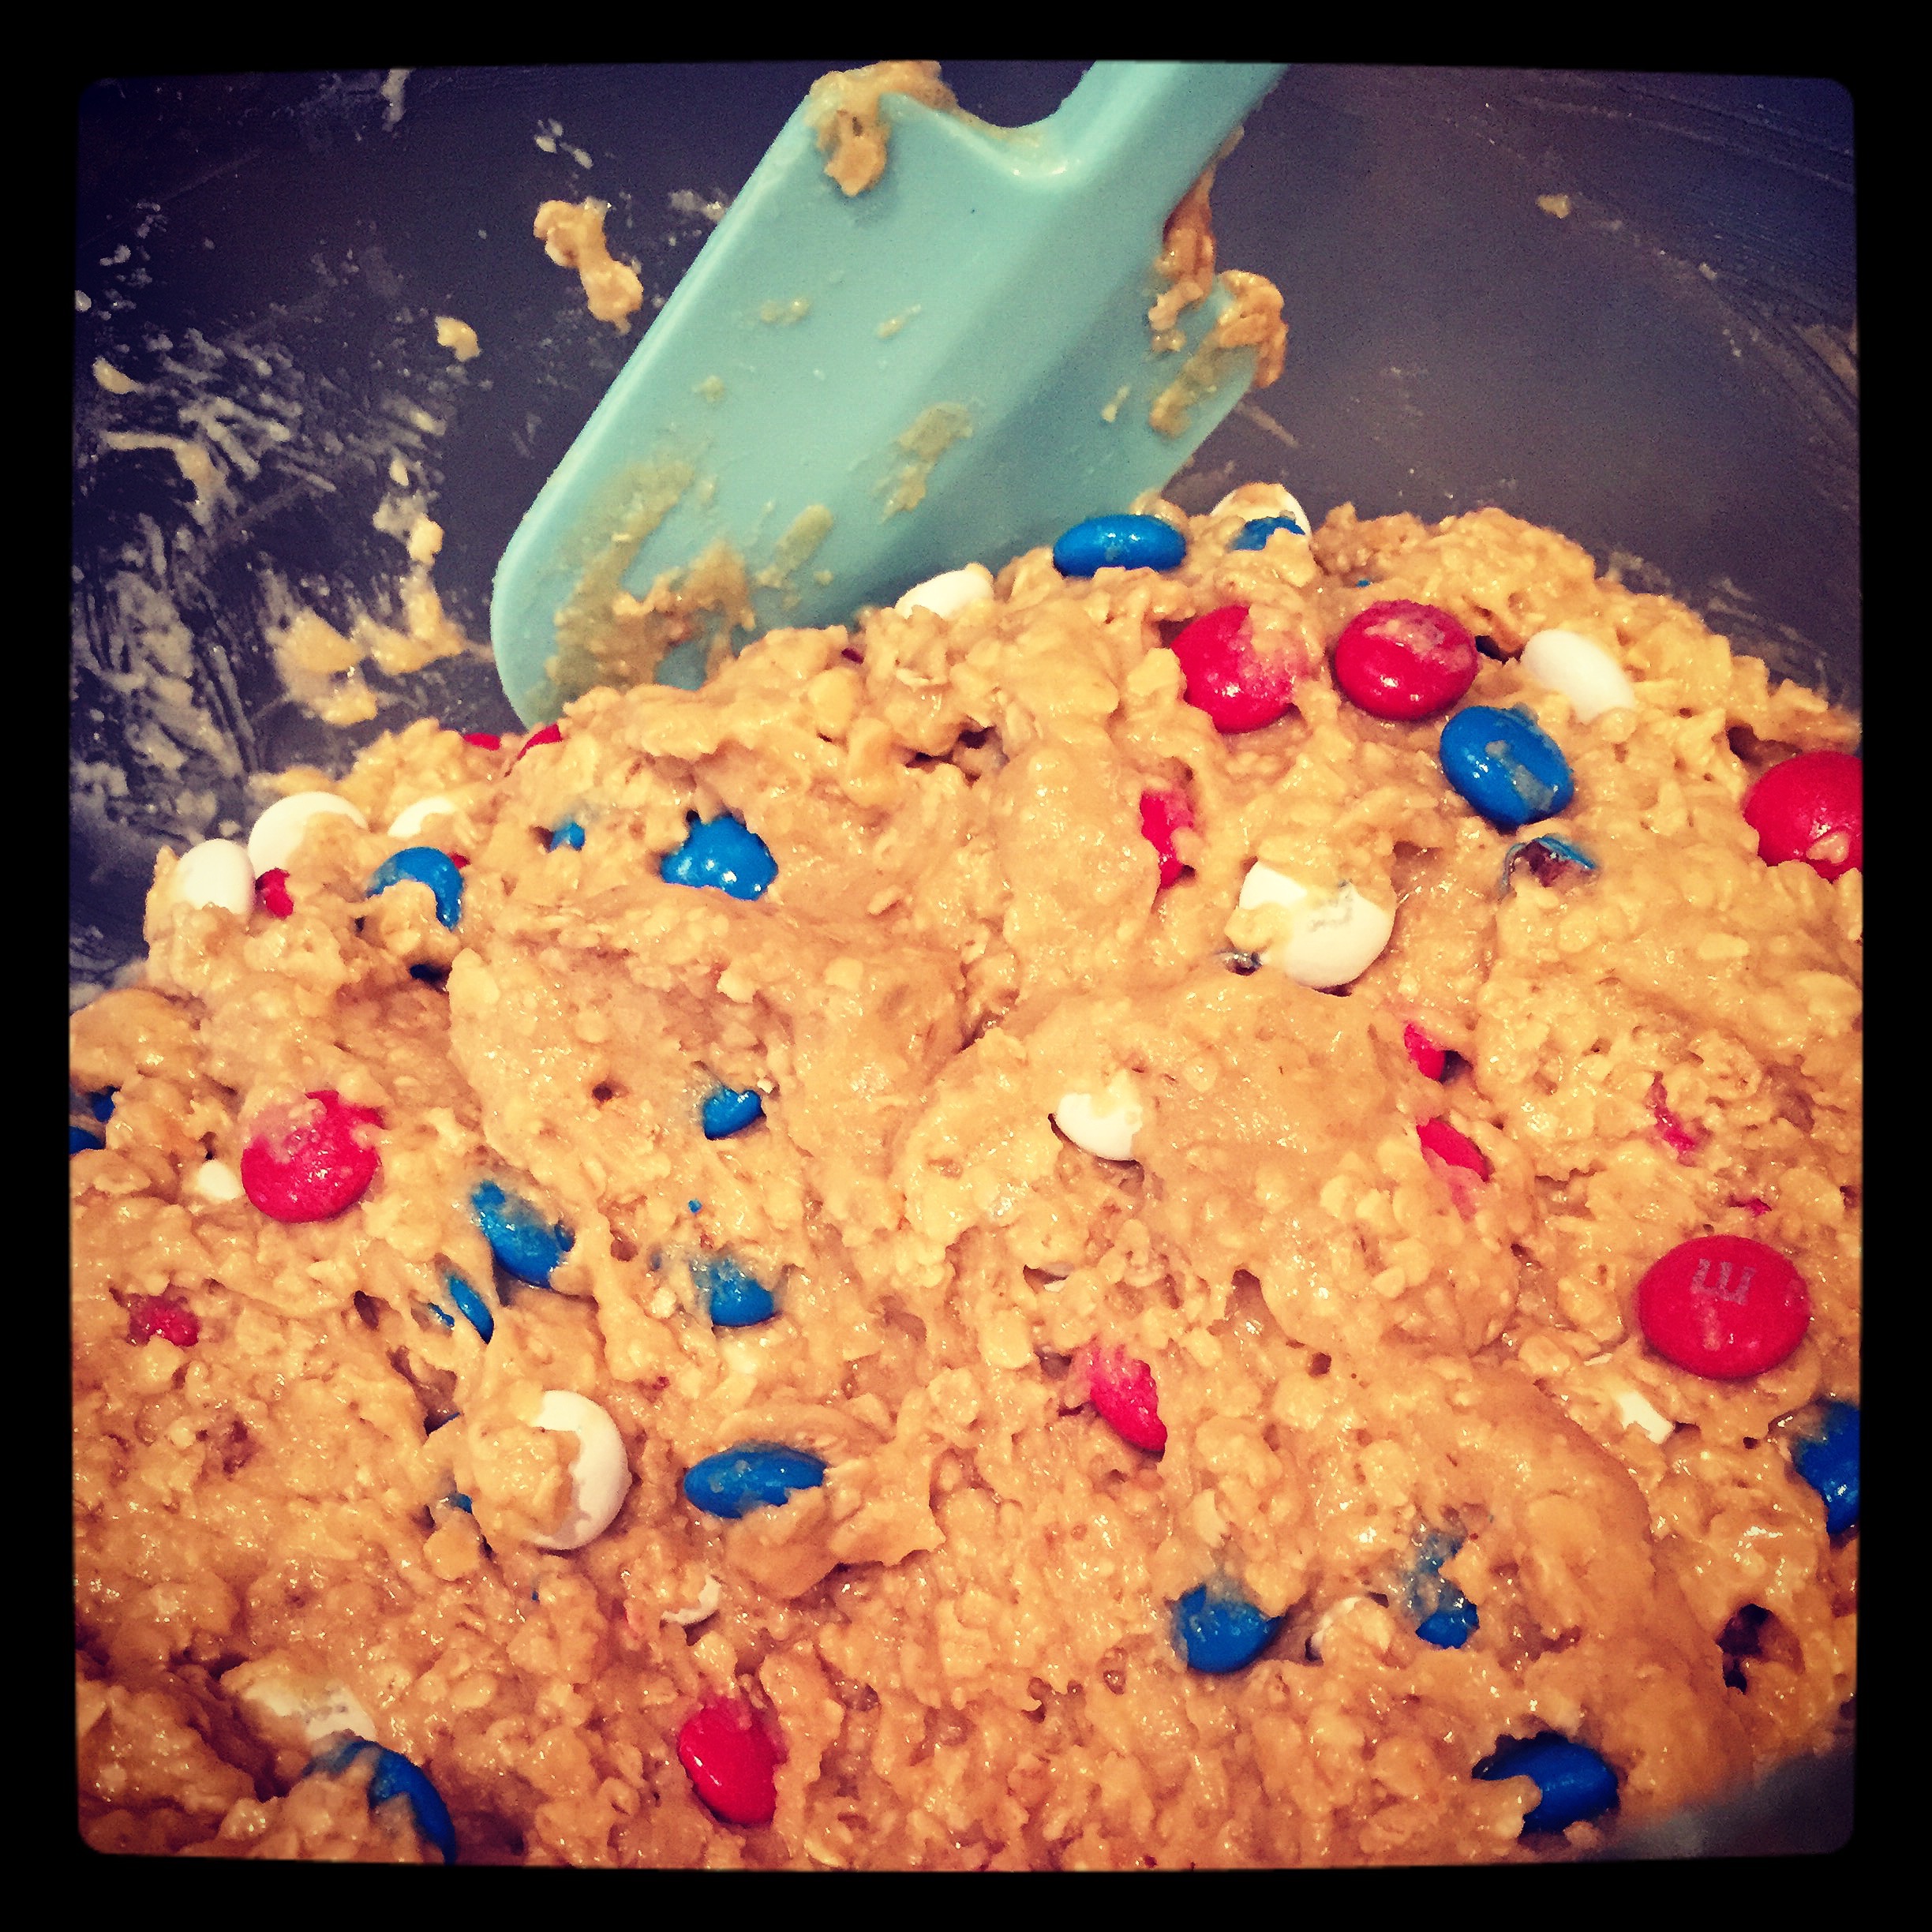
These are great as simple oatmeal cookies or you can add m&m’s to the batter like I did here. This batch was going to a summer picnic so I used the seasonal red, white, and blue m&m’s.

IMG_4302

And here are the yummy cookies fresh from the oven!

IMG_4308

Another option is to add a cup (or 2) of chocolate chips, a cup of raisins, or both to the batter before baking. Our favorite is to add both!

This recipe makes about 5 to 6 dozen cookies which is a good thing because they will go fast!!

Thanks for stopping by,

Anita
Posted in Recipes | 5 Comments

Published!!

So excited to have one of my cards published in the June/July/August issue of Take Ten Magazine!! Every quarter they have a sketch challenge that I try to enter and they picked one of my cards this time…so fun to see one of my creations in print 🙂

IMG_4297

You can find my card on page 118 along with simple directions on how to create it. The stamps, punches, and embossing folder are all from Stampin’ Up with the exception of the heart, which is from Fiskars, and the scalloped oval punches, which are from Marvy Uchida. (I found my heart and oval punches at JoAnn Fabrics and Hobby Lobby. I’ve had them a long time, but I think they are still available.)

This was a super fast card to put together – just what the Take Ten Magazine is all about! If you’re a card maker, I highly recommend this magazine for inspiration!!!

Thanks for stopping by,

Anita

Posted in Cards | 2 Comments

Cute Baby!

It’s always so much fun to welcome new little ones to the world! This sweet card is just the thing to say hello to that cute little baby 🙂

IMG_4284

I stamped the onesie on chevron patterned paper with brown ink and then die cut it. Both the stamp and the die are from Hero Arts. I attached silver brads for the snaps. The cute little rubber duck is an old stamp from PSX (Personal Stamp Exchange). Sadly, they went out of business but I’m sure there are lots of other cute rubber duck images out there! He is colored with Copic markers and attached to the onesie with pop dots.

The embossing folder, dotted scallop ribbon border punch, banner punch, and Banner Banter stamp set are from Stampin’ Up. 

To put the card together, emboss a white panel and attach to a light turquoise card. Punch a ribbon strip from the same color turquoise card stock and attach over the embossed panel. Stamp the banner with turquoise ink and “cute baby” with brown ink, then punch out. Attach to the card, tucking the top edge under the dotted ribbon strip. Attach the onesie with pop dots.

The colors can easily be changed for a little girl. Or maybe change the rubber duck to a heart or an initial for that special little one.

Thanks for stopping by,

Anita
Posted in Cards | 3 Comments

Summer Wreath

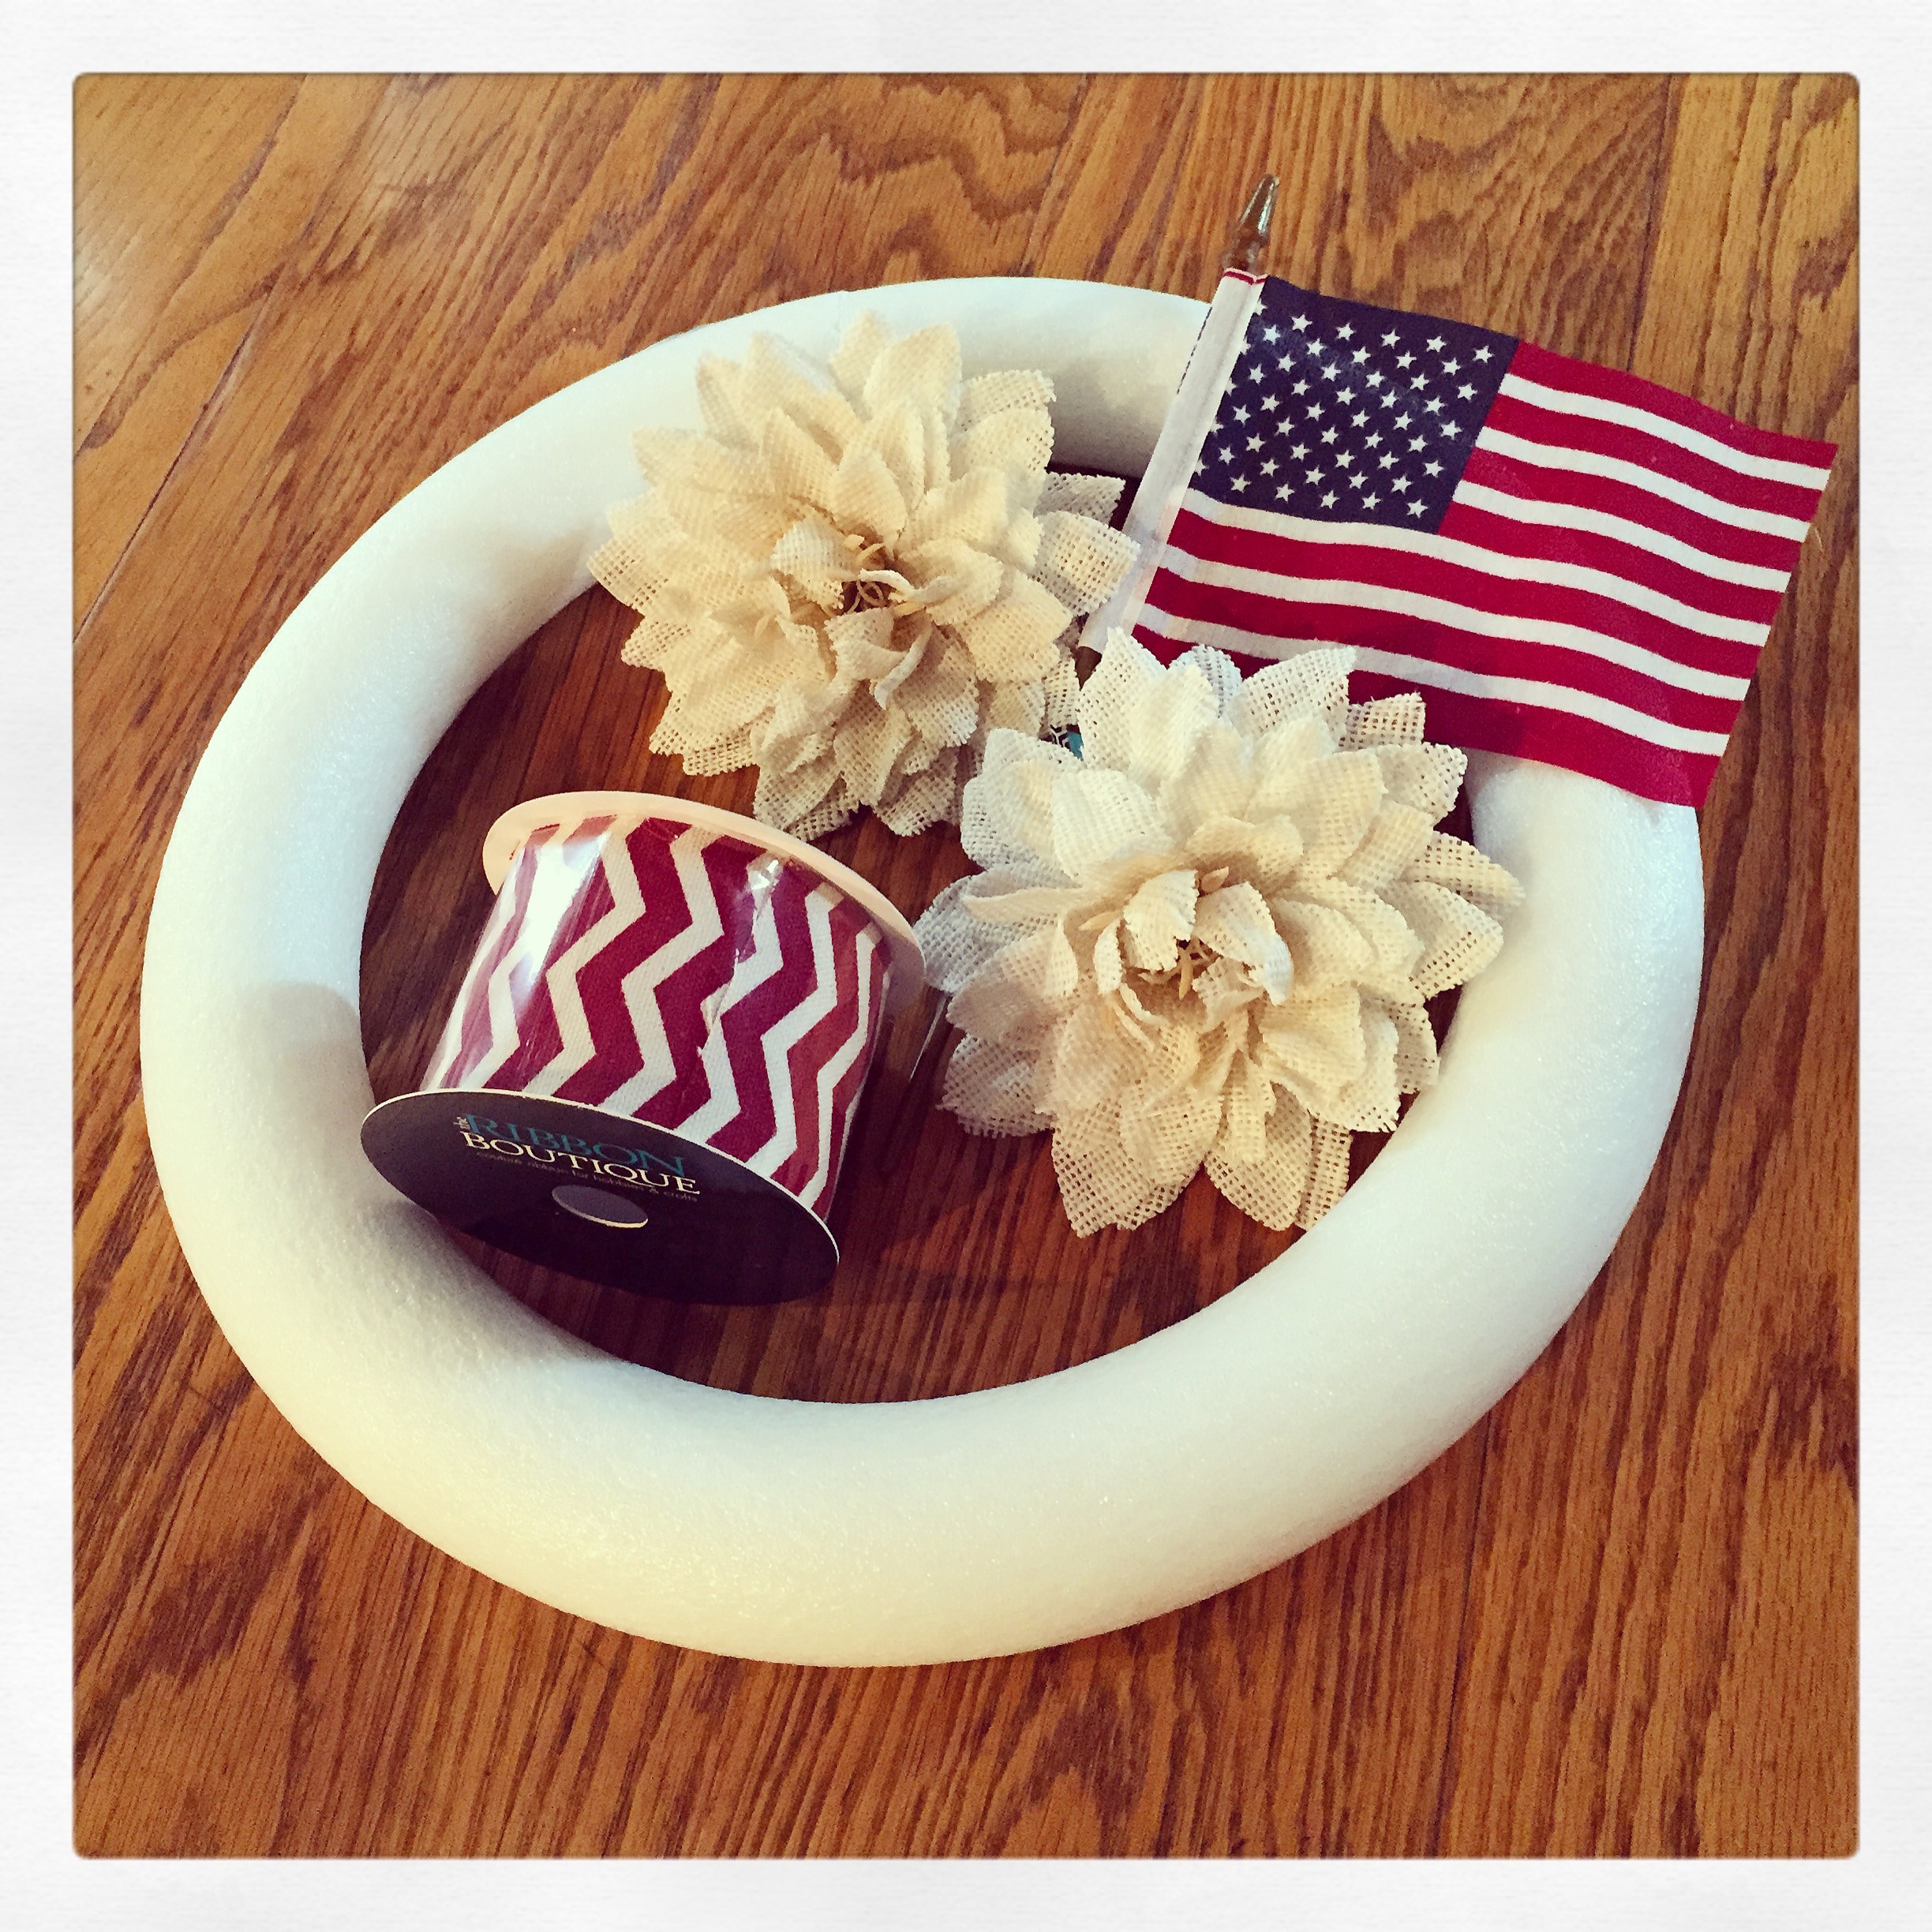
Longer days, sunshine, and in Alabama, heat and humidity, mean that Summer is here!! And with the new season I decided I could use a new wreath for my front door. I wanted something simple that said “Summer” and would work all the way until Labor Day. I made a quick trip to Hobby Lobby and this is what I came up with.

IMG_4271

The canvas ribbon is 2.5 inches wide and it’s a 3 yard spool. (Happily, it was on sale for 50% off) I found the great burlap flowers in the wedding section. The flag is 4 inches by 6 inches and was in the seasonal area. The styrofoam wreath is 13.8 inches in diameter.

Start by simply using straight pins to attach one end of the ribbon to the wreath. Wrap the ribbon tightly around the wreath, just barely overlapping the edges. If you overlap too much you won’t have enough ribbon. Attach the end of the ribbon with straight pins. 

Cut the stems off the flowers leaving about an inch so you can attach them to the wreath. Poke the flower stems through the ribbon into the wreath. I used my scissors to get a hole started and then pushed the stems in. You can add a little glue if you’d like, but mine were quite secure without it.

I slipped the stick from the flag under the loop of ribbon between the flowers. I didn’t permanently attach the flag, but you could easily glue it into place. I added a hanging loop made from ribbon I had on hand. And here it is!

IMG_4272

Since I didn’t permanently attach the flag, it will be easy to change the accent for other seasons. I’m thinking maybe a Santa for Christmas or a heart for Valentine’s Day. Or maybe nothing at all! For now, I have a new wreath that will hang on my door all Summer!

Thanks for stopping by,

Anita

Posted in Decor | 1 Comment

Laundry Room Wreath

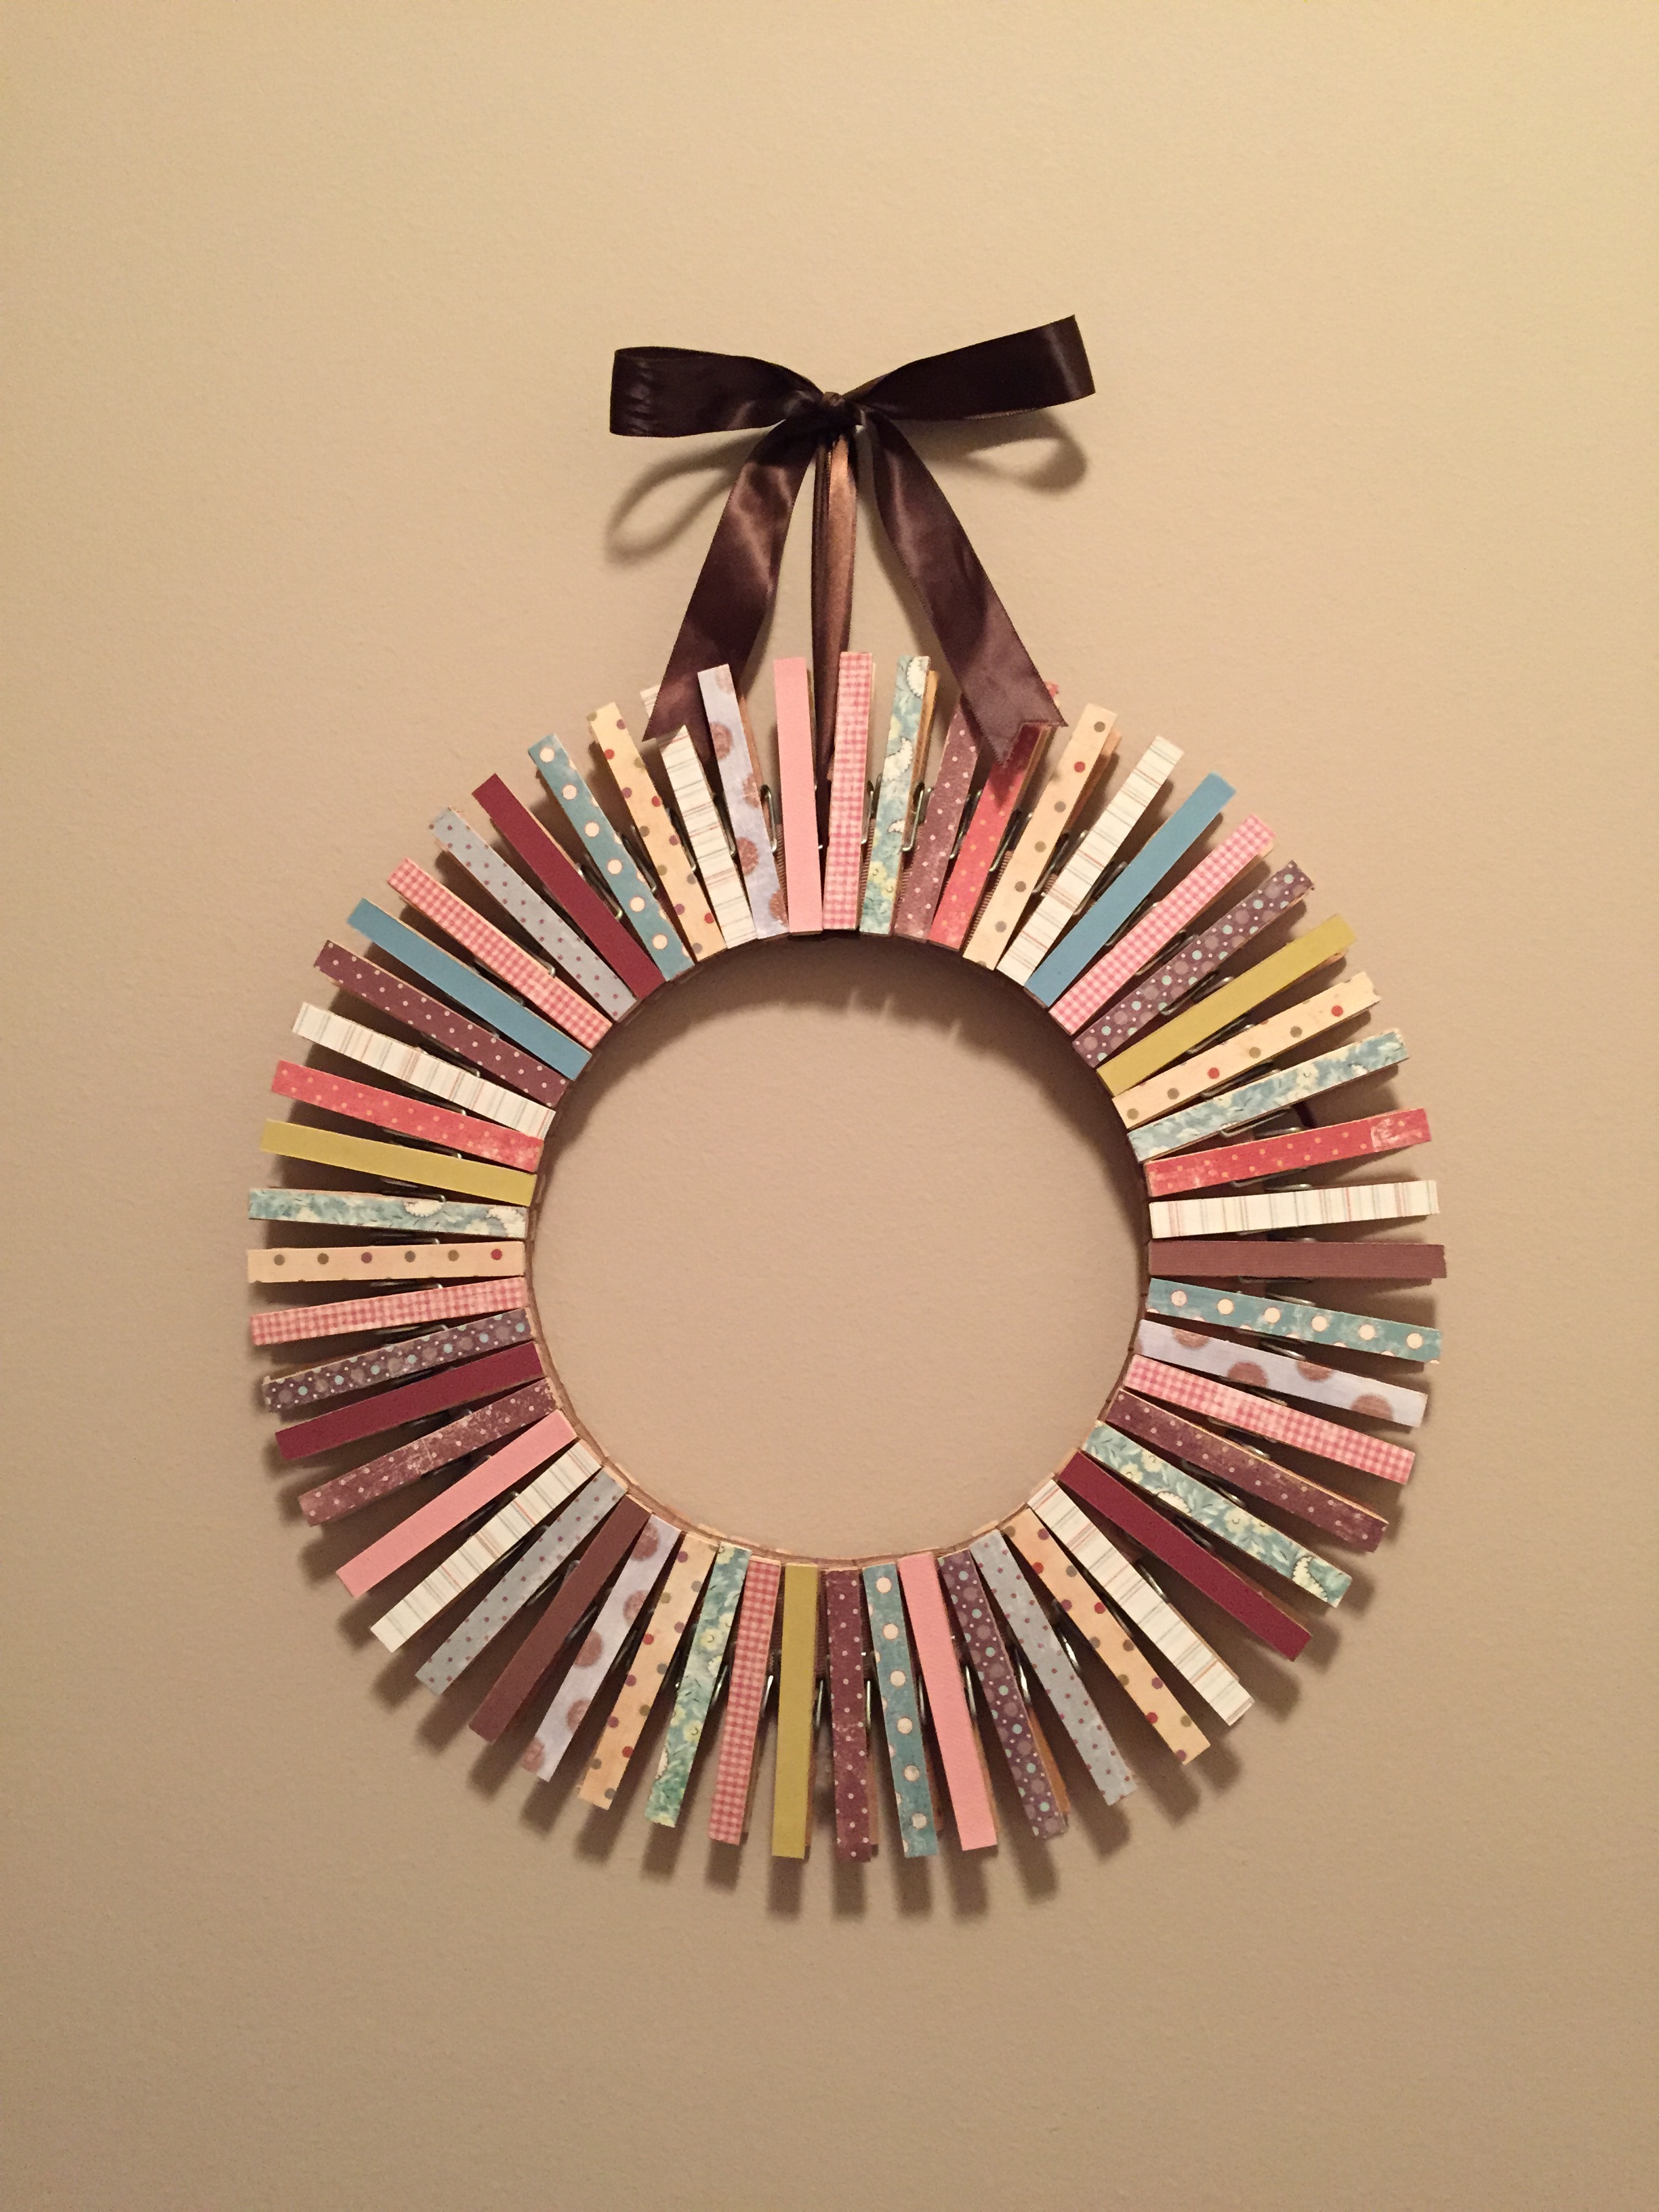
OK…I admit it. I don’t enjoy doing laundry. Sorting, washing, drying, folding, ironing ~ it never ends!! But it helps a little to have something pretty to look at while doing this necessary task. I decided a clothespin wreath would be just the thing to brighten up my laundry room. 

IMG_4182

I used a cardboard cake circle for the base. I cut out the center leaving a ring just wide enough to clip on the clothespins. I then wrapped the ring with ribbon to cover up any cardboard that might peek through. 

I cut all my strips of scrapbook paper before adhering them to the clothespins with Mod Podge. After all the strips were attached, I brushed a layer of Mod Podge over the top of each. Once dry, simply clip them closely together on the ring. Tie a ribbon bow for hanging and you have a cute accent for your laundry room!

Thanks for stopping by,

Anita


Posted in Decor | 2 Comments