Hi friends,
Do you have handmade ornaments on your Christmas tree? Our tree is filled with handmade ornaments from friends, our travels, and of course ornaments I created myself. 🙂
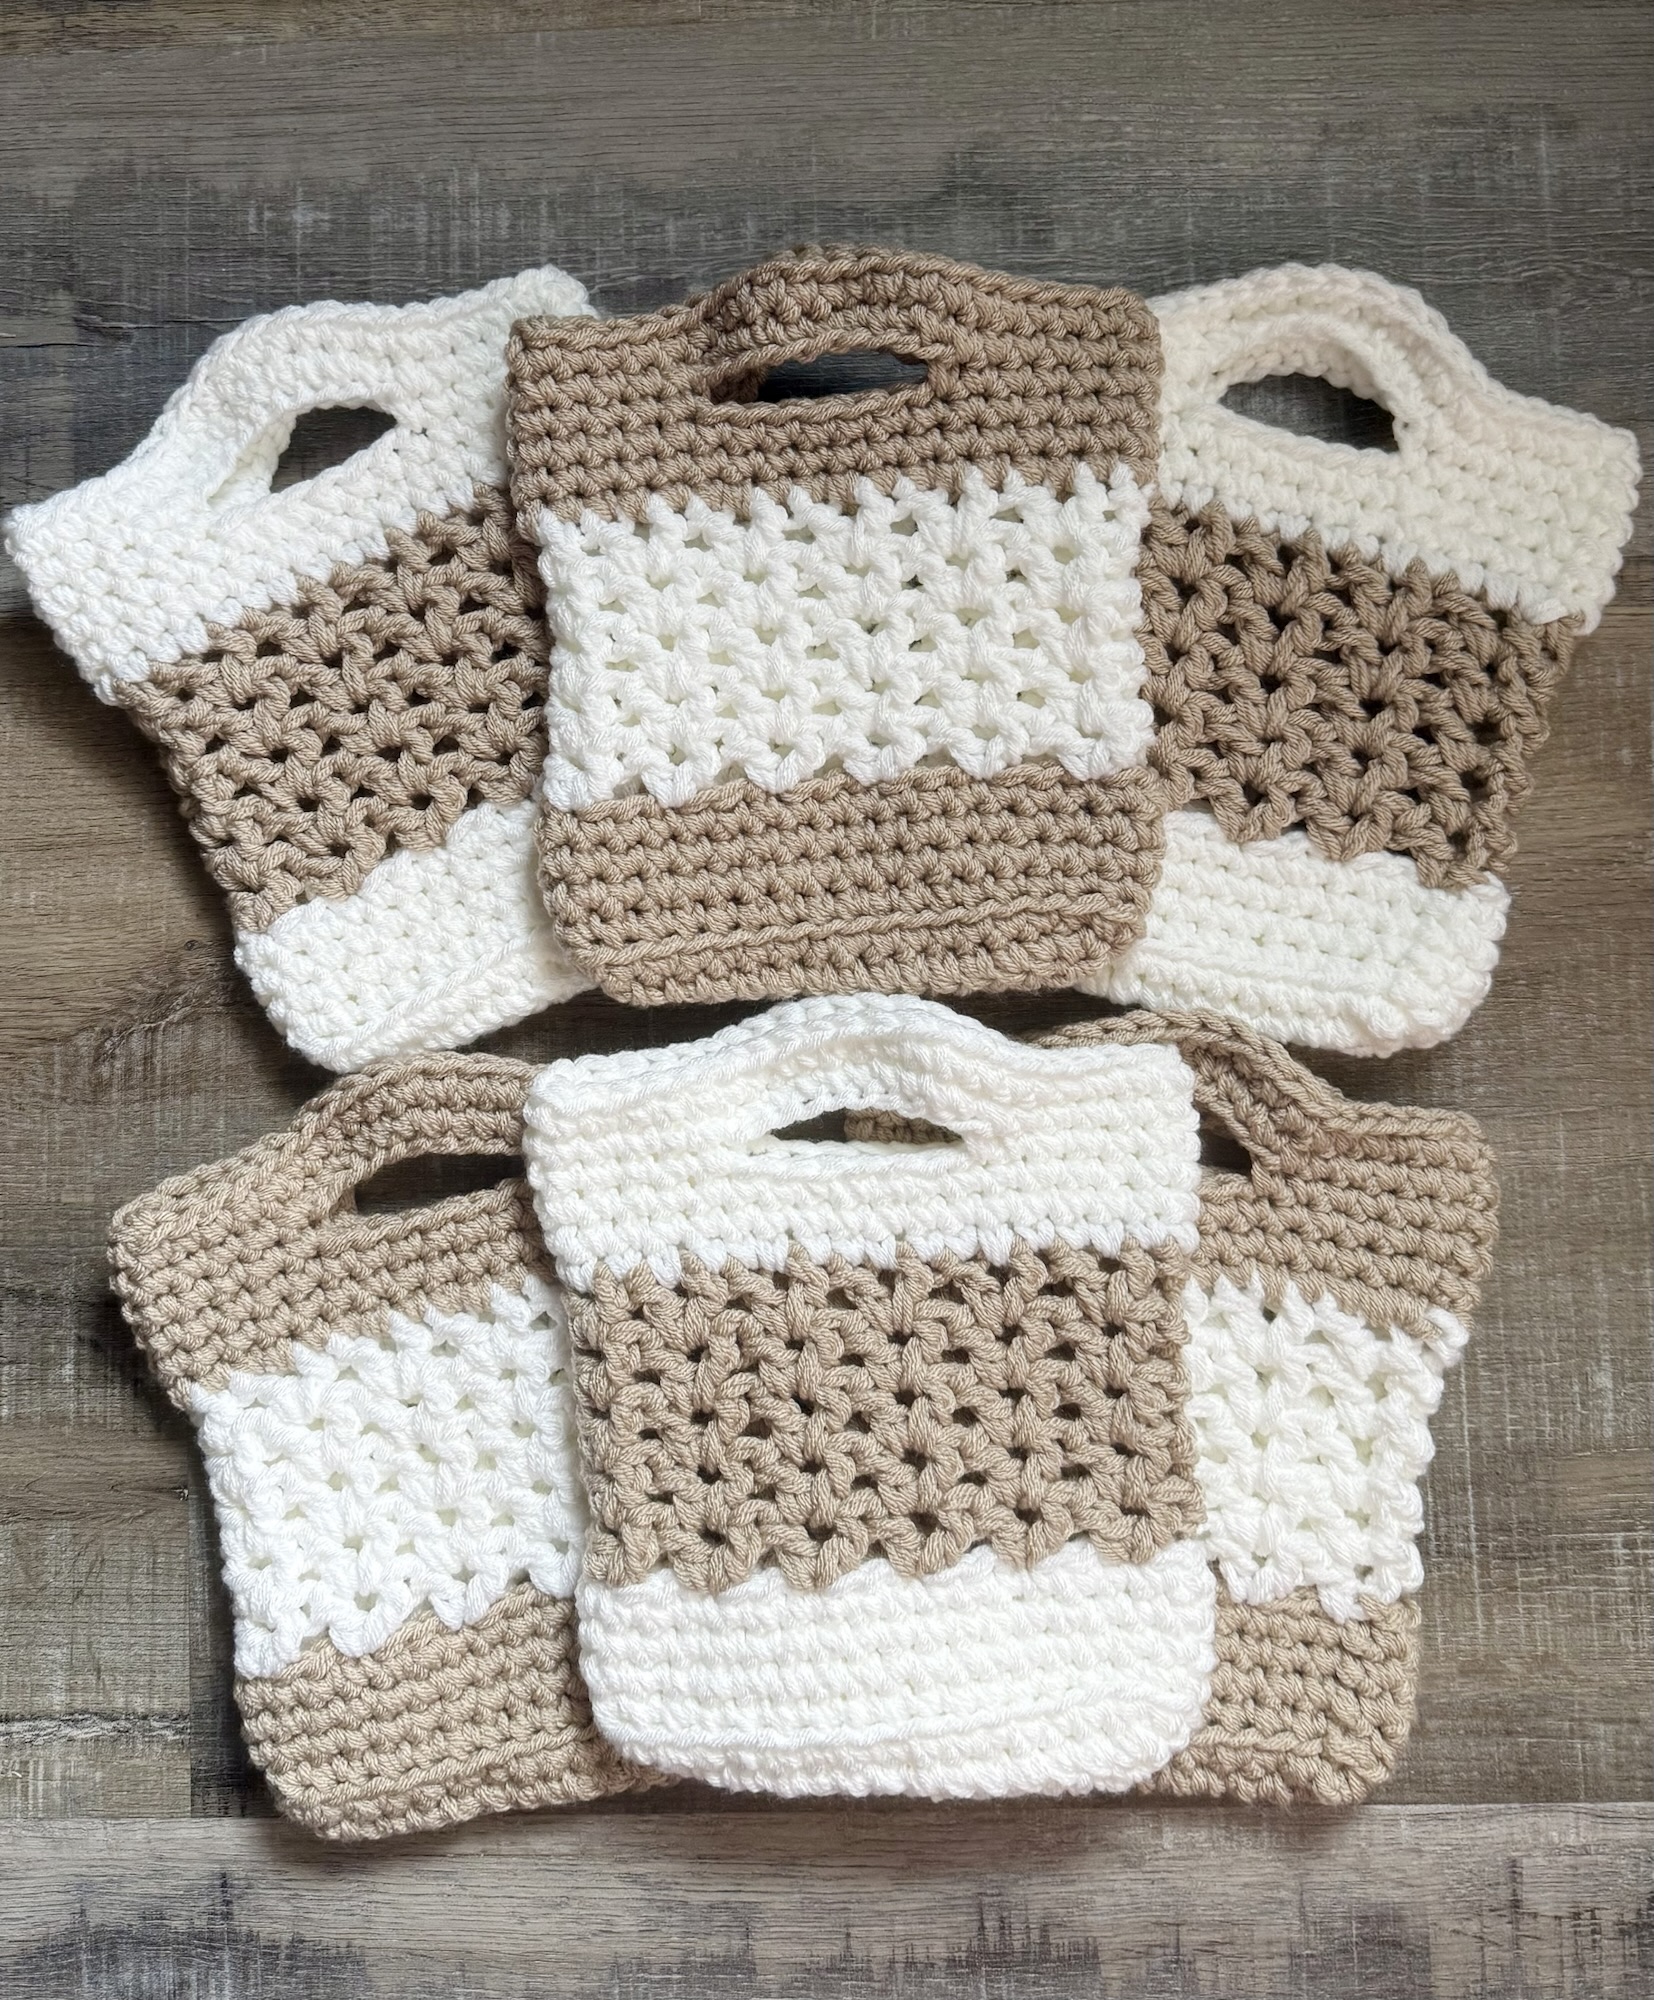
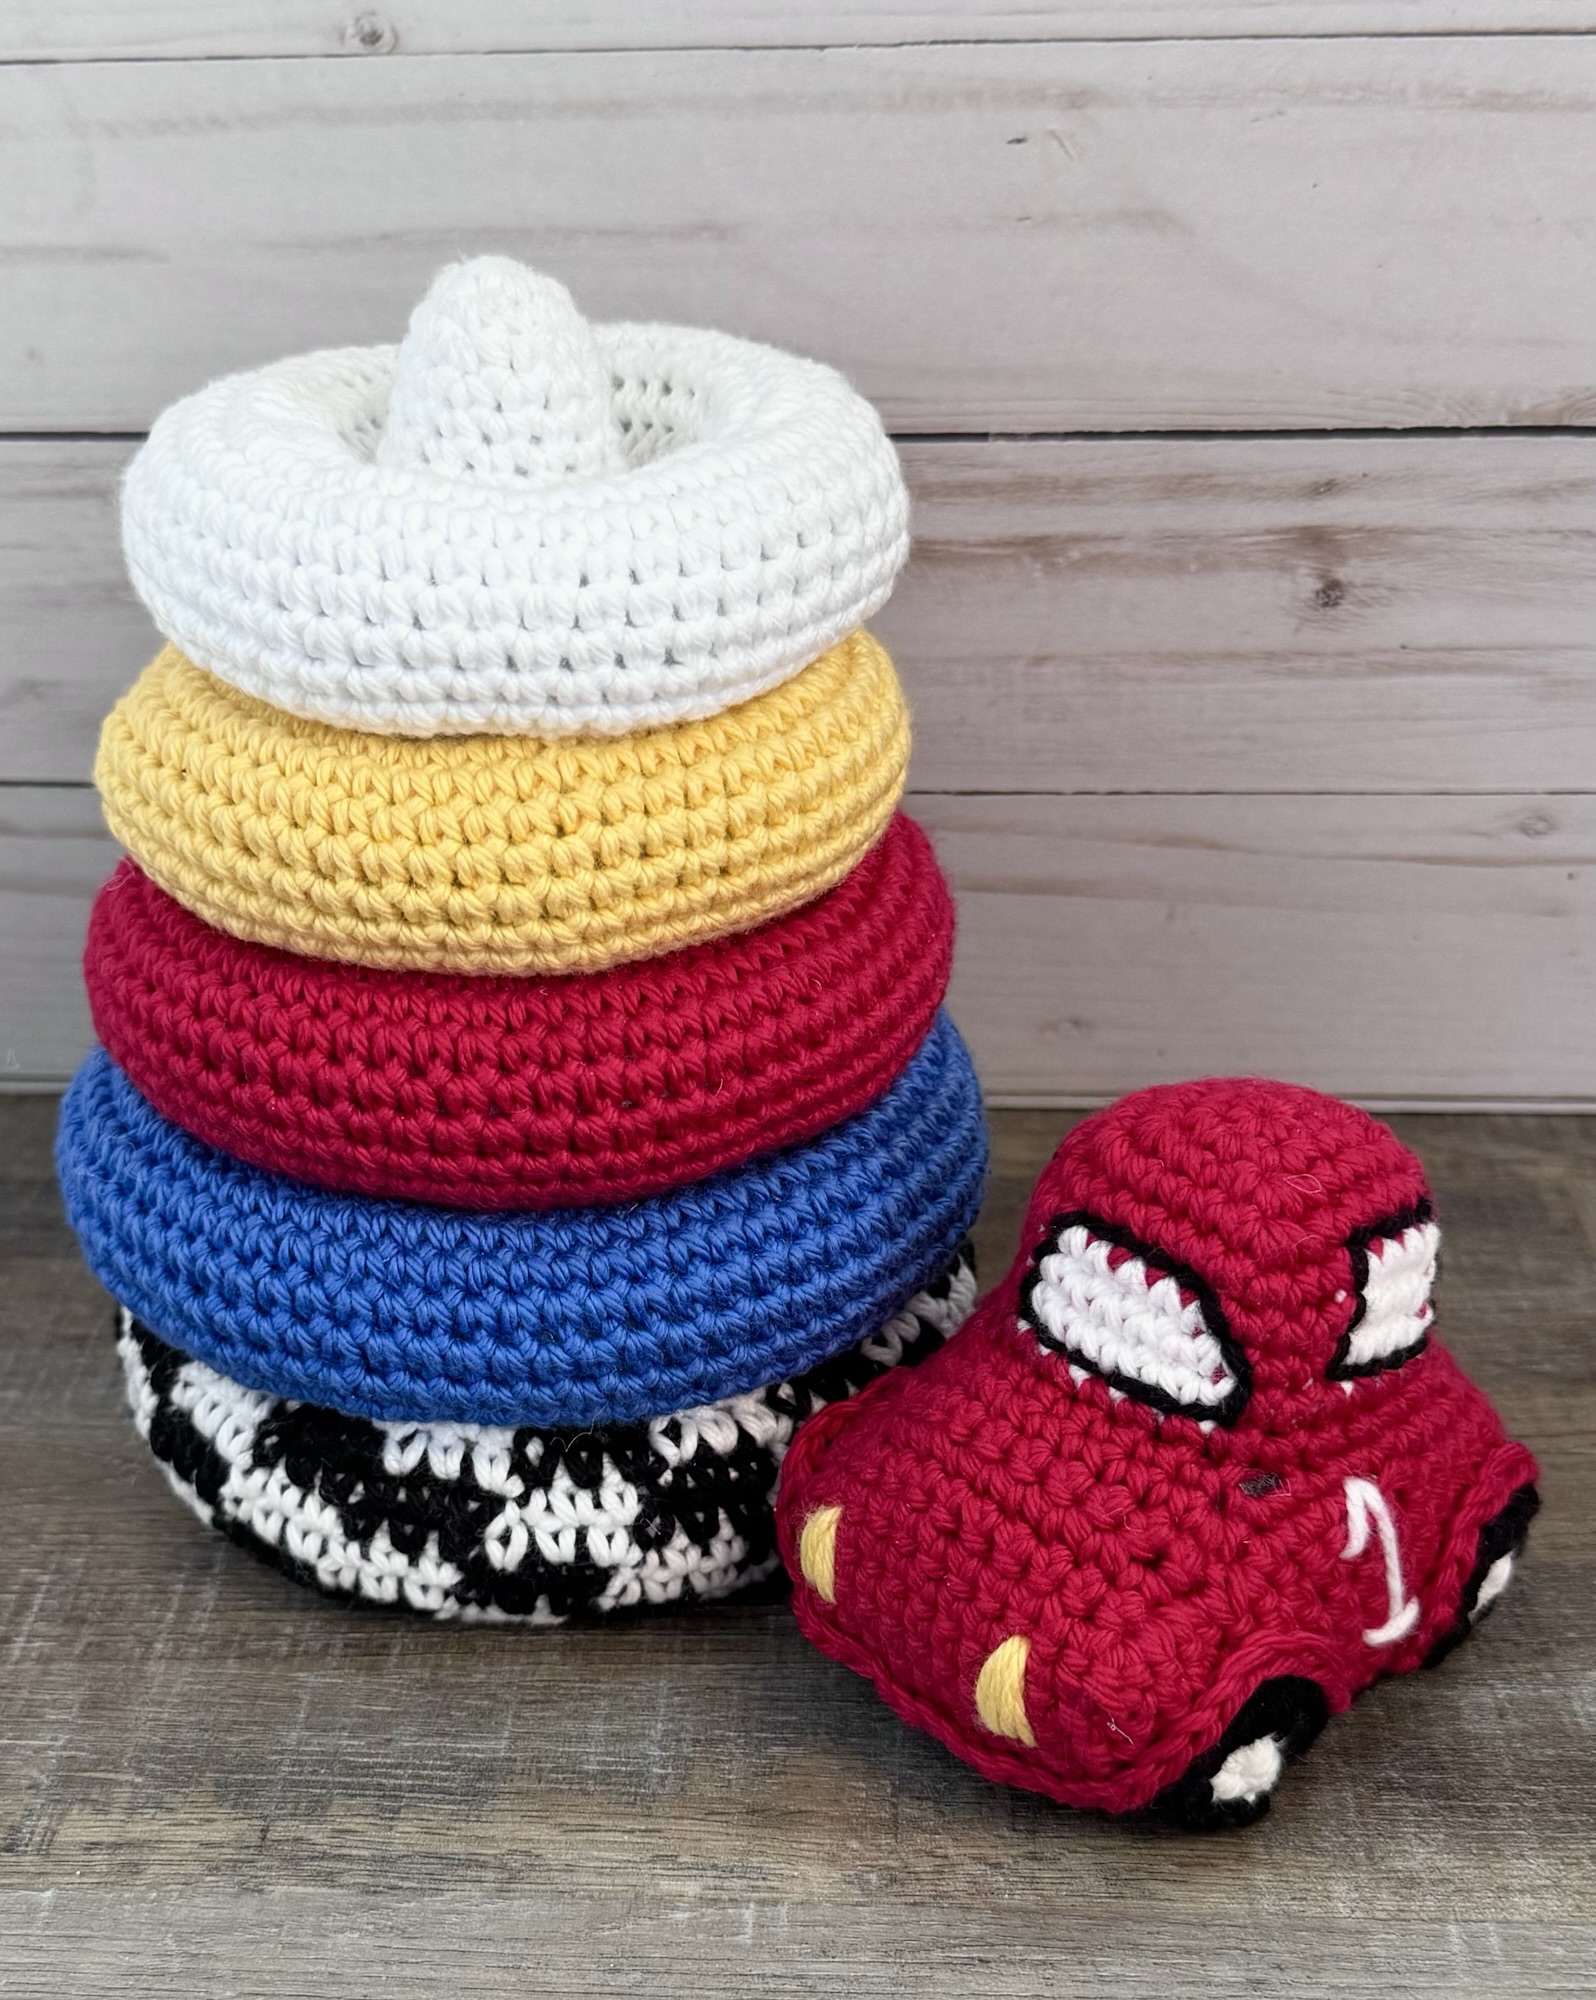
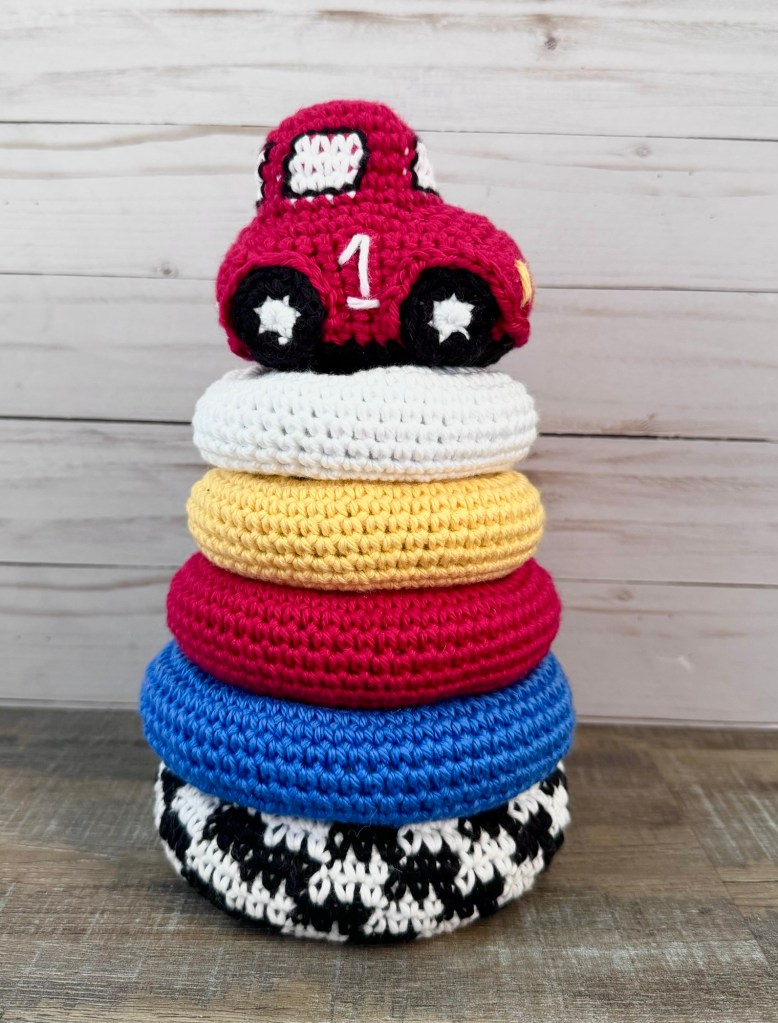
I have a quick and easy Crochet Christmas Tree Ornament pattern to share with you today. The ornaments work up quickly and can be made in any color that will match your Christmas decor.🎄
Disclosure: Some of the links on my site are affiliate links, meaning, at no additional cost to you, I will earn a small commission if you click through and make a purchase. As an Amazon Associate I earn from qualifying purchases.
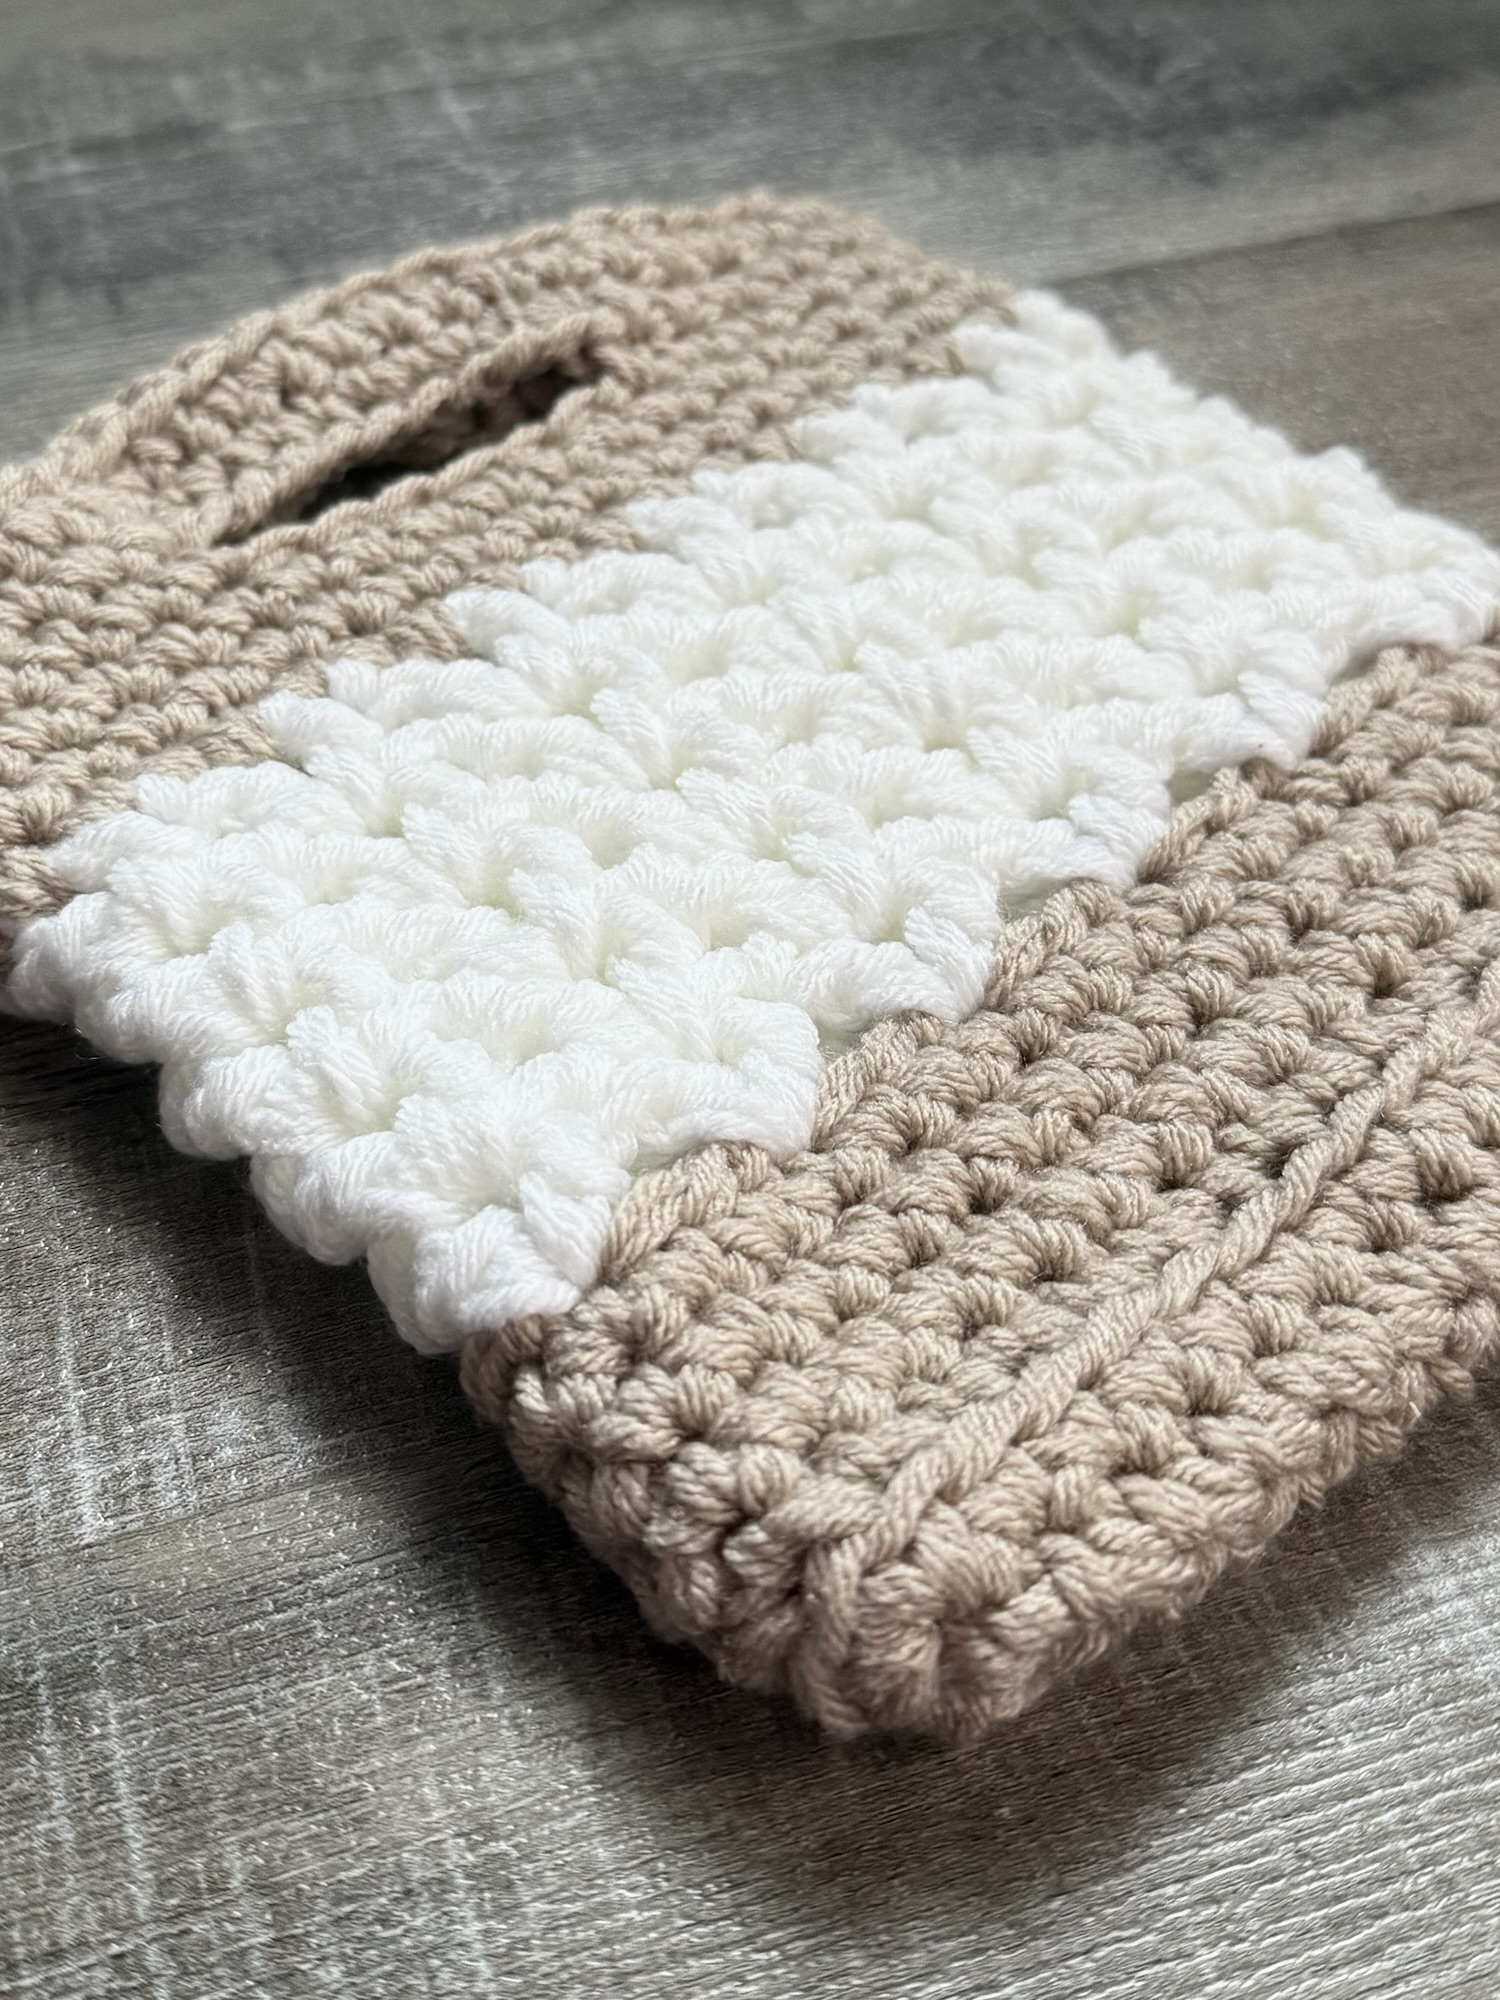
I stitched up my ornaments with Yarn Bee Soft & Sleek yarn in White and Linen using an H/5mm crochet hook. You’ll need some Poly-fil for stuffing your ornaments and small wood beads to add to the top of tree if you choose to use them. These are the white beads and the natural beads I used.
You can find the pattern below along with a link to a free PDF if you’d like to easily print it.

Crochet Christmas Tree Ornament
Worsted Weight (4) Yarn – I used Yarn Bee Soft & Sleek in White and Linen
H/5mm crochet hook
Poly-fil for stuffing ornament.
Small wood bead (optional)
Stitches used in US terms:
Chain – ch
Single Crochet – sc
Single Crochet Decrease – sc Dec
Slip Stitch – ss
Make two trees.
Row 1: ch 19. sc in back bump of 2nd ch from hook and each stitch across. (18 stitches)
Row 2: Ch 1. Work sc dec over 1st 2 stitches. Sc in next 14 stitches. Work sc dec over last 2 stitches. Turn. (16 stitches)
Row 3: Ch 1. Sc in each stitch across. Turn. (16 stitches)
Row 4: Ch 1. Work sc dec over 1st 2 stitches. Sc in next 12 stitches. Work sc dec over last 2 stitches. Turn. (14 stitches)
Row 5: Ch 1. Sc in each stitch across. Turn. (14 stitches)
Row 6: Ch 1. Work sc dec over 1st 2 stitches. Sc in next 10 stitches. Work sc dec over last 2 stitches. Turn. (12 stitches)
Row 7: Ch 1. Sc in each stitch across. Turn. (12 stitches)
Row 8: Ch 1. Work sc dec over 1st 2 stitches. Sc in next 8 stitches. Work sc dec over last 2 stitches. Turn. (10 stitches)
Row 9: Ch 1. Sc in each stitch across. Turn. (10 stitches)
Row 10: Ch 1. Work sc dec over 1st 2 stitches. Sc in next 6 stitches. Work sc dec over last 2 stitches. Turn. (8 stitches)
Row 11: Ch 1. Sc in each stitch across. Turn. (8 stitches)
Row 12: Ch 1. Work sc dec over 1st 2 stitches. Sc in next 4 stitches. Work sc dec over last 2 stitches. Turn. (6 stitches)
Row 13: Ch 1. Sc in each stitch across. Turn. (6 stitches)
Row 14: Ch 1. Work sc dec over 1st 2 stitches. Sc in next 2 stitches. Work sc dec over last 2 stitches. Turn. (4 stitches)
Row 15: Ch 1. Sc in each stitch across. Turn. (4 stitches)
Row 16: Ch 1. Work 2 sc dec. (2 stitches)
Row 17: Ch 1. Work 1 sc dec (1 stitch)
Fasten off and weave in ends.
Making the tree trunk.
Turn your piece so you are working across the bottom.
Row 1: Skip the first 7 stitches on Row 1 of the tree and attach yarn in the next stitch with a slip stitch. sc in same stitch as slip stitch and in next 3!stitches. Turn. (4 stitches)
Rows 2-3: ch 1 (does not count as a stitch). sc in each stitch across. Turn. (4 stitches)
Fasten off and weave in ends.
To make the ornament:
Place pieces together and attach yarn through both pieces in the bottom right corner of the trunk. Single Crochet all the way around through both pieces, adding an extra sc in the corners. Stuff the ornament with poly-fil as you go. Slip stitch to the first single crochet.
Fasten off and weave in ends.
Finished ornament measures about 5.5 inches tall and 4.5 inches across the bottom.
To make hanger:
Thread a piece of yarn through the top of the tree. Thread both ends of the yarn through the wood bead (if using). Push the bead close to the ornament and tie a knot close to the bead to keep it in place. Tie the ends of the yarn together to complete the hanger. Trim off any excess yarn.


Here’s the link to the free PDF…
These would be cute in green, red, blue, or even pink! 🙂 They would be so fun to add as a package tie on or stitch up a couple for neighbor gifts.🎁
They work up quickly so you still have lots of time to make them for gift giving!🎄🎁
Anita