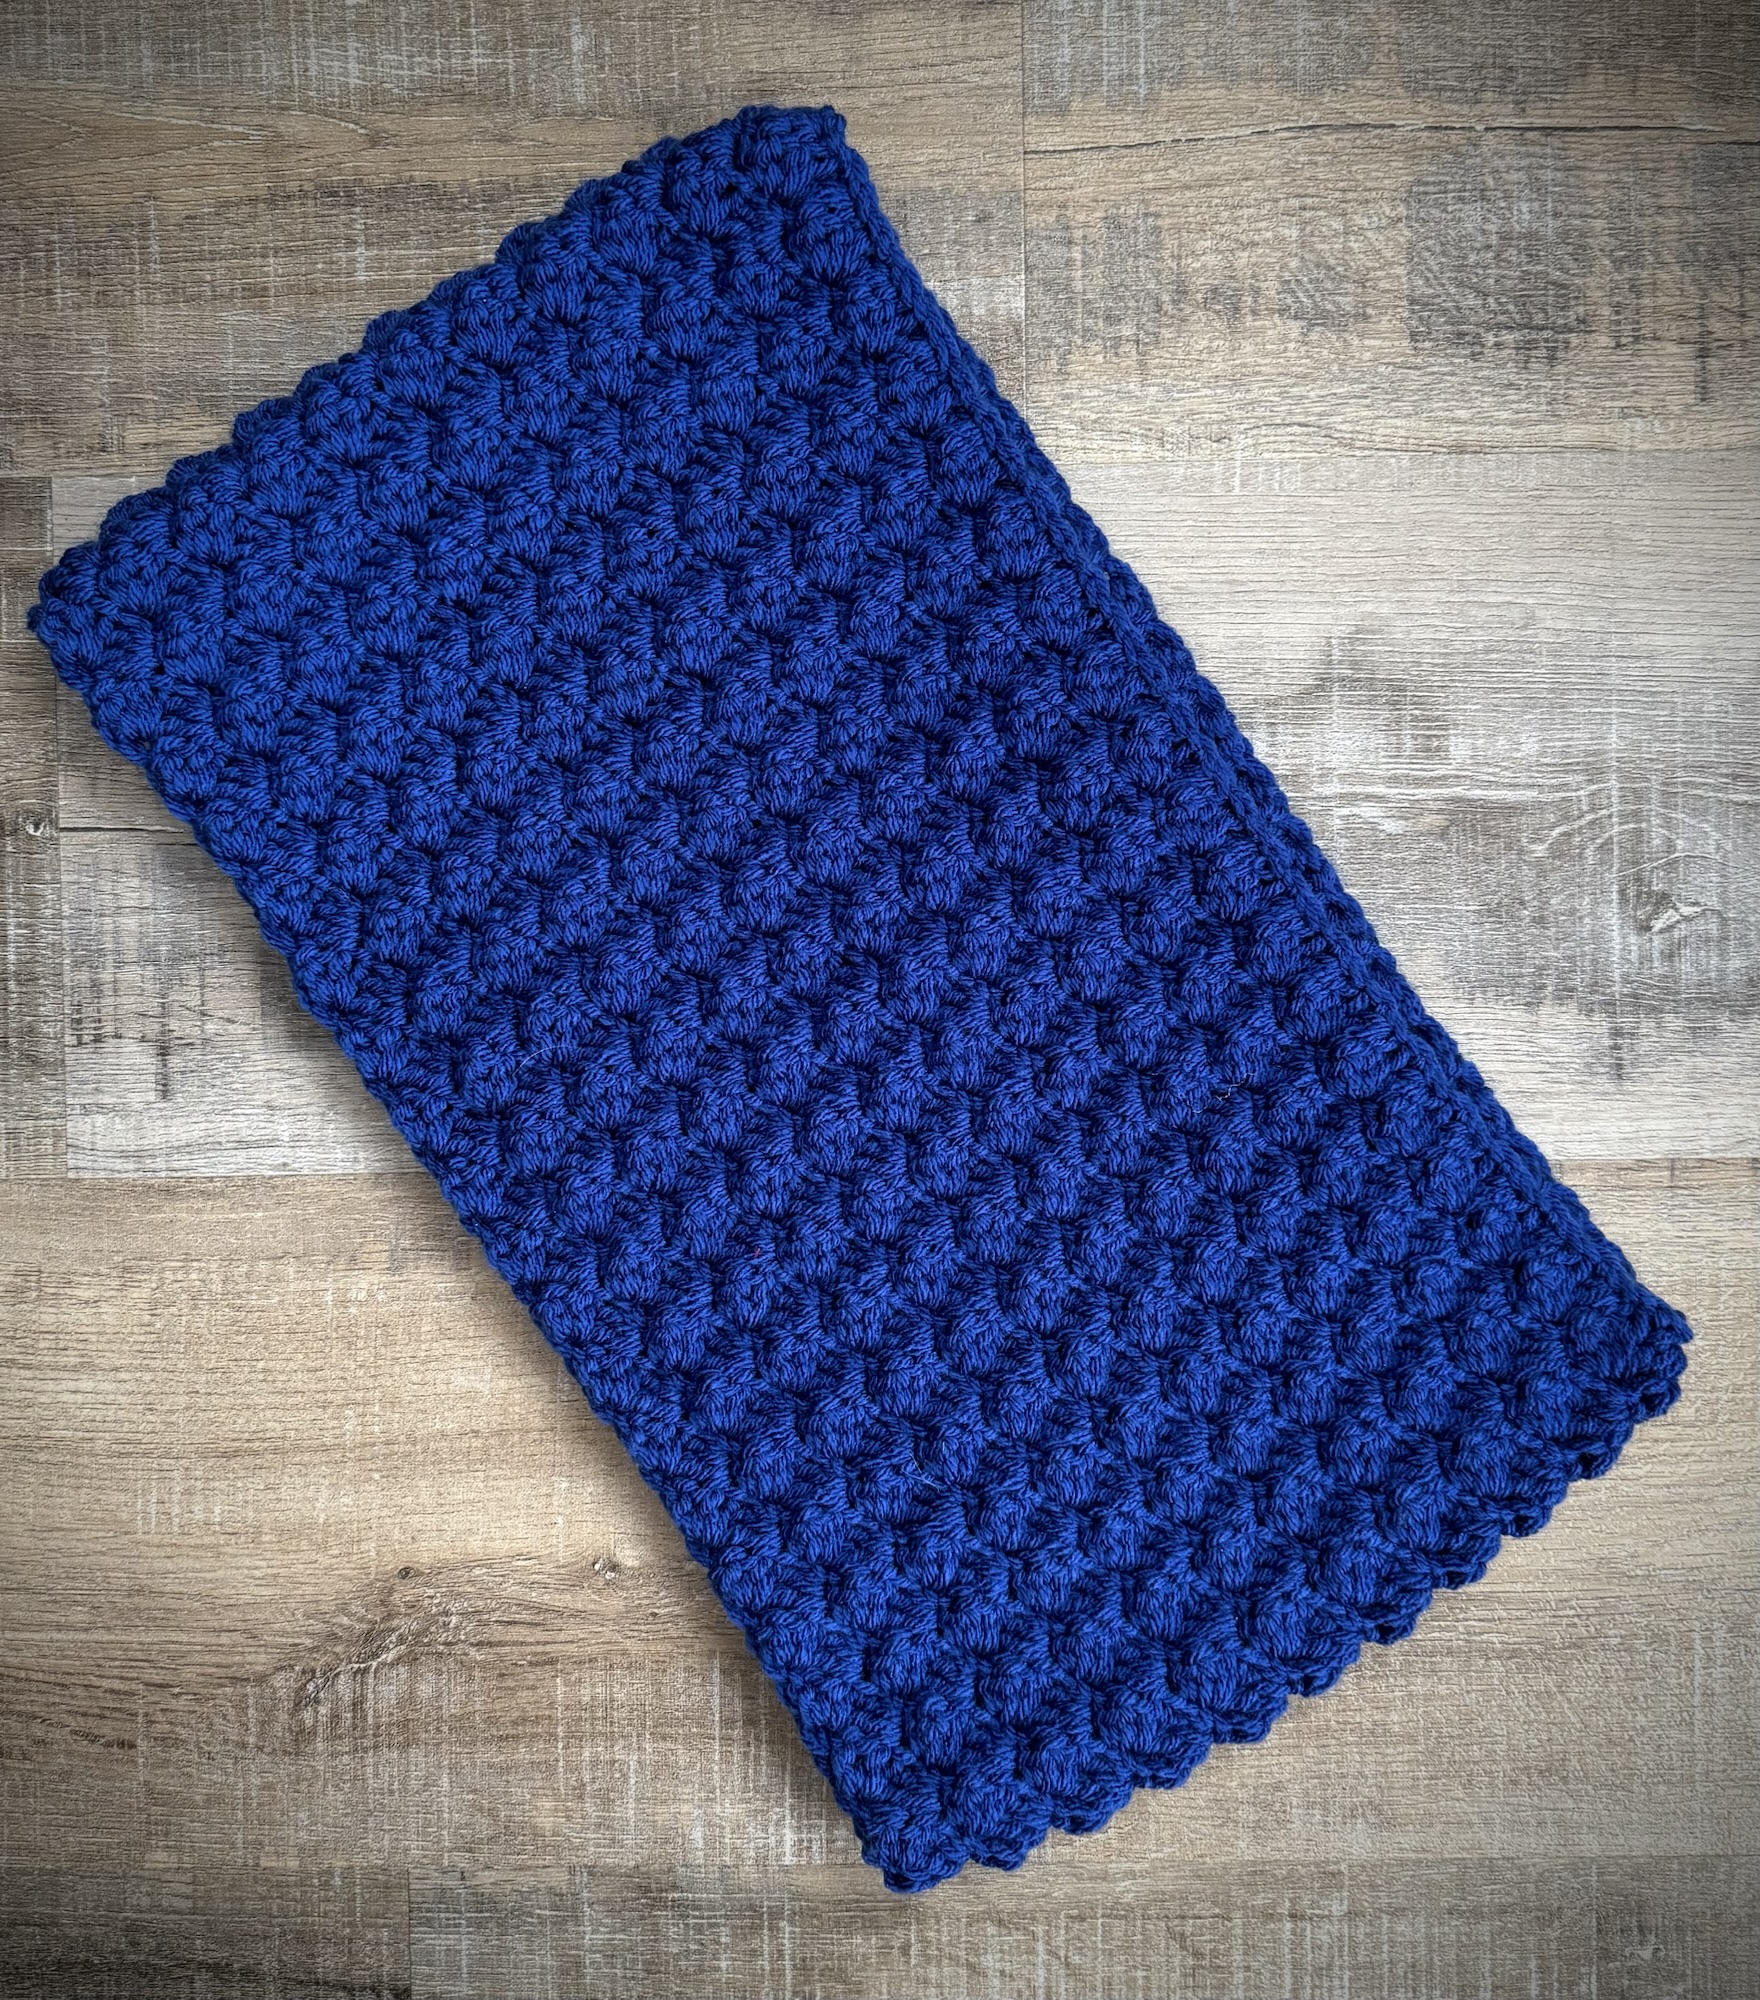
Crochet Thermal Stitch Trivet/Hot Pad

Hi friends,

Did you see my Crochet Thermal Stitch Coasters in this post? I had so much fun making them that I stitched up some matching trivets/hot pads. 😊

Disclosure: Some of the links on my site are affiliate links, meaning, at no additional cost to you, I will earn a small commission if you click through and make a purchase. As an Amazon Associate I earn from qualifying purchases.

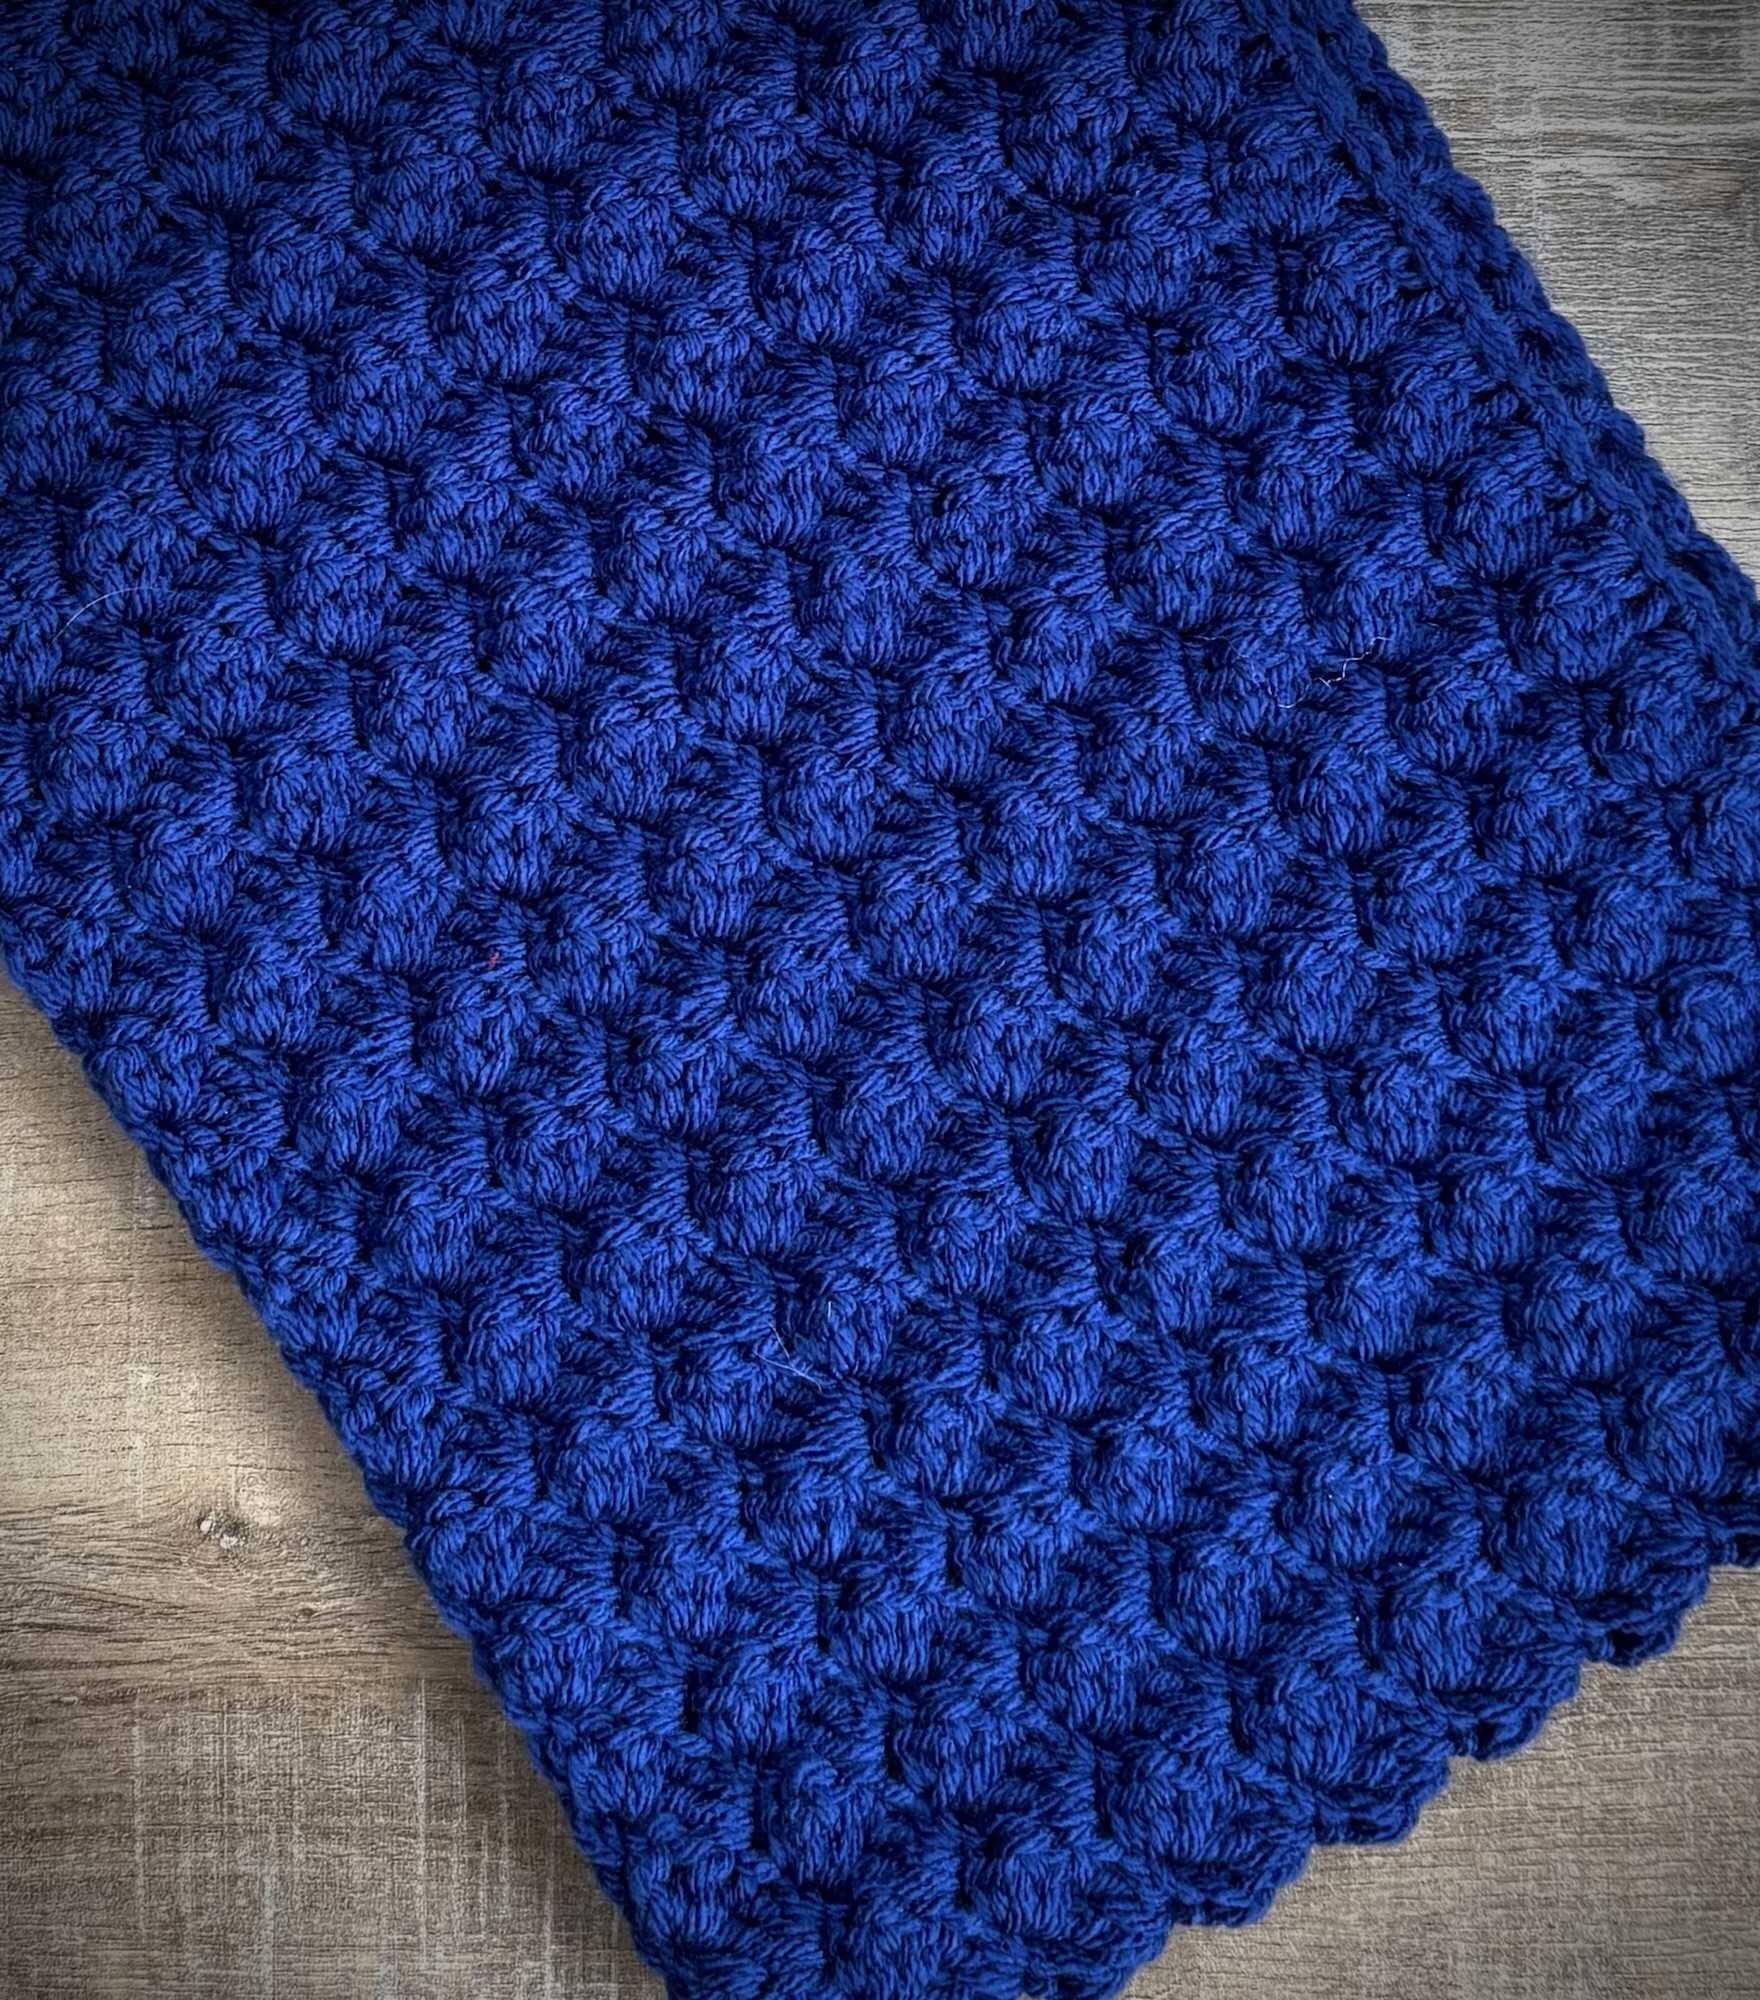
The Thermal Stitch is such a fun variation on single crochet. It creates a beautiful texture and thickness to your project.

Are you new to the Crochet Thermal Stitch? Okie Girl Bling ‘n’ Things has a great tutorial for this stitch on her blog.

For my trivets, I used I Love This Cotton Yarn in Royalty with a J/6mm crochet hook. To make them extra thick, I crocheted them holding 2 strands of yarn together. 🧶 You will want to be sure to use 100% cotton yarn so they will be able to handle the heat!

The super easy pattern is below along with a link to a free PDF if you’d like to easily print it.

Crochet Thermal Stitch Trivet/HotPad

Cotton Yarn (size 4) – I used I Love This Cotton in Royalty (approximately 3 ounces)

J/6mm crochet hook

Stitches used in US terms:

Chain – ch

Single Crochet – sc

Thermal Single Crochet – thsc

Back Loop Only – blo

Note: Trivet is stitched holding 2 strands of yarn together. 

Chain 21. 

Row 1: sc in back bump of 2nd ch from hook and in each ch across. ch 1, turn. (20 stitches)

Row 2: sc in blo of each stitch across. ch 1, turn. (20 stitches)

Rows 3: thsc across. ch 1, turn. (20 stitches)

Repeat Row 3 until piece measures about 7 inches. 

Fasten off and weave in ends. 

Finished trivet measures approximately 7 by 7 inches. 

Here’s the link to the free PDF…

The Crochet Thermal Stitch Trivet/Hot Pad is great to protect your counter or table from hot dishes. They are also flexible enough for taking hot dishes out of the oven or microwave.

These will make great gifts! You can make them in any color to match any kitchen.

Anita

Posted in Crochet, Gifts | Tagged , | 1 Comment

Birthday Gnomes – Handmade Cards

Hi friends,

I found this cute Gnome Birthday clear stamp set on clearance at Hobby Lobby and knew it needed to come home with me! 😊 It seems to be discontinued from Spellbinders ☹️, but you can easily change the stamp to any fun birthday image in your collection to make a similar card.

Disclosure: Some of the links on my site are affiliate links, meaning, at no additional cost to you, I will earn a small commission if you click through and make a purchase. As an Amazon Associate I earn from qualifying purchases.

I made simple cards using both the boy and girl gnomes that are great to send to any of the little ones in your life – or anyone who loves gnomes!

I stamped the images with Memento Tuxedo Black ink on white card stock and colored them with Copic markers. You can see the colors I used in the photos below.

I die cut around the images using the Deckle & Stitches Nesting Dies from Unity Stamp Company and layered them to coordinating card stock die cut with the same set. The sentiment is stamped with matching ink and also die cut with the same set.

To add a little shine to the balloons, I applied Diamond Glaze and let it dry completely.

To make the card, I attached a piece of patterned paper to a white card. The gnome piece is attached to the card with foam tape and the sentiment is adhered at an angle.

These are simple little cards, but oh so cute!! 🩵🩷

Anita

Continue reading
Posted in Uncategorized | Leave a comment

Sweet Day – August 2024 Christmas Card

Hi friends,

I’m sharing my monthly Christmas card creation for August today. 🎄 I make a few of each monthly design to build up my stash for the holidays. It is so helpful when things get busy!

Disclosure: Some of the links on my site are affiliate links, meaning, at no additional cost to you, I will earn a small commission if you click through and make a purchase. As an Amazon Associate I earn from qualifying purchases.

You can find my other monthly creations here… January, February, March, April, May, June and July.

This month’s card was inspired by {BYSHC} Sketch Challenge 48 on the Build Your Stash Holiday Cardmakers Facebook page. You can find so much inspiration on that page – not only for holiday cards, but the sketches are great inspiration for any cards!

My cute gingerbread cookie stamp is from the Sweet Treat Christmas set from Unity Stamp Company. The sentiment is also from Unity – It was part of a grab bag, so I’m not sure which set it’s from.

I stamped the image with Memento Tuxedo Black ink on white card stock and colored it with the Copic marker colors in the photo below. I die cut around it with the Scallops & Circles Nesting Dies from Unity and layered it to red card stock die cut with the same set.

To make the background of the card, I cut 1/2 inch strips of 3 different papers and attached them to a 5 inch by 3-3/4 inch piece of white card stock at an angle. Once they were all adhered, I trimmed off any excess around the edges and attached the piece to a 5-1/2 inch by 4 inch piece of green card stock.

The gingerbread image is attached to the background piece, with the right side over the edge of the background piece. The excess from the circle is trimmed off and then the piece is attached to a white card.

The sentiment is stamped with red ink on a strip of white card stock and attached to the card with foam tape.

This is a fun layout that can be used for all kinds of cards – not just Christmas. 😉 Just change the image, papers, and sentiment for a birthday, thinking of you, or even a sympathy card.

Anita

Posted in Cards, Christmas, Stamping | Tagged , , | 4 Comments

Crochet Thermal Stitch Coasters

Hi friends,

These Crochet Thermal Stitch Coasters are super easy to make! The Thermal Stitch is a variation of single crochet and makes the coasters nice and thick. If you need a tutorial on how to work up this stitch, Okie Girl Bling ‘n’ Things has a great video tutorial here.

Disclosure: Some of the links on my site are affiliate links, meaning, at no additional cost to you, I will earn a small commission if you click through and make a purchase. As an Amazon Associate I earn from

I used the Thermal Stitch along with I Love This Cotton Yarn in Royal and an H/5mm crochet hook to stitch up my coasters. The super easy pattern is below. One thing I love about the Thermal Stitch is that you really don’t need to add any border around your finished piece! 🙂

Crochet Thermal Stitch Coasters

Cotton Yarn (size 4) – I used I Love This Cotton Yarn in Royalty 

H/5mm crochet hook

Stitches used in US terms:

Chain – ch

Single Crochet – sc

Thermal Single Crochet – thsc

Back Loop Only – blo

Chain 17. 

Row 1: sc in back bump of 2nd ch from hook and in each ch across. ch 1, turn. (16 stitches)

Row 2: sc in blo of each stitch across. ch 1, turn. (16 stitches)

Rows 3: thsc across. ch 1, turn. (16 stitches)

Repeat Row 3 until piece measures about 4 inches. 

Fasten off and weave in ends. 

Here’s a free PDF if you’d like to easily print the pattern…

These coasters work up so quickly! Tie a set of 4, 6, 8, or more 🙂 with a pretty ribbon for a great hostess gift or Christmas gift. They can be stitched up in any color to match any decor.

Don’t forget to pin this post to your crochet Pinterest board for later!

Anita

Posted in Crochet, Gifts | Tagged , | 2 Comments

Just Because – Handmade Card

Hi friends,

I have a super quick and easy card to share with you today. There’s no coloring at all on this card so it comes together quickly and the background paper adds a pop of color. 🙂

Disclosure: Some of the links on my site are affiliate links, meaning, at no additional cost to you, I will earn a small commission if you click through and make a purchase. As an Amazon Associate I earn from qualifying purchases.

The flower vase image is from the Simply Blessed stamp set from Unity Stamp Company. The sentiment is from the Let Your Wishes Fly stamp set also from Unity. That particular set is discontinued, use your favorite sentiment or none at all. 🙂

I stamped the image with Memento Rich Cocoa ink on white card stock. Using the Deckle & Stitches Nesting Die Set from Unity, I die cut around the image. The top and edges of the image are cut off – I just made sure that the die was lined up so the image was cut just below the bottom of the vase.

I used my Misti stamping tool to line up the sentiment at an angle on the stamped piece. I stamped it using the same Memento Rich Cocoa ink several times to get it dark enough. The stamped piece is then layered to brown card stock die cut from the same die set.

I added patterned paper to white card stock. The paper is from the Simply Blessed Paper Pack also from Unity. The stamped piece is attached to the card with foam tape. To finish it off, I added 3 dots of Nuvo Vintage Drops in the color Peppermint Candy.

I love when a simple card turns out so pretty! 🥰

Anita

Posted in Cards, Stamping | Tagged , | Leave a comment

Butterfinger Cake

Hi friends,

We were invited to a potluck recently and I signed up to bring a dessert but wasn’t sure what I was going to make. I had heard that this Butterfinger Cake recipe from Passionate Penny Pincher was really good so I decided to try it.

Disclosure: Some of the links on my site are affiliate links, meaning, at no additional cost to you, I will earn a small commission if you click through and make a purchase. As an Amazon Associate I earn from qualifying purchases.

The cake is made using only 5 ingredients (plus what you need to bake the cake) and it’s super easy to make. You can find the full recipe here.

Here’s what the cake looks like as you are assembling it. Oh my goodness! So much yumminess! Just a little tip for chopping up the Butterfingers – I put them in a large ziptop bag and used my meat tenderizer mallet to break them into pieces.

This is the cake ready to eat! Just store it in the fridge until you are ready to serve it.

Since I took the cake to our potluck, I wasn’t able to get a picture of a piece cut from it. But it seemed to be a hit. 😊

I think this cake would be amazing with chopped Snickers bars in place of the Butterfingers, too! 😋

Anita

Posted in Recipes | Tagged | Leave a comment

Crochet Pineapple Scrubby

Hi friends,

Look how cute these Crochet Pineapple Scrubbies are! 🍍🍍 The pattern is from Okie Girl Bling ‘n’ Things and you can find it here on her website.

Disclosure: Some of the links on my site are affiliate links, meaning, at no additional cost to you, I will earn a small commission if you click through and make a purchase. As an Amazon Associate I earn from qualifying purchases.

The pineapple scrubbies are stitched up using Yarn Bee Scrub-Ology Scrub It yarn from Hobby Lobby in Lemon and Green with a J/6mm crochet hook. They are stitched using the Thermal Crochet Stitch. Kylee from Okie Girl Bling ‘n’ Things has a great video tutorial on crocheting this stitch if you need it.

These scrubbies work up really quickly and will look so cute in your kitchen! They make fun gifts, too. 🙂 🍍🍍

Anita

Posted in Crochet, Gifts | Tagged , | Leave a comment

You Make Life Sweeter – Birthday Card

Hi friends,

This You Make Life Sweeter Birthday Card just makes me happy! 🙂 The colors are so bright and fun and I love the sentiment.

Disclosure: Some of the links on my site are affiliate links, meaning, at no additional cost to you, I will earn a small commission if you click through and make a purchase. As an Amazon Associate I earn from qualifying purchases.

The stamp set is called Life is Sweeter with Treats from Unity Stamp Company. Sadly, this set is retired. ☹️ If you don’t have this set in your collection, I hope the layout on this card will inspire you to create a fun birthday card with your favorite birthday stamps.

I stamped the image with Memento Tuxedo Black ink and colored it with the Copic markers in the photo below. I punched around the image with a 2-inch circle punch and layered it to a 2.5-inch scalloped circle punched from orange card stock.

To make the card, I added a piece of patterned paper to a white card. Using the Scallops & Banners Nesting Dies from Unity Stamp Company, I die cut a banner from turquoise card stock and green patterned paper. I layered them together and attached them to the card using foam tape. Then I attached the stamped image over the banner using foam tape.

The sentiment is stamped with orange ink on white card stock. I die cut around it using the Scalloped & Stitched Sentiment Nesting Dies from Unity and attached it to the banner using foam tape on the side that attaches directly to the card.

Celebrating the people we love makes our lives so much sweeter!

Anita

Posted in Cards, Stamping | Tagged , | Leave a comment

Crochet Secrets Book from The Knotty Boss

Hi friends,

Have you seen this new book Crochet Secrets from The Knotty Boss by Anna Leyzina? It is filled with over 100 crochet tips and tricks. It is a great reference for beginners and seasoned crocheters alike. 🙂

Disclosure: Some of the links on my site are affiliate links, meaning, at no additional cost to you, I will earn a small commission if you click through and make a purchase. As an Amazon Associate I earn from qualifying purchases.

Anna has tips to help you from the beginning of your crochet project to finishing it off. There are ways to keep your rows even and help when crocheting in the round. She has tips for changing colors and making amigurumi – and so much more! The book is written using US crochet terms but she’s also included a chart to convert to UK terms.

The Knotty Boss also has an Etsy site filled with printable tags, labels, inserts, and templates that you can purchase to make your finished makes look even more professional. I have personally purchased a few of them and they are great! All you have to do is print them onto card stock, cut them out, and add them to your finished crochet project.

The book is well written and filled with beautiful photos to help you get everything just right. This would be a great book to add to your library – I’m sure I will be referencing Crochet Secrets from The Knotty Boss over and over again. 🙂

This book would make a great Christmas gift for all your crocheting friends. 🎄

Anita

Posted in Crochet, Gifts, Uncategorized | Tagged , | Leave a comment

Crochet Suzette Stitch Baby Blanket

Hi friends,

I’m sure I’ve said this before, but baby blankets are one of my favorite things to crochet! They make snuggling up with those sweet little ones even better. 😊

Disclosure: Some of the links on my site are affiliate links, meaning, at no additional cost to you, I will earn a small commission if you click through and make a purchase. As an Amazon Associate I earn from qualifying purchases.

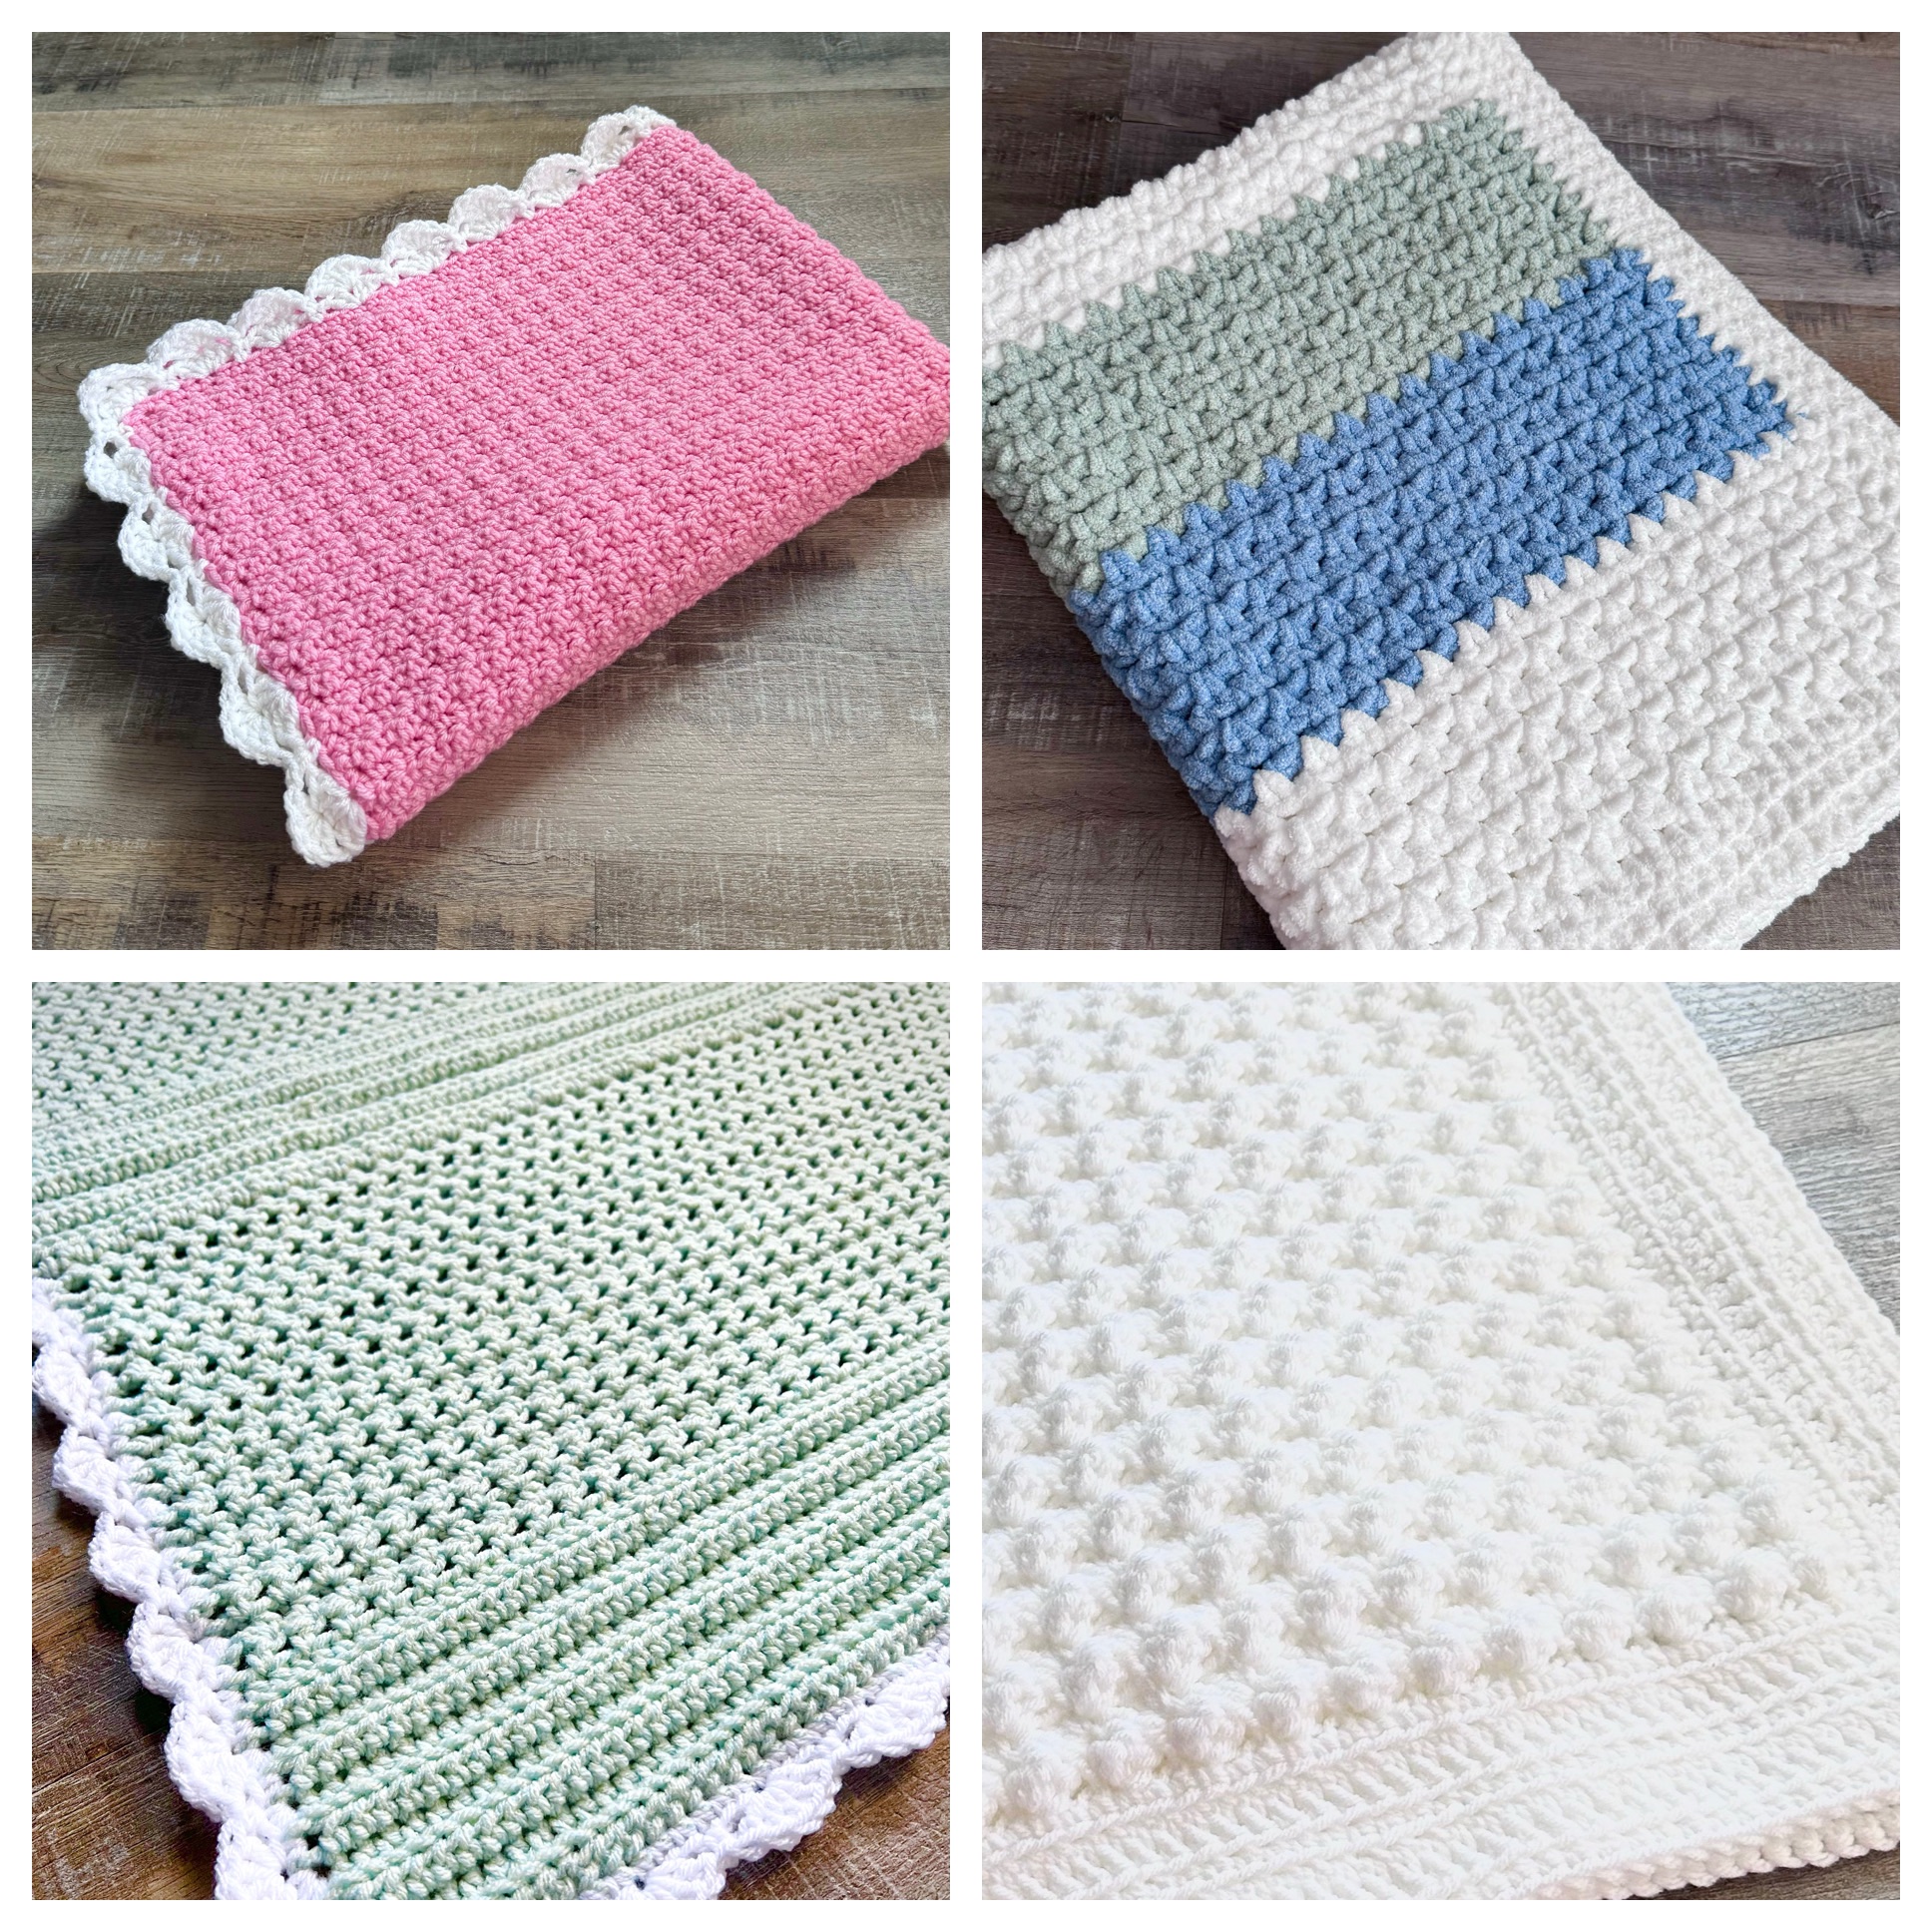
The Crochet Suzette Stitch Baby Blanket has the best texture! And the simple border just sets it off. The pattern uses simple stitches and is great for beginners and seasoned crocheters alike.

I used I Love This Yarn in White and Pink with an I/5.5mm crochet hook to stitch up my blanket. You can find the pattern below along with a link to a free PDF if you’d like to easily print it.

Crochet Suzette Stitch Baby Blanket

Worsted Weight (4) yarn – 14 ounces White and 2-3 ounces Pink

I used I Love This Yarn in White and Pink

I/5.5mm crochet hook

Stitches used in US terms:

Chain – ch

Single Crochet – sc

Half Double Crochet – hdc

Double Crochet – dc

Slip Stitch – ss

Note: ch 1 at the end of the row does not count as a stitch. 

Chain 91 with White. 

Row 1: sc in 2nd ch from hook and in each stitch across. ch 1 and turn. (90 stitches) (Right Side)

Row 2: hdc in the first stitch, *skip next stitch, sc and dc in the next stitch*. Repeat from * to * across to last stitch. hdc in the last stitch. Ch 1, turn. (90 stitches) (Wrong Side)

Row 3: hdc in the first stitch, *skip next stitch, sc and dc in next stitch*. Repeat from * to * across to last stitch. hdc in the last stitch. Ch 1, turn. (90 stitches)

Repeat Row 3 until blanket measures approximately 27 inches, ending with a Wrong Side row. 

Last row will be a right side row. The sc stitches will face the same way as Row 1.

Last Row: sc in each stitch across. (90 stitches)

Begin working in rounds

Continue with White. 

Round 1: ch 1. sc evenly around, working 3 sc in each corner. Join with ss to 1st sc. 

Change to Pink. 

Rounds 2-4: ch 1. sc in each stitch around, working 3 sc in each corner. Join with ss to 1st sc. 

Round 5: ch 4 (counts as 1st dc and ch 1). dc in same stitch as ss. *Skip next 2 stitches, (dc, ch 1, dc) in next stitch.* Repeat from *to* around. Join with ss to 3rd ch of beginning ch. 

Fasten off and weave in ends. 

Blanket measures approximately 30 by 30 inches. 

Here’s the link to the free PDF…

The Crochet Suzette Stitch Baby Blanket can be stitched up in any combination of colors or even in one solid color. What color will you make yours?

Happy Crocheting!

Anita

Posted in Baby, Crochet, Gifts | Tagged , , | 3 Comments