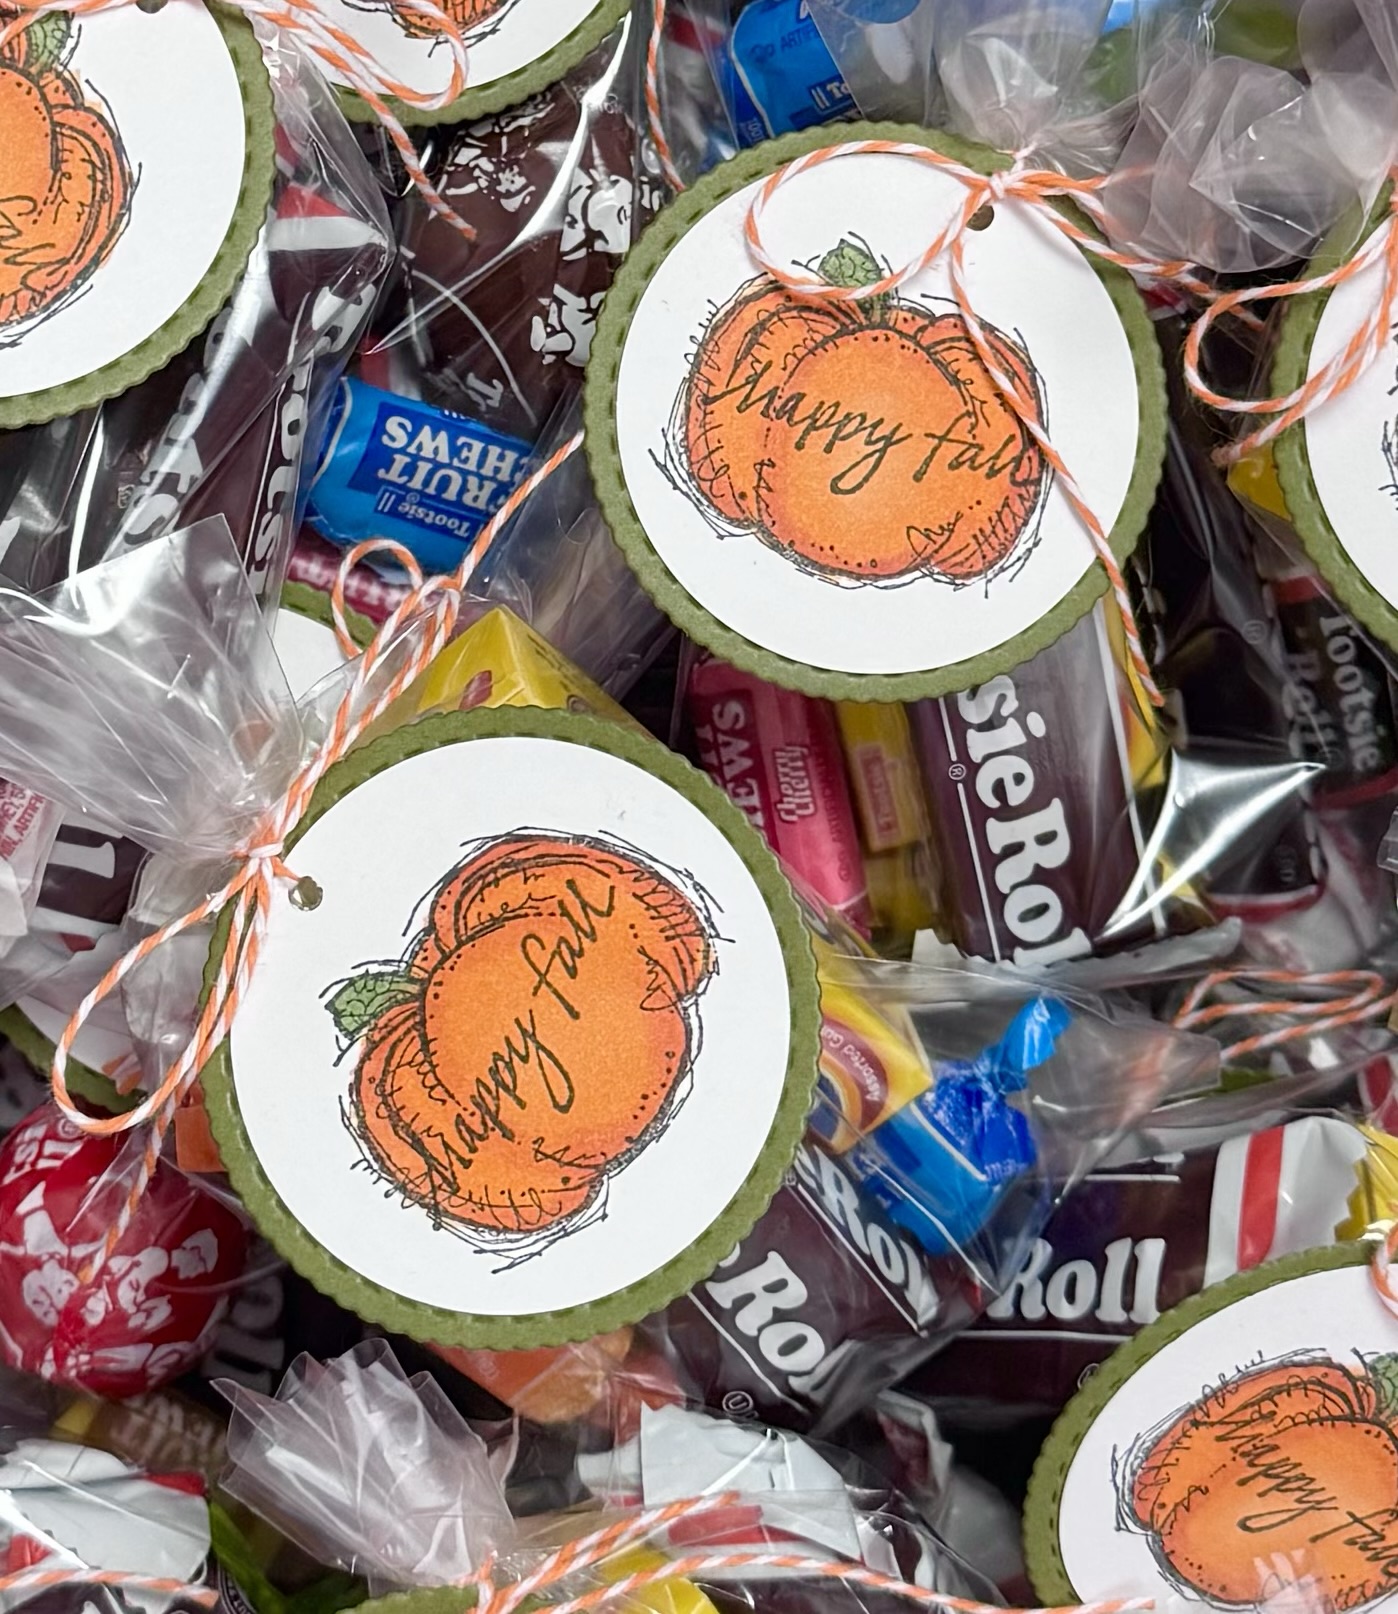
It’s so fun to make up Fall Treat Bags 🎃🍂🍁 for those special little ones – or big ones 😉! Adding a cute tag makes them even more fun.
Disclosure: Some of the links on my site are affiliate links, meaning, at no additional cost to you, I will earn a small commission if you click through and make a purchase. As an Amazon Associate I earn from qualifying purchases.
The stamps I used are ones I’ve had in my collection forever – I’m sure you have some great Fall stamps in your collection, too.
I stamped the pumpkin with Memento Tuxedo Black ink on white card stock and colored it with these Copic markers: YR12, YR15, YR15, YG63. Then I stamped “happy fall” across the pumpkin with black ink.
Whew! I made it! Only a few days left in September, but I managed to get my monthly Christmas card created. 🙂
I create a Christmas card design each month and then make 4-6 cards of that design. You can find my other monthly designs in these posts: January, February, March, April, May, June, July, and August.
Disclosure: Some of the links on my site are affiliate links, meaning, at no additional cost to you, I will earn a small commission if you click through and make a purchase. As an Amazon Associate I earn from qualifying purchases.
This month’s card was created using the Arctic Joyride stamp set from Unity Stamp Company. I’ll admit that for some reason I wasn’t feeling too inspired this month, but I ended up really liking how this card turned out. 🙂
I stamped the sentiment with black ink on gold card stock and die cut around it using these Scalloped & Stitched Sentiment Nesting Dies. My sentiment stamp is discontinued, use any of your favorite sentiments from your collection.
I embossed a piece of lightly patterned blue paper with a snowflake embossing folder (this is similar) and attached it to a white card. I added a strip of white card stock cut at an angle and embossed with a dot embossing folder. The penguin and the sentiment are attached to the card with foam tape.
I’m so glad that I continued working on this card – this little penguin is so sweet and I really like the finished card! 🐧
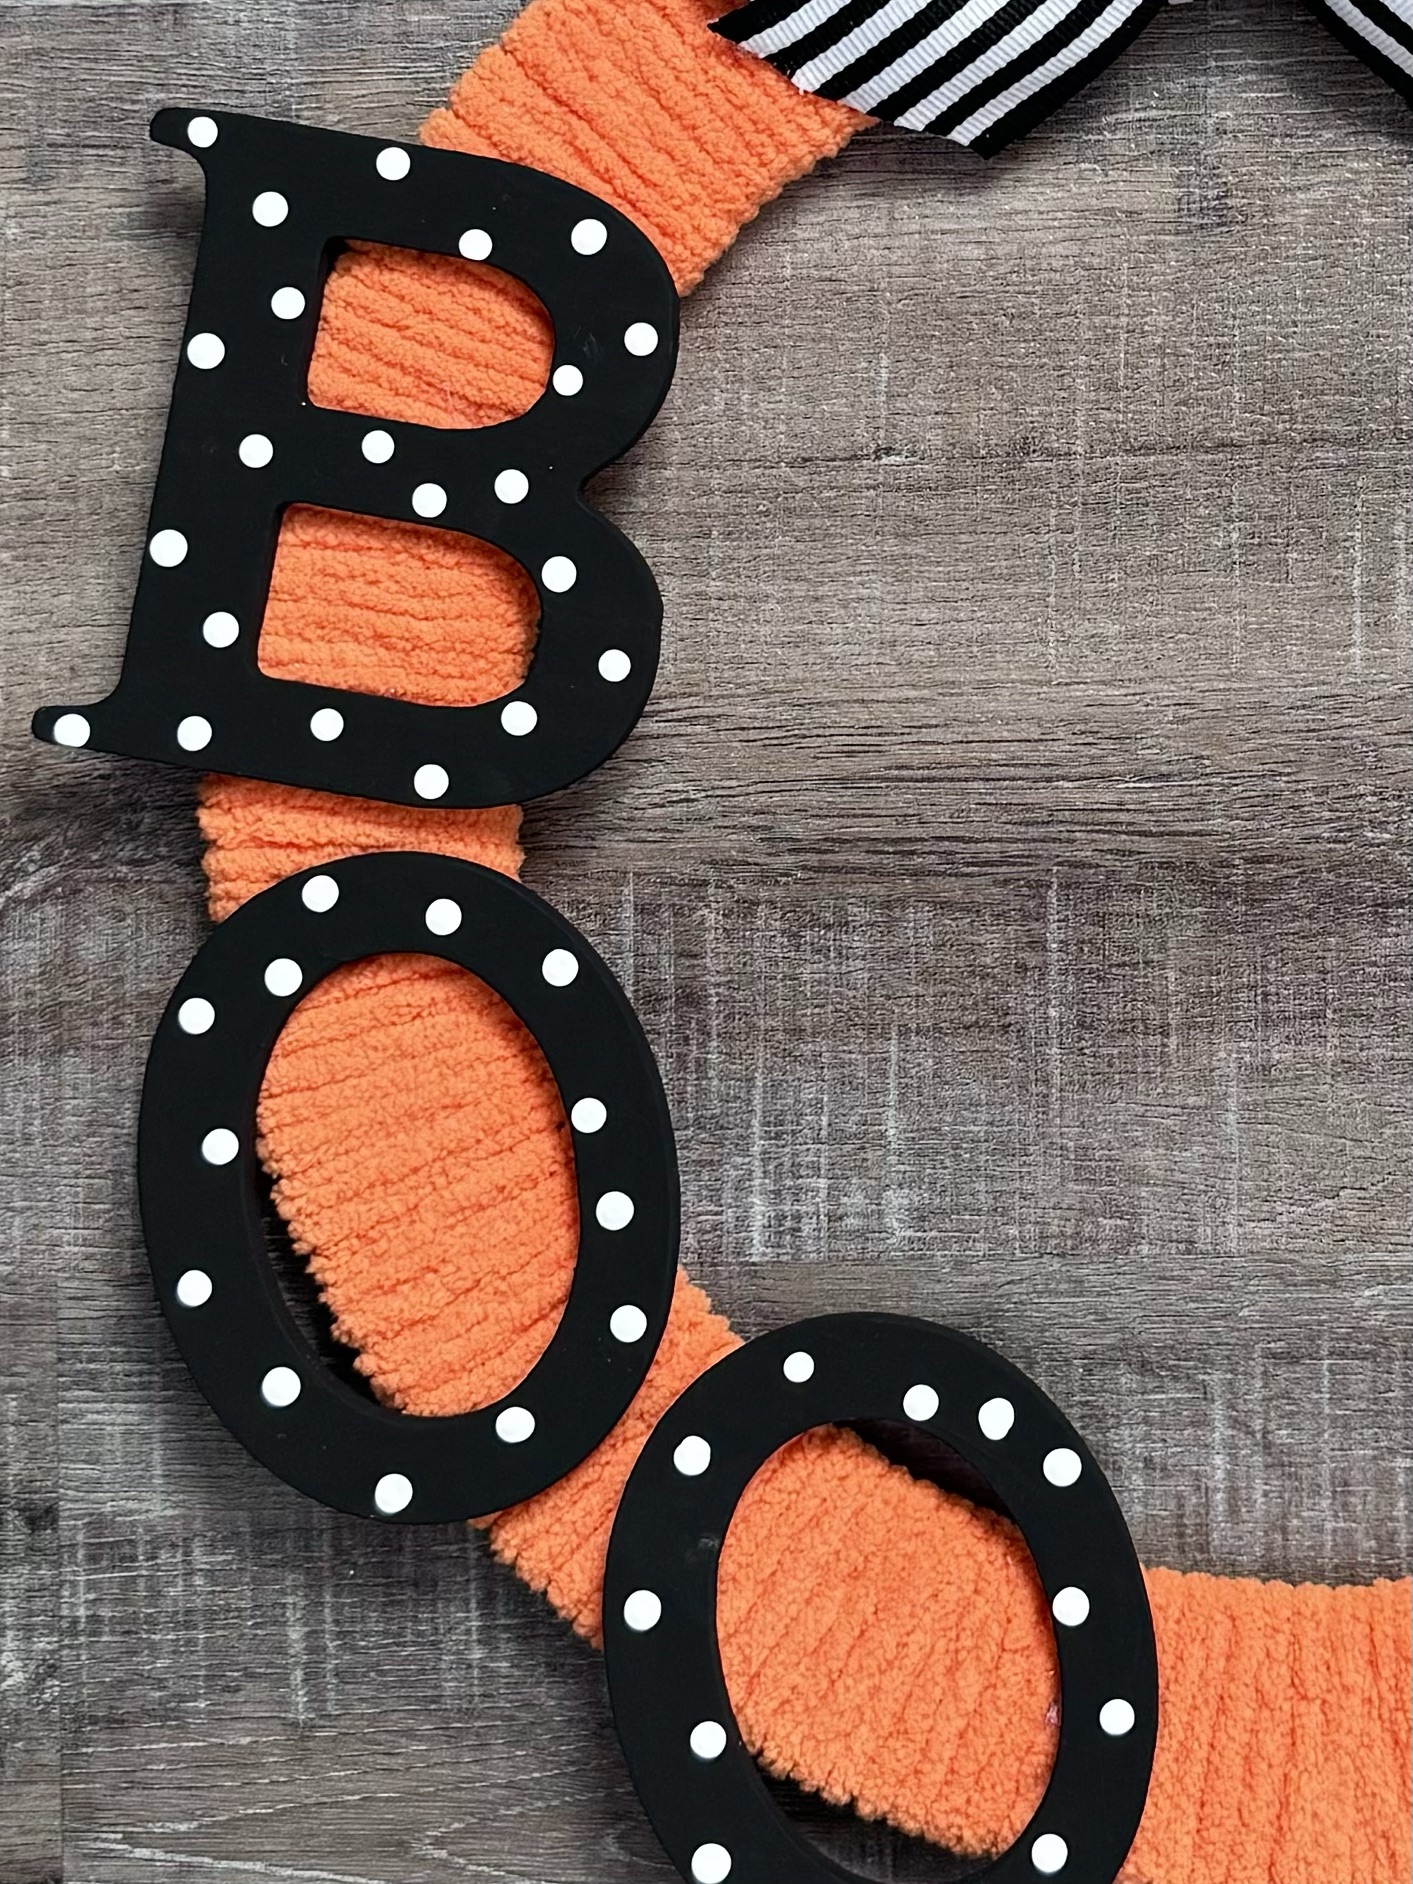
I have a fun BOO Wreath to share with you today. 👻 It’s super easy to make and will look so cute on your front door!
Disclosure: Some of the links on my site are affiliate links, meaning, at no additional cost to you, I will earn a small commission if you click through and make a purchase. As an Amazon Associate I earn from qualifying purchases.
I wrapped the yarn around the wreath form, keeping it close together and securing the ends underneath while wrapping.
I painted my letters black and my ghosts white. Using the rounded handle tip of a small paint brush, I added polka dots to the letters with white paint. I secured the letters and ghosts to the wreath using hot glue. Then I tied the ribbon around the wreath to make a hanger.
I added a simple Re-Fabbed style bow to the top of the wreath with hot glue. I finished the bow off by tying an orange button with orange/black twine and hot glueing it to the bow. I added tiny orange bows to the tops of the ghosts to cover up the hole.
And that’s it! Super easy to make and it will be super cute on your front door. 👻
Unity Stamp Company has this fun Boo to You stamp set. It makes the cutest Halloween cards! 👻
Disclosure: Some of the links on my site are affiliate links, meaning, at no additional cost to you, I will earn a small commission if you click through and make a purchase. As an Amazon Associate I earn from qualifying purchases.
This card was really fun to make! I stamped the ghost and sentiment with Memento Tuxedo Black ink on white card stock. I colored the ghost using Copic markers and then fussy cut around both the ghost and the sentiment. I layered the sentiment to orange card stock.
To make the background panel, I applied green, orange, and purple dye ink to white card stock using these blender brushes. I layered the piece to black card stock and attached it to a white card.
I die cut a circle from black card stock using the Scallops & Circles Nesting Dies and attached it to the card. The ghost and sentiment are attached to the card with foam tape. To finish the card, I added a few purple sequins. (This is my favorite adhesive for adding small embellishments to my cards.)
Disclosure: Some of the links on my site are affiliate links, meaning, at no additional cost to you, I will earn a small commission if you click through and make a purchase. As an Amazon Associate I earn from qualifying purchases.
I used my Cricut Explore Air 2 (there is now an updated Cricut Explore 3 machine) to cut the ghosts from white permanent vinyl and “BOO” from black permanent vinyl. I found the ghost designs by Oli and Joh in Cricut Design Space and sized them to fit on my candle. I used the Koorkin font for the “BOO”.
After the designs were cut, I weeded off the excess vinyl and used transfer tape with a scraper to apply them to the candles. (This is a great vinyl tool set.)
To add a little extra color, I attached ribbon around the top of the candle using mini glue dots.
Don’t have a Cricut machine? Look for some cute Halloween stickers to use on your candles. They won’t be as permanent as vinyl, but I think they would last through the season.🎃👻
These Halloween Candles were super quick and easy to make. I think the longest part was deciding which font to use for the “BOO”! 🎃👻
Did you see my cute Crochet Candy Corn Plush Pillow in this post? If you like candy corn – or at least candy corn crochet patterns 😉 – you can find links to a few more of my fun patterns below.
Disclosure: Some of the links on my site are affiliate links, meaning, at no additional cost to you, I will earn a small commission if you click through and make a purchase. As an Amazon Associate I earn from qualifying purchases.
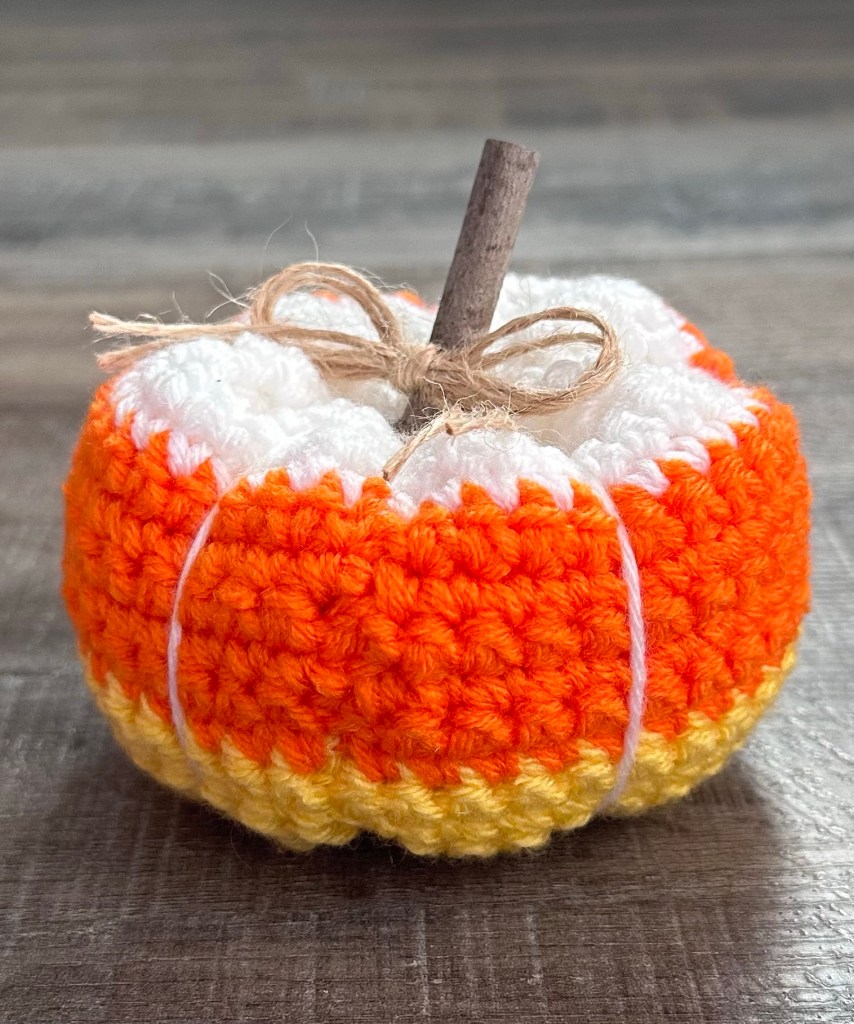
Of course pumpkins are perfect for fall decor and this cute Crochet Candy Corn Pumpkin will add a little whimsical touch.
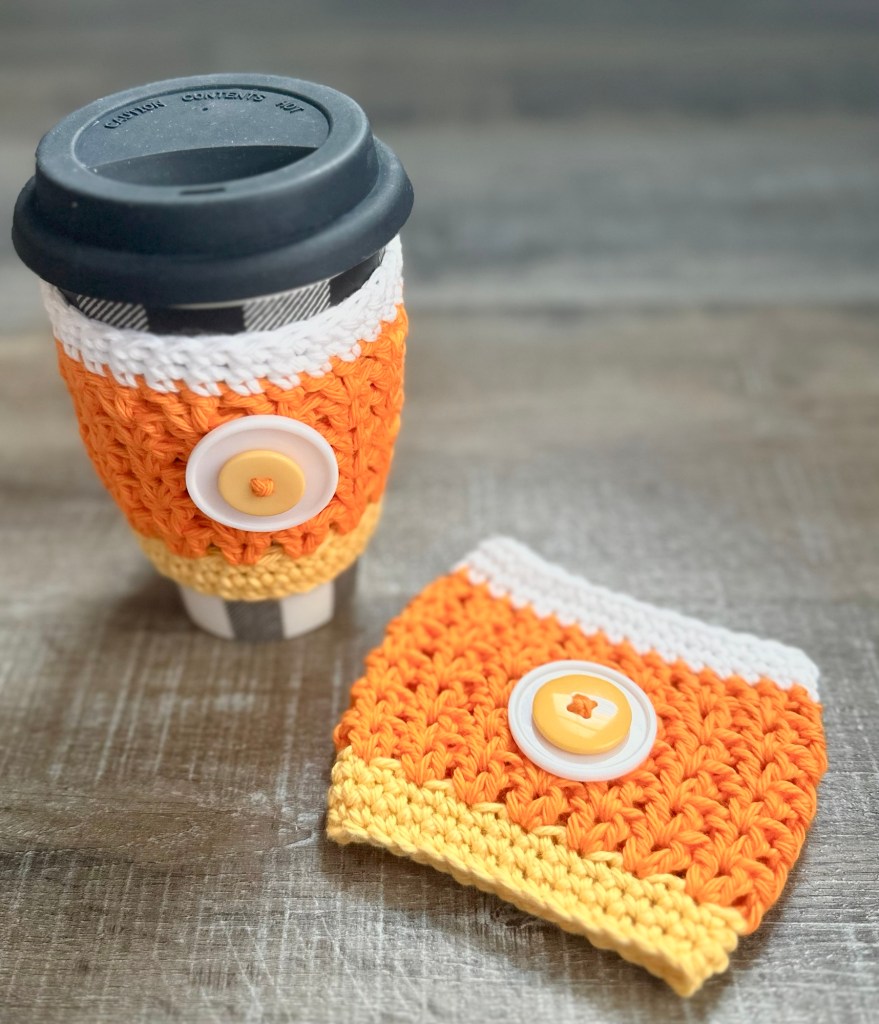
Fall is the perfect time for pumpkin spice lattes and warm apple cider. The Crochet Candy Corn Cup Cozy will protect your hands from a warm cup and look cute as well.
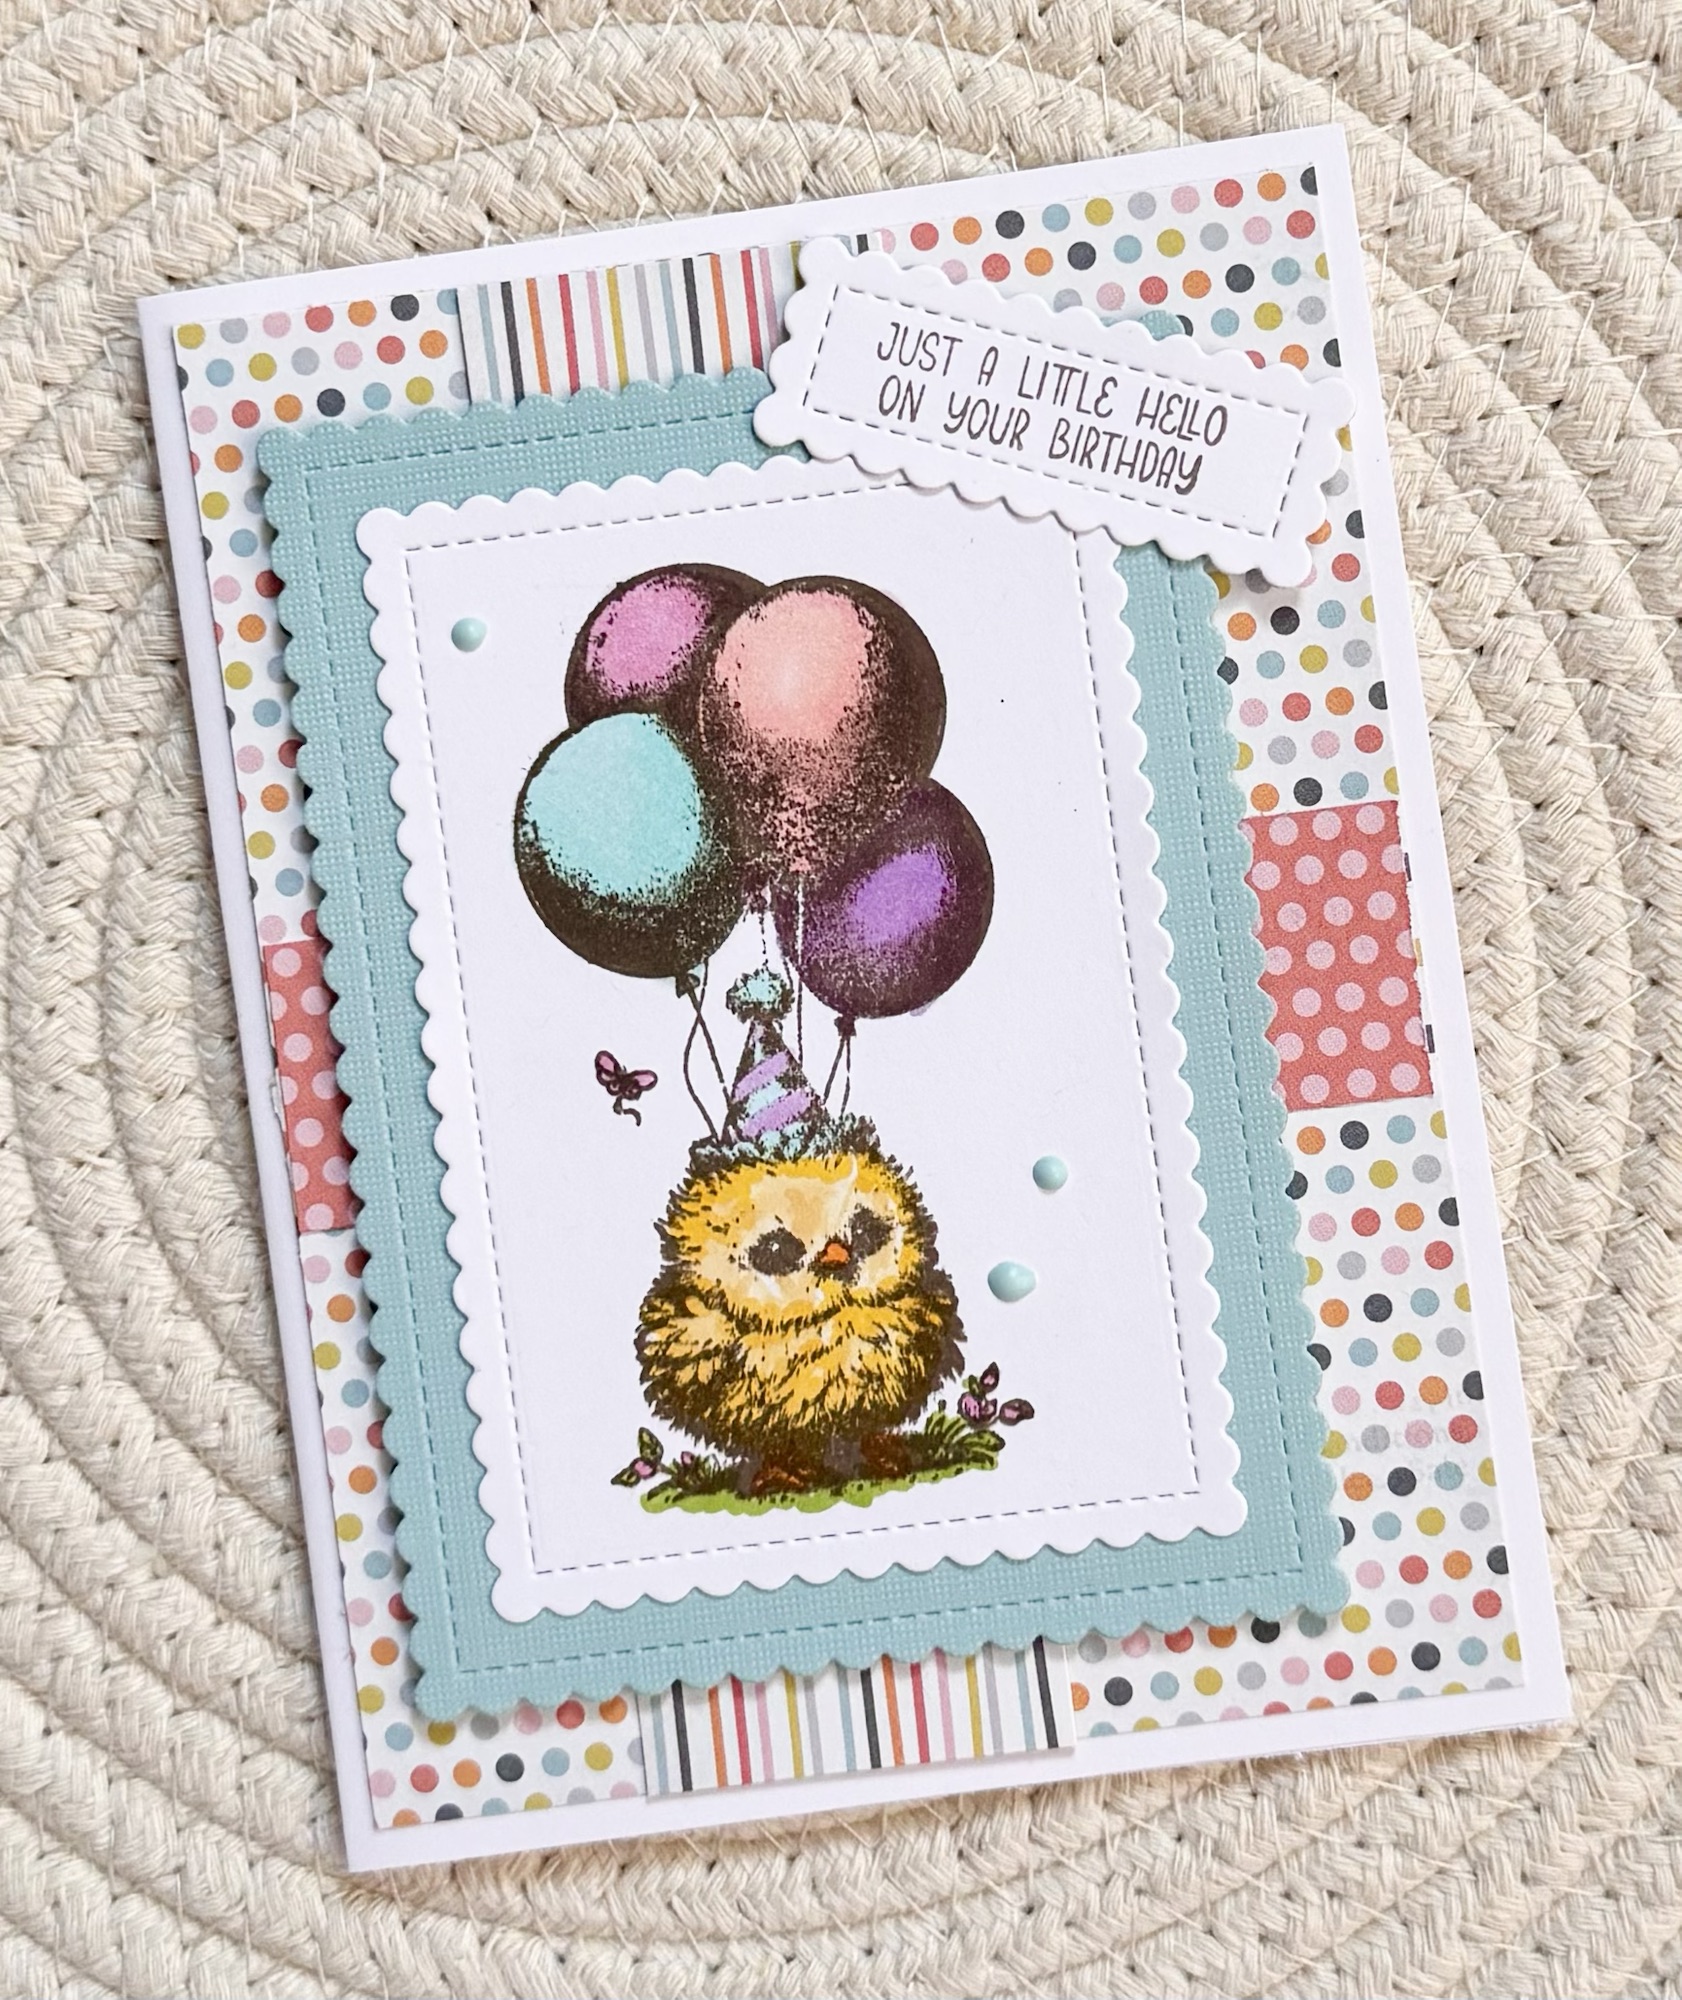
Look at this adorable little birthday chick! The name of the stamp set is Bitty Birthday Bash and he’s from Unity Stamp Company. He makes the sweetest birthday card. 🙂
Disclosure: Some of the links on my site are affiliate links, meaning, at no additional cost to you, I will earn a small commission if you click through and make a purchase. As an Amazon Associate I earn from qualifying purchases.
Using the Stitched Mini Scalloped Rectangle STAX Die-Namics from MFT Stamps, I die cut around the image and layered it to coordinating card stock die cut using the same set. I added a piece of patterned paper to a white card and then attached strips of 2 coordinating patterned papers vertically and horizontally. The stamped image is attached to the card with foam tape.
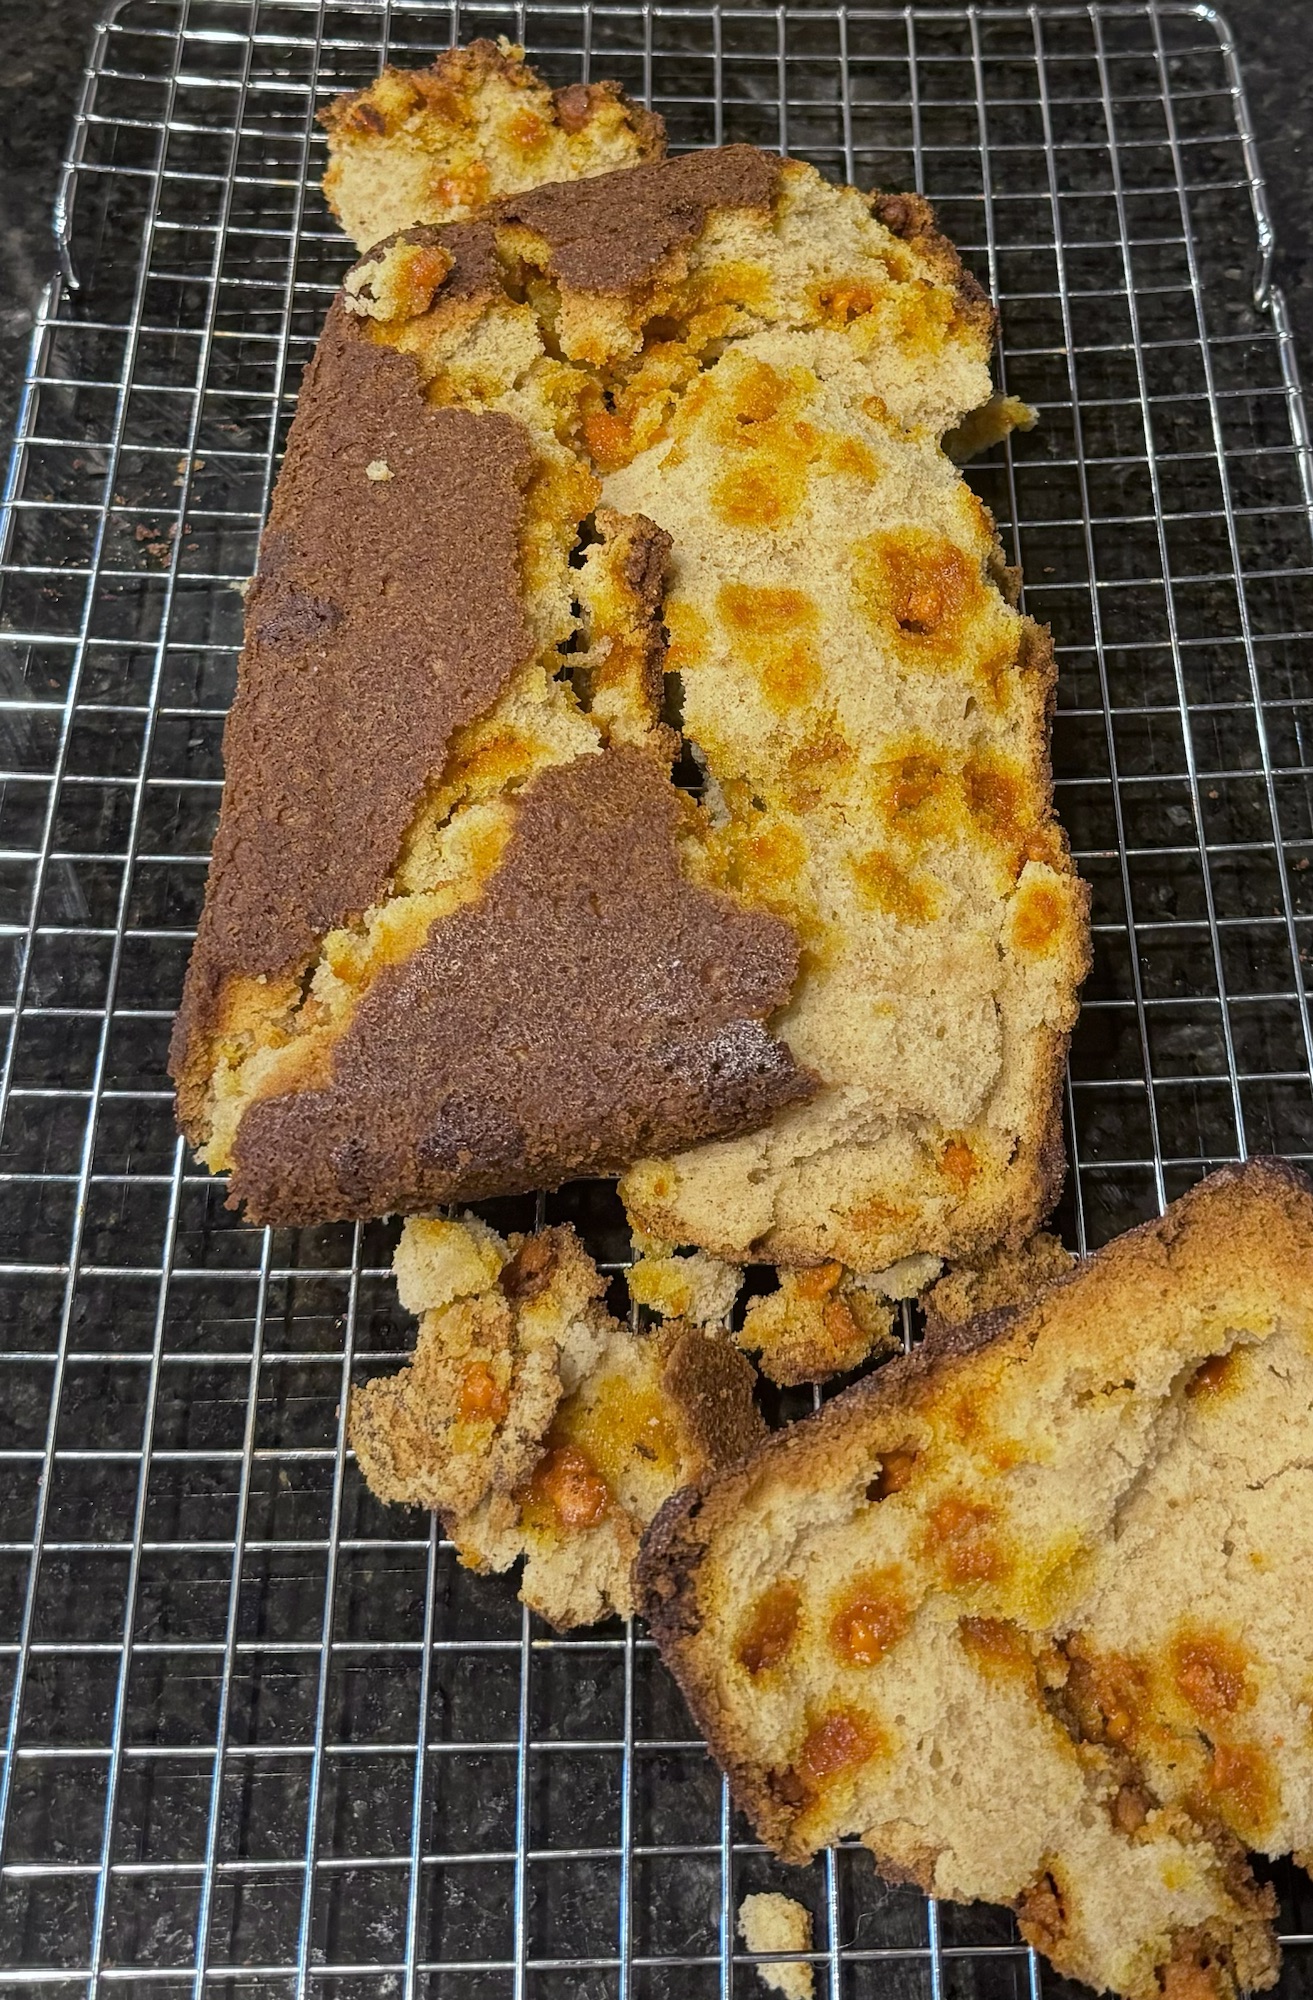
Sometimes things just don’t work out like we planned! This baking experience was one of those times for me. 🙃 But I wanted to share it with you anyway because this is so good!
Disclosure: Some of the links on my site are affiliate links, meaning, at no additional cost to you, I will earn a small commission if you click through and make a purchase. As an Amazon Associate I earn from qualifying purchases.
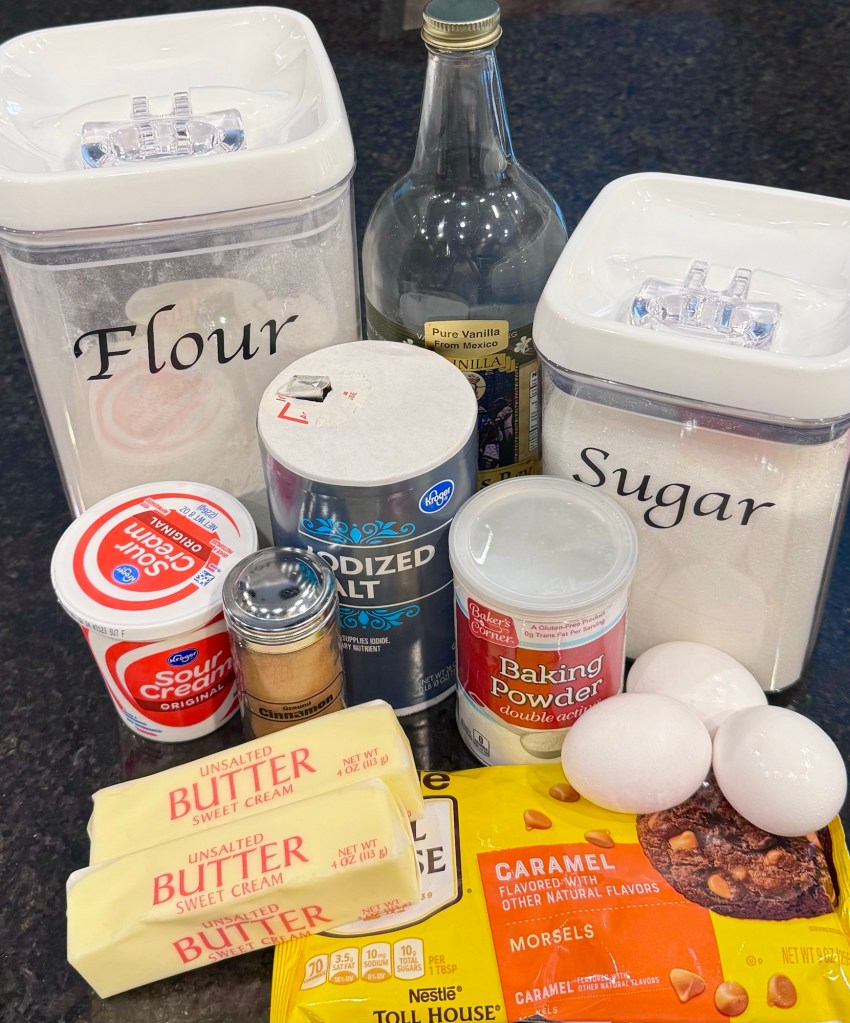
The recipe calls for cinnamon chips, but my store didn’t have them so I substituted caramel chips. It was so yummy! 😋
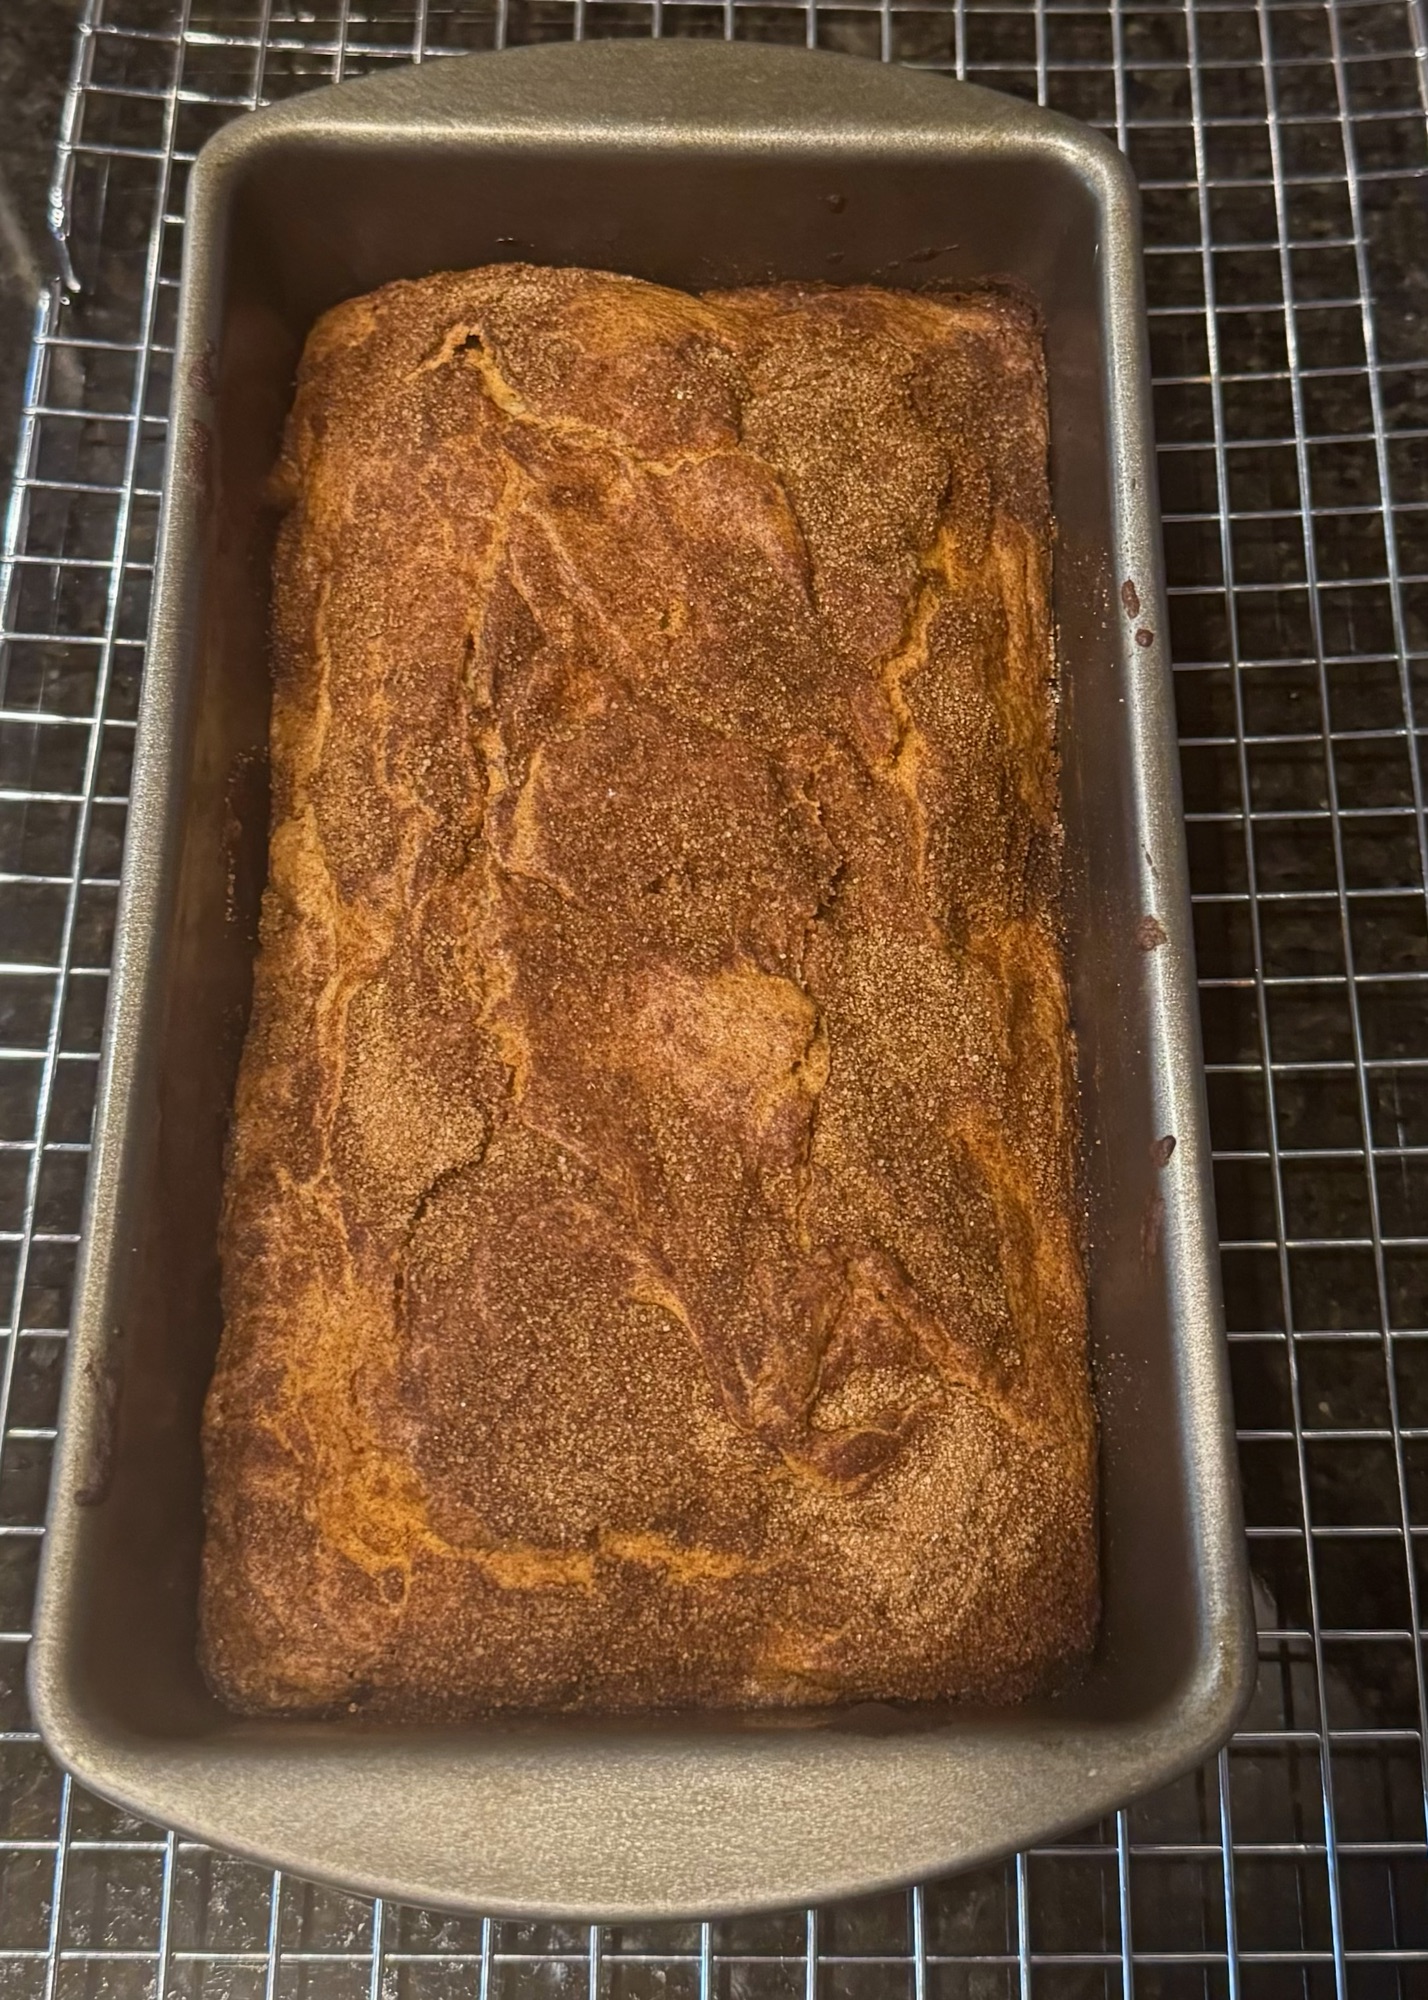
The bread looked so pretty when I took it out of the oven. But as you can see in the photo below when I tried to remove it from the pan, that part didn’t go so well. 🤣 I either didn’t grease my pan well enough, or I tried to remove it from the pan too soon – maybe both. 🤷🏼♀️
Even though I couldn’t slice it into nice pretty pieces, it was still so good! We just cut off chunks and ate it anyway. 😊
The recipe makes two 9 by 5 inch loaves (or four/five mini loaves). I waited a little longer to take my 2nd loaf out of the pan and it worked out much better so don’t be afraid of my mishap – this is such a good recipe!
Making the Snickerdoodle Bread into mini loaves would make great Christmas gifts for friends or neighbors. Wrap them up in cellophane, tie them with a pretty ribbon, add a cute tag, and you are good to go.🎄
The Crochet Candy Corn Plush Pillow is a fun little addition to your Fall decor.🍁🍂🍁 Using blanket yarn, it works up super fast and is a great way to use up yarn left over from other projects.
Disclosure: Some of the links on my site are affiliate links, meaning, at no additional cost to you, I will earn a small commission if you click through and make a purchase. As an Amazon Associate I earn from qualifying purchases.
I stitched up my pillow using Bernat Blanket Yarn in White, School Bus Yellow, and Carrot Orange with an N/9mm crochet hook. You’ll also need some Poly-fil for stuffing your pillow. You can find the pattern below along with a link to a free PDF if you’d like to easily print it.
Crochet Candy Corn Plush Pillow
Bernat Blanket Yarn in White, School Bus Yellow, and Carrot Orange
N/9mm hook
Poly-fil stuffing
Stitches used (US terms):
Chain – ch
Single crochet – sc
Single crochet decrease – sc dec
Pattern: Make 2
Ch 21 with School Bus Yellow.
Row 1: sc in 2nd ch from hook and each ch across. Turn. (20 stitches)
Row 2: ch 1. Work sc dec over 1st 2 stitches. Sc in next 16 stitches. Sc dec over last 2 stitches. Turn. (18 stitches)
Row 3: ch 1. Sc in each stitch across. Turn. (18 stitches)
Row 4: ch 1. Work sc dec over 1st 2 stitches. Sc in next 14 stitches. Sc dec over last 2 stitches. Turn. (16 stitches)
Row 5: ch 1. Sc in each stitch across. Turn. (16 stitches)
Row 6: ch 1. Work sc dec over 1st 2 stitches. Sc in next 12 stitches. Sc dec over last 2 stitches. Turn. (14 stitches)
Change to Carrot Orange at the end of row.
Row 7: ch 1. Sc in each stitch across. Turn. (14 stitches)
Row 8: ch 1. Work sc dec over 1st 2 stitches. Sc in next 10 stitches. Sc dec over last 2 stitches. Turn. (12 stitches)
Row 9: ch 1. Sc in each stitch across. Turn. (12 stitches)
Row 10: ch 1. Work sc dec over 1st 2 stitches. Sc in next 8 stitches. Sc dec over last 2 stitches. Turn. (10 stitches)
Row 11: ch 1. Sc in each stitch across. Turn. (10 stitches)
Row 12: ch 1. Work sc dec over 1st 2 stitches. Sc in next 6 stitches. Sc dec over last 2 stitches. Turn. (8 stitches)
Change to White at the end of row.
Row 13: ch 1. Sc in each stitch across. Turn. (8 stitches)
Row 14: ch 1. Work sc dec over 1st 2 stitches. Sc in next 4 stitches. Sc dec over last 2 stitches. Turn. (6 stitches)
Row 15: ch 1. Sc in each stitch across. Turn. (6 stitches)
Row 16: ch 1. Work sc dec over 1st 2 stitches. Sc in next 2 stitches. Sc dec over last 2 stitches. Turn. (4 stitches)
Row 17: ch 1. Sc in each stitch across. Turn. (4 stitches)
Row 18: ch 1. Work 2 sc dec. Turn. (2 stitches)
Row 19: ch 1. Work 1 sc dec.
Fasten off and weave in ends.
Match up the edges of the 2 candy corn pieces. Single crochet the pieces together, changing yarn color to match each section, stuffing with Poly-fil as you go. Work 2 sc in the top and in each of the bottom 2 corners.
I started crocheting my pieces together on the right side of the white, working around the top down to the orange. Then continued with sc around, changing colors as needed.
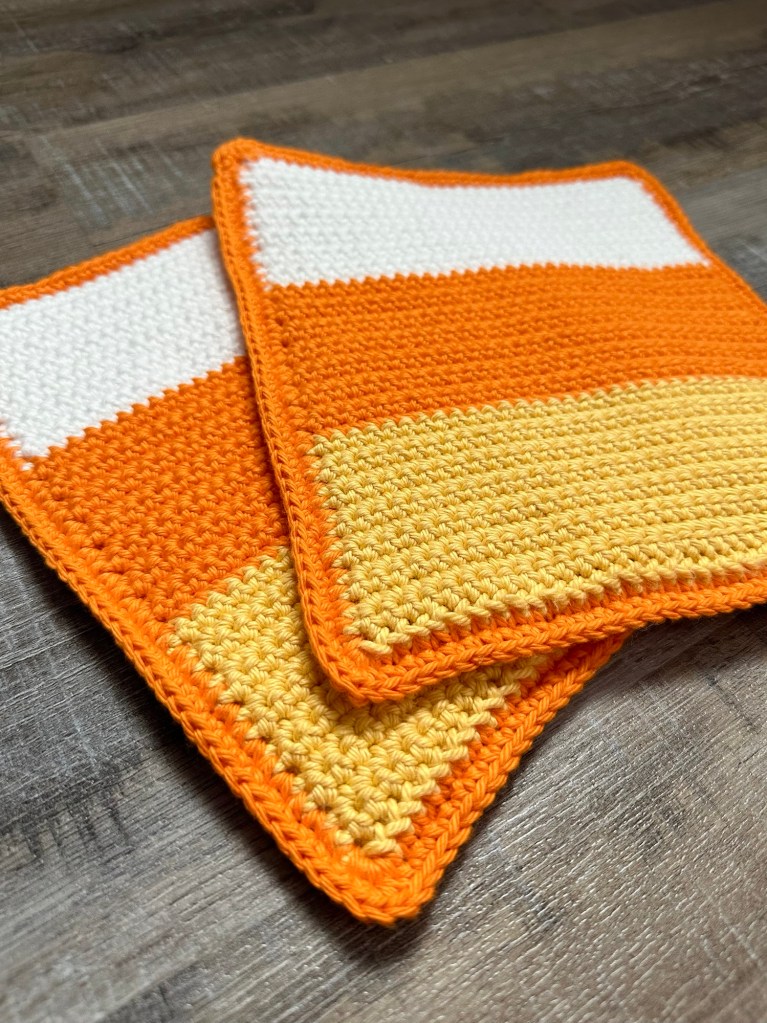
This pattern is adapted from my Candy Corn Coasters you can find in this post. I love how just changing yarn and using the appropriate hook size changes the outcome of your project. This pillow would also be cute using worsted weight yarn with a G/4mm hook. You could make several smaller ones to use as bowl fillers in your Fall decor. 🍁🍂🍁
I have a quick and easy card to share with you today. I love the simplicity of the design and with minimal coloring, it comes together very quickly.
Disclosure: Some of the links on my site are affiliate links, meaning, at no additional cost to you, I will earn a small commission if you click through and make a purchase. As an Amazon Associate I earn from qualifying purchases.
Disclosure: Some of the links on my site are affiliate links, meaning, at no additional cost to you, I will earn a small commission if you click through and make a purchase. As an Amazon Associate I earn from qualifying purchases.