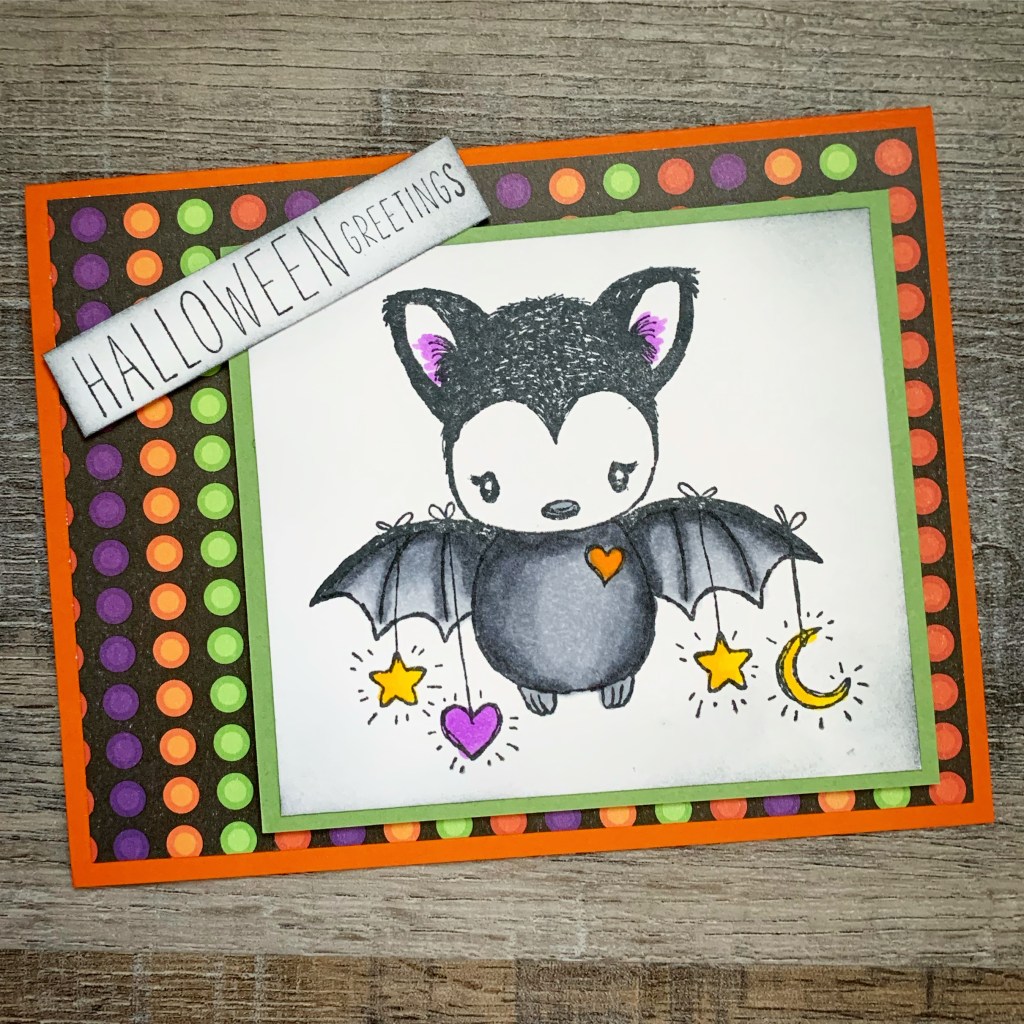
To make the card, add a panel of patterned paper to an orange card. Attach the bat image to the card with foam tape. Attach the sentiment over the corner of the bat image with foam tape.
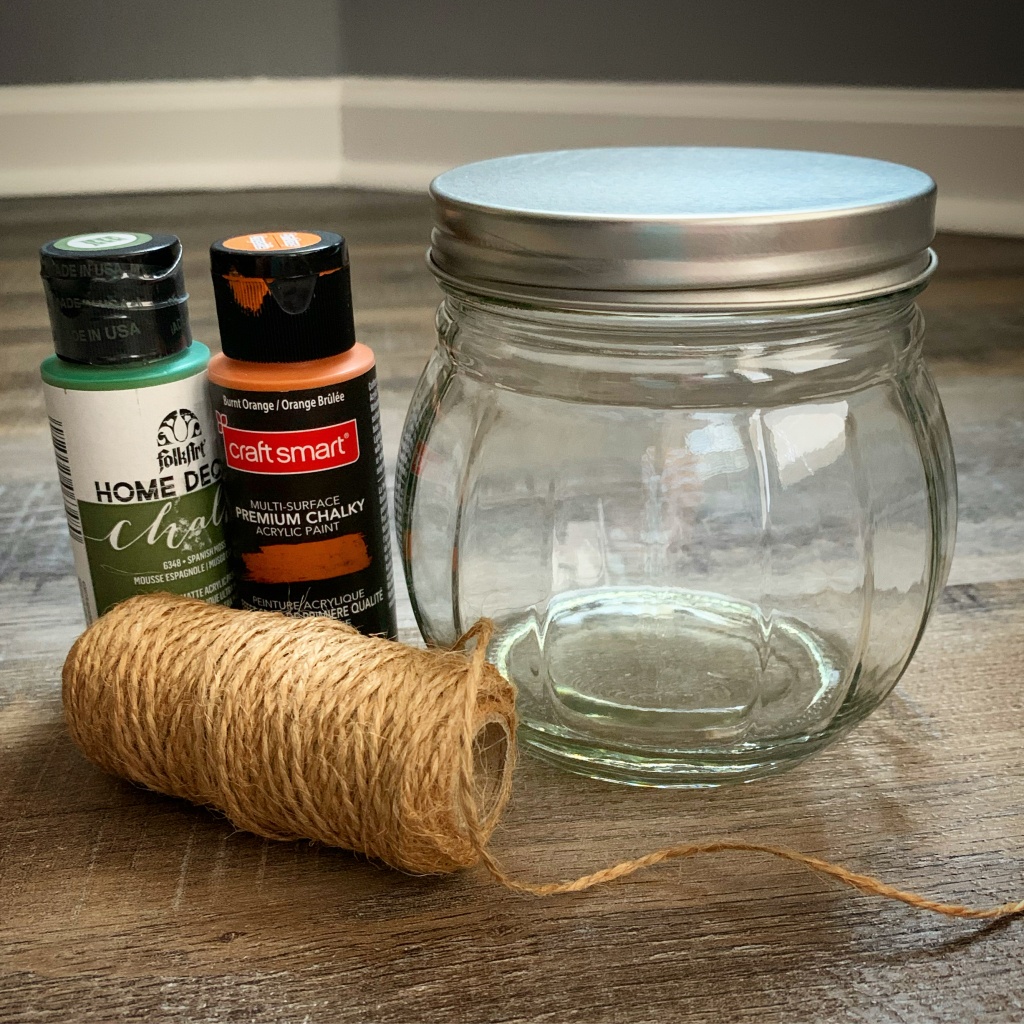
I saw this jar at the Dollar Tree and the first thing I thought was “That looks like a pumpkin”! And since it was only a dollar (of course 🙂 ), I decided to bring it home to see what I could come up with. (My jar had a metal lid, the ones on the Dollar Tree website have plastic lids but they would work fine.)
You’ll need some chalky finish paint, I used burnt orange and spanish moss. Use your favorite orange and green paint – just be sure it’s chalky finish or it won’t stick to the jar. You may also want some natural twine to tie around the jar.
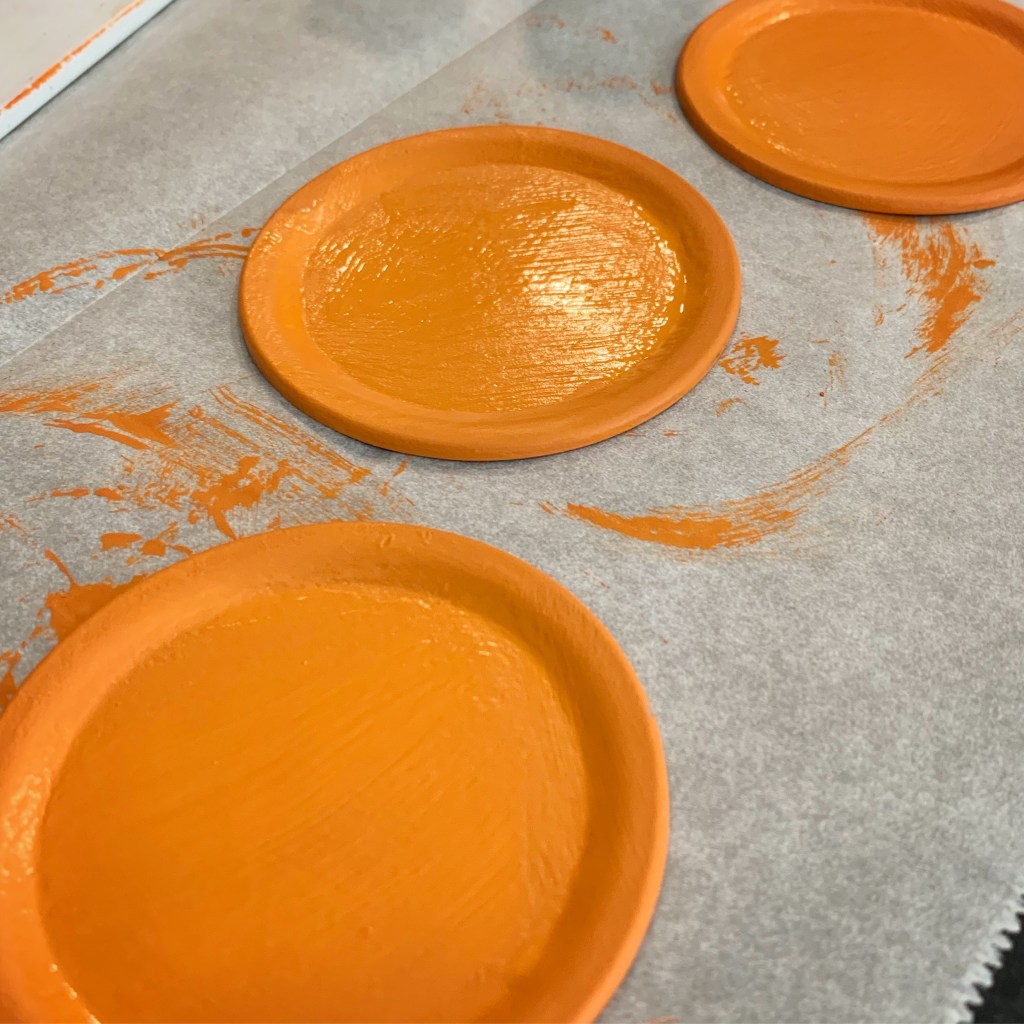
First, wash the jar and lid – dry them thoroughly. Then paint 2 to 3 thin coats of paint on the jar and lid, making sure to let each coat completely dry before adding the next.
After the first coat.
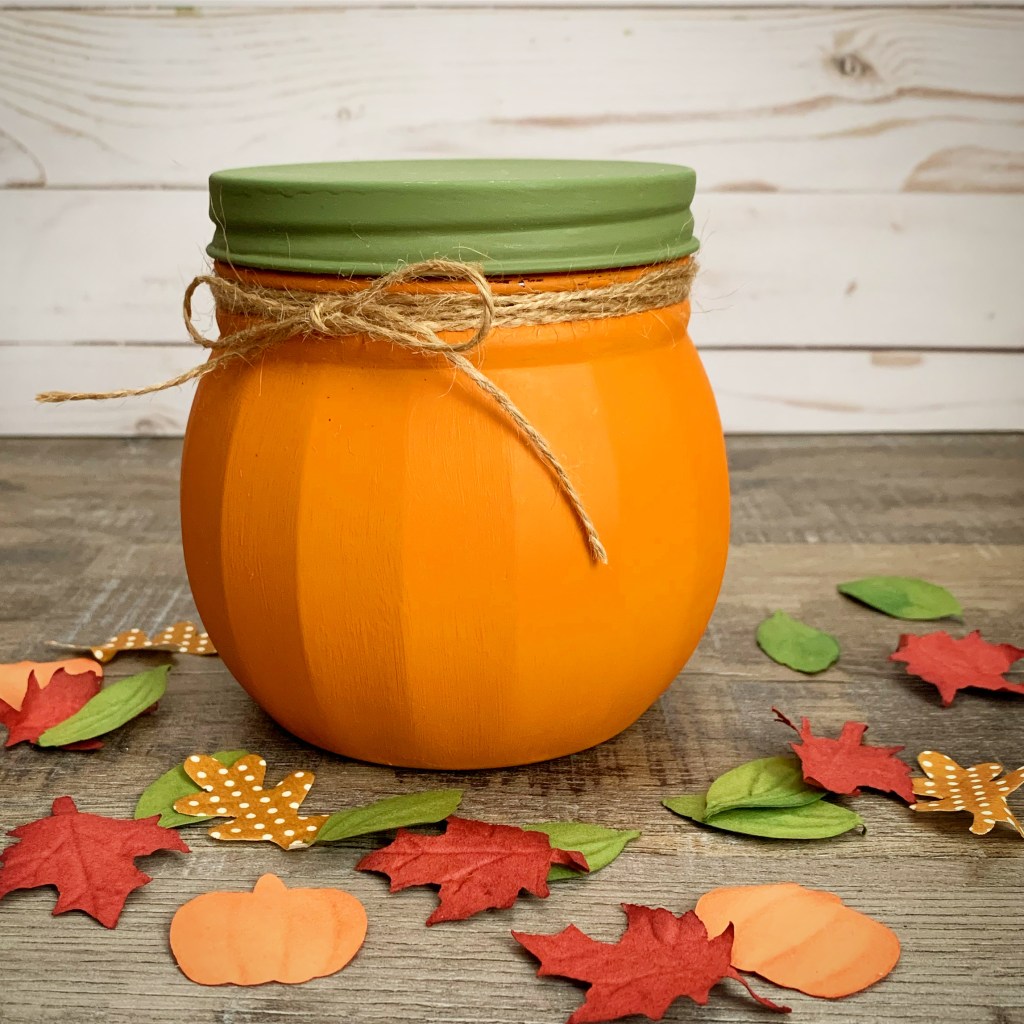
After you’ve finished with the 2 to 3 coats of paint and they are dry, add a thin coat of clear wax to seal the paint and to help keep it from chipping. Let it dry completely. If desired, wrap the twine several times around the jar and tie in a bow.
I think it turned out so cute! Fill it with some chocolates for a sweet hostess gift for all your Fall gatherings. Or add it to your Fall table for a little touch of whimsey.
It’s October! Time to get the Halloween cards made! 🎃
Unity Stamp Company has some of the most adorable Halloween stamps! This one is called Count – the set includes 2 sentiment stamps along with the Count. The Halloween Greetings stamp is from another set called Cuddlebug Bat – stay tuned for a card using that set soon.
I have to take a minute and gush over these Blender Brushes from Taylored Expressions! They are so amazing! Add a little ink from your favorite ink pad, and it just flows onto the card stock. The brushes are so soft – it takes very little effort to add color to your card stock. I didn’t get them when they first came out, but I am so glad I decided to purchase them…I just love them!! I think they are on pre-order again, because they keep selling out. But if you are interested in them, go ahead and pre-order – they are worth the wait!!
Back to the card… I die cut a frame using the Dotted Scallop Rectangle Dies from Elizabeth Craft Designs from green card stock and attached the stamped image. I added a black ribbon to a panel of patterned card stock, tied one side with a thin orange ribbon, and attached it to an orange card. The stamped image of the Count is attached to the card with foam tape. I stamped the sentiment with orange ink on white card stock, brushed on orange ink with the Blender Brushes, and attached it to the card.
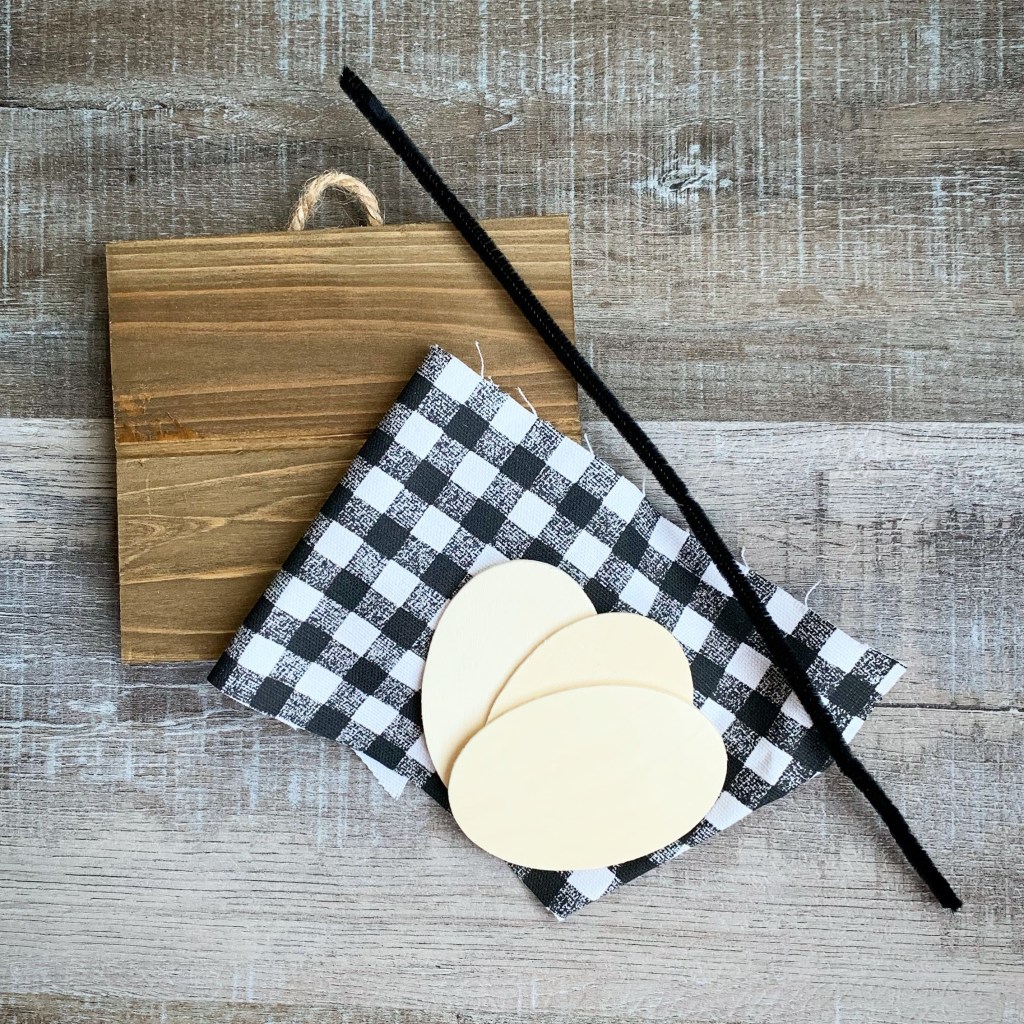
Do you need a little something extra to add to your Fall decor? This Farmhouse Buffalo Plaid Pumpkin Plaque may be just the thing to fill that space. It’s super easy to make and takes no time at all to put together.
Here are the supplies you’ll need to make the project:
A wood plaque – mine is 5 inches by 5-1/2 inches and I found it at Michael’s
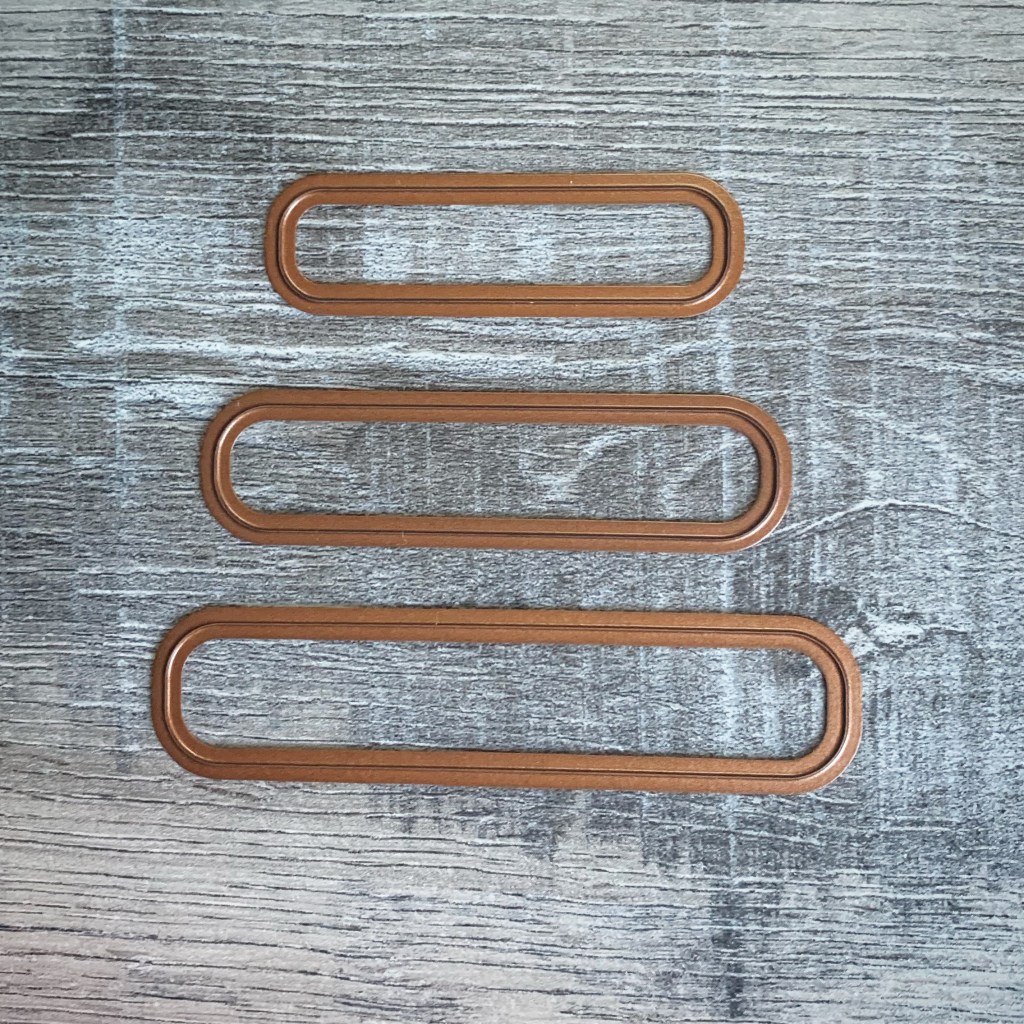
3 (3 inch by 2 inch) oval unfinished wood shapes, which I found at Michael’s, too.
Trace the oval shape 3 times on the back of the fabric, making sure the pattern is straight, and cut them out.
Using the white chalk finish paint, brush a thin layer onto the plaque, feathering it out on the edges. You don’t want to completely cover the wood, just enough to give it a distressed look.
Using the Mod Podge, brush a thin layer onto each oval shape and smooth the cut fabric pieces onto the shapes. Then brush a thin layer of Mod Podge over the fabric. Trim any excess fabric from the ovals if needed.
Using the E600 glue, glue one oval shape on top of the other 2. Put the 2 bottom ovals close together and glue the 3rd on top, slightly lower to get a pumpkin shape.
Cut a small piece of a black chenille stem and glue it to the back of the pumpkin, bending it slightly for the pumpkin stem. Tie a bow around the stem with a piece of natural twine.
A cute little Farmhouse touch to add to your Fall decor!
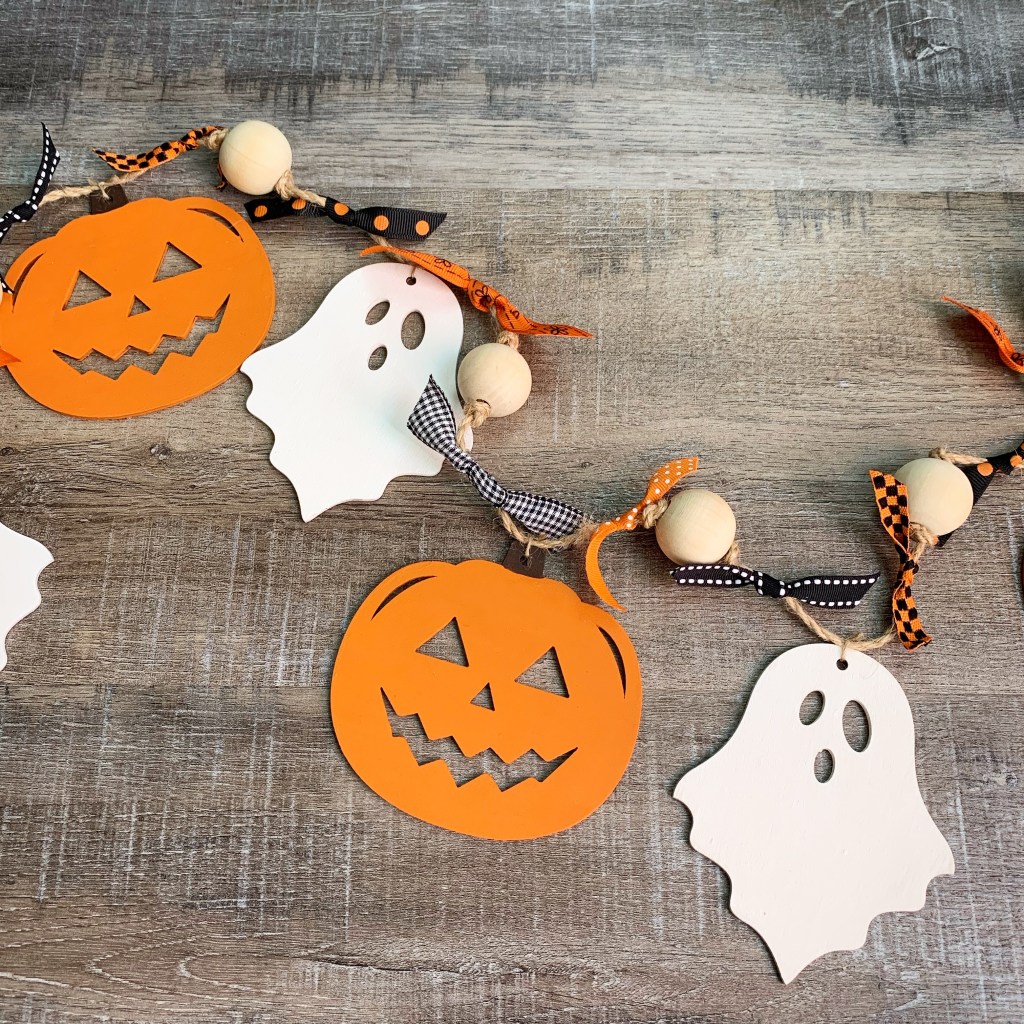
Last month I found some great Halloween craft supplies at Dollar Tree. These cute wood shapes came in packs of 3 for – you guessed it – $1.00! Add a little paint, ribbon, and twine and you have a very cute Halloween garland. 🎃
First I painted both sides of the pumpkins and ghosts using craft paints. I had orange and brown chalk finish paint and white acrylic paint on hand so that’s what I used. (If you want to get an assortment of acrylic paint colors for your crafts, this is a great set.)
Once the shapes were dry, I sprayed them with a coat of matte sealing spray.
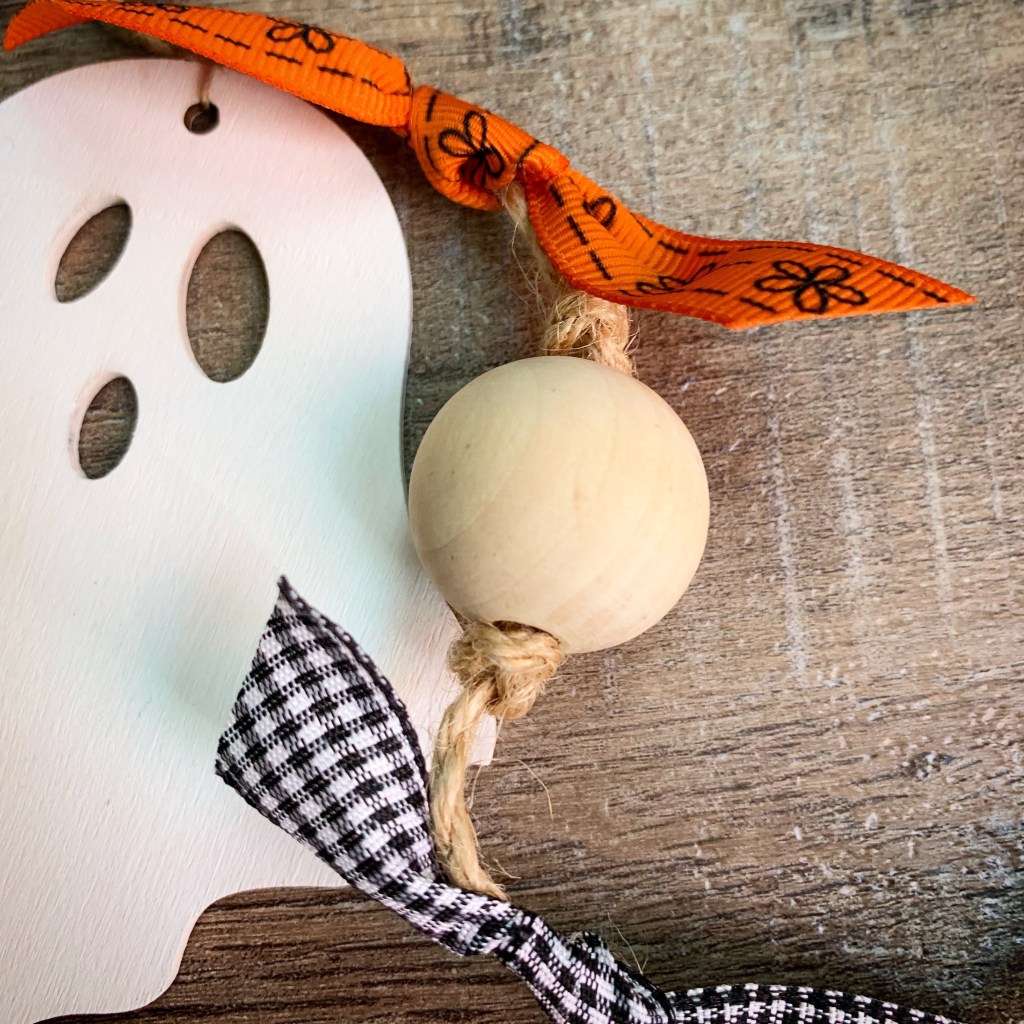
I used jute twine as the basis for my garland. I decided to add these 1-inch unfinished wood beads for a little something extra. To make the garland, I threaded the beads onto the garland one at a time and tied a knot close to both sides of the beads to keep them from sliding on the twine. I spaced the beads about 4-inches apart. I didn’t measure, I just eyeballed it.
Then using the thin twine that came with the wood shapes, I tied each shape tightly onto the garland between the beads and trimmed the excess. I finished the garland by knotting several different ribbons on either side of each bead.
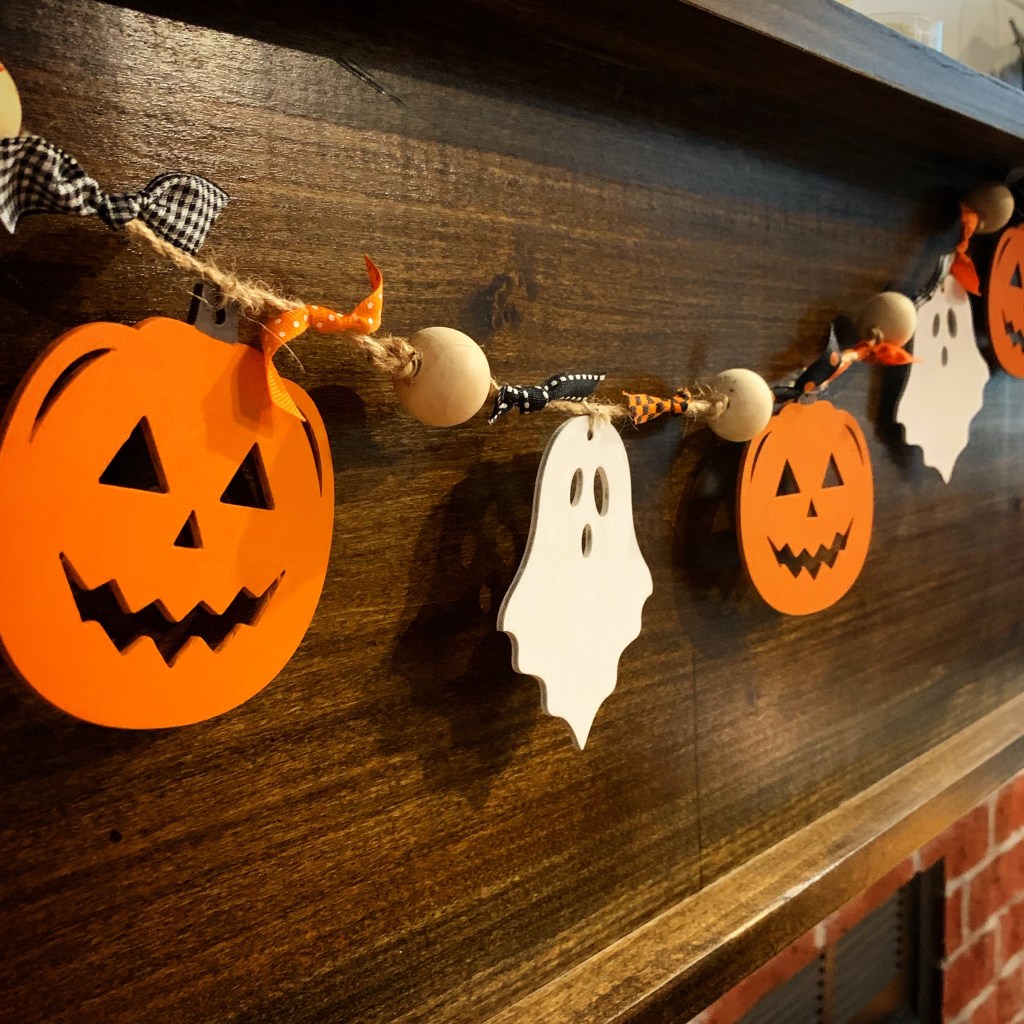
The garland has 5 pumpkins, 5 ghosts, 11 beads, and 22 ribbon bows. It measures about 6-feet long, including about 9-inches of twine on both ends for hanging.
This was a really fun project to make! It’s perfect for my mantel, but would also be really cute draped across a bookshelf or doorway.
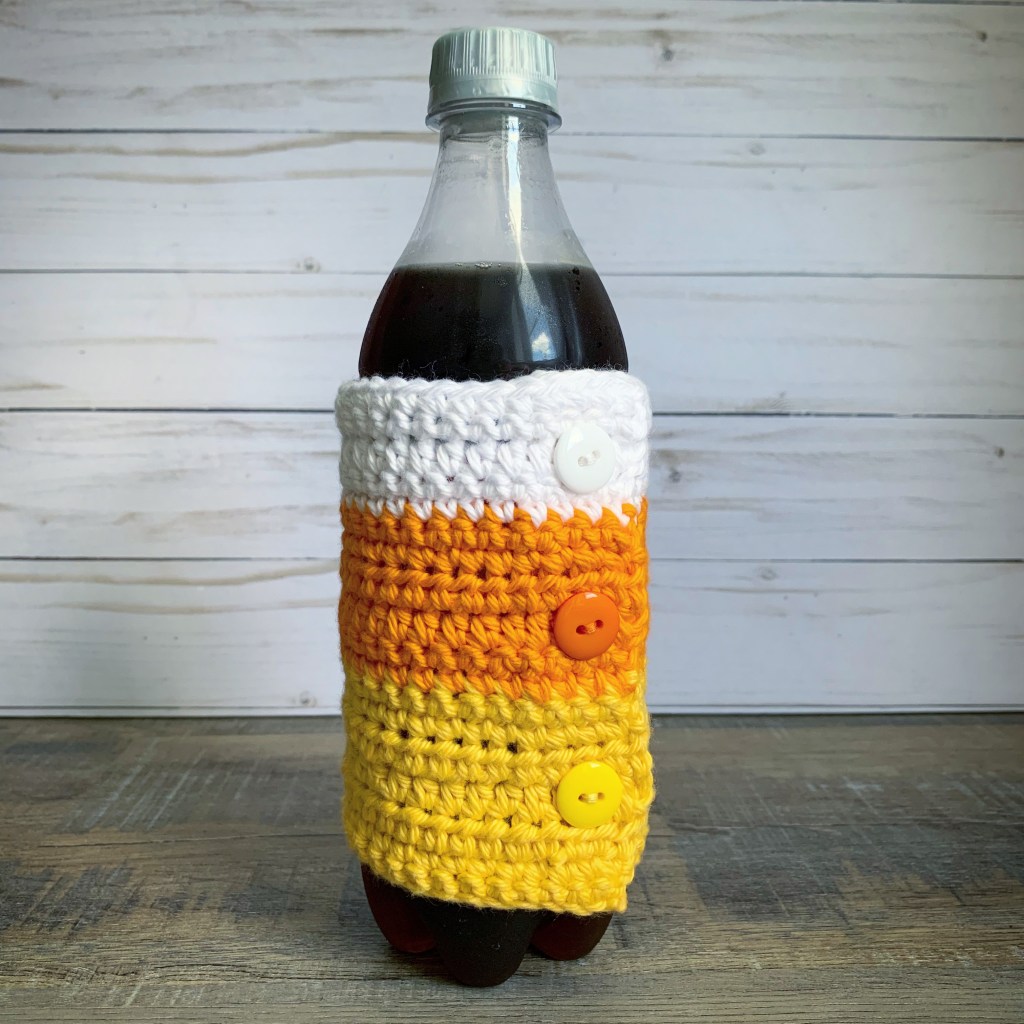
I love Fall! It’s always been my favorite season – especially after the hot Alabama Summers. I love the colors of Fall…and candy corn. 🙂
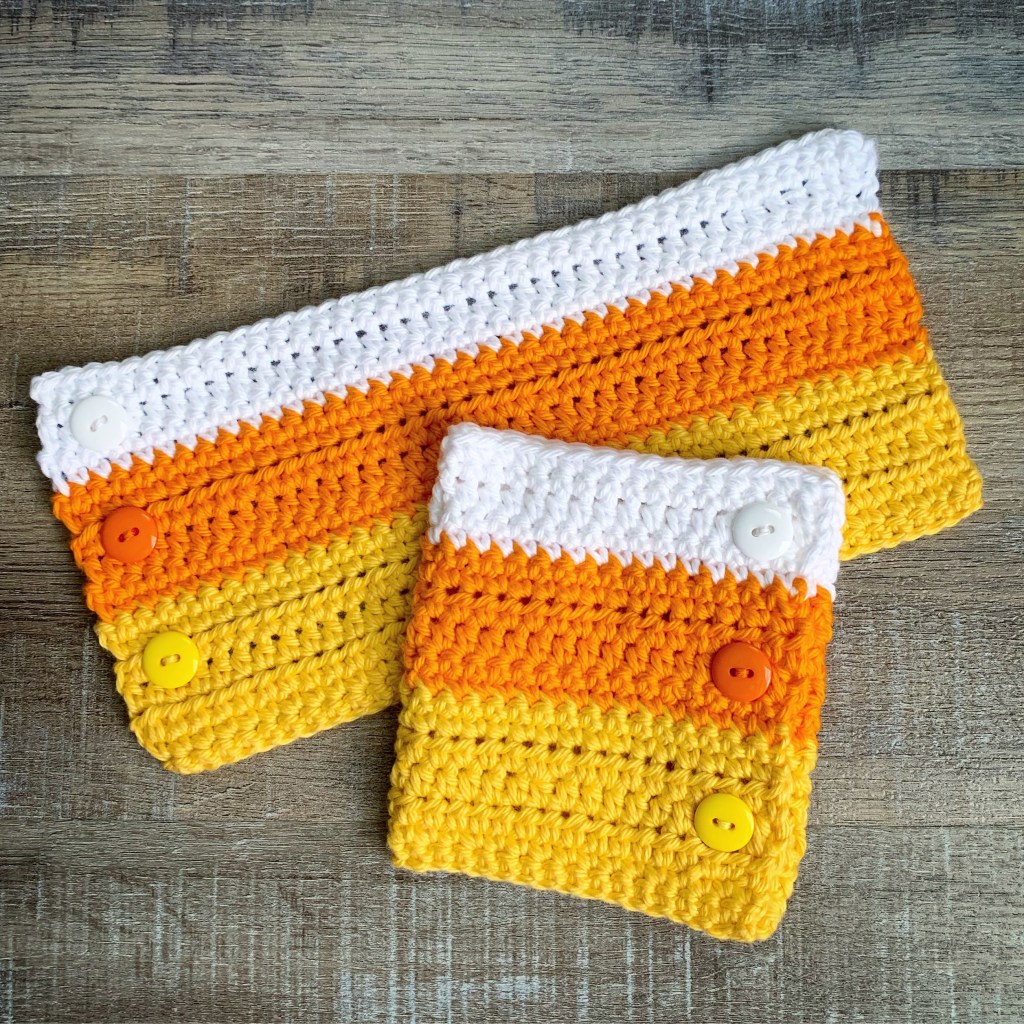
I have a simple Crochet Candy Corn Cozy pattern to share with you today. It’s super easy to make. You can find the pattern here and I’ve included a link to a free PDF if you want to print it out for easy reference.
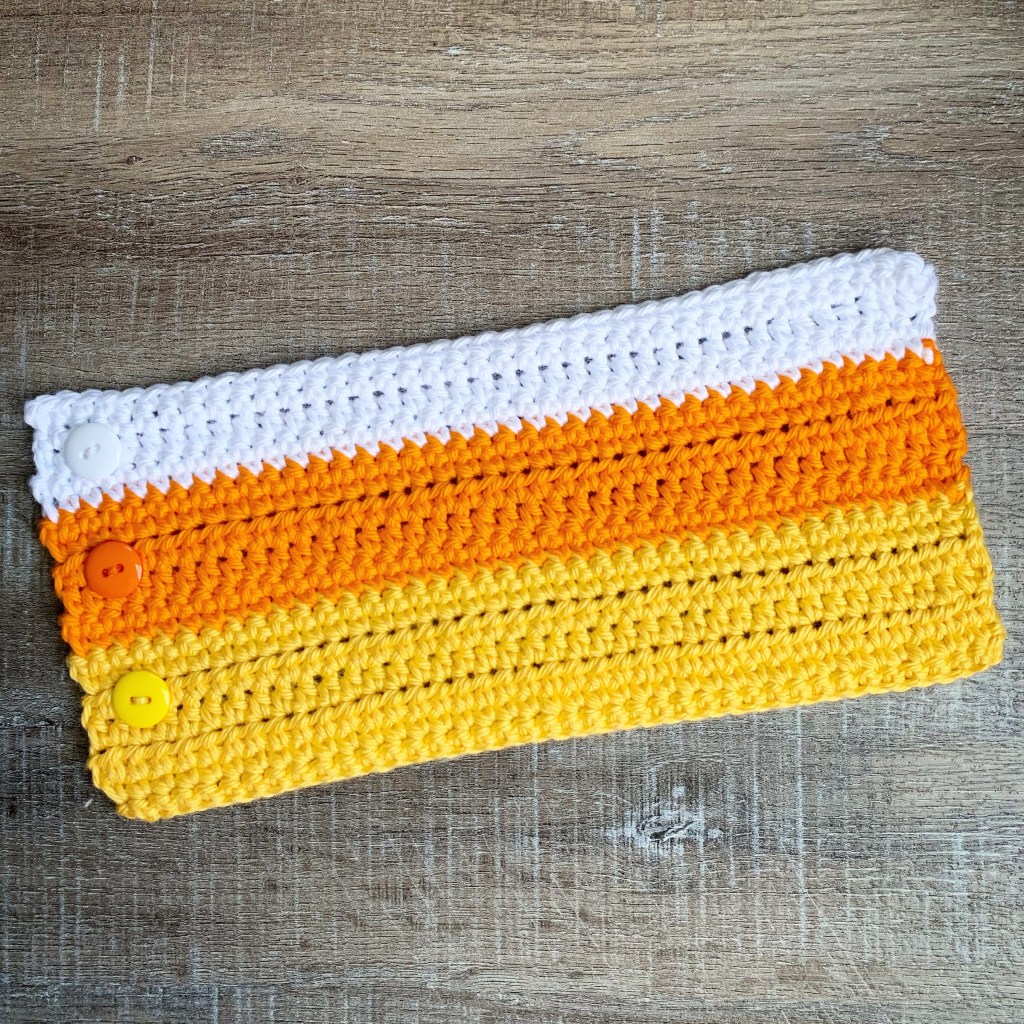
Crochet Candy Corn Cozy
G/4mm hook
I Love This Cotton yarn in Curry, Glowing, White
3 (16mm or 1/2 inch) buttons – 1 each yellow, orange, white
Stitches used (US terms):
Chain – ch
Single Crochet – sc
Half Double Crochet – hdc
Pattern:
Ch 40 with Curry.
Row 1: Sc in 2nd ch from hook and each stitch across. Ch 1 and turn. (39 stitches)
Row 2: Sc in each stitch across. Ch 1 and turn. (39 stitches)
Rows 3-5: hdc in each stitch across. Ch 1 and turn. (39 stitches)
Rows 6-7: sc in each stitch across. Ch 1 and turn. (39 stitches)
Change to Glowing at the end of Row 7.
Rows 8-9: sc in each stitch across. Ch 1 and turn. (39 stitches)
Rows 10-11: hdc in each stitch across. Ch 1 and turn. (39 stitches)
Rows 12-13: sc in each stitch across. Ch 1 and turn. (39 stitches)
Change to White at the end of Row 13.
Rows 14-15: sc in each stitch across. Ch 1 and turn. (39 stitches)
Row 16: hdc in each stitch across. Ch 1 and turn. (39 stitches)
Rows 17-18: sc in each stitch across. Ch 1 and turn. (39 stitches)
Fasten off and weave in ends.
Sew on buttons in center of each color close to one edge and button through the stitches on the opposite edge. It will be a tight fit, but the buttons will fit through the stitches. Slip onto your bottle or can.
Do you remember when we were in elementary school and our birthday would come around? We would bring in our own birthday treat to share with our fellow classmates – at least that’s what we did where I grew up. 🙂
I still like to have a birthday treat, but making a yummy cake or dessert for just my husband and I can be a little too much to have around the house. 😉 This year my birthday fell on a Wednesday – the day I have Bible study…perfect timing to make a treat to share, just like I used to do in school.
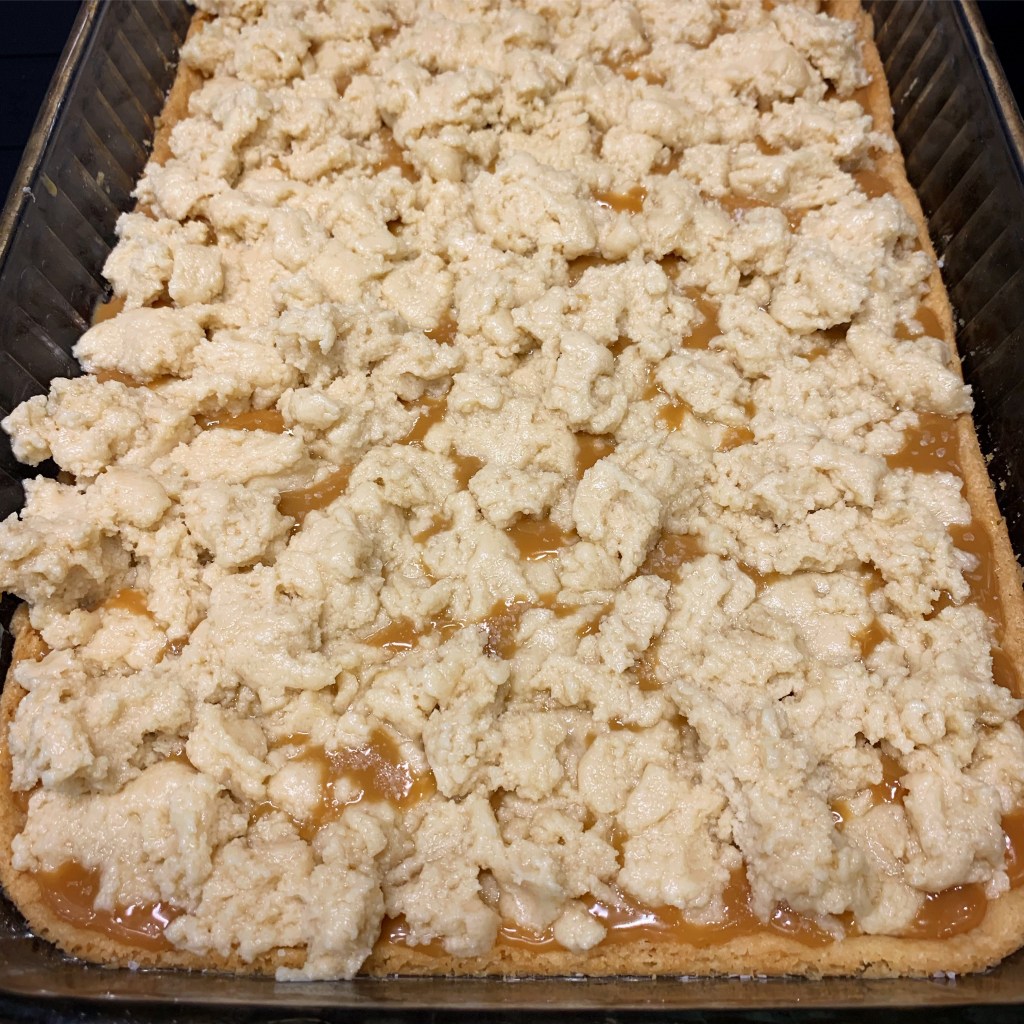
I found the recipe for these tasty Salted Caramel Butter Bars here a while ago, I knew I would have to make them and my birthday was the perfect occasion!They are soooo good!! 😋
Here’s the bottom crust – it smells amazing in my kitchen!
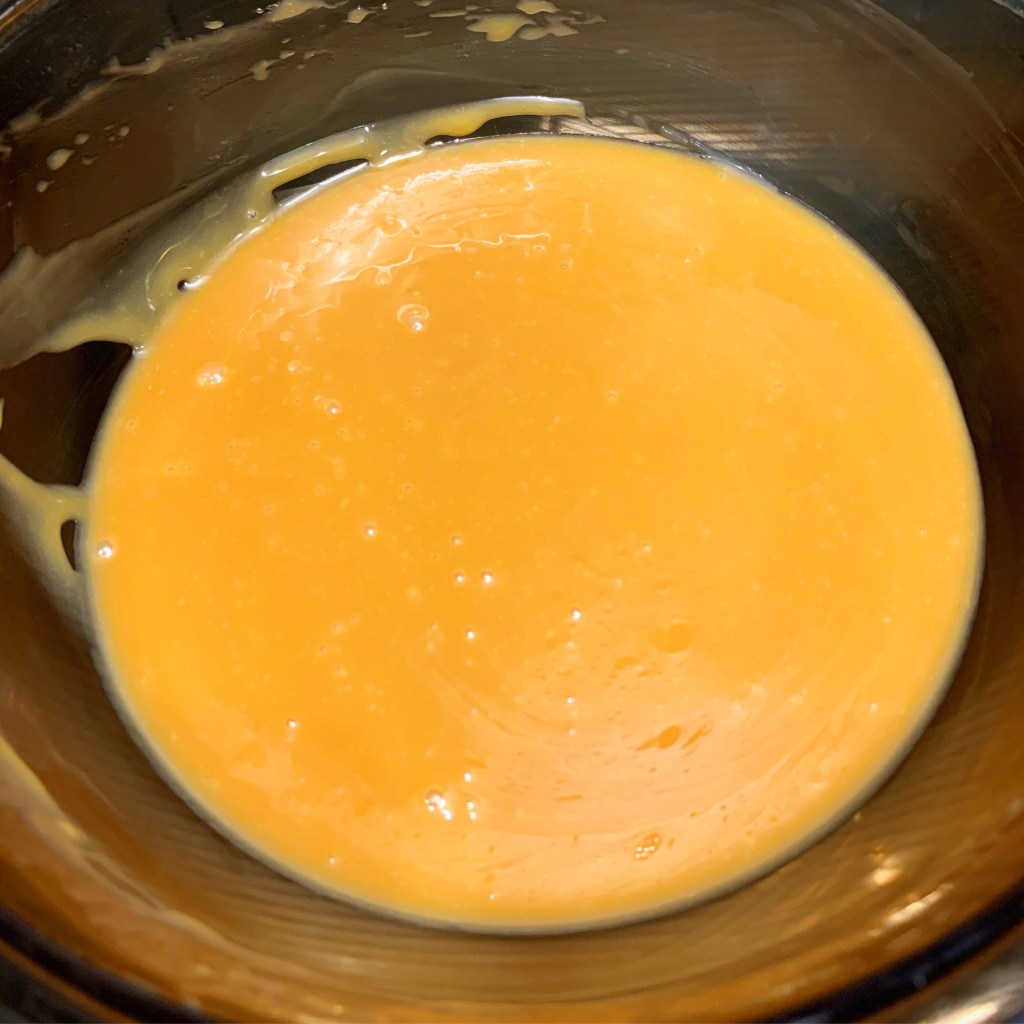
The caramels melted and ready to pour over the crust…
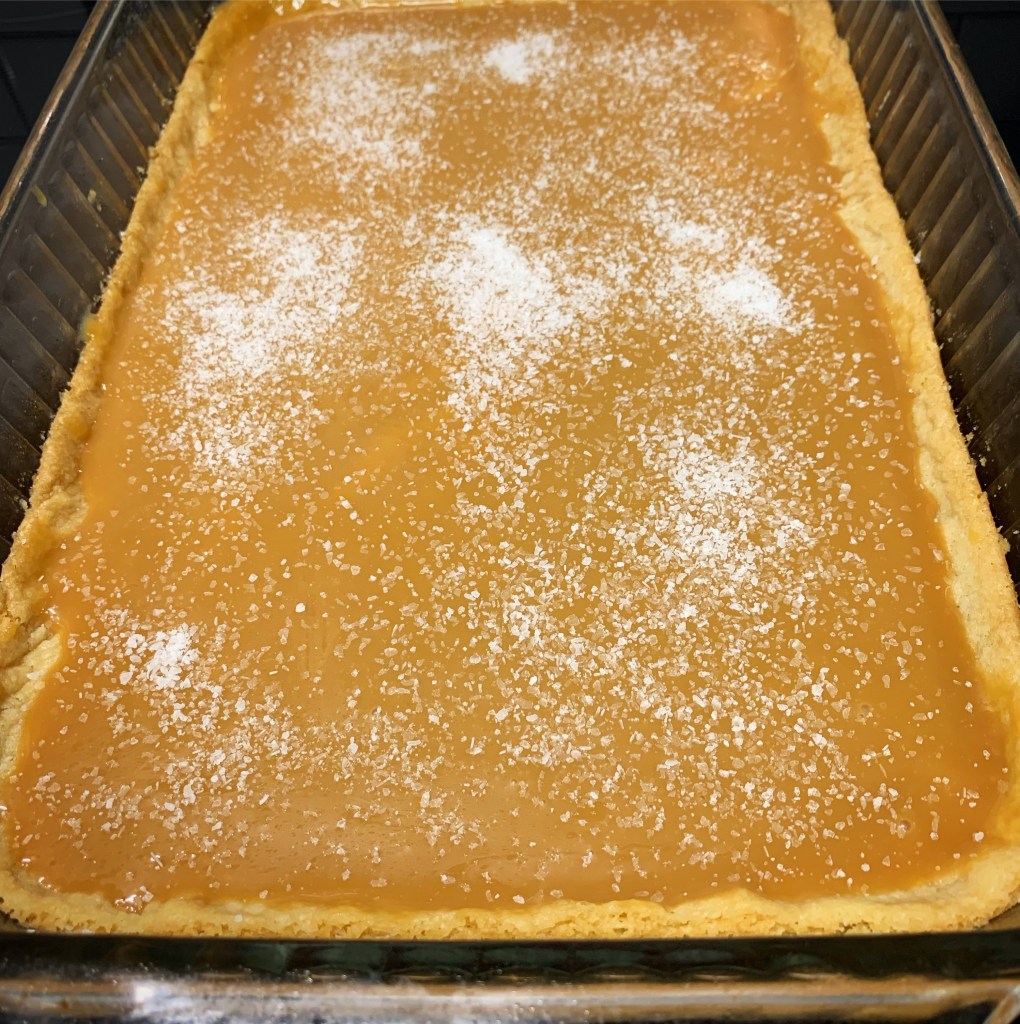
A sprinkling of kosher salt…
The rest of the dough over the caramel layer…
Fresh and hot from the oven. Why does it take so long to cool?!?!?
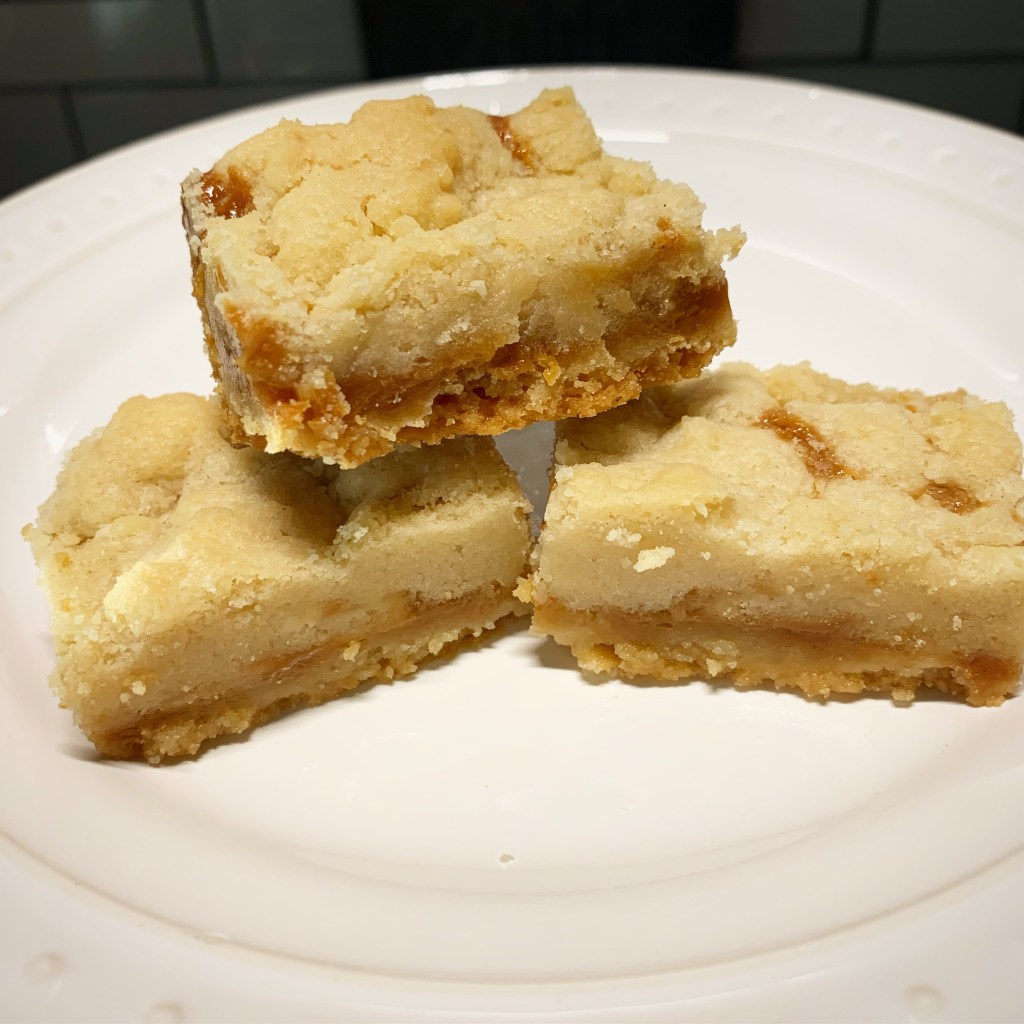
Buttery, caramel goodness!!
These Salted Caramel Butter Bars really are amazing! And simple to make…I hope you enjoy them as much as we did!
I saw this punch art baby card a while back on Pinterest and knew I would have to make my own version of it at some point…And I finally did! 🙂
It was super easy to make and I love the way it turned out! We called this toy a doughnut stacker and ours was made of wood – so fun when we were toddlers! We also had fun just putting the doughnuts on our little fingers and twirling them around – simpler times. 🙂
I used the die set below to cut my doughnut shapes. I think it is a set from Spellbinders, but it seems to have been discontinued. 😦 You could also cut strips of paper and round the corners with a corner rounder punch. I used a 3-1/2 inch circle punch for the base of the toy and a 1 inch heart punch.
To make the card, I die cut a small doughnut shape from green card stock, a medium one from red card stock, and a large one from blue card stock. I also cut a large one from kraft card stock for the peg that the doughnuts are stacked on.
I punched a 3-1/2 inch circle from kraft card stock for the base of the toy. I then cut it in half and trimmed a little off the bottom to make it flat. I attached a heart punched from red card stock.
I attached a piece of star patterned paper to a white card. Then I attached the 3 doughnuts to the peg and attached the whole piece to the card with foam tape. I attached the base of the toy to the card with foam tape also.
The sentiment stamp is one I’ve had for a long time and I’m not sure which company it is from – use your favorite baby sentiment. I stamped it with blue ink on white card stock and punched it with the Pretty Label Punch from Stampin’ Up. It is attached to the card with foam tape.
Such a sweet card for a new baby boy! Change the colors and sentiment and it would be perfect for a baby girl!
Christmas is going to be here before we know it! Have you started crocheting your gifts yet? 🙂
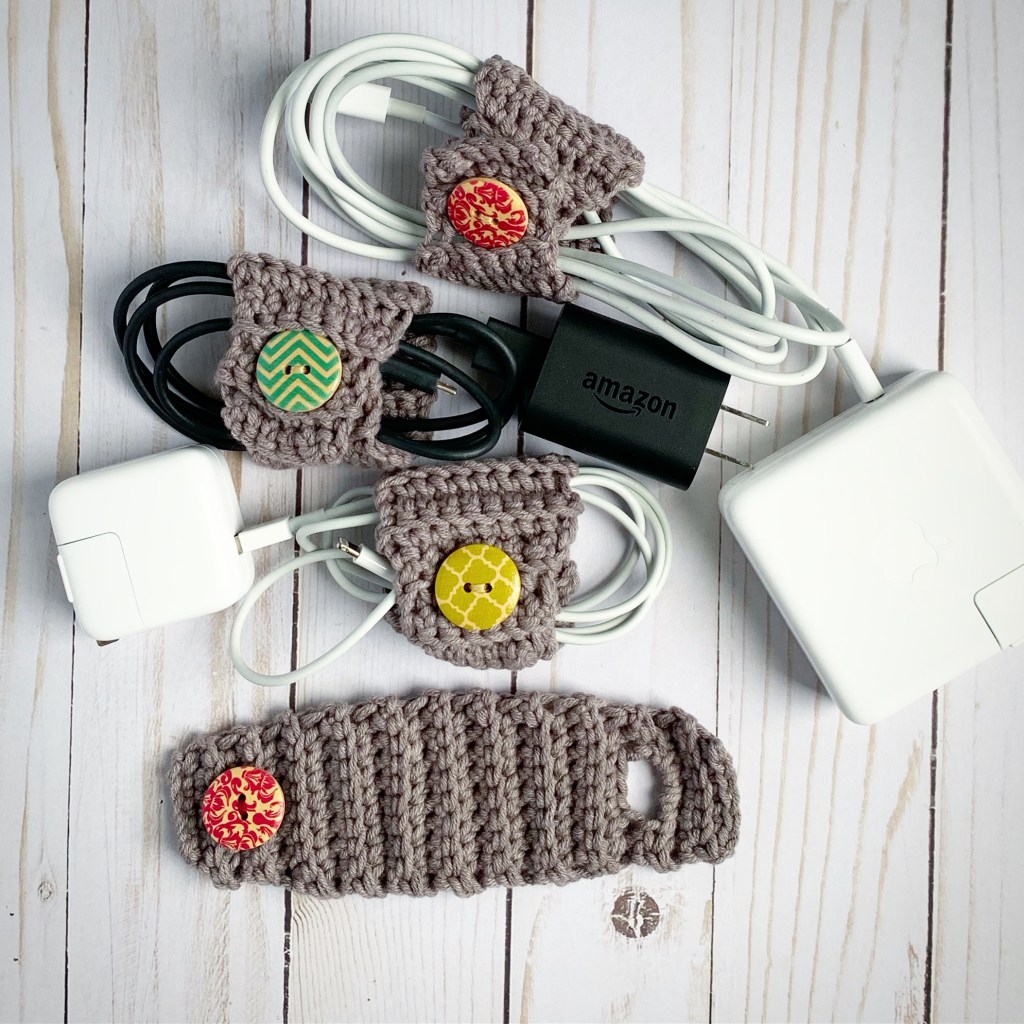
I have a few free crochet patterns to share with you that would make great gifts – these are all patterns I’ve created. If you click on the link under each photo, it will take you to my blog post for each project which includes the free pattern. I hope these patterns will inspire you!
The face scrubbies and cord keepers would make great stocking stuffers! All of these patterns work up quickly – so you’ll have plenty of time to make several gifts before the holiday season hits!
Brush a thin coat of the Everlasting chalky finish paint on the sign. As you can see in the photo below, I feathered it out toward the edges and kept it thin enough for some of the wood to show through.
You’ll also need to paint the mason jar lids with the burnt orange chalk paint. I painted 3 coats, letting it dry completely between coats. It took 3 coats so the words stamped on the lids didn’t show through.
Once completely dry, use the E6000 adhesive to glue the lids together. The bottom 2 are overlapped, and then the 3rd one is glued to the top. Make sure to let the glue dry for a couple of hours before going on to the next step.
Hand cut or die cut 2 leaves from the green felt. I used a die from the Simply Stamped Leaves set by Taylored Expressions. Using the E6000 adhesive, glue them to the back of the pumpkin along with the cinnamon stick. Let dry for a while. Cut several pieces of the foam tape and layer them on top of each other on either side of the cinnamon stick. You’ll want to build up the height so it is even with the cinnamon stick.
Cut a piece of the burlap ribbon to fit across the sign. Attach it to the sign with the Art Institute Adhesive. Using several strands of raffia, tie a bow around the sign. Attach “thankful” using the E6000 adhesive – you may need to hold it in place for a few moments to make sure it adheres. Using the same adhesive, apply a small amount on the cinnamon stick and the 2 pieces of foam tape and place it on the sign.
And here it is all finished!
This is such a fun project! It takes longer waiting for paint and glue to dry than it does to make the actual sign. 🙂 I love the way it turned out!!
Disclosure: Some of the links on my site are affiliate links, meaning, at no additional cost to you, I will earn a small commission if you click through and make a purchase. As an Amazon Associate I earn from qualifying purchases.