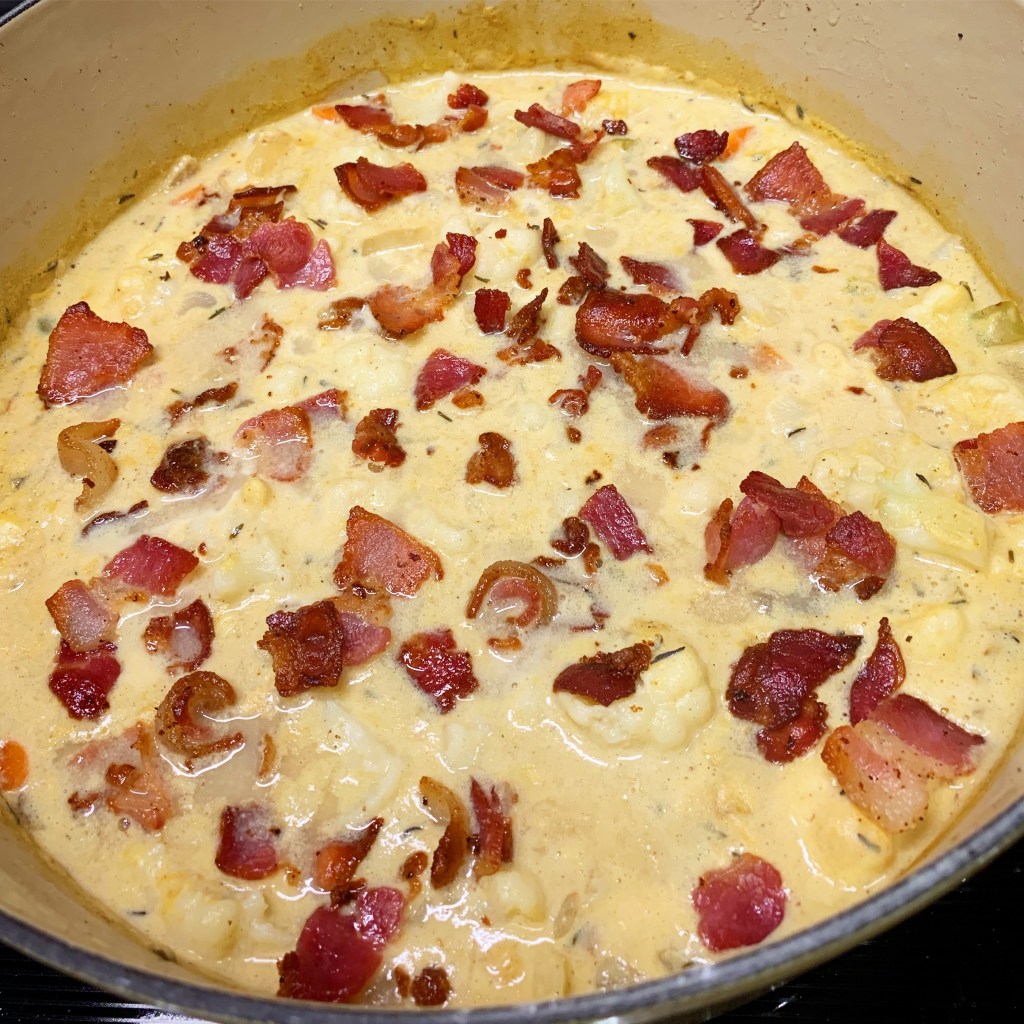
Looking for a yummy, lower-carb chowder recipe? This Bacon Cauliflower Chowder might be just the thing… It’s a great way to add more vegetables to your diet, too! 🙂
You can find the full recipe here at Delish .com. It can be on your table in 35 – 40 minutes so it’s great for a weeknight dinner. Just add your favorite side you like to serve with soup and maybe some fruit for dessert. I think this Bacon Cauliflower Chowder would also be great with a little shredded cheddar cheese sprinkled on top!
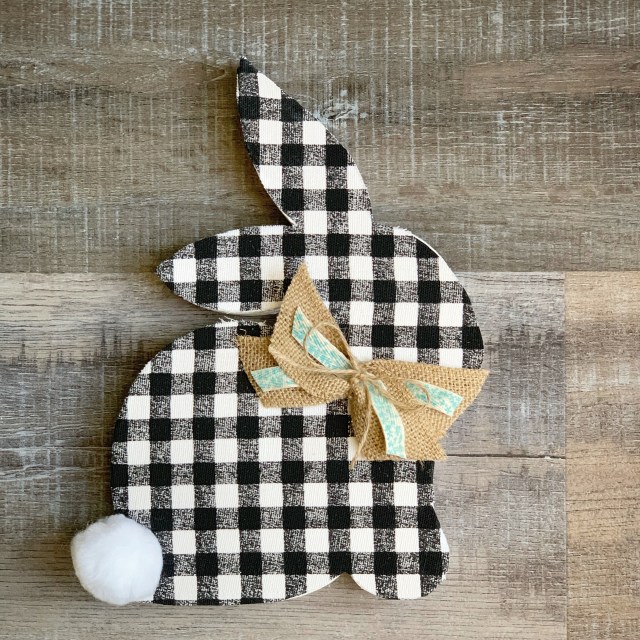
I have a sweet little bunny to share with you today! 🐰 He’s super simple to make and will add a touch of whimsey to your Easter decor.
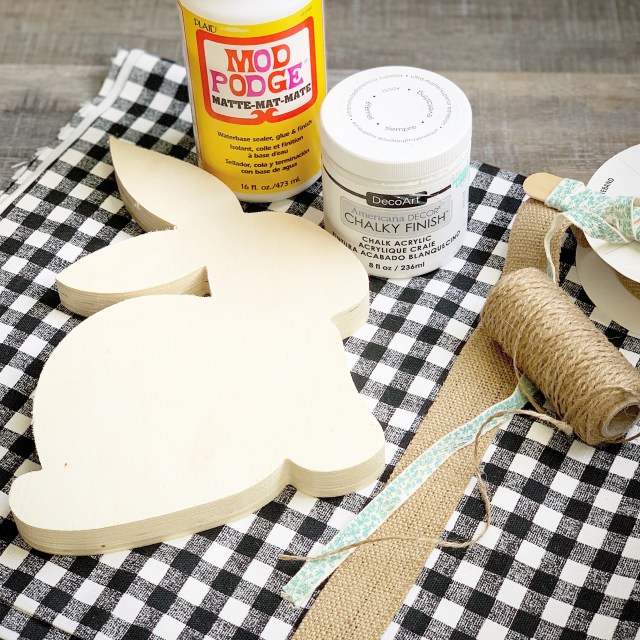
You’ll need an unfinished wood bunny, some fabric, Mod Podge, some ribbon, twine, and a pompom for the tail. You may also want some white chalky finish or acrylic paint for painting the edges and back.
I found the unfinished wood bunny at Hobby Lobby where I also found the small buffalo plaid fabric. Of course, you can pick up all the other supplies you’ll need at Hobby Lobby as well – that is if you don’t already have them in your craft room! 😉
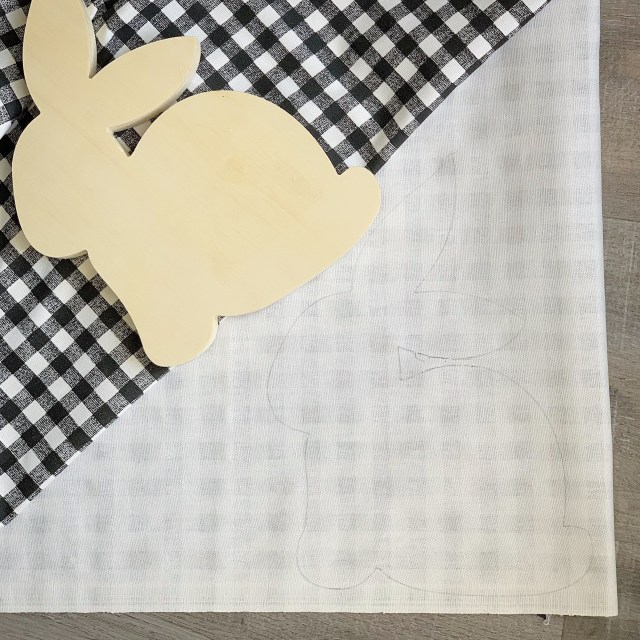
First, I traced the bunny onto the back of my fabric and cut it out. Then I painted the edges and back of the bunny with one coat of chalky finish white paint. I didn’t worry about making it perfect – I just didn’t want the bare wood to show completely. This is totally optional. Then I brushed a thin coat of Mod Podge onto the front of the bunny and smoothed the fabric onto it, making sure to remove any bubbles or puckers.
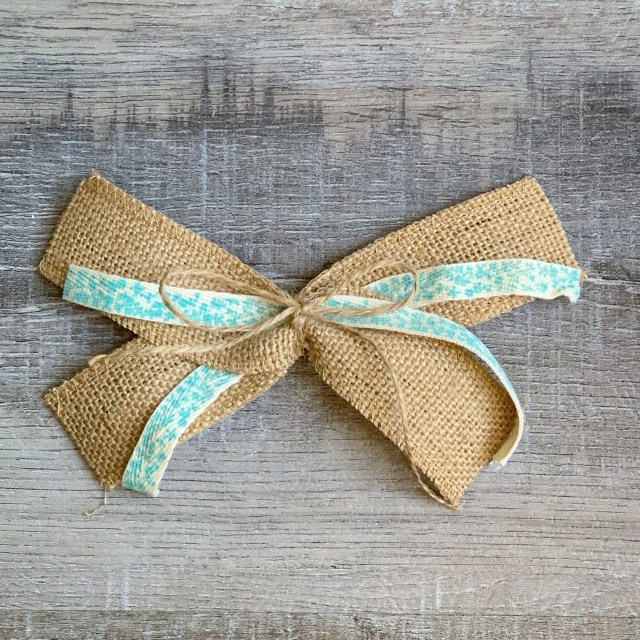
The bow is super easy to make. Simply cut two pieces of each ribbon you are using and lay them in an “x” over a length of twine.
Then tie the twine tightly around your ribbon.
Trim your ribbon so your bow is the size you want and hot glue to your bunny. Add a 1.5-inch pompom to the bunny with hot glue.
This is a very quick and easy project and I just love the way it turned out! I may even keep this Farmhouse Bunny out all year long! 🐰
The free pattern is available here on Ravelry. If you don’t have a Ravelry account, it’s really easy and free to set up. There are hundreds of free and paid patterns available – such a great place to find new projects to stitch up!
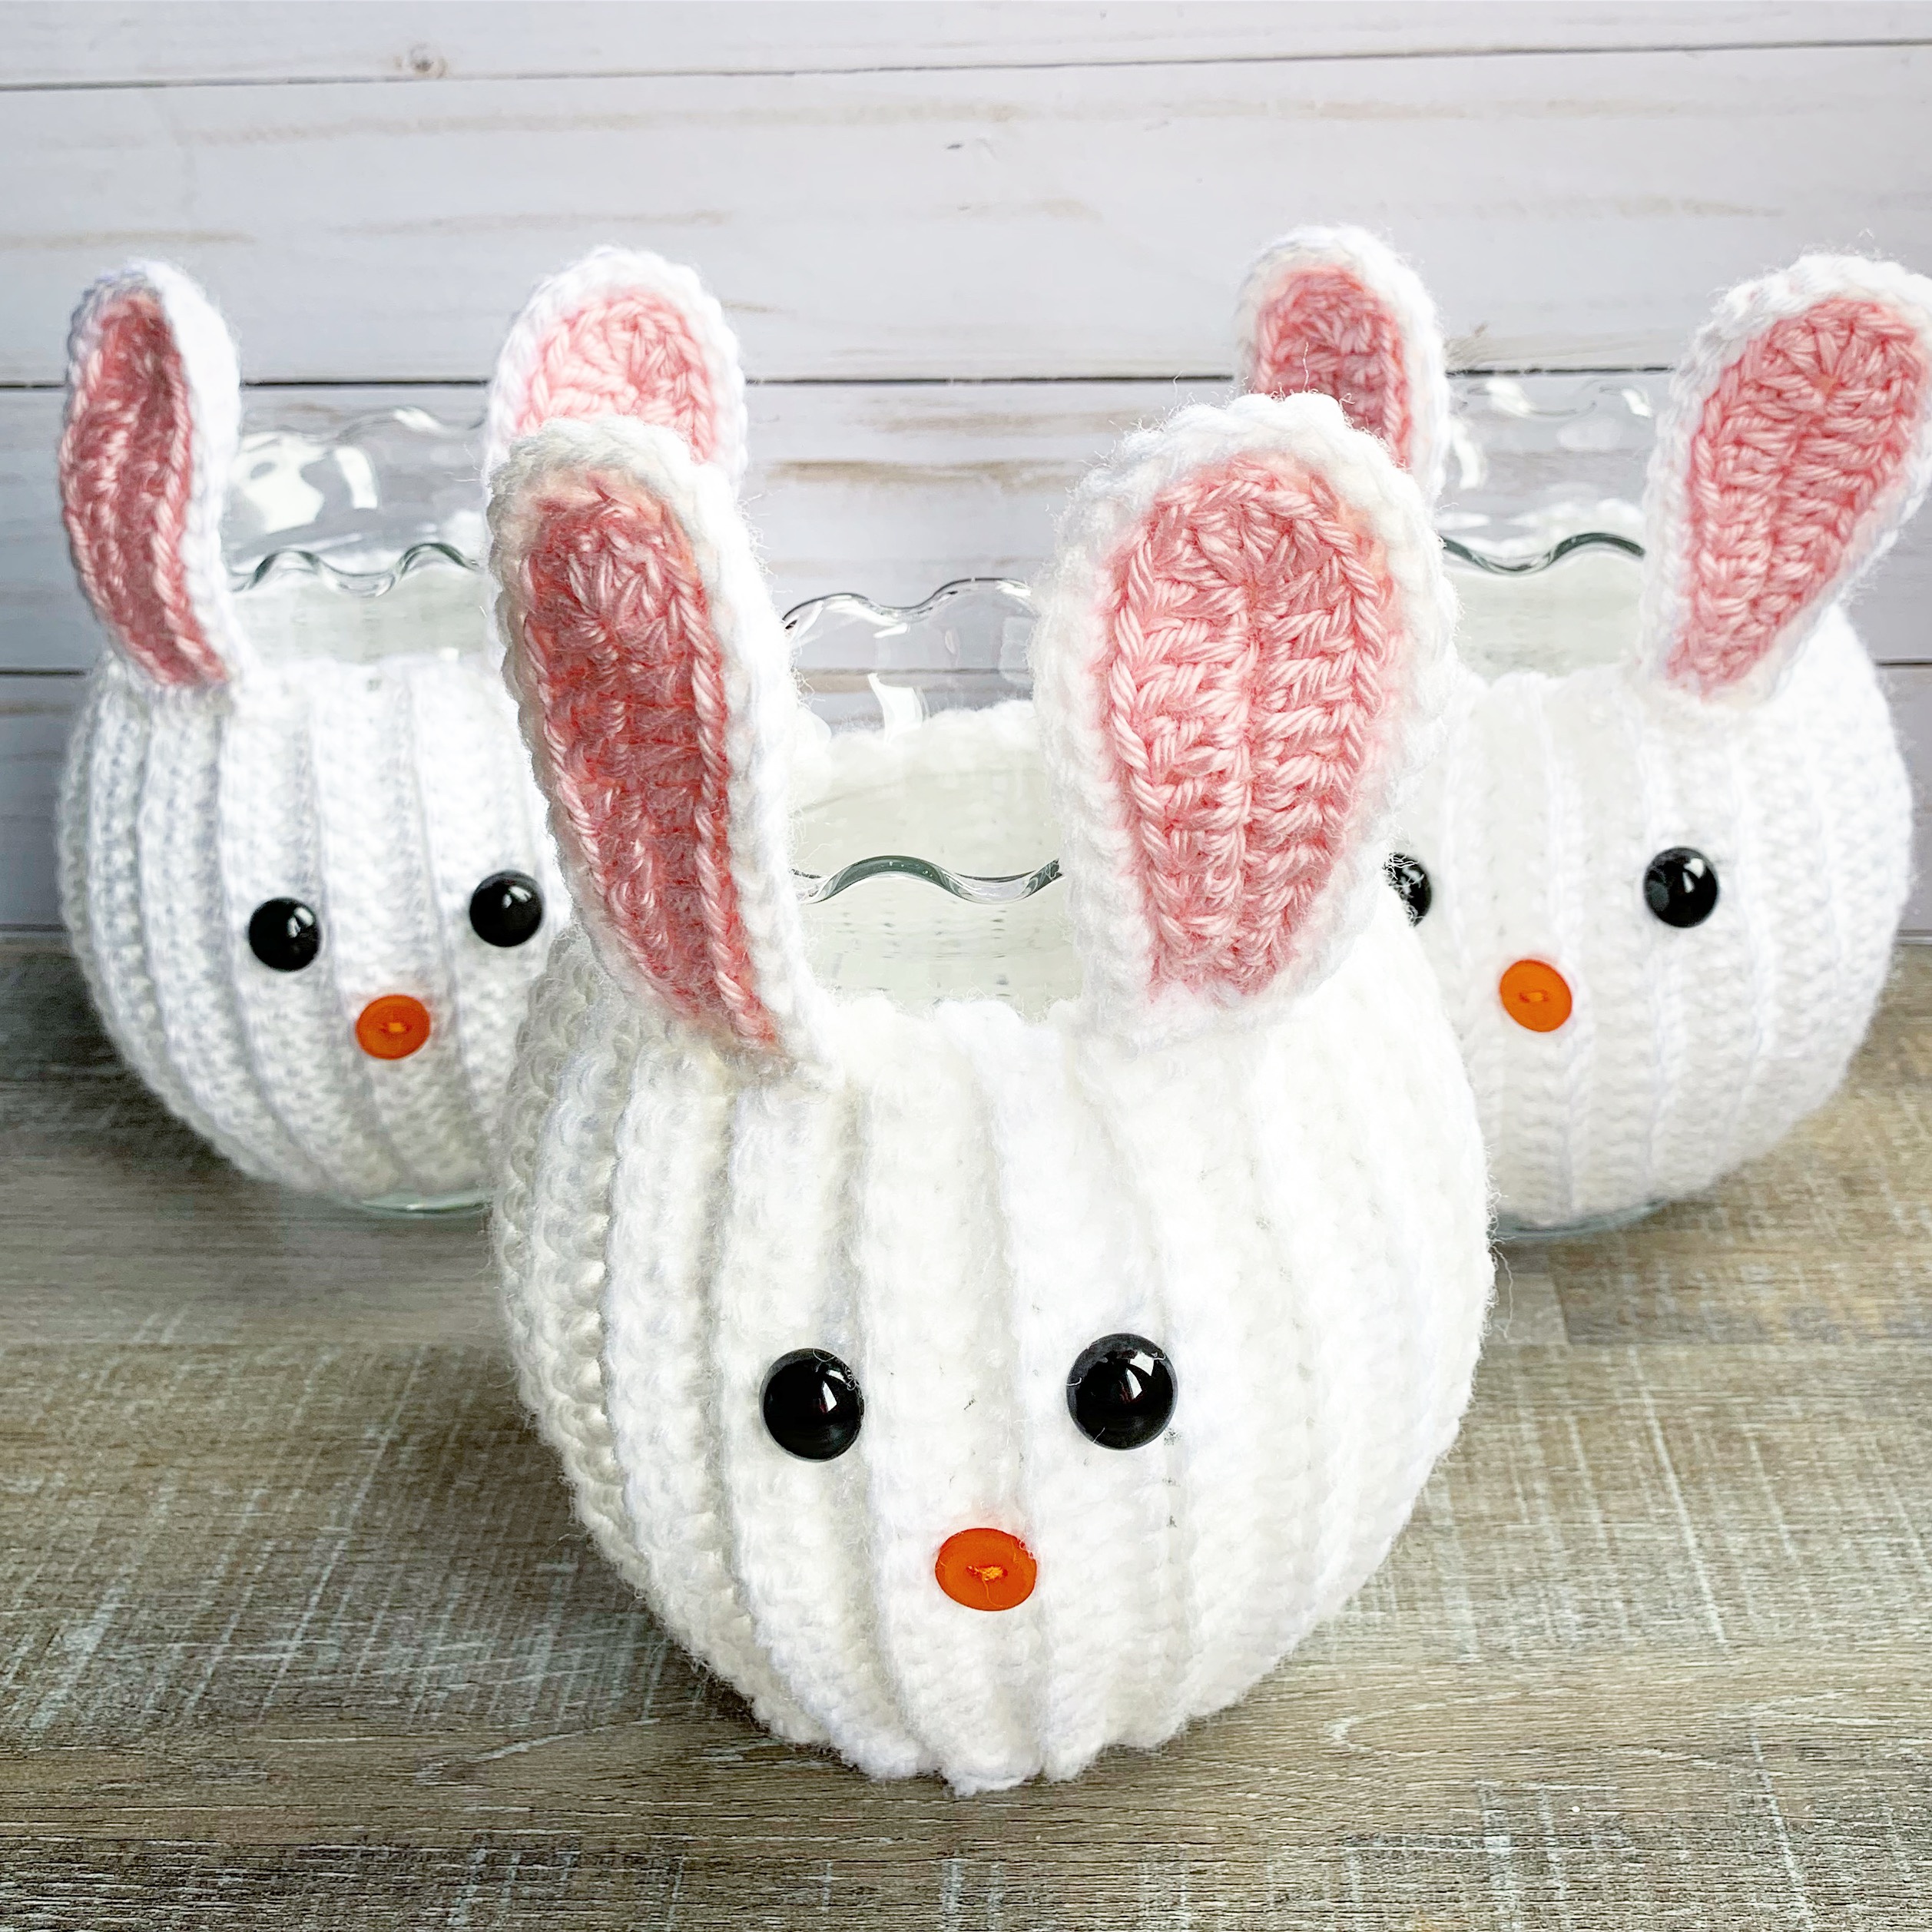
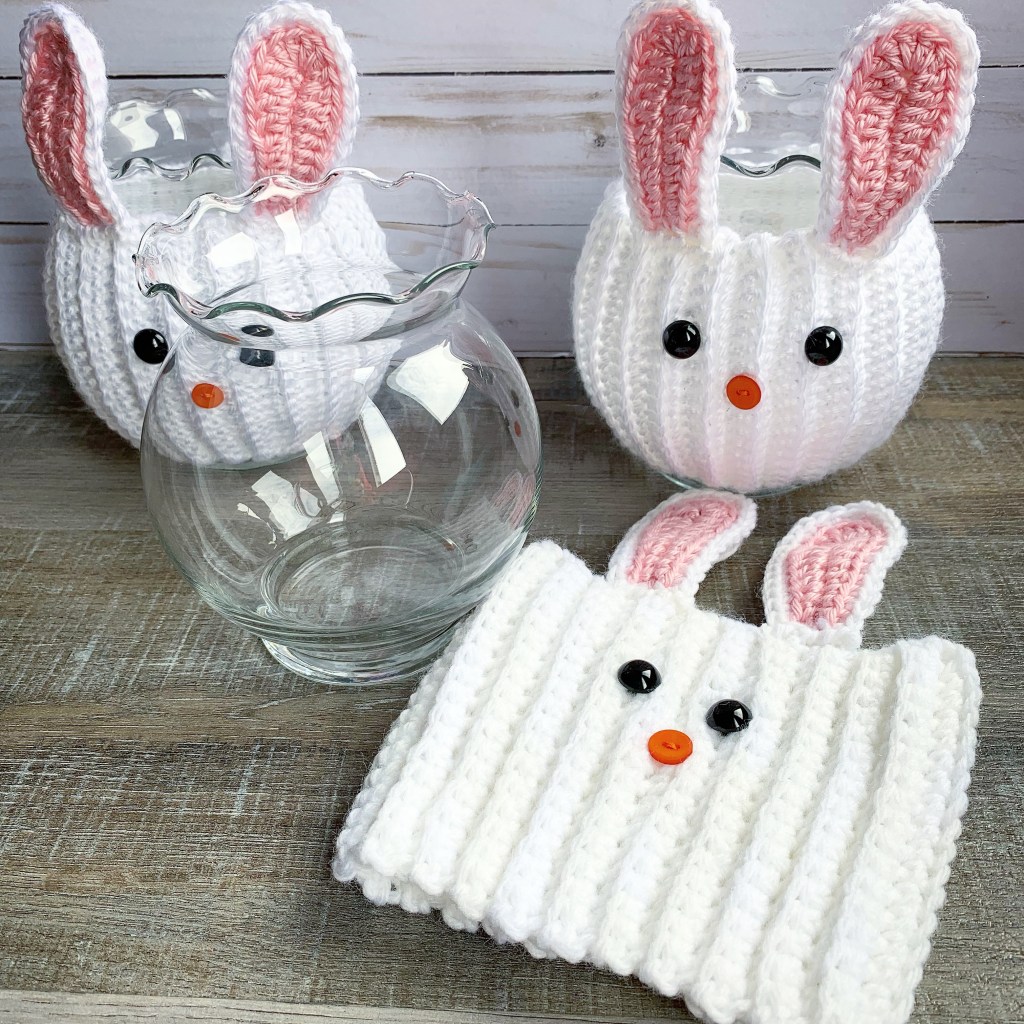
I used worsted weight yarn in white and pink that I had left over from previous projects and size H/5mm and G/4.25mm hooks to stitch up my Bunny Jar Cozies. I did have to add rows to the main part of the bunny to fit around my jar. I ended up with 46 rows instead of the 36 called for in the pattern. You may be fine with the 36 – just fit it around the jar to check before you finish it off.
I picked up my buttons at my local craft store. I wasn’t able to find orange heart buttons as suggested so I got little round orange ones for the nose. I found my jars at the Dollar Tree.
So sweet!
These cute Bunny Jars filled with treats would make a fun Easter basket. Or a sweet hostess gift at Easter dinner.
I’ve got a super fast, super easy, super tasty recipe to share with you today! And it’s low carb! I really love the flavor of this Sausage Egg Roll in a Bowl. And the fact that you can have it on the table in less than 25 minutes makes it a great weeknight meal!
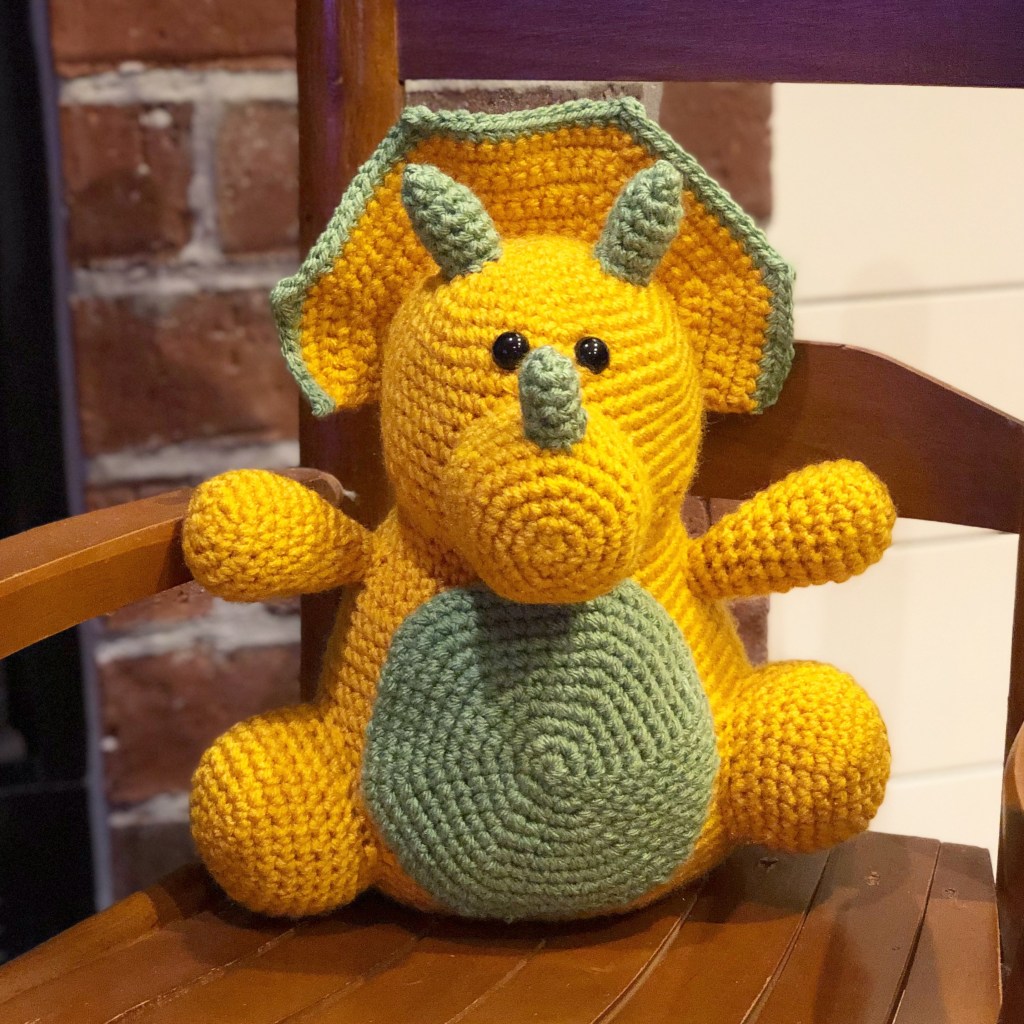
He was so fun to make – I knew I had to try my hand on a different one! I found this paid pattern for this cutie, Tina the Triceratops, here on Etsy.
I noticed that the pattern says it is sold out 😦 I found another similar Triceratops pattern here.
I used worsted weight yarn and an F/4mm hook to crochet her. I think the yarn was I Love This Yarn from Hobby Lobby in Sungold and Mid Green – the labels were missing from my stash. 😕
Isn’t she just the sweetest?!?! You can make her in your little one’s favorite color combo!
I stamped the images with Memento Tuxedo Black ink on white card stock and colored them with Copic markers. I die cut the images with a circle die and layered them to a larger circle of green card stock. This is a great set of circle dies.
(If you don’t have a die cutting machine and are looking for a smaller, less expensive machine to get started, I highly recommend this Cuttlebug Machine. I’ve had mine for a long time and it’s the one I use over and over to die cut or emboss when I’m making cards or smaller paper projects. It doesn’t take up much room on my desk so it’s easy to keep handy. It comes in this pretty Blue or Rose color. If you decide to purchase a Cuttlebug Machine, I suggest you also purchase an Adapter C Plate. You will need that when using some of the dies to cut your shapes.)
But back to the card… I layered polka dot patterned paper to turquoise card stock and attached it to a white card. I stamped “Happy Birthday” with turquoise ink on white card stock and punched it with a label punch. (The stamp is from the Itty Bitty Greetings set from Stampin’ Up. The label punch, also from Stampin’ Up, is discontinued but here’s a similar one.) I attached the sentiment to the card and added a turquoise enamel dot. The stamped and colored image is attached to the card with foam tape.
I just love this Delightful Flutterbys set – by changing the sentiment, this card would be great for a thank you, thinking of you, or just a hello card!
Is this not the cutest little elephant? Such fun for a child’s birthday card! I found this stamp set called Birthday Celebration at Simon Says Stamp. I just love how this card turned out. 🙂
Happy Birthday!
I embossed a panel of red card stock with a numbers embossing folder and attached it to a white card. (This one is discontinued, but here is a similar one.) I stamped the elephant and balloon with Memento Black ink on white card stock and colored the images with Copic markers. I trimmed the stamped piece, layered it to blue card stock, and attached it to the card with foam tape.
“Happy Birthday” is from the Itty Bitty Greetings set from Stampin’ Up, but any birthday stamp would work just fine. I stamped it with red ink on white card stock, punched it with a label punch (here’s a similar one), and attached it to the card. To finish the card, I added a red gem next to the sentiment.
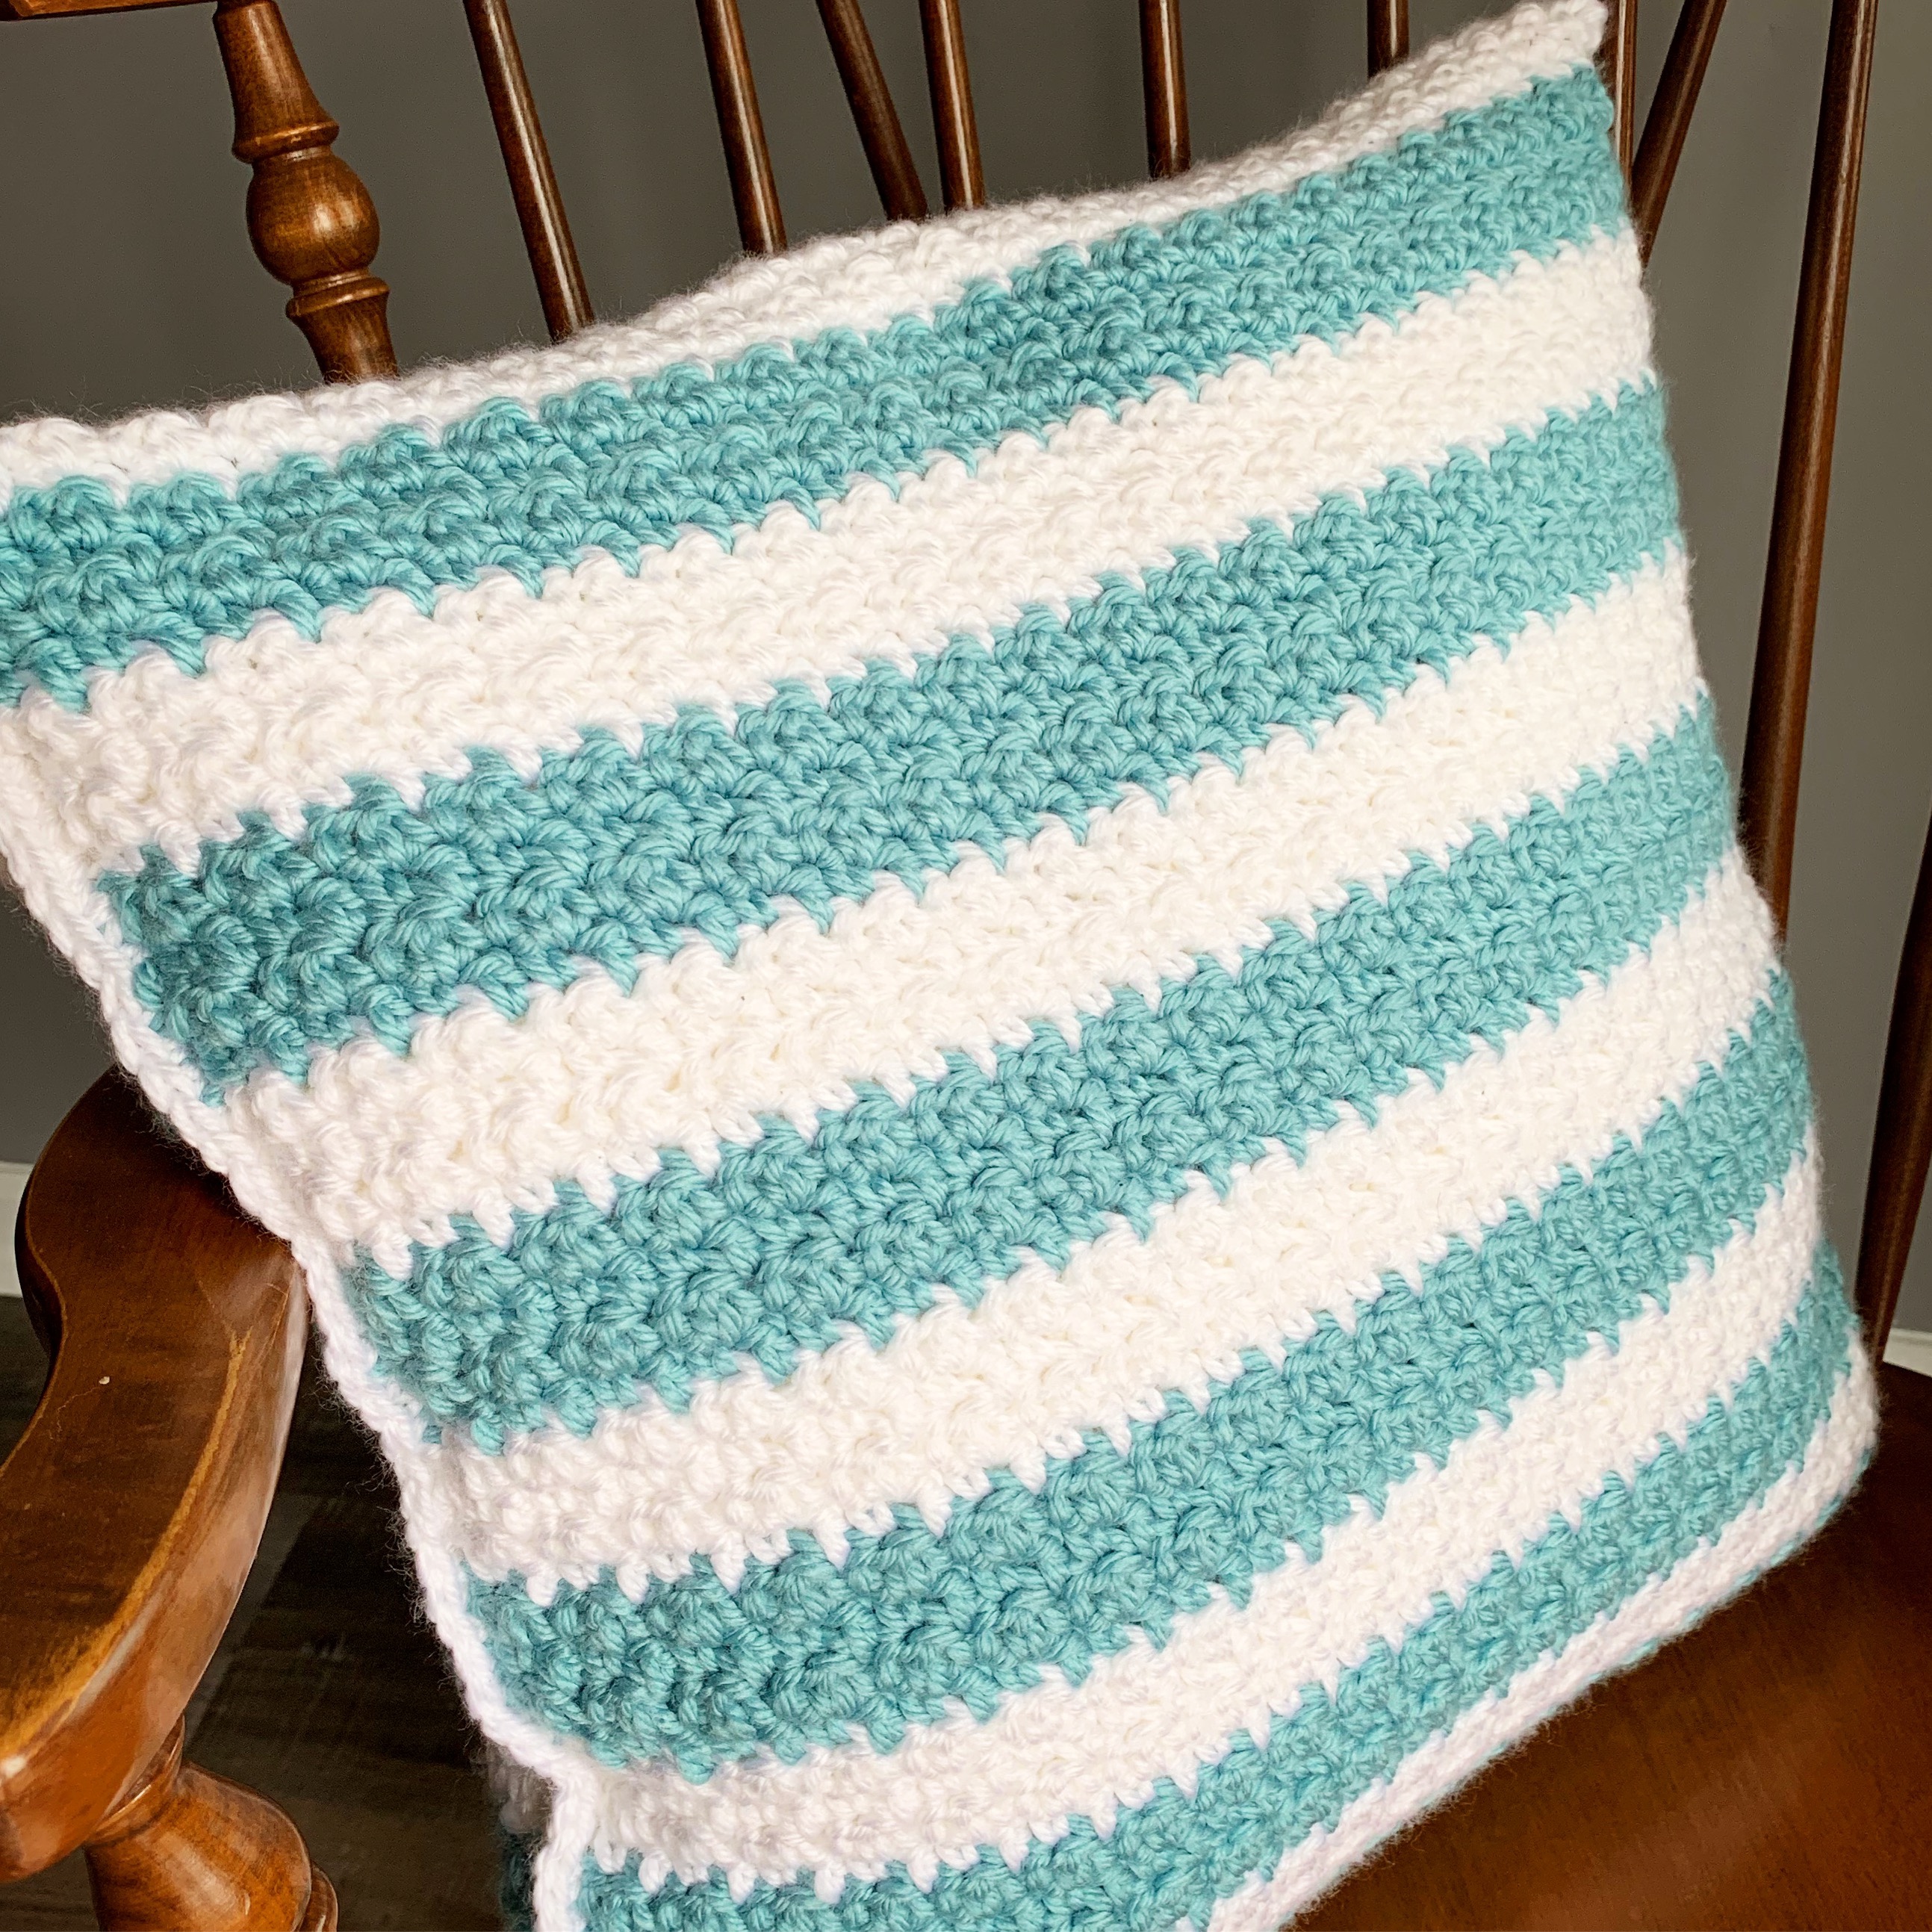
Have you ever crocheted anything with the Griddle Stitch? It’s really simple – just alternating single and double crochet – but it gives a great texture. It was perfect for the pillow cover I wanted to make.
I crocheted my pillow cover using Red Heart Soft Essentials yarn in White and Seafoam and a J/6mm hook. My pillow insert is 18-inches square.
Row 1: sc in 2nd chain from hook. Dc in next stitch. Repeat alternating sc and dc across – ending with a dc in last ch.
Row 2: ch 1. Sc in first dc. Dc in next sc. Repeat alternating sc and dc across row.
Repeat row 2 until you have 104 rows, changing color every 4 rows.
I carried my yarn up the side rather than cutting it at each color change because I hate weaving in all those ends!
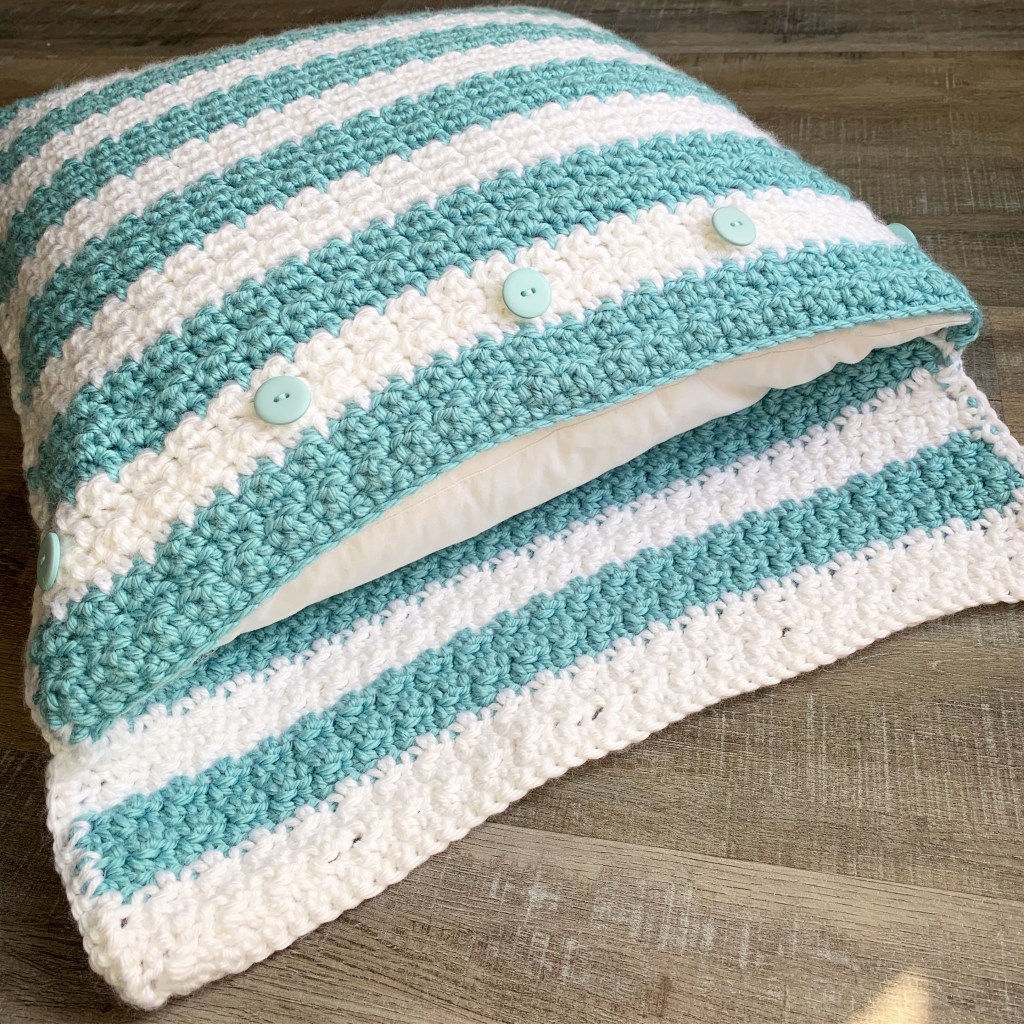
Fold your pillow cover up so that the carried yarn is on the inside, leaving 12 rows at the top to fold over.
Attach the white yarn to the bottom right corner and sc through both layers, around the top (being sure to crochet over the carried yarn), and through both layers on the other side down to the bottom left corner.
Fasten off and weave in ends.
Sew on 5 (3/4-inch) buttons about 6 rows down from the opening of the pillow cover. Put in your pillow insert, fold over the top, and button it closed.
This is a really easy pattern to adjust. Just be sure that your beginning chain is an odd number of stitches.
I’m always looking for new ideas for weeknight dinners. Pinterest is a great place to get inspiration – like this One Skillet Dijon Chicken with Mushrooms. It’s quick and simple to make – perfect on a busy weeknight!
The recipe also calls for chopped fresh chives for garnish, but I forgot to get them. 🙄
This recipe was a hit with my husband! I will be making it again. 😊
Disclosure: Some of the links on my site are affiliate links, meaning, at no additional cost to you, I will earn a small commission if you click through and make a purchase. As an Amazon Associate I earn from qualifying purchases.