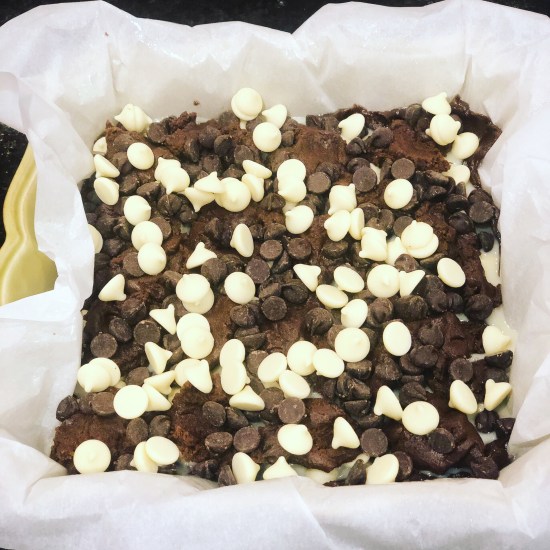
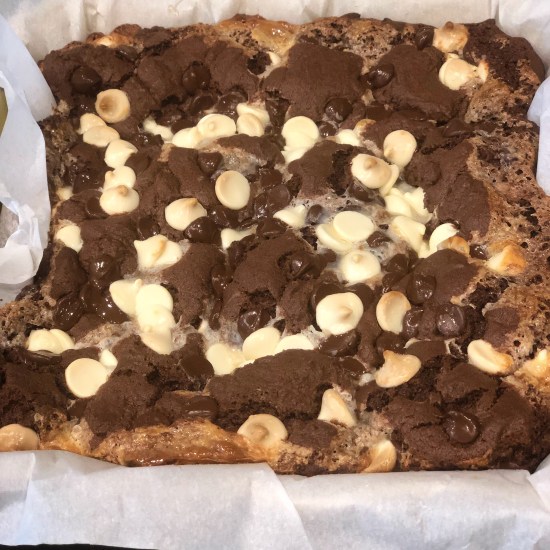
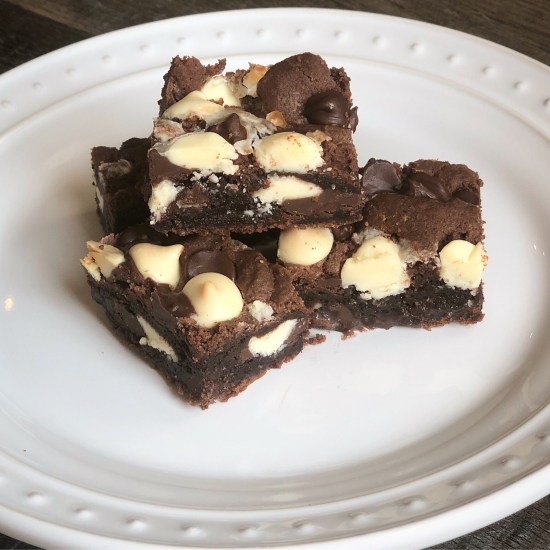
These Chocolate Cake Mix Bars take brownies to a whole new level! Chocolate and white chocolate chips, and sweetened condensed milk make these a rich, decadent treat. 🙂
To make the card, stamp the tree with black ink on white card stock and color with Copic markers. Punch with a scalloped circle punch and layer to a scalloped circle punched from green card stock with foam tape. Layer this piece to a larger scalloped circle punched from orange card stock. (This is a great set of scalloped circle dies.)
Emboss 2 different strips of green card stock with the Fancy Fan folder. Emboss a brick and golden-yellow strip of card stock with the Dot folder. Attach all 4 strips along with a strip of orange card stock to a kraft card. Stamp the sentiment on the orange strip with black ink. Attach stamped tree piece with foam tape.
Just a simple card with all the colors of Fall! 🍁🍂🍁
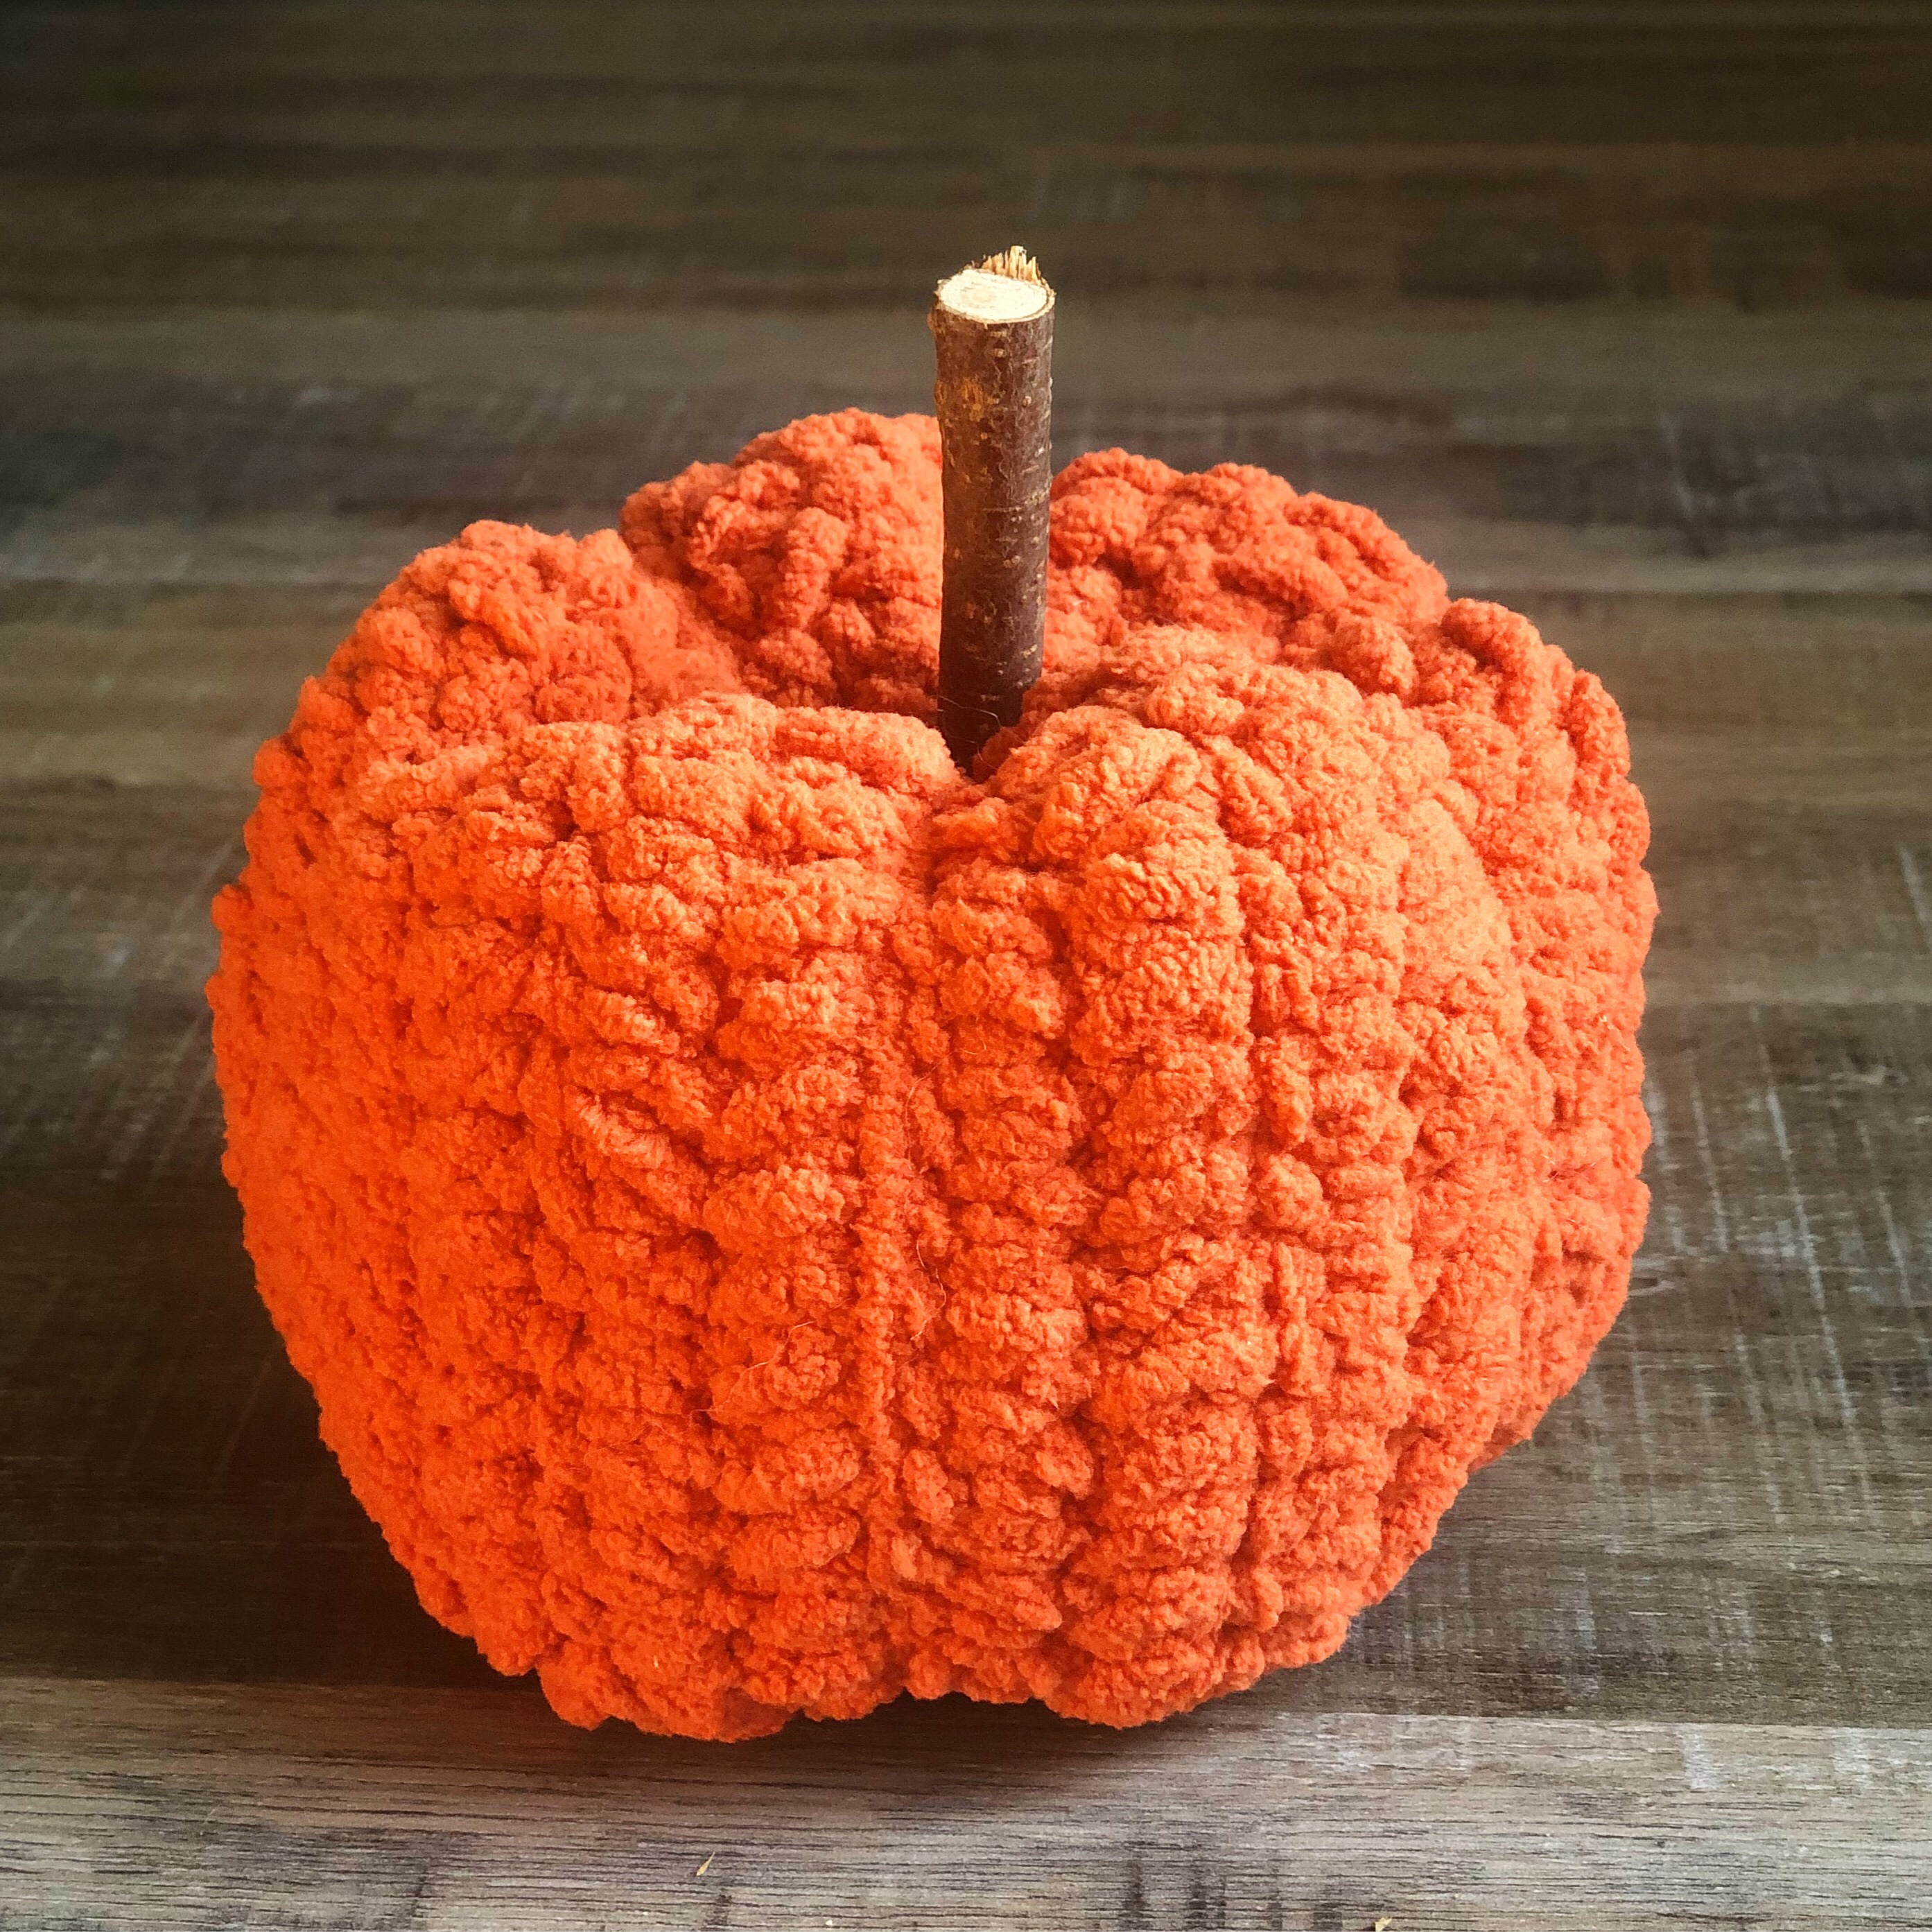
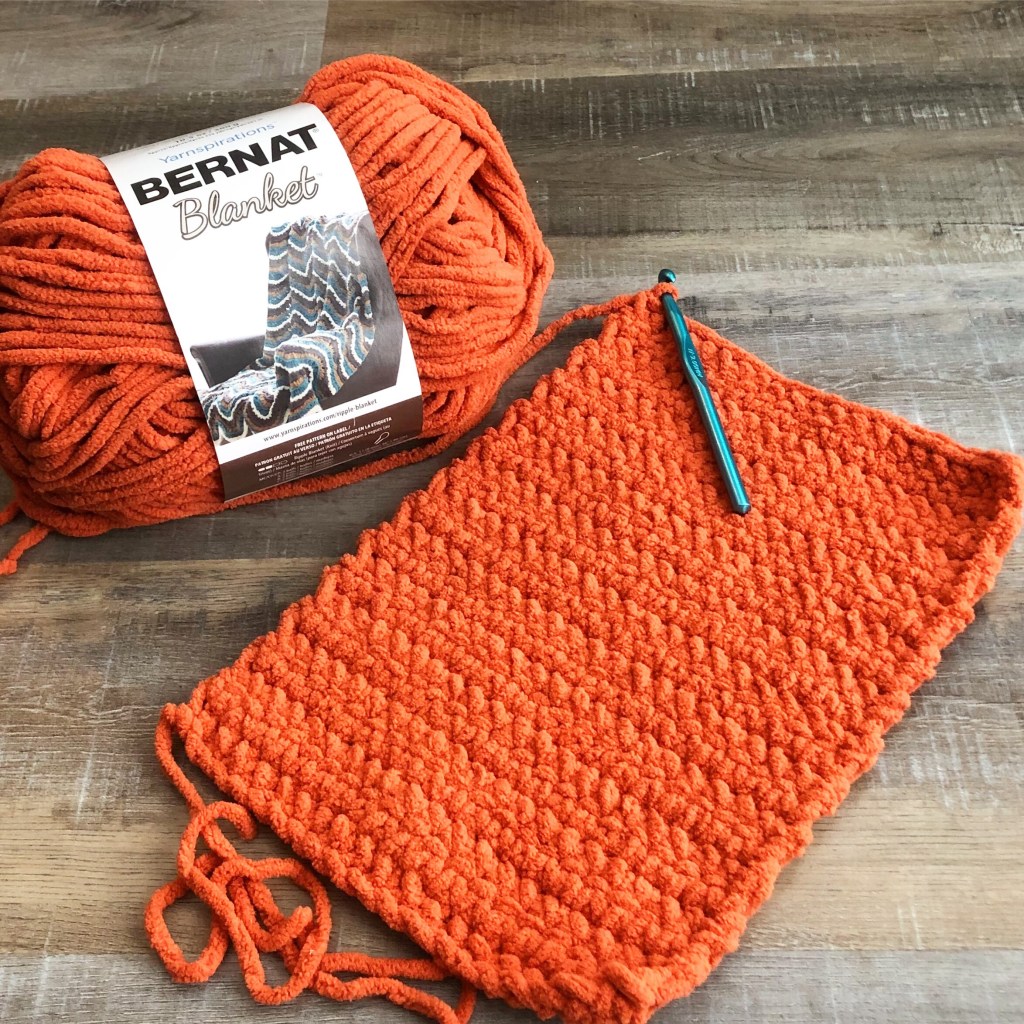
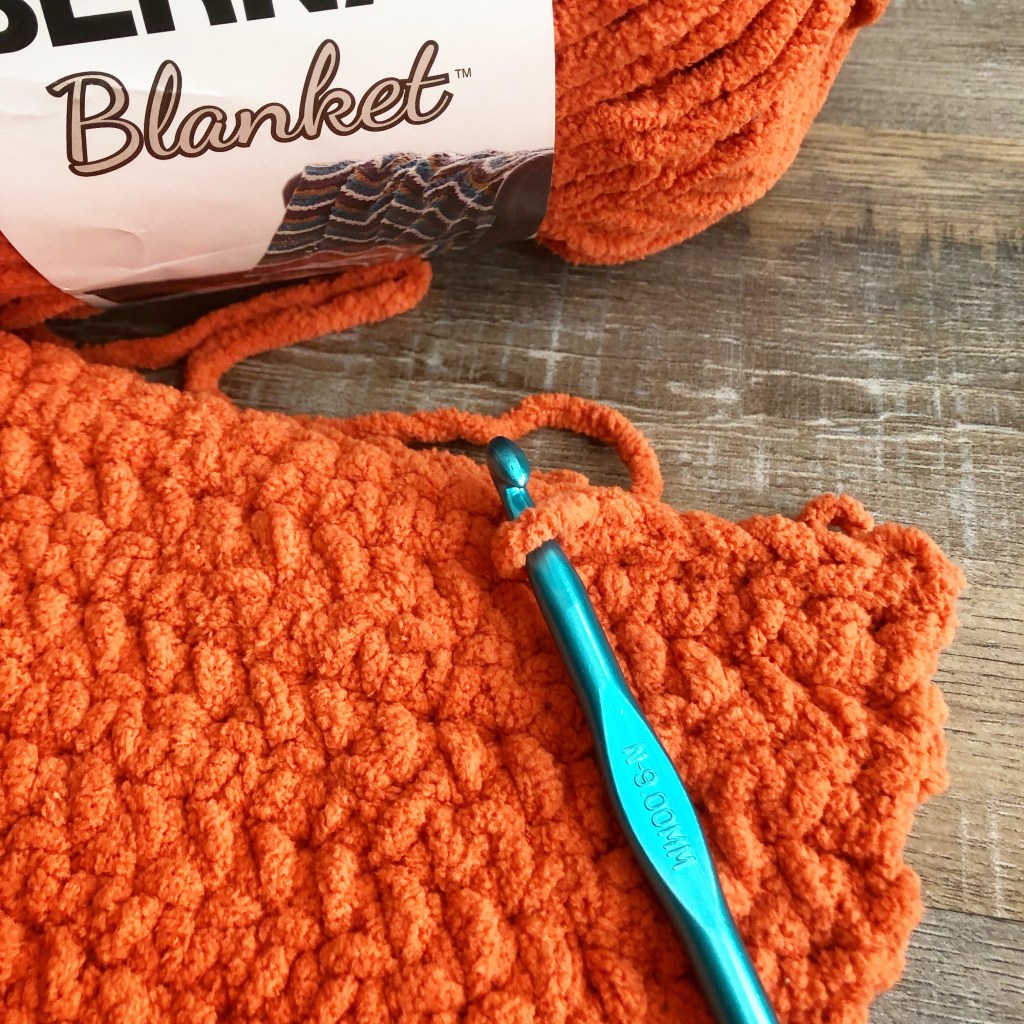
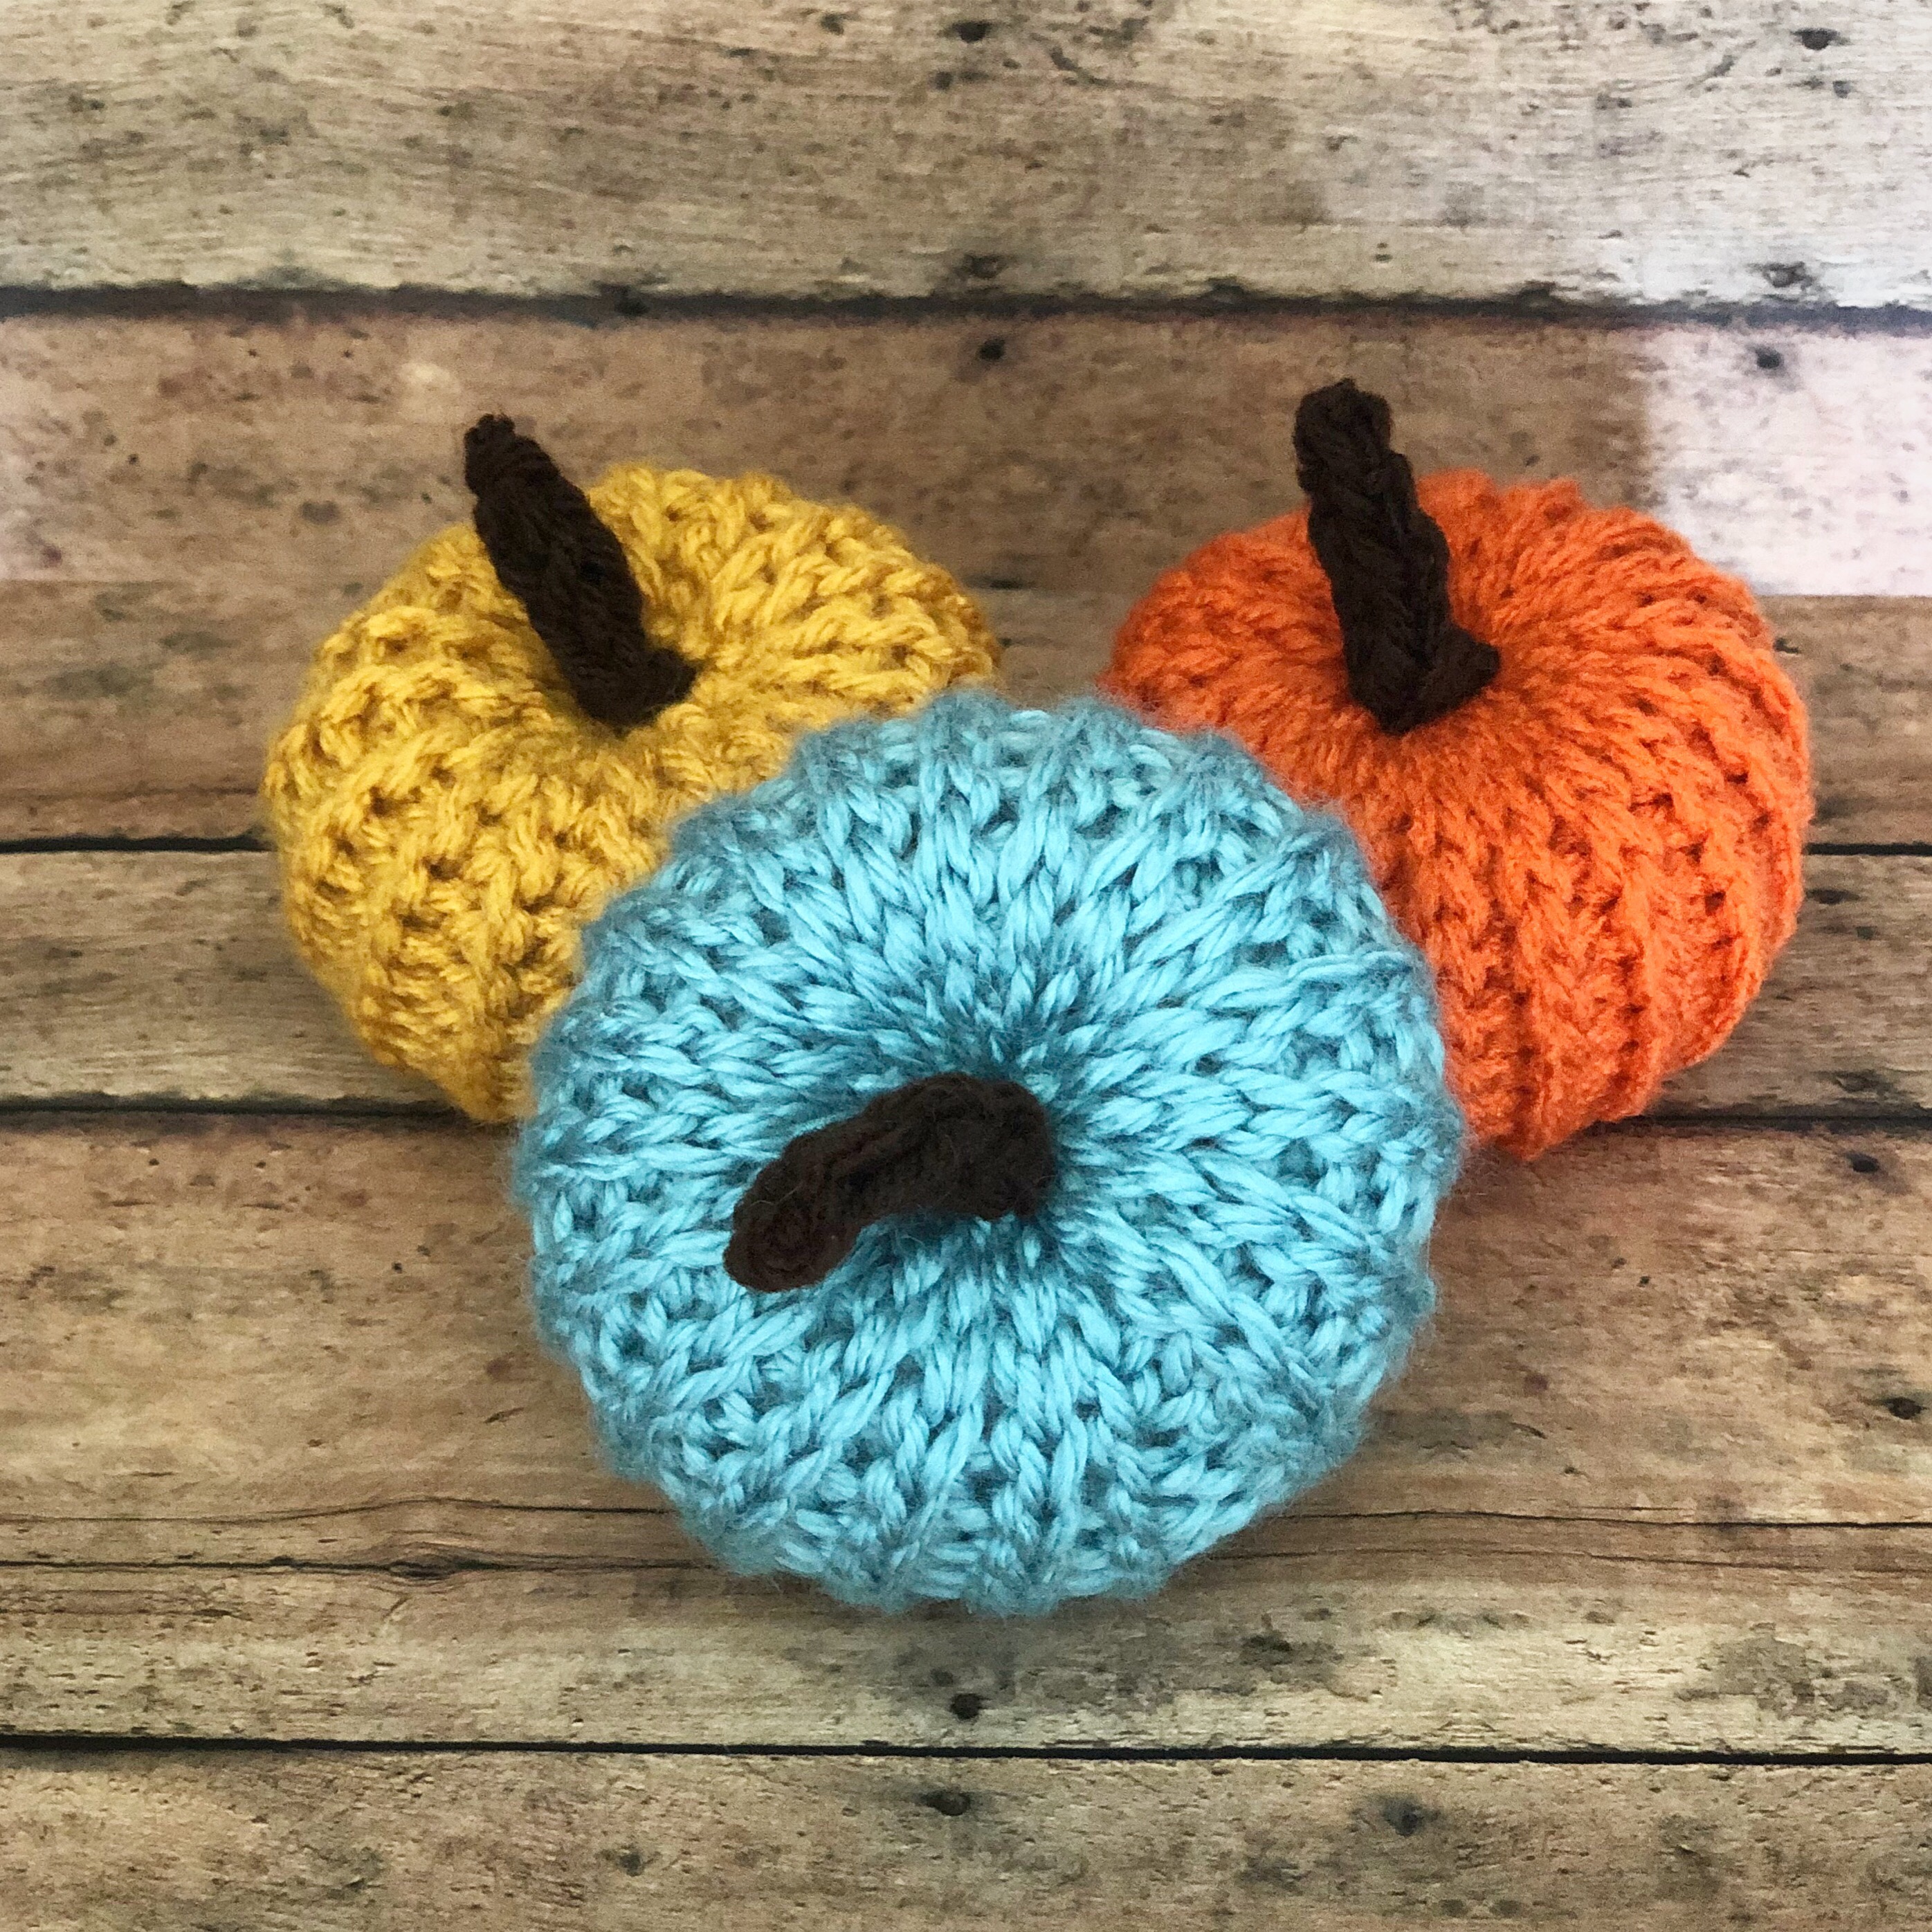
When I think of Fall, I think of pumpkins! I was playing with Bernat Blanket yarn and came up with this simple single crochet pattern for these Chunky Crocheted Pumpkins. They work up super quickly because of the weight of this super bulky yarn and an N/9mm hook.
Chunky Crocheted Pumpkins
Materials:
Bernat Blanket Yarn (I used Pumpkin Spice and Vintage White)
N/9mm hook
Gauge is not important
Stitches used:
Chain – ch
Single Crochet – sc
Slip Stitch – ss
Ch 21, leaving a long tail.
Row 1: sc in 2nd ch from hook and each stitch across. Ch 1 and turn. (20 stitches)
Row 2: sc in each stitch across. Ch 1 and turn. (20 stitches)
Rows 3 – 25: Repeat row 2. Do not turn at the end of Row 25. (20 stitches)
Fold piece in half and ss together. Finish off leaving a very long (48-50 inches or so) tail.
Turn piece so seam is on the inside.
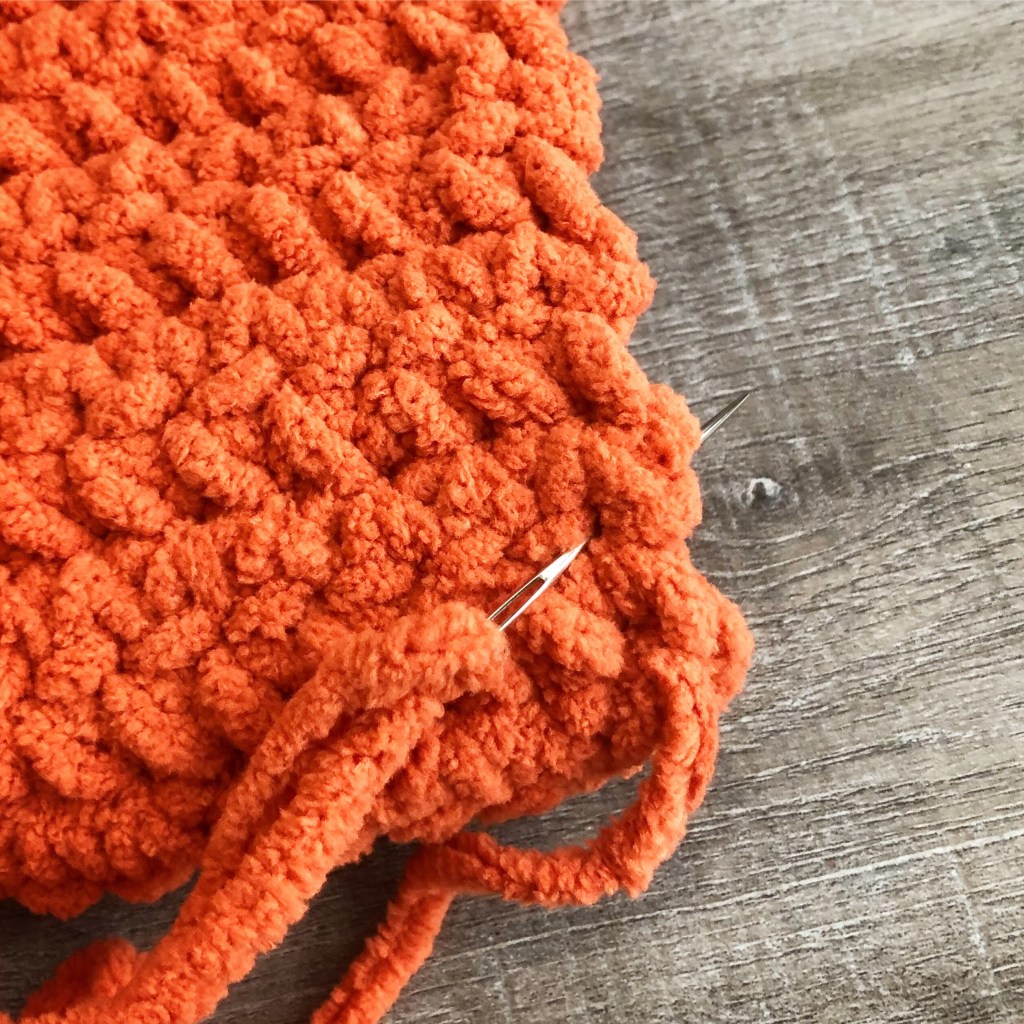
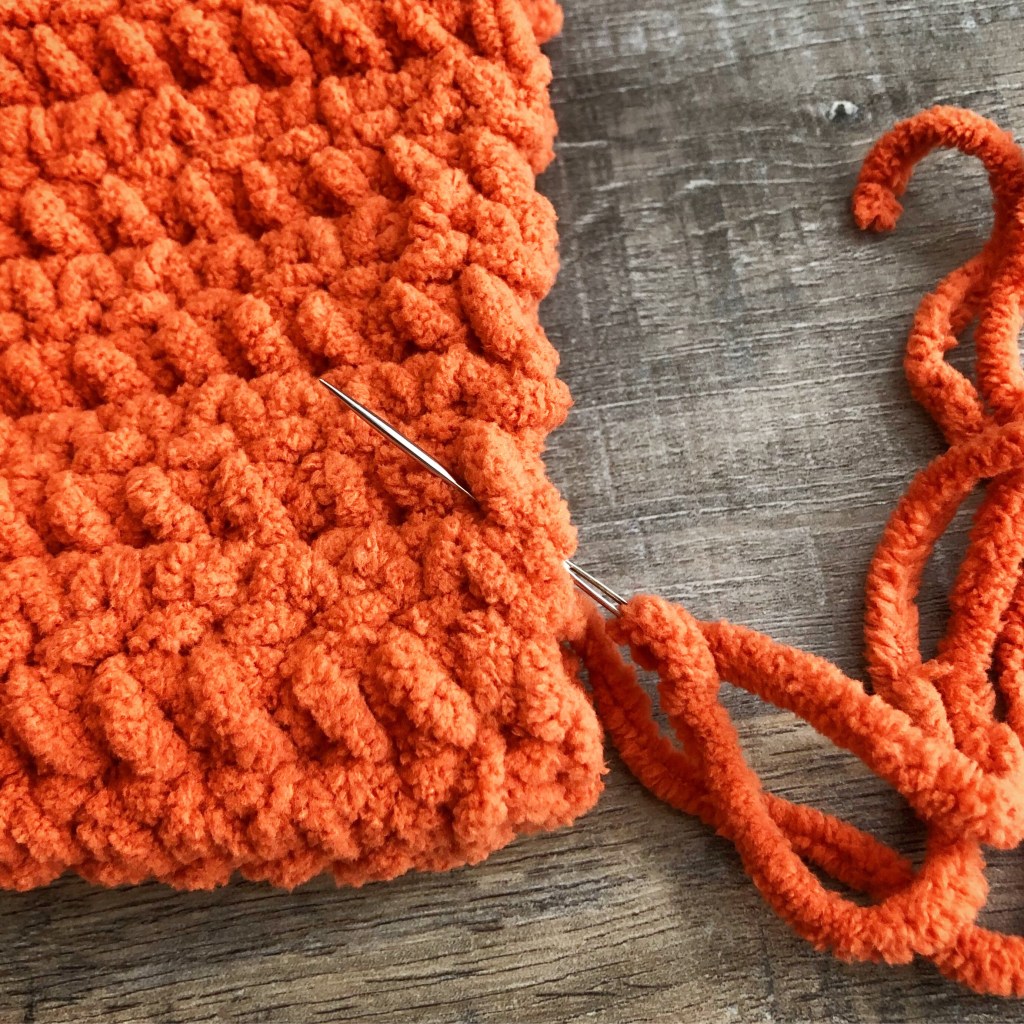
Using a yarn needle and your beginning tail, run a gathering stitch around the bottom of the pumpkin. Pull tight to close the opening, tie a knot, and weave in the end. (Because the yarn is so thick, you may have to sew a couple of stitches across the opening to close it completely.) I forgot to take a picture of this step, but once you have run your gathering stitch just pull on the yarn and it will close your opening.
Stuff pumpkin with poly-fil and gather the top in the same manner, using the very long tail. Do not cut yarn.
Using your needle, draw the yarn through the center top of the pumpkin to center bottom of the pumpkin. You’ll have to squish your pumpkin to get the needle through. Wrap the yarn around to the top of the pumpkin and pull it through again, pulling it tightly to form a “ridge”. Do this 5 or 6 times to give the pumpkin “ridges”. Tie it off tightly at the bottom after the last wrap around and weave in your end. The picture below shows how the ridges will look.
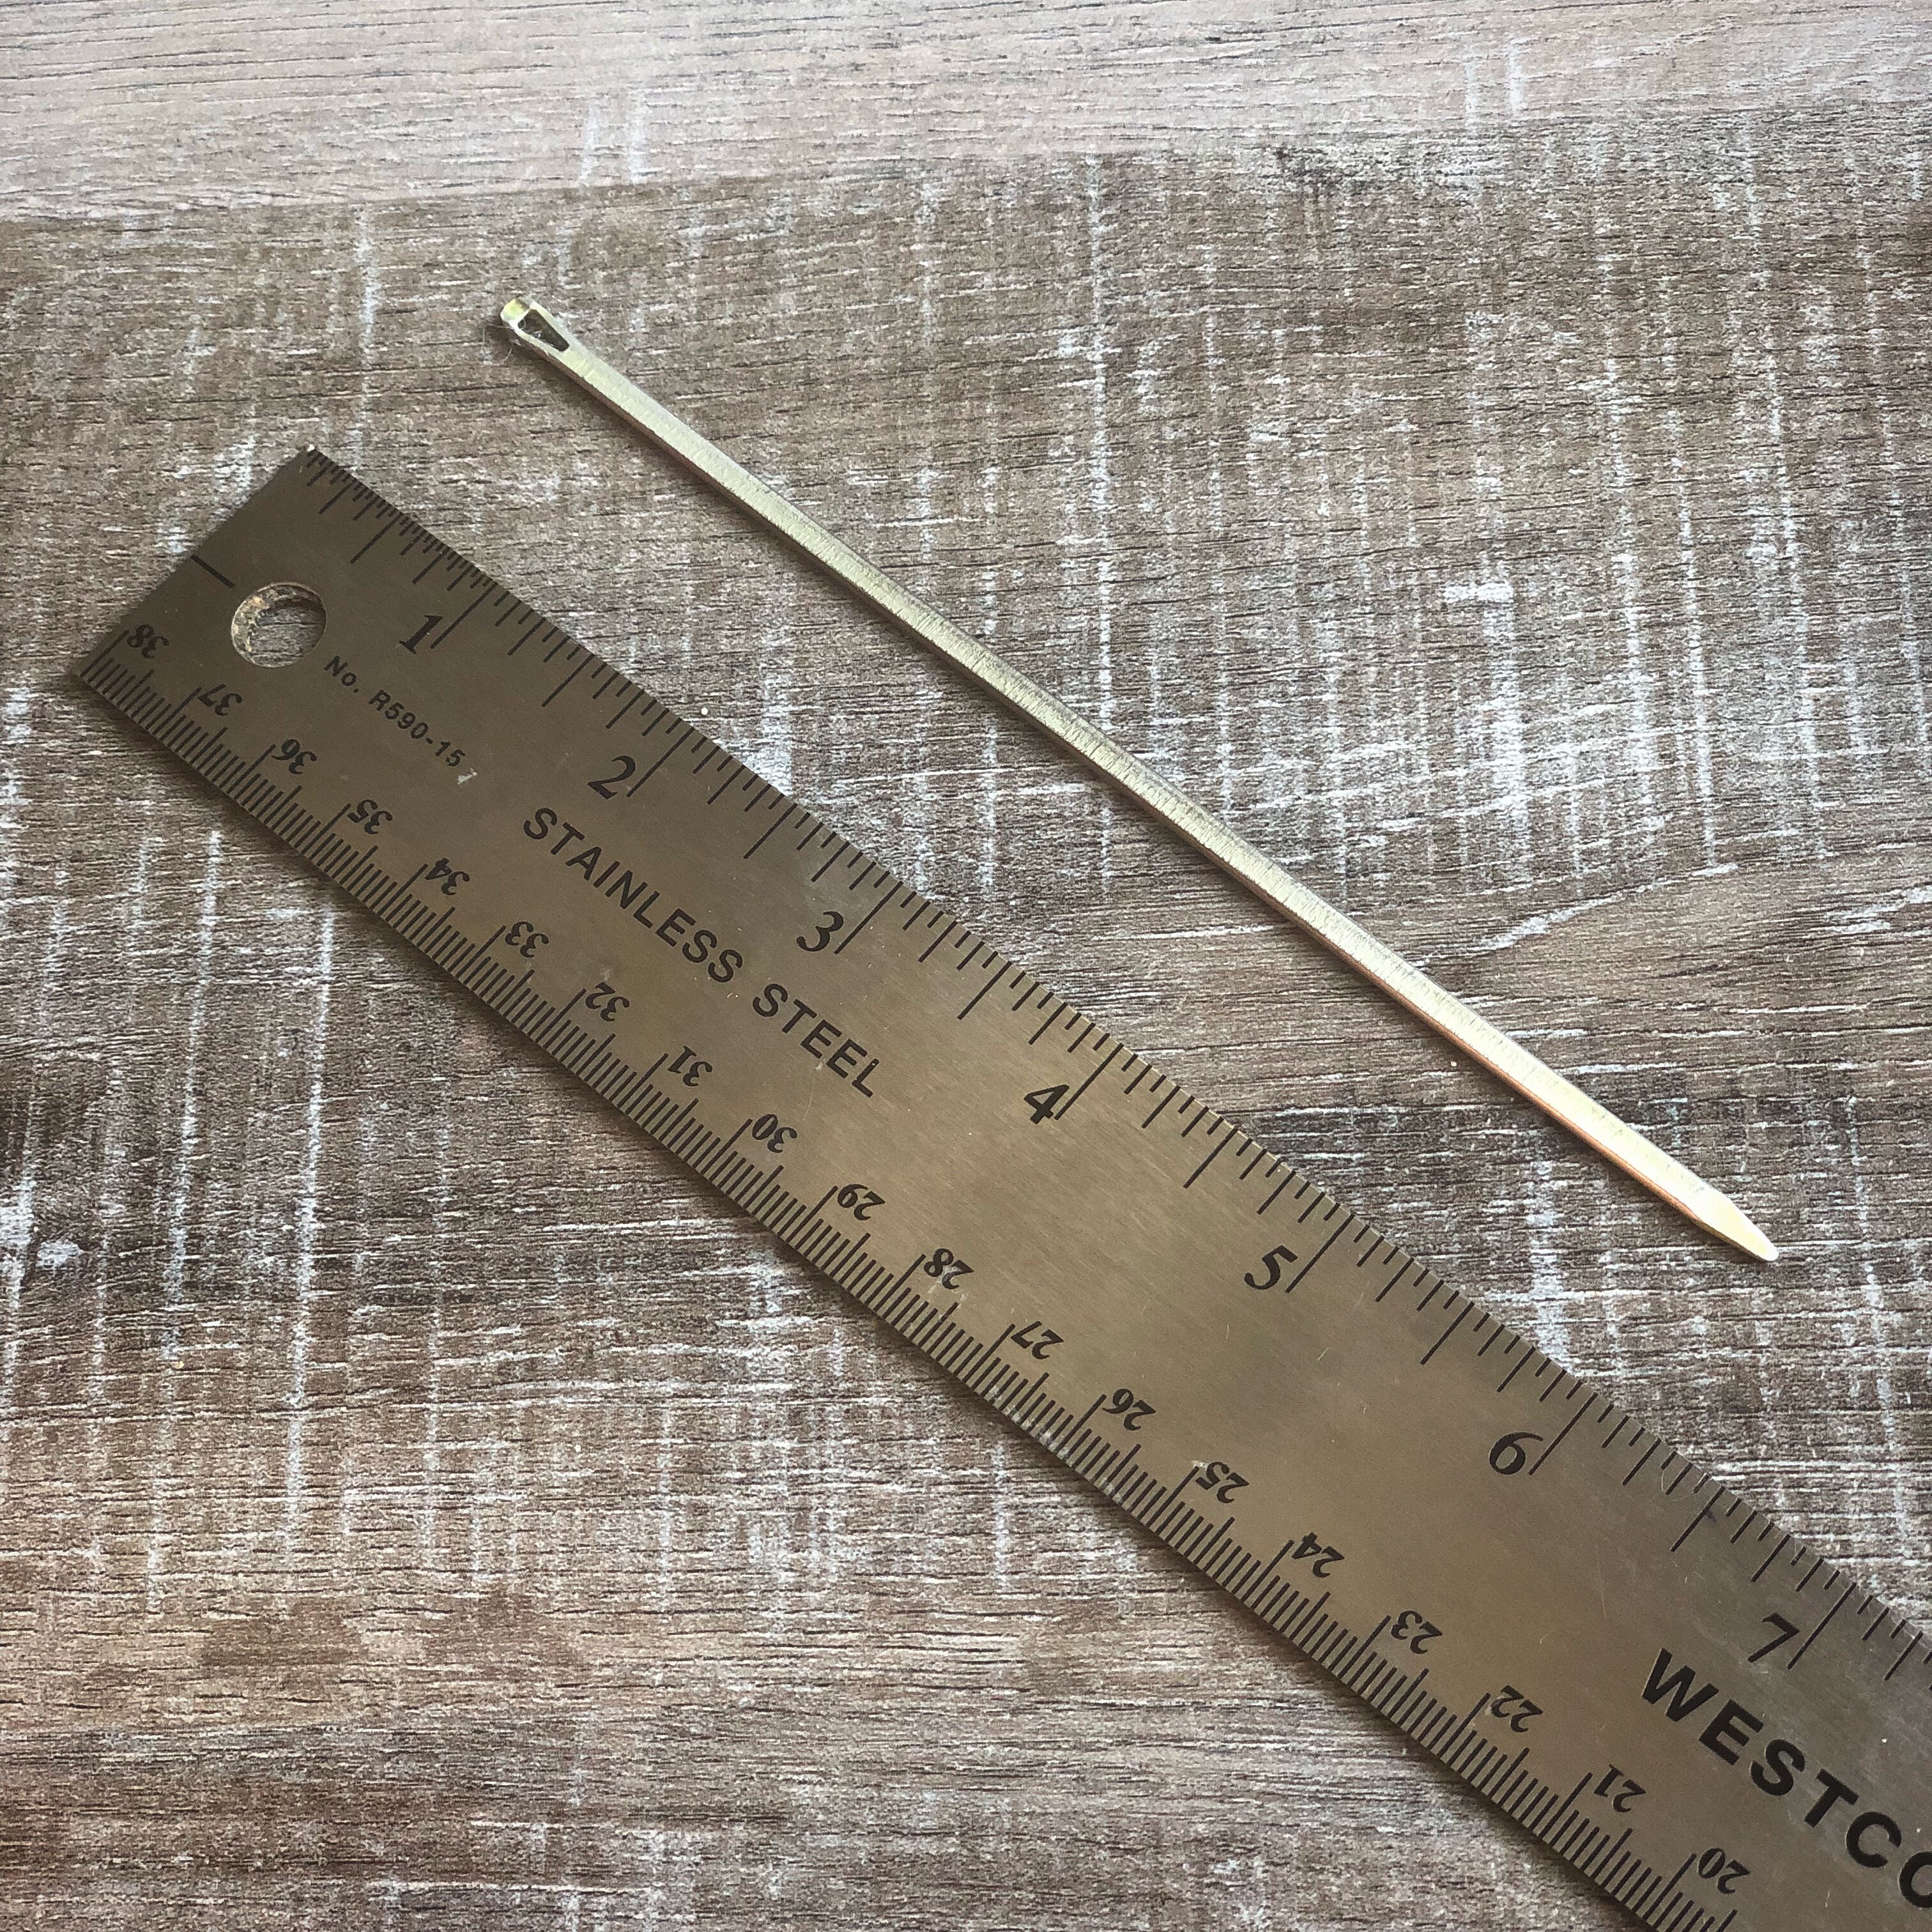
I have to share a picture of this “needle” I inherited from my grandmother. It was among all of her crochet hooks and it has been the best thing for creating the “ridges” on my pumpkins! As you can see, it is over 6-inches long and easily fit through my pumpkin from top to bottom. Such a great tool to have in my arsenal. 🙂
Glue a small stick to the center for the stem. And here are my finished pumpkins. They measure about 5-inches across and 4-inches high.
(Please link back to my pattern if you make any of these cute pumpkins. I’d appreciate it if you wouldn’t copy or rewrite my pattern onto another page. Thank you!)
You can easily change the size of these pumpkins by changing the weight of your yarn and using the appropriate hook. You can stitch up an entire pumpkin patch!
It’s finally Fall – my favorite season! 🍁🍂 Fall in Alabama, once the Summer finally lets go, is filled with days of almost perfect temps and crisp, cool nights. Time to break out the scarves and boots. 😊
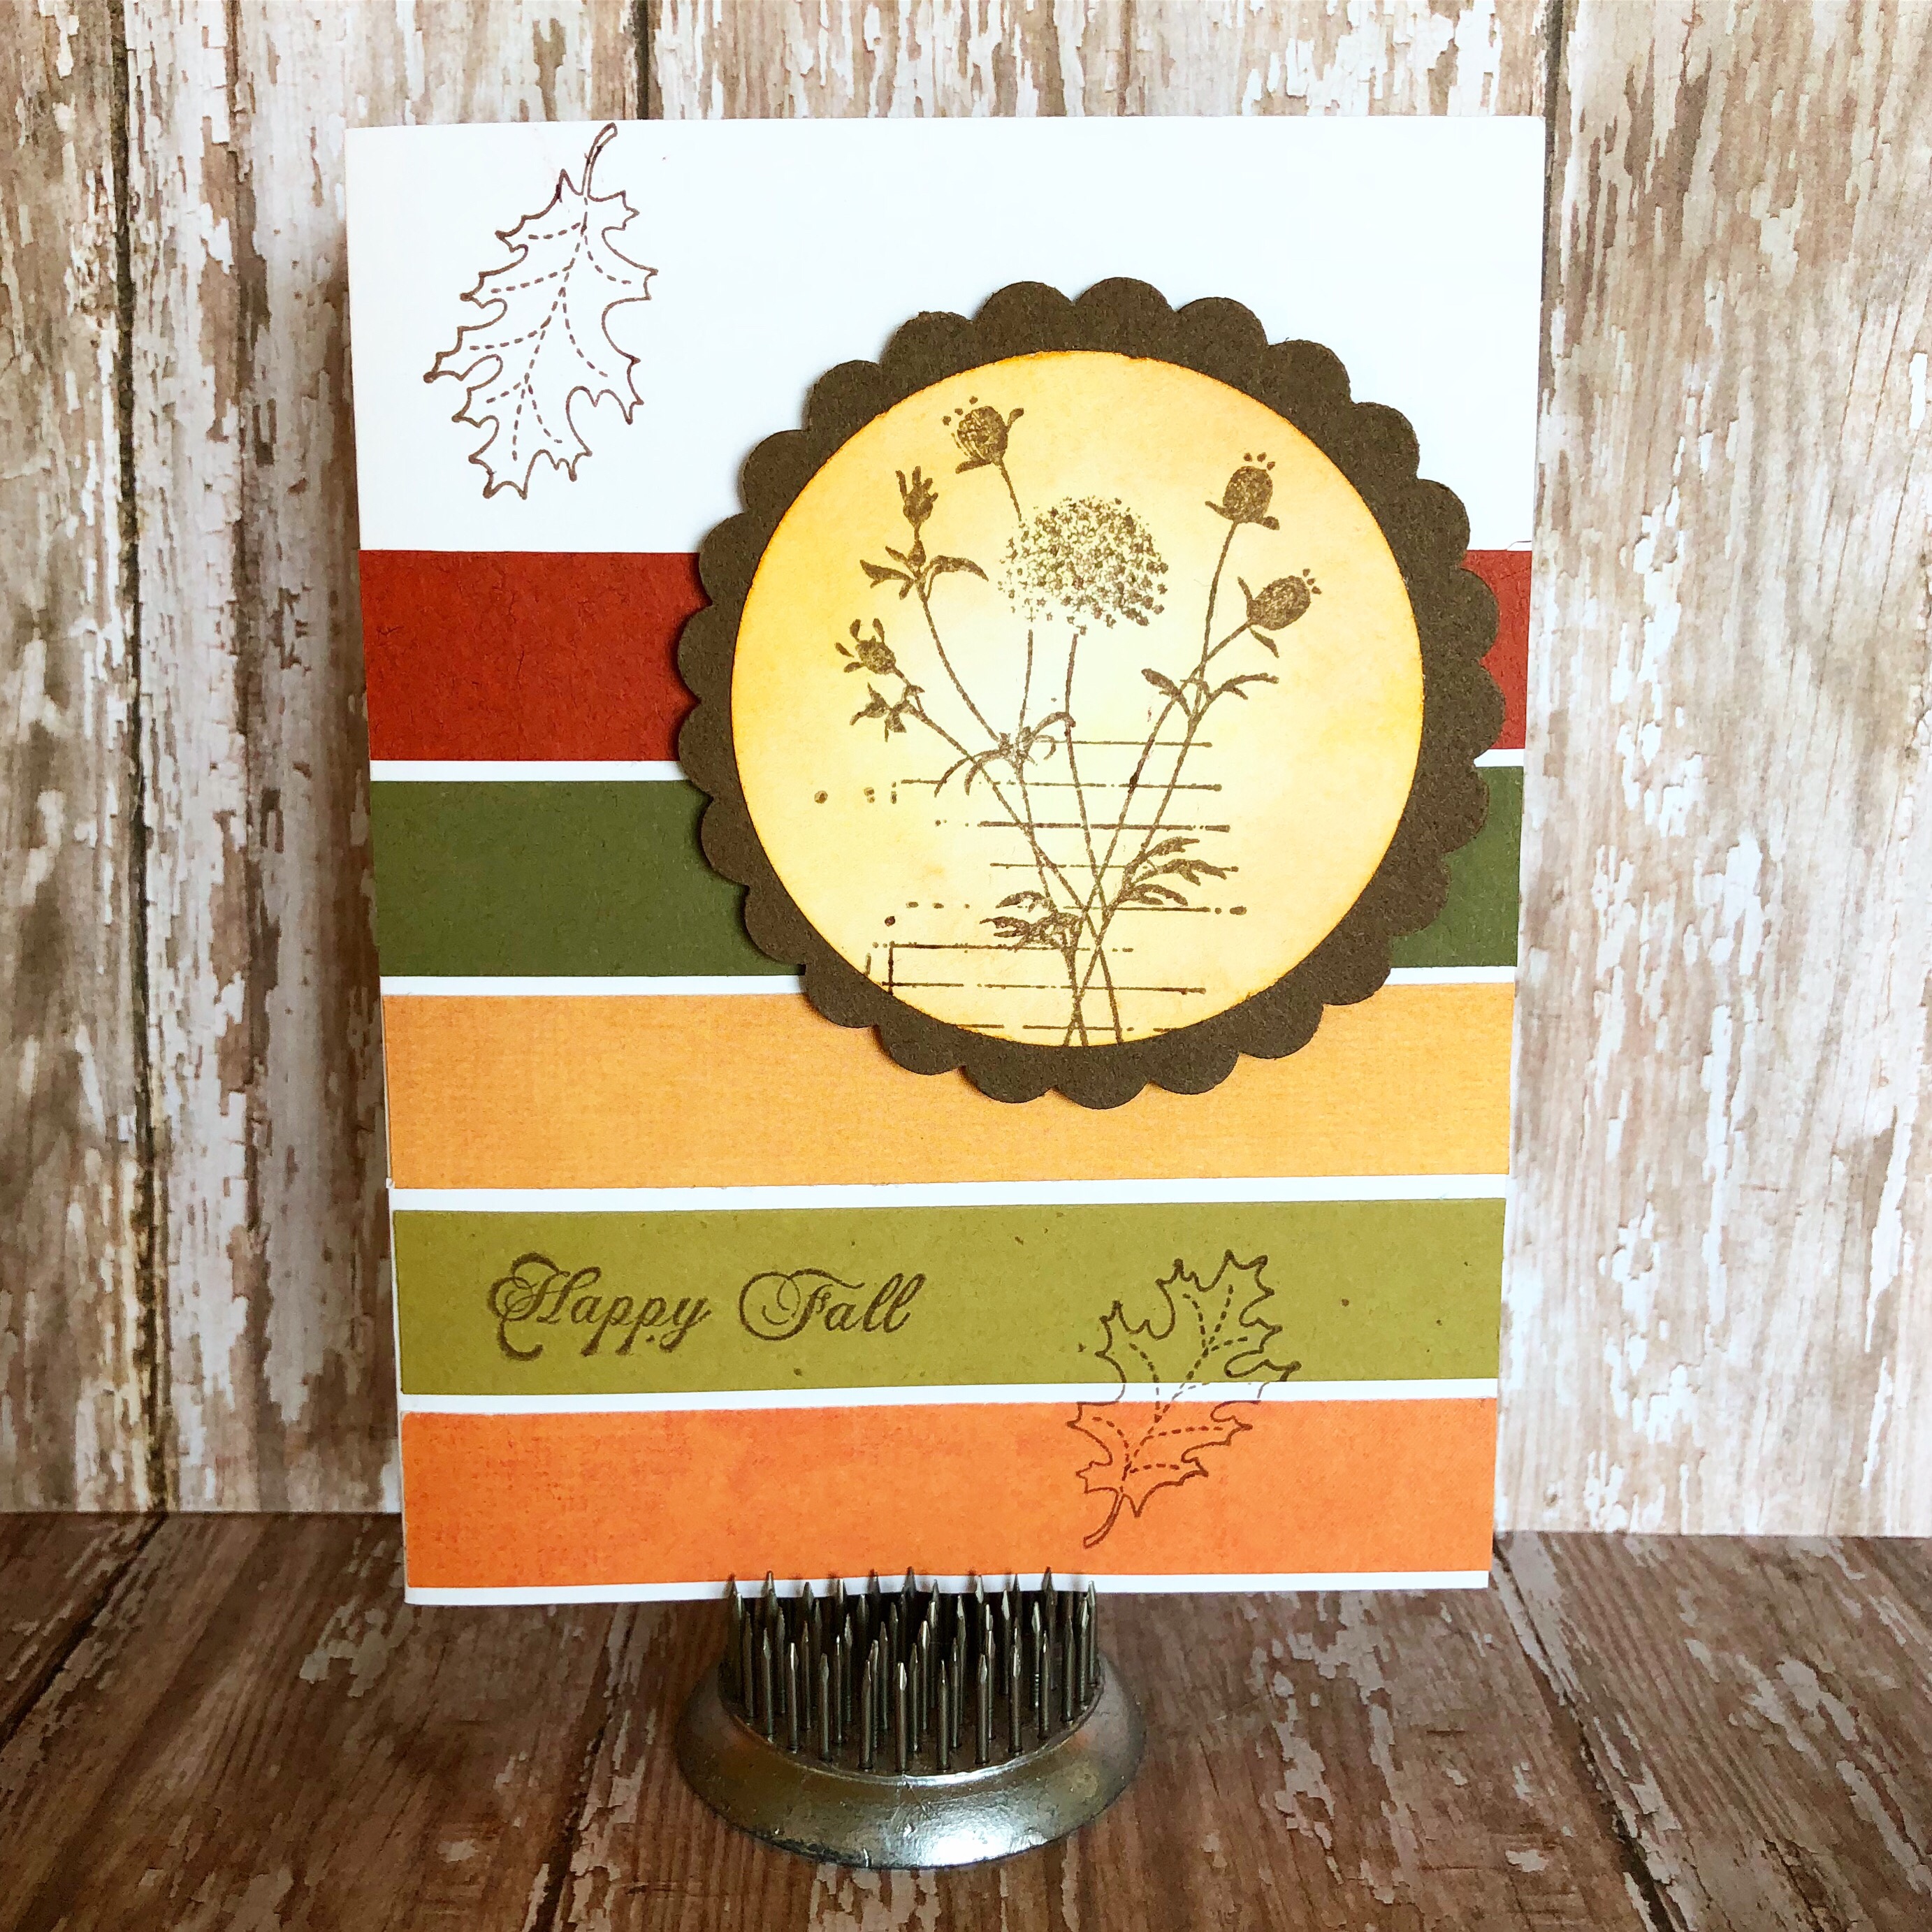
So…Happy Fall everyone! Here’s a fun little card to welcome the best of the seasons…
I have looked everywhere in my craft room for the leaf stamp so I could tell you which company it is from. But it has hidden itself very well and I can’t remember who makes this particular leaf – just use your favorite leaf stamp in your collection. (Or there’s a cute one in this set from Avery Elle or this set from Concord and 9th.)
To make the card, stamp the flower with brown ink on white card stock, punch with a circle punch, and sponge with dark yellow ink. Attach to a scalloped circle punched from brown card stock.
Attach 5 strips of Fall colored paper to a white card. Stamp the sentiment on the 2nd strip from the bottom. Stamp one leaf overlapping the bottom 2 strips and one at the top of the card. Attach the flower piece to the card with foam tape.
I hope you are enjoying all the wonderful colors, smells, and tastes of this amazing Fall season! 🍂🍁
I love Fall – even if it does seem to be taking forever for it to come to Alabama! 😉 The evenings are beginning to feel a little cooler and it will soon be sweater weather – hopefully!
I have been making these adorable Little Crocheted Pumpkins to add to my Fall decor – because, despite what my husband says, you can never have too many pumpkins!!
I used various colors of worsted weight yarn I had in my stash and a size J/6mm hook. I found that the larger hook made the stitches just a tiny bit looser, making it easier for me to crochet in either the front or back loop only.
These cute little pumpkins are about 3-inches wide and 2-inches tall and look adorable all stacked up together.
But I think I may need to make more for my pumpkin patch – because, you know, you can never have too many pumpkins. 😉
A sweet friend, and fellow cardmaker, recently gave me a box filled with towels, dishcloths, and aprons for our newly remodeled kitchen. There’s something so nice about using brand new kitchen linens!
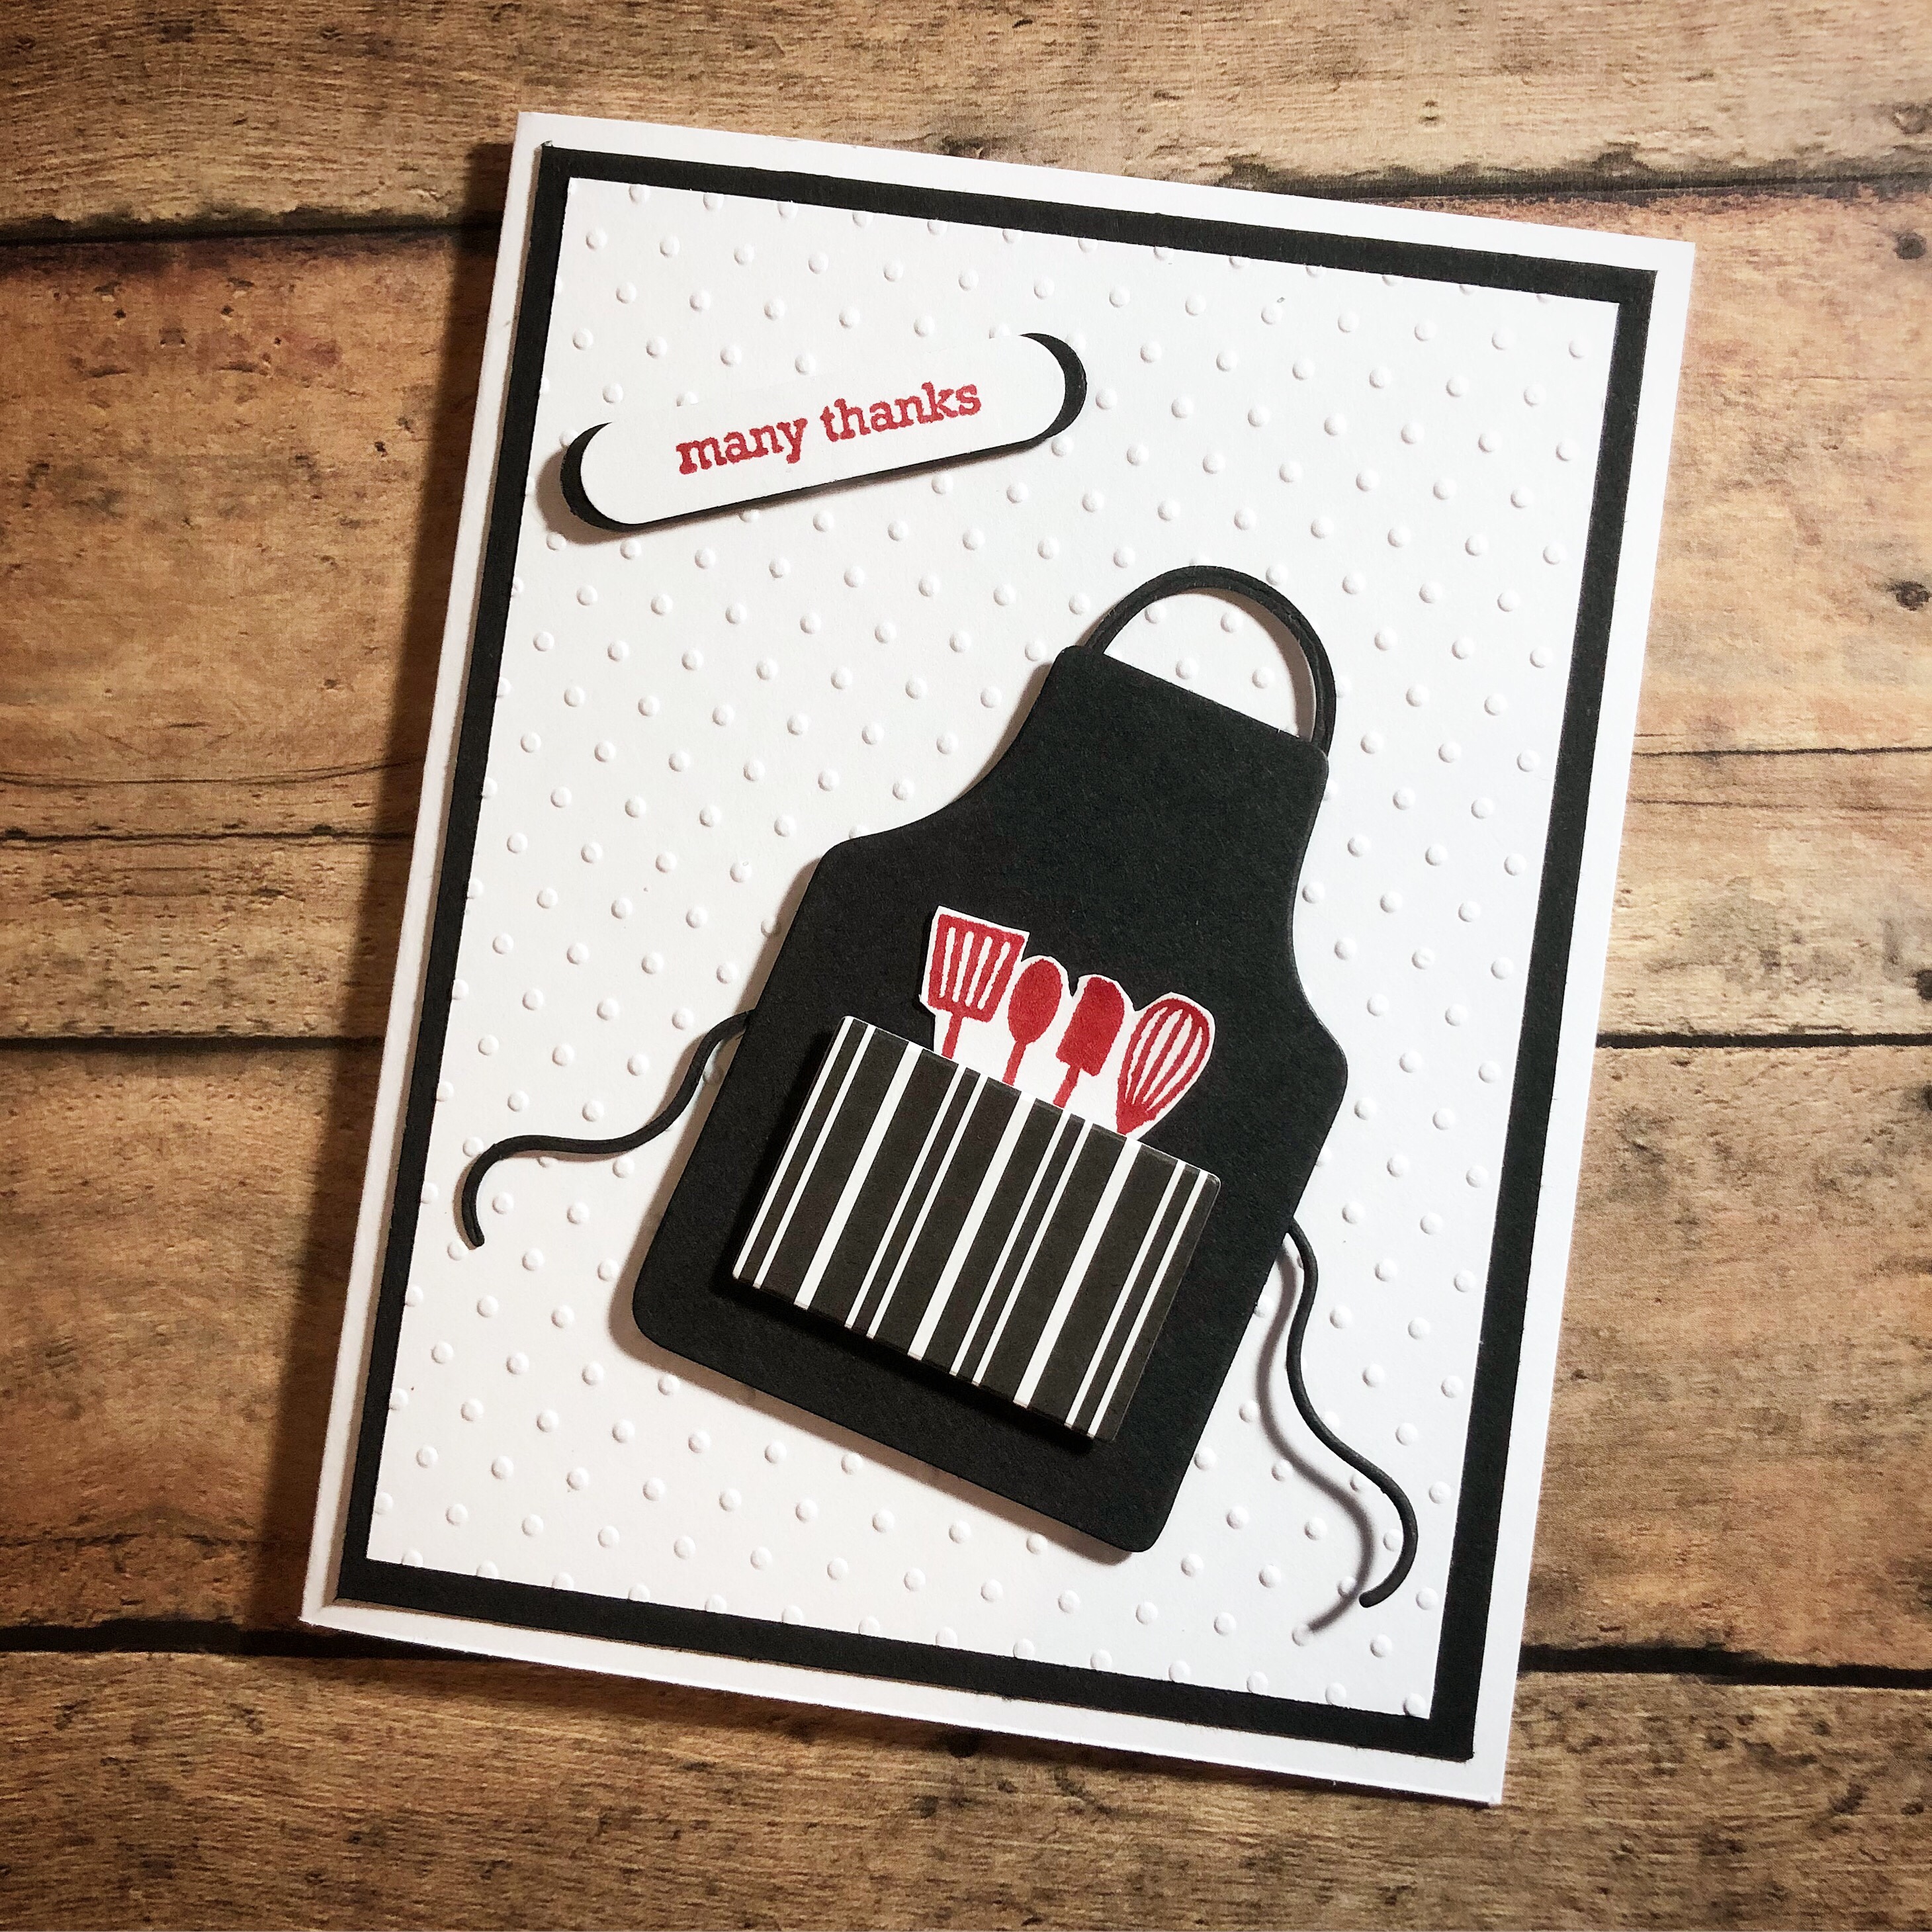
The apron and apron strings are die cut from black card stock and the front pocket from striped card stock. The utensils are stamped with red ink on white card stock and trimmed close. To assemble the apron, attach the strings to the back of the apron and the pocket to the front with foam tape. Then slip the utensils into the pocket and attach them to the apron.
To make the card, adhere a panel of black card stock to a white card. Dry emboss a panel of white card stock with a Swiss Dots folder – this one is from Cuttlebug. Attach to the card over the black card stock. Attach the apron to the card with foam tape.
Stamp “many thanks” from Itty Bitty Greetings from Stampin’ Up with red ink on white card stock. Punch with a label punch. (Here’s a similar one.)Punch another label from black card stock. Cut in half and layer to sentiment label, leaving a little of the black showing on each side. Attach to the card with foam tape.
This is such a cute stamp set – it would be great to use for tags on gifts from your kitchen for the holidays!
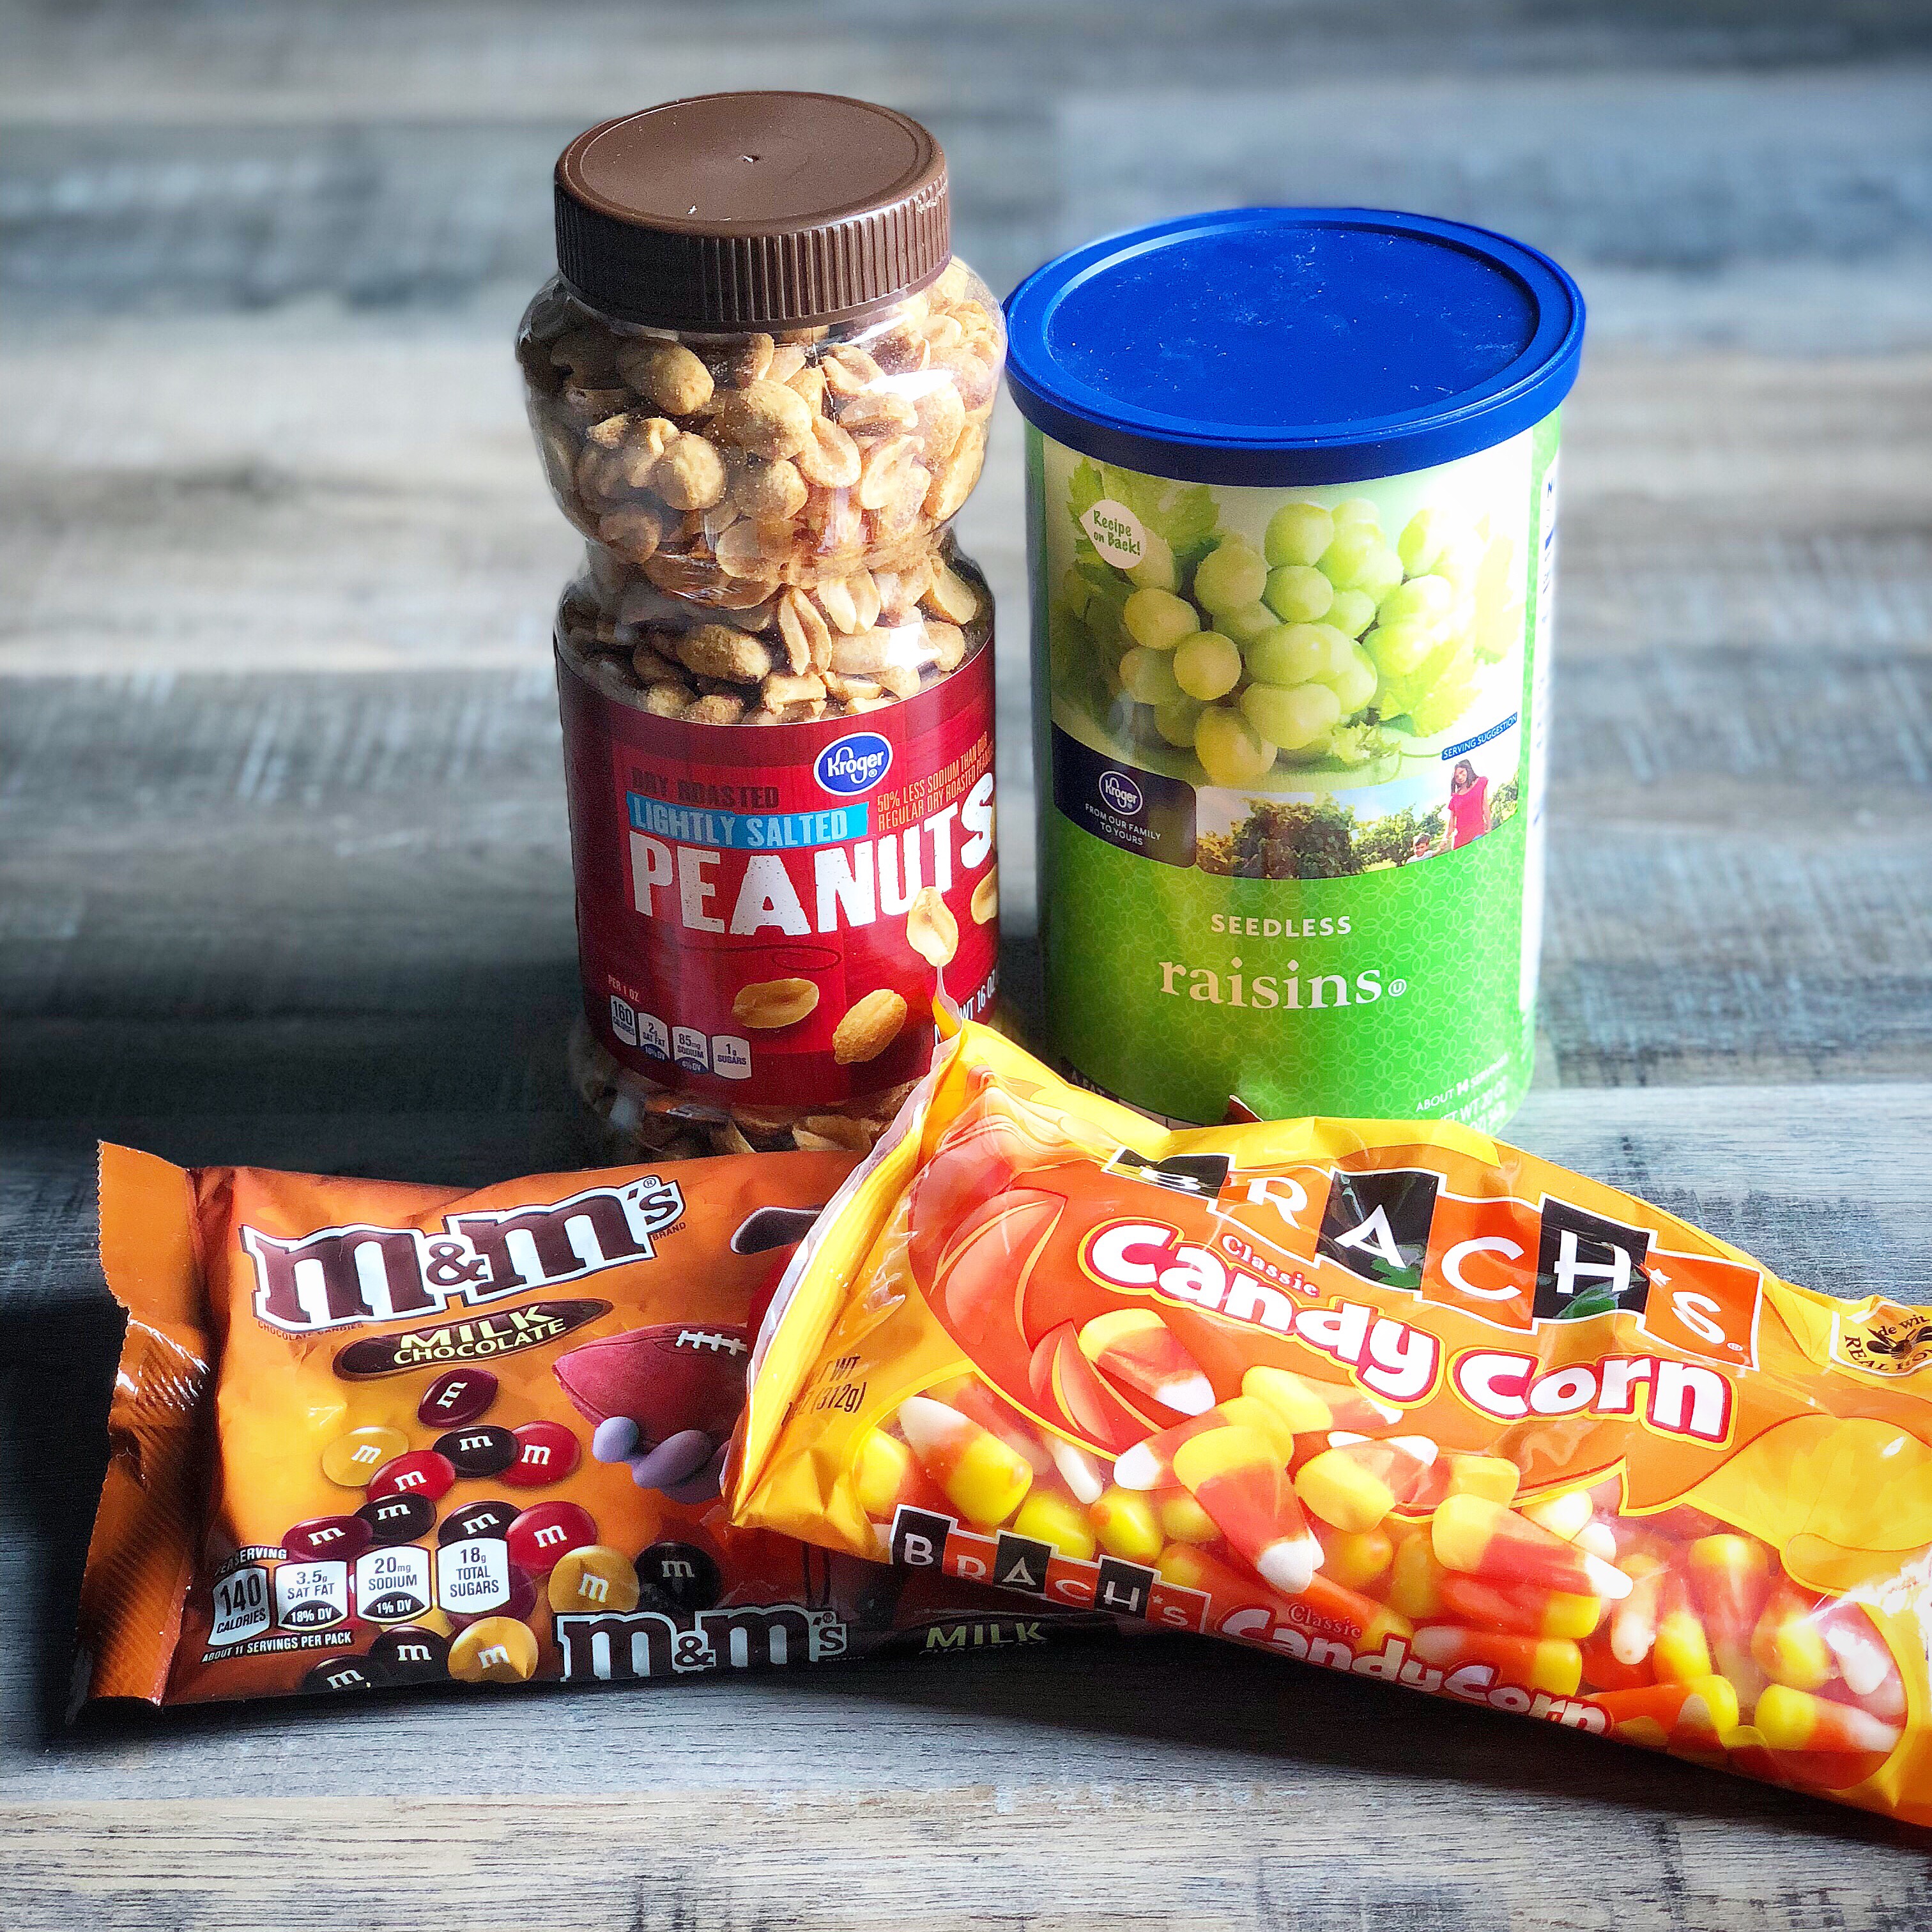
No, really! It will take you longer to run to the store to get your goodies than to mix this up. It’s super simple – and most of you probably already do this, but I was feeling “Fallish” and thought it would be fun to mix up a Fall snack. 🍁🍂
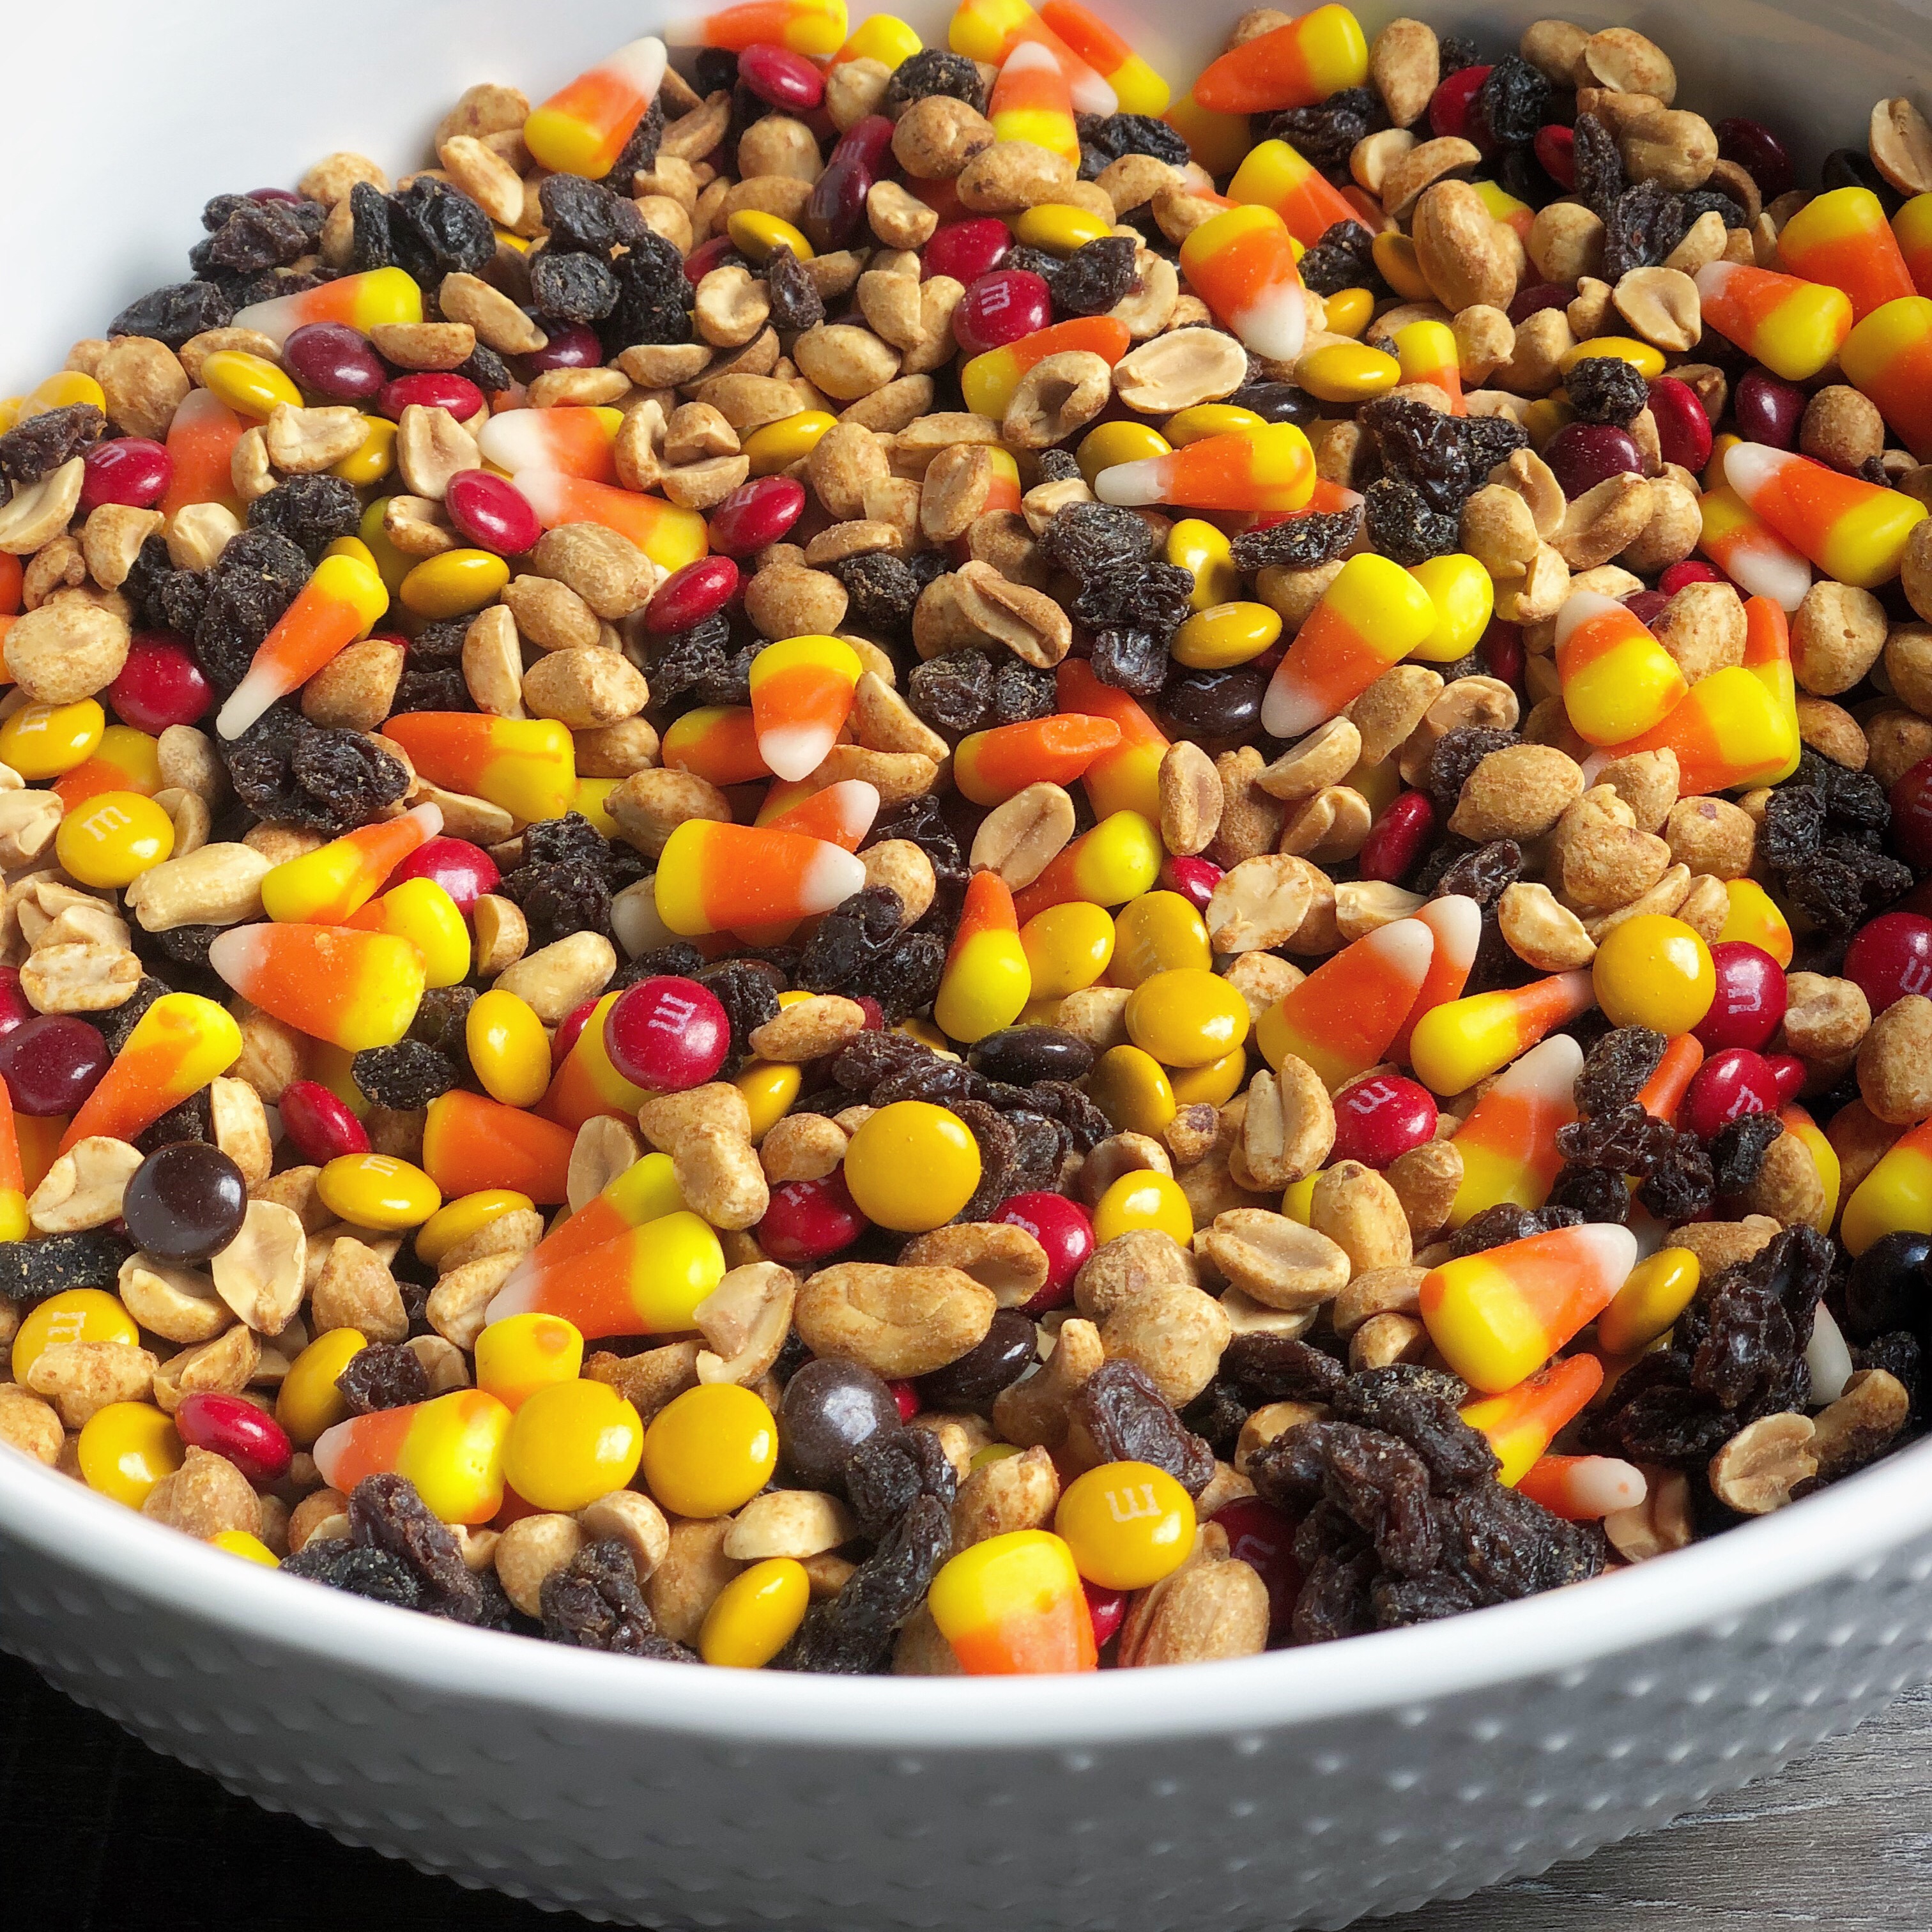
All you need are some m&m’s (I used milk chocolate), candy corn, peanuts, and raisins to mix up this Fall treat.
Then dump everything in a bowl, toss it together, and you have a tasty after school snack!
Of course you can change the flavor of the m&m’s or use the Autumn mix candy corn. Leave out the raisins or peanuts – or use roasted almonds. It’s really just whatever your family will enjoy.
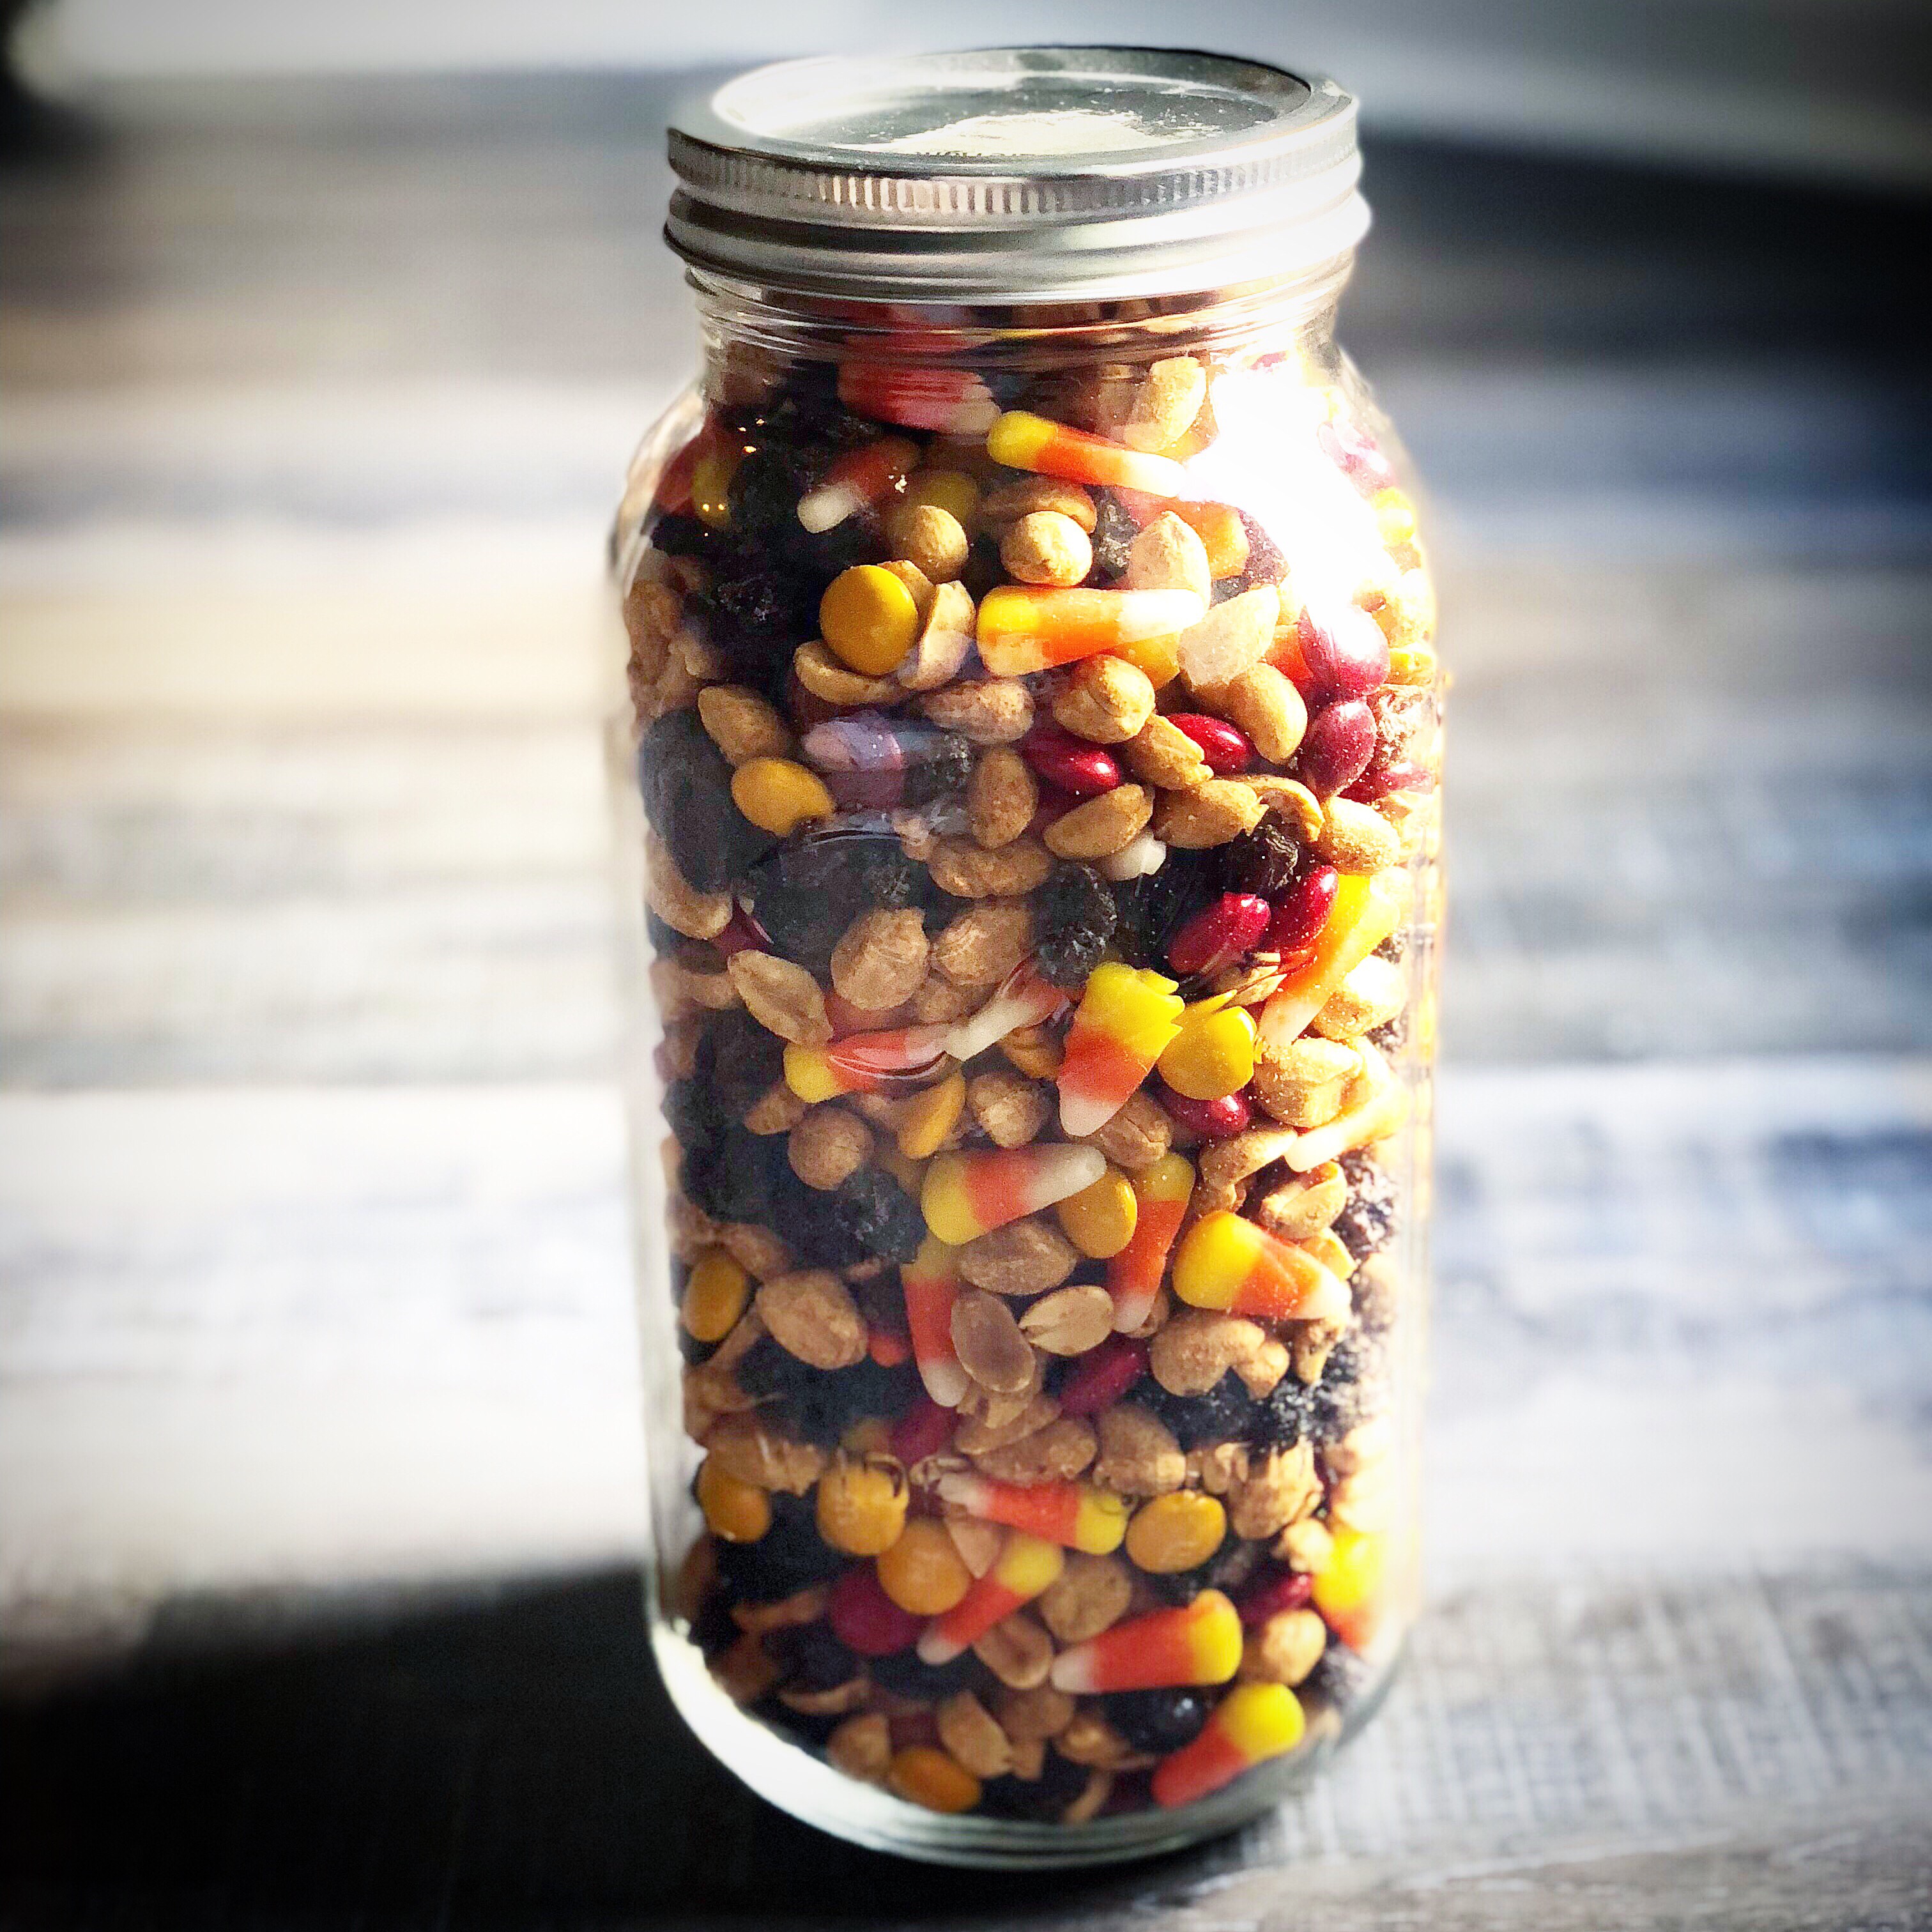
You can also put some of the mix in a jar as a hostess gift or to wish someone a Happy Fall.🍁🍂
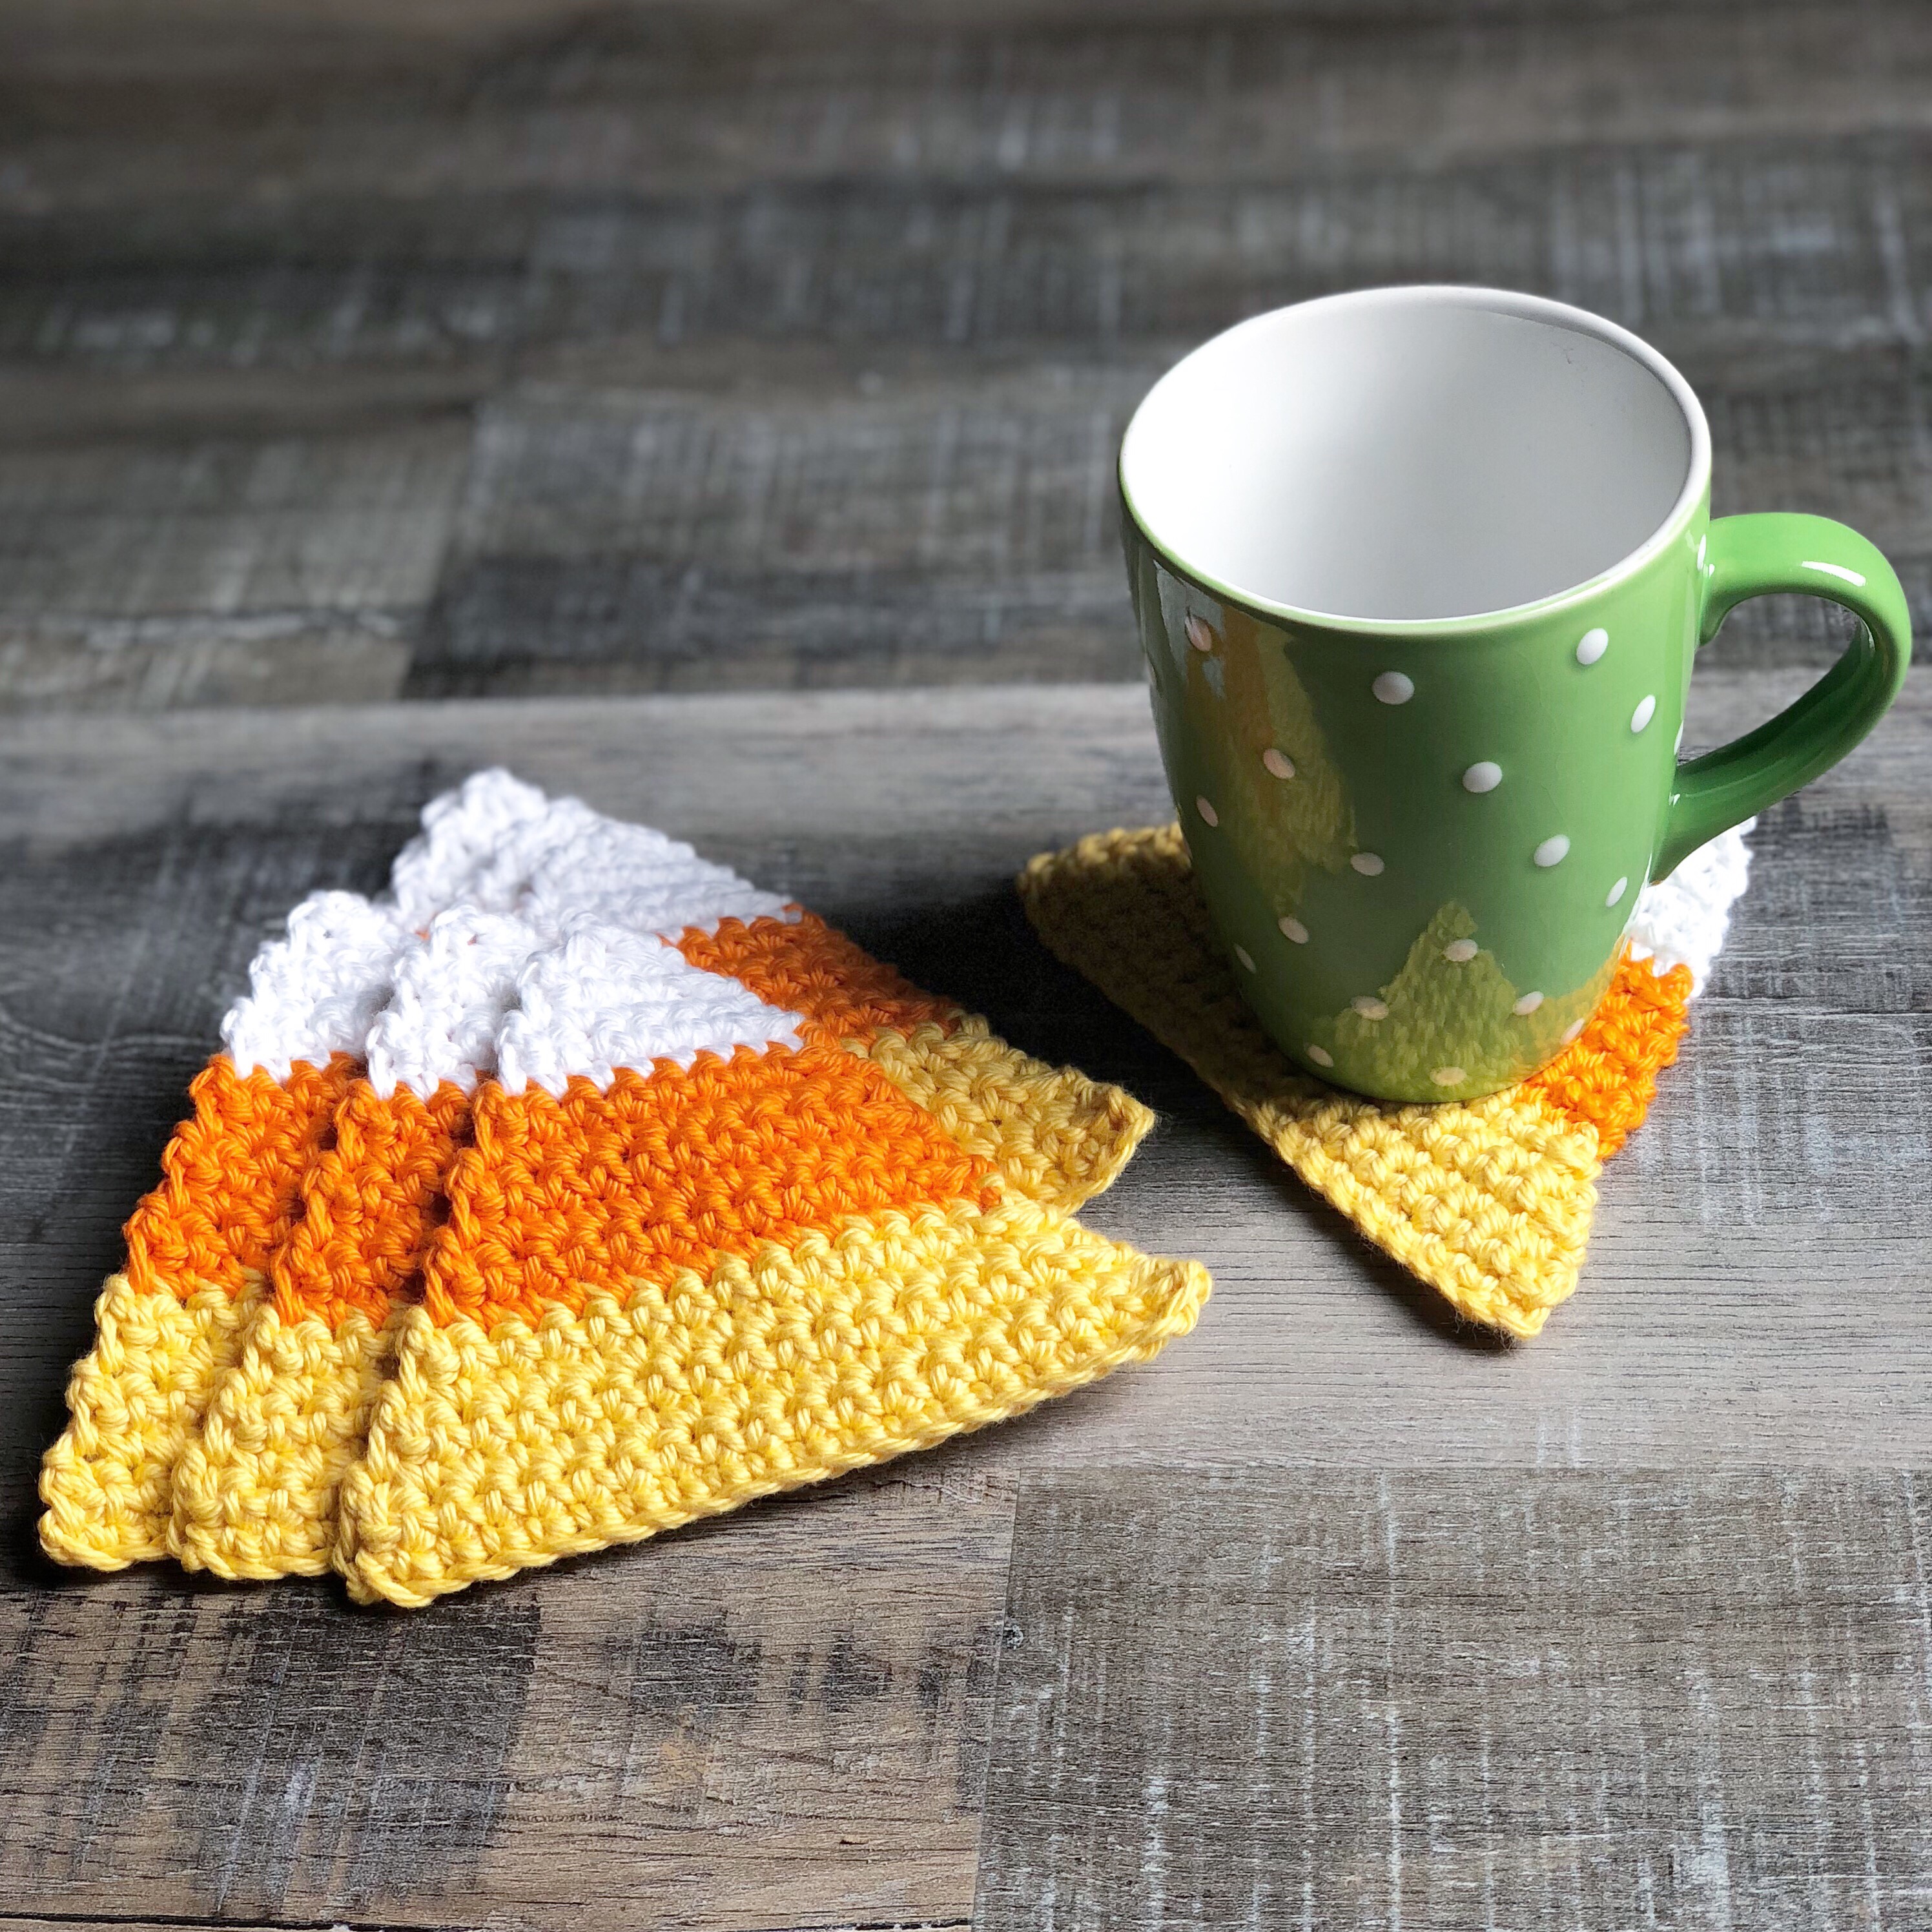
If you missed the coasters, click on the picture below to get the free pattern.
Here’s the pattern for the Candy Corn Dishcloth. The finished dishcloth measures about 9 1/4-inches across the bottom by about 8-inches from the bottom to the tip of the white.
(Please link back to my pattern if you make any of these cute dishcloths. I’d appreciate it if you wouldn’t copy or rewrite my pattern onto another page. Thank you!)
I found these cute printable labels to package my dishcloths for gifting or selling.
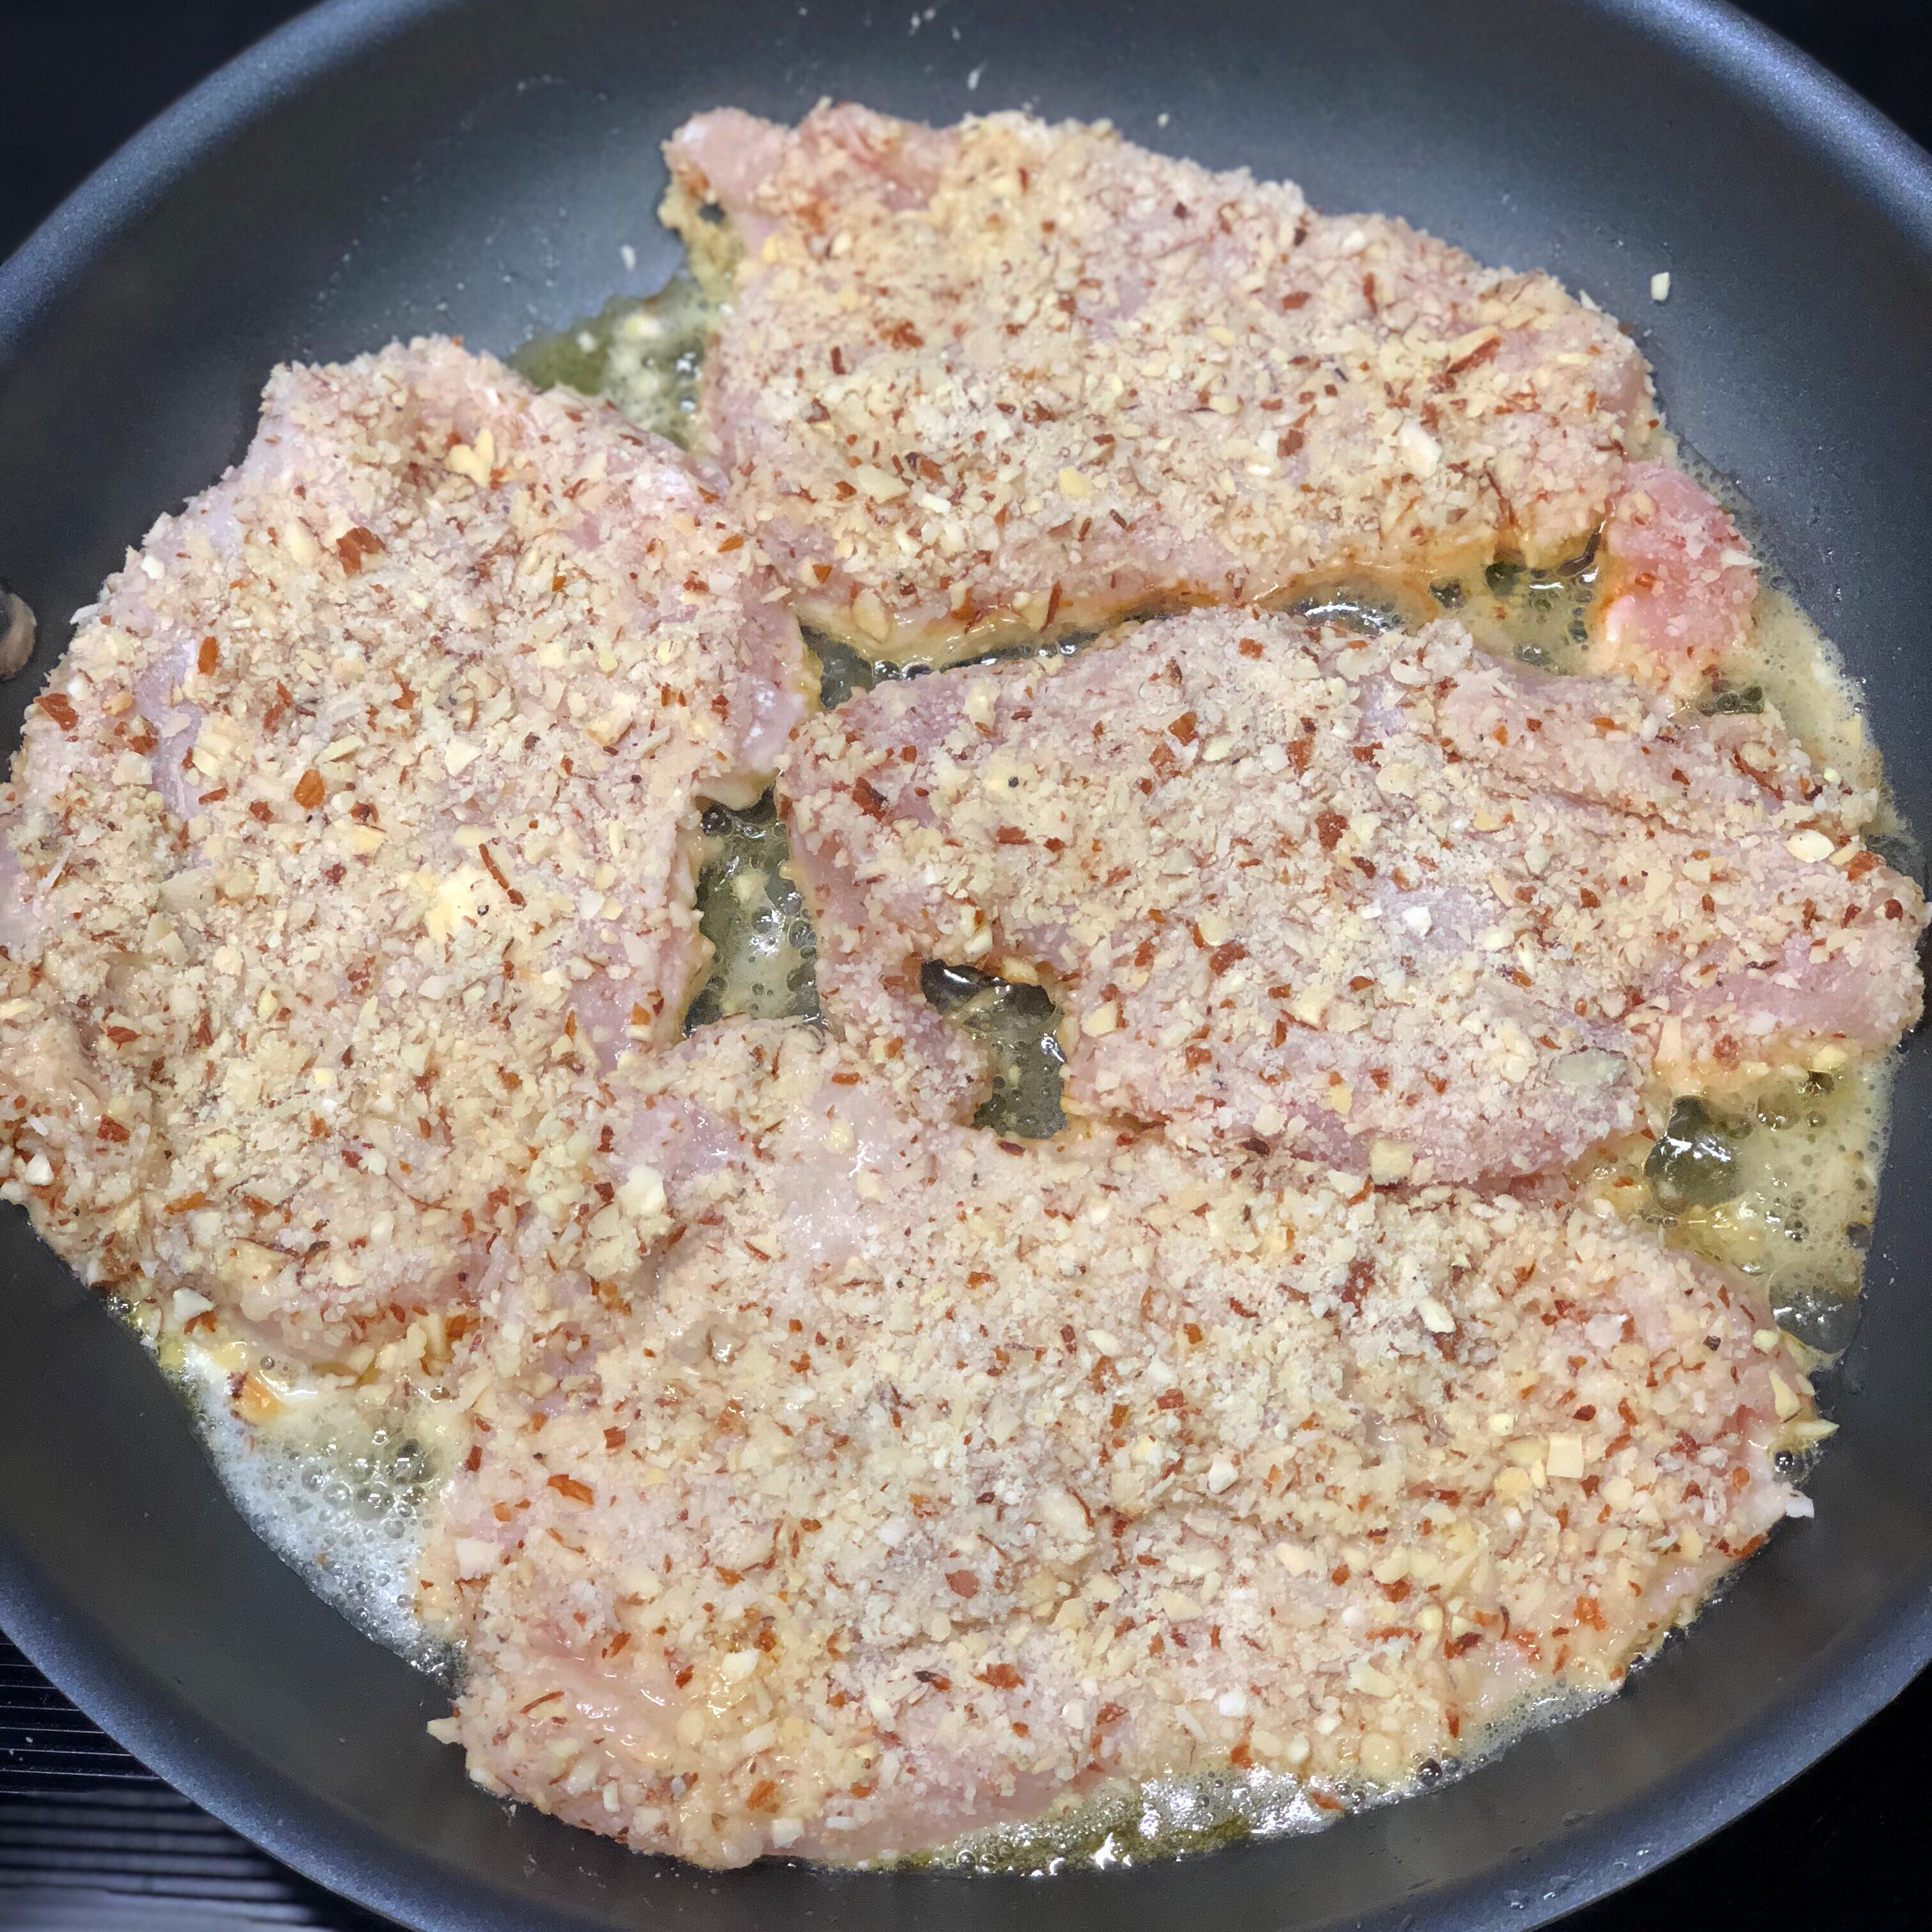
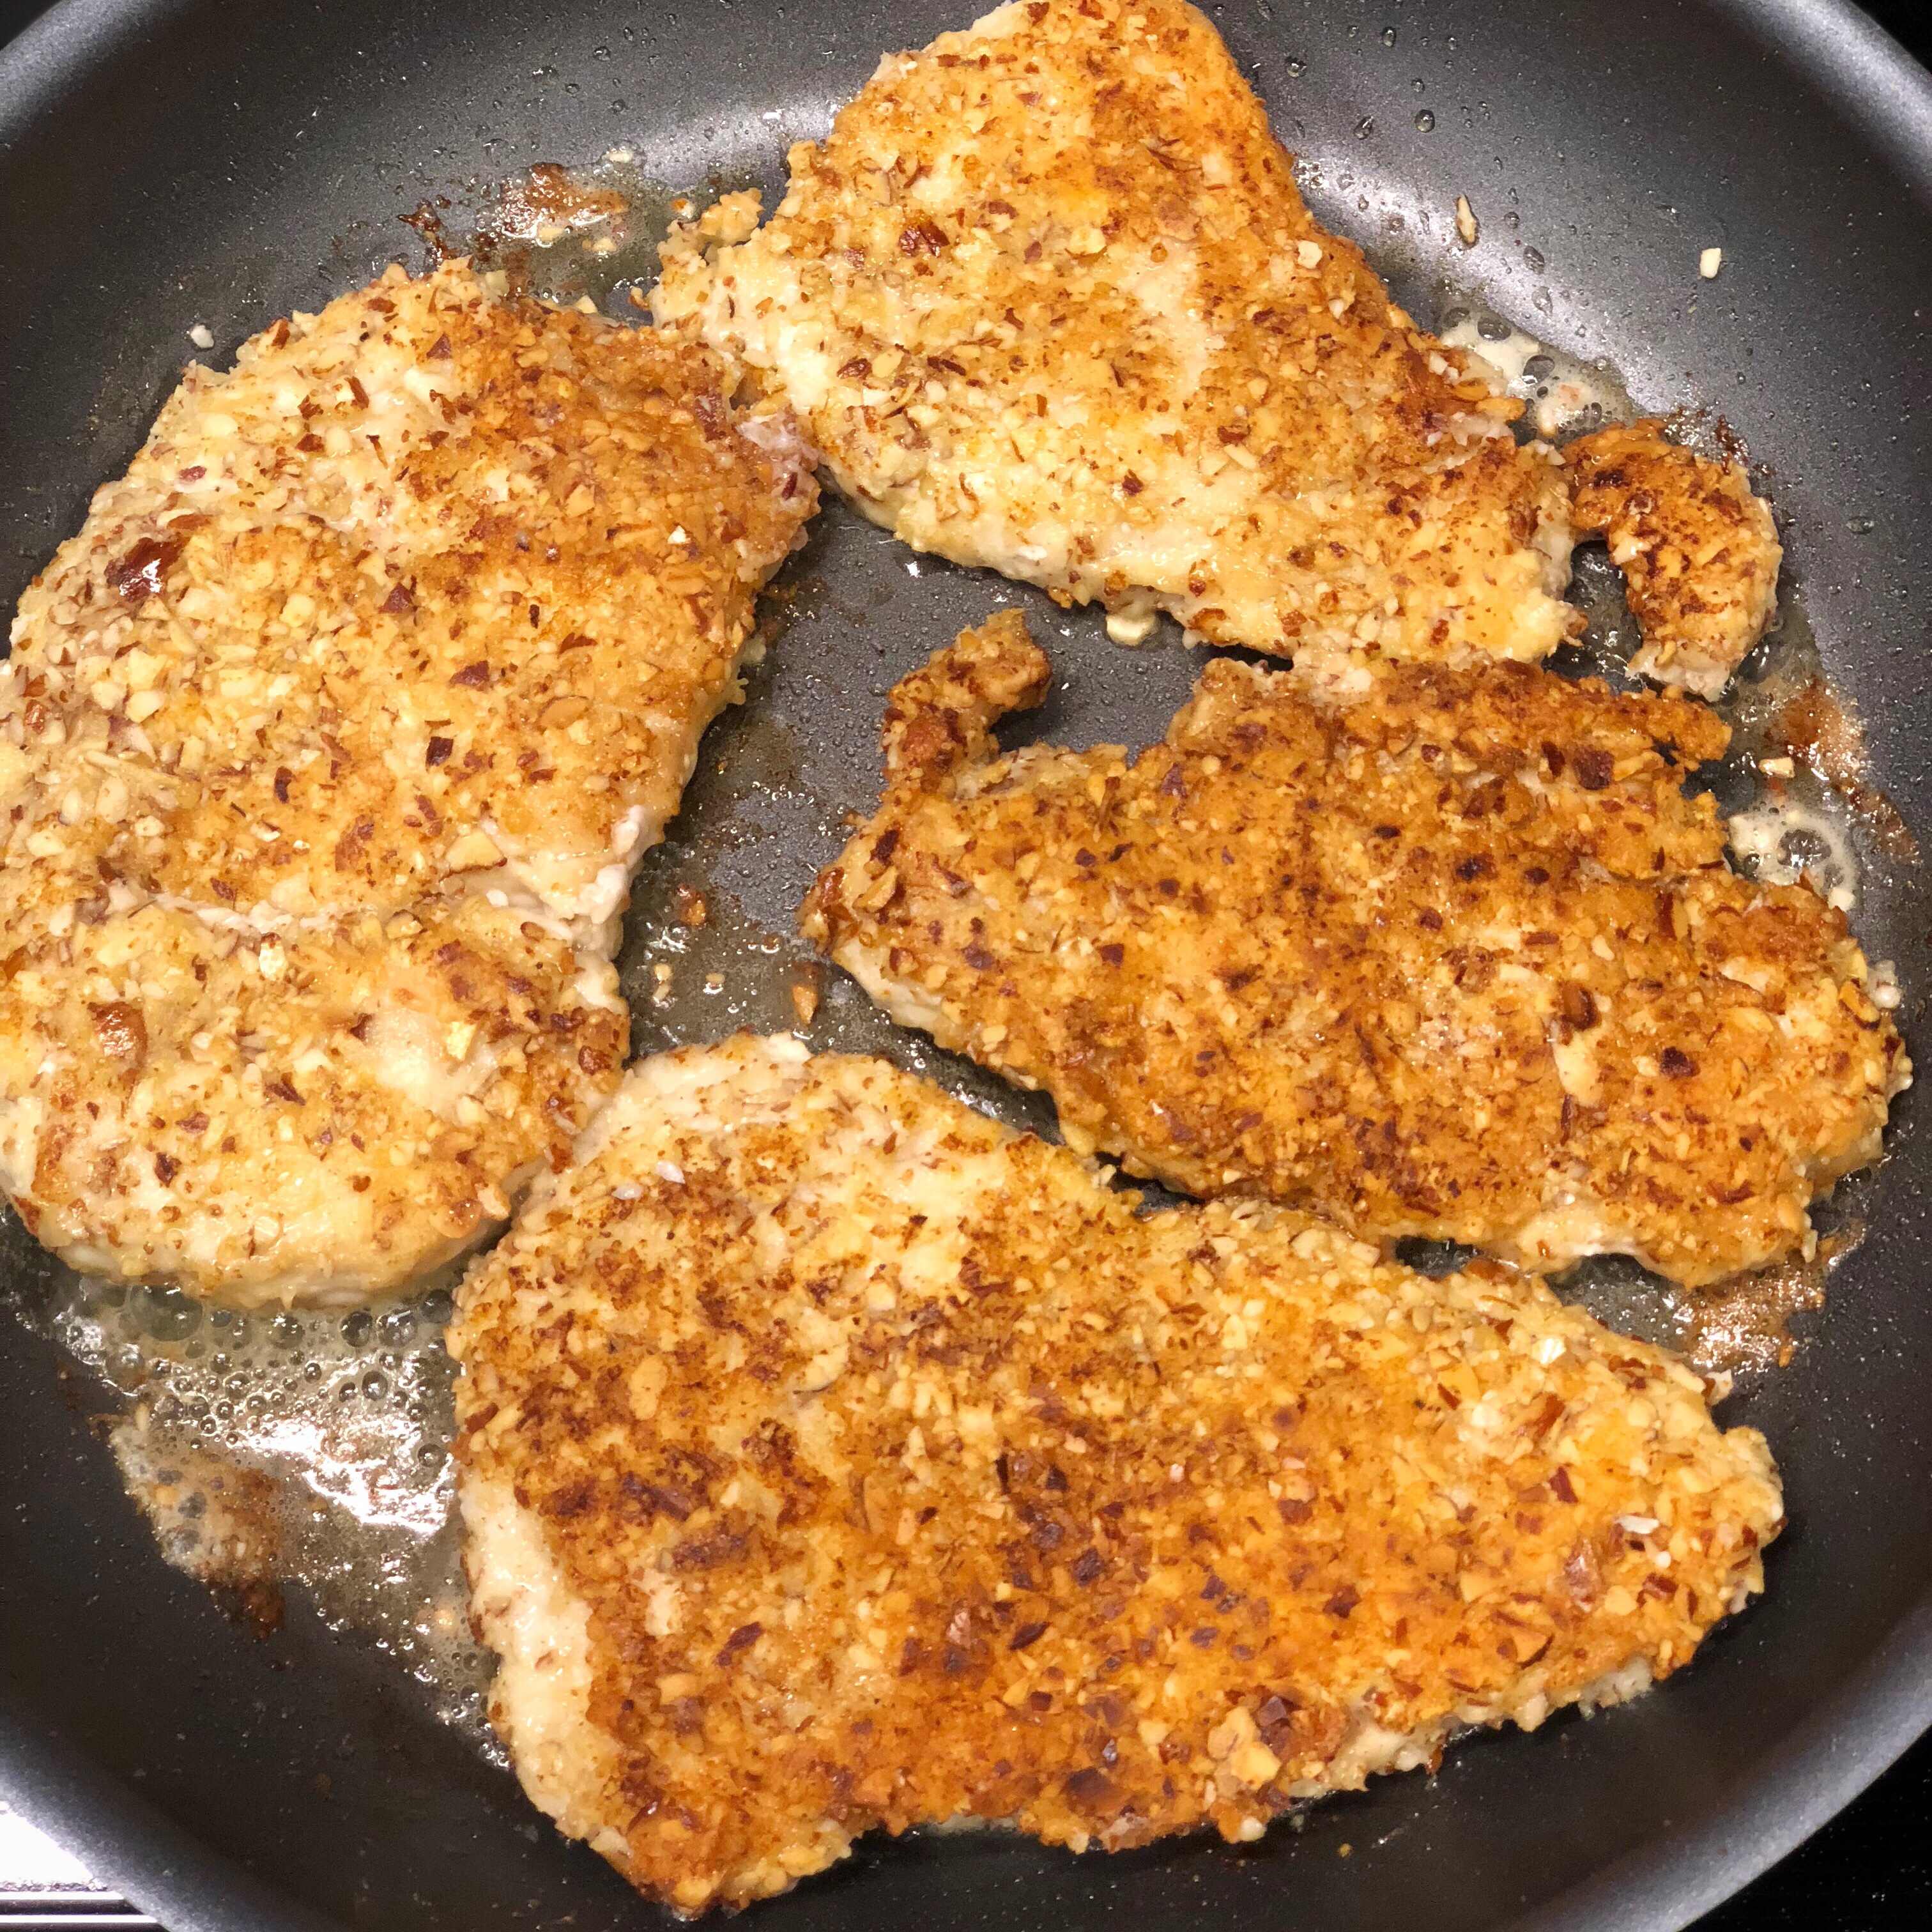
If you’re like me, you’re always looking for new ways to cook chicken breasts! I’ve got a great recipe to share with you today.
This Almond Chicken is great to fix on a busy weeknight – just add your favorite veggies or salad and some yummy bread and you’ll have dinner on the table in about 30 minutes. 🙂
Almond Chicken
4 – 6 boneless chicken breast halves, pounded thin
1 – 2 large eggs
1/2 teaspoon dried tarragon
1/2 teaspoon salt
1/4 teaspoon pepper
small bag sliced almonds, finely minced
1/4 cup Parmesan cheese
2 tablespoons olive oil
1 tablespoon butter
flour for dredging
Combine egg(s), tarragon, salt, and pepper in a shallow bowl.
Combine almonds and Parmesan on a plate.
Heat olive oil and butter in a large skillet.
Lightly dust the chicken with flour, dip into egg mixture, and dredge in almond mixture to coat. Sauté in hot skillet until golden brown on both sides and cooked through. (Time will depend on how thin your chicken breasts are pounded, but around 8 minutes per side.)
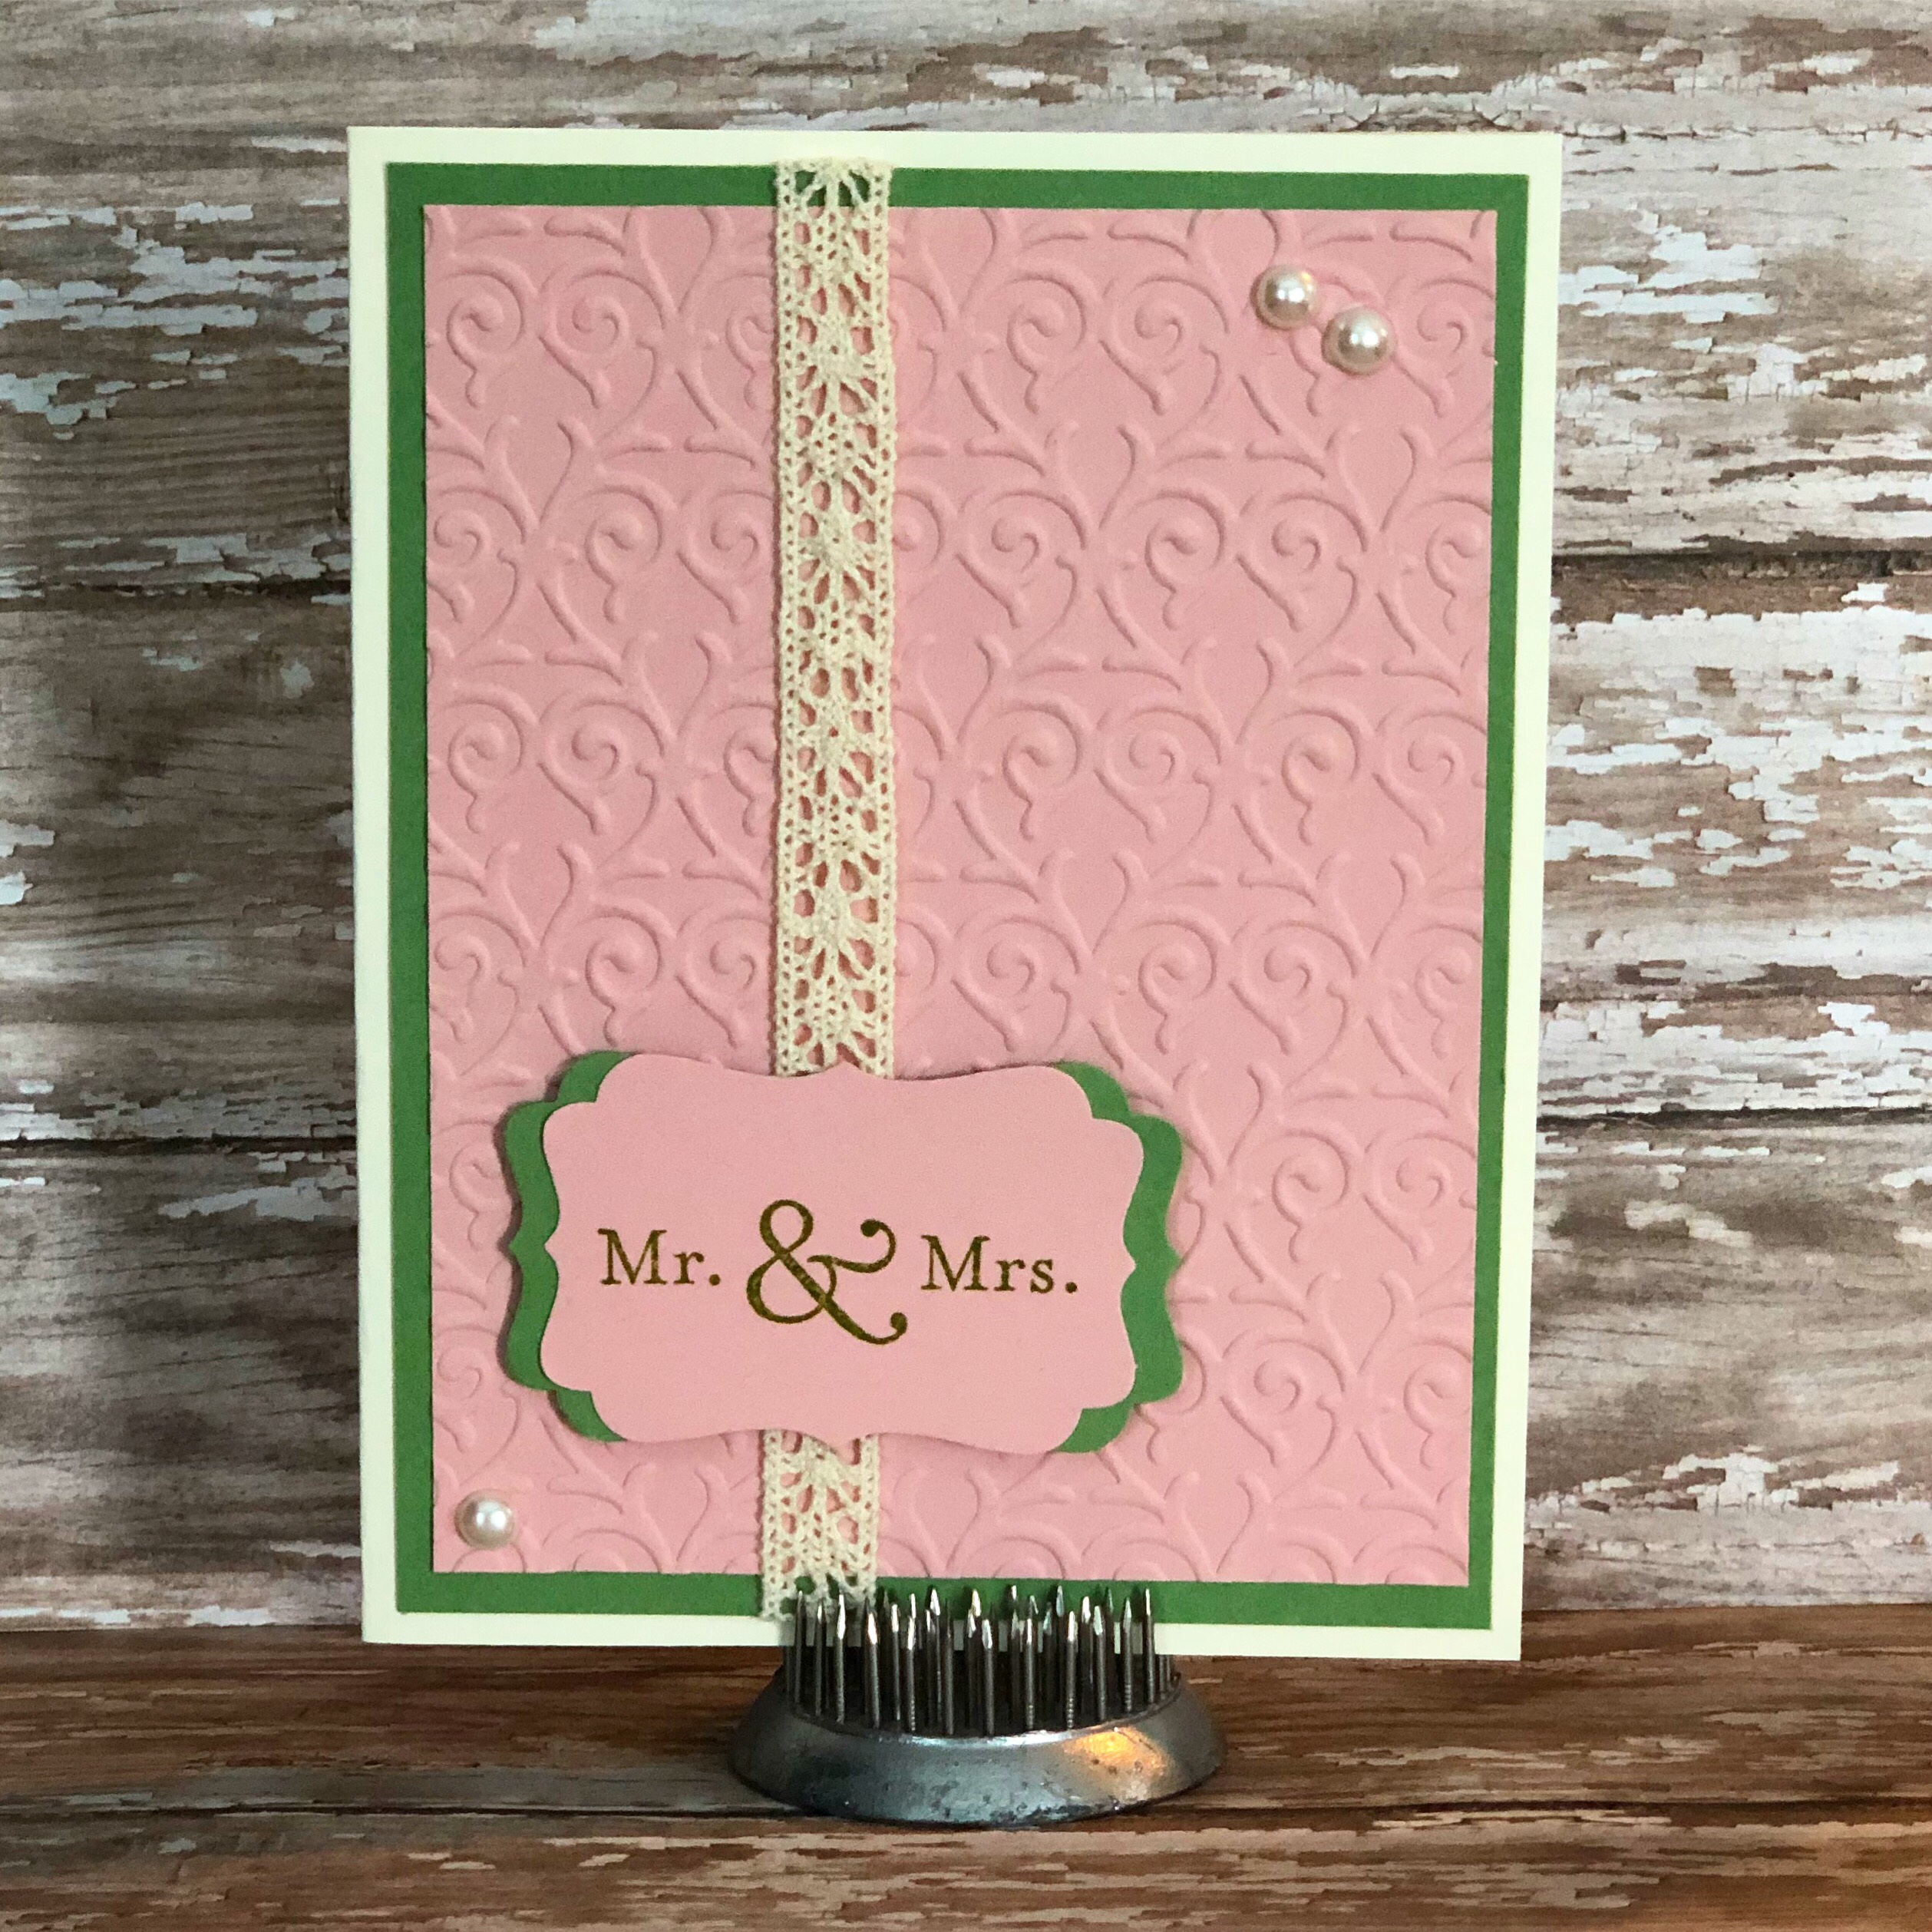
Here’s a sweet card to wish the new Mr. & Mrs. congratulations on their new marriage. I love the way it turned out – simple, yet elegant with a little touch of vintage.
To make the card, emboss a piece of salmon colored card stock with the Hearts Entwined embossing folder and layer to green card stock. Attach a piece of ecru lace to the panel and attach to a cream-colored card. Stamp Mr. & Mrs. with green ink on salmon card stock and punch out. Punch out another label from green card stock and cut in half. Layer to stamped label, leaving the edges showing. Attach to the card with foam tape. Finish the card with 3 pearls.
Such a simple card and it can be made in any color scheme to match the couple’s wedding colors.
Disclosure: Some of the links on my site are affiliate links, meaning, at no additional cost to you, I will earn a small commission if you click through and make a purchase. As an Amazon Associate I earn from qualifying purchases.