DIY Farmhouse Candlesticks

A few months ago some friends and I got together for a day of crafting. We made these fun candlesticks with simple items from our local home improvement store and they turned out so great!

Here’s a picture of our completed candlesticks – we all chose different colors of paint to match our own decor.

Here’s what you’ll need to make your own candlesticks.

The first thing you need to do is remove the screws from the table legs using pliers – they will twist out. Then glue a terra cotta saucer to each end of the table leg. I just eyeballed them so they were centered on the legs. Let dry for a few hours or overnight.
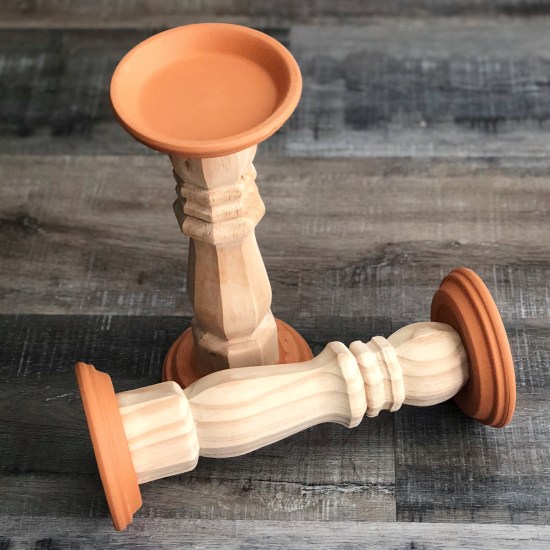
I painted my candlesticks with 2 coats the Everlasting chalk paint, making sure to let it dry thoroughly between coats.

img_1817

Then I dry brushed them with the Maui Sand chalk paint.

Once the candlesticks were completely dry, I brushed on a thin coat of the clear wax and wiped the excess off with a soft cloth. The clear wax acts as a sealer and gives them a subtle sheen.

Here are all 3 sizes of my finished candlesticks. I’m still searching for the perfect turquoise candles to add to them. 🙂

img_1838

These would make great gifts! They are so fun and easy to make!

If you are interested in making this DIY Farmhouse Natural Wood Bead Garland, you can find the simple instructions in this post.

Thanks for stopping by,

Anita

Posted in Decor, Gifts | 6 Comments

Sour Cream Potato Salad

I can’t believe it’s Labor Day weekend! Where has this year gone?!?! Are you having one last Summer hurrah this weekend? Do you need a side dish for your picnic or BBQ? This Sour Cream Potato Salad may be just what you’re looking for.

My mother-in-law gave me this recipe when my husband and I were newly married. It is one of his favorites and we usually make it several times a year. Here’s the recipe…

Sour Cream Potato Salad

  • 1/3 cup Italian salad dressing
  • 7 medium potatoes, peeled, cut into bite-size pieces, and boiled until just tender; drain
  • 3/4 cup diced celery
  • 1/3 cup sliced green onion
  • 4 hard-boiled eggs, diced
  • 1 cup mayonnaise
  • 1/2 cup sour cream
  • 1-1/2 teaspoons prepared horse-radish mustard
  • salt and pepper to taste

Pour Italian dressing over warm potatoes in a bowl. Cover and chill at least 2 hours – longer if you have time. Add celery, green onions, and diced eggs to potatoes; toss. Mix mayonnaise, sour cream, and mustard together in a small bowl. Add to potato mixture and mix well. Add salt and pepper to taste.

We also love to make this during the holidays – it is great with leftover ham sandwiches!

Thanks for stopping by,

Anita

Posted in Recipes, Uncategorized | Leave a comment

Peanut Butter Sheet Cake

Do you love peanut butter like I do? If you do, you just might like this Peanut Butter Sheet Cake! It’s super easy to make and you bake it in a jelly roll pan so it is a great dessert to take to a potluck or anywhere you want to feed a lot of people – or keep it at home and eat it all yourself. 😉

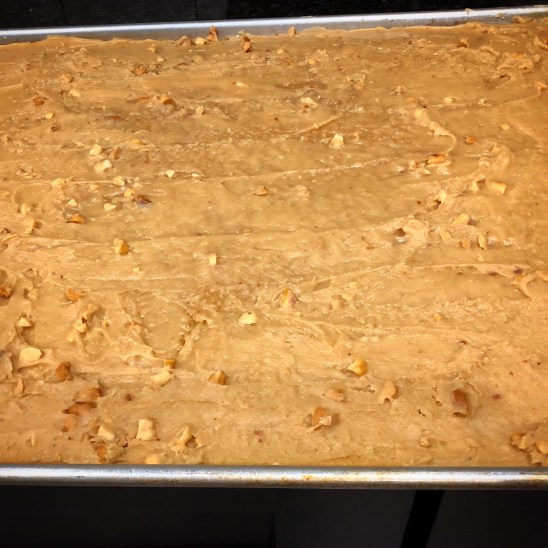
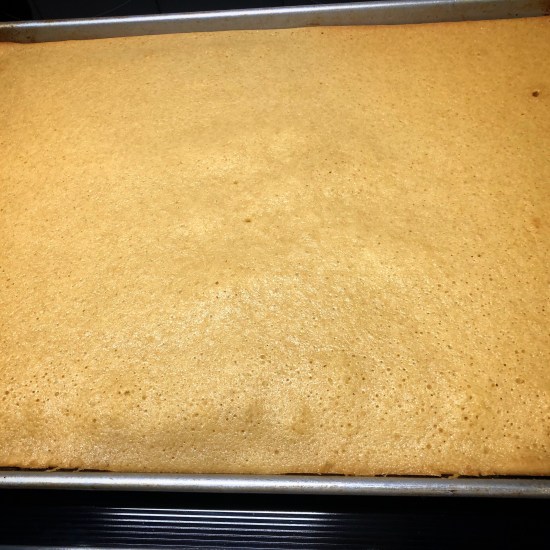
You can find the recipe here at Allrecipes.com. It takes less than an hour from start to finish. Here it is fresh from the oven…

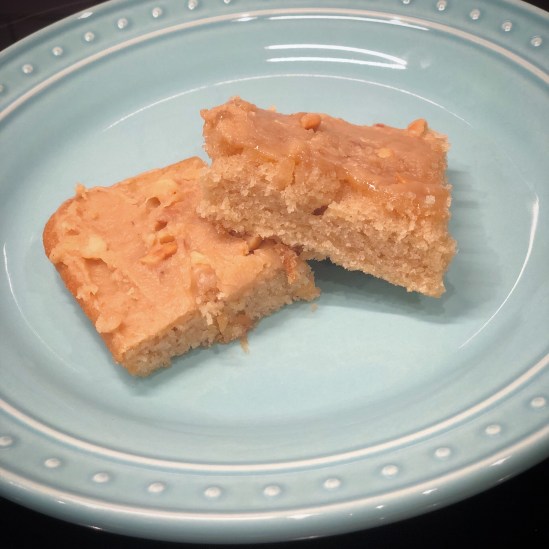
And after adding the yummy peanut butter icing…

img_1789

So yummy and peanut buttery!!

Have a sweet day!

Thanks for stopping by,

Anita

Posted in Recipes, Uncategorized | Leave a comment

Crochet Candy Corn Coasters

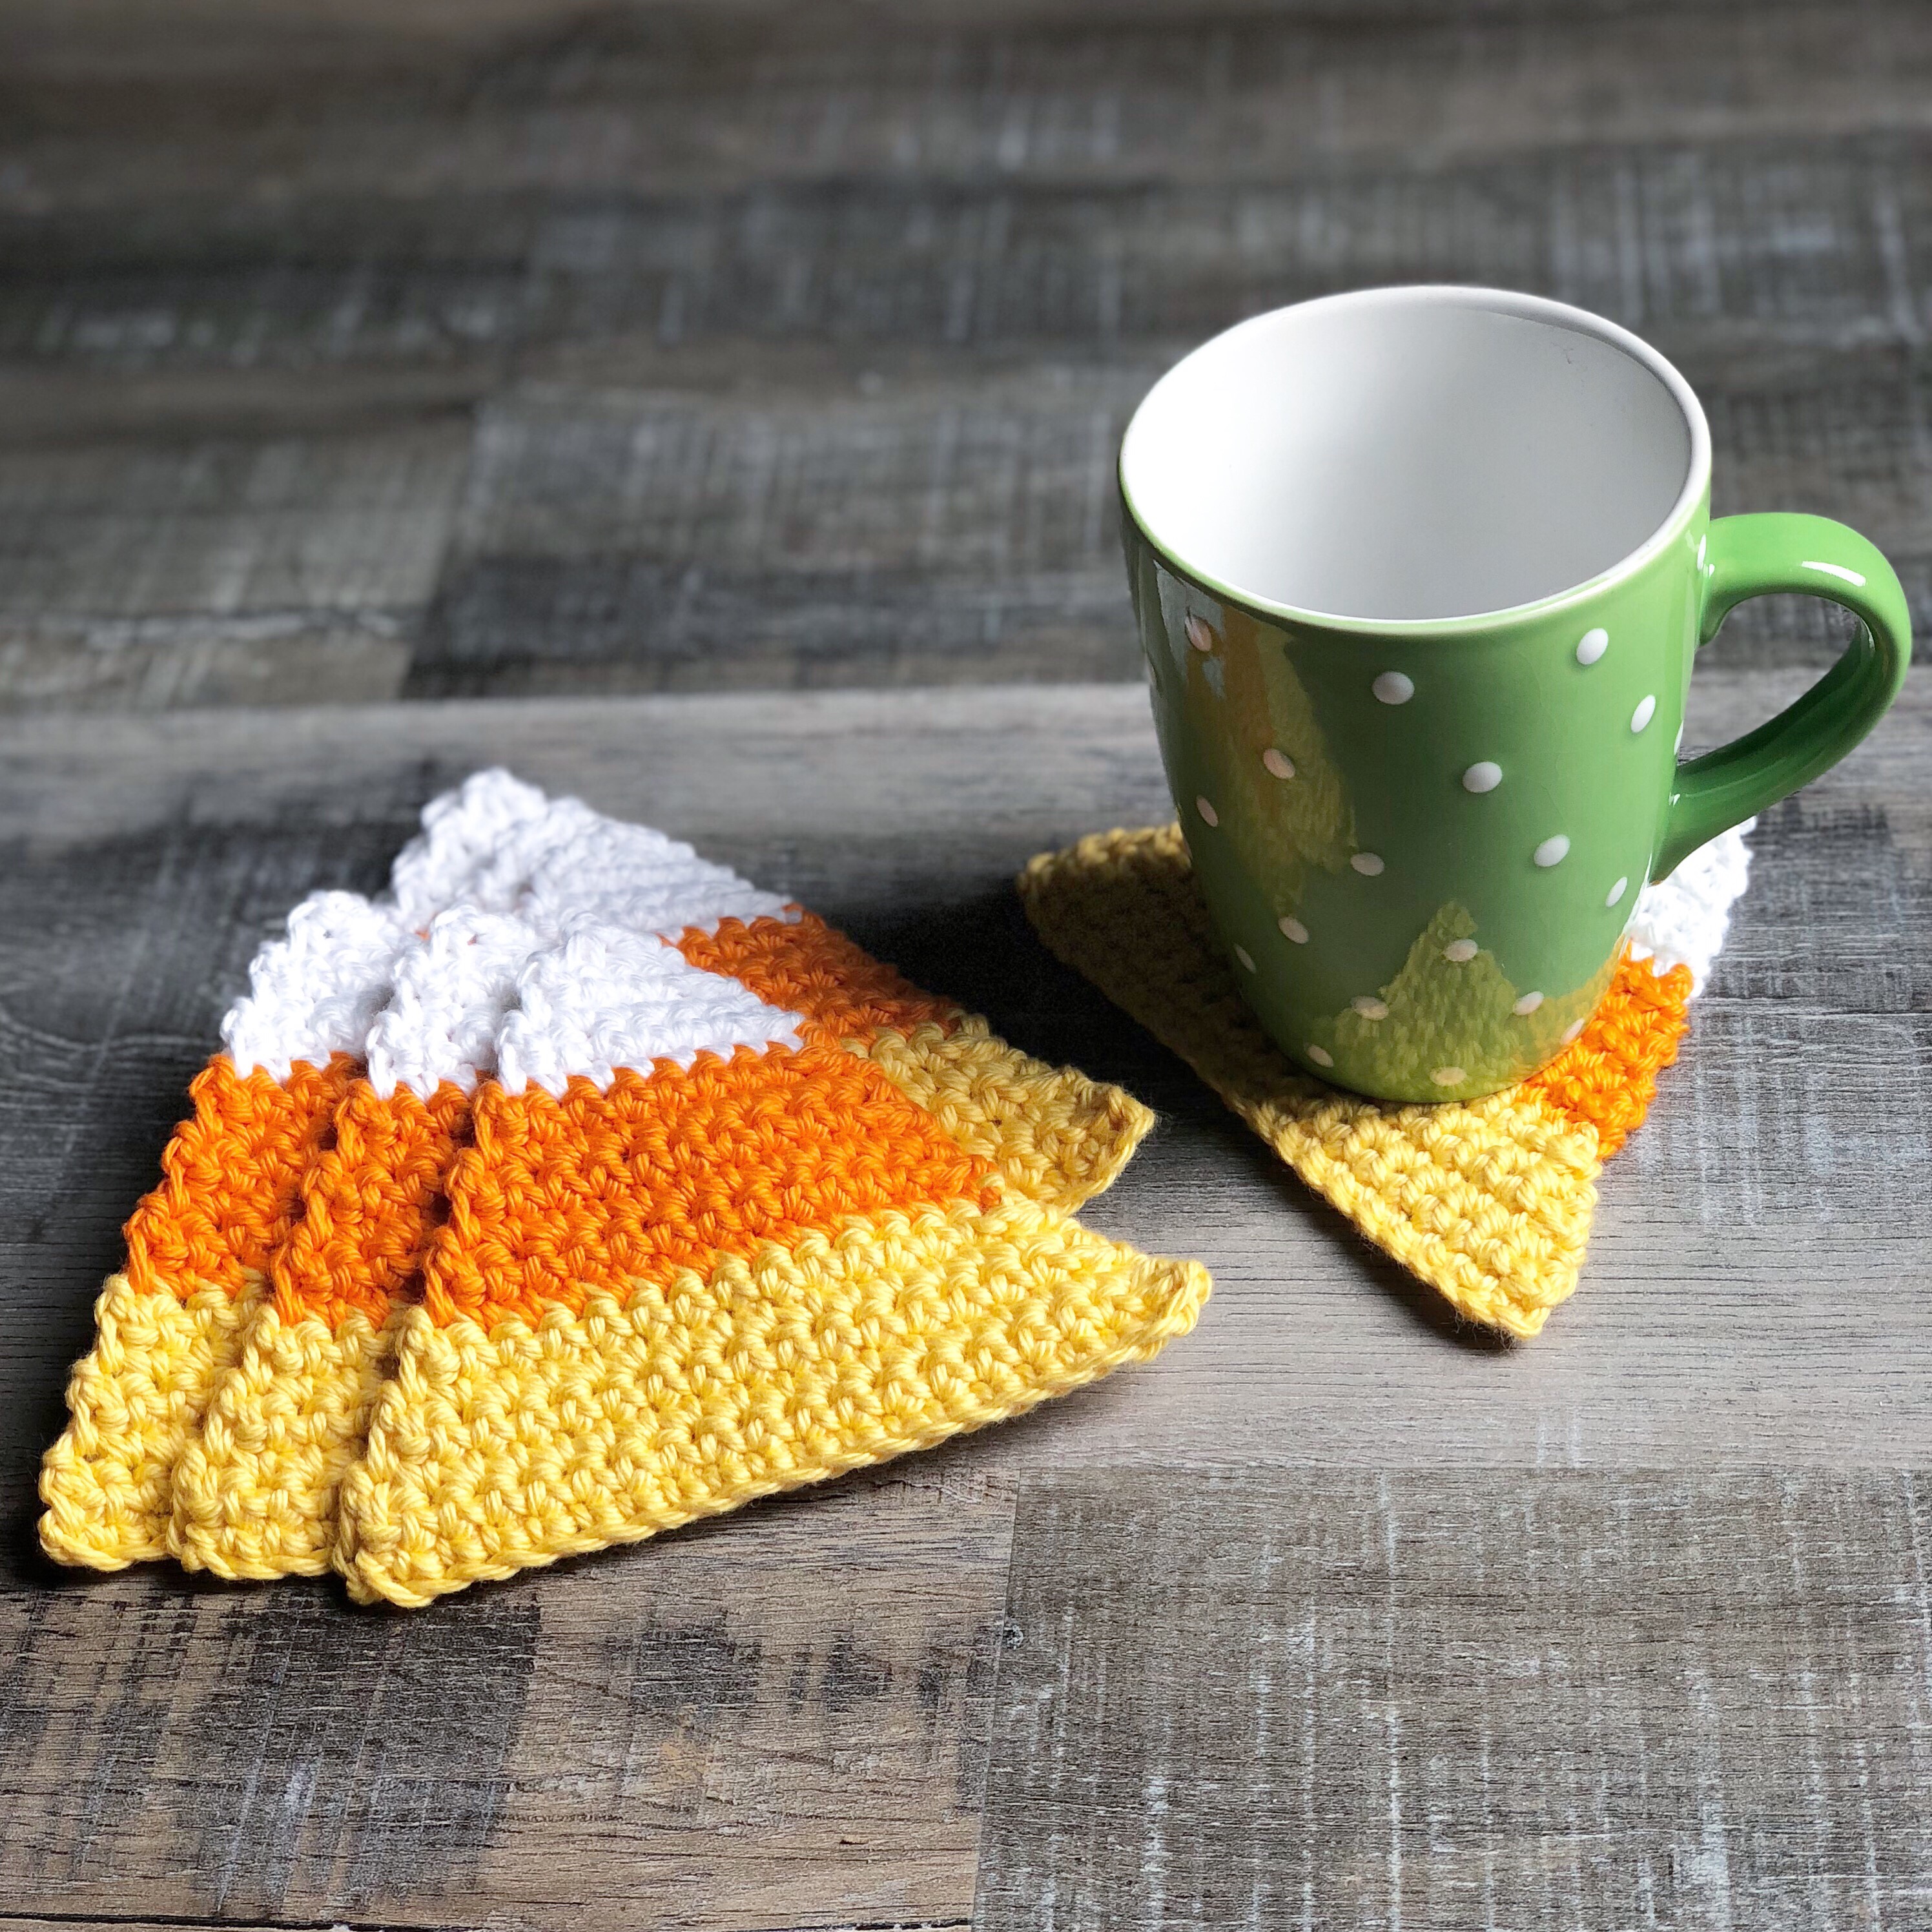
Here’s a quick and easy crochet pattern for Candy Corn Coasters to add a little touch of whimsy to your Fall table. These work up very quickly – I made up several in just a couple of hours! Worked with worsted weight cotton yarn, they will protect your table while looking very cute. 🙂

img_1764

Crochet Candy Corn Coasters

I used I Love This Cotton yarn in White, Curry, and Glowing

H/5mm hook

Stitches used (US terms)

Chain – ch

Single crochet – sc

Single crochet decrease – sc dec

Ch 21 with Curry.

Row 1: sc in 2nd ch from hook and each ch across. Turn. (20 stitches)

Row 2: ch 1. Work sc dec over 1st 2 stitches. Sc in next 16 stitches. Sc dec over last 2 stitches. Turn. (18 stitches)

Row 3: ch 1. Sc in each stitch across. Turn. (18 stitches)

Row 4: ch 1. Work sc dec over 1st 2 stitches. Sc in next 14 stitches. Sc dec over last 2 stitches. Turn. (16 stitches)

Row 5: ch 1. Sc in each stitch across. Turn. (16 stitches)

Row 6: ch 1. Work sc dec over 1st 2 stitches. Sc in next 12 stitches. Sc dec over last 2 stitches. Turn. (14 stitches)

Change to Glowing at the end of row.

Row 7: ch 1. Sc in each stitch across. Turn. (14 stitches)

Row 8: ch 1. Work sc dec over 1st 2 stitches. Sc in next 10 stitches. Sc dec over last 2 stitches. Turn. (12 stitches)

Row 9: ch 1. Sc in each stitch across. Turn. (12 stitches)

Row 10: ch 1. Work sc dec over 1st 2 stitches. Sc in next 8 stitches. Sc dec over last 2 stitches. Turn. (10 stitches)

Row 11: ch 1. Sc in each stitch across. Turn. (10 stitches)

Row 12: ch 1. Work sc dec over 1st 2 stitches. Sc in next 6 stitches. Sc dec over last 2 stitches. Turn. (8 stitches)

Change to White at the end of row.

Row 13: ch 1. Sc in each stitch across. Turn. (8 stitches)

Row 14: ch 1. Work sc dec over 1st 2 stitches. Sc in next 4 stitches. Sc dec over last 2 stitches. Turn. (6 stitches)

Row 15: ch 1. Sc in each stitch across. Turn. (6 stitches)

Row 16: ch 1. Work sc dec over 1st 2 stitches. Sc in next 2 stitches. Sc dec over last 2 stitches. Turn. (4 stitches)

Row 17: ch 1. Sc in each stitch across. Turn. (4 stitches)

Row 18: ch 1. Work 2 sc dec. Turn. (2 stitches)

Row 19: ch 1. Work 1 sc dec.

Fasten off and weave in ends.

Here’s a PDF for easy printing…

(Please link back to my pattern if you make any of these cute coasters. I’d appreciate it if you wouldn’t copy or rewrite my pattern onto another page. Thank you!)

img_1762
img_1763

Need another Fall coaster idea? Check out the cute pumpkin coasters in this post.

Thanks for stopping by,

Anita
Posted in Crochet, Fall, Gifts, Uncategorized | 6 Comments

Happy Birthday Cake Card

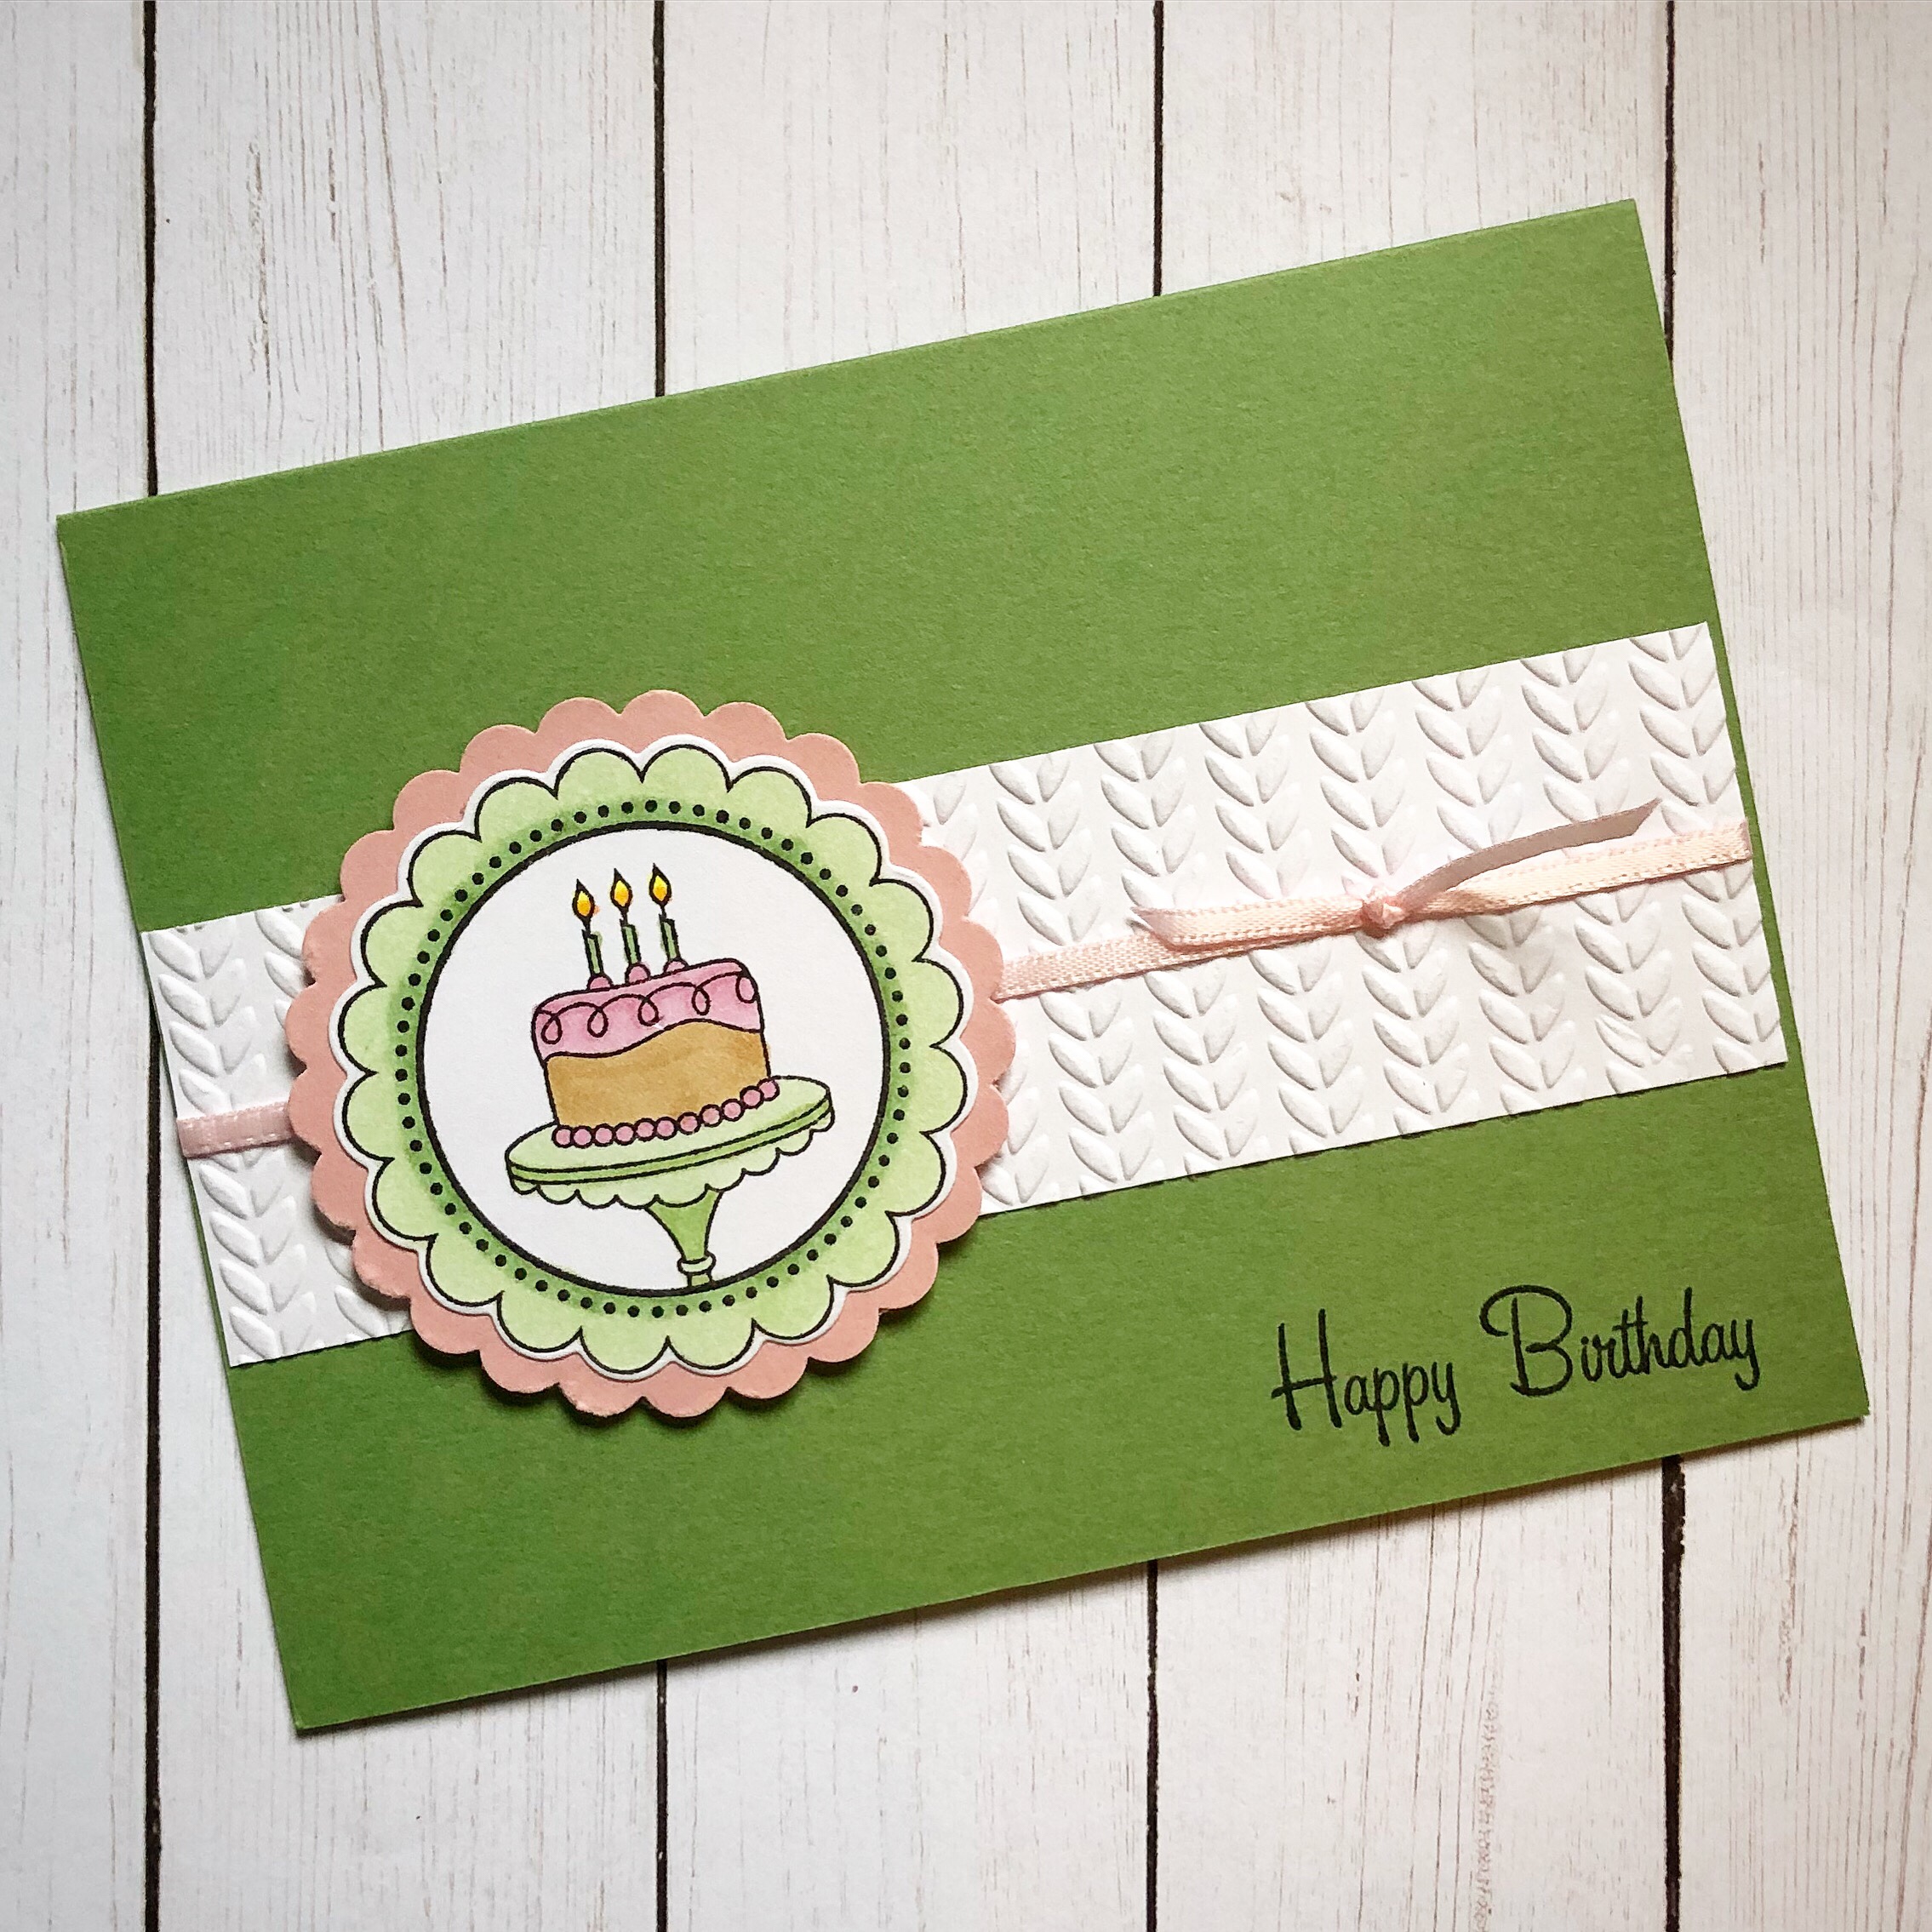
I have a quick and easy Happy Birthday Cake Card for you today! If you’re like me, birthdays sneak up and sometimes I need to make a card ASAP! This one is simple, but so cute!

This sweet birthday cake stamp from a set called Totally Tags Occasions by Taylored Expressions – sadly it is retired 😦 (But here’s a cute set to build your own birthday cake!) There is a die set called Totally Tags still available from Taylored Expressions that includes 3 different tag shapes that can be used with other stamps in so many different ways. The Cable Knit embossing folder is also from Taylored Expressions. I love their embossing folders!!!

My “happy birthday” stamp is an older one from Stampendous. This one or this one would work great on a card like this.

To make this simple card, emboss a piece of white card stock with the Cable Knit embossing folder, tie with a pink ribbon, and attach to a green card. Stamp the birthday cake with black ink, color with Copic markers, and die cut with the scalloped circle die from Totally Tags. Layer to a larger scalloped circle die cut from pink card stock. Attach to the card with foam tape. Stamp “happy birthday” with black ink in the bottom right corner.

If you are in the market for a set of scalloped circle dies, this set from Sizzix or this set from Spellbinders would be a great addition to your craft room.

This is a simple layout that can be used to make a card for any occasion. Change the scalloped circle to an oval, square, or rectangle and change the sentiment to whatever you need. Leave off the ribbon, use a plain circle , and change the color scheme for a more masculine card. You are only limited by your imagination!

Thanks for stopping by,

Anita
Posted in Cards, Stamping, Uncategorized | Leave a comment

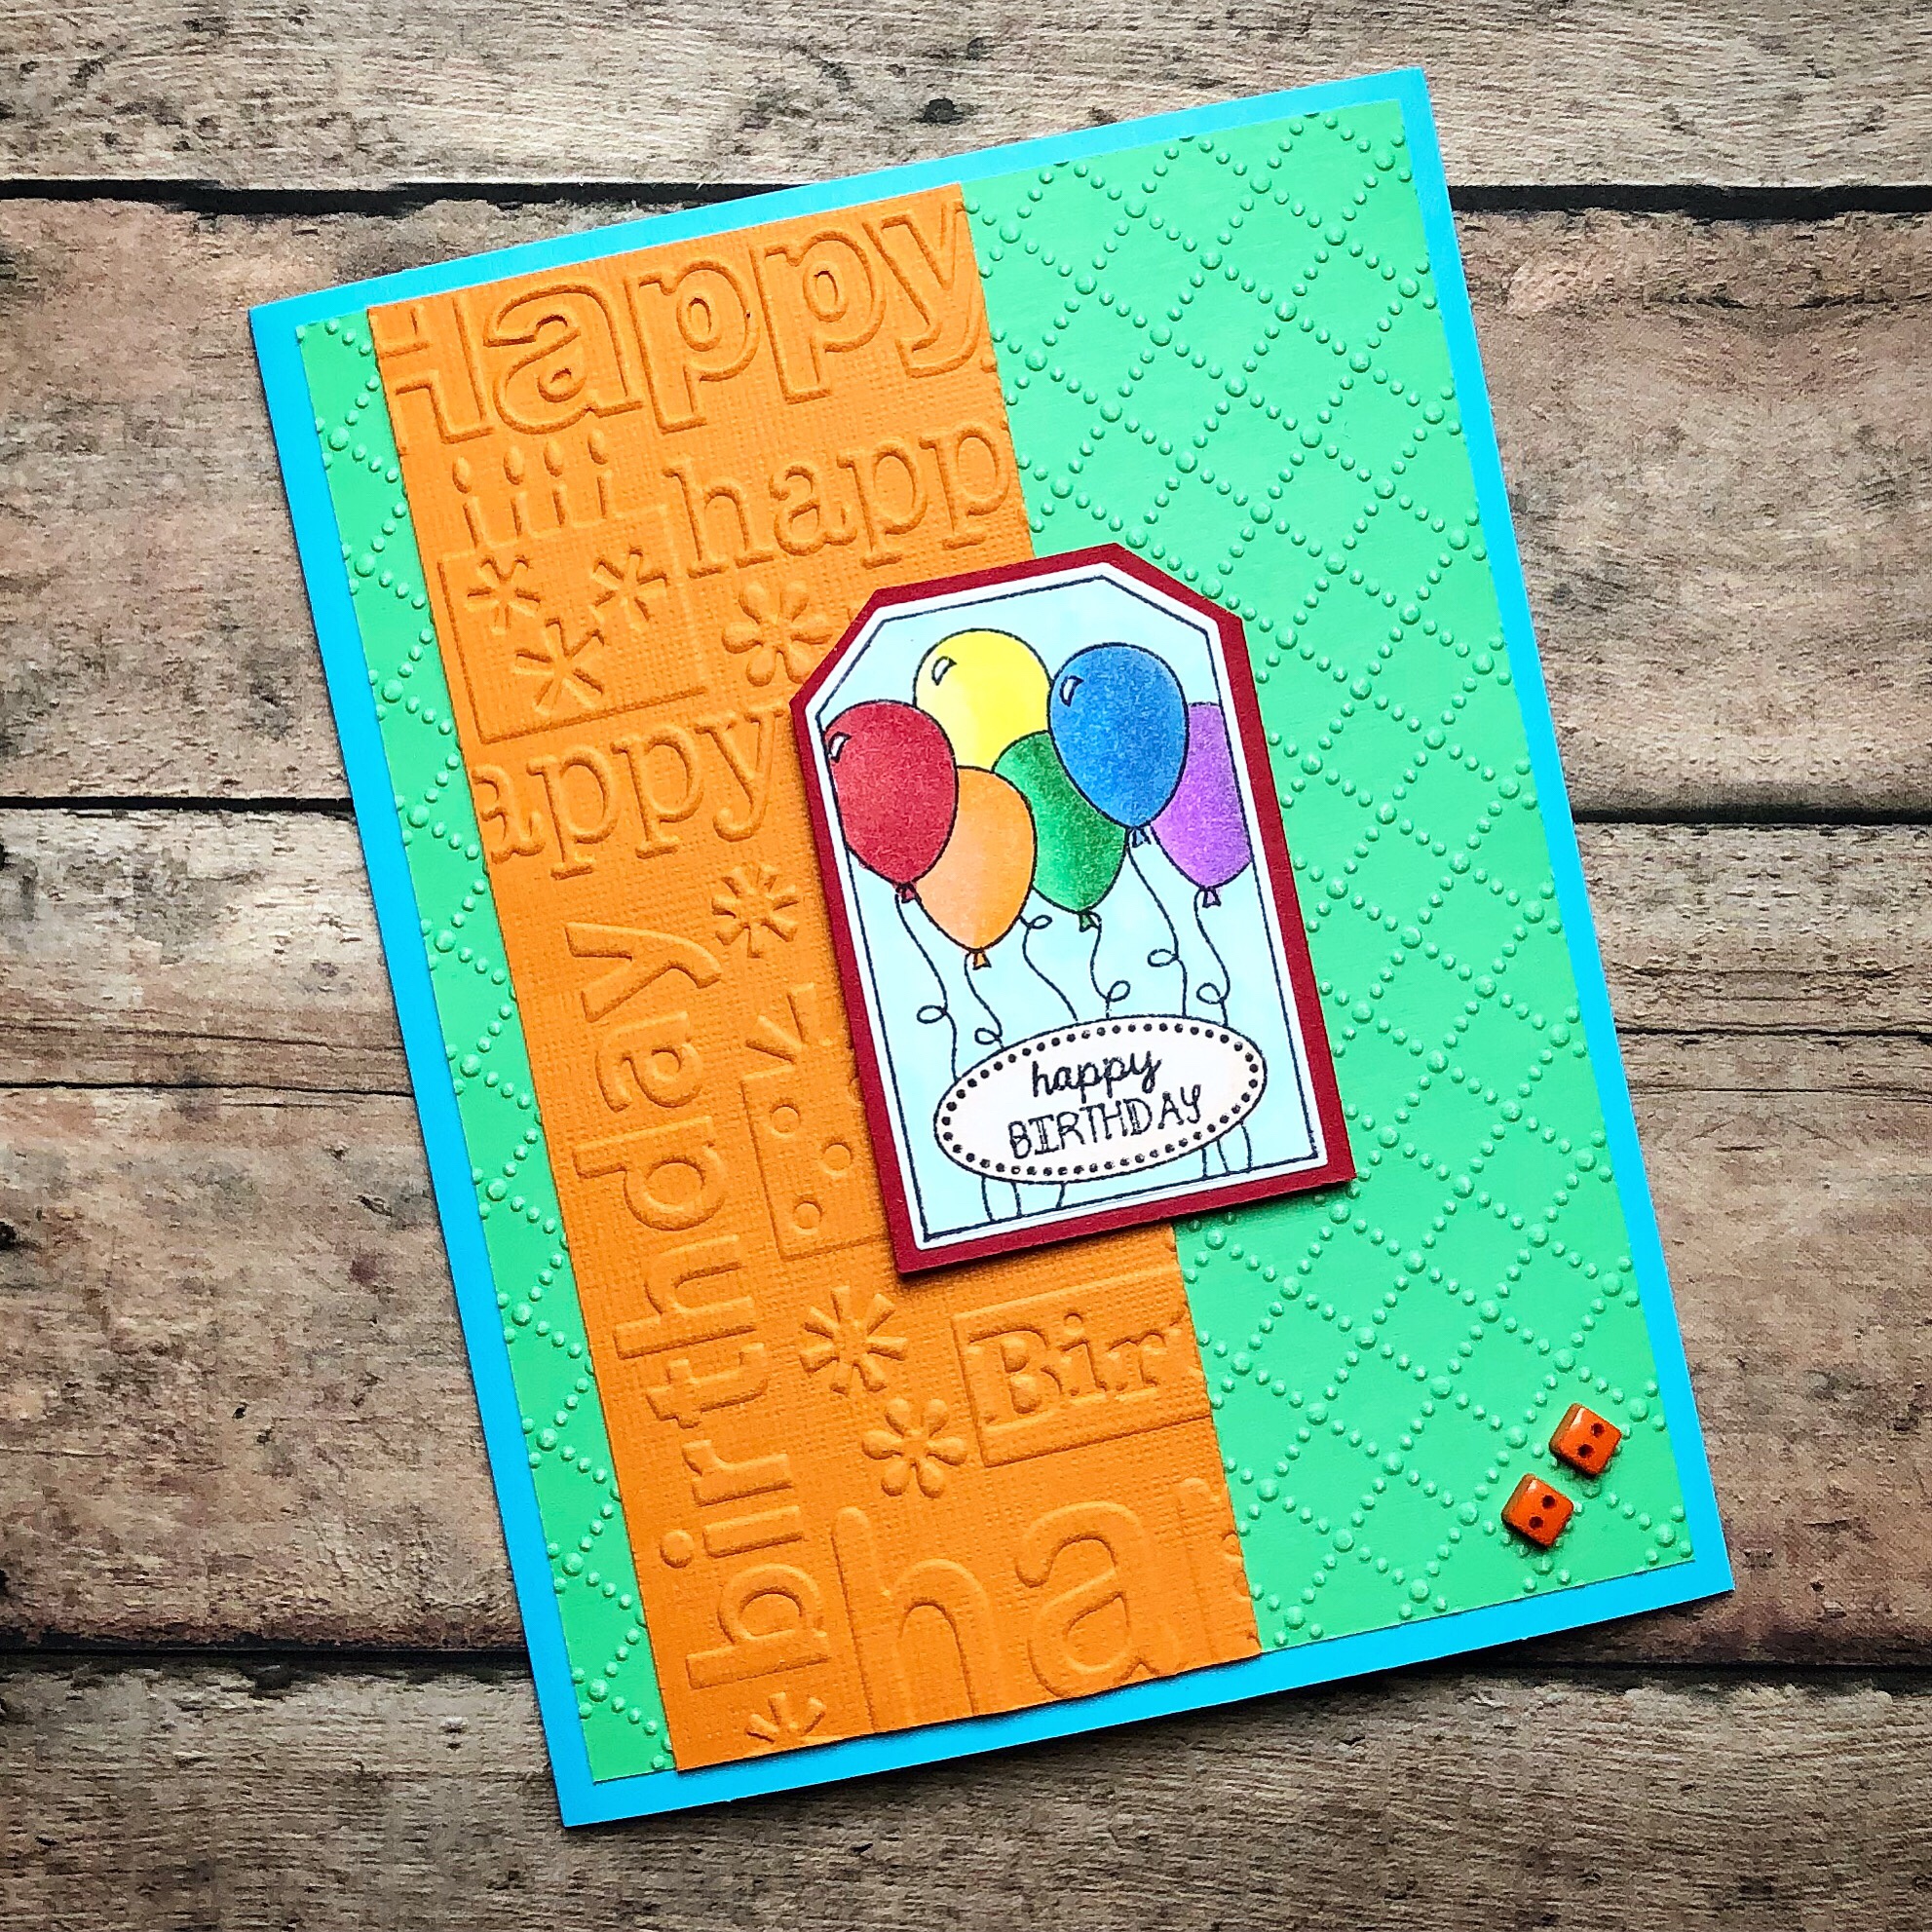
Birthday Balloons Card

Balloons for a birthday are always fun! Here’s a bright and colorful Birthday Balloons Card to celebrate that special day.

This cute balloon tag stamp is from a set called Totally Tags Occasions by Taylored Expressions – sadly it is retired 😦 But they still have the Totally Tags die set available and with this cute balloon set from Dare 2B Artzy you could make your own balloon tag. 

Just as a side note, Taylored Expressions has this adorable Totally Tags Holiday stamp set to go with the Totally Tags die set that makes the best tags for all of your Christmas gifts!

The Dotted Lattice embossing folder is also from Taylored Expressions – I love their embossing folders! They give such crisp, deep impressions and have a great selection. The Birthday embossing folder I have is from Cuttlebug. They have changed it a little from the one I have, but this one Cuttlebug has now is very similar.

To make the card, emboss a panel of green card stock with the Dotted Lattice embossing folder and attach it to a blue card. Emboss a strip of orange card stock with the Birthday embossing folder and attach it to the card. Stamp the birthday balloon tag with black ink on white card stock. Color with Copic markers and die cut with the Totally Tags die. Layer to red card stock and trim leaving a small border. Attach to the card with foam tape. Attach 2 tiny orange buttons to the bottom right corner.

This is such a fun card – and really any birthday themed stamp can be used for your focal point, it doesn’t have to be balloons. 🙂

Thanks for stopping by,

Anita
 

Posted in Cards, Stamping, Uncategorized | Leave a comment

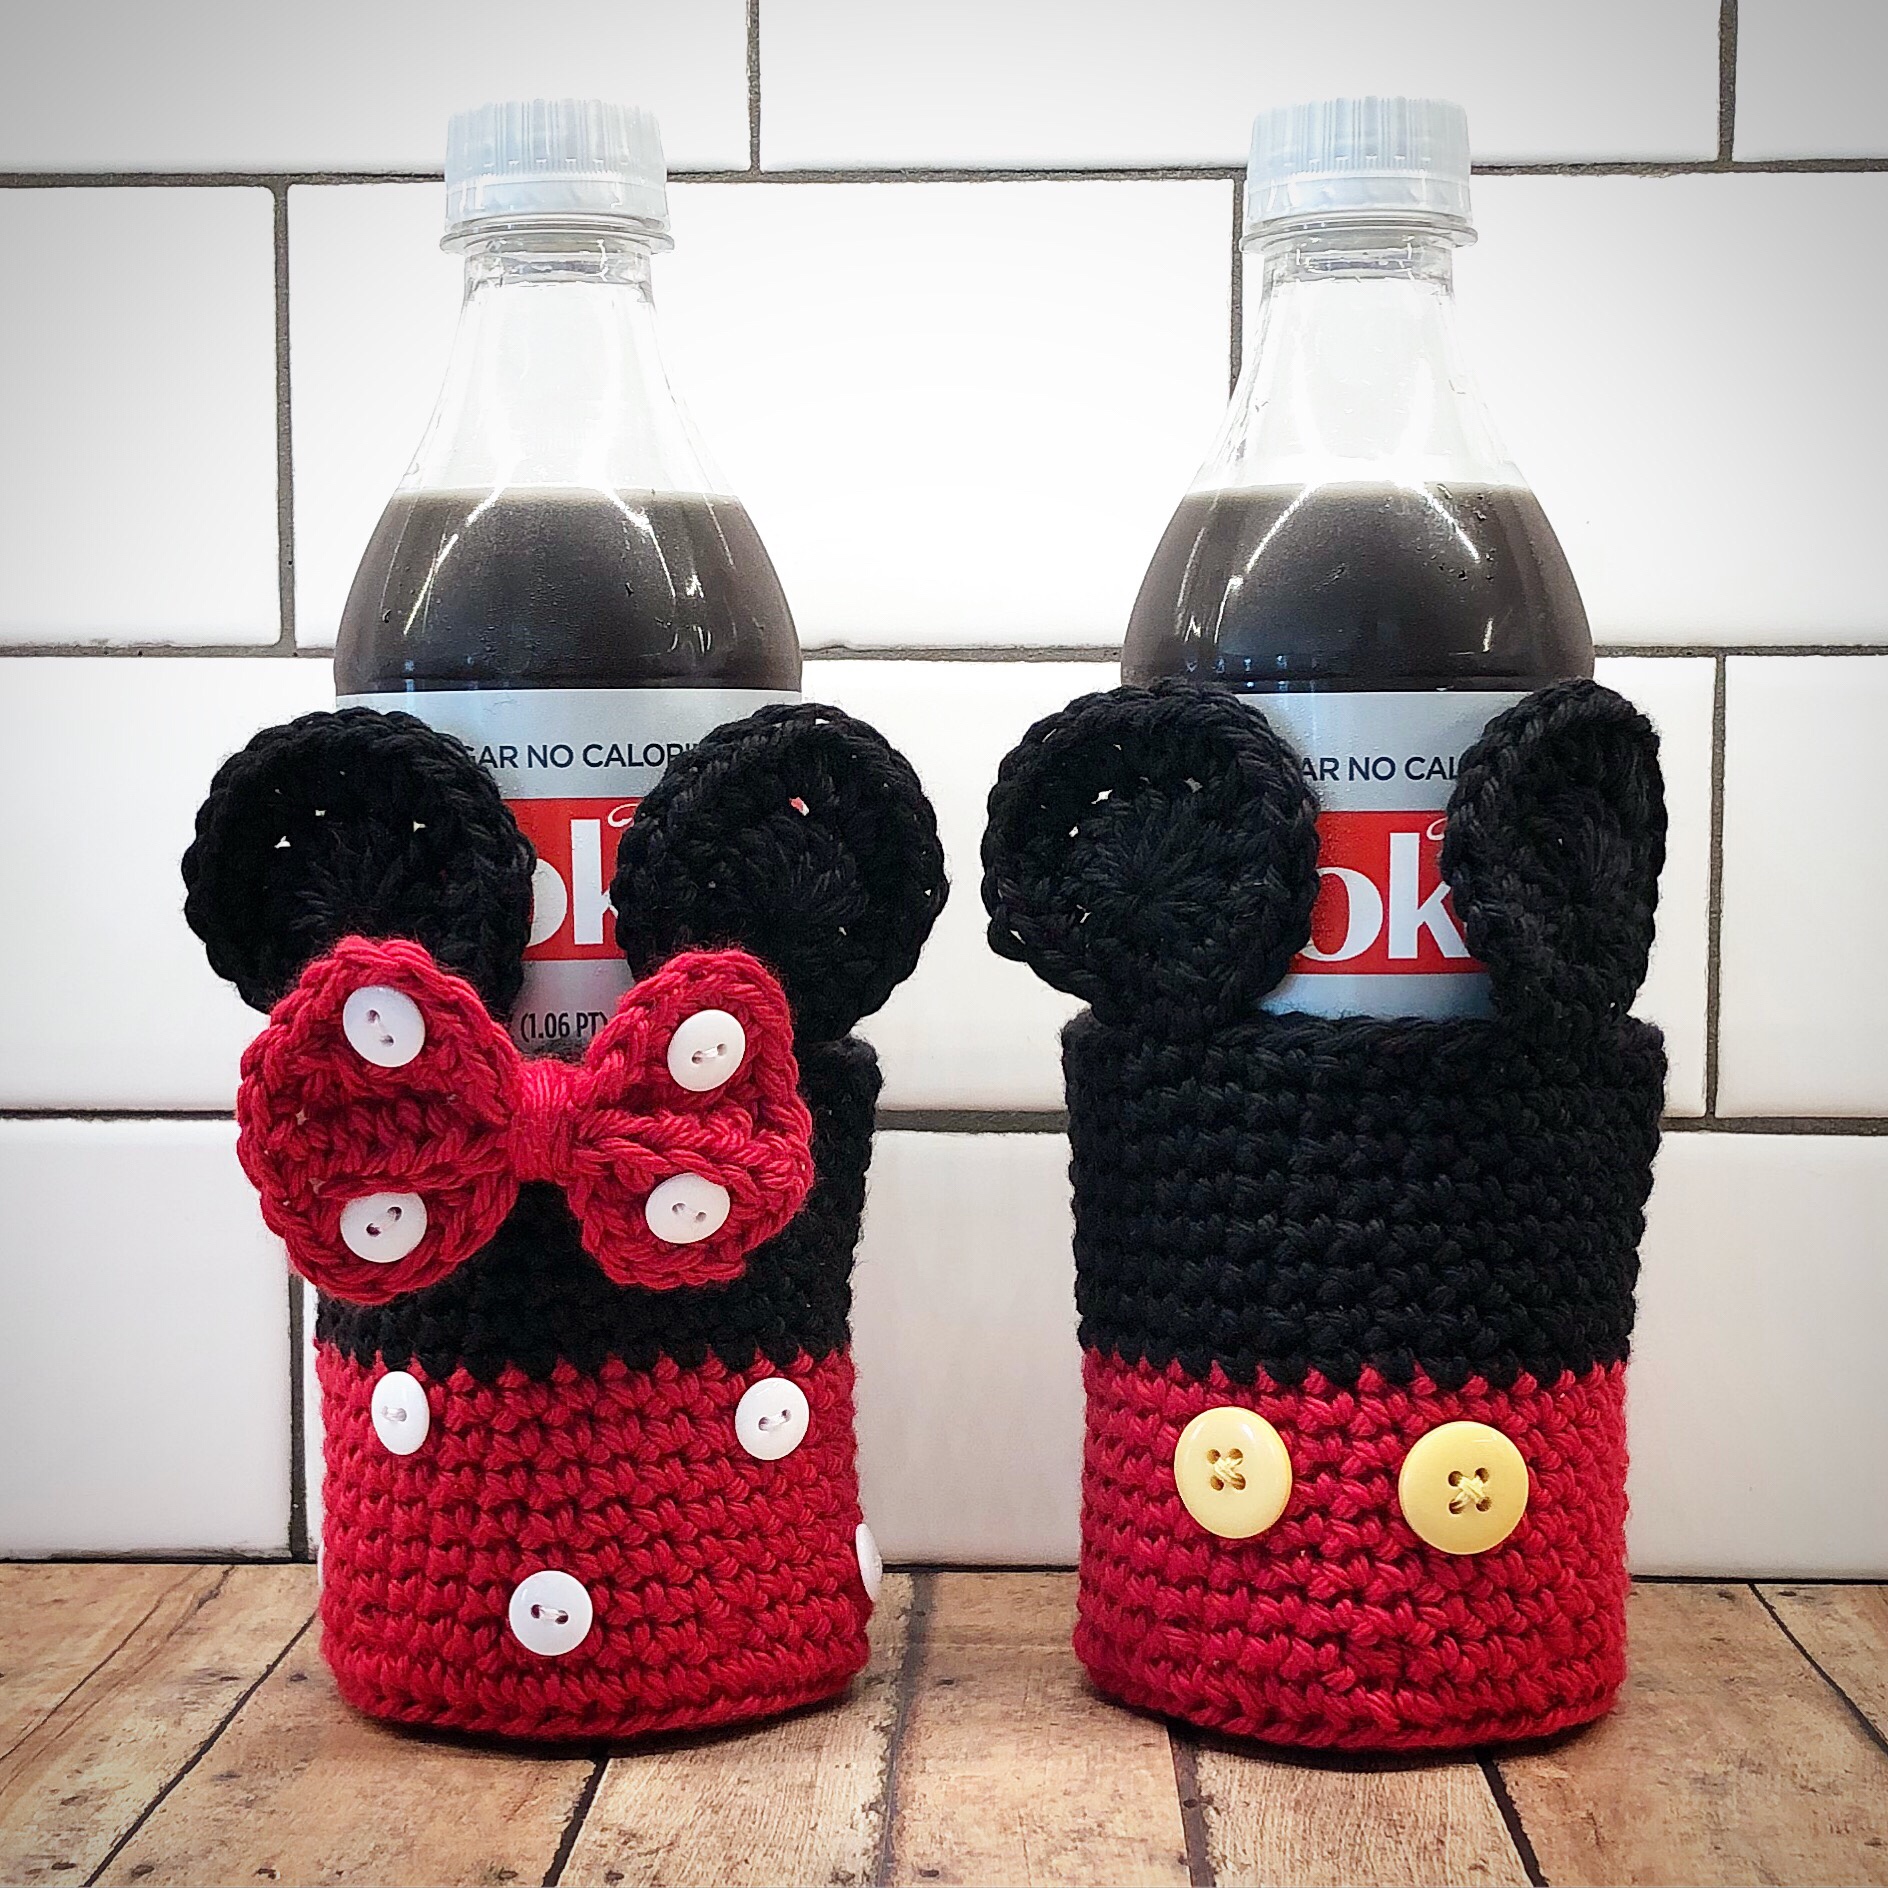
Mickey and Minnie Inspired Crochet Can Cozies

These are just the cutest cozies! Inspired by Mickey and Minnie, I found the free pattern here on Pinterest. I made this set for my nephew and his new wife who just got married at Disney World. (You can see the fun wedding card I made for them in this post.)

I used I Love This Cotton Yarn from Hobby Lobby in black and red. They worked up very quickly – and Minnie would be so cute stitched in this pink (Rosey II) yarn!

They are sure to make any Disney fan smile – and keep their drink cold at the same time!

Thanks for stopping by,

Anita
Posted in Crochet, Gifts | Leave a comment

Mickey and Minnie Congratulations

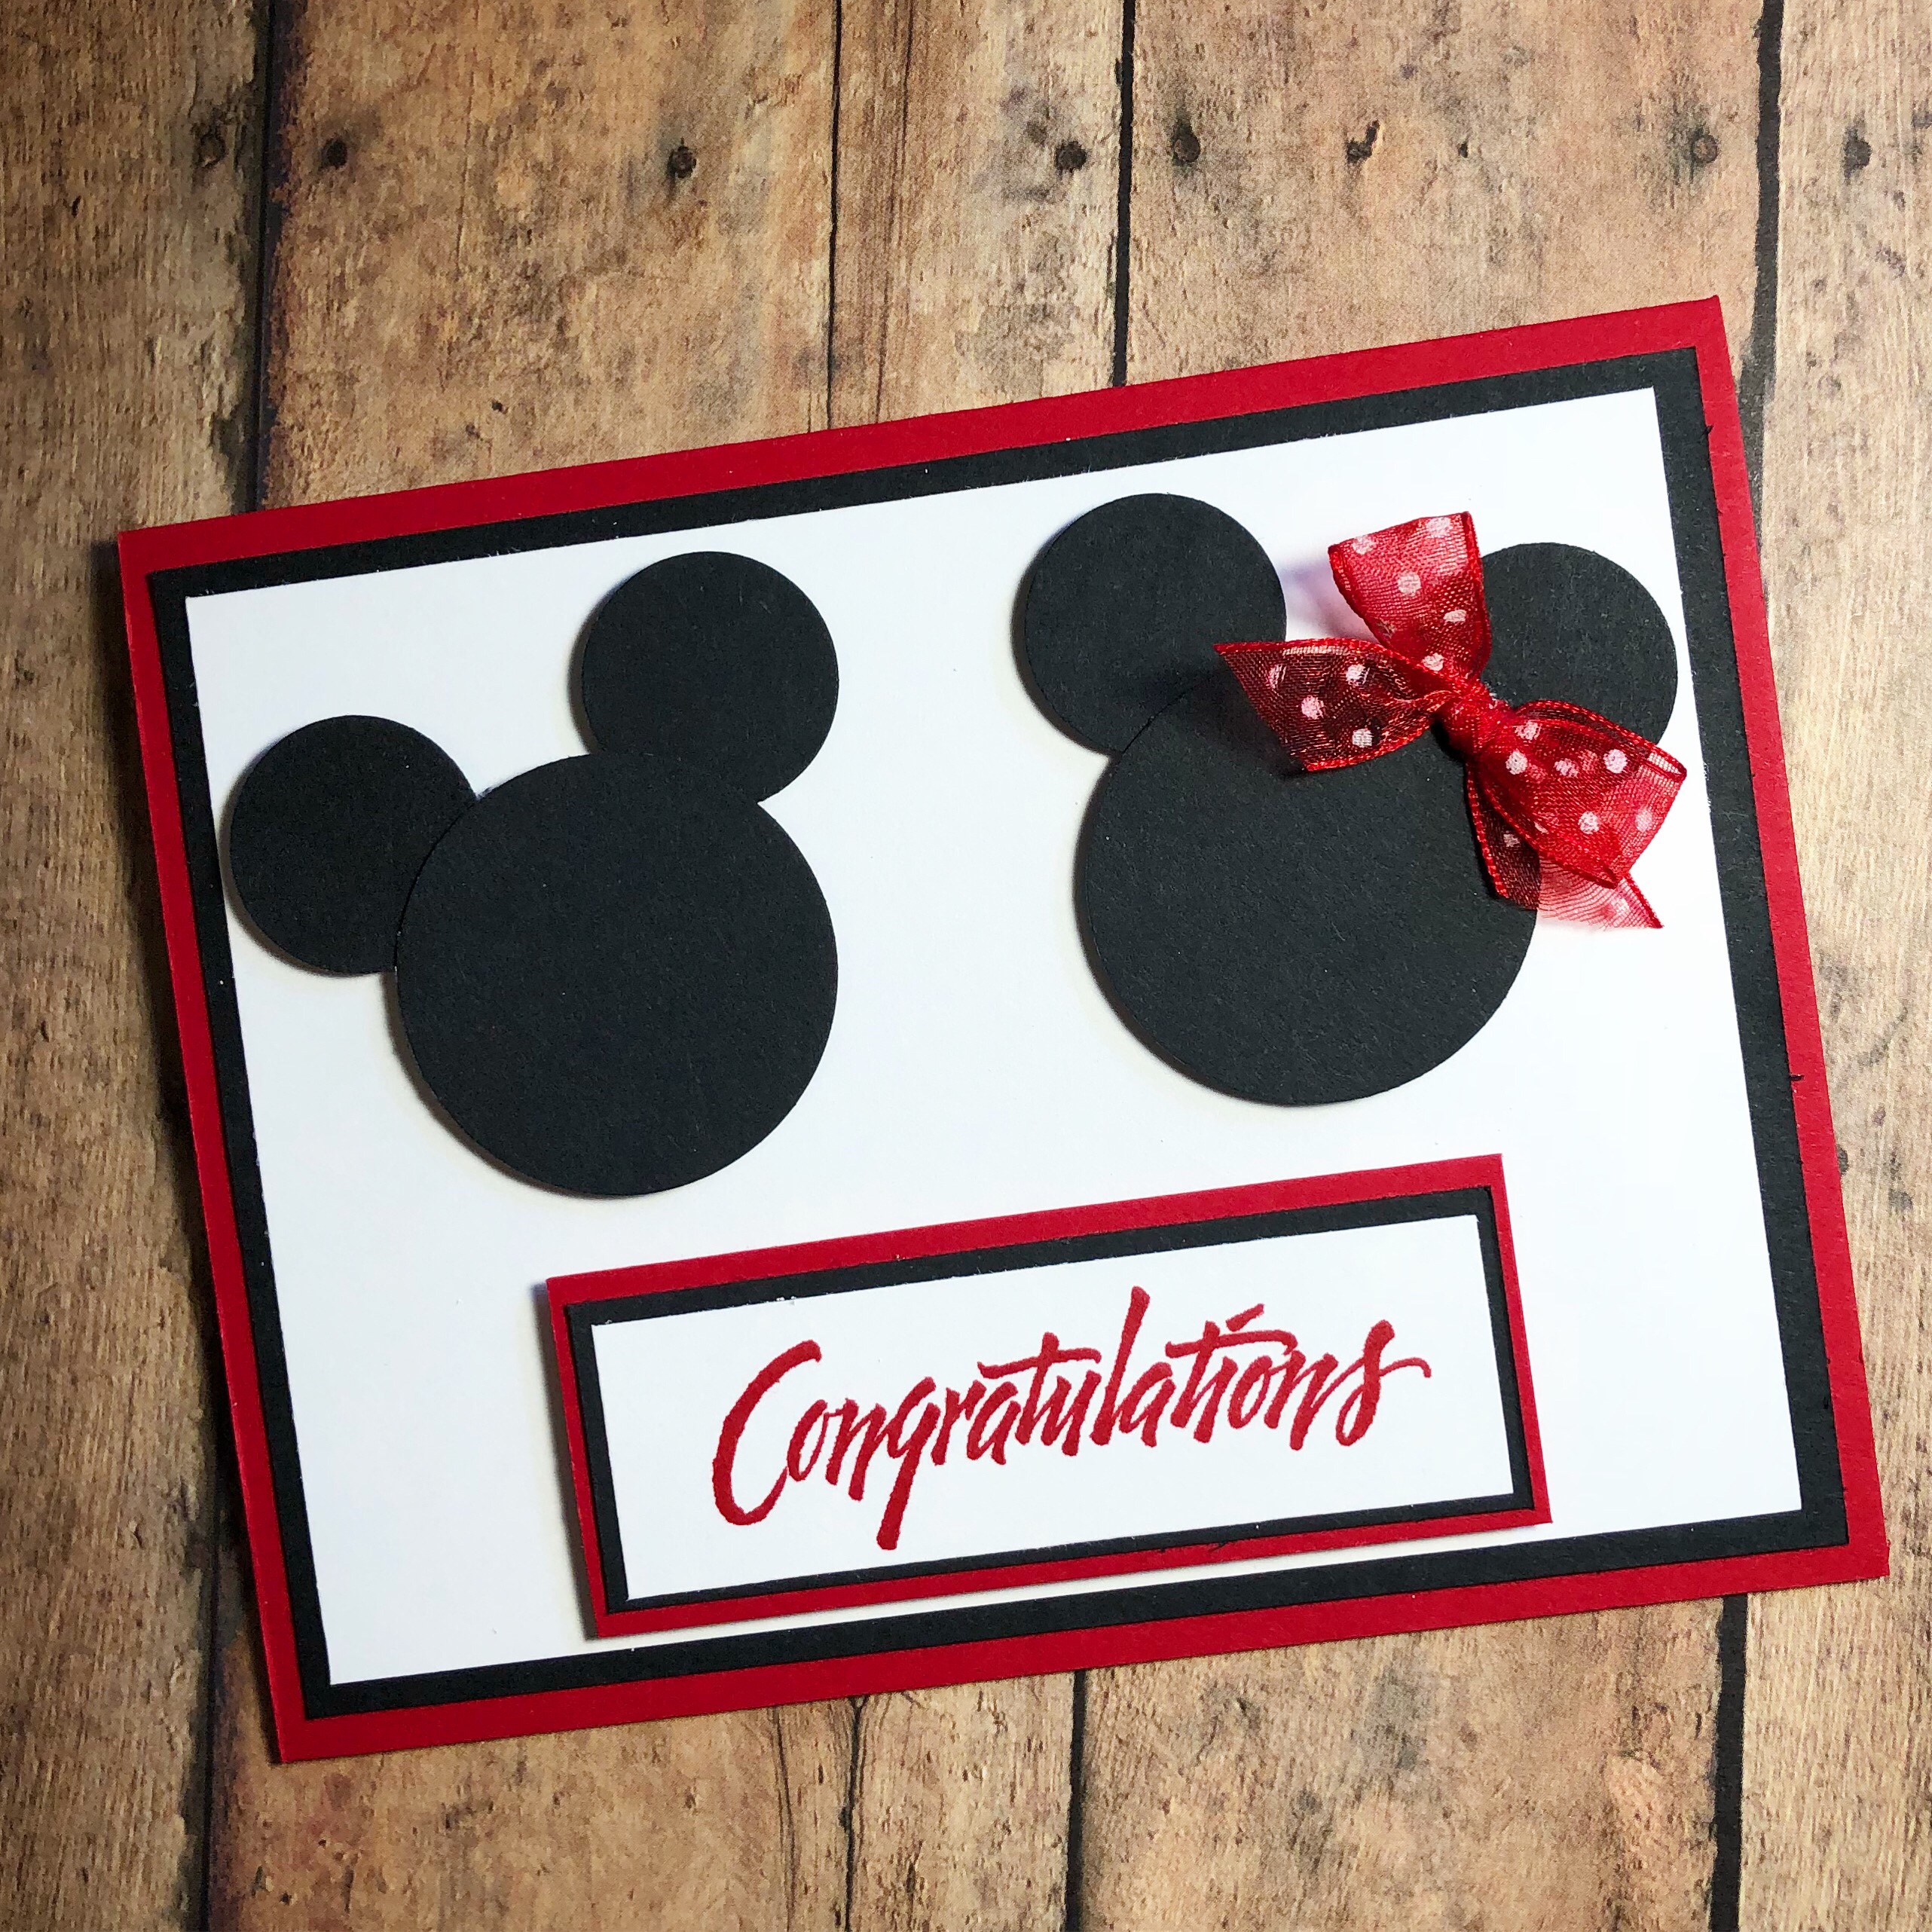
My nephew and his new wife just got married at Disney World! They are both totally in love with all things Disney so, of course, their wedding card needed to have a Disney theme.❤️

This is a super simple card to put together, but I just love the way it turned out…and it reminds me of their invitations. 😊

To make the card, layer black and white card stock to a red card. Punch 2 (1-1/2-inch) and 4 (3/4-inch) circles from black card stock. Attach small circles to larger circles for the ears. Attach to the card with foam tape.

Stamp “congratulations” (or your favorite sentiment) with red ink on white card stock. Layer to black and red card stock and attach to the card with foam tape. Add a polka dot ribbon bow to Minnie.

Super easy and super cute! Congratulations Ethan and Alisha! ❤️

Thanks for stopping by,

Anita
Posted in Cards, Stamping, Uncategorized | 1 Comment

Panda Birthday

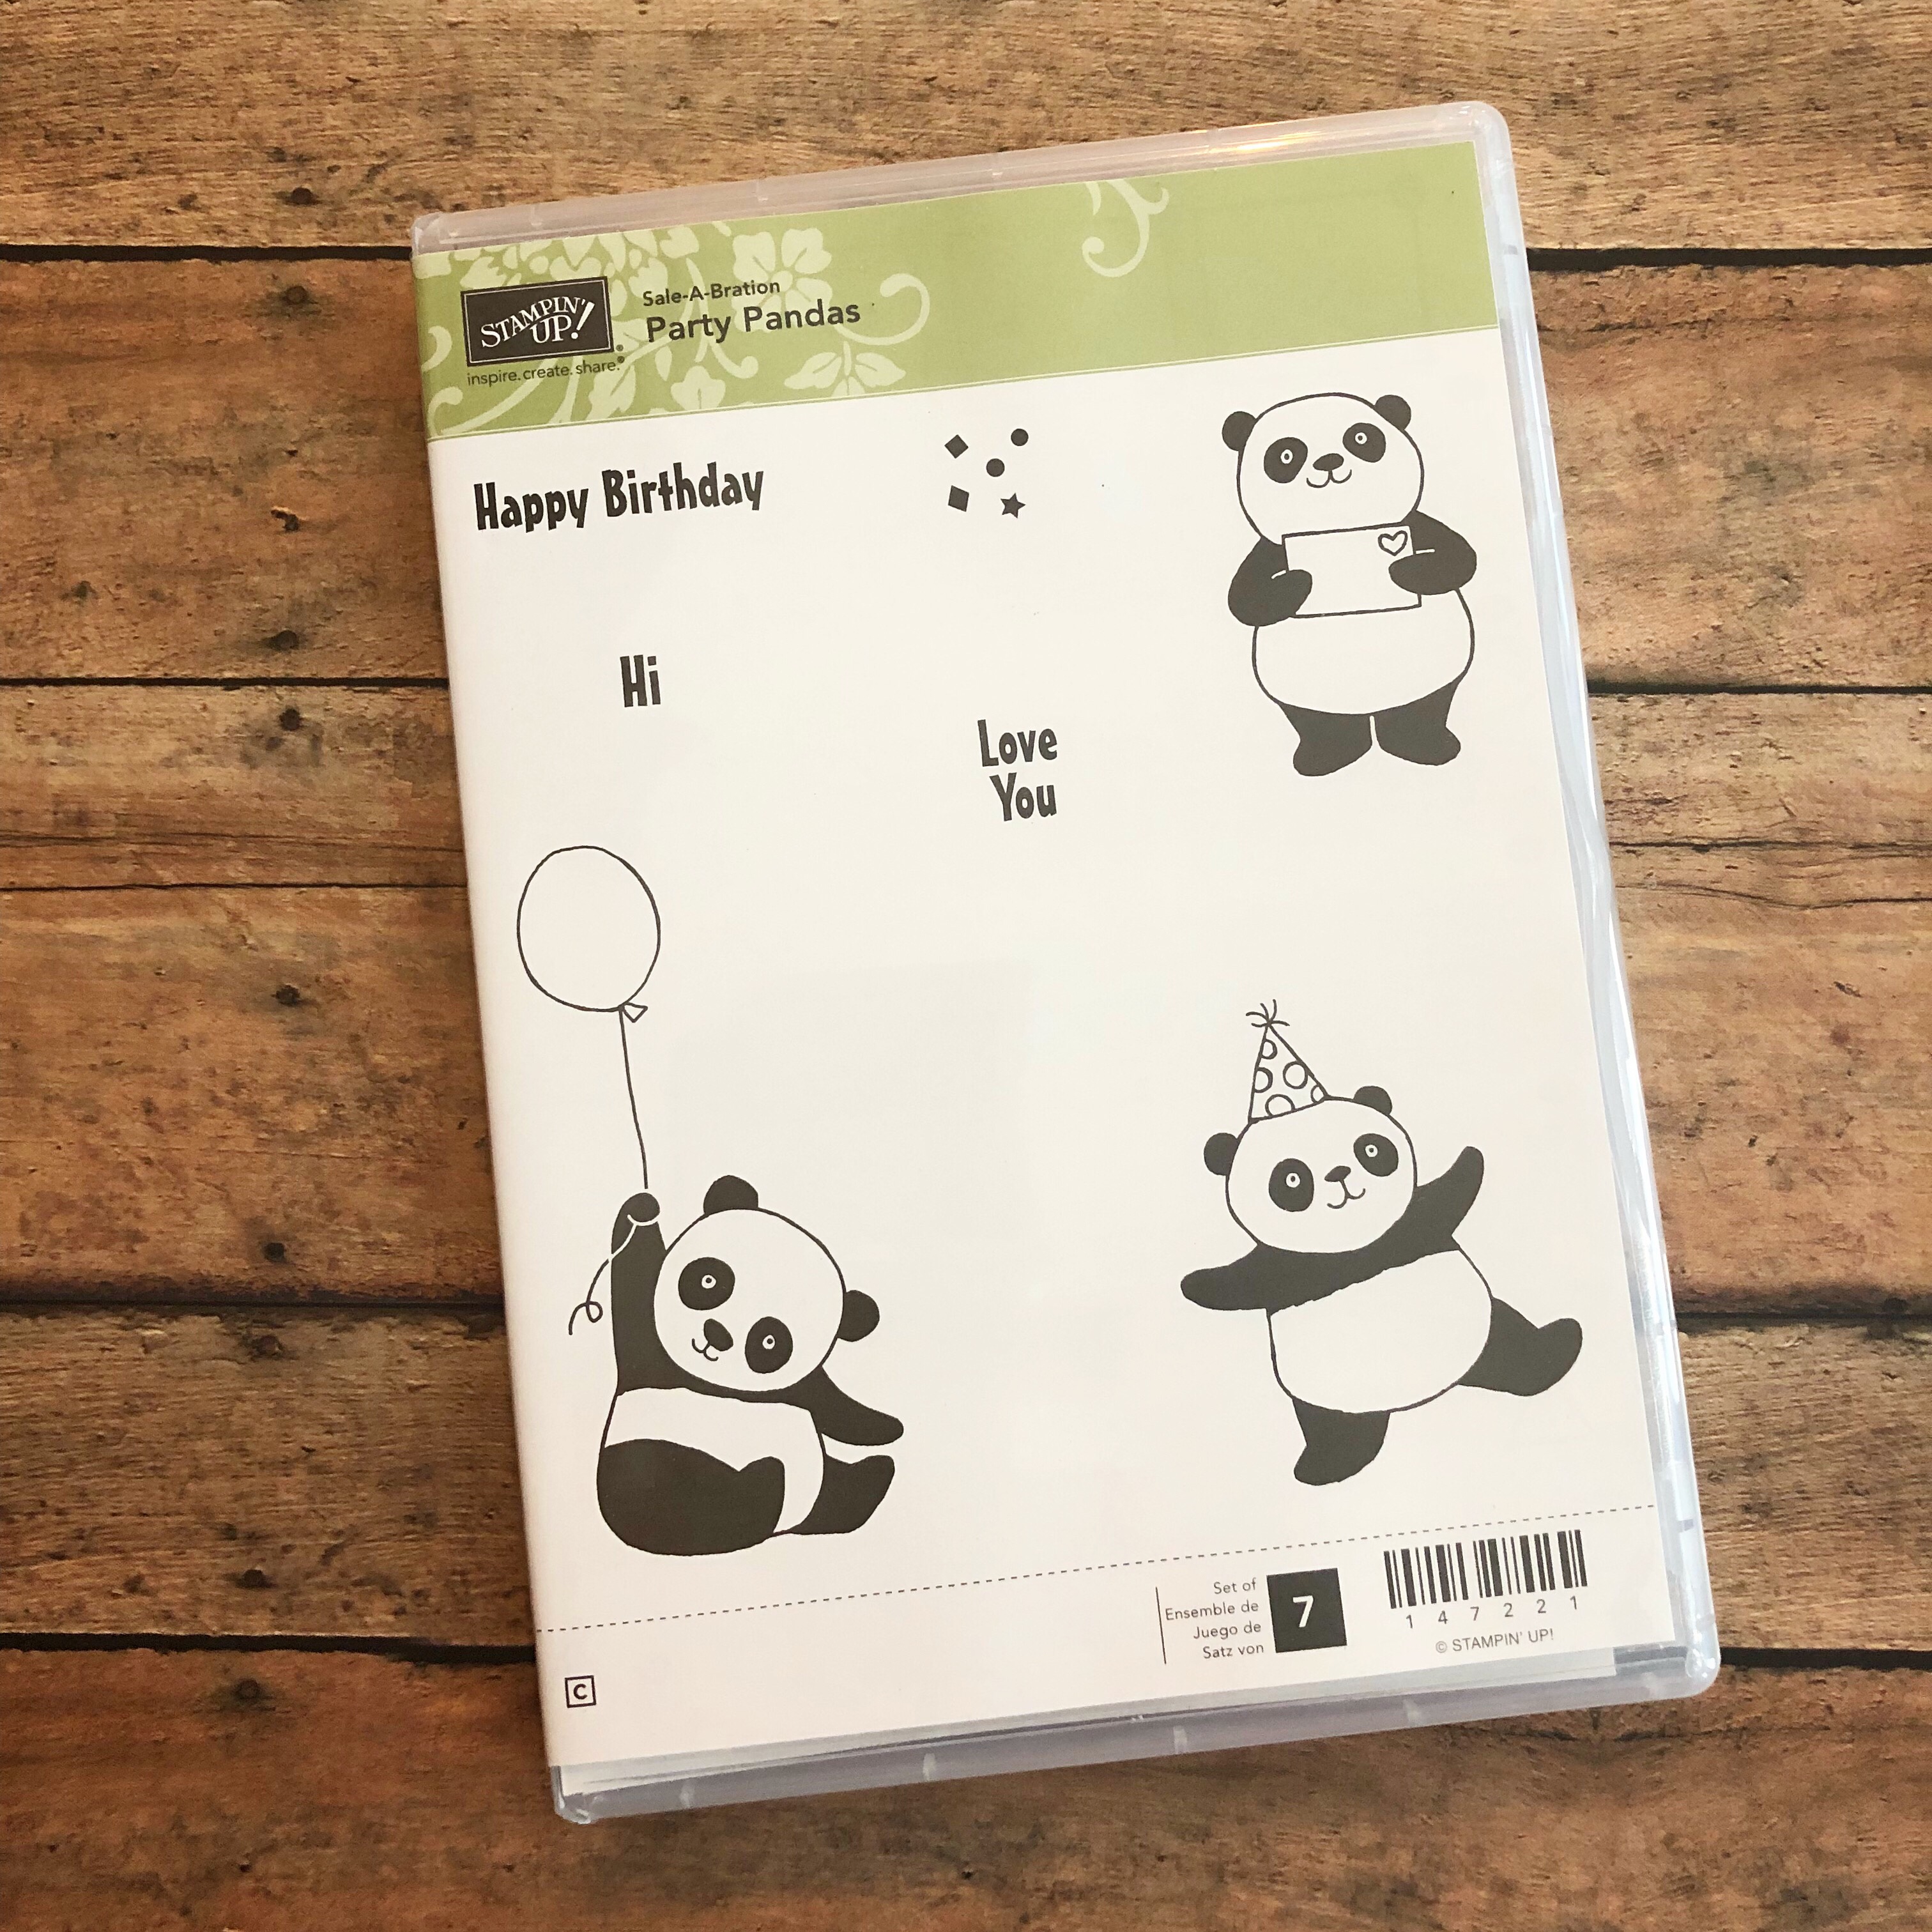
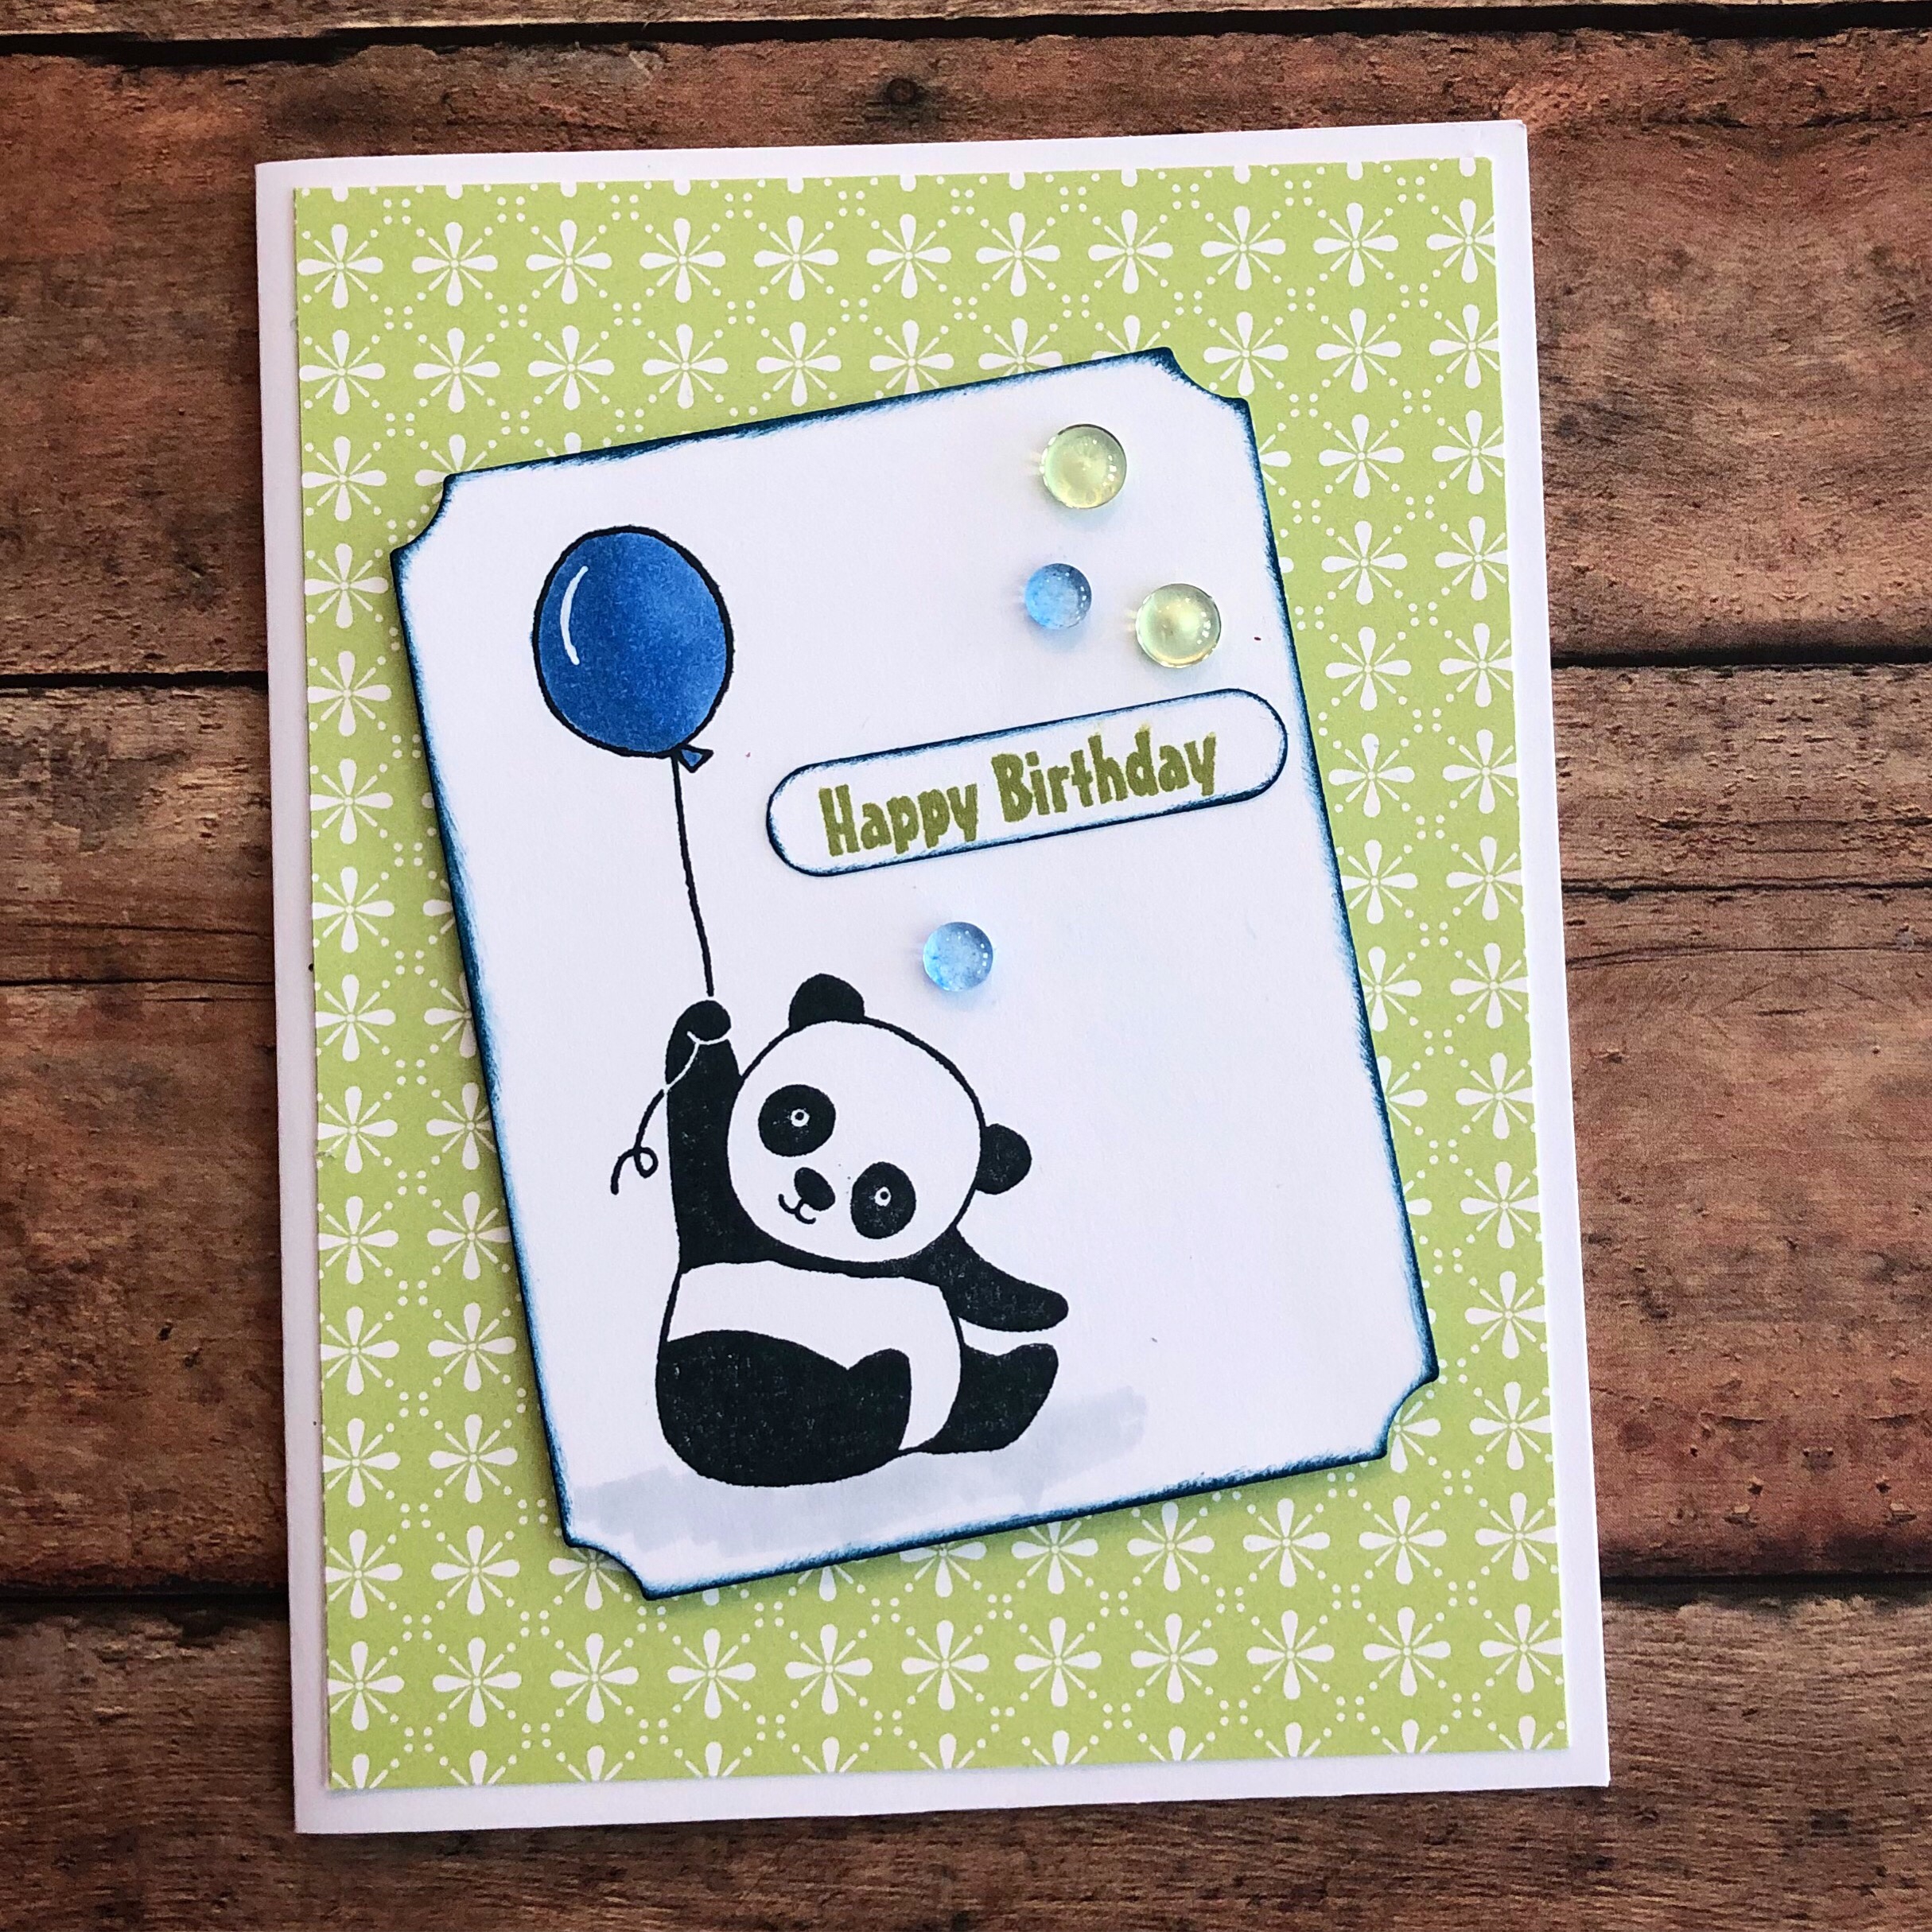
I snagged this adorable Party Pandas stamp set from Stampin’ Up during their Sale-A-Bration this year and this is the first chance I’ve had to play with it. I made a really quick and simple birthday card using the cute little panda holding the balloon.

I stamped the panda with black ink on white card stock. I colored the balloon with Copic Markers (I usually order my Copics from Dick Blick Art Supplies) and added a highlight with a white pen (I like this white Gelly Roll pen). I also added a light gray shadow under the panda.

I die cut the panda using this Nestabilities die set from Spellbinders and inked the edges with blue ink. I stamped “happy birthday” with green ink, punched it with a word label punch, and inked the edges with blue. The word label punch is discontinued from Stampin’ Up, but here is a similar one they have.

To assemble the card, I attached a piece of patterned paper to a white card. I attached the sentiment to the panda stamped piece and then attached the piece to the card at an angle with foam tape. To finish off the card, I added four gems.

These little pandas are so fun and cute – I’m sure they will be finding their way on to lots of my cards in the future!

Thanks for stopping by,

Anita
Posted in Cards, Stamping, Uncategorized | Leave a comment

Avocado Chicken Salad

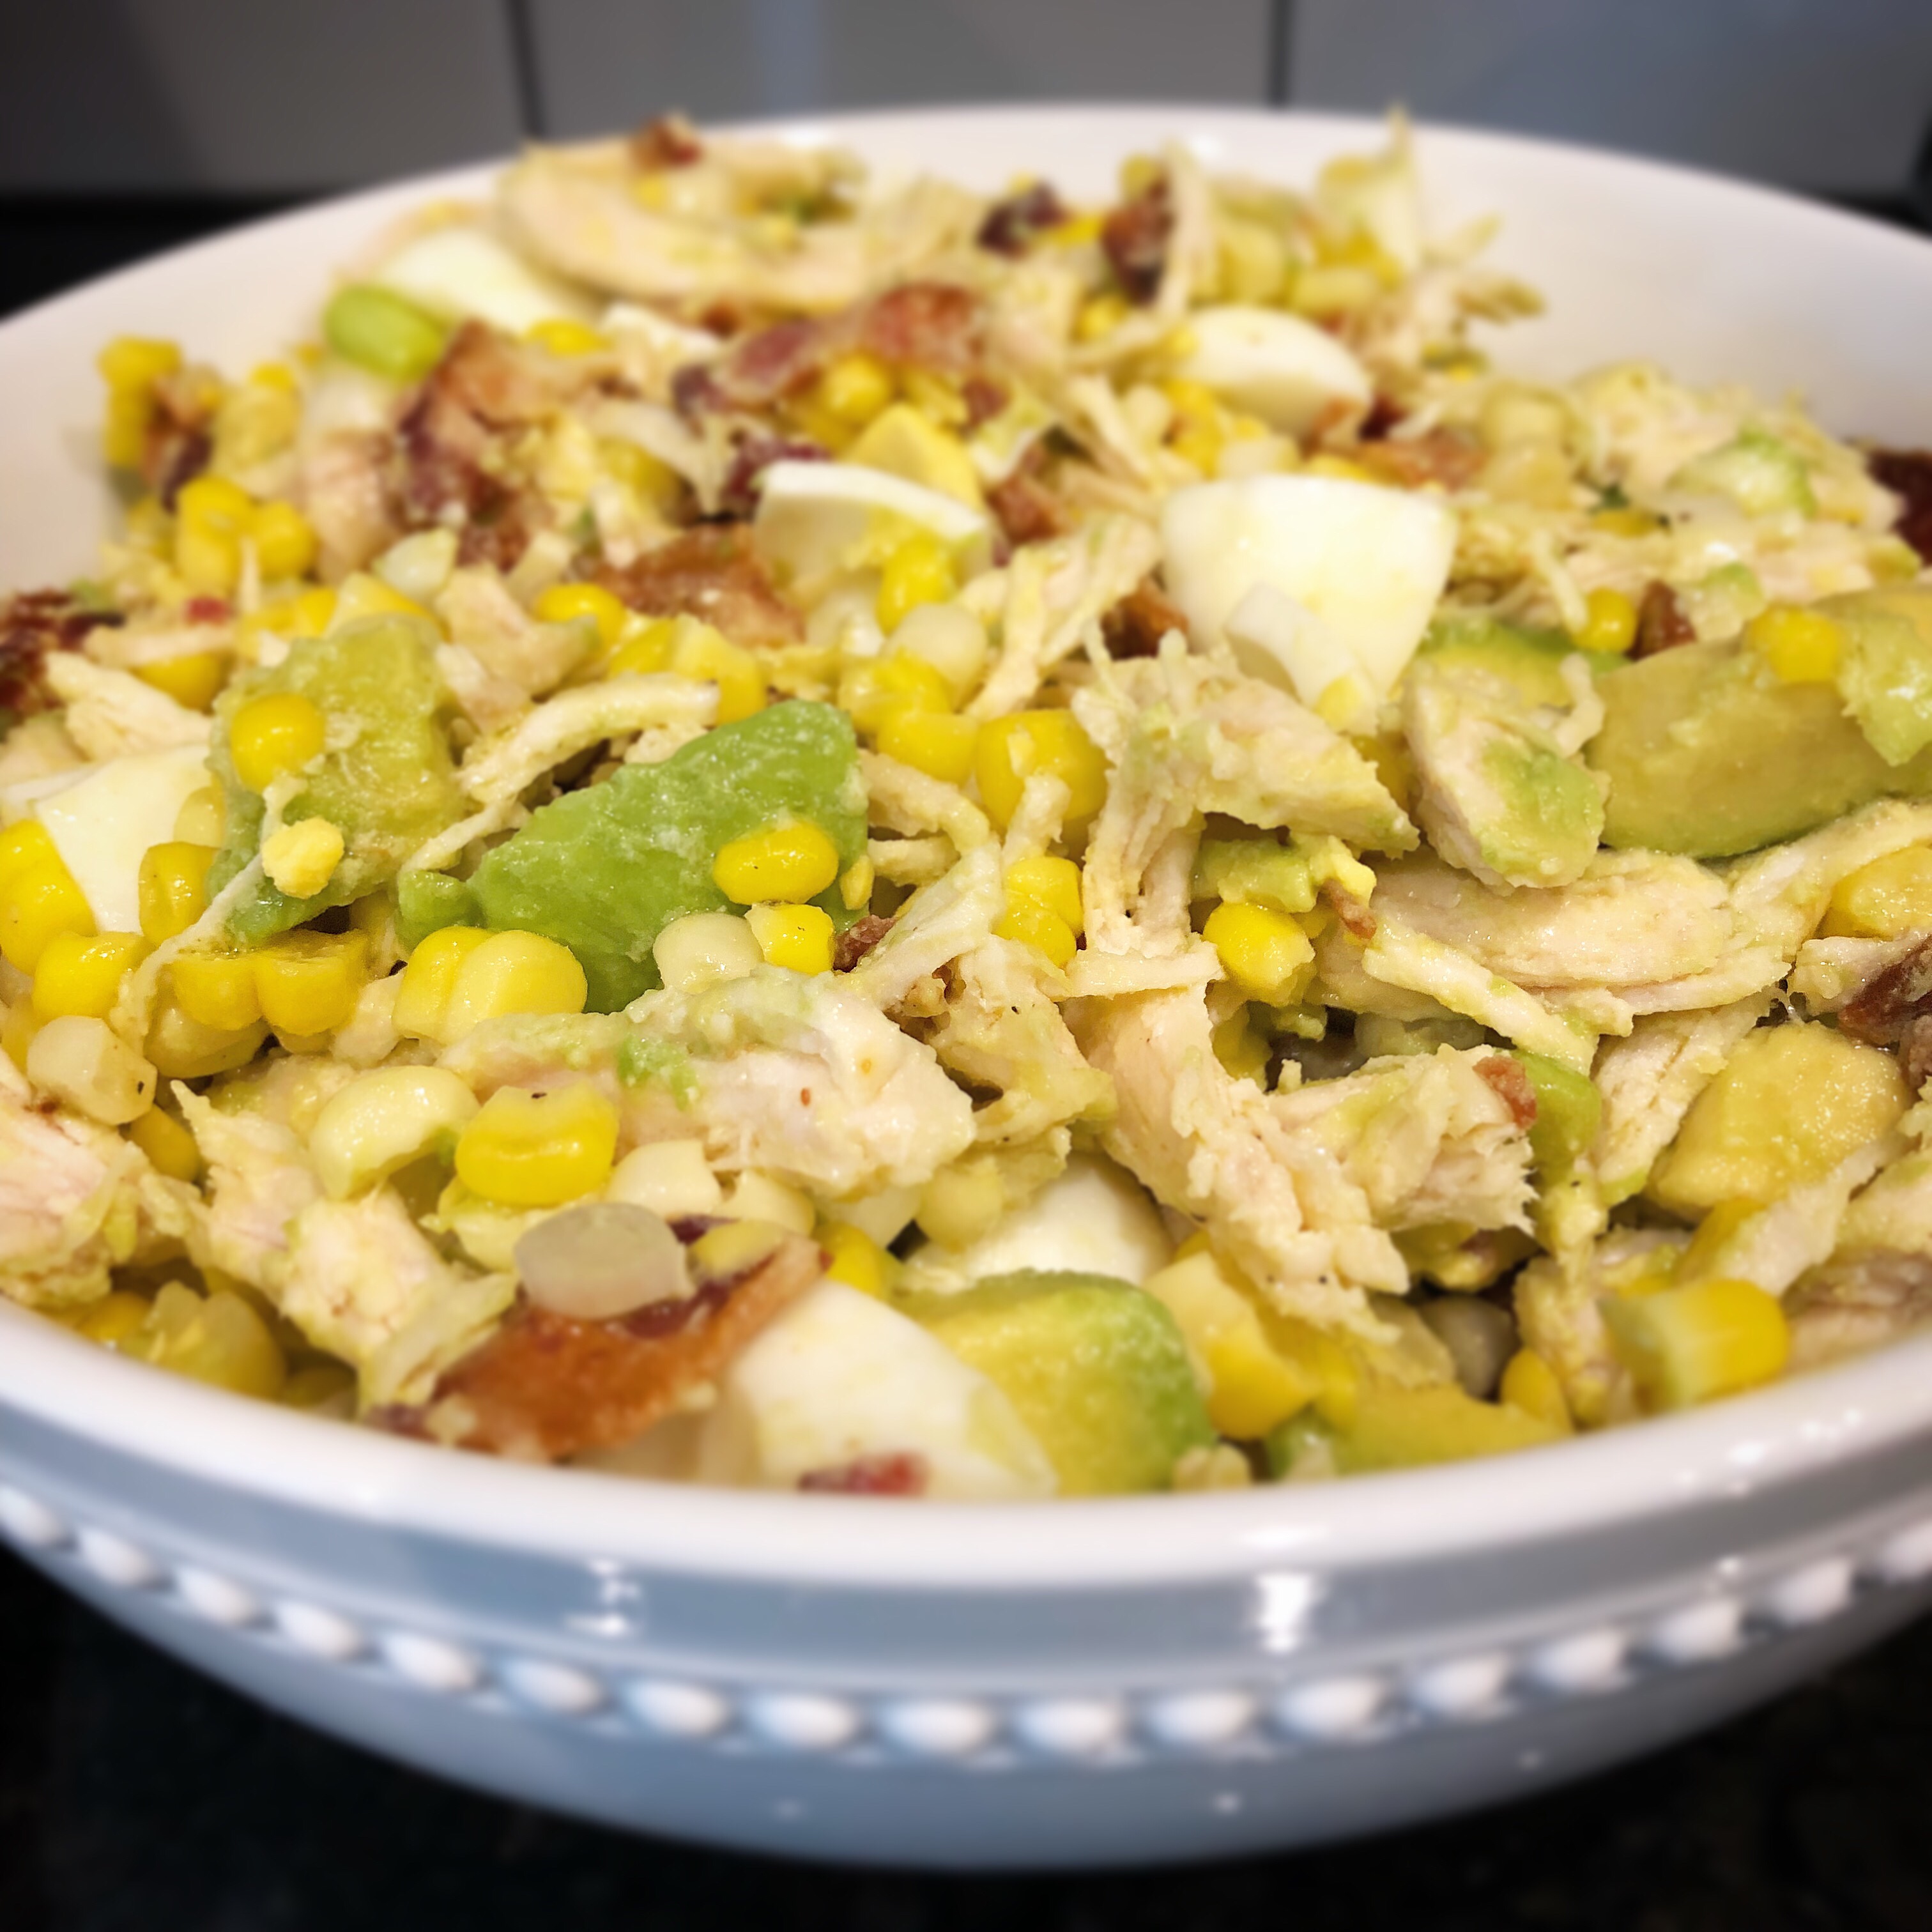
This Avocado Chicken Salad from Natasha’s Kitchen is a wonderful change from the “normal” chicken salad made with mayo.

It has bacon (how can you go wrong?!?), sweet corn, and of course chicken and avocado! You can find the full recipe here.

I went ahead and chopped a couple of hard boiled eggs and mixed them in. I also forgot to get dill when I was at the store 🙄 but it was still quite tasty without it! This made a perfect lunch with a few crackers – add a side of fresh fruit and you’re good to go. 🙂

Thanks for stopping by,

Anita


Posted in Recipes, Uncategorized | Leave a comment