Stamped Mini Muslin Bags

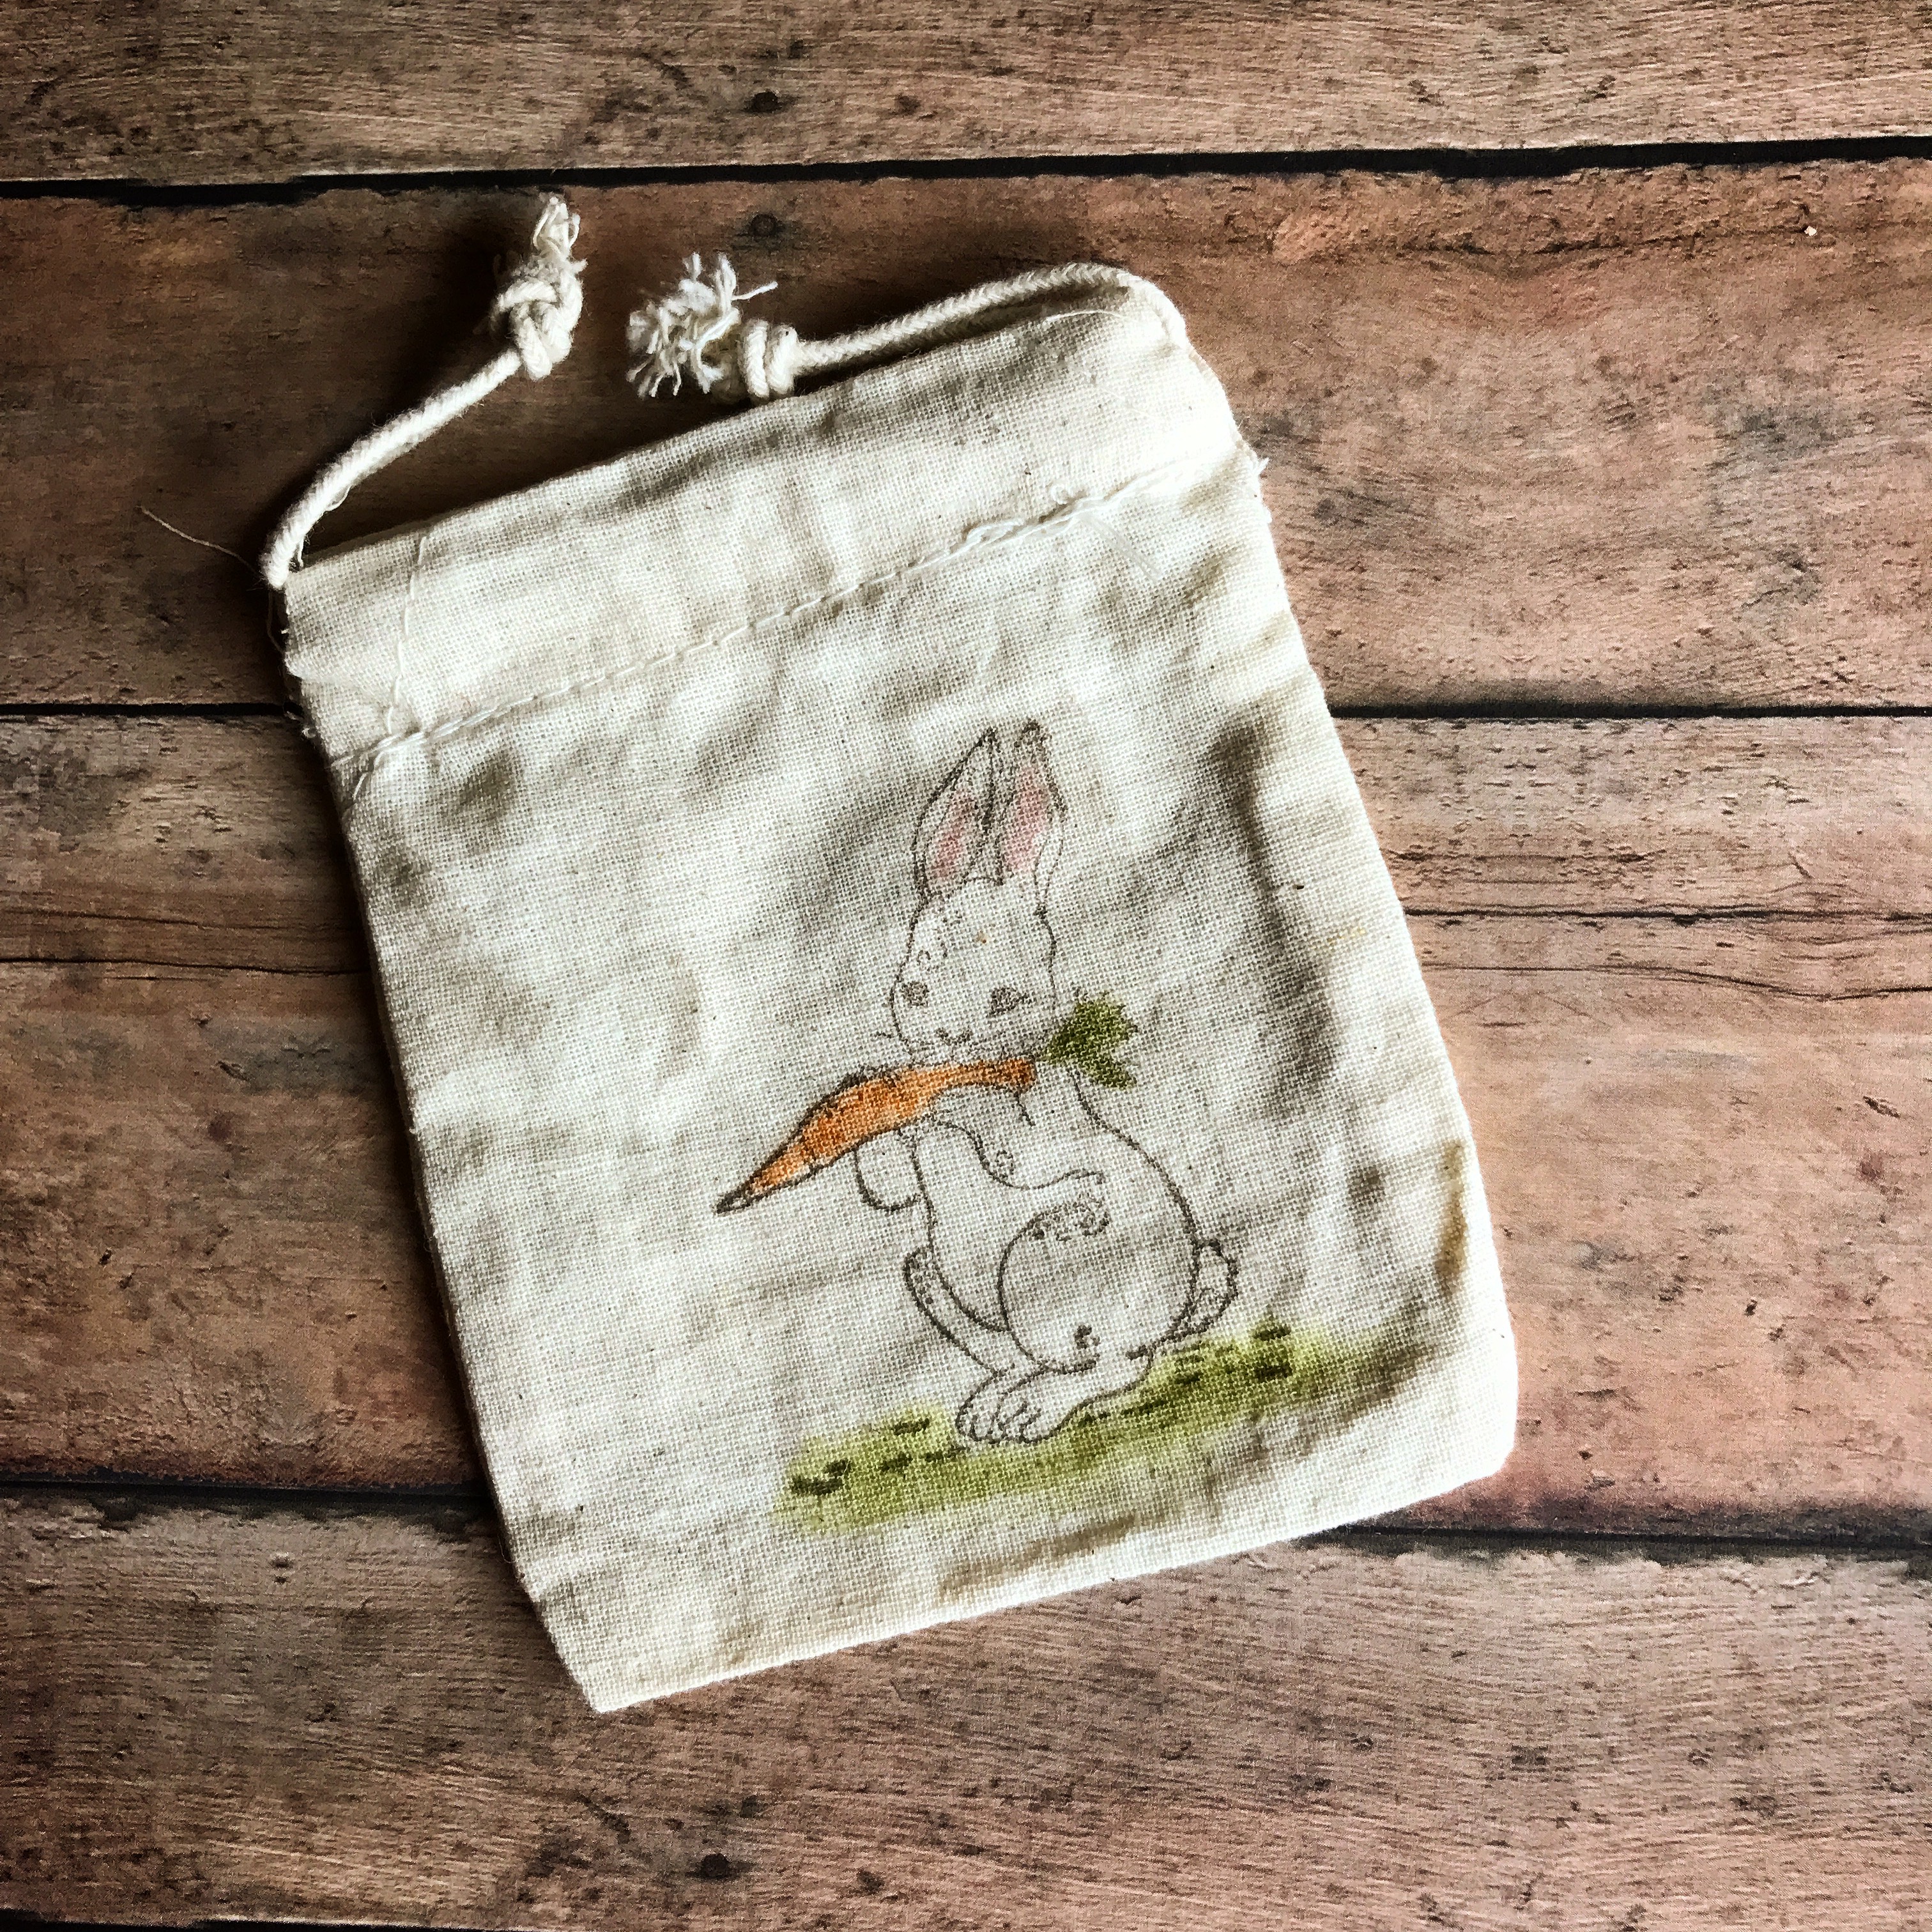
These cute little muslin bags were so fun to stamp on! I think they have a bit of vintage flair and work up so quickly. I found them at Hobby Lobby. They come in packs of 4 for $4.99. Get them when they are on sale for 50% off and they are a great deal! They measure about 3.5 inches by 4.5 inches – perfect size to fill with treats or a small gift. You can also find them here on Amazon if you need a larger quantity.

Cream Cotton Drawstring Bags

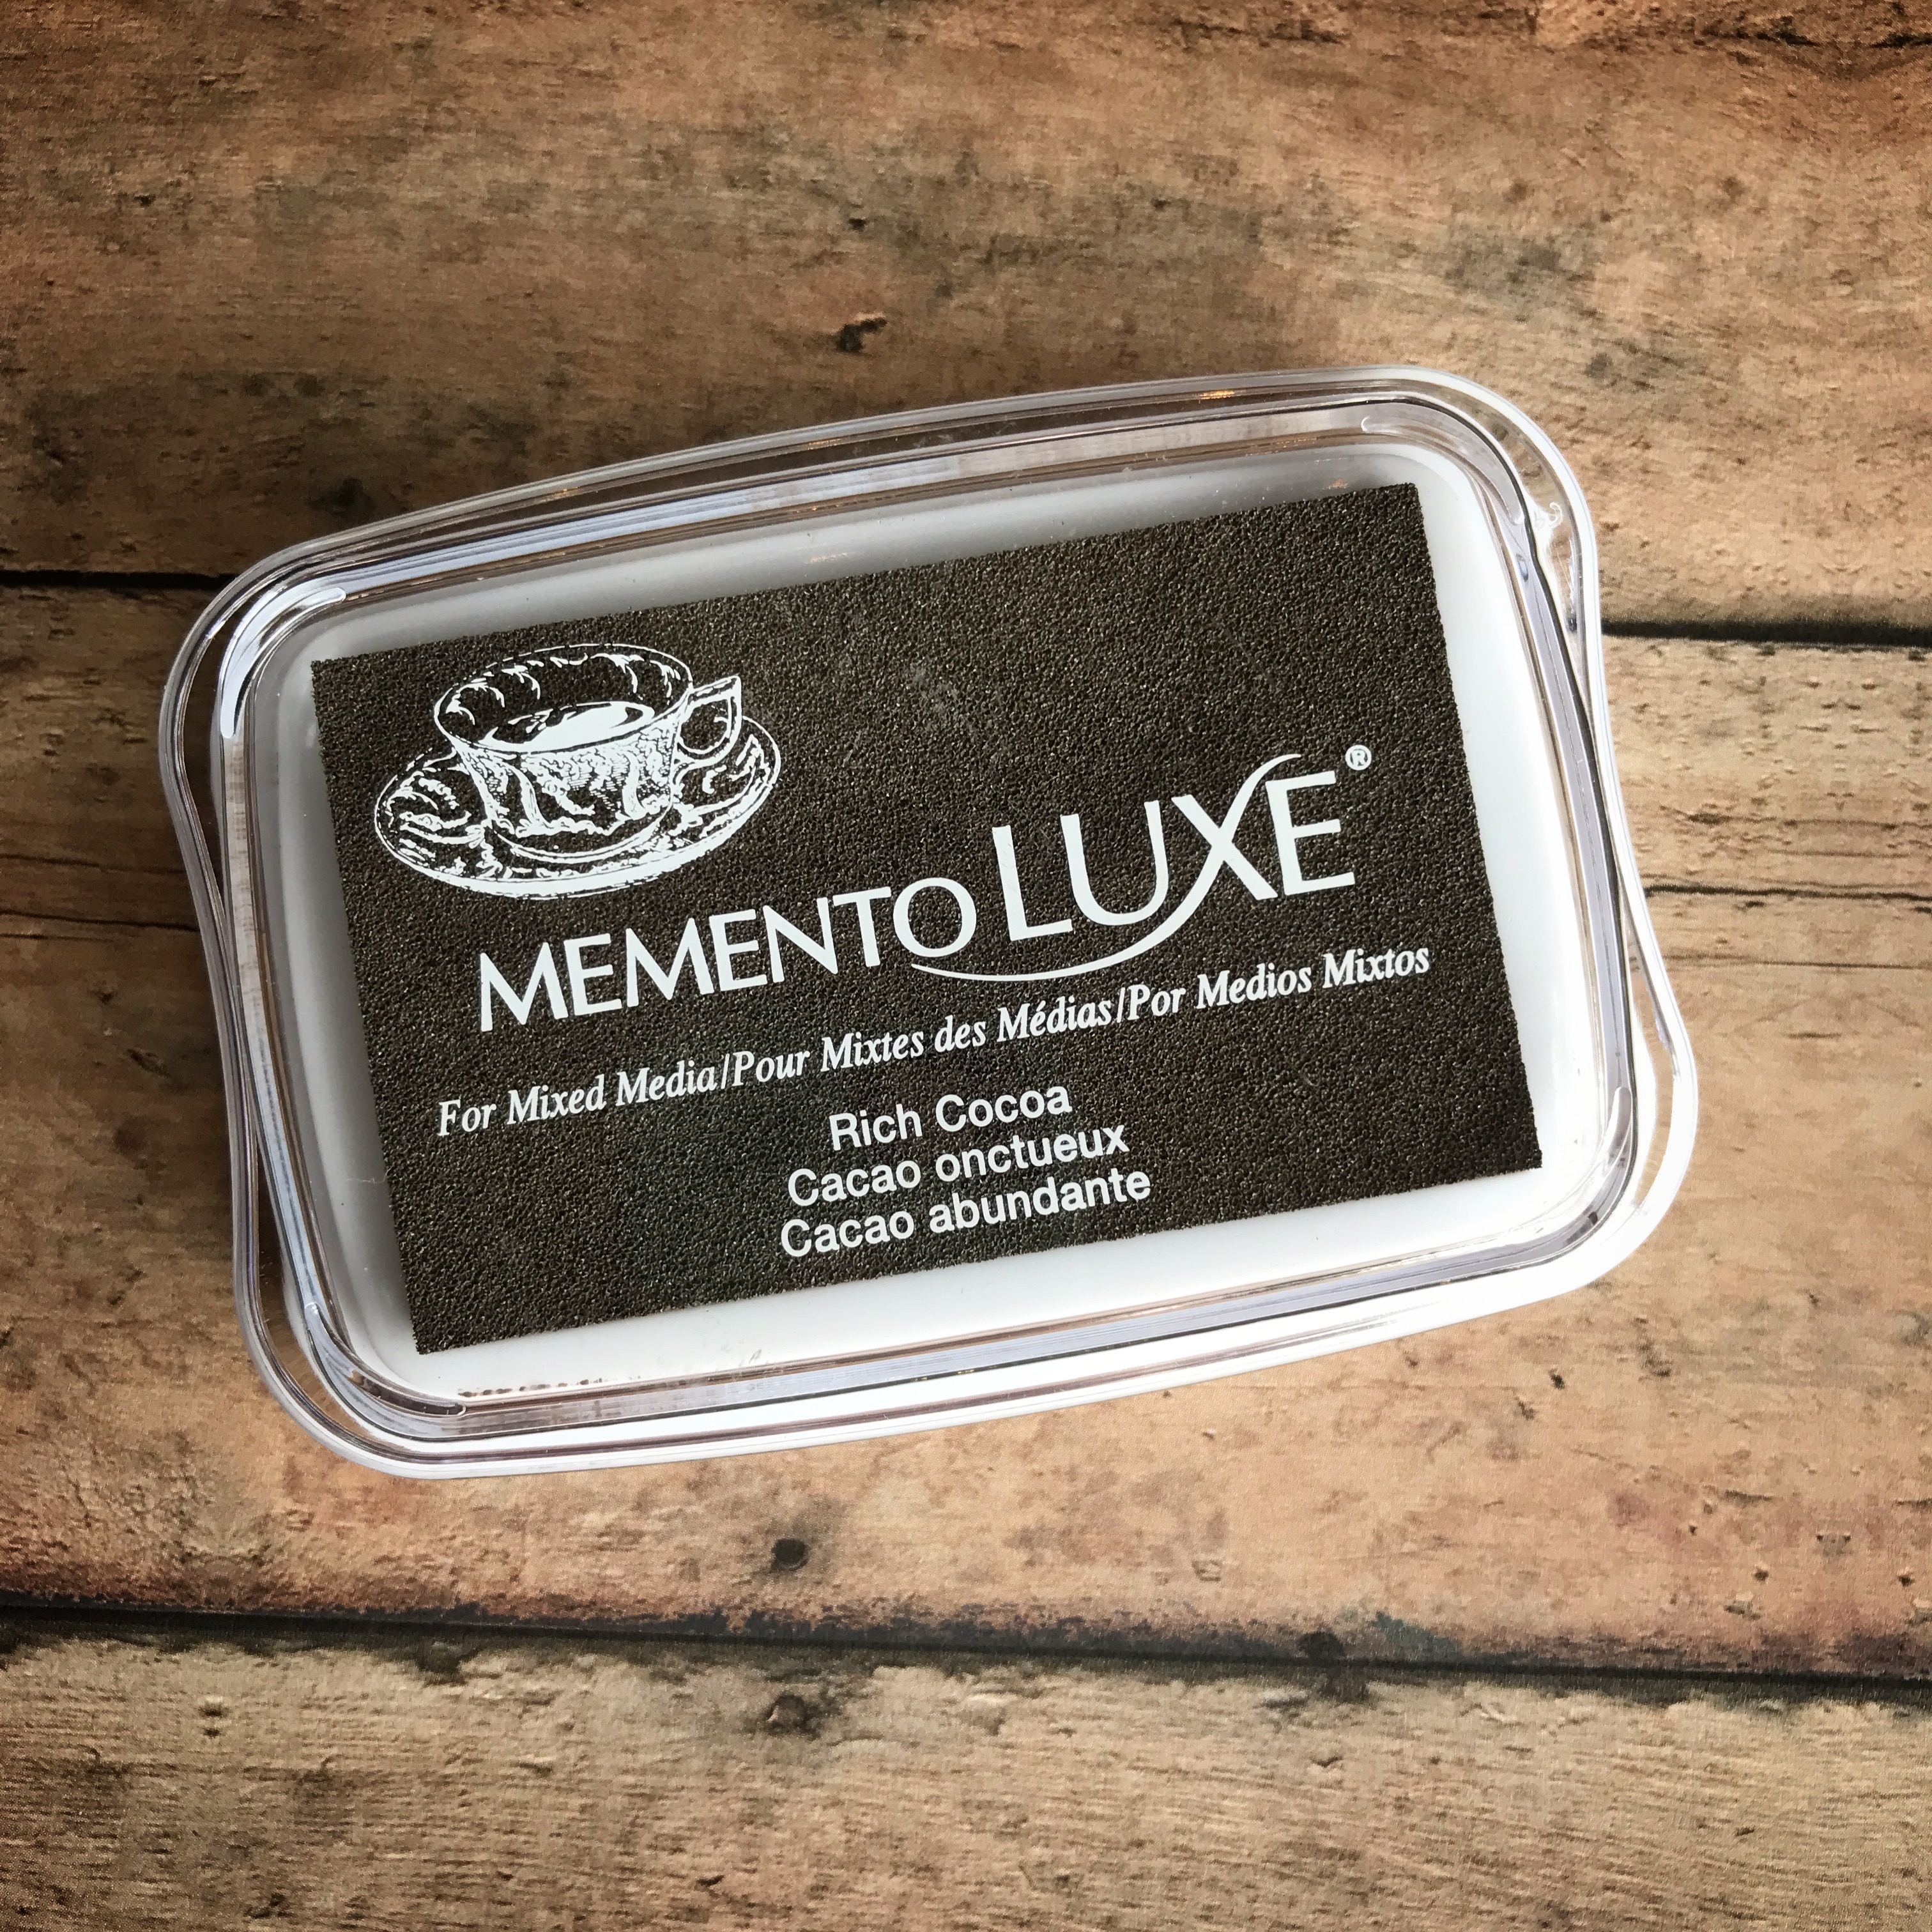
I used this Memento Luxe ink to stamp my images. It works great on the fabric and can be heat set if it is used on something that will be washed. Before I stamped on my bags, I put a small piece of card stock inside to make sure no ink would bleed through to the back of the bag.
IMG_8011

To add a little color to the stamped images, I used a small paint brush with my dye ink pads. You can also use brush markers to add color.
IMG_8012

Such cute images from Unity Stamp Company. The bunny above is Hunny Bunny. And the one below is Little Bunny for You. Seriously, they have the best stamps!! You need to check them out. 🙂

IMG_8013

I think I will be making more of these for other holidays, birthdays, and just because. The possibilities are endless and they are just so fun!!

Thanks for stopping by,

Anita
Posted in Easter, Gifts | 3 Comments

Happy, Hoppy Easter 

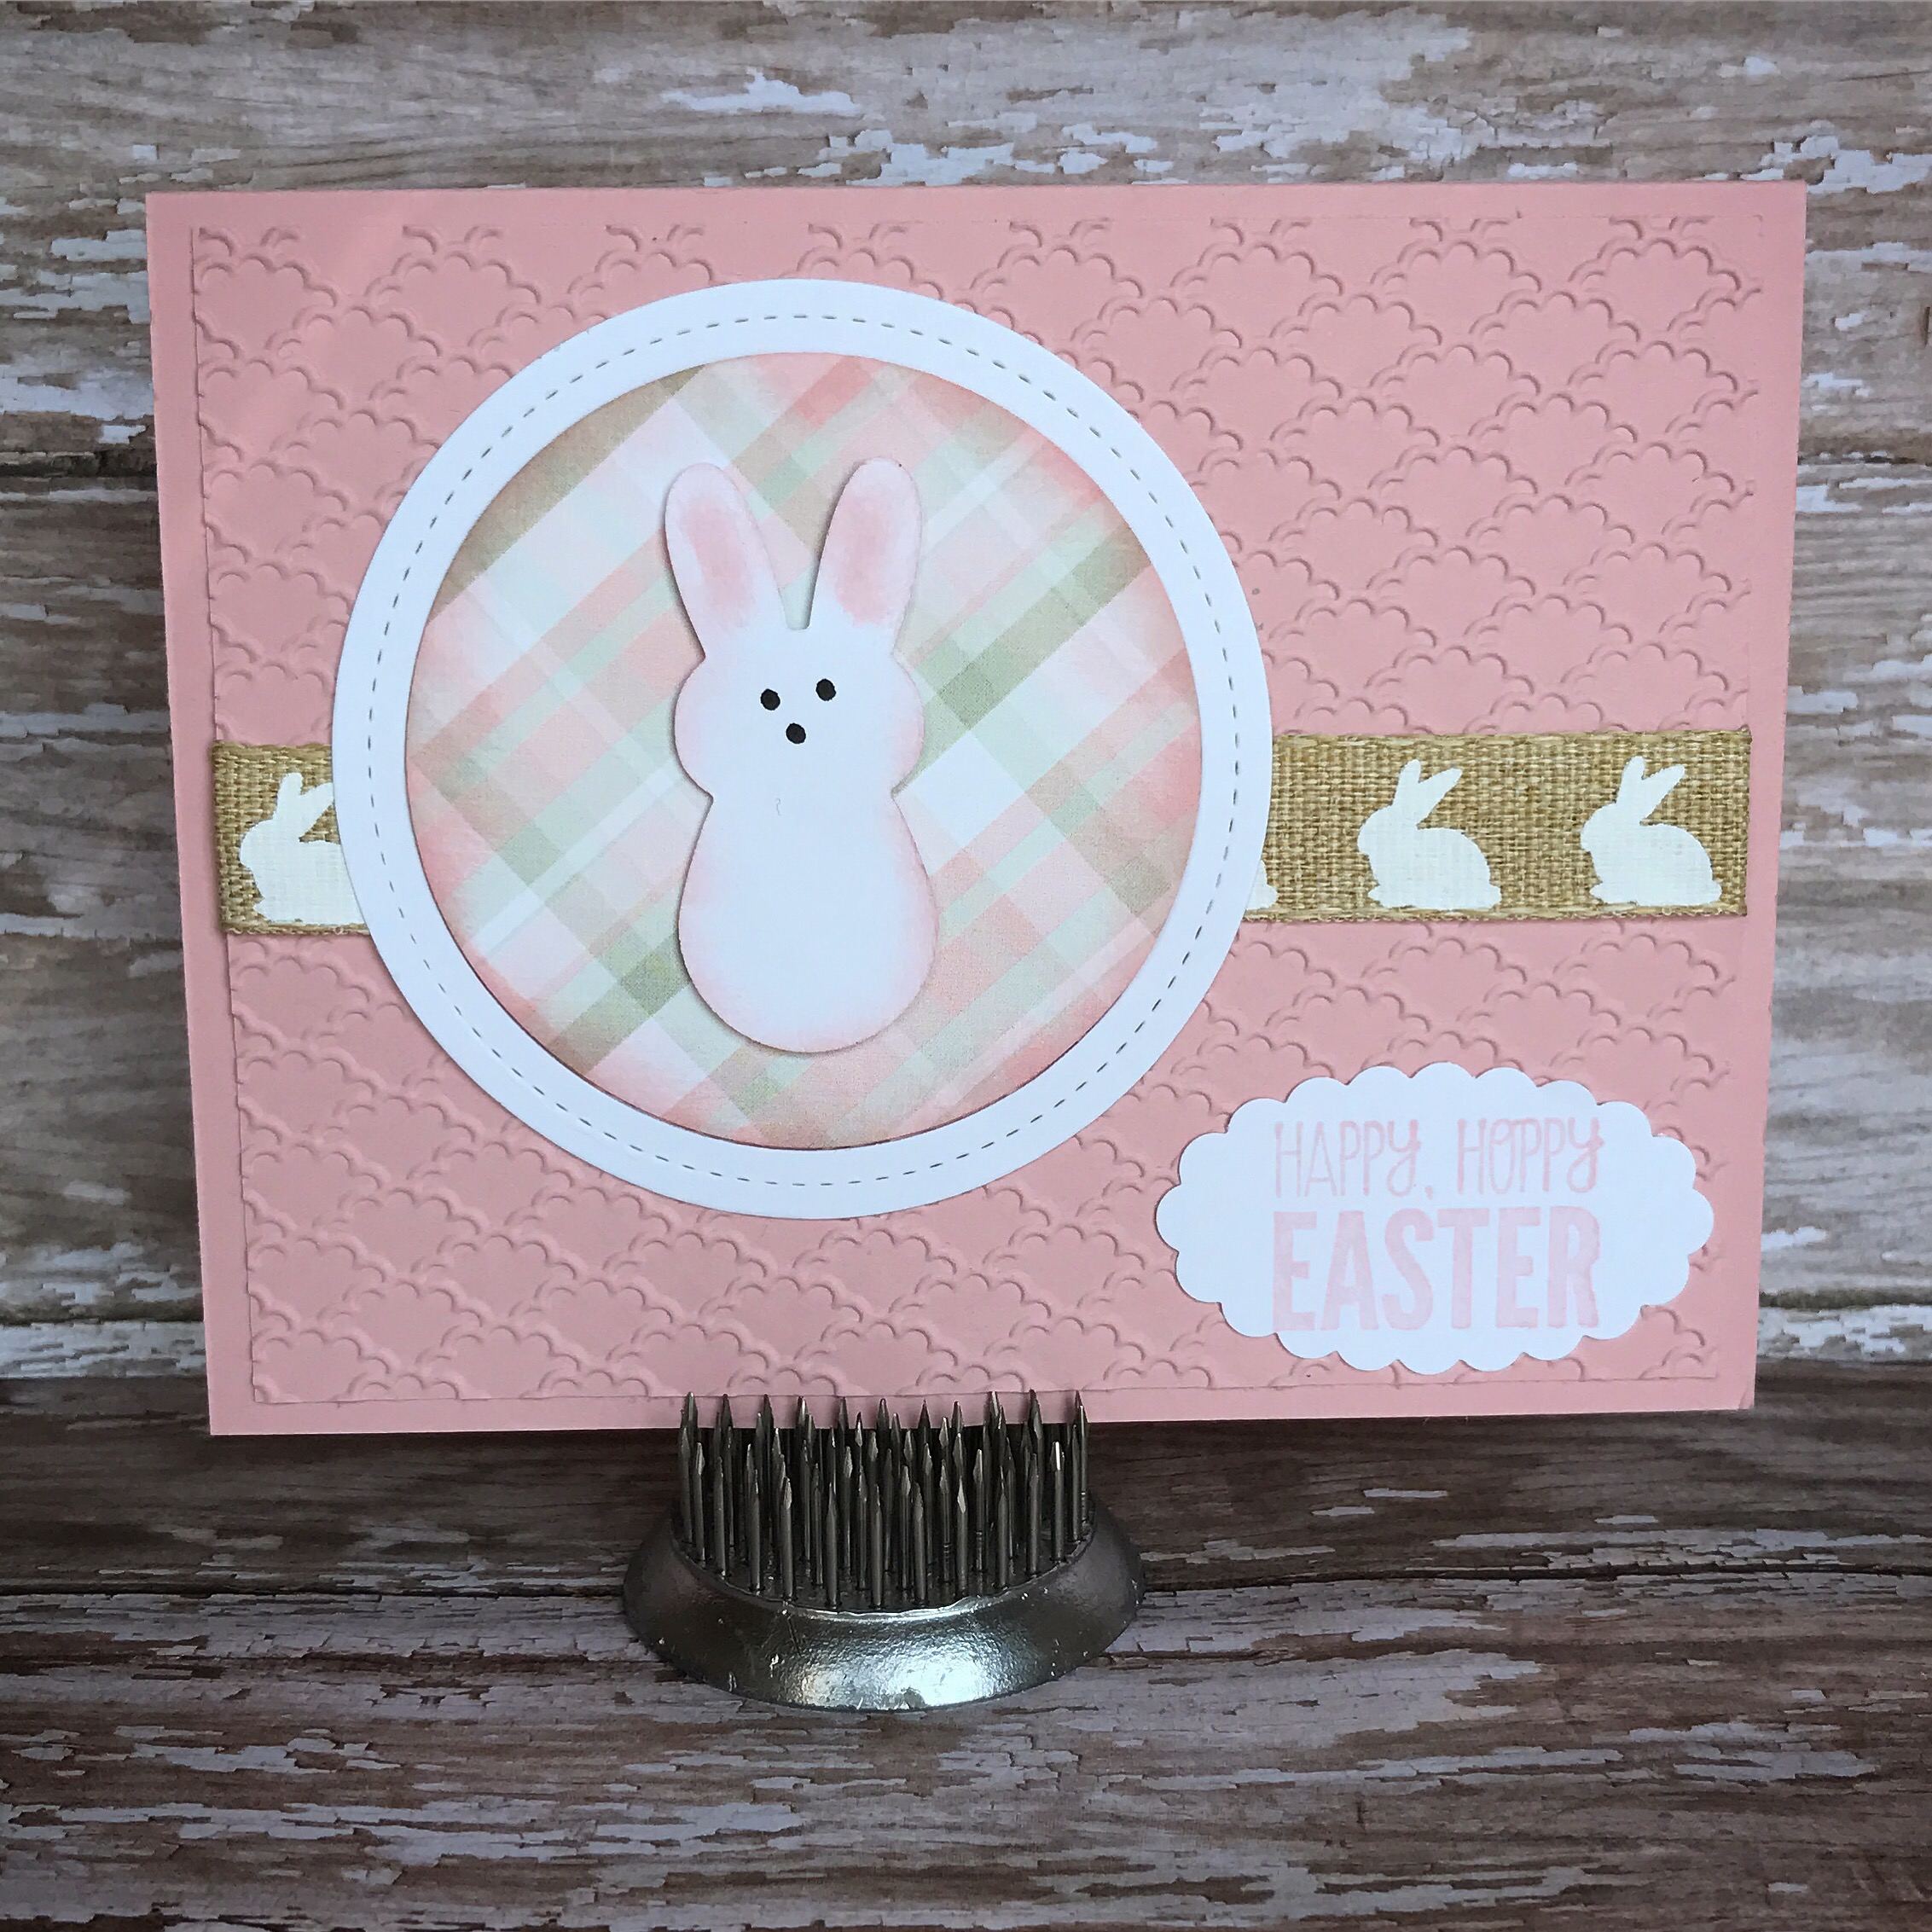
This little bunny is hopping by to wish you a Happy, Hoppy Easter!! 


The embossing folder and sentiment stamp are from Stampin’ Up (sadly both are discontinued). The bunny is also a discontinued die from A Muse Studio. The Stitched Circle Frame is from My Favorite Things. Companies change their products often – discontinuing some things so they can add new things. Get creative and use what you have!!

Die cut the bunny and use a black marker to add the eyes and nose. Using a sponge applicator, apply pink ink to the ears and around the edges. Using the circle frame die cut a circle from patterned paper and ink the edges with pink ink. Die cut the circle frame from white card stock. 

Emboss a panel of pink card stock with the embossing folder. Attach the ribbon and then attach the piece to a pink card. Attach the white circle frame to the card. Add the patterned paper circle to the card with foam tape. Attach the bunny to the circle with foam tape. Stamp the sentiment with pink ink on white card stock. Punch with a scalloped oval punch and attach to the card. 

This little card just makes me happy! 🐰

Thanks for stopping by,

Anita

Posted in Cards, Easter, Uncategorized | Leave a comment

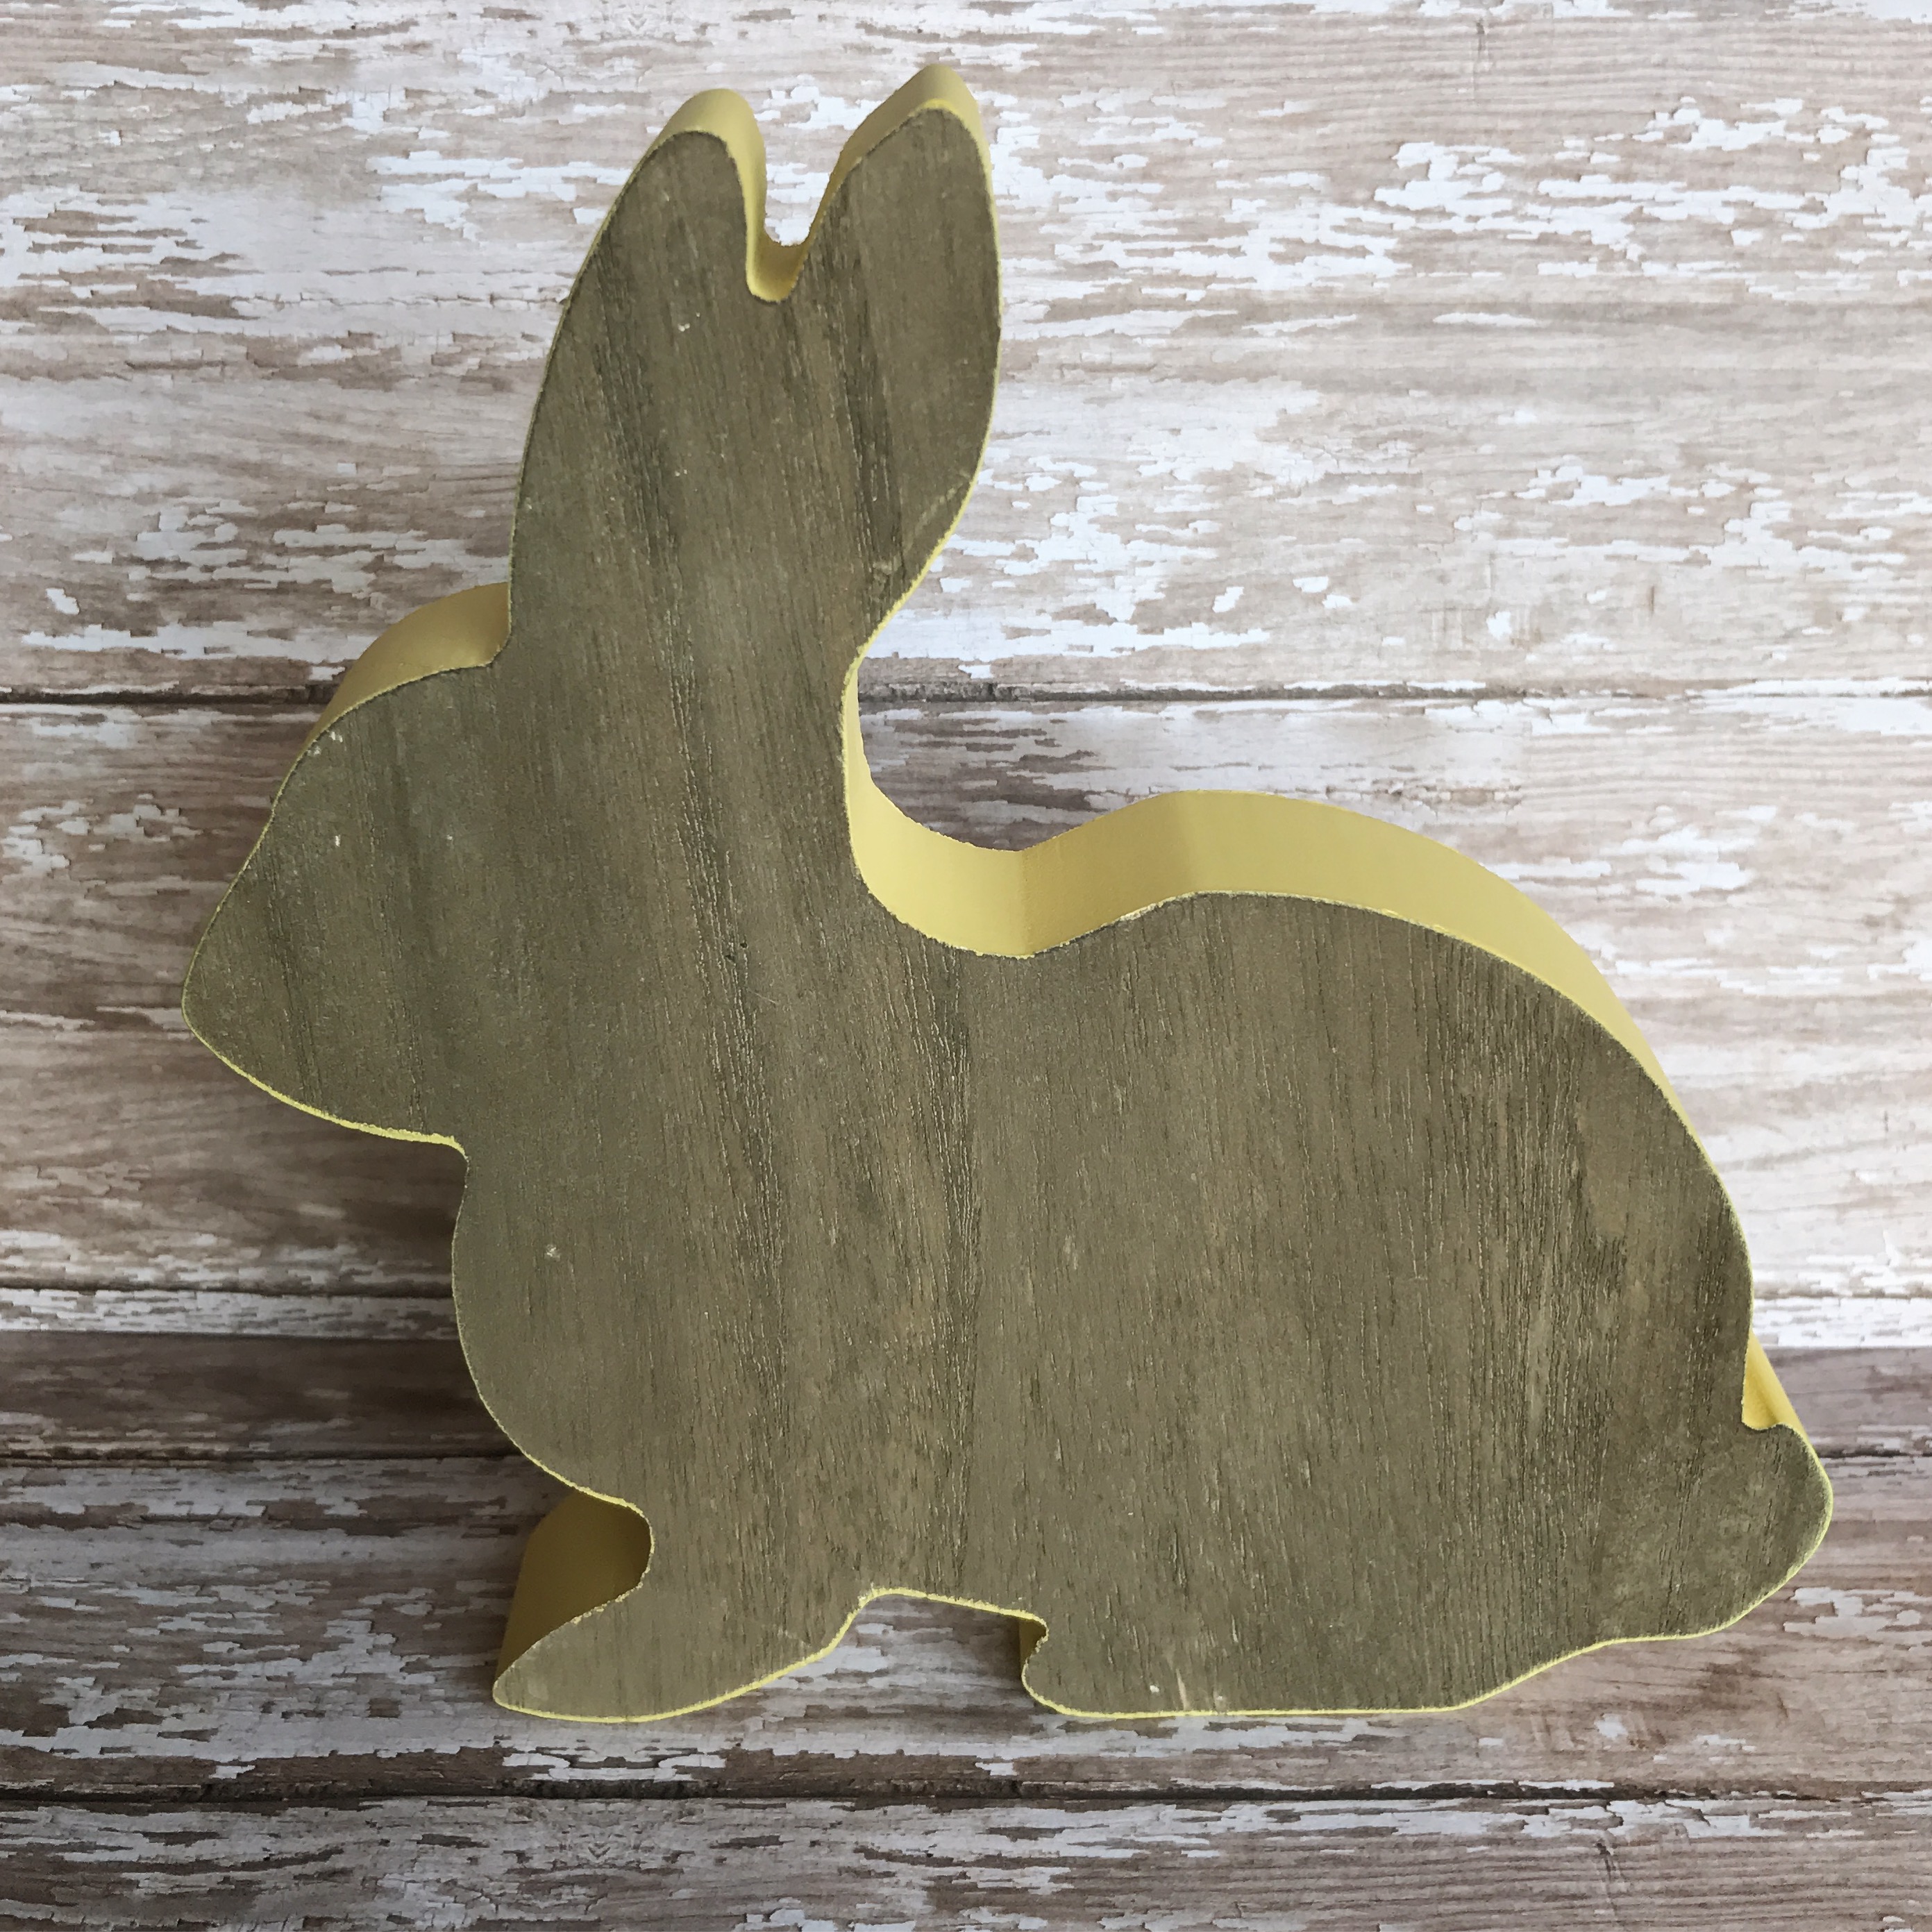
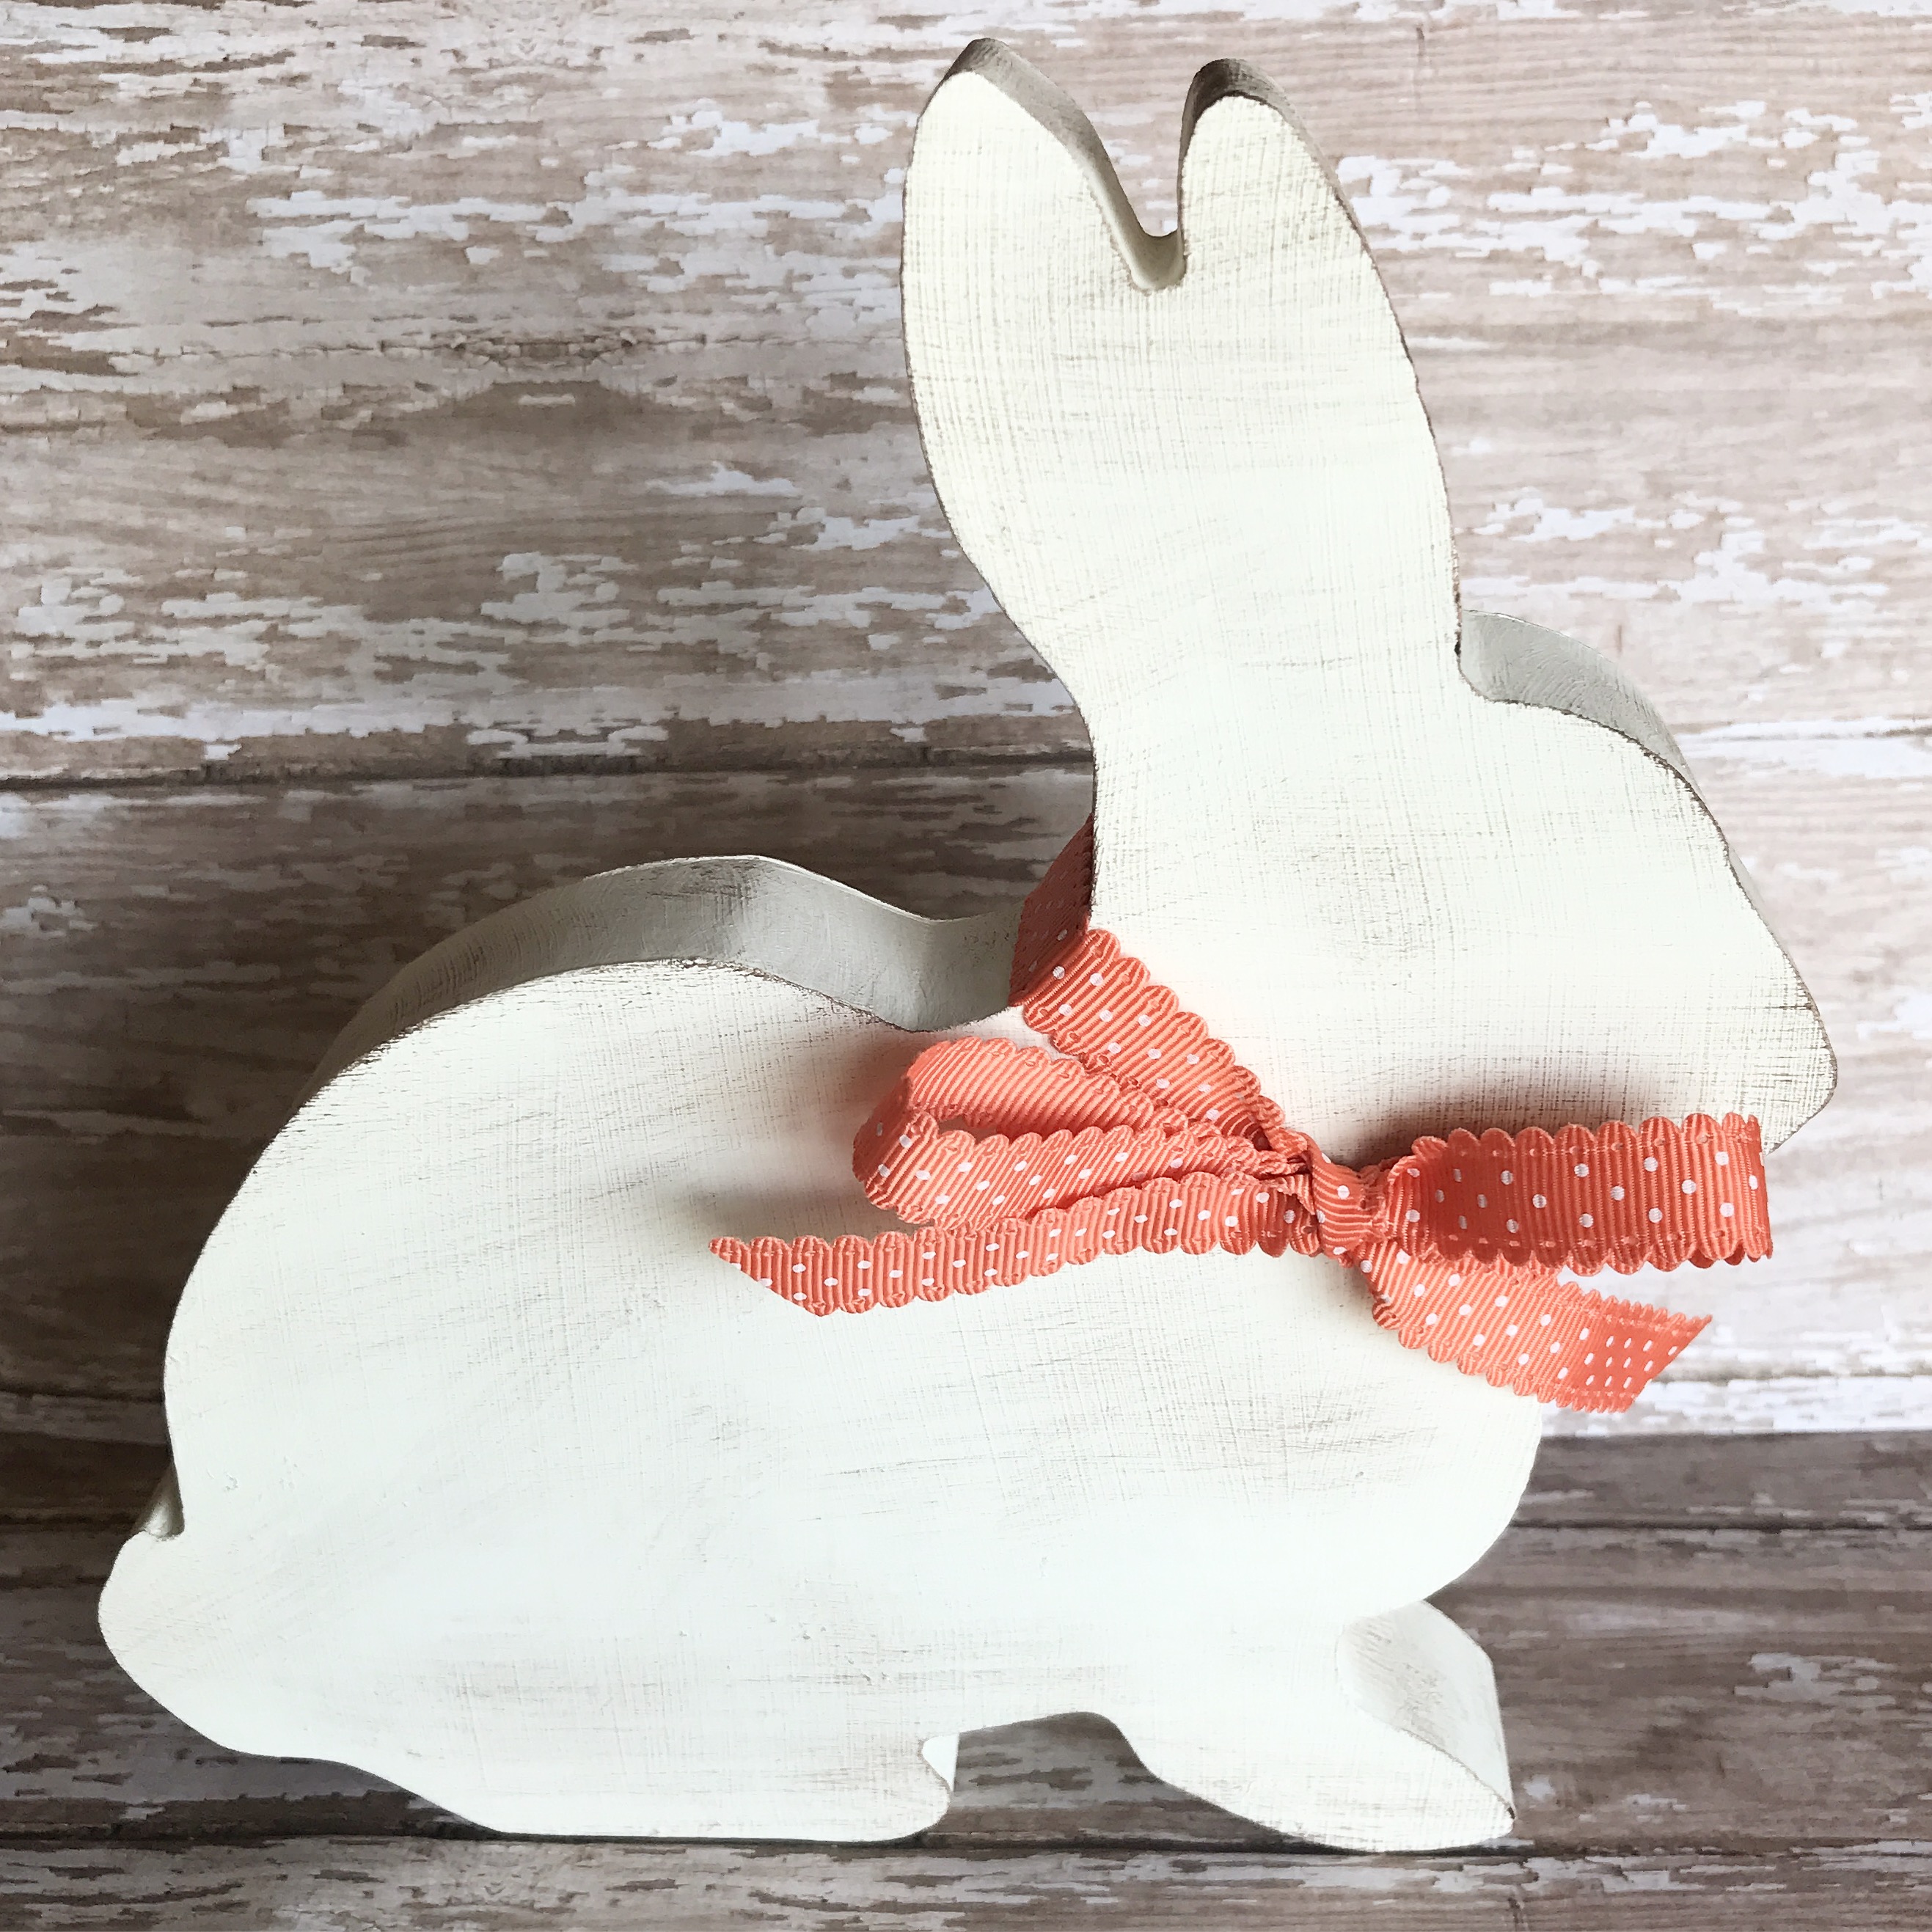
Wood Bunny

I found this wood bunny at the Target Dollar Spot. I loved the shape of him, but the color…not so much.

IMG_8009

So I got out my chalk finish white paint and painted the entire bunny with 3 coats, making sure to let each coat dry before adding the next. Then I dry-brushed a bit of dark brown paint to add a little depth and distressing. I finished him off with a ribbon bow. He’s a perfect size – about 7 inches by 7 inches…

IMG_8010

I almost walked right by him when I first saw him, but I’m so glad I went back and scooped him up for only $3.00! A little paint, a little time and now I have a cute bunny to add a touch of Spring to my decor. 🙂

Thanks for stopping by,

Anita


Posted in Decor, Easter, Uncategorized | Leave a comment

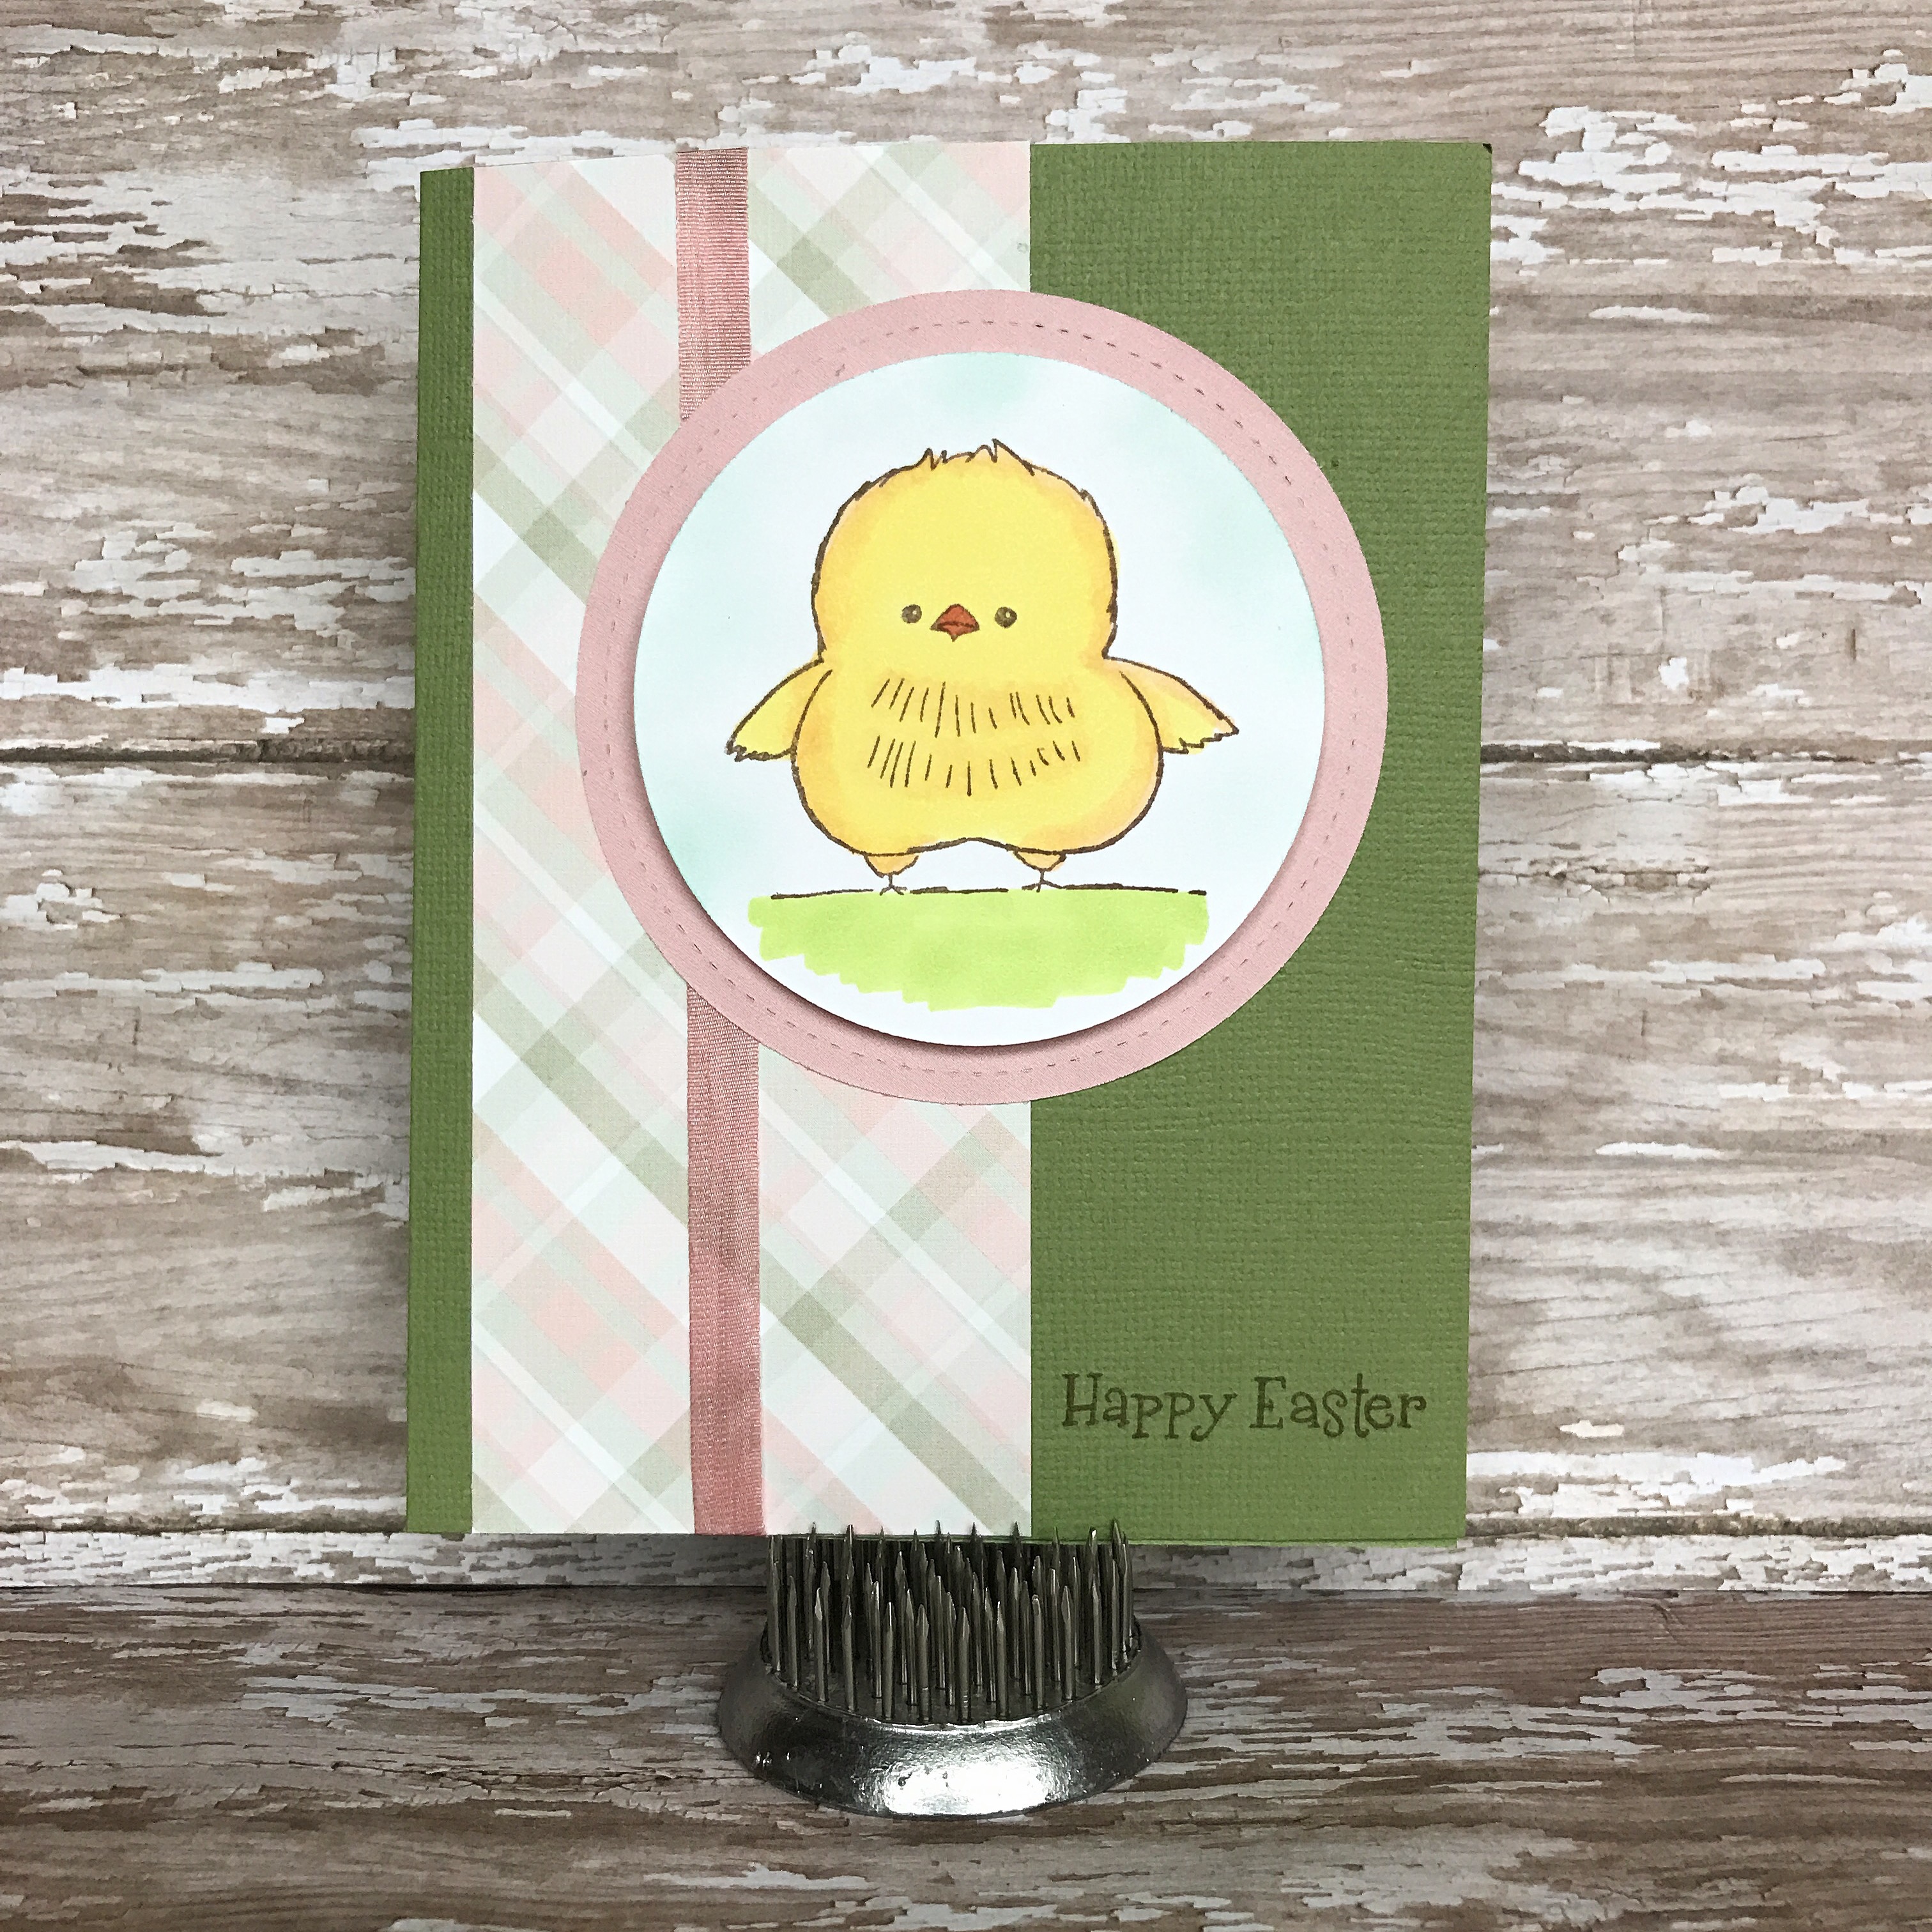
Happy Easter Chick

Easter is just a couple of weeks away and this cute little chick is ready to send Easter greetings to those special people!

He’s from the Bringing Booty Back set by Unity Stamp Company.


I stamped him with brown ink on white card stock and colored the image with Copic markers. I used My Favorite Things Die-namics Single Stitch Line Circle Frames die to cut the circle for the chick. Then I lightly sponged the background with blue ink to create the sky. 

(A tip for you…the actual stamp includes 2 little clouds on the top right. Before inking the stamp, I placed a piece of scotch tape over the clouds. Then I inked the stamp as usual. Before stamping on the card stock, I removed the piece of tape. It’s an easy way to stamp just a portion of an image.)

I used the same My Favorite Things Die-namics Single Stitch Line Circle Frames die to cut the pink frame. To assemble the card, attach a pink ribbon to a strip of patterned paper and attach the paper to a green card. Attach the pink circle frame to the card. Attach the stamped chick to the card with foam tape. Stamp “Happy Easter” (stamp is an older one from A Muse Studio) with brown ink. 

This little chick is so versatile! You can see how I used him for a birthday card here. 

Thanks for stopping by,

Anita

Posted in Cards, Easter | Leave a comment

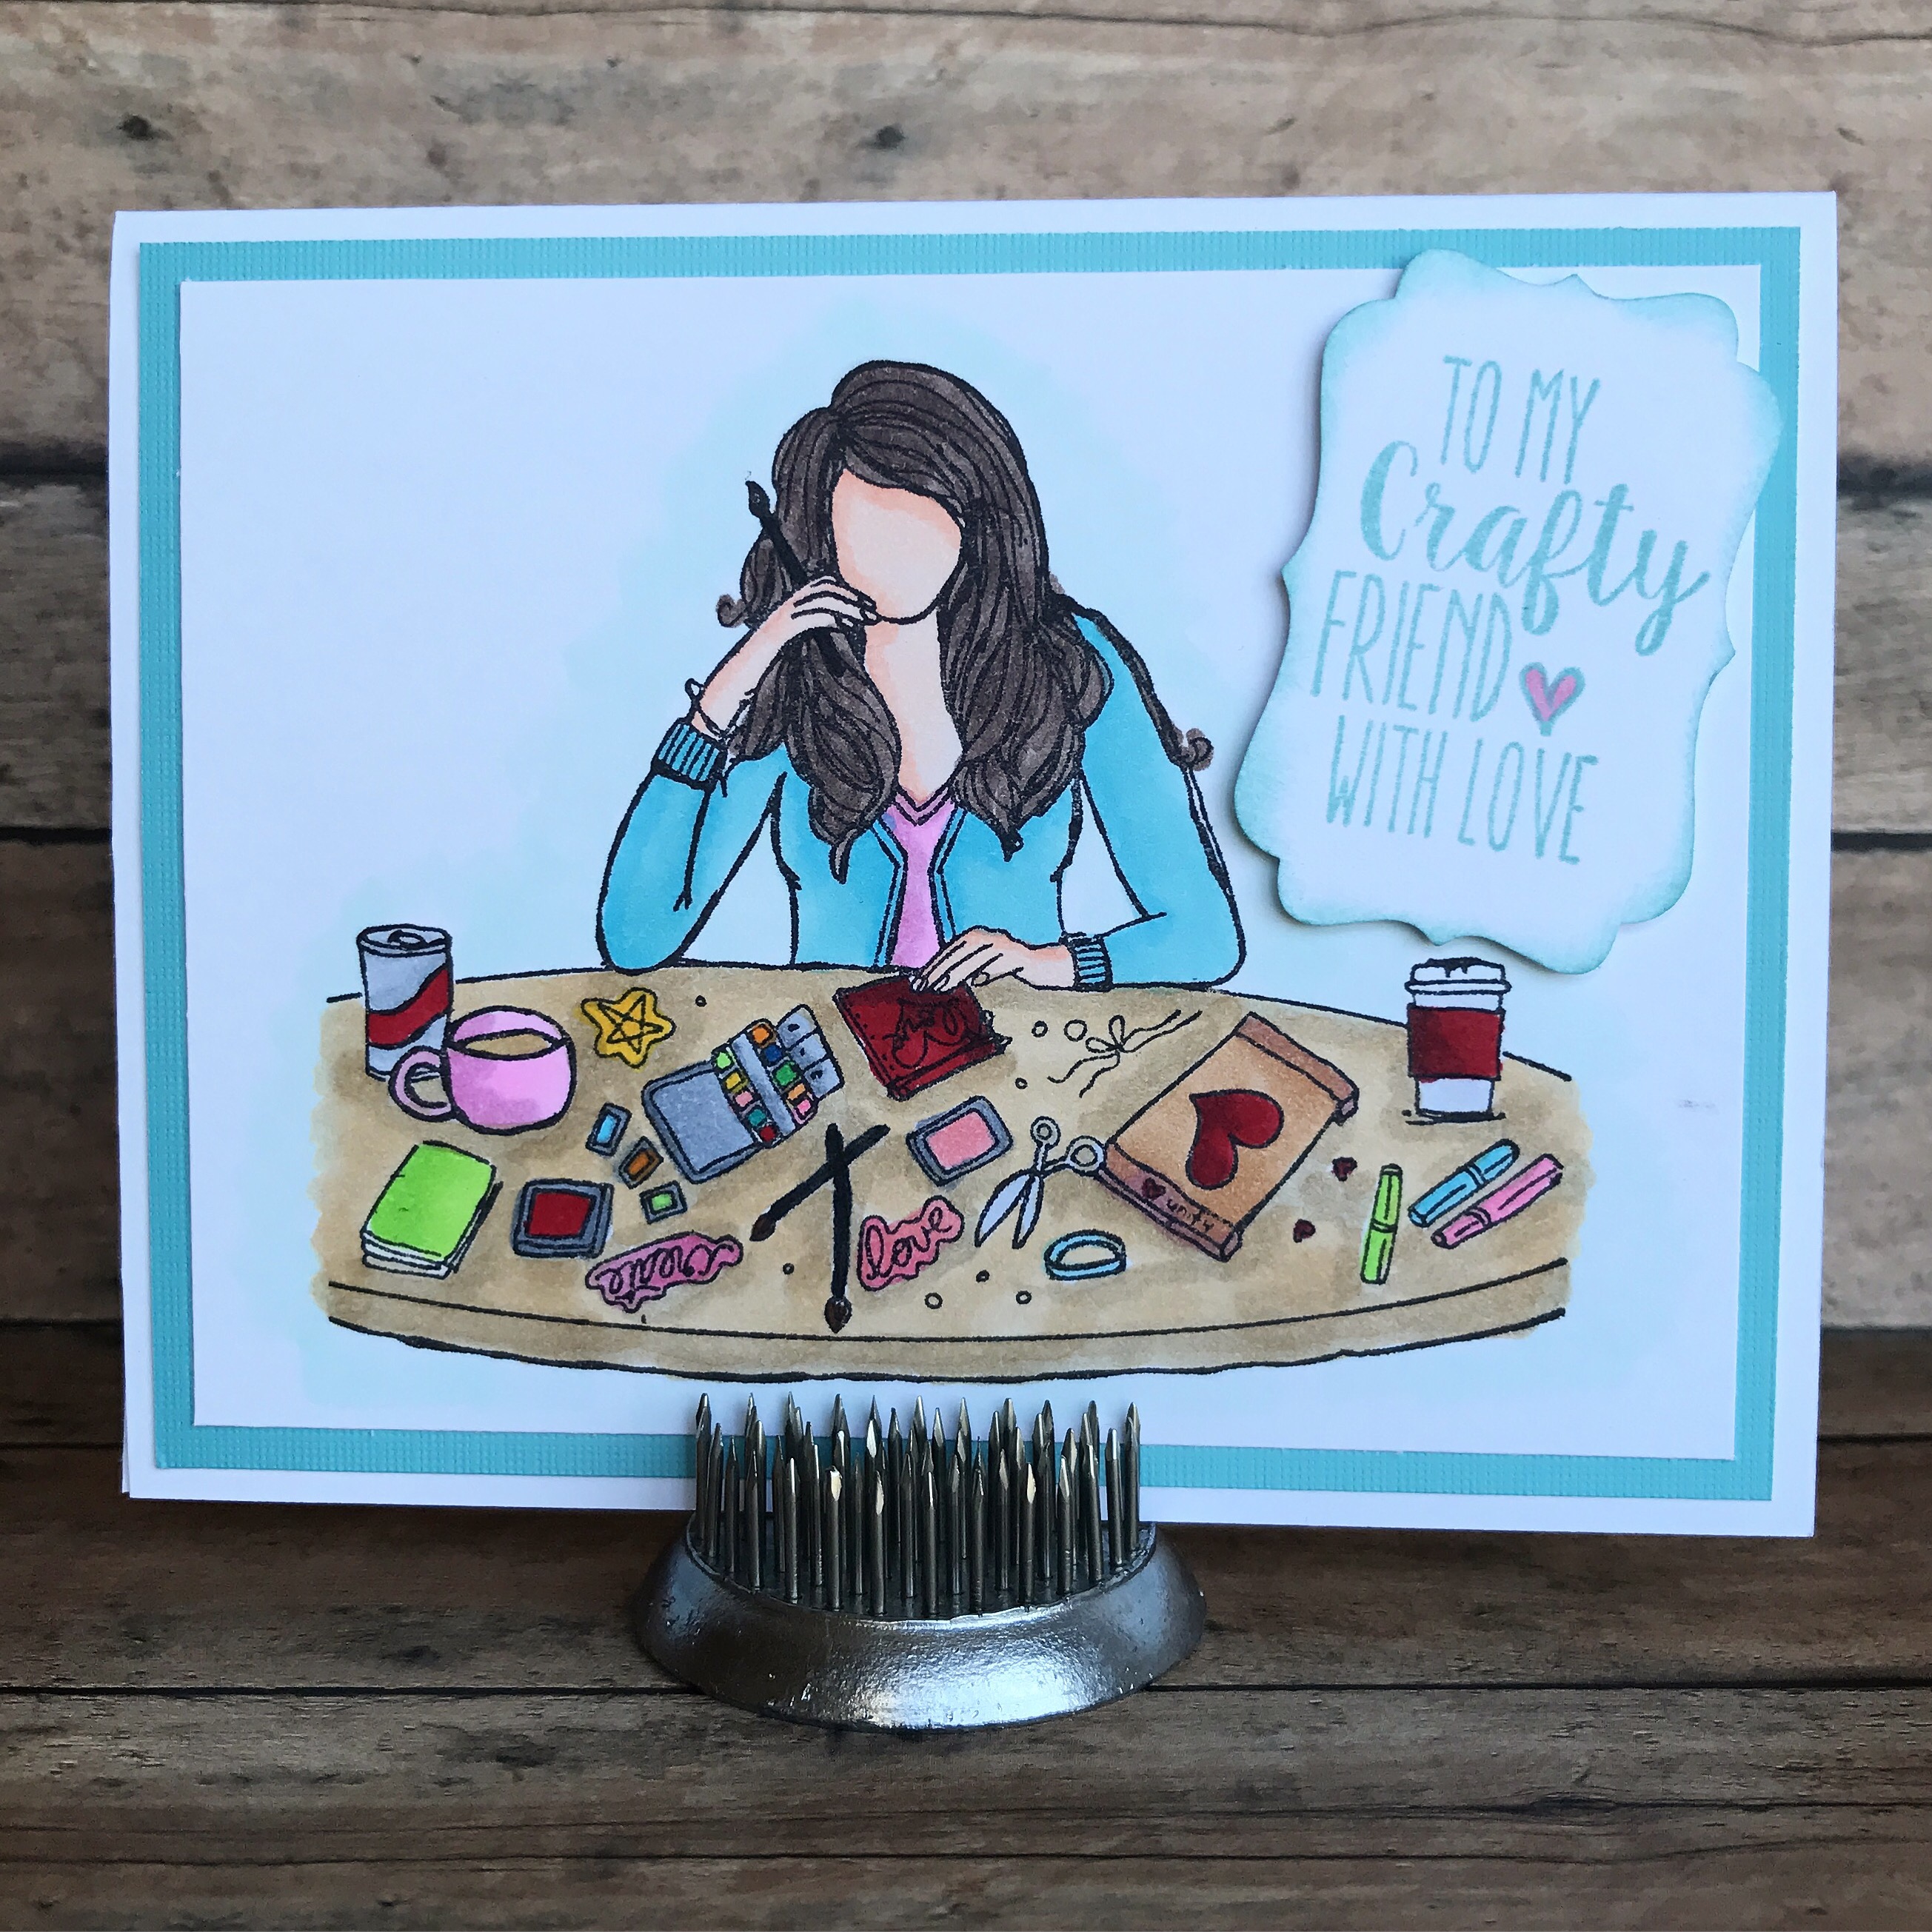
To My Crafty Friend

This Martha Girl stamp from Unity Stamp Company is so much fun! I made this card for one of my very best crafty friends – she has given me so much inspiration over the years,  not to mention her love and friendship!!

 img_7955

I stamped the image with black ink on white card stock and colored it with Copic markers. The image is layered to light turquoise card stock and then attached to a white card. The sentiment is stamped with turquoise ink on white card stock and punched with this label punch from Stampin’ Up. The edges are lightly sponged with the turquoise ink. The piece is attached to the card with foam tape. 

This is a great image to personalize for any of your crafty friends – change the hair color and color her outfit in your friend’s favorite colors! 

Thanks for stopping by,

Anita
Posted in Cards | Leave a comment

Mini Crochet Easter Baskets

These mini crochet Easter baskets are the perfect size for little treats! They work up very quickly and are great for using up your yarn scraps. You can find the free pattern here on CraftSanity. 


I filled each basket with chocolate eggs and tied a ribbon bow to the handle. 

Make these cute mini baskets in any color and give them as a special treat this Easter! 

Thanks for stopping by,

Anita
Posted in Crochet, Easter, Gifts | 2 Comments

Celebrate Today

This is a fun card to celebrate a birthday or a reminder to “Celebrate Today” just because.


The doily stamps are from Inkadinkado and the sentiment and embossing folder are both from Stampin’ Up. 

To make this card stamp the doilies with coral ink on white card stock and punch with a circle punch. Emboss a panel of turquoise card stock and attach it to a coral card. Stamp the sentiment with brown ink on the card below the embossed panel. Attach the stamped doilies with foam tape. Add enamel dots to the center of each doily. 

Make this card in your favorite colors and change the sentiment to fit any occasion. It’s a quick and easy card you can make in minutes!

Thanks for stopping by,

Anita
Posted in Cards, Uncategorized | Leave a comment

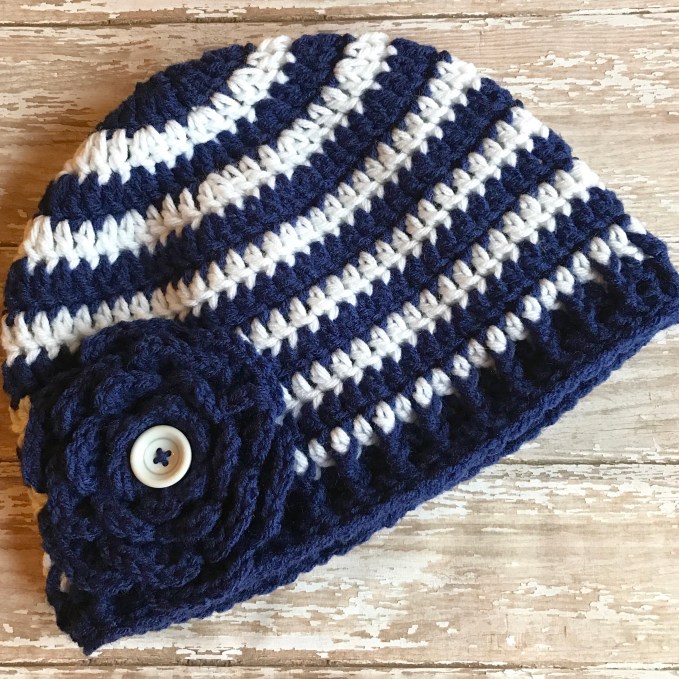
Crochet Adult Beanie

I shared these sweet Baby Girl Beanies a few posts back and a friend asked if I could make her one in grown up girl size, in navy and white. Well..of course I can!  🙂

IMG_7964

I used this pattern from oombawka designs for the beginning of the hat and then changed the last 2 rows to give it more of a ribbed pattern. I used worsted weight Red Heart Super Saver yarn in soft navy and white with an H hook. I began the hat with 2 rows of navy and then alternated with the white until I had 13 rows, ending with the white. Then I added 2 more rows of navy alternating the Front Post Double Crochet (fpdc) stitch with a regular Double Crochet stitch all the way around. I finished the edge with a row of slip stitches all the way around.

Just a little tip…I carried the yarn between rows rather than cutting it at the end of each row. No ends to weave in while you are crocheting and since the color changed every other row, it really did look very neat inside the hat. 

I used the flower pattern from this cute Crochet Cloche Hat that I posted a while back. I made the larger flower, attached a button, and sewed it to the hat with the navy yarn.

Although Spring is sure to be just around the corner, I hope my sweet friend will enjoy her cute hat…which by the way looks fabulous on her!! Wish I would have thought to snap a picture…

Thanks for stopping by,

Anita
 

Posted in Crochet, Gifts, Uncategorized | 3 Comments

Easter “Peeps” Wood Decor

I found this pin on Pinterest and knew immediately I had to make my own version of the cute Easter “Peeps” decoration in the post!

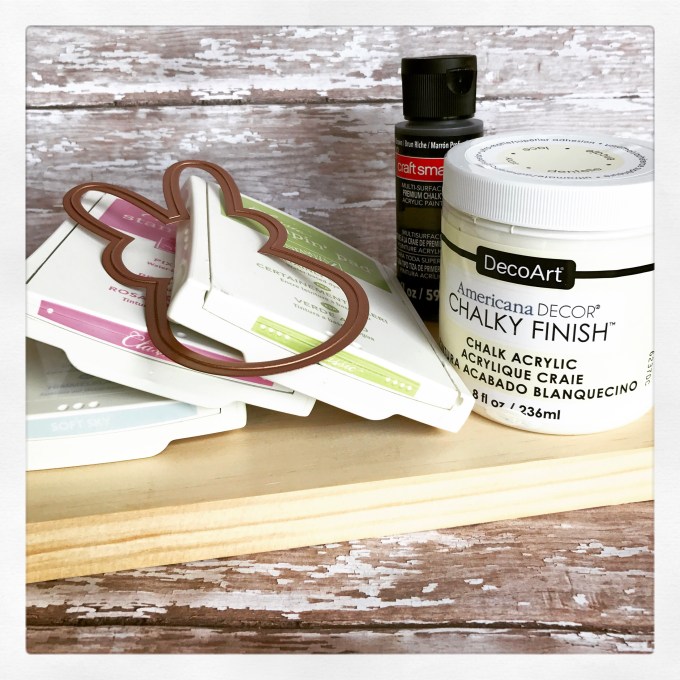
I had some left over scraps of wood from our bathroom remodel and one of them was the perfect size. I painted it with 2 coats of white chalk finish paint and then dry brushed it with brown acrylic paint to give it a distressed look. 

img_7937

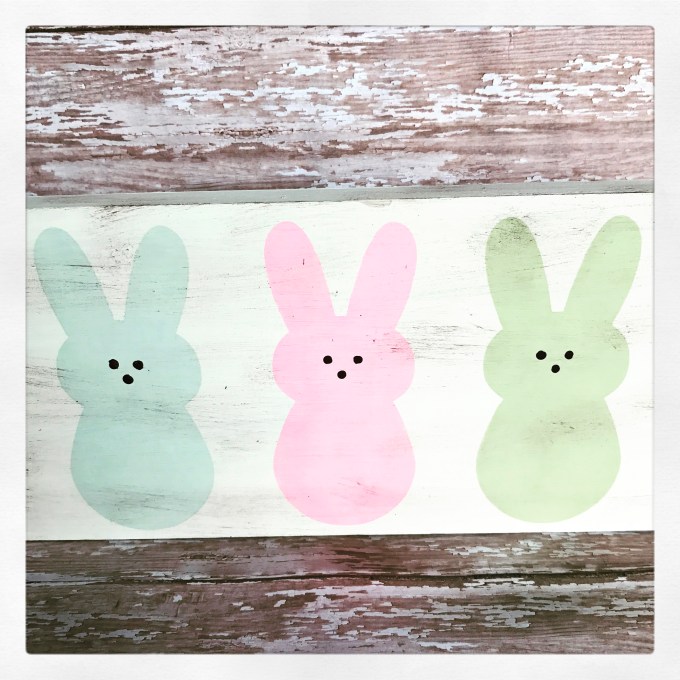
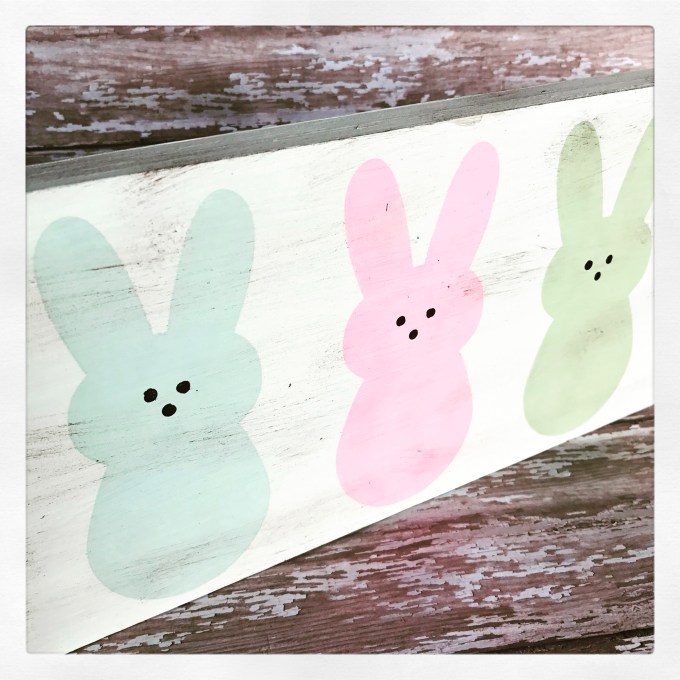
I die cut a stencil from a transparency sheet using the bunny die from Amuse Studio. The die set is discontinued, but a quick google search should find a template you can use to make your stencil (like this one). Using the stencil, I applied blue, pink, and green dye ink with a sponge dauber to make the bunnies. After the ink was dry, I used the handle of a small paint brush to make the eyes and nose with dark brown paint. 

Here’s how it turned out… I just love it!!

img_7942

img_7941

If you’d like bolder colors for your bunnies, just use acrylic paint instead of ink.

Such a sweet addition to your Easter decor! 🐰

Thanks for stopping by,

Anita
Posted in Decor, Easter | 1 Comment

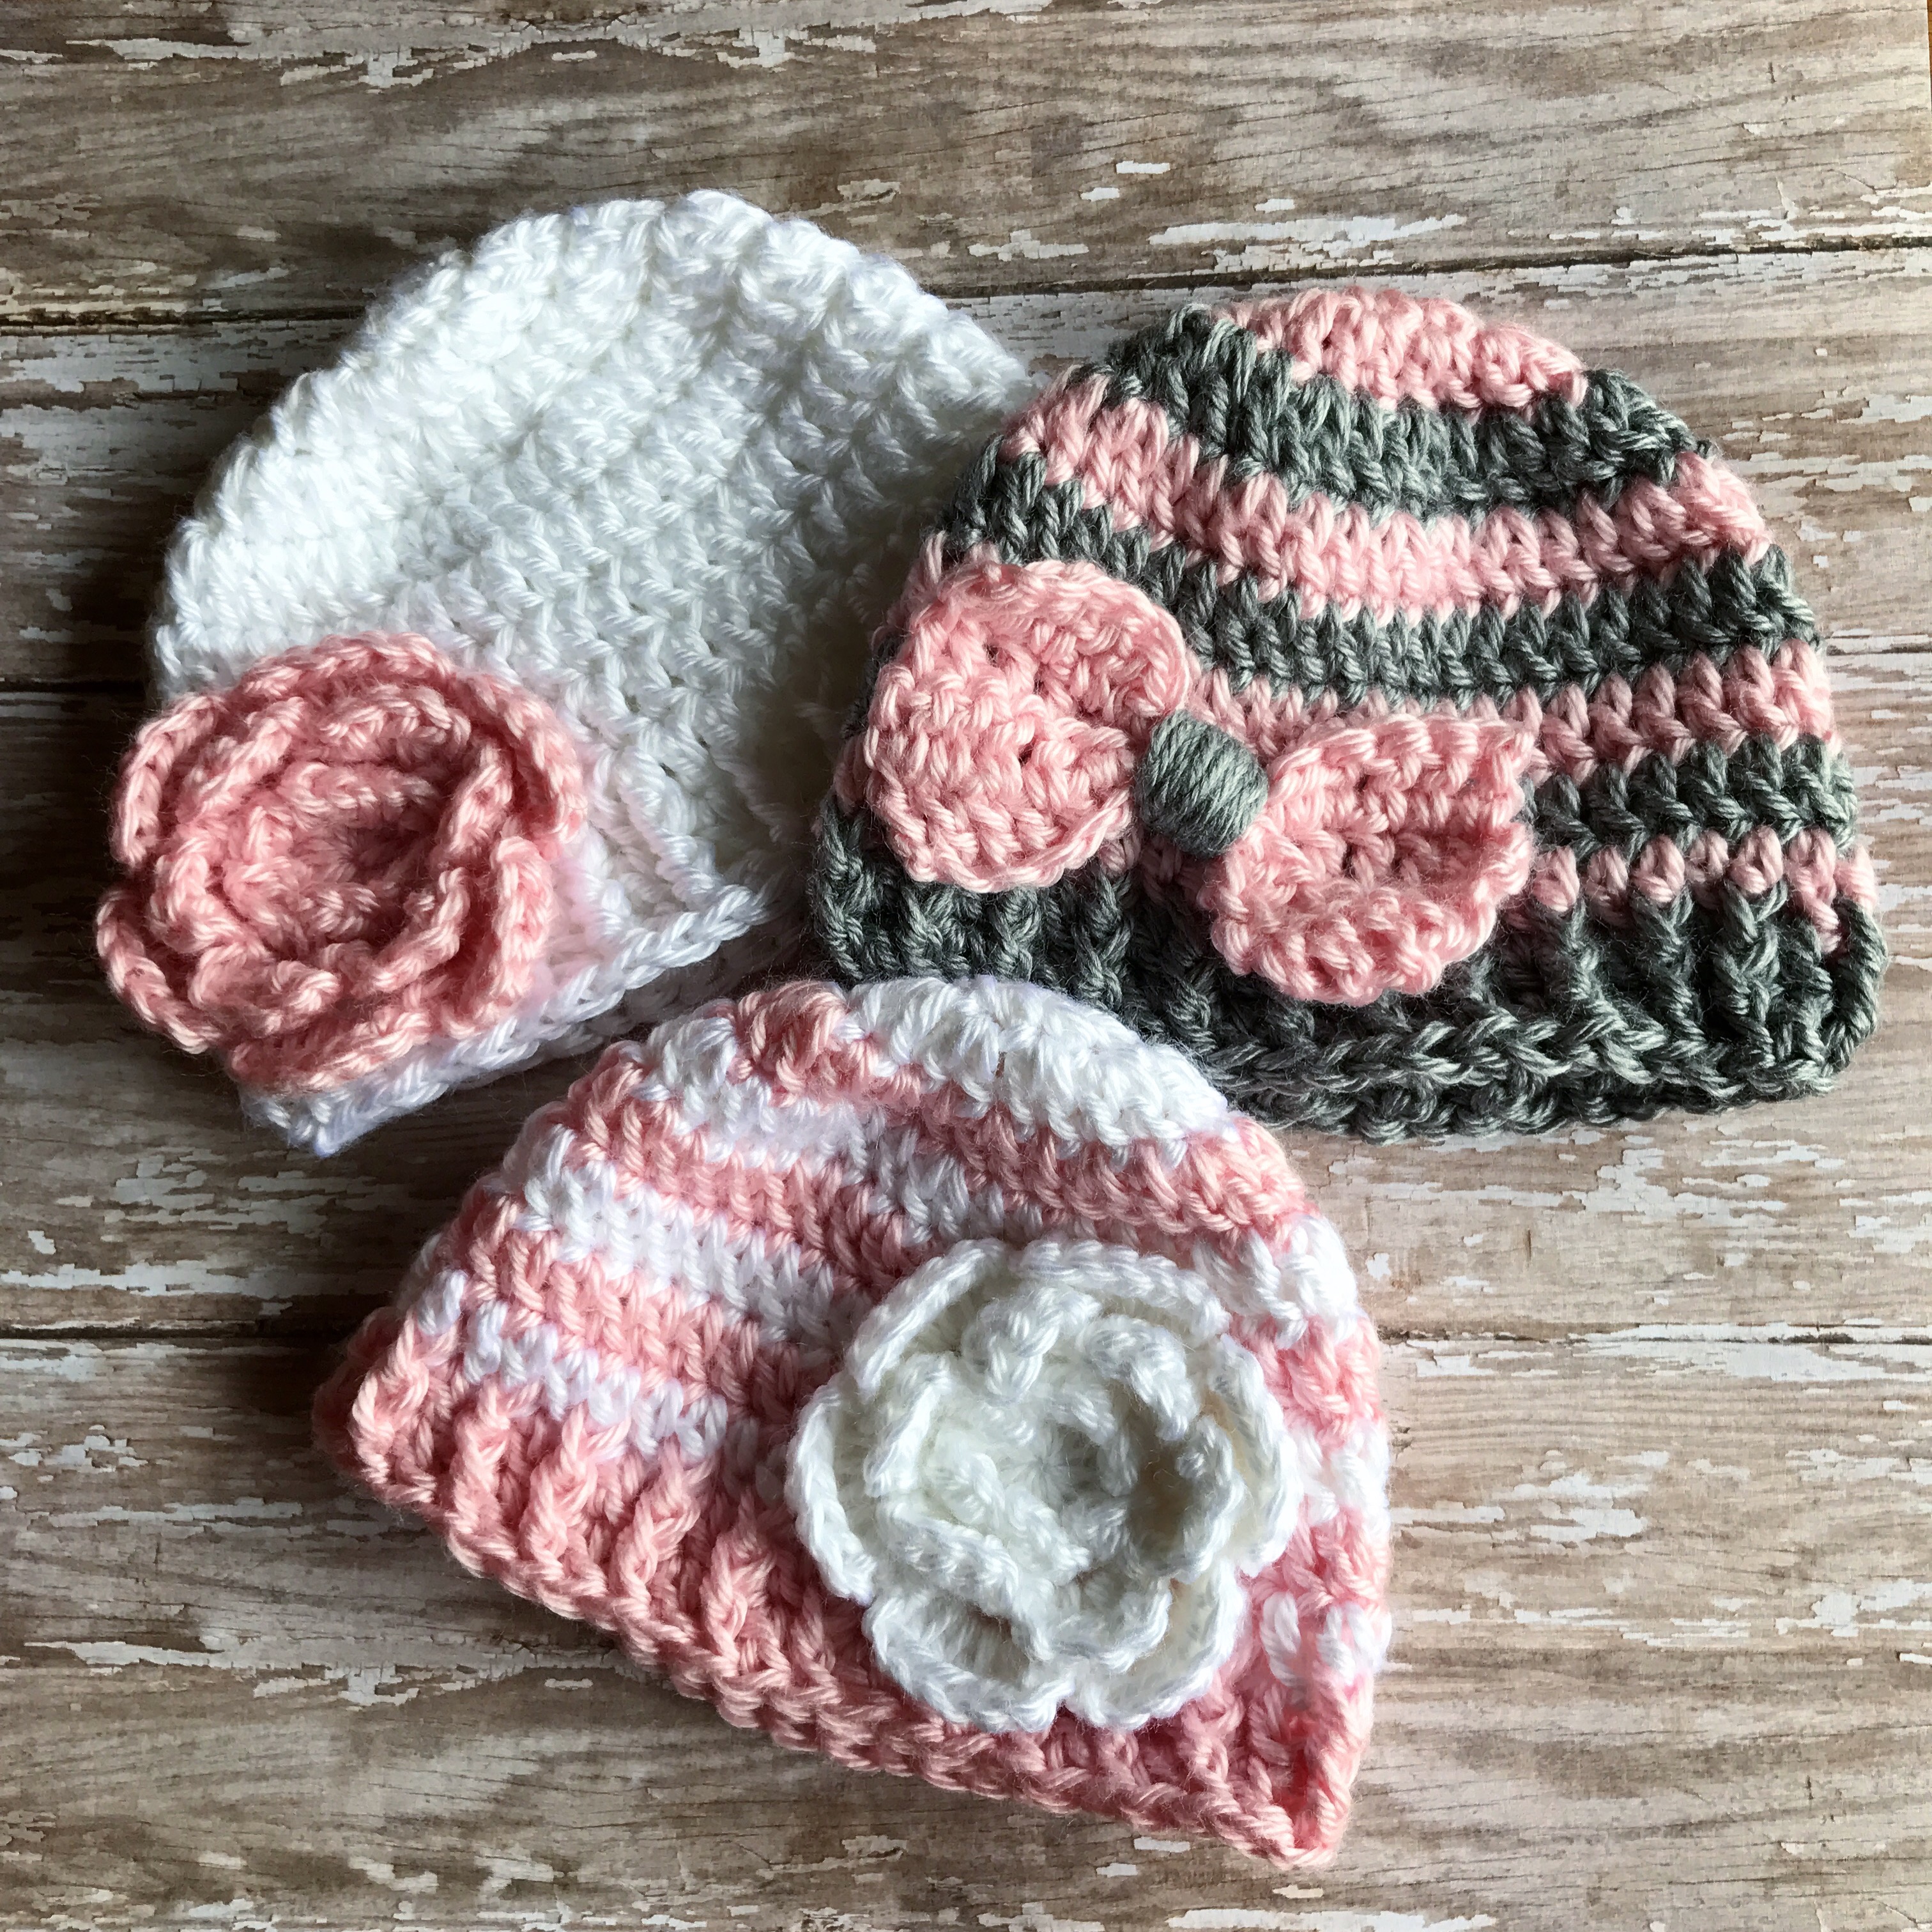
Crochet Newborn Baby Girl Beanies

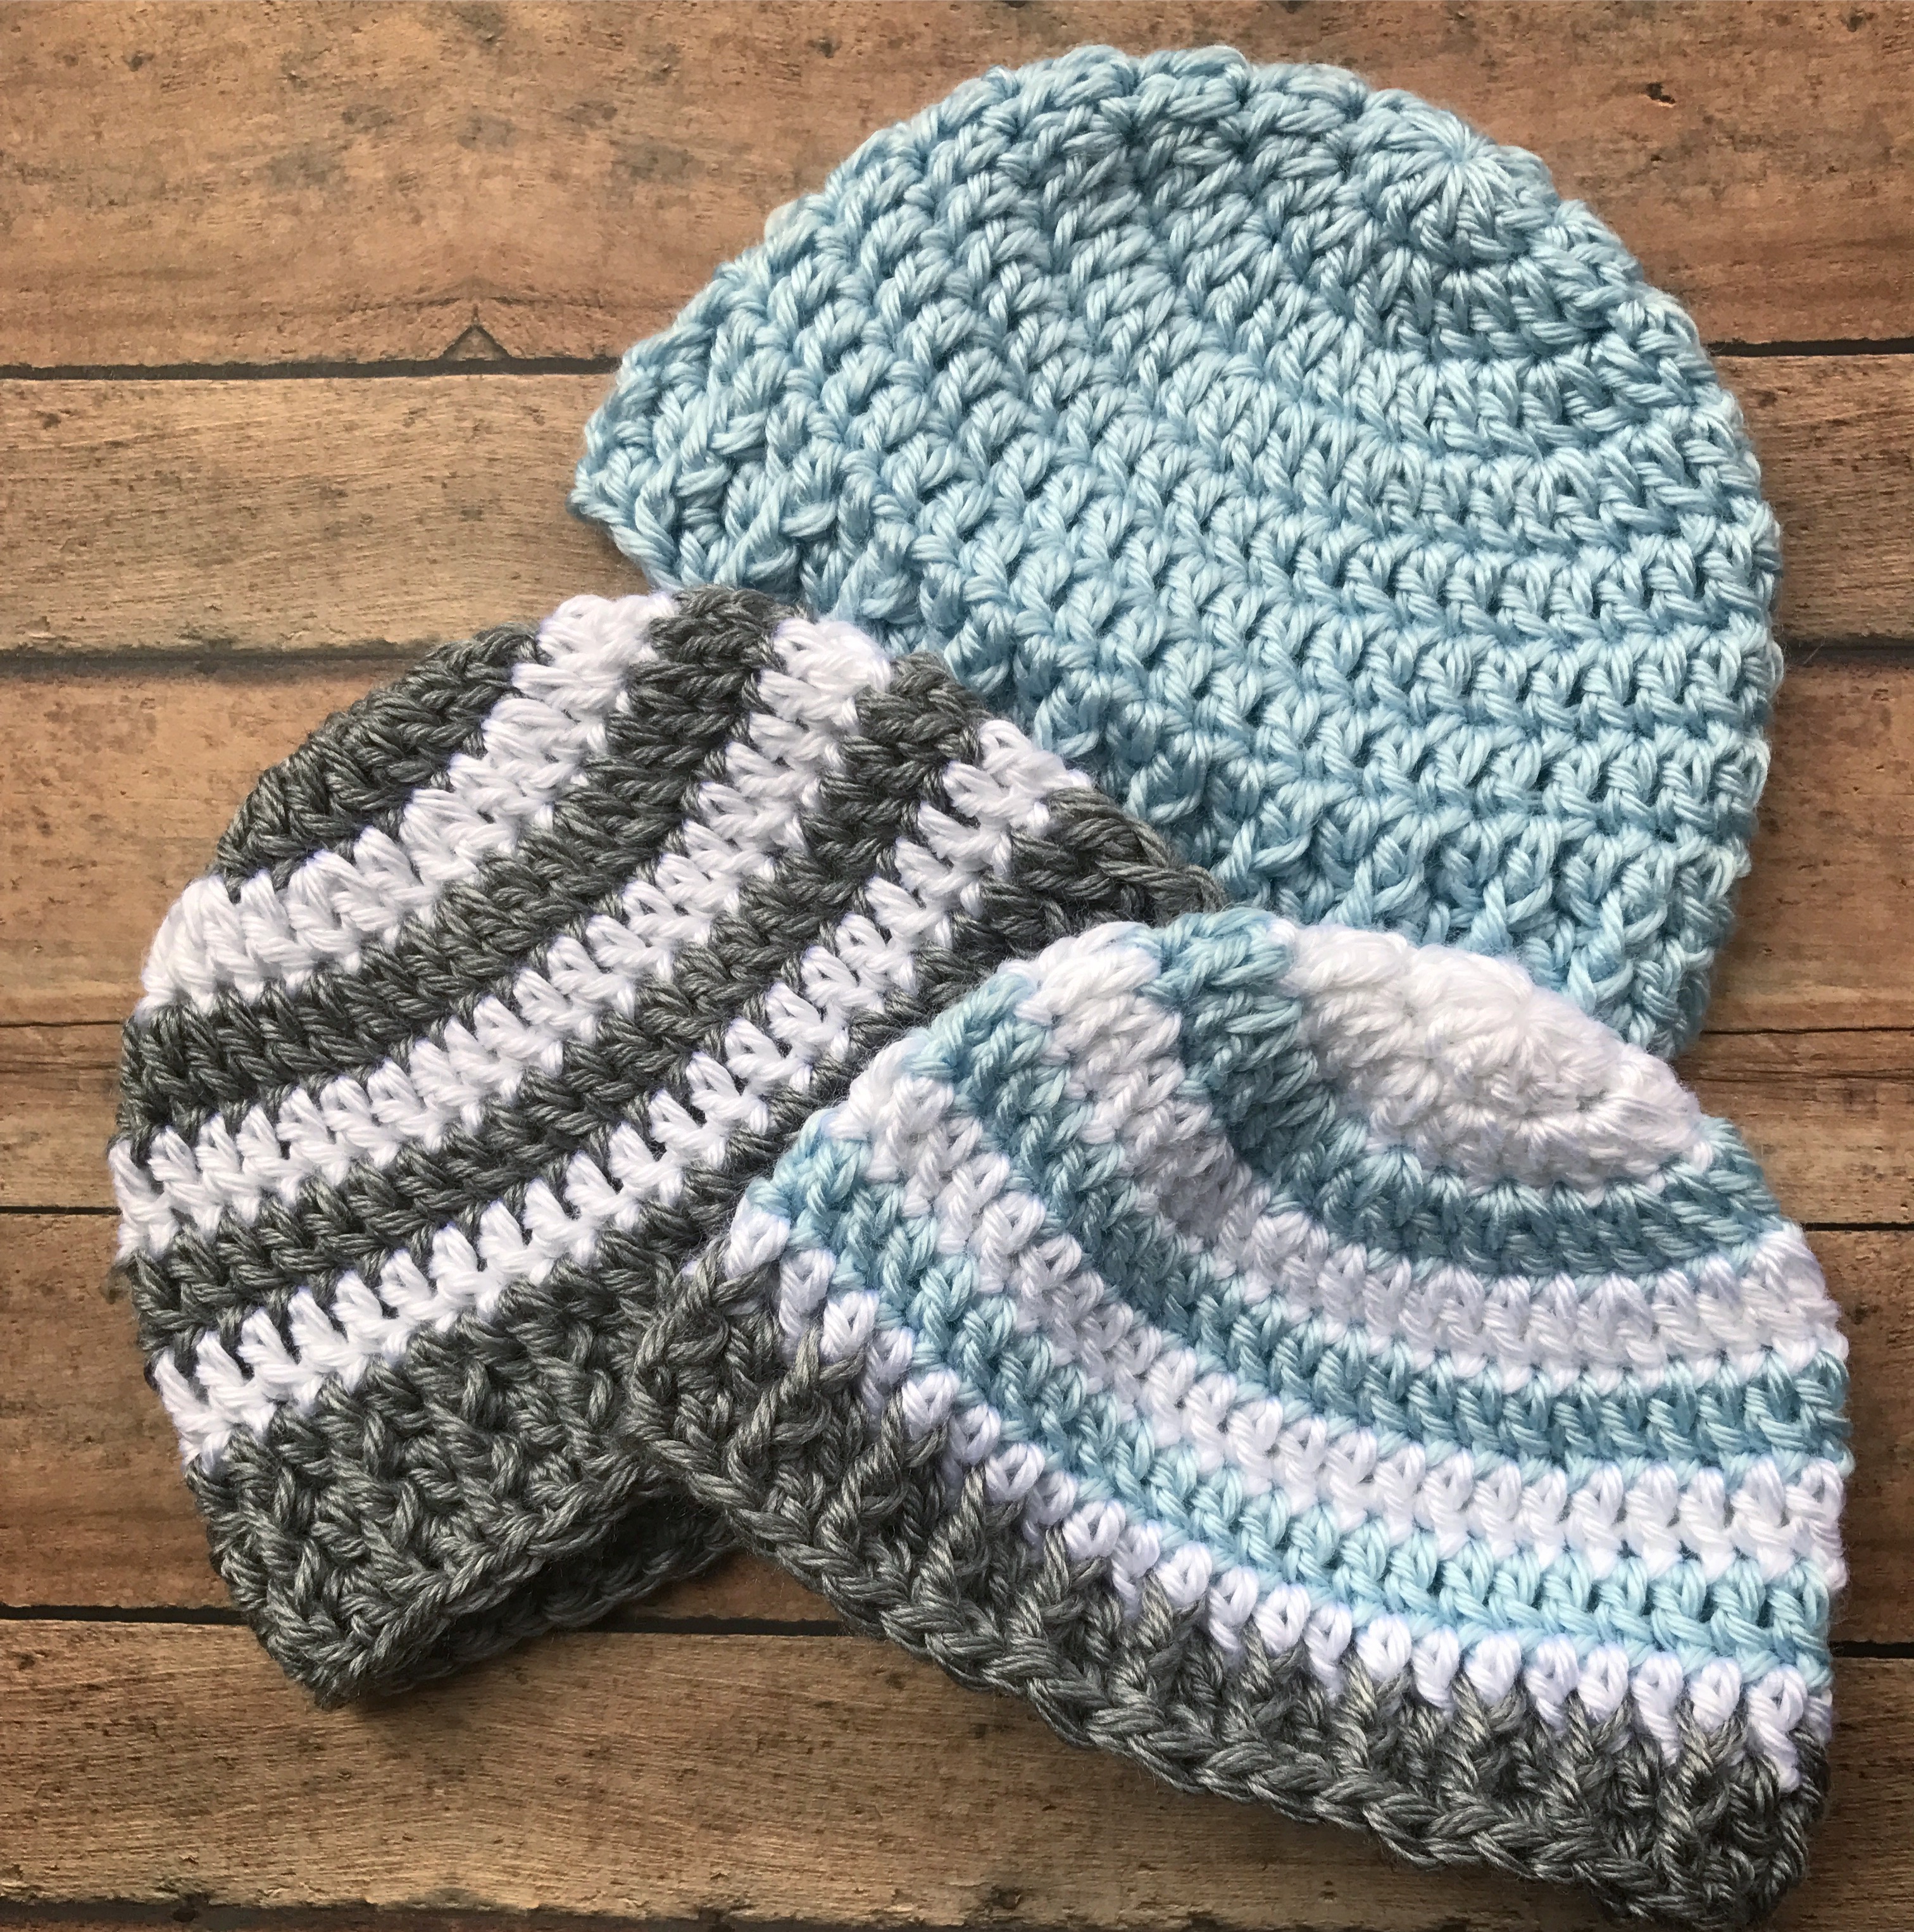
I shared these sweet newborn baby boy beanies in this post a few weeks ago. So cute!!   

img_7759

I had a request to make them for a little girl and here is how they turned out…I love them!

img_7928

I used the same pattern – the Parker Crochet Newborn Hat pattern found here from Sewrella. I used Caron Simply Soft yarn in White, Soft Pink, and Grey Heather. To make them a little more feminine, I added the flowers from this Crochet Cloche Hat pattern and this cute bow pattern from Whistle & Ivy. After I crocheted them, I sewed them to the hats with matching yarn.

So quick and easy to make…and just so sweet!! 🙂

Thanks for stopping by,

Anita

Posted in Crochet, Gifts | 2 Comments