Christmas Thank You Card

I can’t believe that it’s already the 27th of December!! I hope you had a wonderful Christmas!

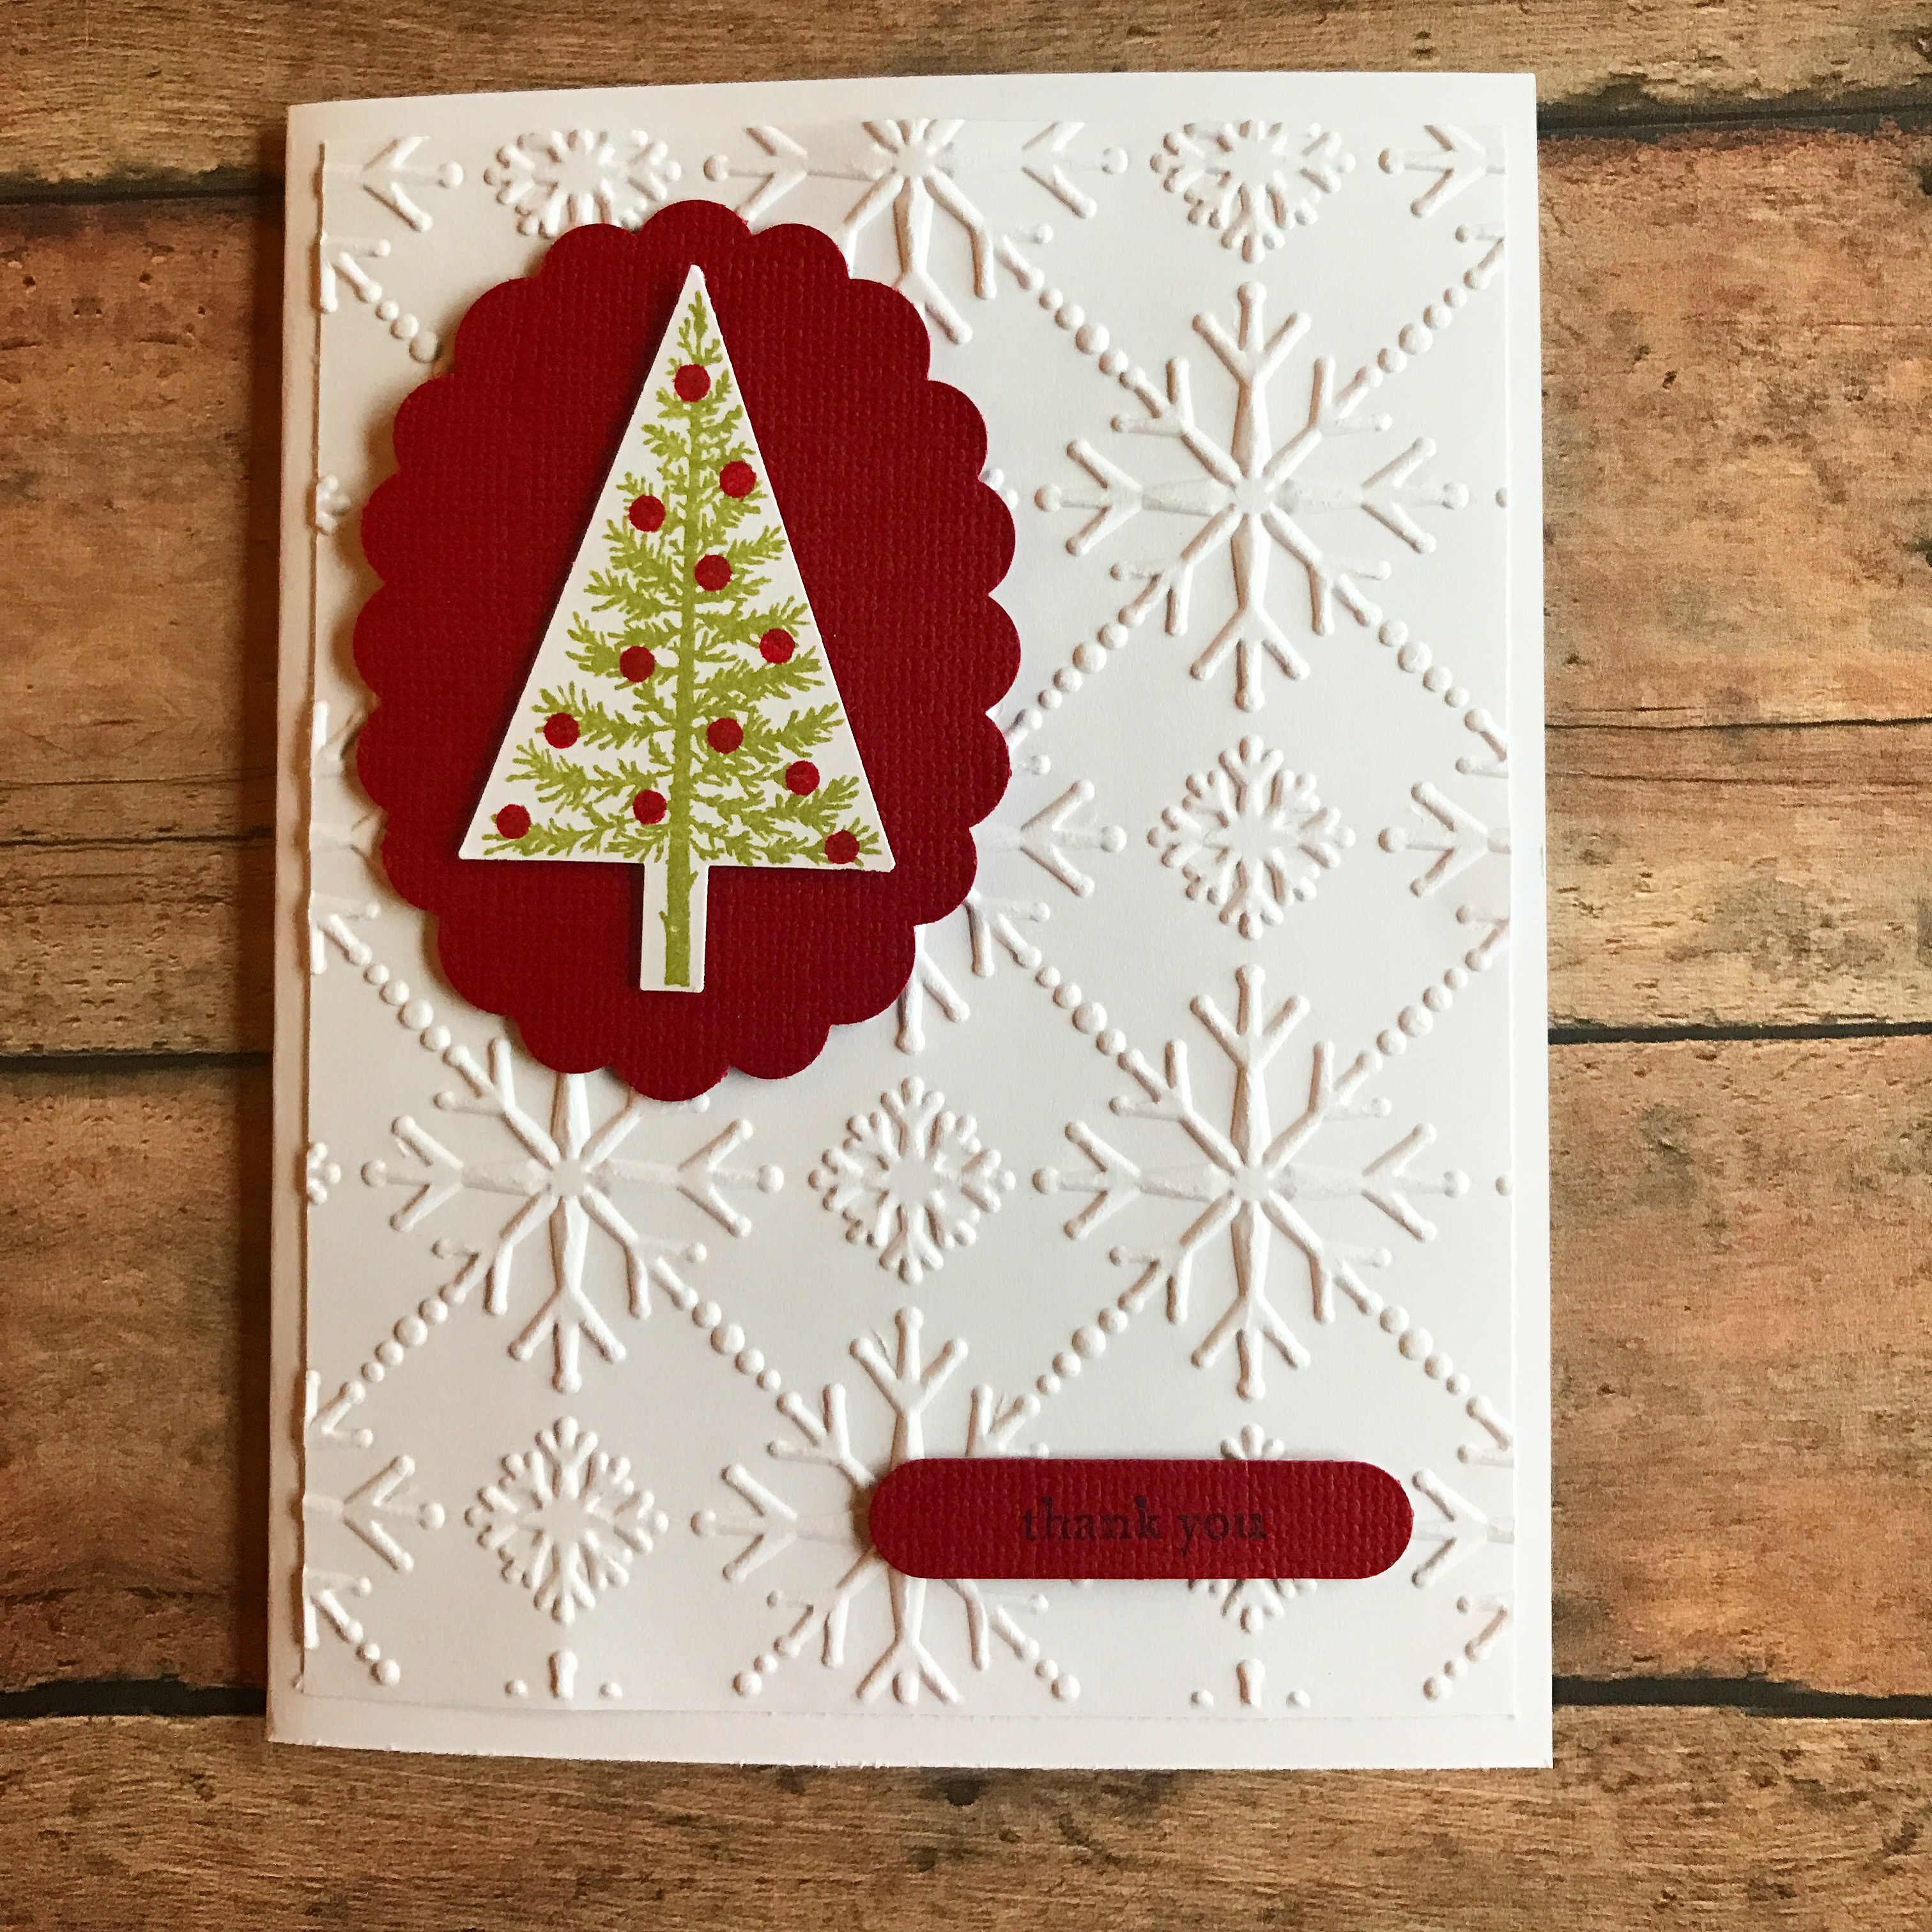
Do you need to send a few thank you notes to some special people? Here’s a card that works up quickly – you can make several in just a few minutes. 


The stamps are from the Festival of Trees set by Stampin’ Up and the embossing folder is from Sizzix. The tree and label punches are also from Stampin’ Up. The scalloped oval punch is from Marvy Uchida. Companies are constantly changing their products, so if you can’t find the specific stamp or punch just look for something similar – or look in your stash and use what you already have. 🙂

To make the card, stamp the tree with green ink on white card stock. Stamp the ornaments with red ink over the tree. Punch out with the tree punch and attach with foam tape to a scalloped oval punched from red card stock. Stamp sentiment with black ink on red card stock and punch with label punch. 

Emboss a piece of white card stock with the snowflake embossing folder and attach to a white card. Atttach tree and sentiment to the card with foam tape. 

This was a fun card to make! And if you really want to get a jump on next year, change the sentiment to Merry Christmas and you’ll have some Christmas cards ready!! 🎄

Thanks for stopping by,

Anita

Posted in Cards, Christmas | Leave a comment

Our Visit to Magnolia Market at the Silos

Earlier this month I was so excited to make a trip to Magnolia Market at the Silos in Waco, TX. My hubby had a conference in Austin, and since it is less than 2 hours from Waco, of course I tagged along – I wasn’t going to let him get that close without taking me with him! So glad we added some extra time to make the drive to Magnolia Market. 🙂

img_7570

It was a gorgeous day, lots of blue sky and sunshine. We arrived just in time for lunch. There are several food trucks on the grounds with everything from gourmet grilled cheese to BBQ to coffee. They have lots of picnic tables set up so you can enjoy your lunch while watching families playing on the lawn – throwing the frisbee and football and just running around having fun!


We spent a little time after lunch enjoying the grounds. The swings were so much fun and this bench was nestled among fresh evergreen trees – it smelled heavenly!

img_7584

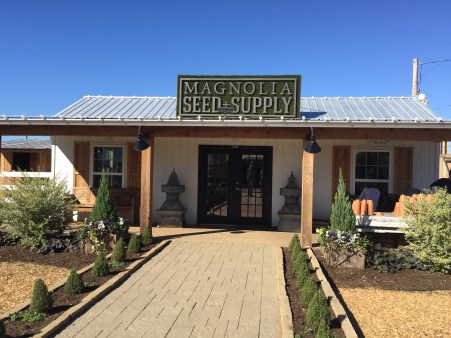
There is a cute little building that houses Magnolia Seed & Supply. It is filled with fun gardening supplies including packets of seeds to plant your own garden. In the area in front of the building is a garden filled with beds for flowers and vegetables.
 img_7547

And of course we took advantage of this cool vintage truck for a photo op. 🙂


After playing it was time for some shopping! Magnolia Market is everything you would think it would be if you are a fan of Fixer Upper on HGTV. It is filled with gorgeous decor for every room in your home as well as t-shirts, mugs, and, this time of year, cute Christmas items. Joanna’s signature style is everywhere and Chip has his own corner with tools, hats, and other fun things. Here are a couple of shots from inside the store. I wish I had taken more – I was just so busy looking at everything!!! There is so much attention to detail – the displays are wonderful! And just so you know – there is a FedEx counter in the lower level. Made it much easier for us to purchase a few things without worrying how we would carry them home on the plane. 😉

img_7631

We finished our day with yummy cupcakes from the Silos Baking Co. It was so hard to choose! Not only cupcakes but cookies and other sweet goodies with the attention to detail you would expect – all the way down to the cute way they wrap the cupcakes!

The Magnolia Market at the Silos is such a beautiful, relaxing place to visit. We spent some time just sitting, relaxing, and people watching. The people were so friendly and helpful – from the greeter as you walk onto the property, to the food truck vendors, to the employees in the store and bakery, all the way to the FedEx workers – they really made us feel welcome.

I don’t know when we’ll be back this way again, but whenever we are within a couple of hours of Waco, TX we will be making another trip to Magnolia Market at the Silos!!

img_7635

Thanks for stopping by,

Anita

Posted in Decor, Travel, Uncategorized | 2 Comments

Cookie Cutter Santa Card

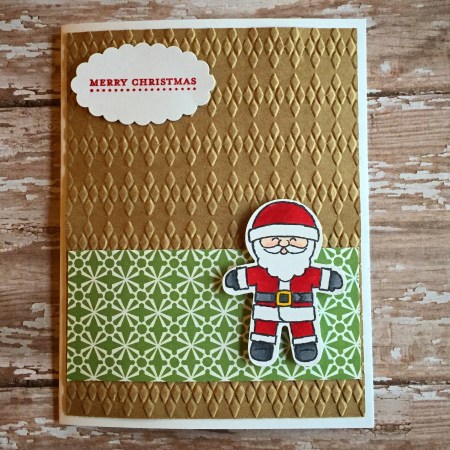
Here’s a quick and easy last-minute Christmas card! The Santa stamp and matching punch are from Stampin’ Up. I just love this santa from the Cookie Cutter Christmas stamp set with the punch to match – and the other images in the set are just as cute.

img_7637

Stamp Santa with black ink on white card stock, color with Copic markers, and punch out with the matching punch. Stamp your favorite sentiment with red ink on white card stock and punch with a scalloped oval punch. 

Emboss a piece of kraft card stock with your favorite embossing folder (this is a discontinued one from Stampin’ Up). Attach a strip of patterned paper and attach the embossed piece to a white card. Attach Santa to the card with foam tape. Attach the sentiment to the card.

Change the sentiment to “thank you” and you have a great thank you card for the wonderful Christmas gifts you’ve received.

Wishing you a very Merry Christmas!!

Thanks for stopping by,

Anita


Posted in Cards, Christmas, Uncategorized | Leave a comment

A Cup of Joy

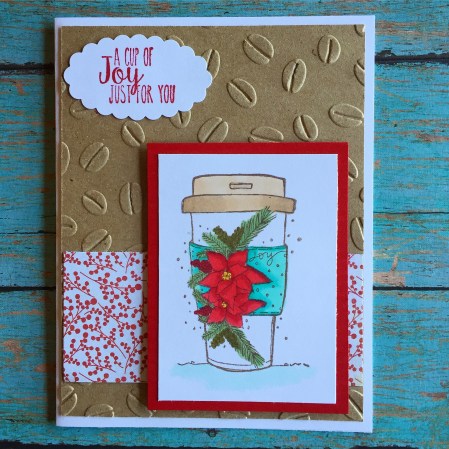
Do you have your Christmas cards finished and mailed? If not, here’s a fun card that you can make this weekend for all of your coffee and tea loving friends – and those that love hot cocoa, too!

img_7493

This is another great set from Unity Stamp Company. It’s called Joy to Go – isn’t that a cute name? I stamped the cup image with brown ink on white card stock, colored it with Copic markers, and layered it to red card stock.

Emboss a piece of kraft card stock with the Coffee Bean embossing folder from Elizabeth Craft Designs, attach a strip of patterned paper, and attach the embossed panel to a white card. Stamp the sentiment with red ink on white card stock and punch with a scalloped oval punch. Attach sentiment to the card. Attach the cup image to the card with foam tape.

A sweet card sure to warm the heart!

Thanks for stopping by,

Anita

Posted in Cards, Christmas, Uncategorized | Leave a comment

Winter Wreath

I saw some beautiful wreaths wrapped with yarn in the stores this year…they also had beautiful prices! 😳

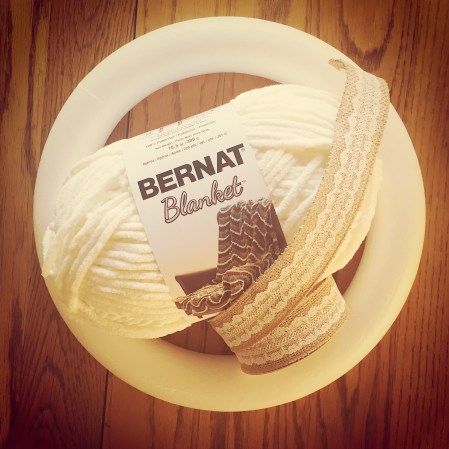
I started thinking about this Bernat Blanket Yarn and wondered how it would work to make my own wreath. Well…here’s what I came up with.

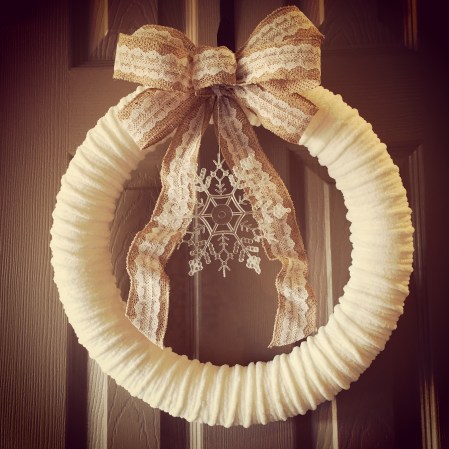
I used a styrofoam wreath form, Bernat Blanket Yarn in Vintage White, wired 1-1/2 inch ribbon, and a snowflake ornament from the dollar tree (not in this picture).

img_7471

I started by pinning the yarn to the back of the wreath with t-pins. Here’s a link to what I’m talking about, but you can find them in the fabric section of your favorite craft store. Then simply wrap the yarn around the wreath form in a single layer to completely cover the wreath. To add some texture, wrap the wreath a second time, but leave space between as you wrap.

This is a closeup of the wreath after it is wrapped twice. I forgot to take a picture before wrapping it the second time, but I hope you can see how I wrapped the first layer.

img_7619

After you have finished wrapping the wreath, cut the yarn and secure the end on the back of the wreath with a couple of t-pins.

I used this tutorial to help my tie my bow. I made 3 loops on each side. I used a white pipe cleaner while making the bow and it was long enough to tie my bow around the top of the wreath. I also secured it with a couple of t-pins hidden under the middle loop just to be safe. The snowflake ornament is attached with another t-pin. 

And here it is all finished!

img_7491

I am so happy with the way it turned out!! I love that it is wintery so I can leave it up all through January.

This works up so quickly! I only used maybe half of the skein of yarn, so you can easily get 2 wreaths out of one skein. And by using your craft store coupons, this can be a very reasonably priced project.

Still need a Christmas gift for a special friend? Or a wintery wreath for that corner in your home? You still have time to whip this up!!

Thanks for stopping by,

Anita


Posted in Christmas, Decor, Gifts, Uncategorized | 3 Comments

Merry & Bright Owl Card

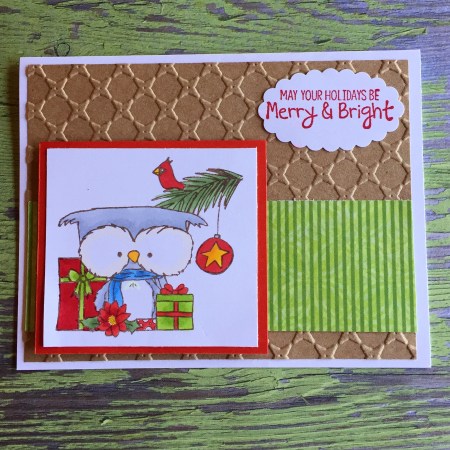
I am in love with these Unity Stamp Company owl stamps!! They have them for just about any occasion and, of course, this adorable Christmas Owl I Want set had to find his way to my craft room.  🙂  I mean, just look at those eyes…how could I resist?!?!?

img_7492

To make this cute card, stamp the owl with brown ink on white card stock. Color with Copic markers, trim, and layer to red card stock. 

Emboss a panel of kraft card stock with your favorite embossing folder. This is a discontinued one from Stampin’ Up, but this Sparkle embossing folder from them would be a great choice! Or just use one you already have in your stash. Attach a strip of patterned paper to the embossed piece and attach the piece to a white card. 

Stamp the sentiment with red ink on white card stock and punch out with a scalloped oval punch. Attach the sentiment to the card. Attach the owl with foam tape.

Finding this little guy in their mail box is sure to make anyone smile!!

Thanks for stopping by,

Anita

Posted in Cards, Christmas, Uncategorized | 1 Comment

Fresh Cranberry Sauce

Are you looking for an easy side dish to go with your Christmas ham? This tasty cranberry sauce may be just what you need! And with only 3 ingredients, it’s super simple to throw together.

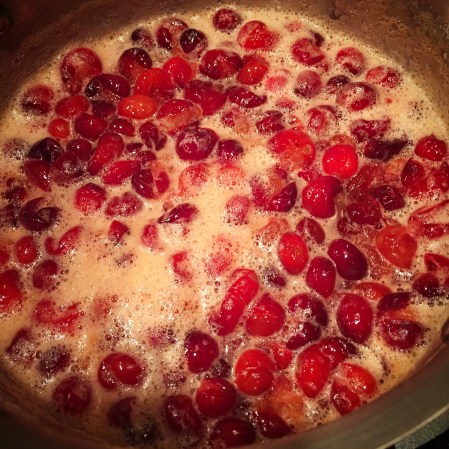
You will need a 12 oz package of fresh cranberries (found in the produce section of your grocery store), 1 cup of orange juice (fresh or frozen – I just mixed up some frozen), and 1 cup of sugar. Mix the orange juice and sugar in a medium saucepan over medium heat. Heat and stir until sugar is dissolved. Add in cranberries and continue to cook, stirring occasionally, until berries begin to pop. This should take 10 minutes or less. Then just pour into a bowl and refrigerate. The cranberry sauce will thicken as it cools. I usually make it the day before I want to serve it. It will keep several days in the refrigerator so you can have it with all your leftover ham sandwiches. 🙂

Here it is in the pan just before I took it off the stove…

img_7617

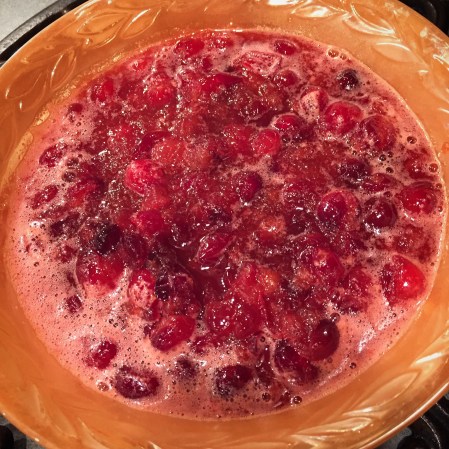
And after chilling in the fridge for a few hours…

img_7618

A little tart, a little sweet…a perfect holiday side dish…I hope you enjoy it!

Thanks for stopping by,

Anita

Posted in Recipes, Uncategorized | Leave a comment

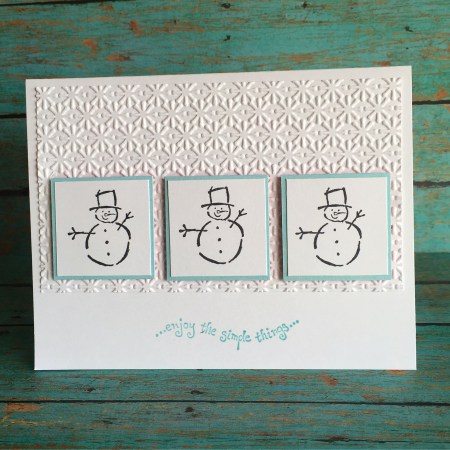
…enjoy the simple things…

Have you sent out your Christmas cards yet? No? Me either! But I am working on getting them ready…

This is a great layout for making a lot of cards assembly-line style. And it’s a good reminder to enjoy the simple things of the season. 🙂

img_7468

Stamp the snowman (sm. Harry from PrintWorks) 3 times with black ink on white card stock, trim, and layer to light blue card stock. Emboss a panel of white card stock with a snowflake embossing folder. (This one is from Stampin’ Up but it is no longer available. This Softly Falling embossing folder from them would work great, too!) Attach the panel to a white card. Stamp sentiment (from Pink Ink Stamp Co.) with light blue ink on the bottom of the card. Attach snowmen with foam tape.

I’m happy to say the this card is published in the Take Ten Winter 2017 issue by Stampington & Company that just hit the newsstands this week. 🙂

Wishing you the simple joys of the season…

Anita


Posted in Cards, Christmas, Uncategorized | Leave a comment

Pumpkin Bread

Thanksgiving is over, but this Pumpkin Bread is so good that you will want to make it for all of your festivities between now and the new year!!

It’s very simple to make and you can use either fresh or canned pumpkin purée. We are partial to fresh pumpkin, but I’ve also made it with canned pumpkin and it is just as yummy. 🙂

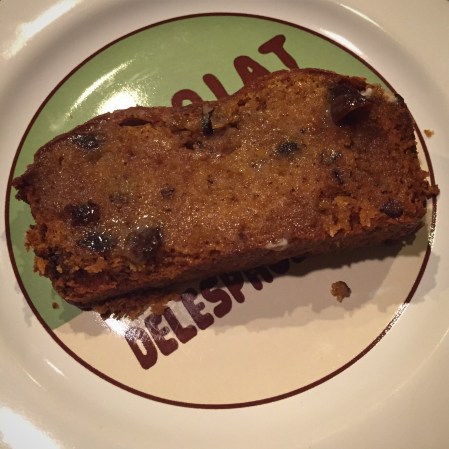
Here’s a thick, warm slice with a little butter melting into it…Oh My!!!

img_7479

Pumpkin Bread

  • 5 cups flour
  • 4 cups sugar
  • 4 cups pumpkin purée
  • 1 cup vegetable oil
  • 1 cup chopped nuts (we like pecans)
  • 1 cup raisins or chopped dates (we like raisins)
  • 4 teaspoons baking soda
  • 2 teaspoons cinnamon
  • 1 teaspoon ground cloves
  • 1 teaspoon salt
  • 1 teaspoon vanilla

Preheat oven to 350 degrees. Spray loaf pans generously with nonstick spray. Mix all ingredients together in a large bowl. (I do this in my 5-quart Kitchen Aid mixer.) Pour into prepared pans. Bake for 1 hour or until toothpick inserted in center comes out clean. Cool in pan for 15 to 20 minutes. Then remove from pans and finish cooling on cooling racks.

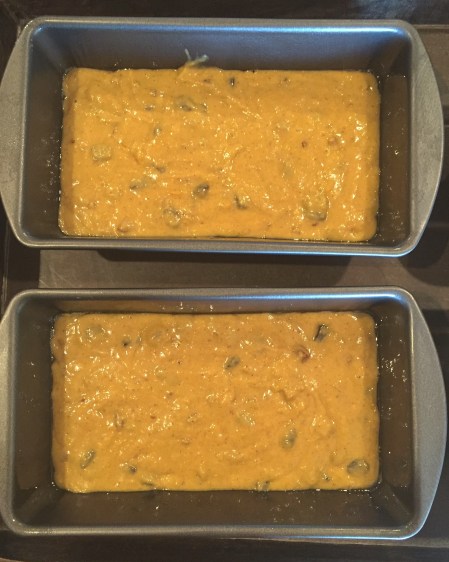
Here are a couple of loaves ready to go into the oven…

img_7469

They smell heavenly fresh from the oven…

img_7470

This recipe makes a lot of Pumpkin Bread! I made three loaves in a 9 1/4 by 5 1/4 pan and one loaf in an 8 1/2 by 4 1/2 pan. Of course you could cut the recipe in half, but why would you do that?!?! It freezes beautifully – just wrap it tightly in foil after it has cooled completely and pop it in a freezer bag.

You can also make little individual loaves that would make great Christmas gifts! Just make sure to adjust your baking time – I would check it after 25 to 30 minutes. Wrap it in foil with a pretty ribbon or put it in one of those cute boxes you can find in the baking section of your favorite craft store.

I hope you enjoy this yummy Pumpkin Bread!

Thanks for stopping by,

Anita


Posted in Recipes, Uncategorized | Leave a comment

Crocheted Addison Hat

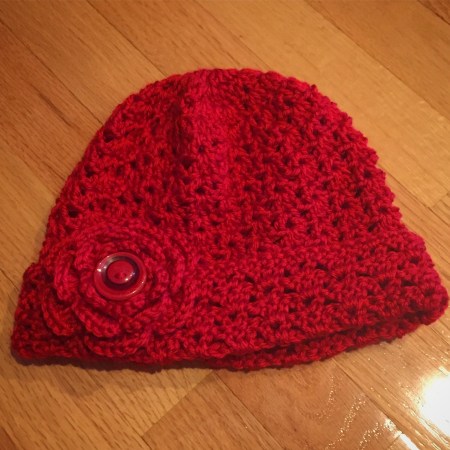
I shared this Crocheted V-Stitch Scarf earlier this week. I wanted to make a matching hat and found this great free pattern for the Addison Hat on Pinterest. It is worked in shells and v-stitch so it goes perfectly with my v-stitch scarf.

img_7456

I used the same Red Heart Soft Yarn in Really Red that I used for the scarf. I wanted to add a flower so I used the flower from the pattern to the Crochet Cloche Hat. (I made a couple of those hats that you can see in this post.) After I attached the button, I sewed a safety pin on the back so the flower can be removed if desired.

Both the scarf and the hat work up quickly – they make great Christmas gifts!

Thanks for stopping by,

Anita

Posted in Crochet, Gifts, Uncategorized | Leave a comment