Hi friends,
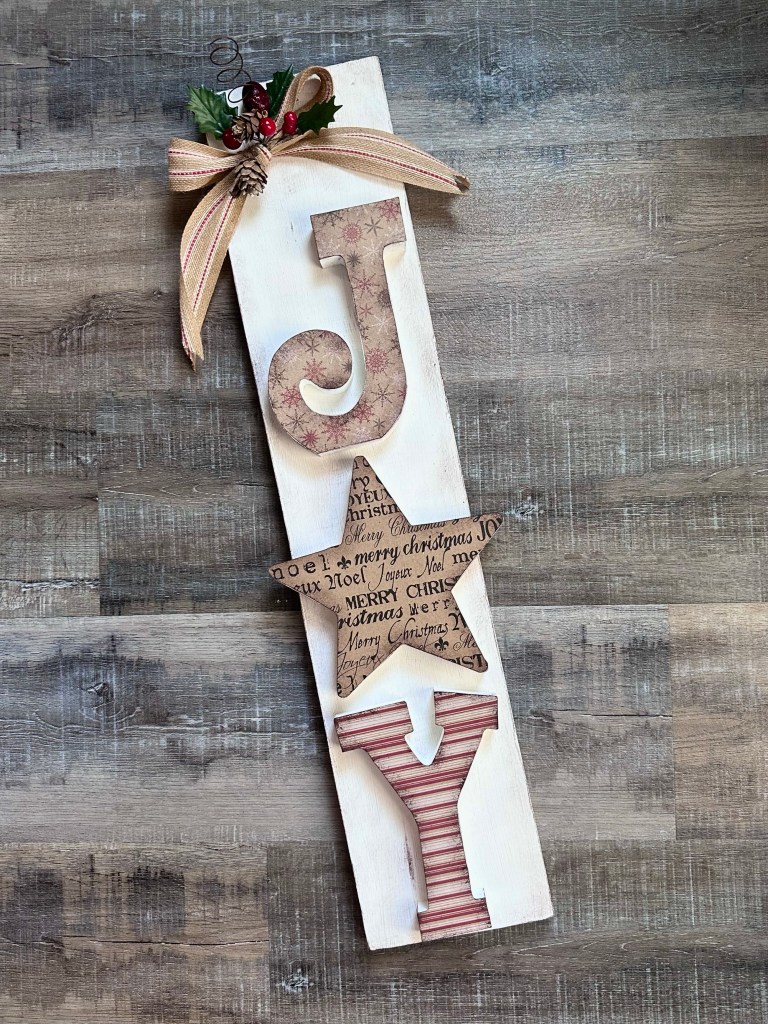
Do you have a piece of scrap wood laying around the garage or basement? You can use it to make a Christmas Joy Sign! 😊
Disclosure: Some of the links on my site are affiliate links, meaning, at no additional cost to you, I will earn a small commission if you click through and make a purchase. As an Amazon Associate I earn from qualifying purchases.
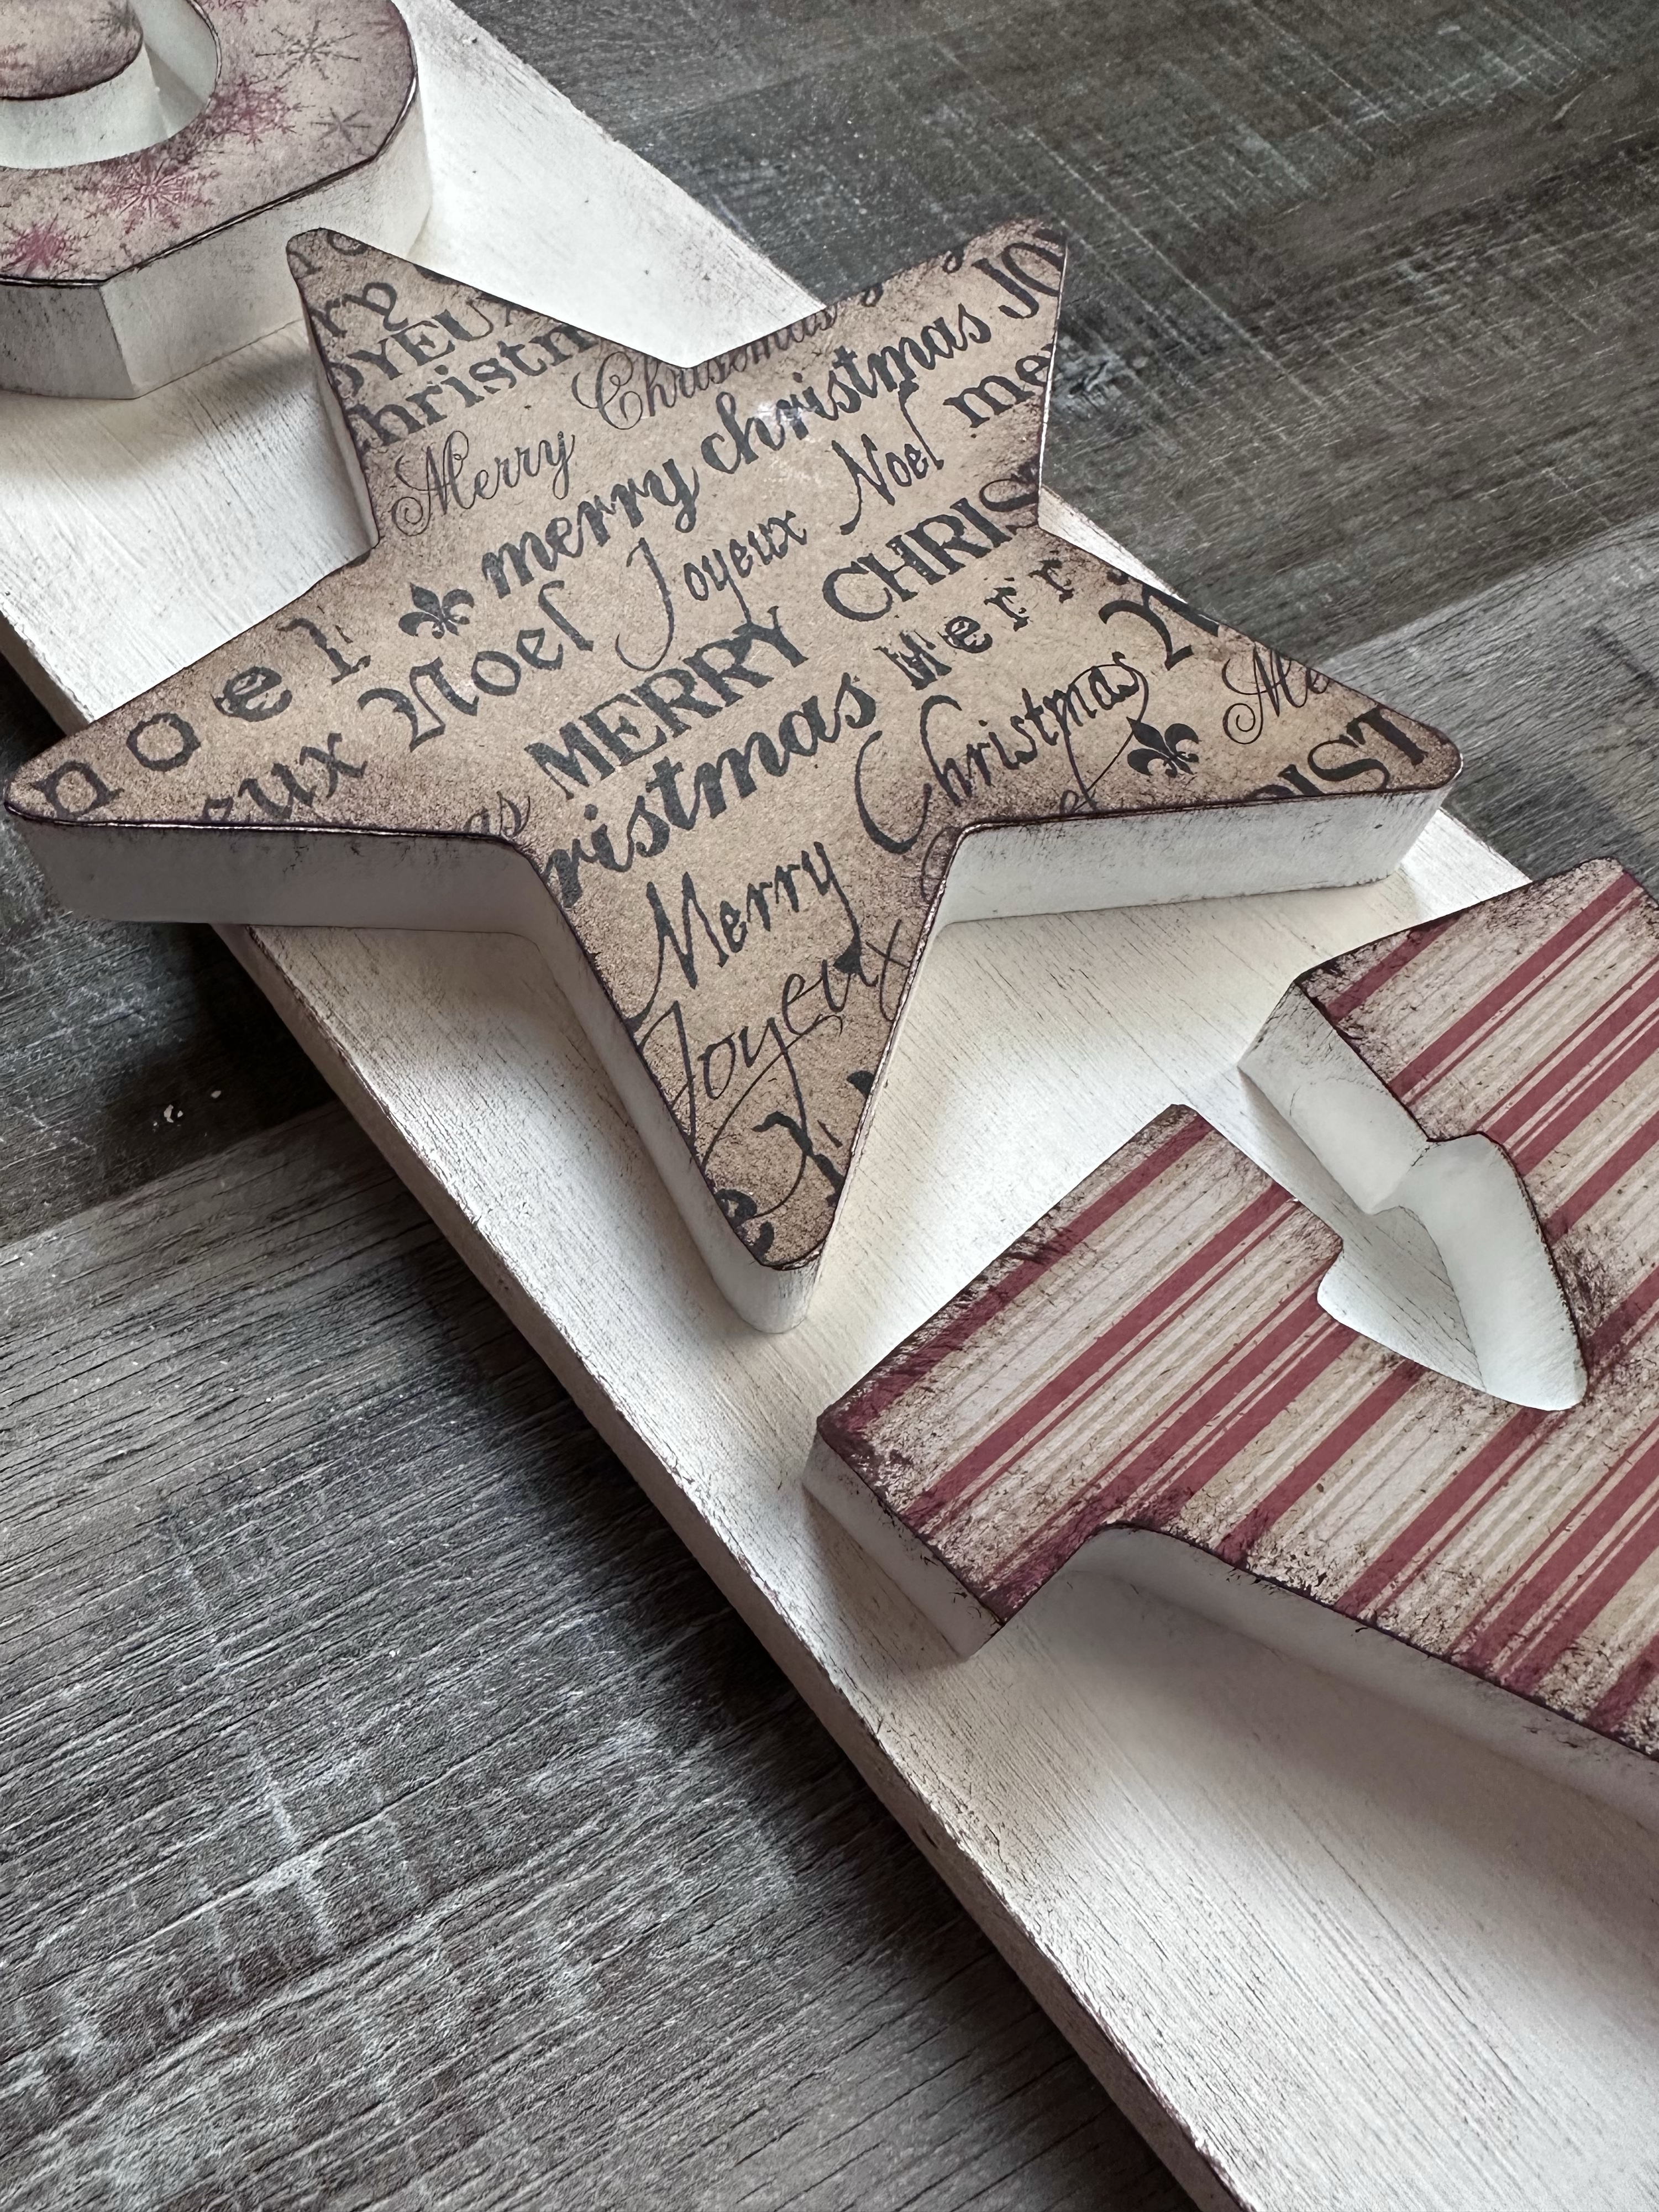
I picked up these “JOY” wood letters at Hobby Lobby’s Christmas clearance sale last year. They measure about 6.75 inches tall and are about 3/4 inch thick. My scrap wood piece is about 26 inches long by 5.5 inches wide.
I pulled out 3 different coordinating scrapbook papers from my stash to cover the letters and started making my sign.
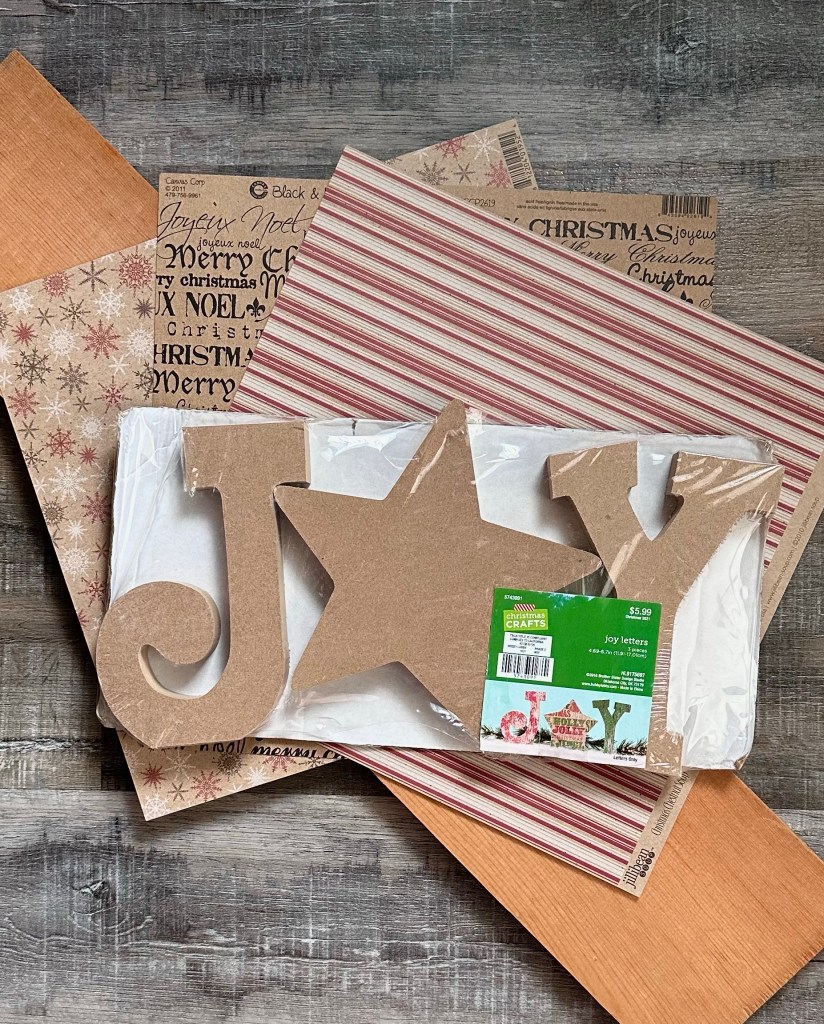
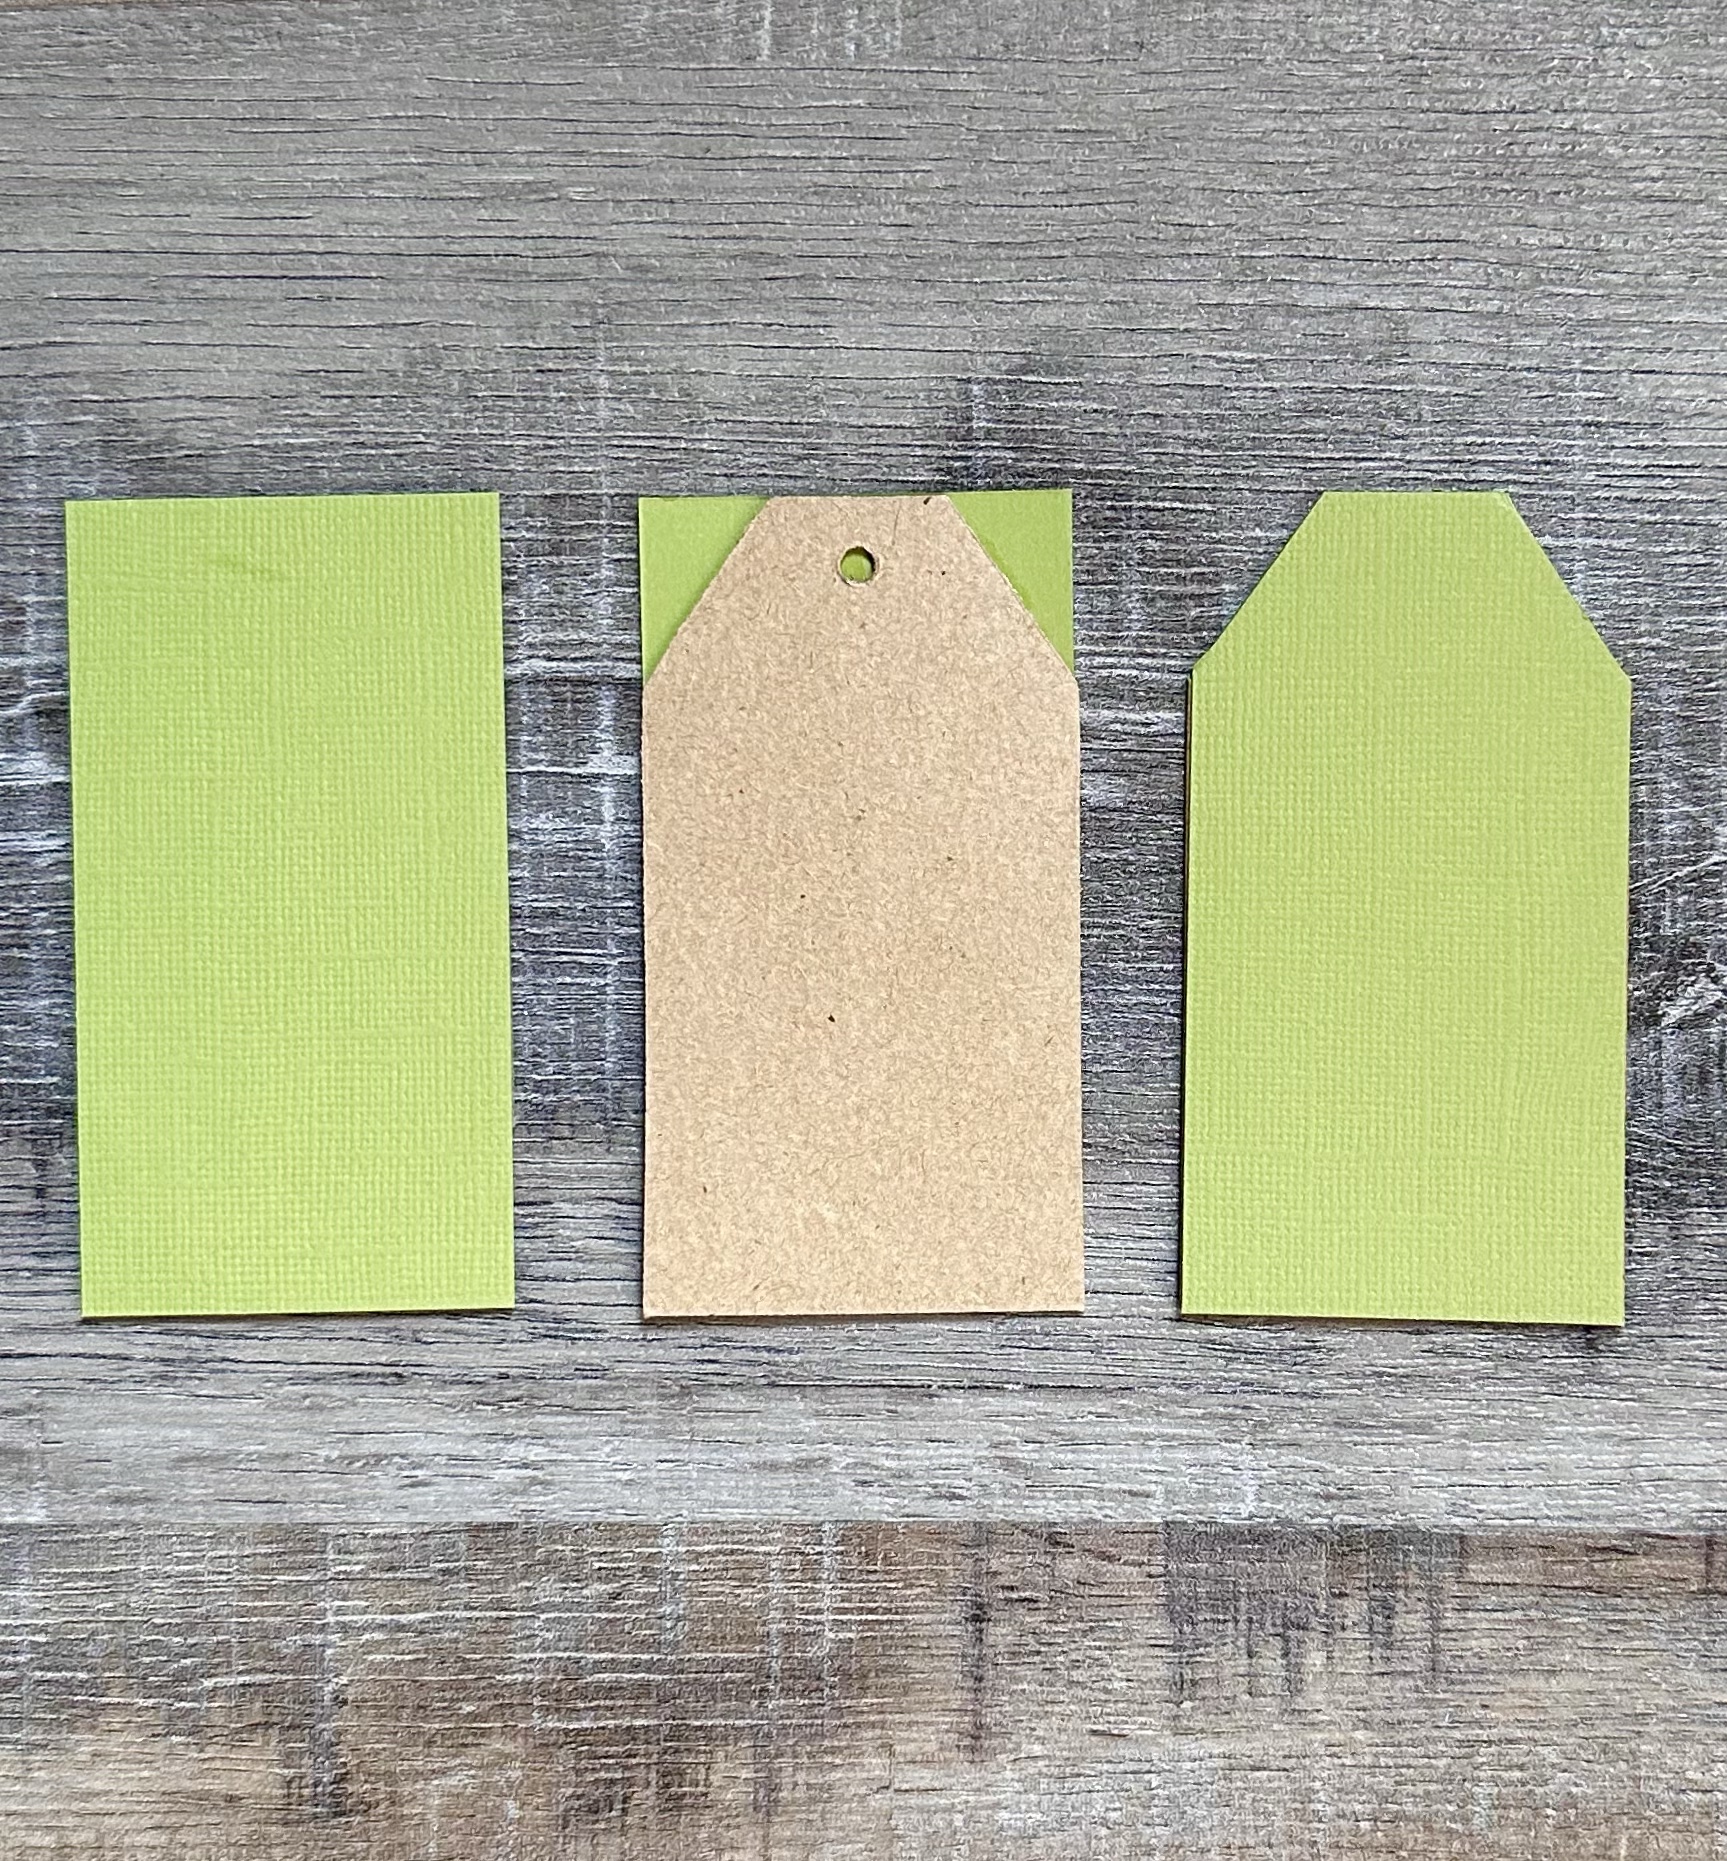
First, I traced my letters onto the back of my scrapbook paper, cut them out, and set them aside. Remember to trace your letters backwards so the pattern side of your paper will be facing the correct way! 😉
Next, I painted both sides and the edges of my scrap piece of wood and the backs and edges of my letters with 2 coats of white paint, letting it dry between coats. I used chalky finish paint because that’s what I had on hand, but acrylic paint will work, too. Once everything was dry, I used Mod Podge to adhere the scrapbook paper to the letters. I like to use foam brushes to apply paint and Mod Podge.
To give my sign a slightly distressed look, I dry brushed a bit of dark brown paint over the scrap wood piece and around the edges of the letters.
I glued my letters to the wood piece using E6000 clear adhesive. (It’s my favorite adhesive when you need something strong!) I finished my sign off by glueing a bow and a Christmas pick on the top.

You don’t have to have the exact “JOY” letters that I had with a star for the “O”. You can easily use an “O” in the middle and just pick up the individual letters at the craft store to make your sign. Depending on the size of your scrap wood piece, you could spell out “NOEL” or “JINGLE” or any other fun holiday word. You can even paint your letters instead of using scrapbook paper.
I think my Christmas Joy Sign will be so cute propped up by my fireplace or on my porch this Christmas season. Or maybe by my Christmas tree or in my kitchen… so many choices!! 🤔
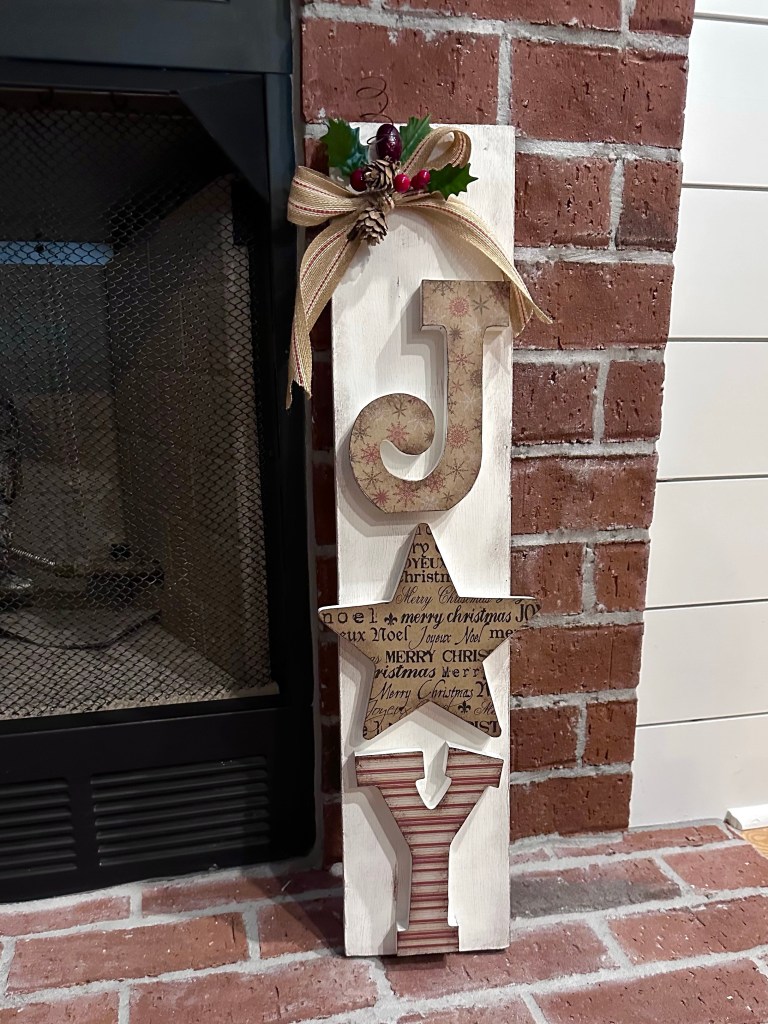
Where will you put Christmas Joy Sign??🎄
Anita