I have a sweet little thank you card to share with you today – it’s perfect for sending “thanks” for your Christmas gifts. This cute stamp from Unity Stamp Company is called Always Had My Heart. I think it could be used for so many things and Heartfelt Thanks is just one option. ❤️
Disclosure: Some of the links on my site are affiliate links, meaning, at no additional cost to you, I will earn a small commission if you click through and make a purchase. As an Amazon Associate I earn from qualifying purchases.
I stamped “thanks” in red ink on the snowman piece and layered it to the light turquoise card stock. Then the entire piece is attached to a red card. My “thanks” stamp is one I’ve had forever and it’s no longer available. ☹️ Use your favorite thank you stamp or this one would be really cute, too. ❤️
This would make a wonderful Winter birthday card, Christmas card, or thinking of you card. Simply change your sentiment to match the occasion.
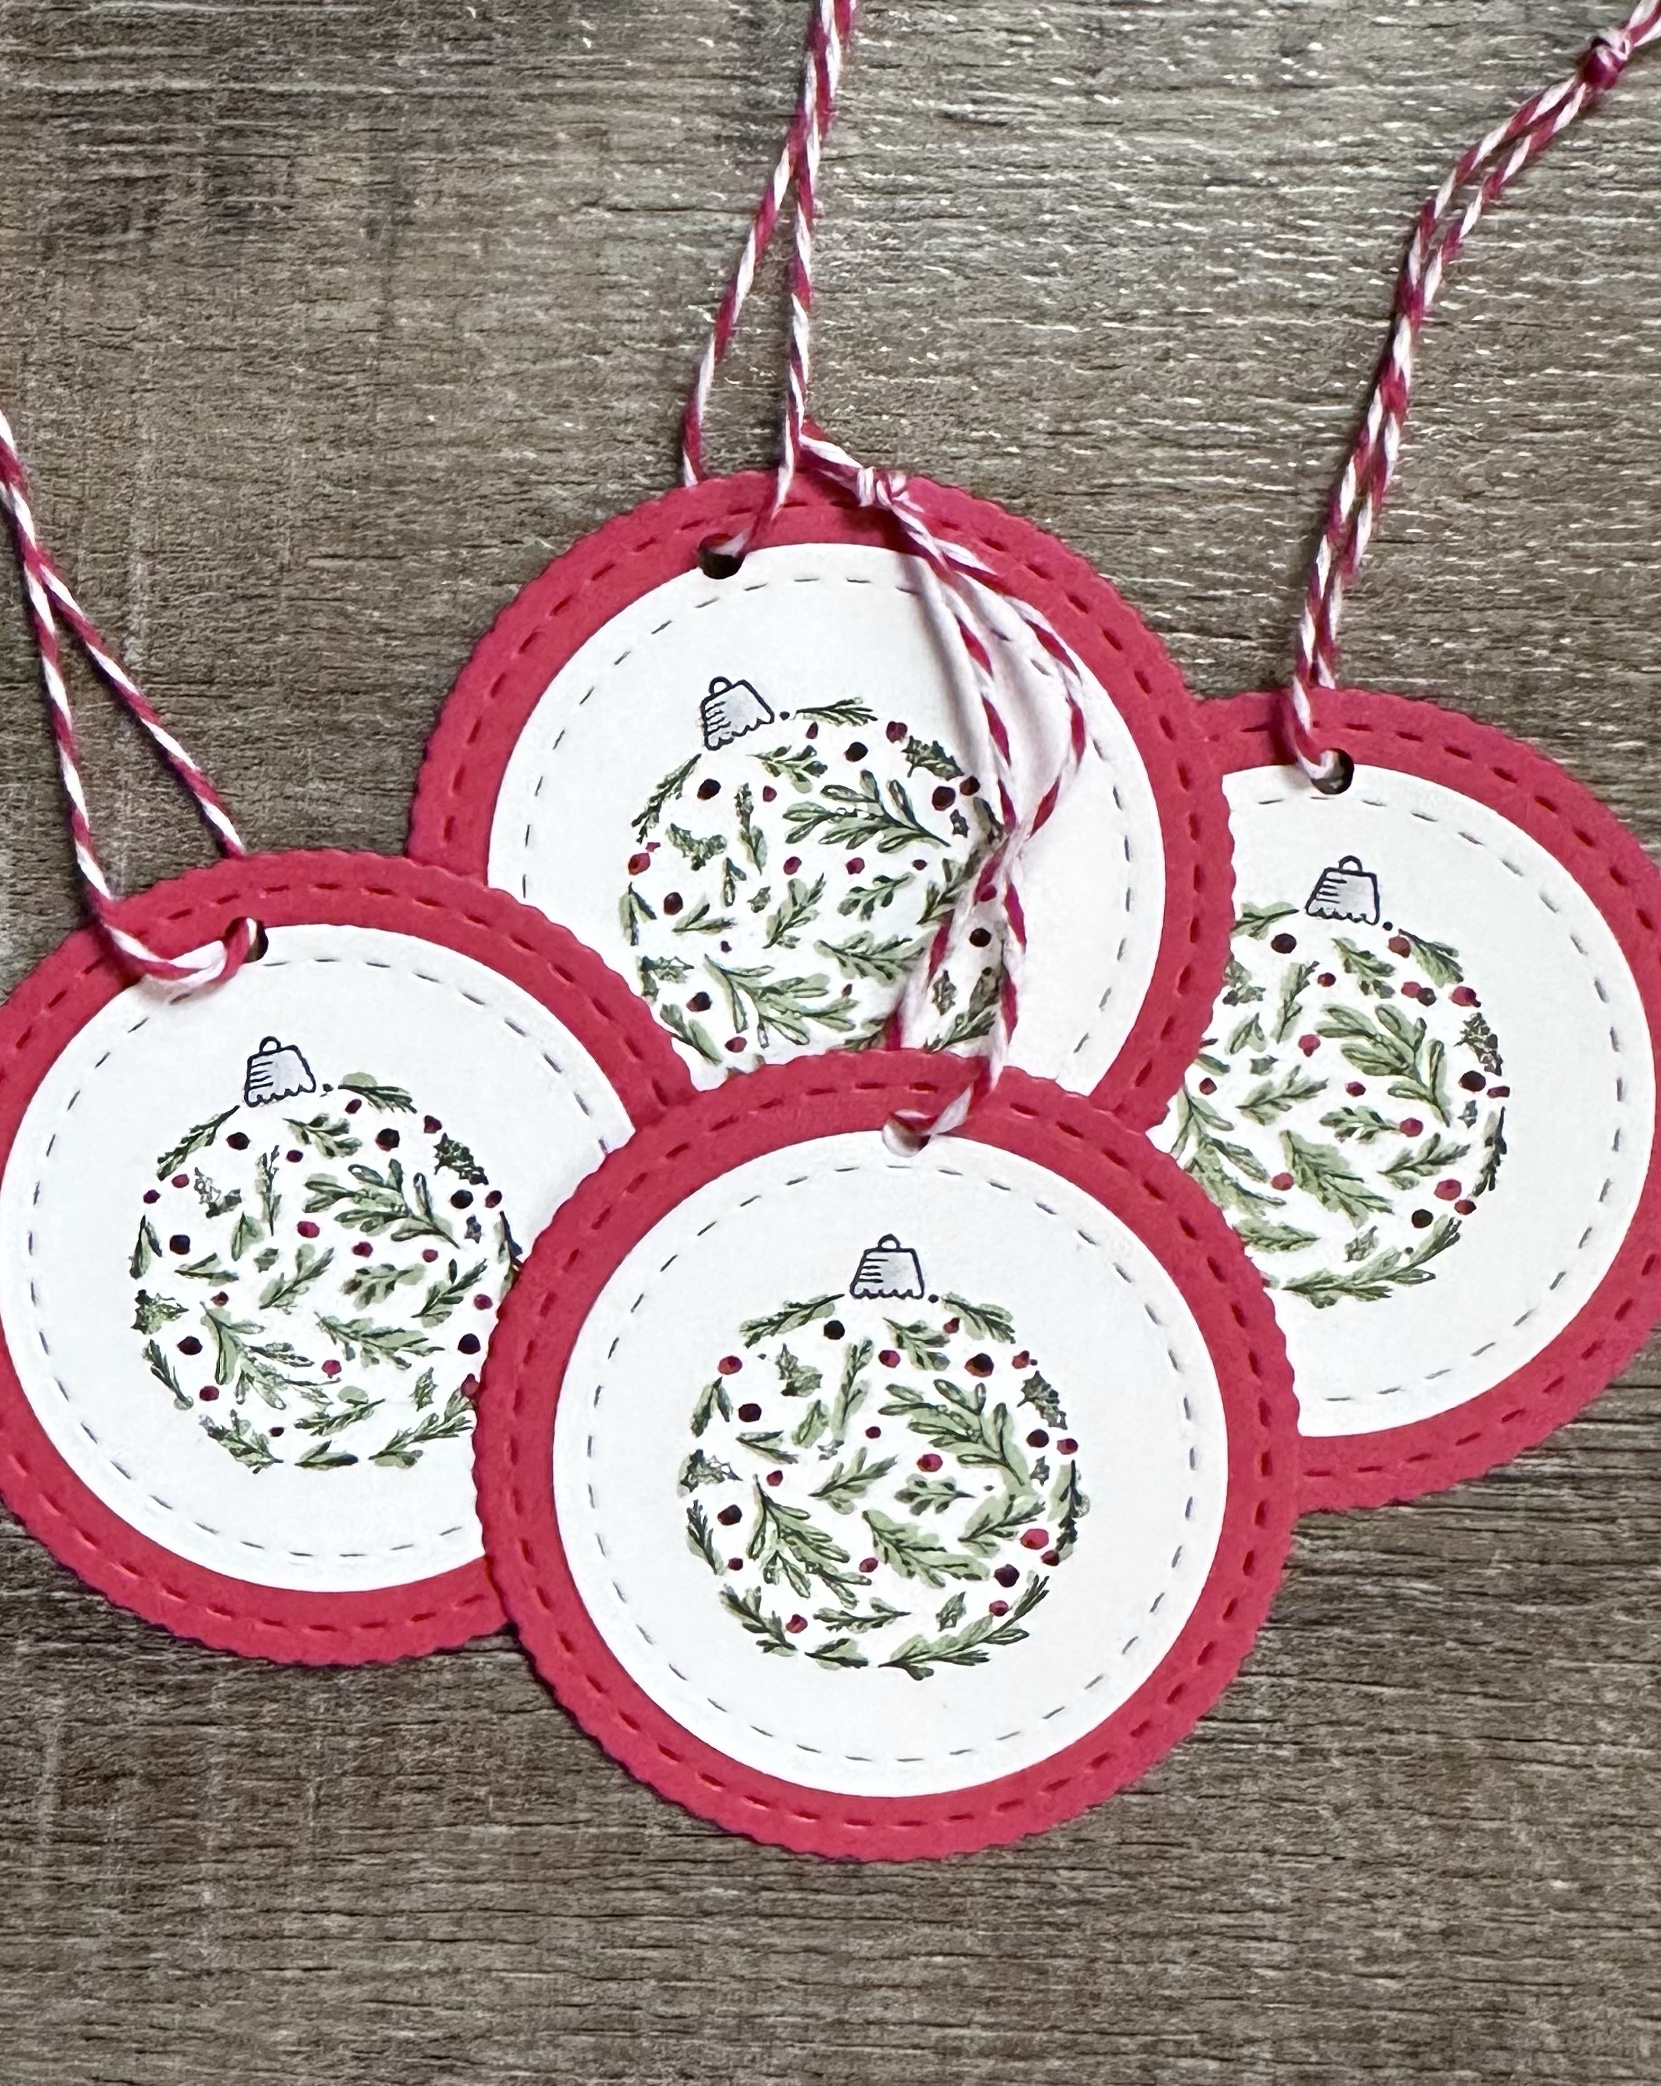
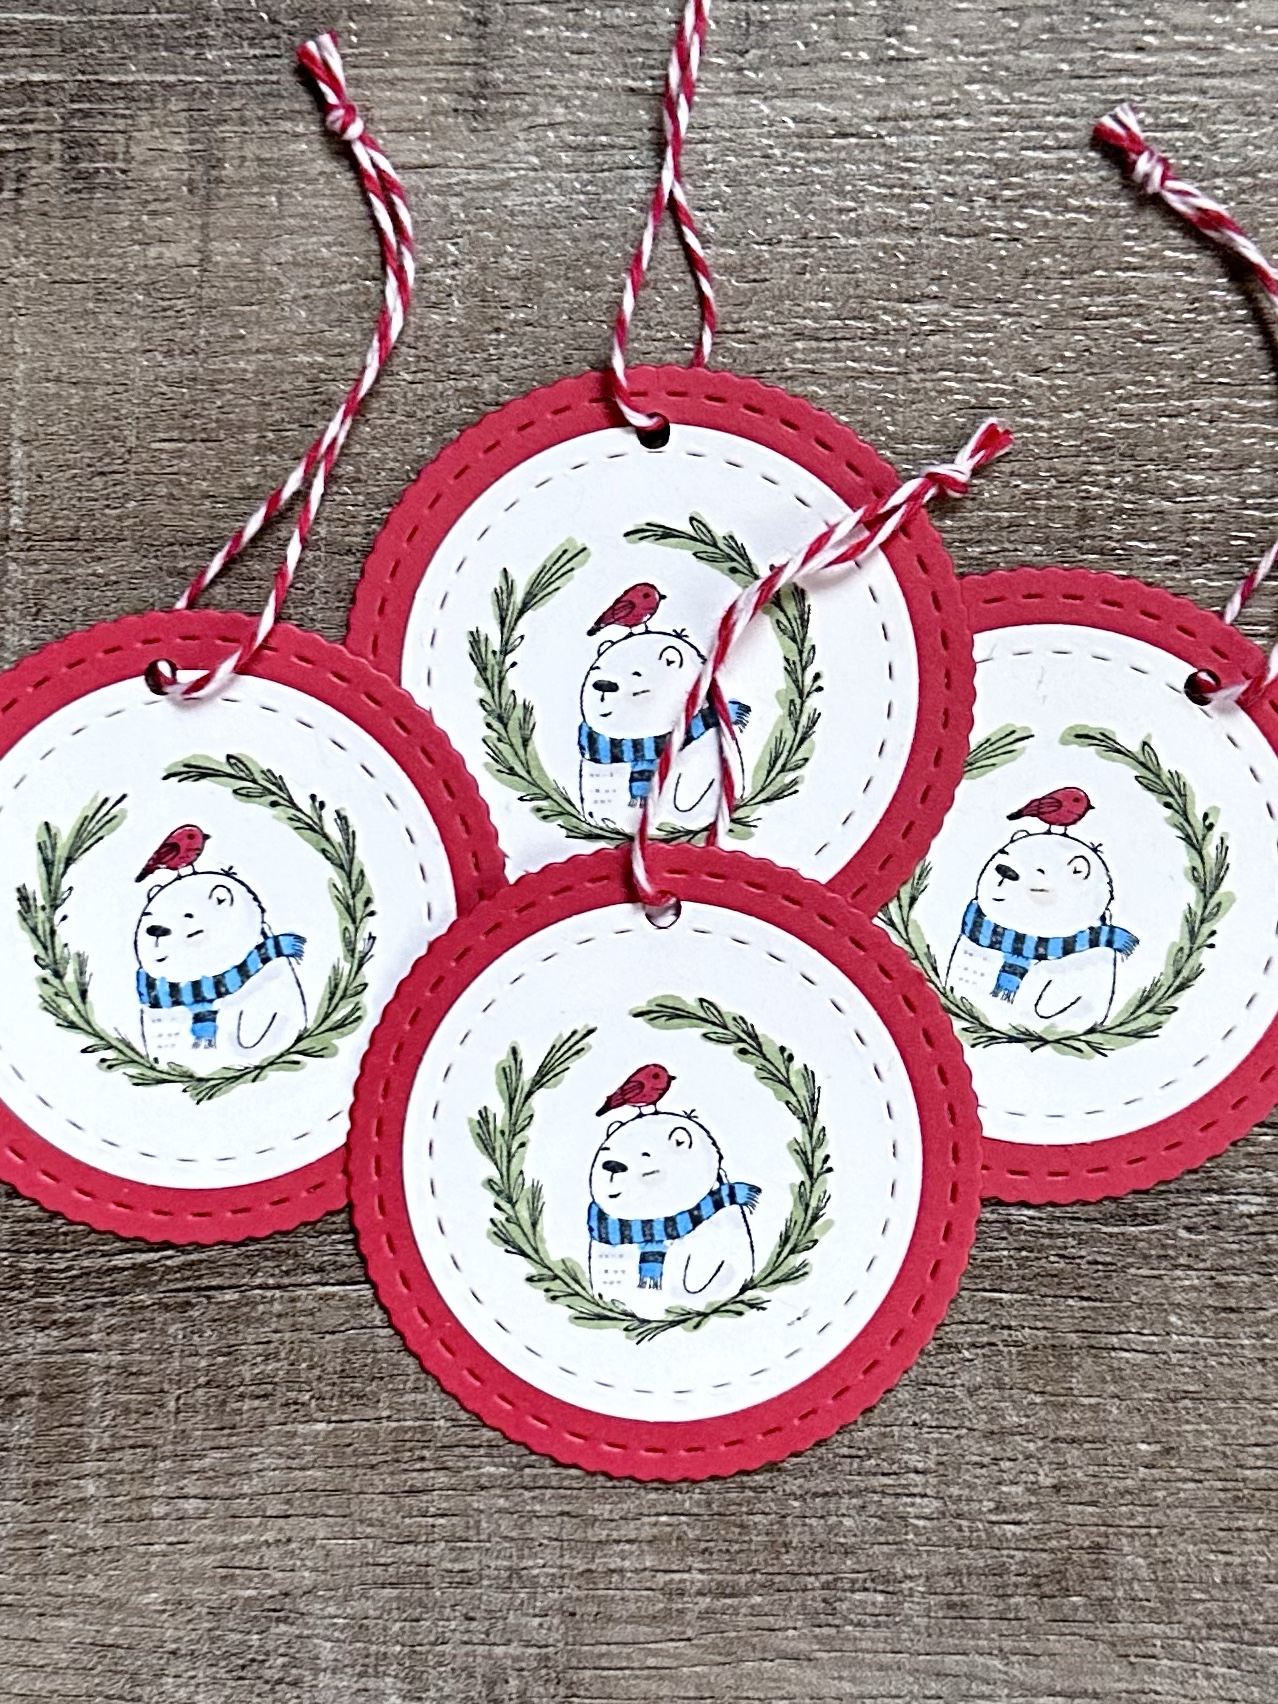
Do you have all your Christmas gifts wrapped and tagged? 🎁 Need a few tags to finish up? These tags are really quick to make and are so cute!
Disclosure: Some of the links on my site are affiliate links, meaning, at no additional cost to you, I will earn a small commission if you click through and make a purchase. As an Amazon Associate I earn from qualifying purchases.
The images I used are from the 2022 Advent Calendar from Unity Stamp Company – days 1 and 2. No need to worry if you don’t have these cute stamps – just pull out your favorite small Christmas stamps to make your tags.
On a side note, Unity Stamp Company has released an advent calendar filled with stamps for 3 years now. I missed the first year, but have 2021 and 2022. It’s such fun to open the little door to discover a new stamp each day! The stamps are the perfect size for all your cards and tags and you can combine them in all sorts of ways on your projects.
I used my Crop-a-Dile to punch holes in the tags. I love this tool because it will punch through several layers of card stock at once. I stacked 4 tags together and then punched the hole through all of them. I finished the tags by tying on some red and white bakers twine.
The tags only take a few minutes to make and will add just a little something extra to your gifts. 🎁
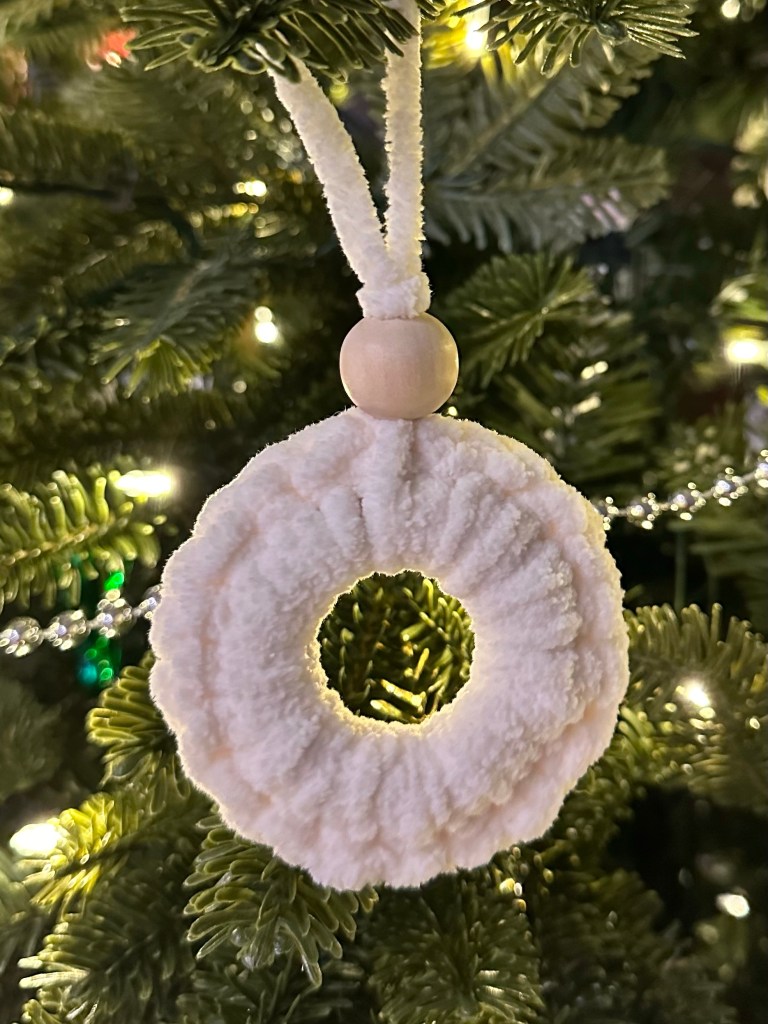
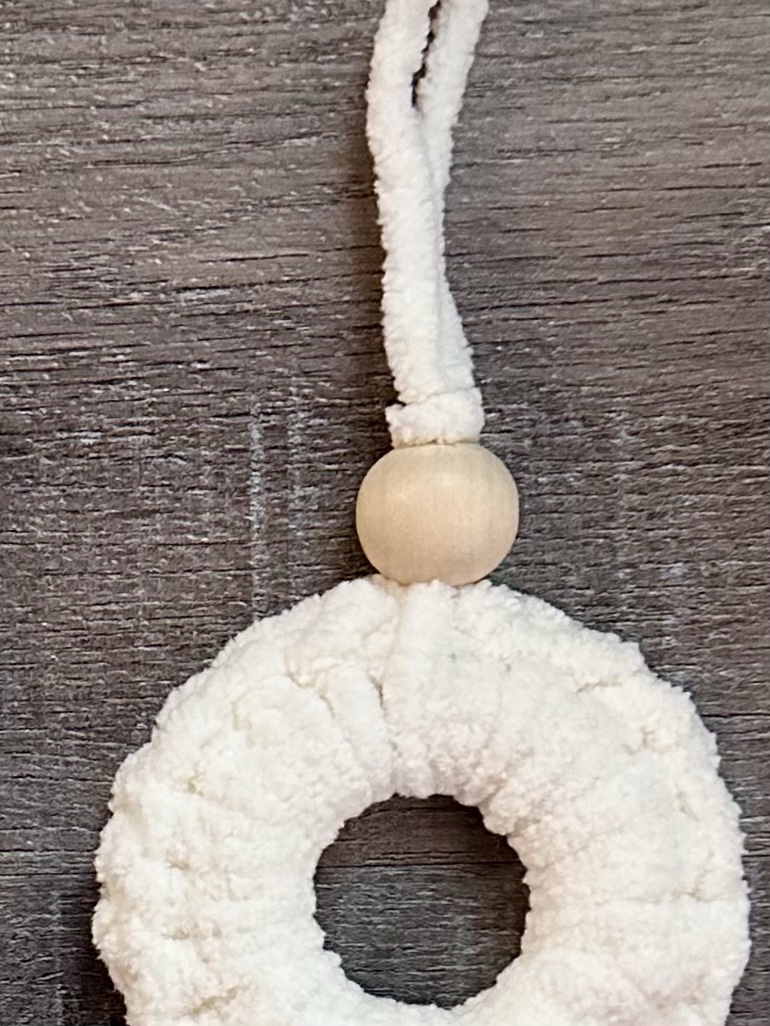
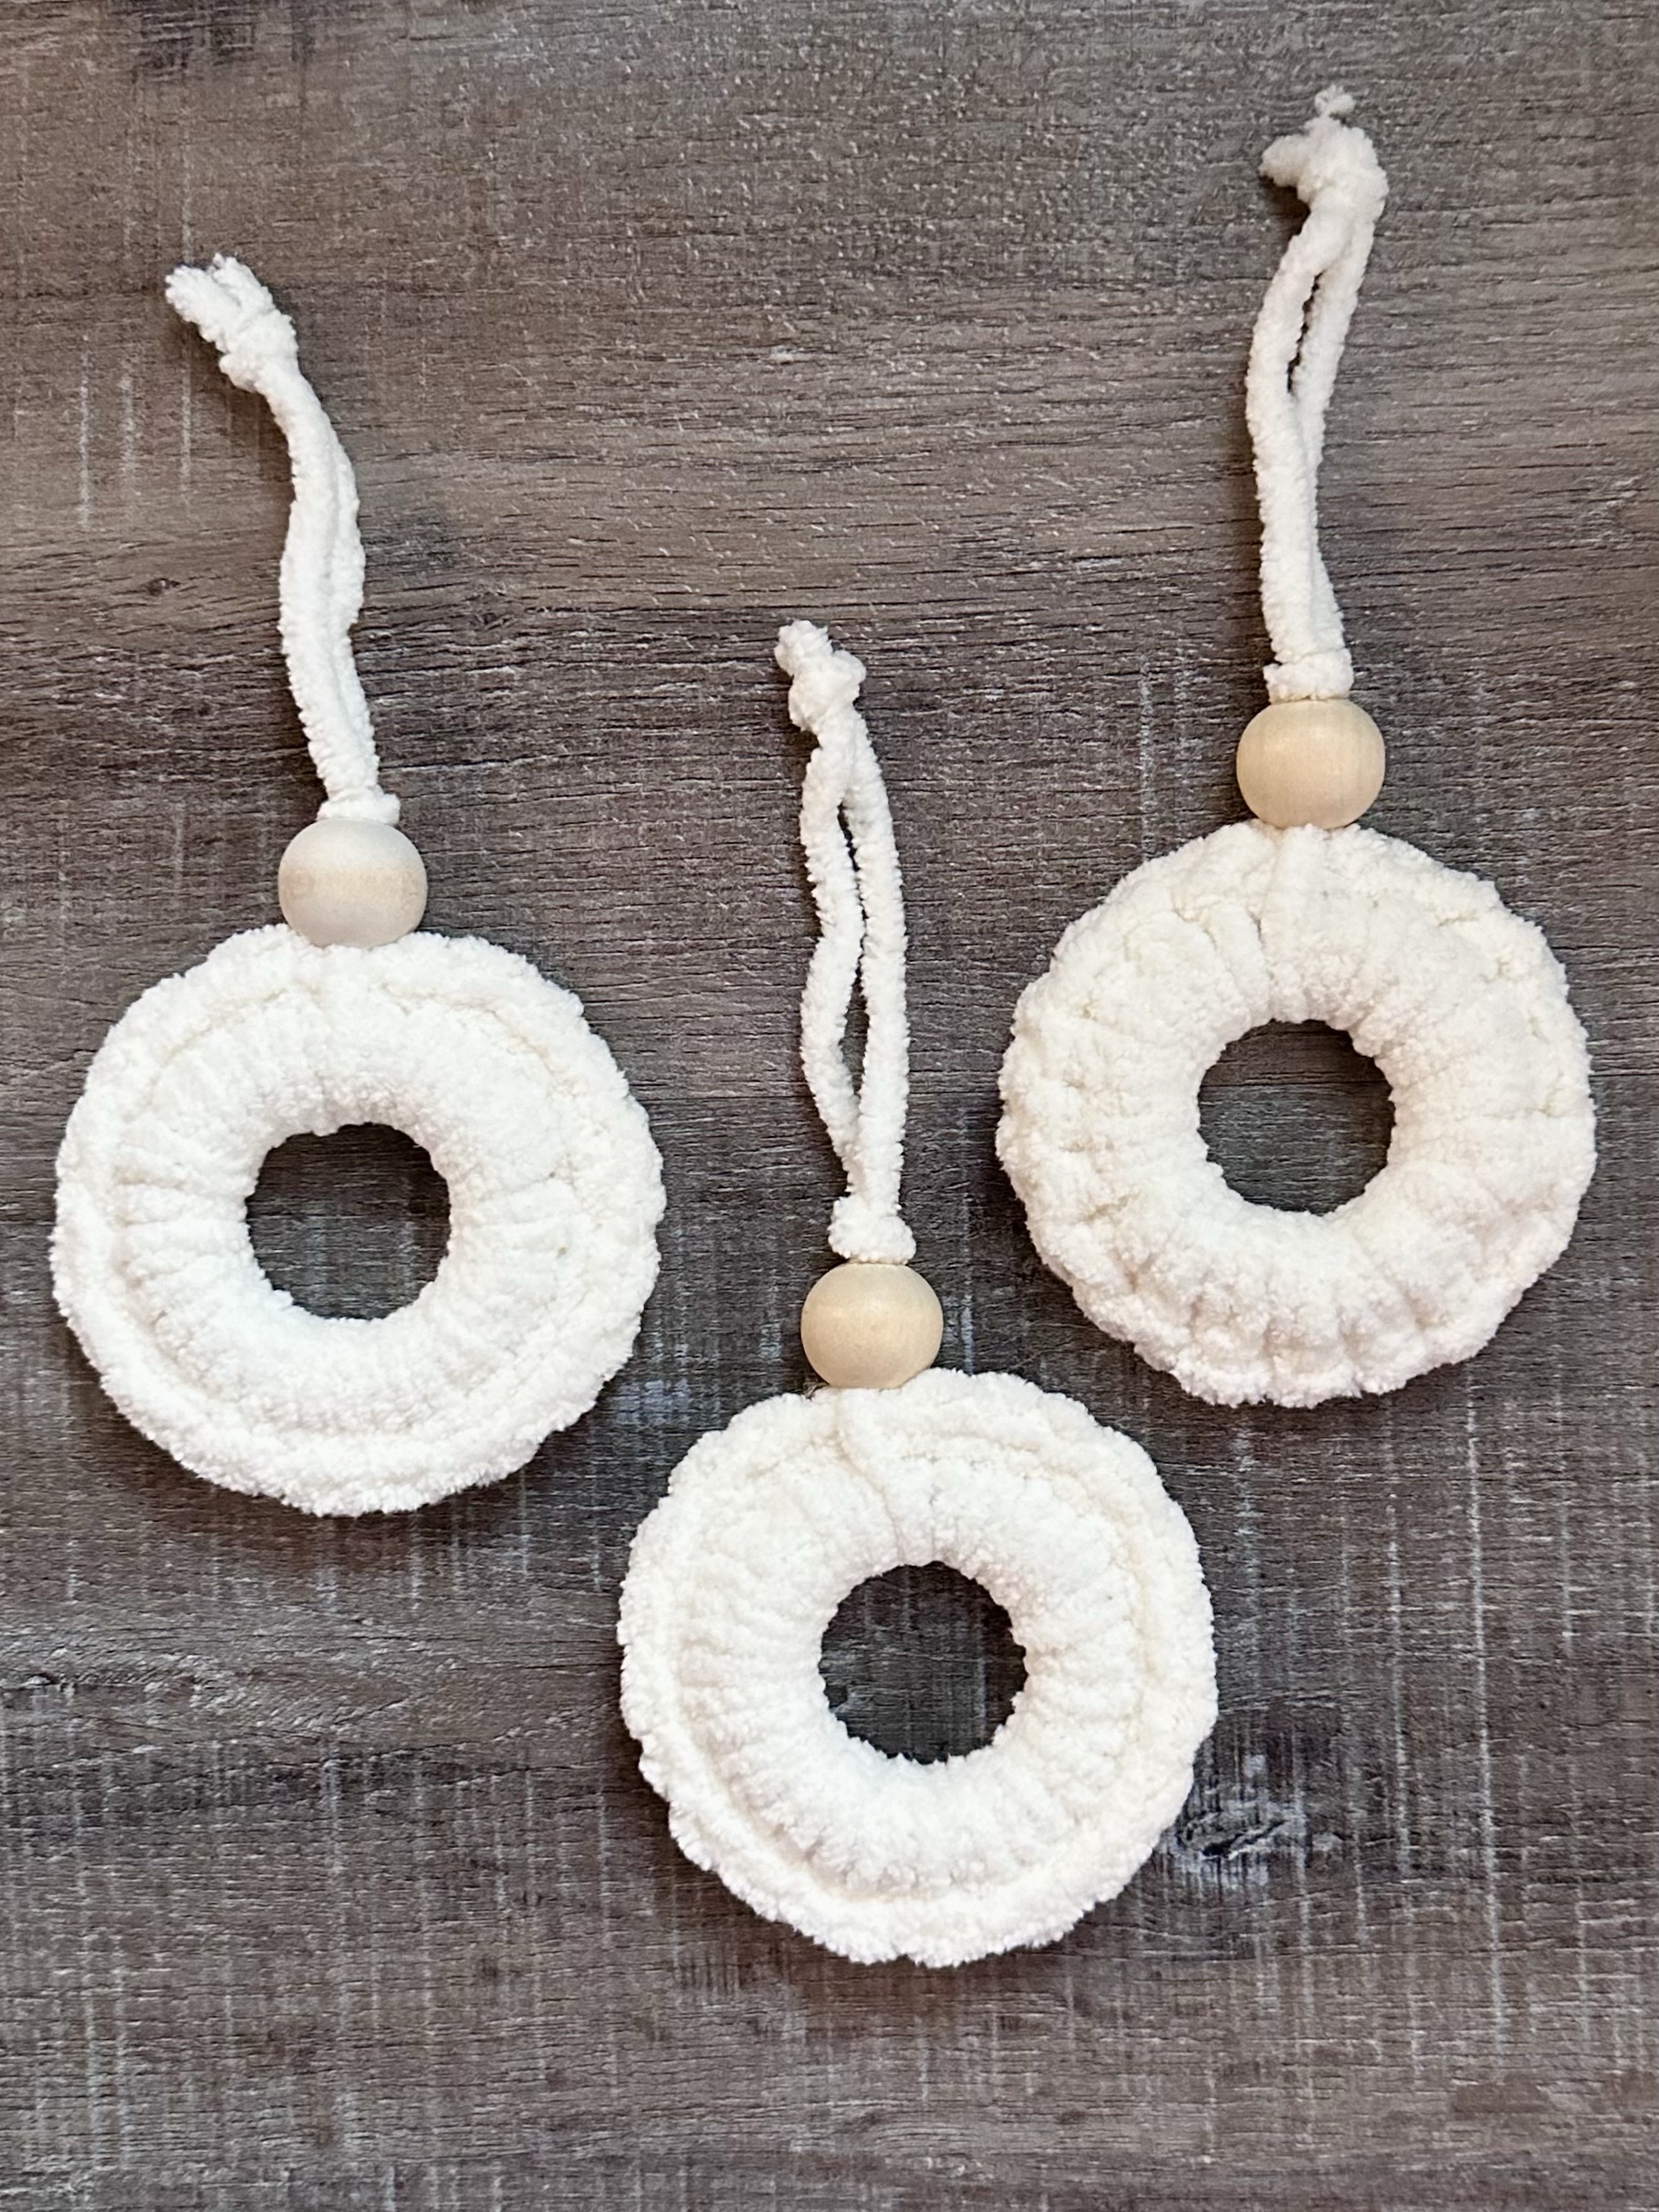
I have a fun Crochet Mini Wreath Ornament for you today. These work up in just a few minutes! You can stitch up a set as a gift or use them as a package tie-on. And of course they would look great on your tree. 🎄
Disclosure: Some of the links on my site are affiliate links, meaning, at no additional cost to you, I will earn a small commission if you click through and make a purchase. As an Amazon Associate I earn from qualifying purchases.
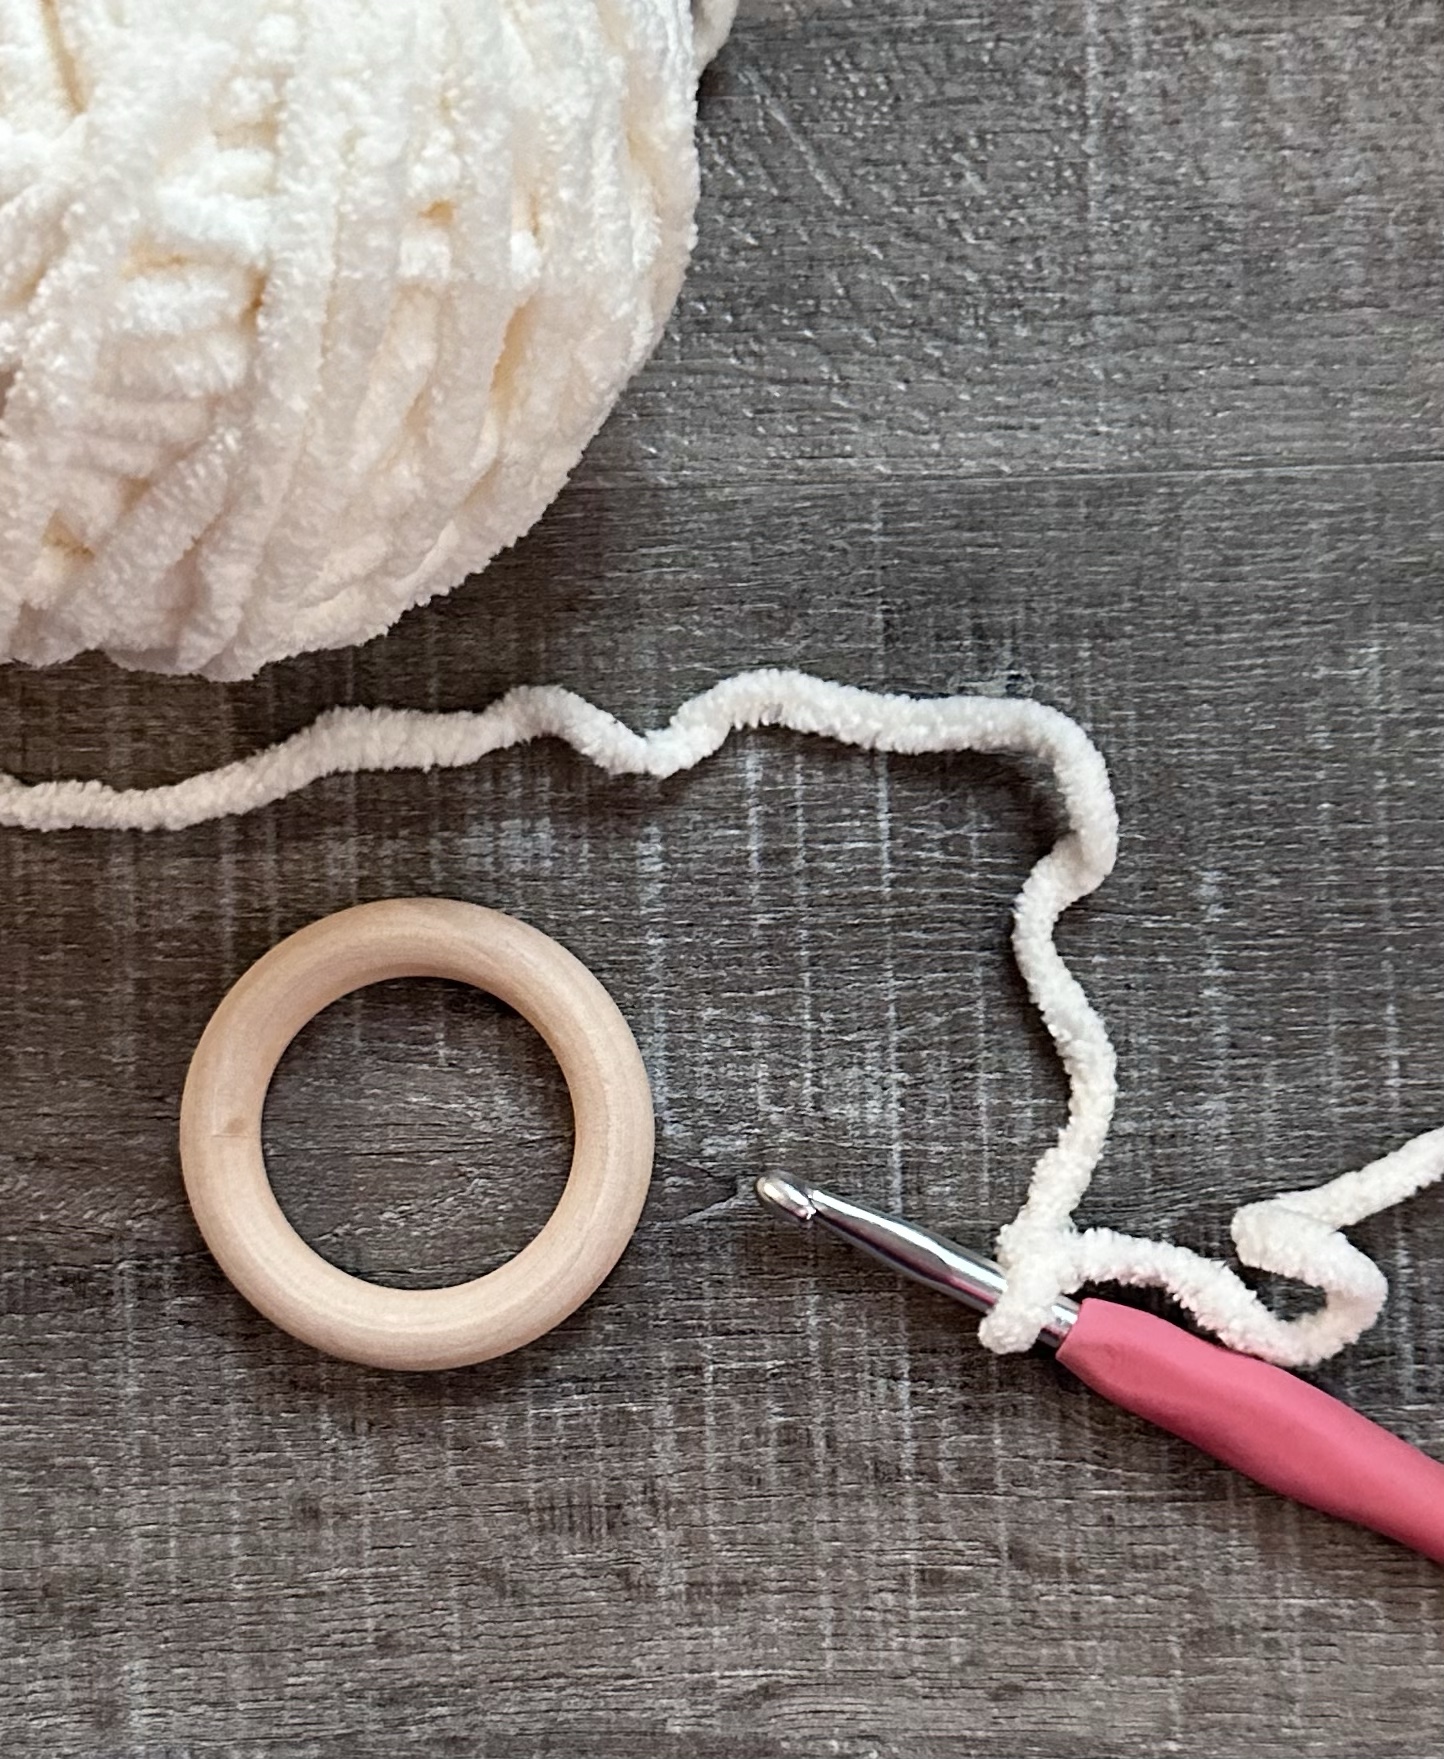
Make a slip knot and put it on your hook. For the 1st round, single crochet all the way around the wood ring, pushing your stitches close together. Join with a slip stitch to the first single crochet. For the 2nd round, slip stitch in the back loop only of each single crochet around. It helps to place a stitch marker in your first stitch of this round so you know when you get to the last stitch the first round. Join with a slip stitch to first slip stitch. Fasten off and weave in ends.
Cut a length of yarn about 16-18 inches long. Wrap it around the ornament and thread the ends through the bead. Push the bead close to the wreath and tie a knot close to the bead. Tie the ends together and trim any excess yarn.
I made my ornaments in a neutral color, but they would also be cute in any color. Simple, quick, and cute! Perfect for a last minute gift. 🎁
For a different twist using the same wood rings, you can find my Farmhouse-Inspired Crochet Wreath Ornament in this post.
I did it! If you’ve followed me for a while, you know my goal was to design and create a Christmas card each month this year. And I did it! I made several cards of each design and finished the year with this card for December.
Disclosure: Some of the links on my site are affiliate links, meaning, at no additional cost to you, I will earn a small commission if you click through and make a purchase. As an Amazon Associate I earn from qualifying purchases.
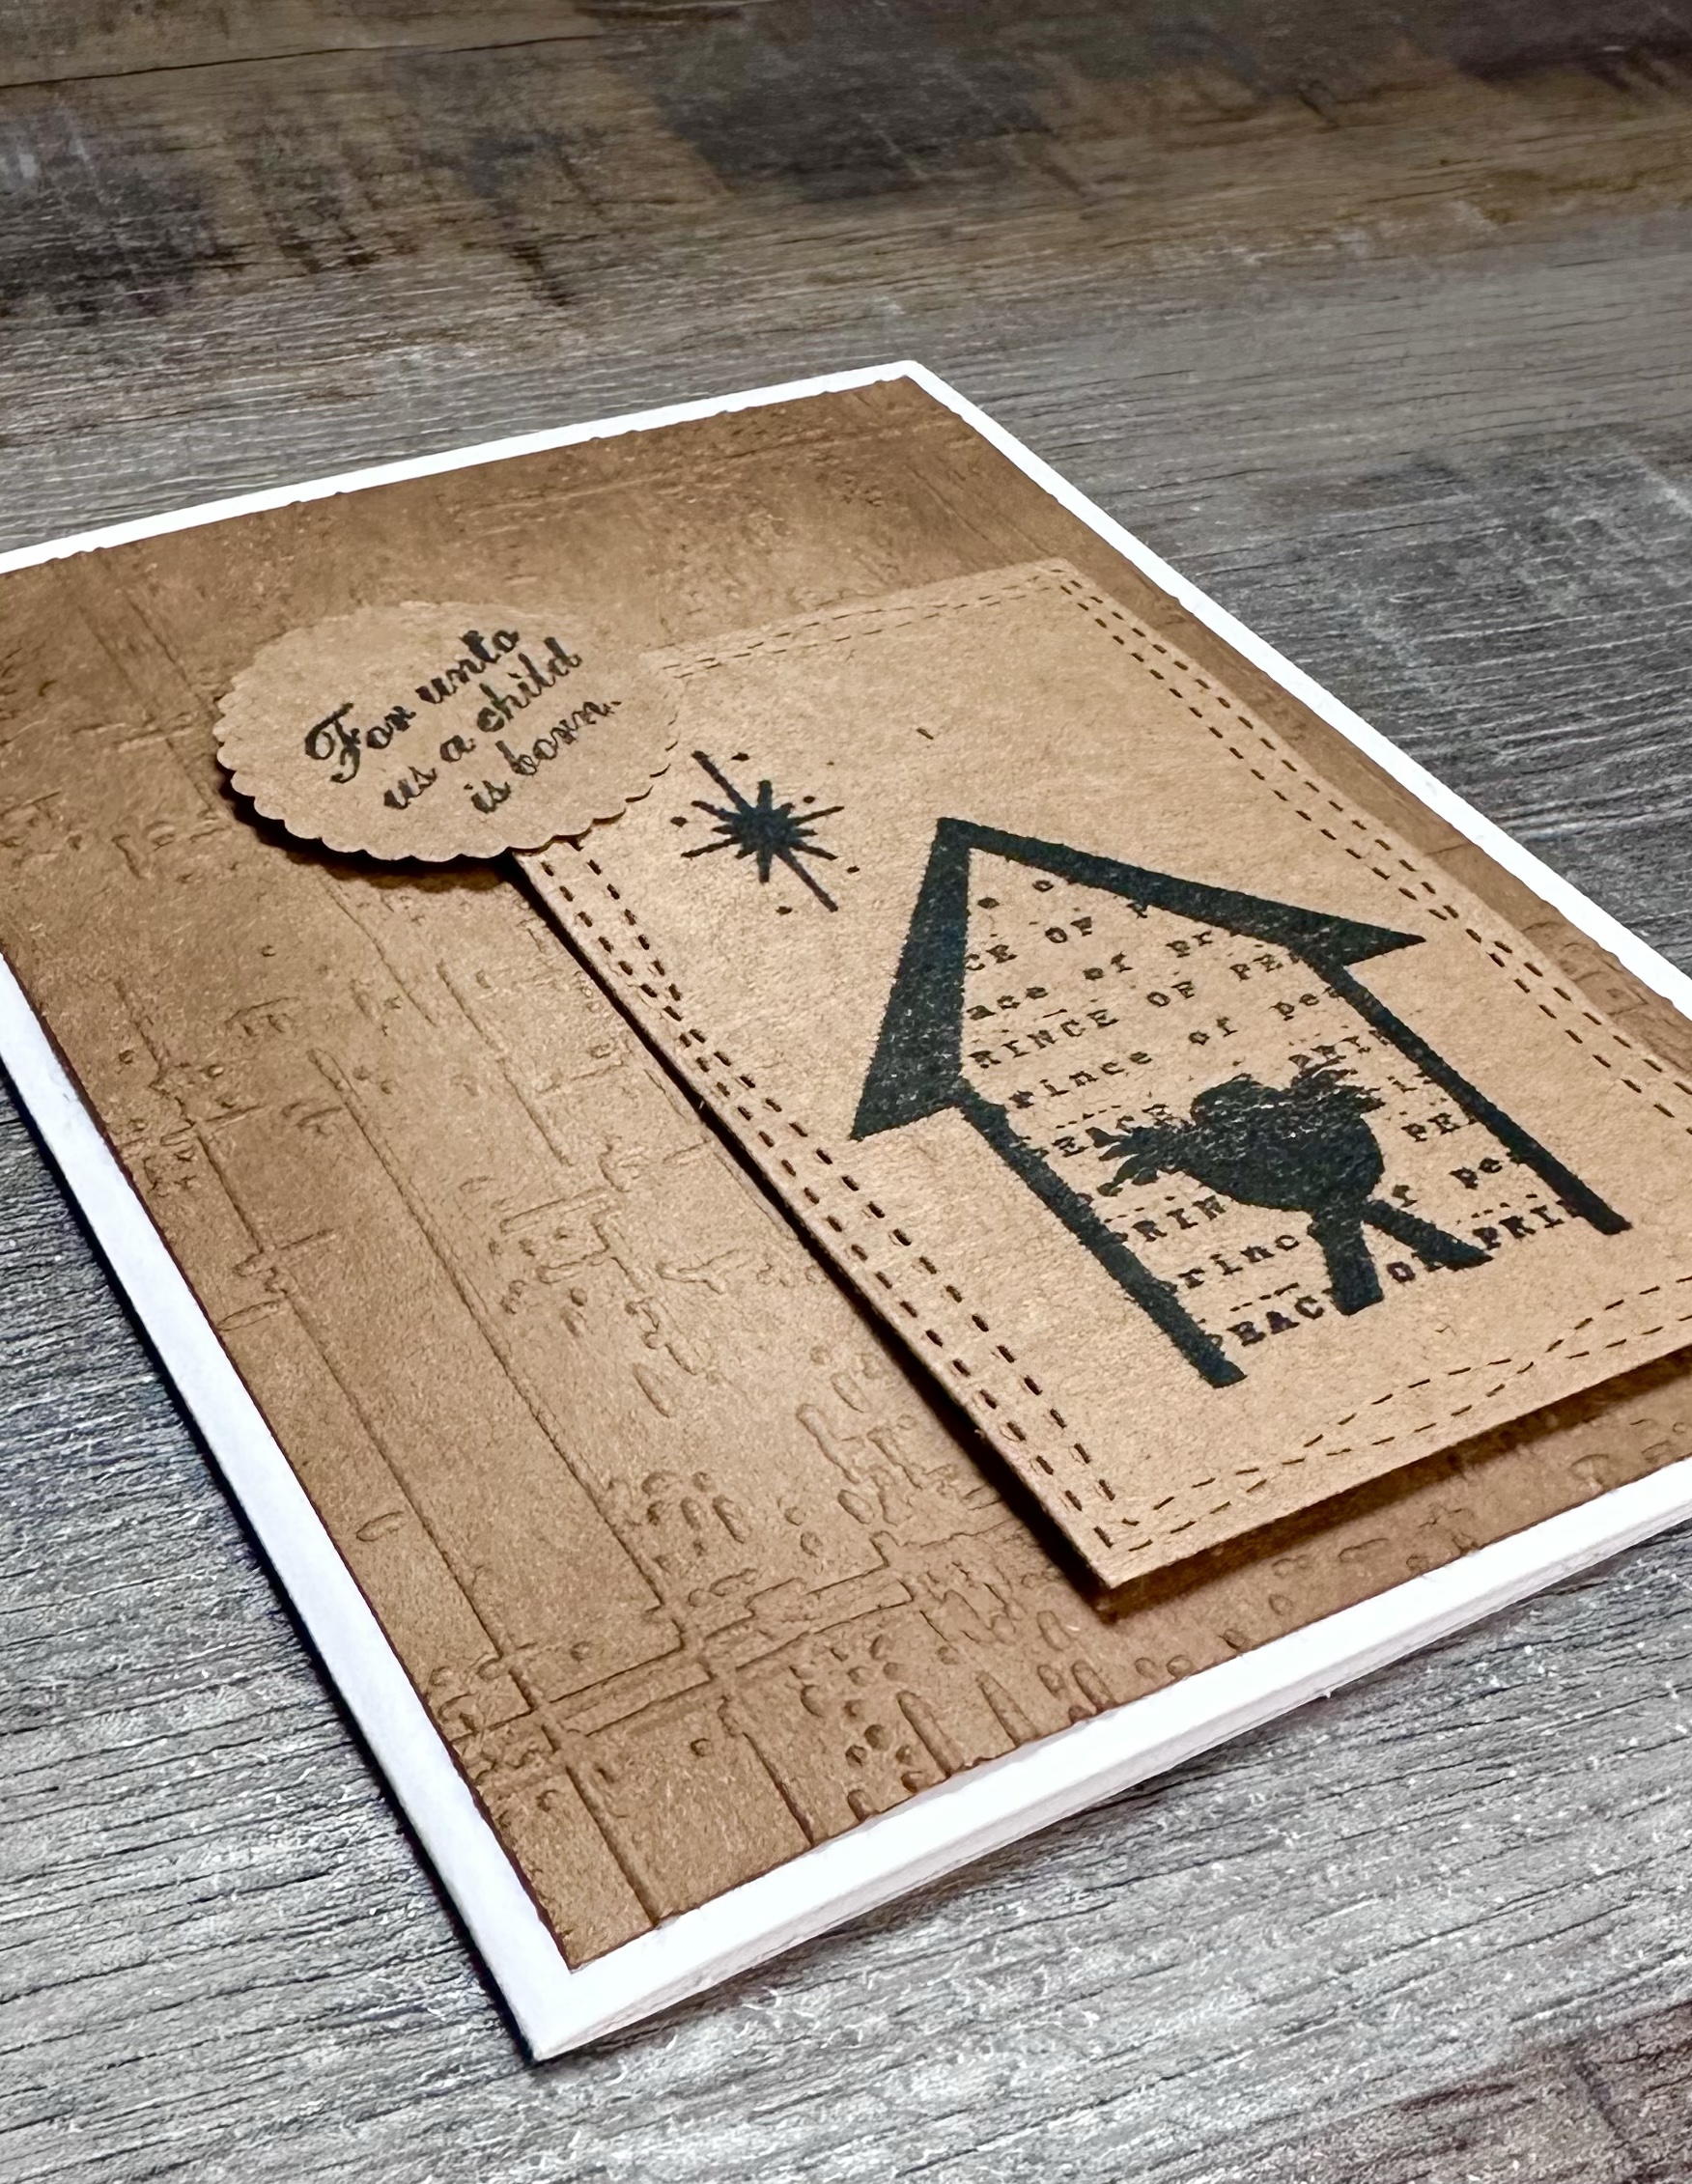
This card is a simple, no coloring card. We all know how busy the month of December can be so I wanted a quick and easy card for this month. 🙂
If you don’t have a Misti, you need to add it to your Christmas wishlist! It’s perfect for those larger stamps that sometimes don’t stamp completely the first time. Simply re-ink your stamp and stamp over the image a second time. I love mine!
The stamped manger image is attached to the card with foam tape. To finish the card, I added the sentiment to the left corner of the manger.
This has turned out to be one on my favorite Christmas cards that I’ve made! This layout and technique would make such a great masculine card with a different image. It could also make a beautiful sympathy card using a simple flower stamp.
Making a few Christmas cards each month has worked out great for me this year! I’m going to do it again next year so I can use even more of my (many 😱) Christmas stamps. 🎄 Join me next year – you won’t regret it!
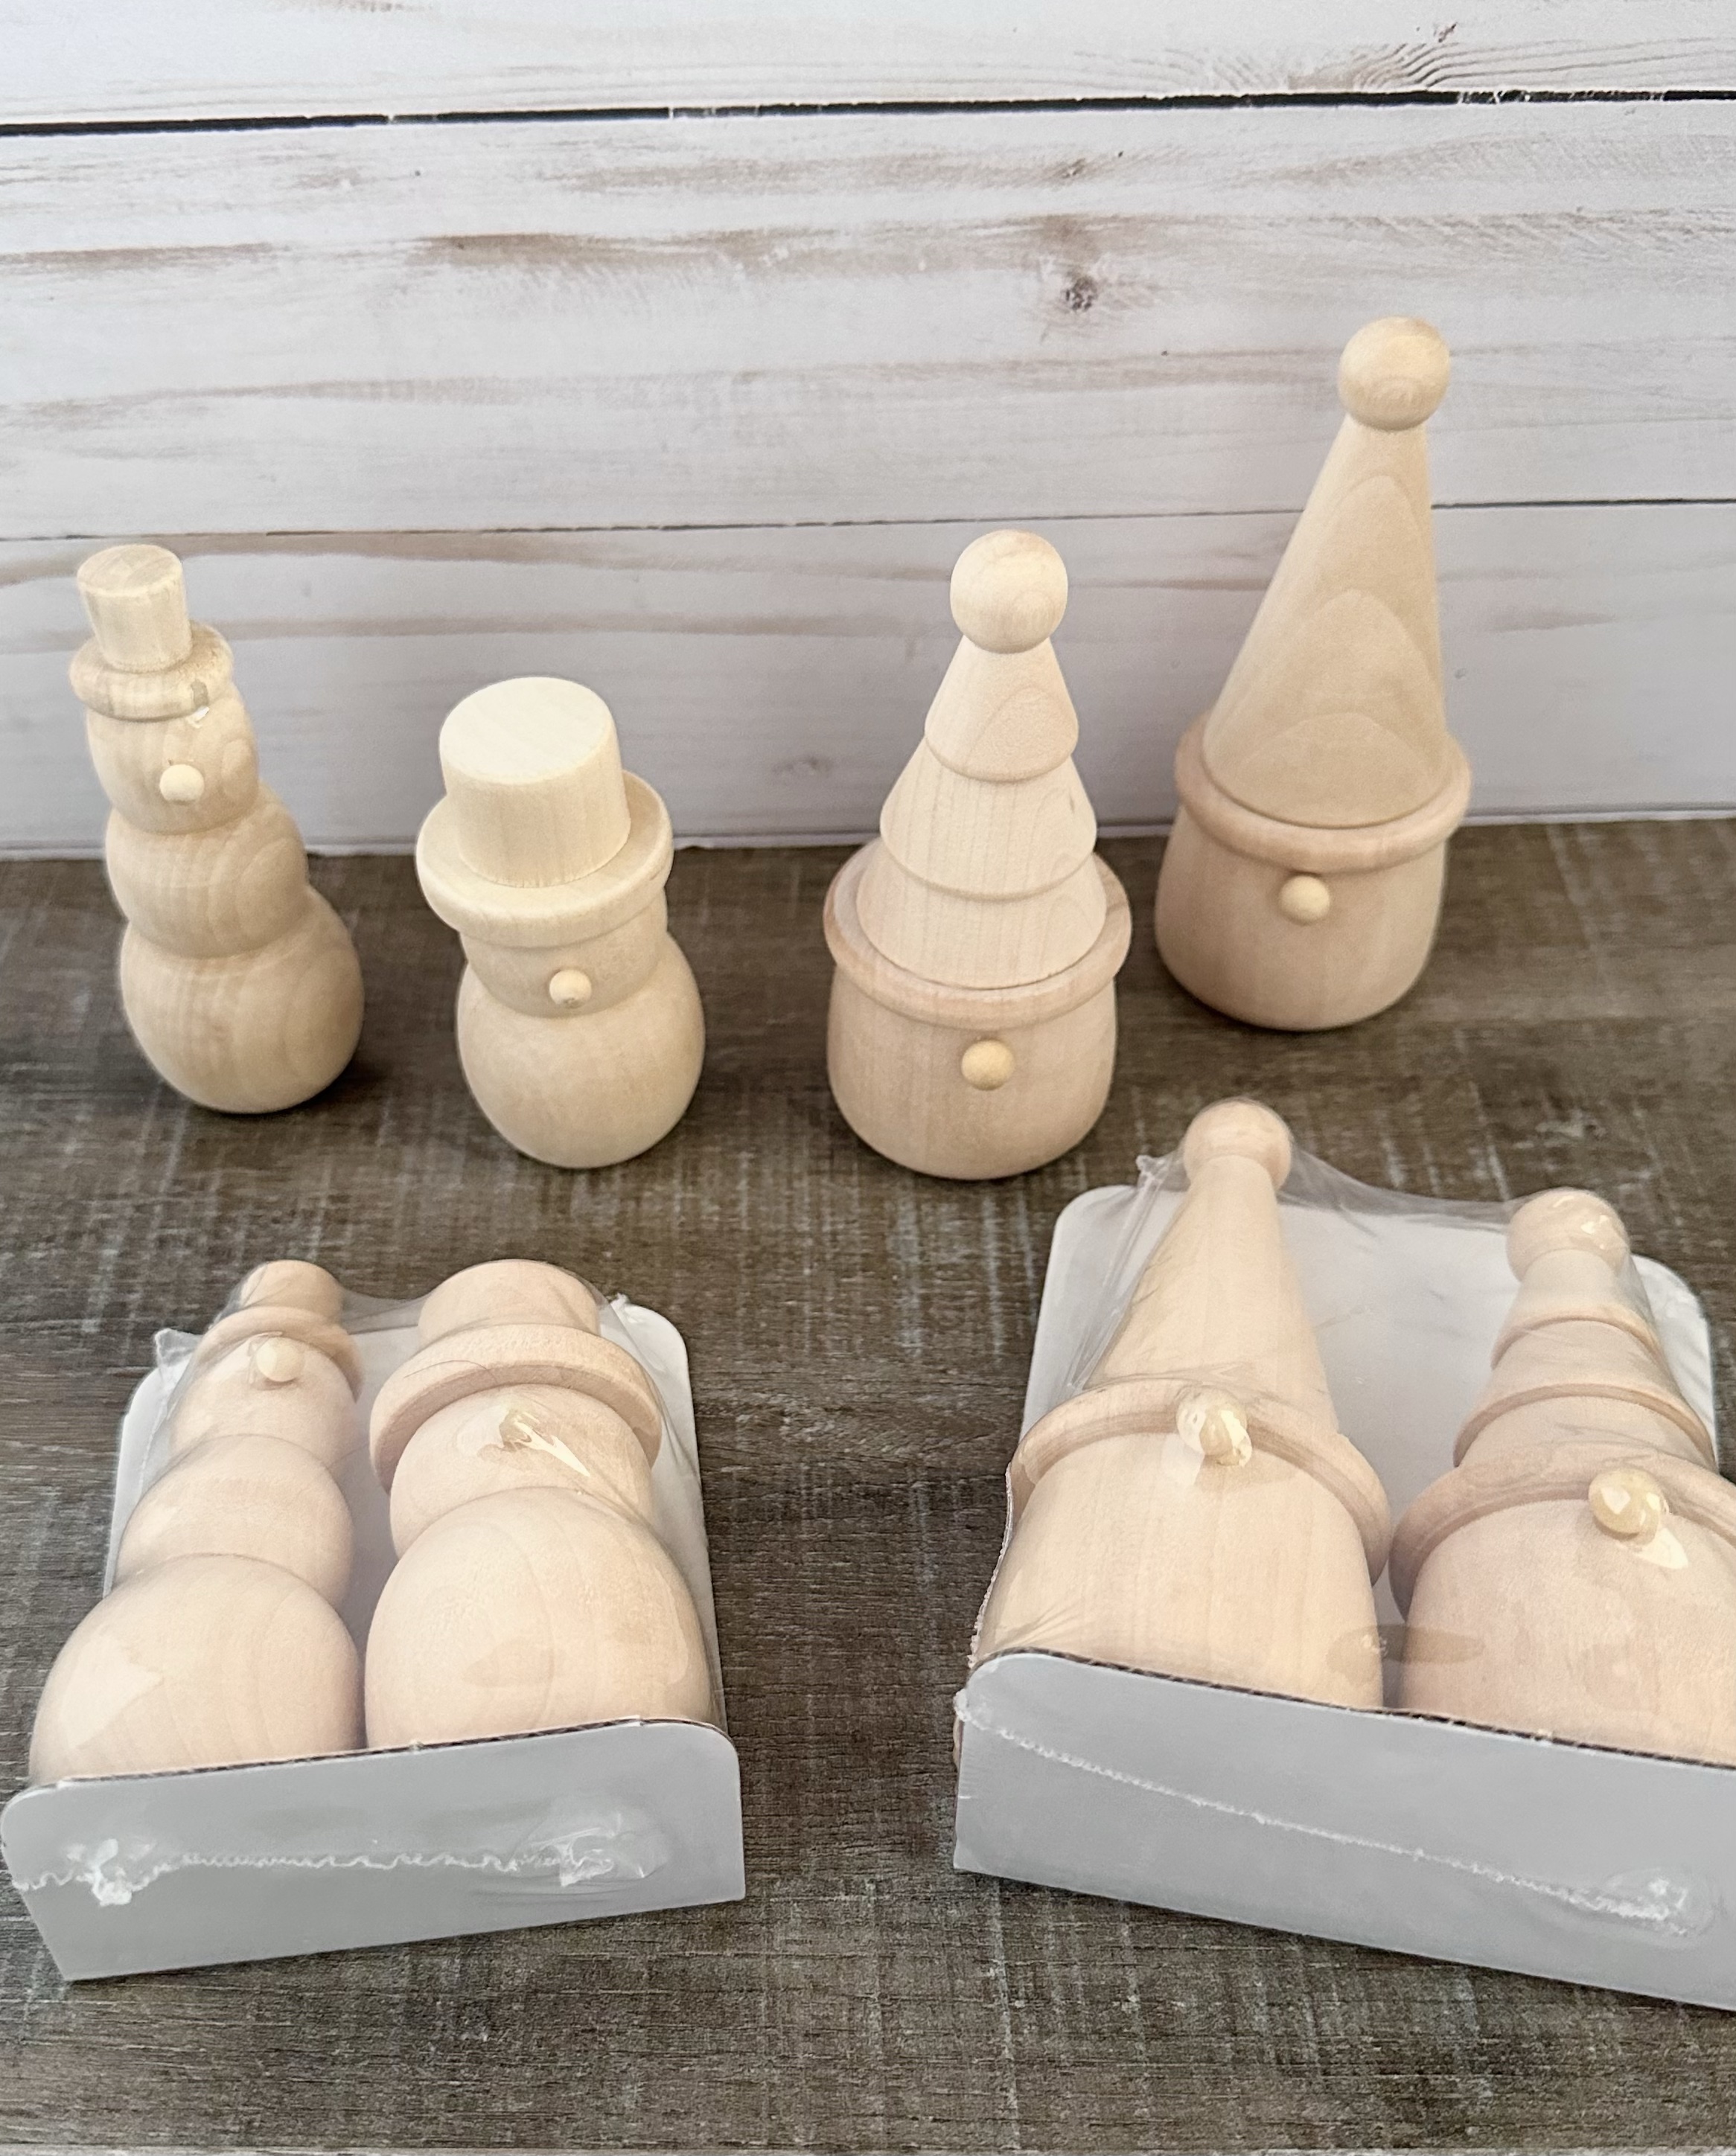
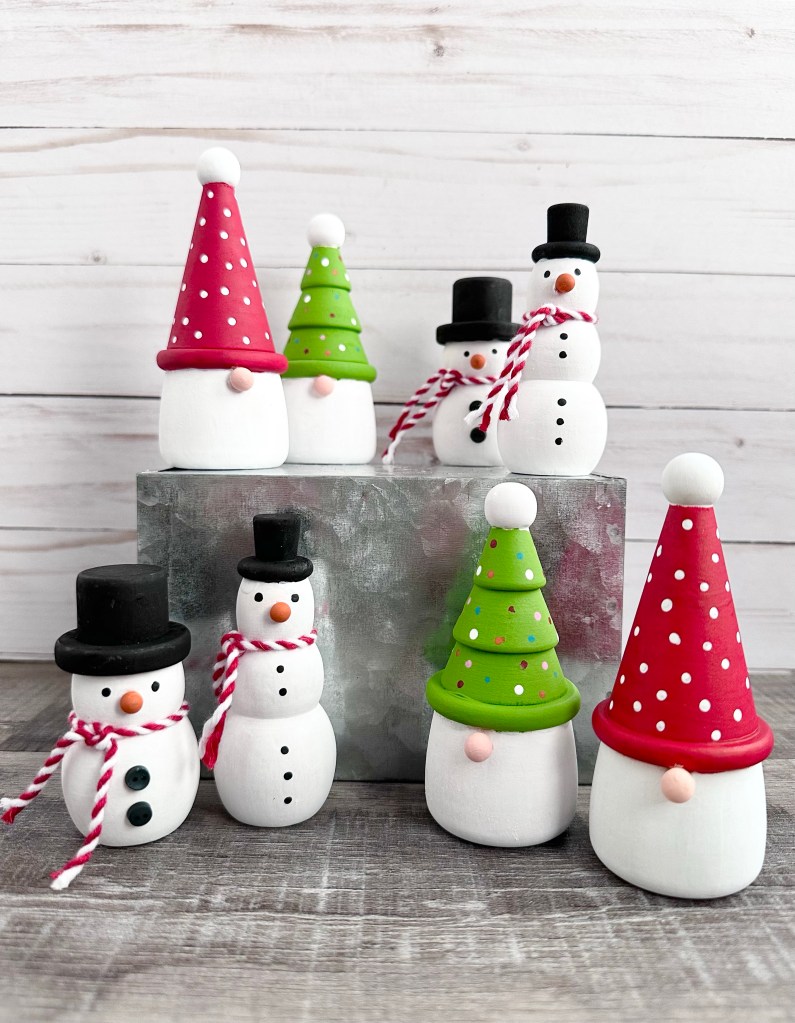
Did you see these cute wood gnomes and snowmen at Target in the Dollar Spot? They came in a package of 2 for just $3.00 and range in size from about 3 inches to 4.25 inches. I couldn’t resist bringing some home with me!
Disclosure: Some of the links on my site are affiliate links, meaning, at no additional cost to you, I will earn a small commission if you click through and make a purchase. As an Amazon Associate I earn from qualifying purchases.
I pulled out my acrylic paints to dress them up a bit. (Here’s a great set of paints if you need to restock your craft room.) I painted 3 coats of white to get the coverage I wanted and 2 coats of the other colors.
I used the round end of a small paintbrush handle to add the dots of color on the gnomes and the eyes and buttons on the snowmen. On the shorter snowman, I glued tiny real buttons on his little belly. Then I tied thicker red and white twine onto the snowmen for their scarves. (You can also use thin ribbon.)
I think they turned out so cute! 🙂 They are the perfect size to add to your tiered tray or to tuck anywhere you want a little extra Christmas cheer. 🎄🎅🏼
I’ve gathered up several of my crochet patterns in one post to give you some Crochet Christmas Gift Ideas. These are all patterns I’ve created and they are all free!! Most of them work up quickly and are beginner friendly. I hope you’ll find some inspiration for your gift giving. 🙂
Disclosure: Some of the links on my site are affiliate links, meaning, at no additional cost to you, I will earn a small commission if you click through and make a purchase. As an Amazon Associate I earn from qualifying purchases.
Click on each picture below and it will take you to the post with the pattern for the item. Most (maybe all) will also have a link to a free PDF if you want to easily print the pattern.
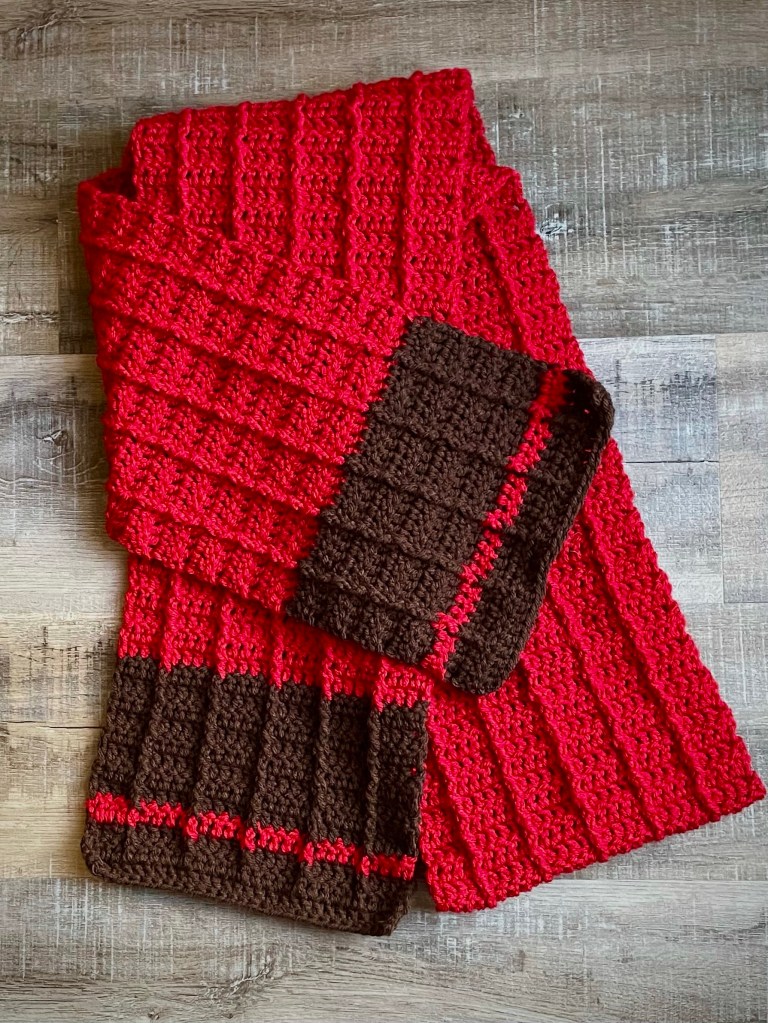
Men’s Color Block Scarf can be adjusted to any length.
Quick and easy Crochet Cotton Face Scrubbies make great stocking stuffers.
This Chunky Crochet Infinity Scarf stitches up quickly.
Crochet Mini Gift Bags are the perfect size for gift cards or cash – with room for a little chocolate!
The Crochet Lillian Infinity Scarf can be made in any color combo – or just one color.
Dishcloths make a great practical gift – this Crochet Bobble Dishcloth has so much texture!
The Crochet Candy Cane Cup Cozy is a fun way to dress up their favorite canned or bottled drink.
The Crochet Christmas Cowl only uses one skein of worsted weight yarn! Make it in their favorite color.
The Farmhouse-Inspired Crochet Wreath Ornament makes a great package tie-on.
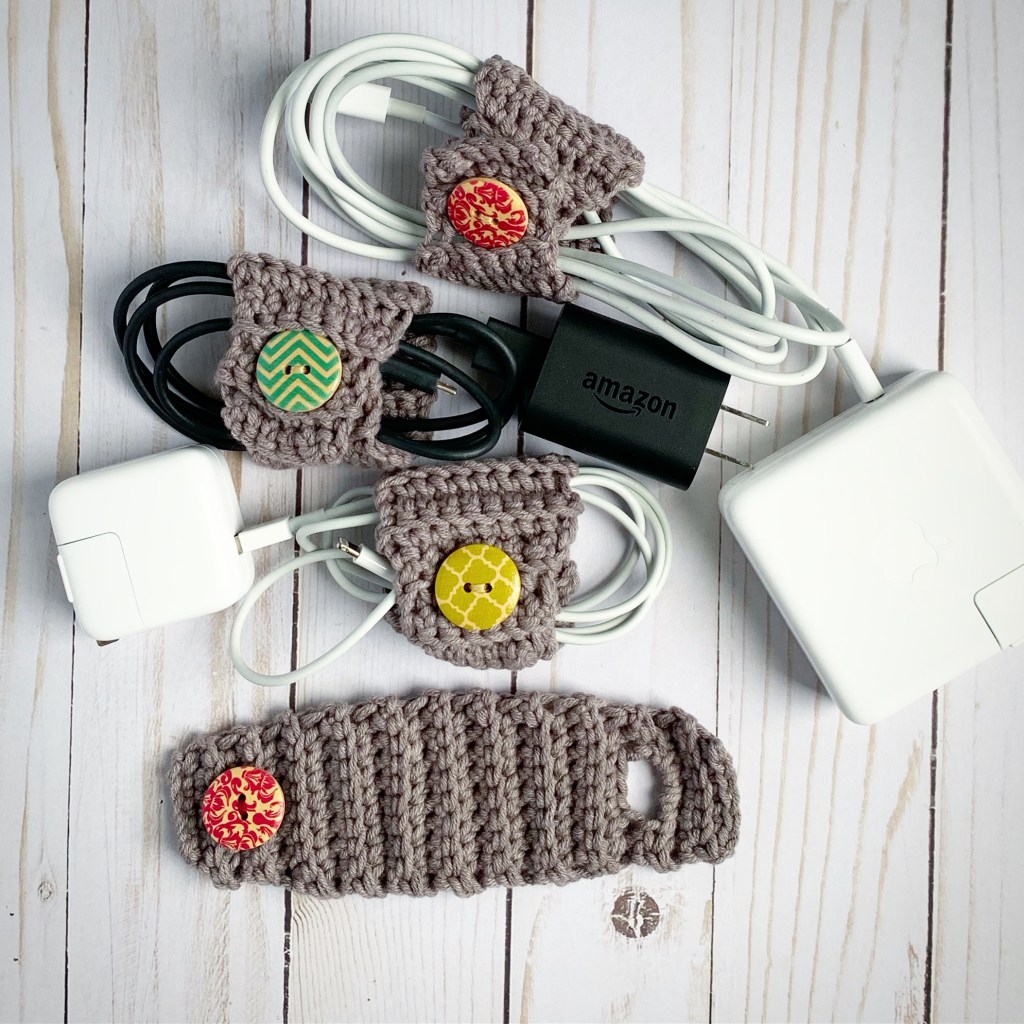
Need a stocking stuffer for the techie in your life? The Crochet Ribbed Cord Keeper works up in minutes!
I hope these crochet patterns are helpful in your Christmas gift giving! I have more patterns that I’ve designed on my blog (as well as projects I’ve stitched up using patterns by other designers – links to their patterns are included in each blog post). Just type “Crochet” in the search bar (on the right under my photo) for more ideas – it will bring up links to several crochet posts and then click “Older Posts” at the bottom of each page to see more crochet posts.
Are you in need of a little something to give friends, family, and neighbors for Christmas? Gifts in a jar are a great idea! They are inexpensive, look festive, and can be stored to use later after the hustle and bustle of the holidays are over.
Disclosure: Some of the links on my site are affiliate links, meaning, at no additional cost to you, I will earn a small commission if you click through and make a purchase. As an Amazon Associate I earn from qualifying purchases.
There are tons of recipes for mason jars out there – everything from cookies, brownies, and cocoa to soups and spice mixes. I found this recipe for Friendship Soup here and thought it was just right to warm up the holidays.
I layered the ingredients in wide mouth mason jars and attached the tag with directions for making the soup with a festive ribbon. I printed the instructions on white card stock, then layered them to red and green card stock and punched a hole in the corner.
Here’s a PDF file of the instructions I made if you’re interested…
(I also gave Homemade Cocoa Mix as gifts a couple of years ago – details are in this post.)
I love the idea of giving soup mixes for the holidays! It’s the perfect gift for when your friends, family, and neighbors need a little warm comfort food in the cold days of January. 😊
It’s Thanksgiving Day in the United States today and I just wanted to take a minute to tell you how thankful I am for all of you! It means the world to me that you take a minute out of your day to take a look at my little blog. I love creating and sharing my creations with all of you and I hope that I inspire you to tap into your creative side, too!
Disclosure: Some of the links on my site are affiliate links, meaning, at no additional cost to you, I will earn a small commission if you click through and make a purchase. As an Amazon Associate I earn from qualifying purchases.
Thank you for every view, comment, like, and share – I am truly so thankful for you! I hope you have a wonderful Thanksgiving with family and friends!🦃❤️
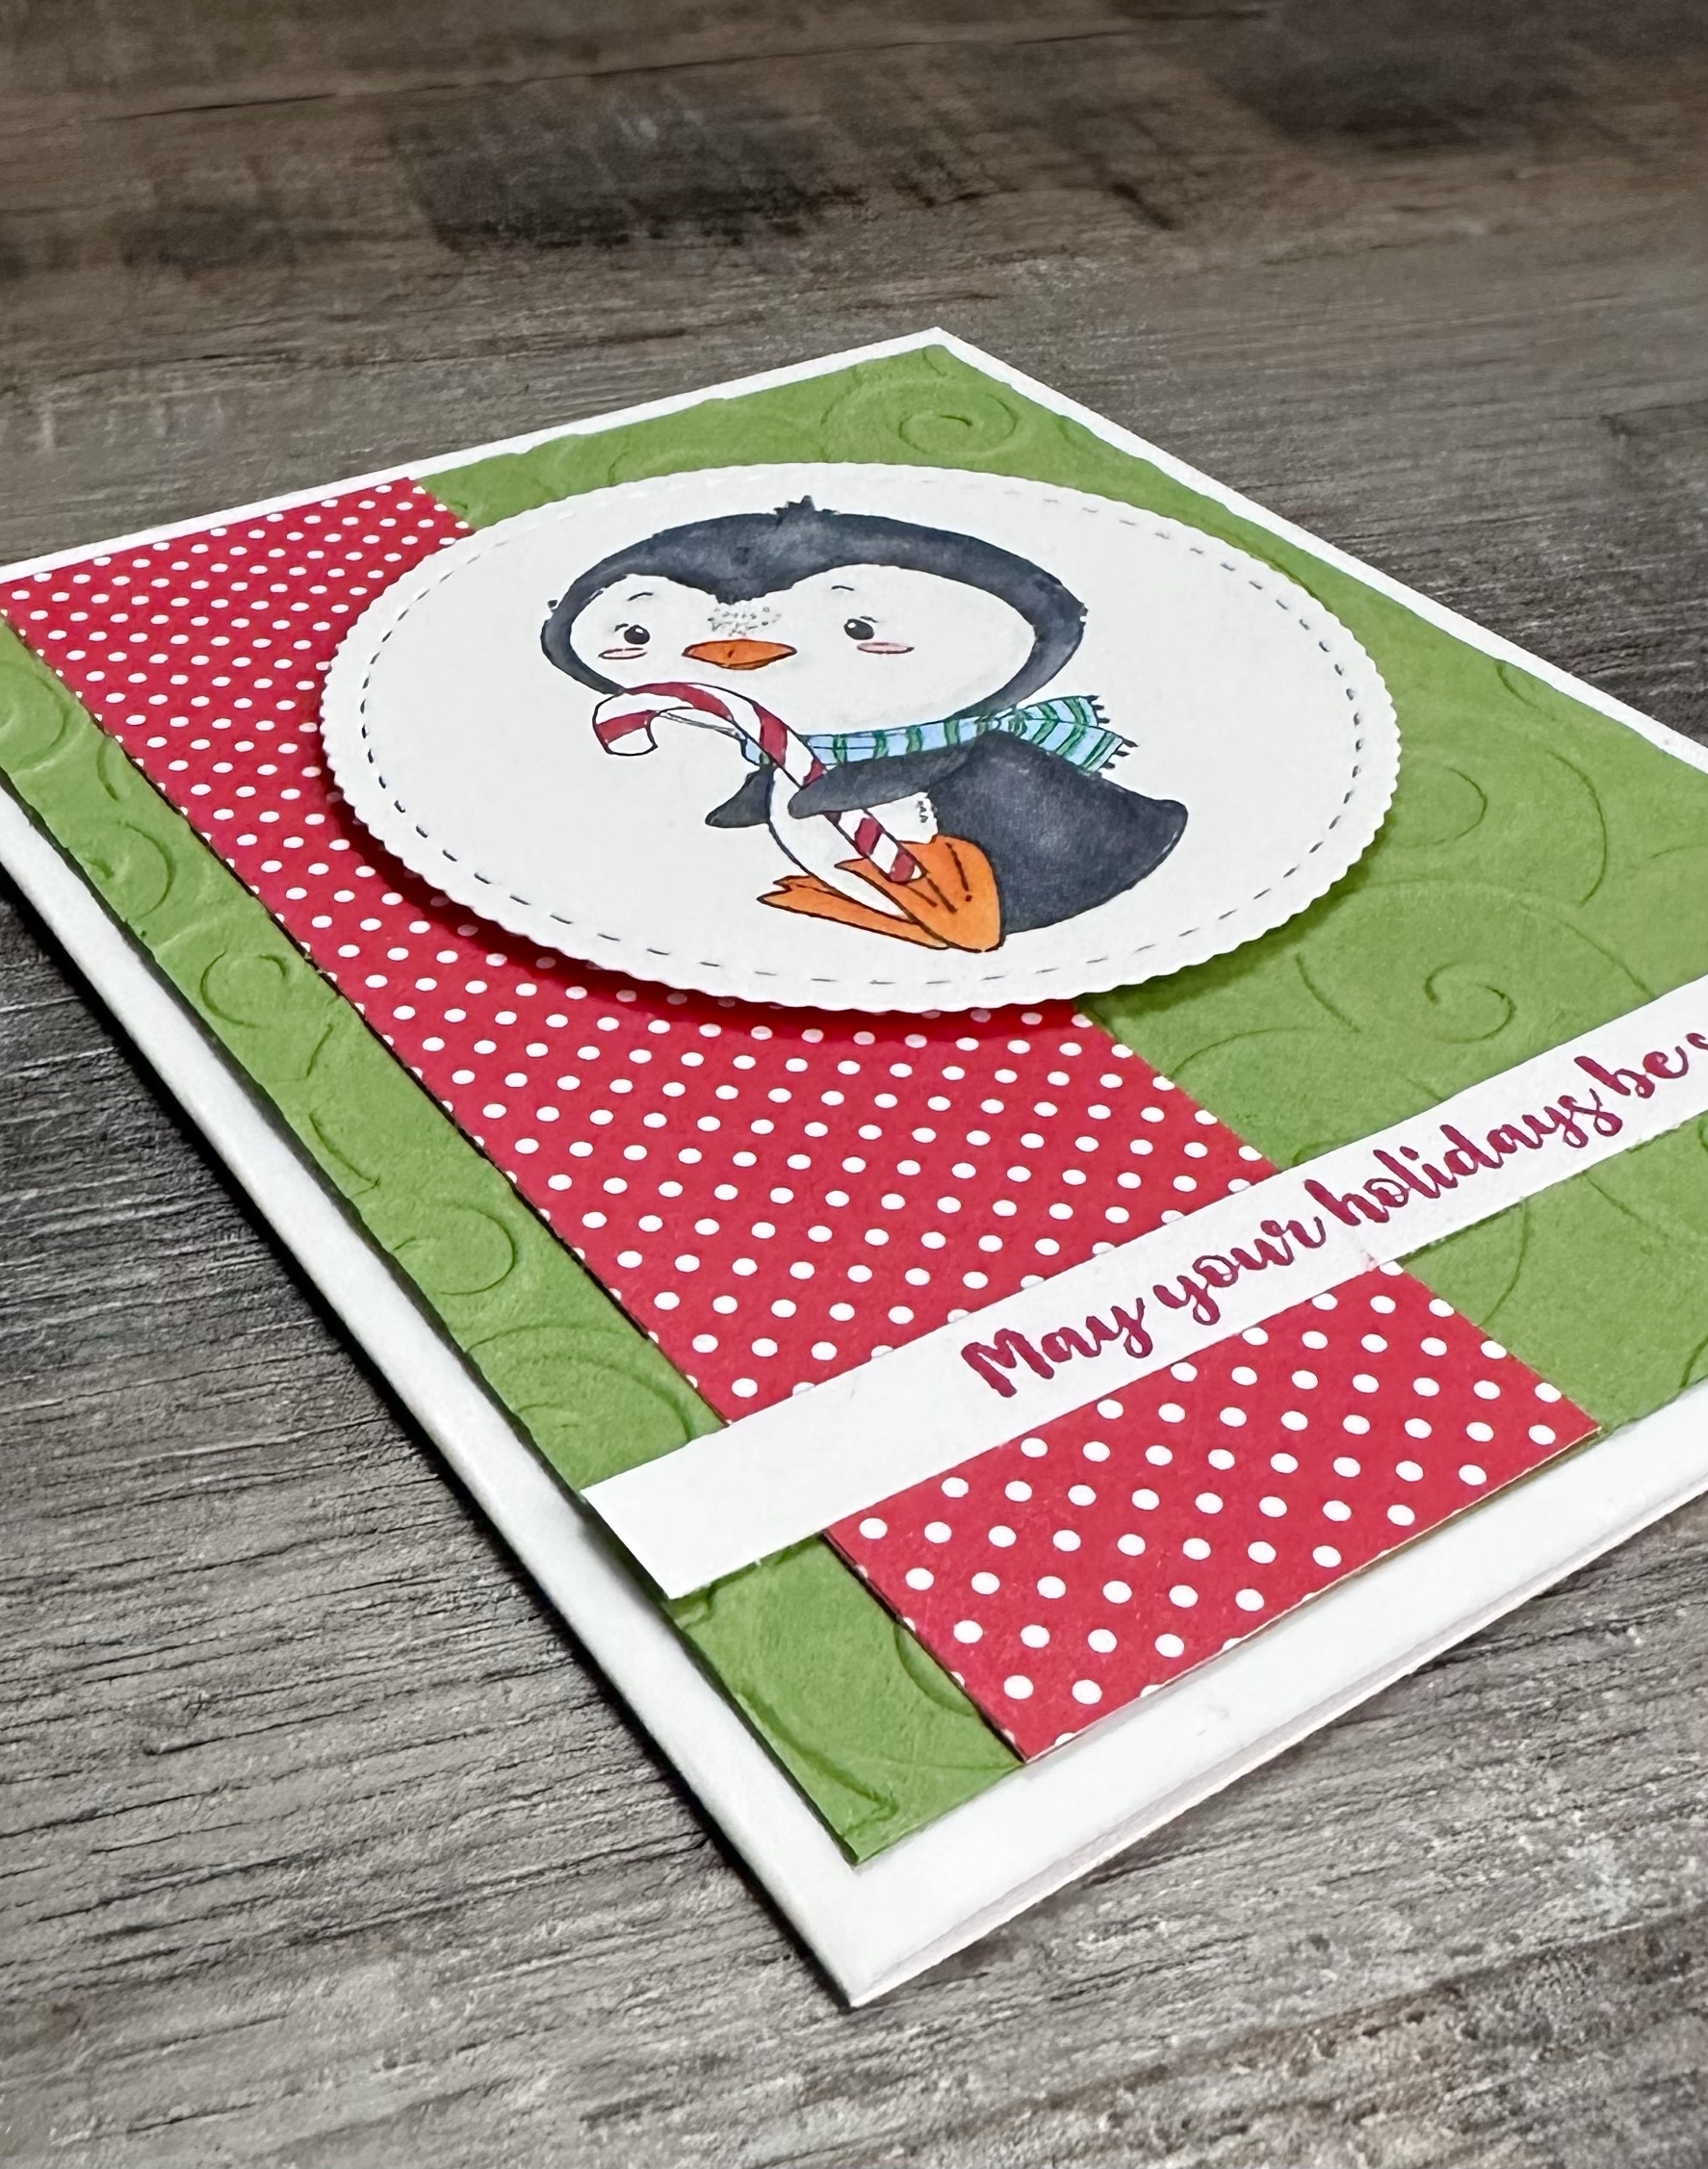
I can’t believe that it’s November! Where has the year gone??? I’ve created a Christmas card each month and made several of each design so they would all be ready in time to send out at the beginning of December. I’m hoping to have one more design made in December to finish out the year. It’s been a great way to use more of my Christmas stamps and I’m not scrambling to get cards made at the last minute. 😉
Disclosure: Some of the links on my site are affiliate links, meaning, at no additional cost to you, I will earn a small commission if you click through and make a purchase. As an Amazon Associate I earn from qualifying purchases.
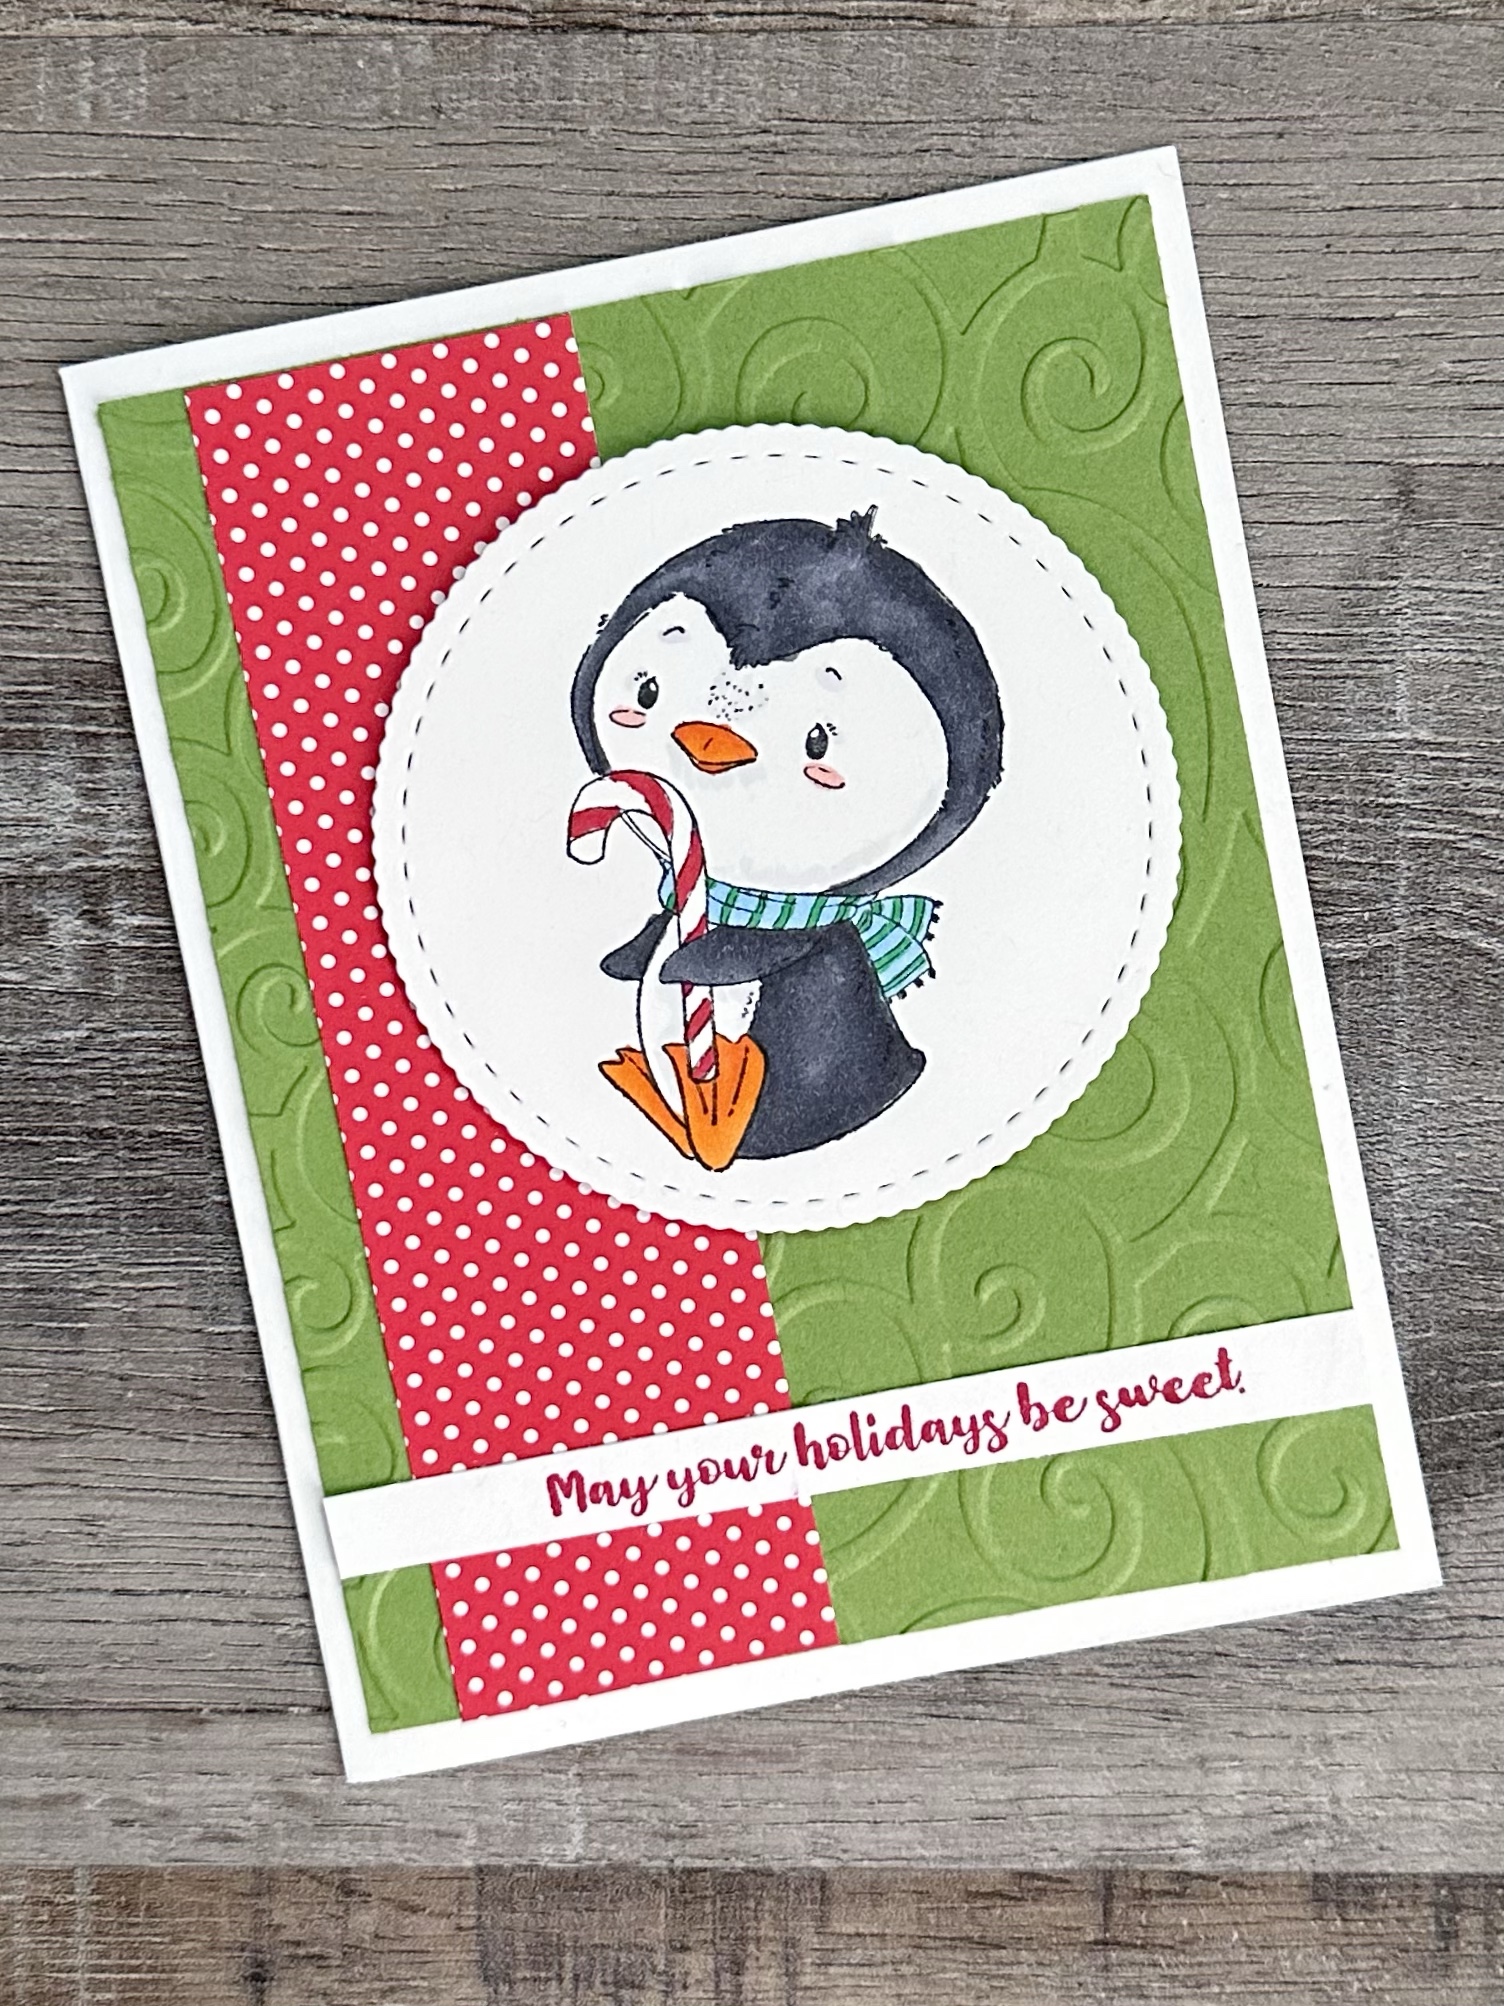
I used a swirl embossing folder (this one and this one are similar) on a piece of green card stock and attached it to a white card. I added a strip of red polka dot paper to the card. I attached the penguin to the card using foam tape. To finish the card, I stamped the sentiment with red ink on a strip of white card stock and attached it to the card.
This layout will work with any of your fun Christmas stamps. Pull out your favorites and create a few Christmas cards! 🎄
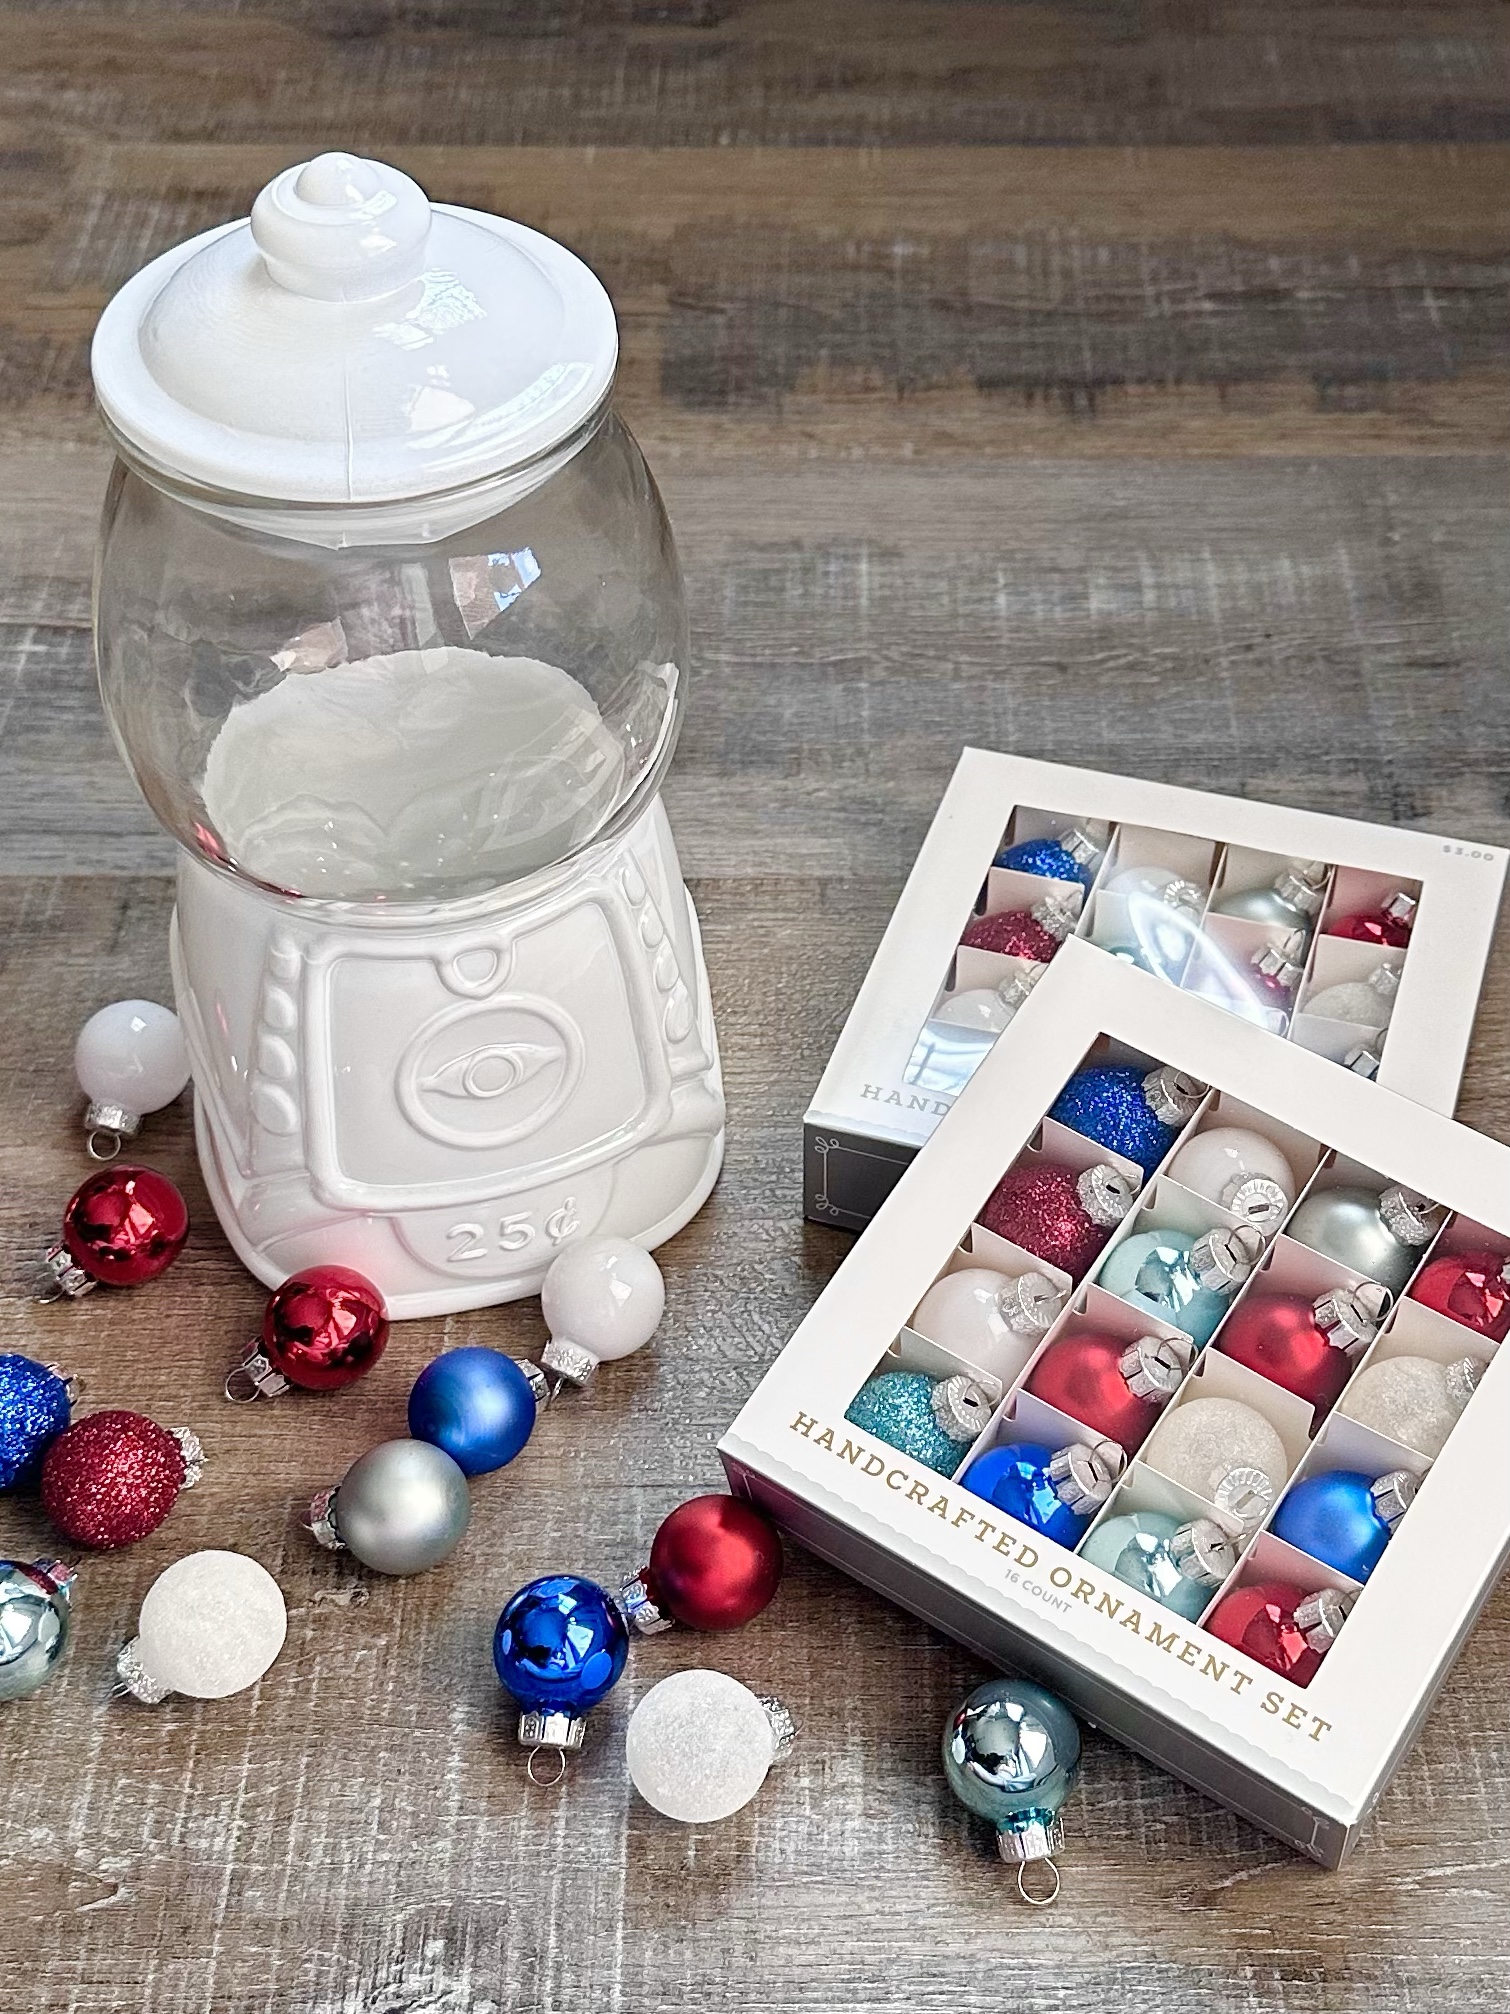
I had this Gumball Machine Canister in my craft room that I got from Target a while back. I thought it was so cute, but I wasn’t sure what I wanted to do with it. 🤷🏼♀️
Disclosure: Some of the links on my site are affiliate links, meaning, at no additional cost to you, I will earn a small commission if you click through and make a purchase. As an Amazon Associate I earn from qualifying purchases.
I decided to use it for a fun addition to my Christmas decor, so I made a quick trip to Target to purchase 3 boxes of these mini ornaments. They come in different color combinations to match any theme and are only $3.00 per box!
First, I crumpled up a piece of white tissue paper and tucked in into the bottom of the canister to add a little filler. Then I simply added the ornaments to the canister to mimic gumballs.
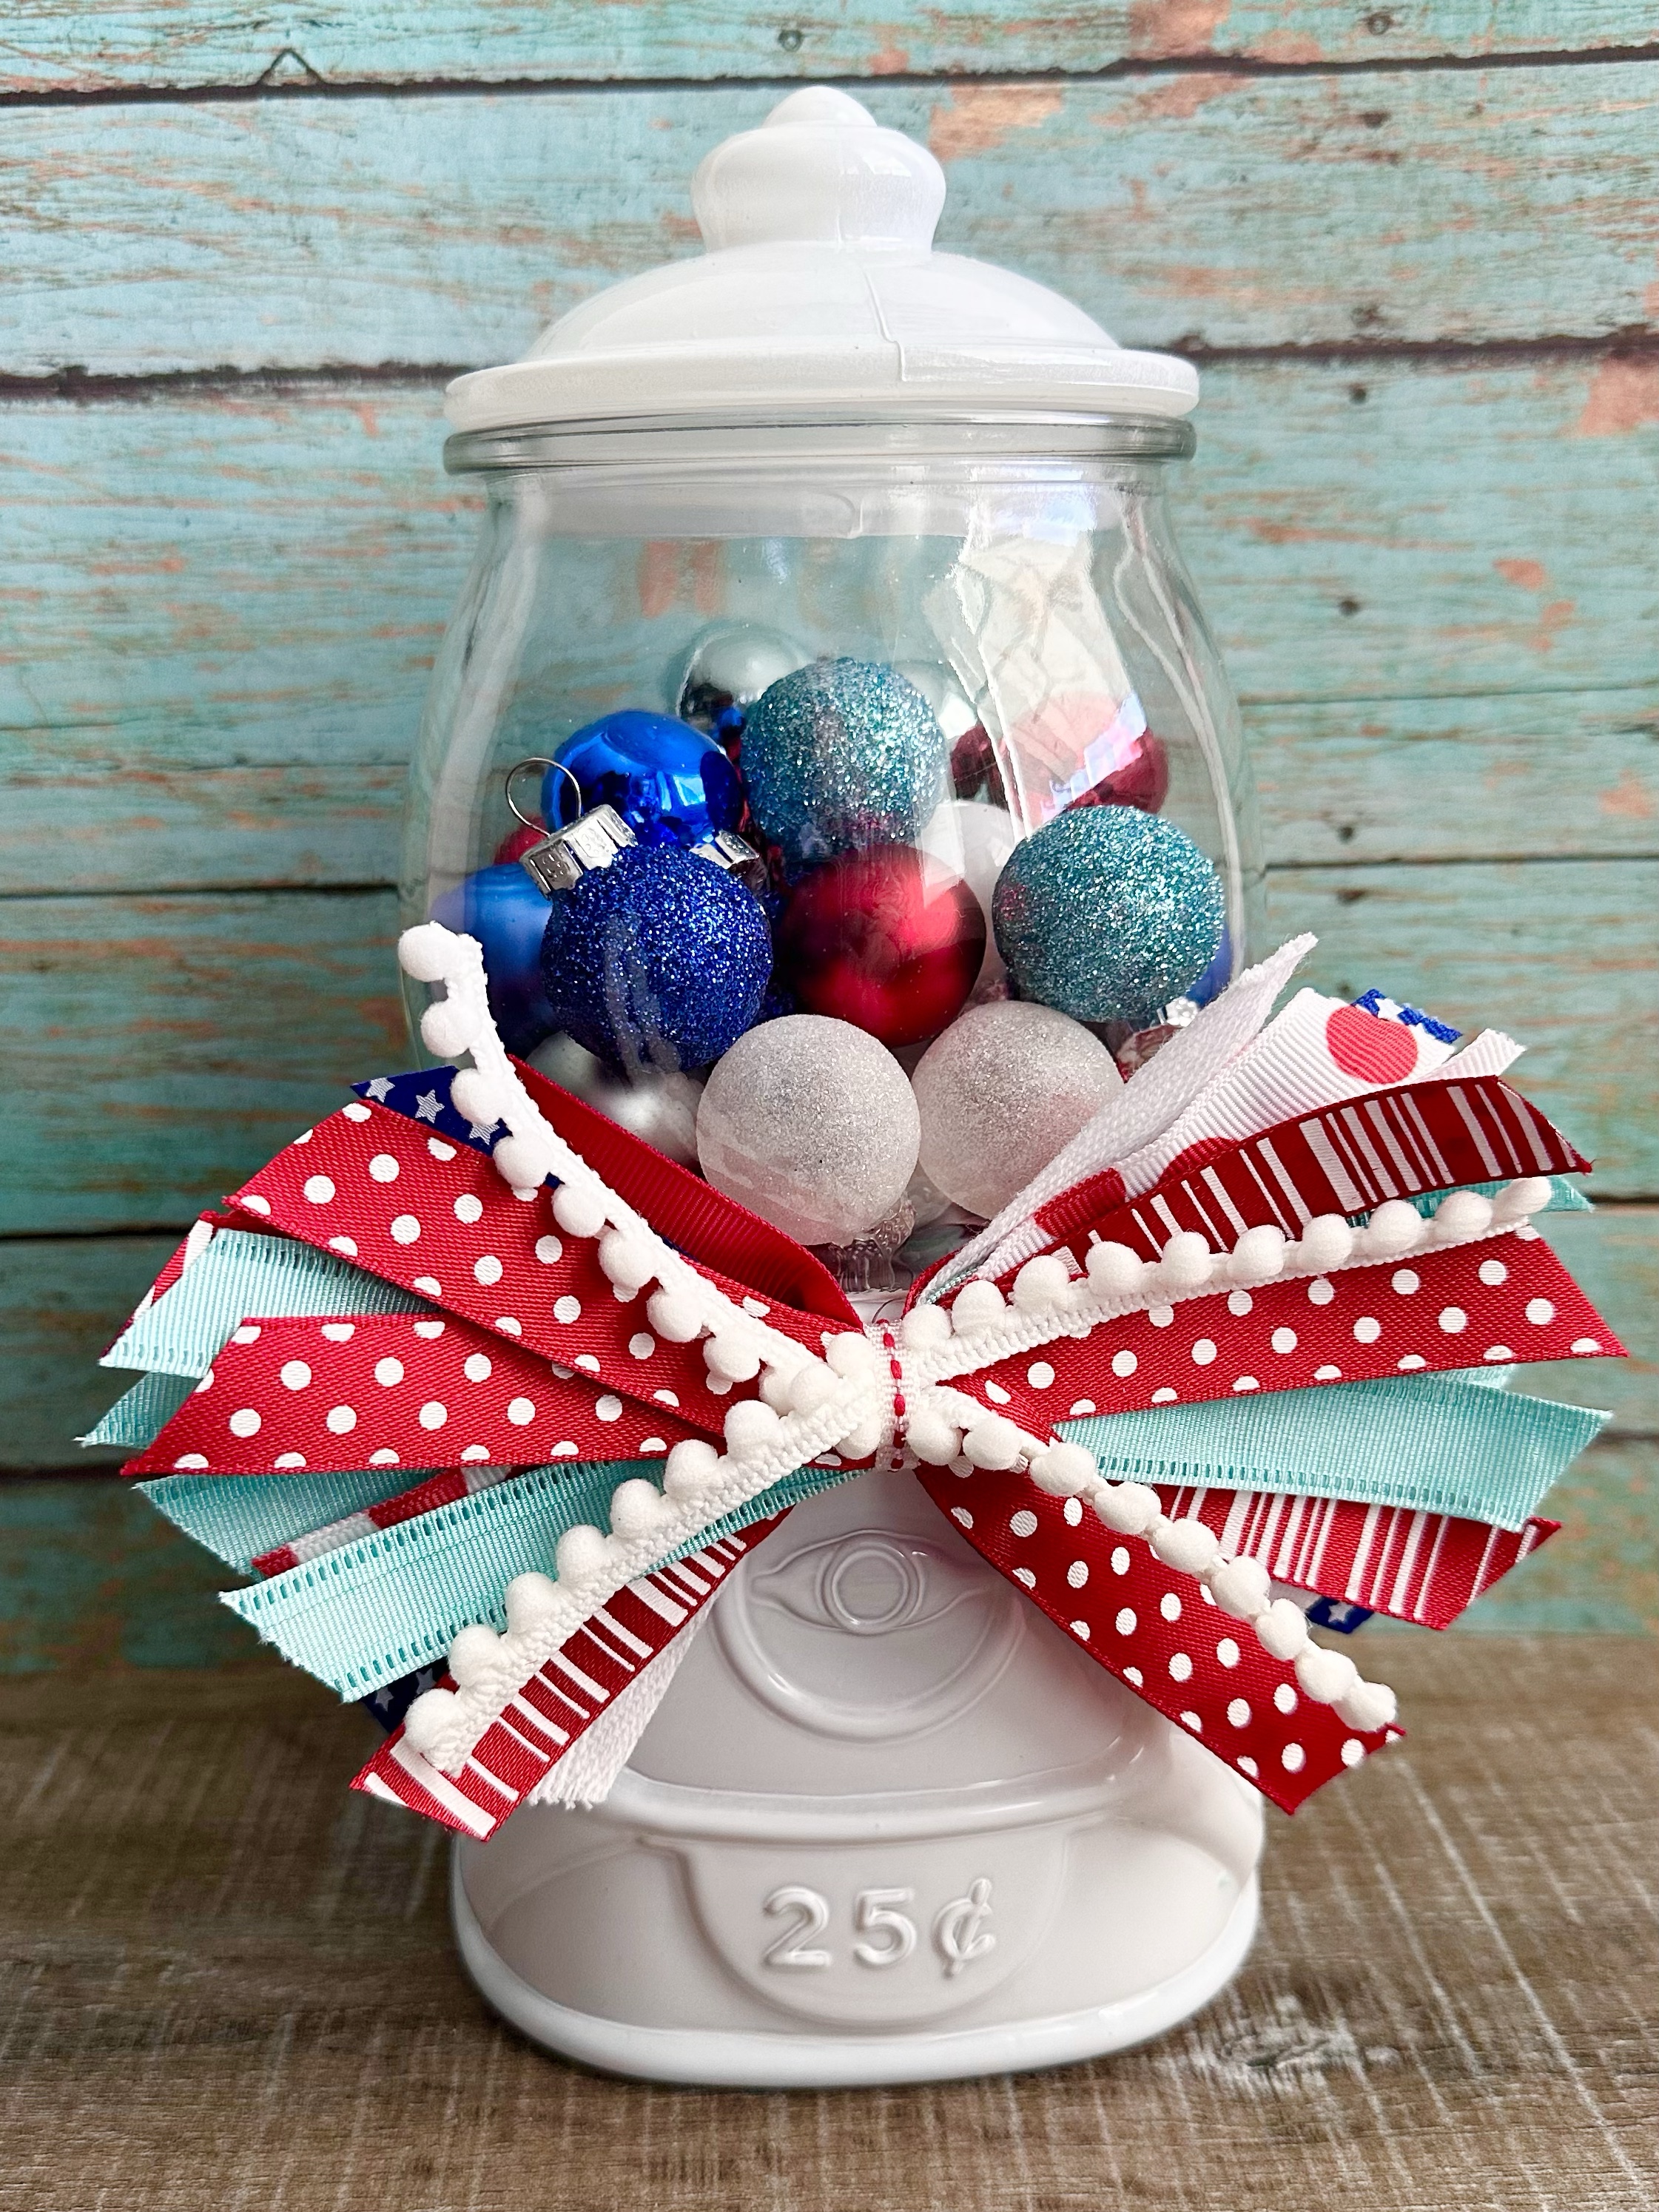
And now the fun part! 🙂 I pulled out some ribbons to match the colors of my ornaments and made a bow the Re-Fabbed way. After trimming it to the size I wanted, I attached the bow to the front of the gumball machine using a couple of Glue Dots. (You could also attach it with a little hot glue.)
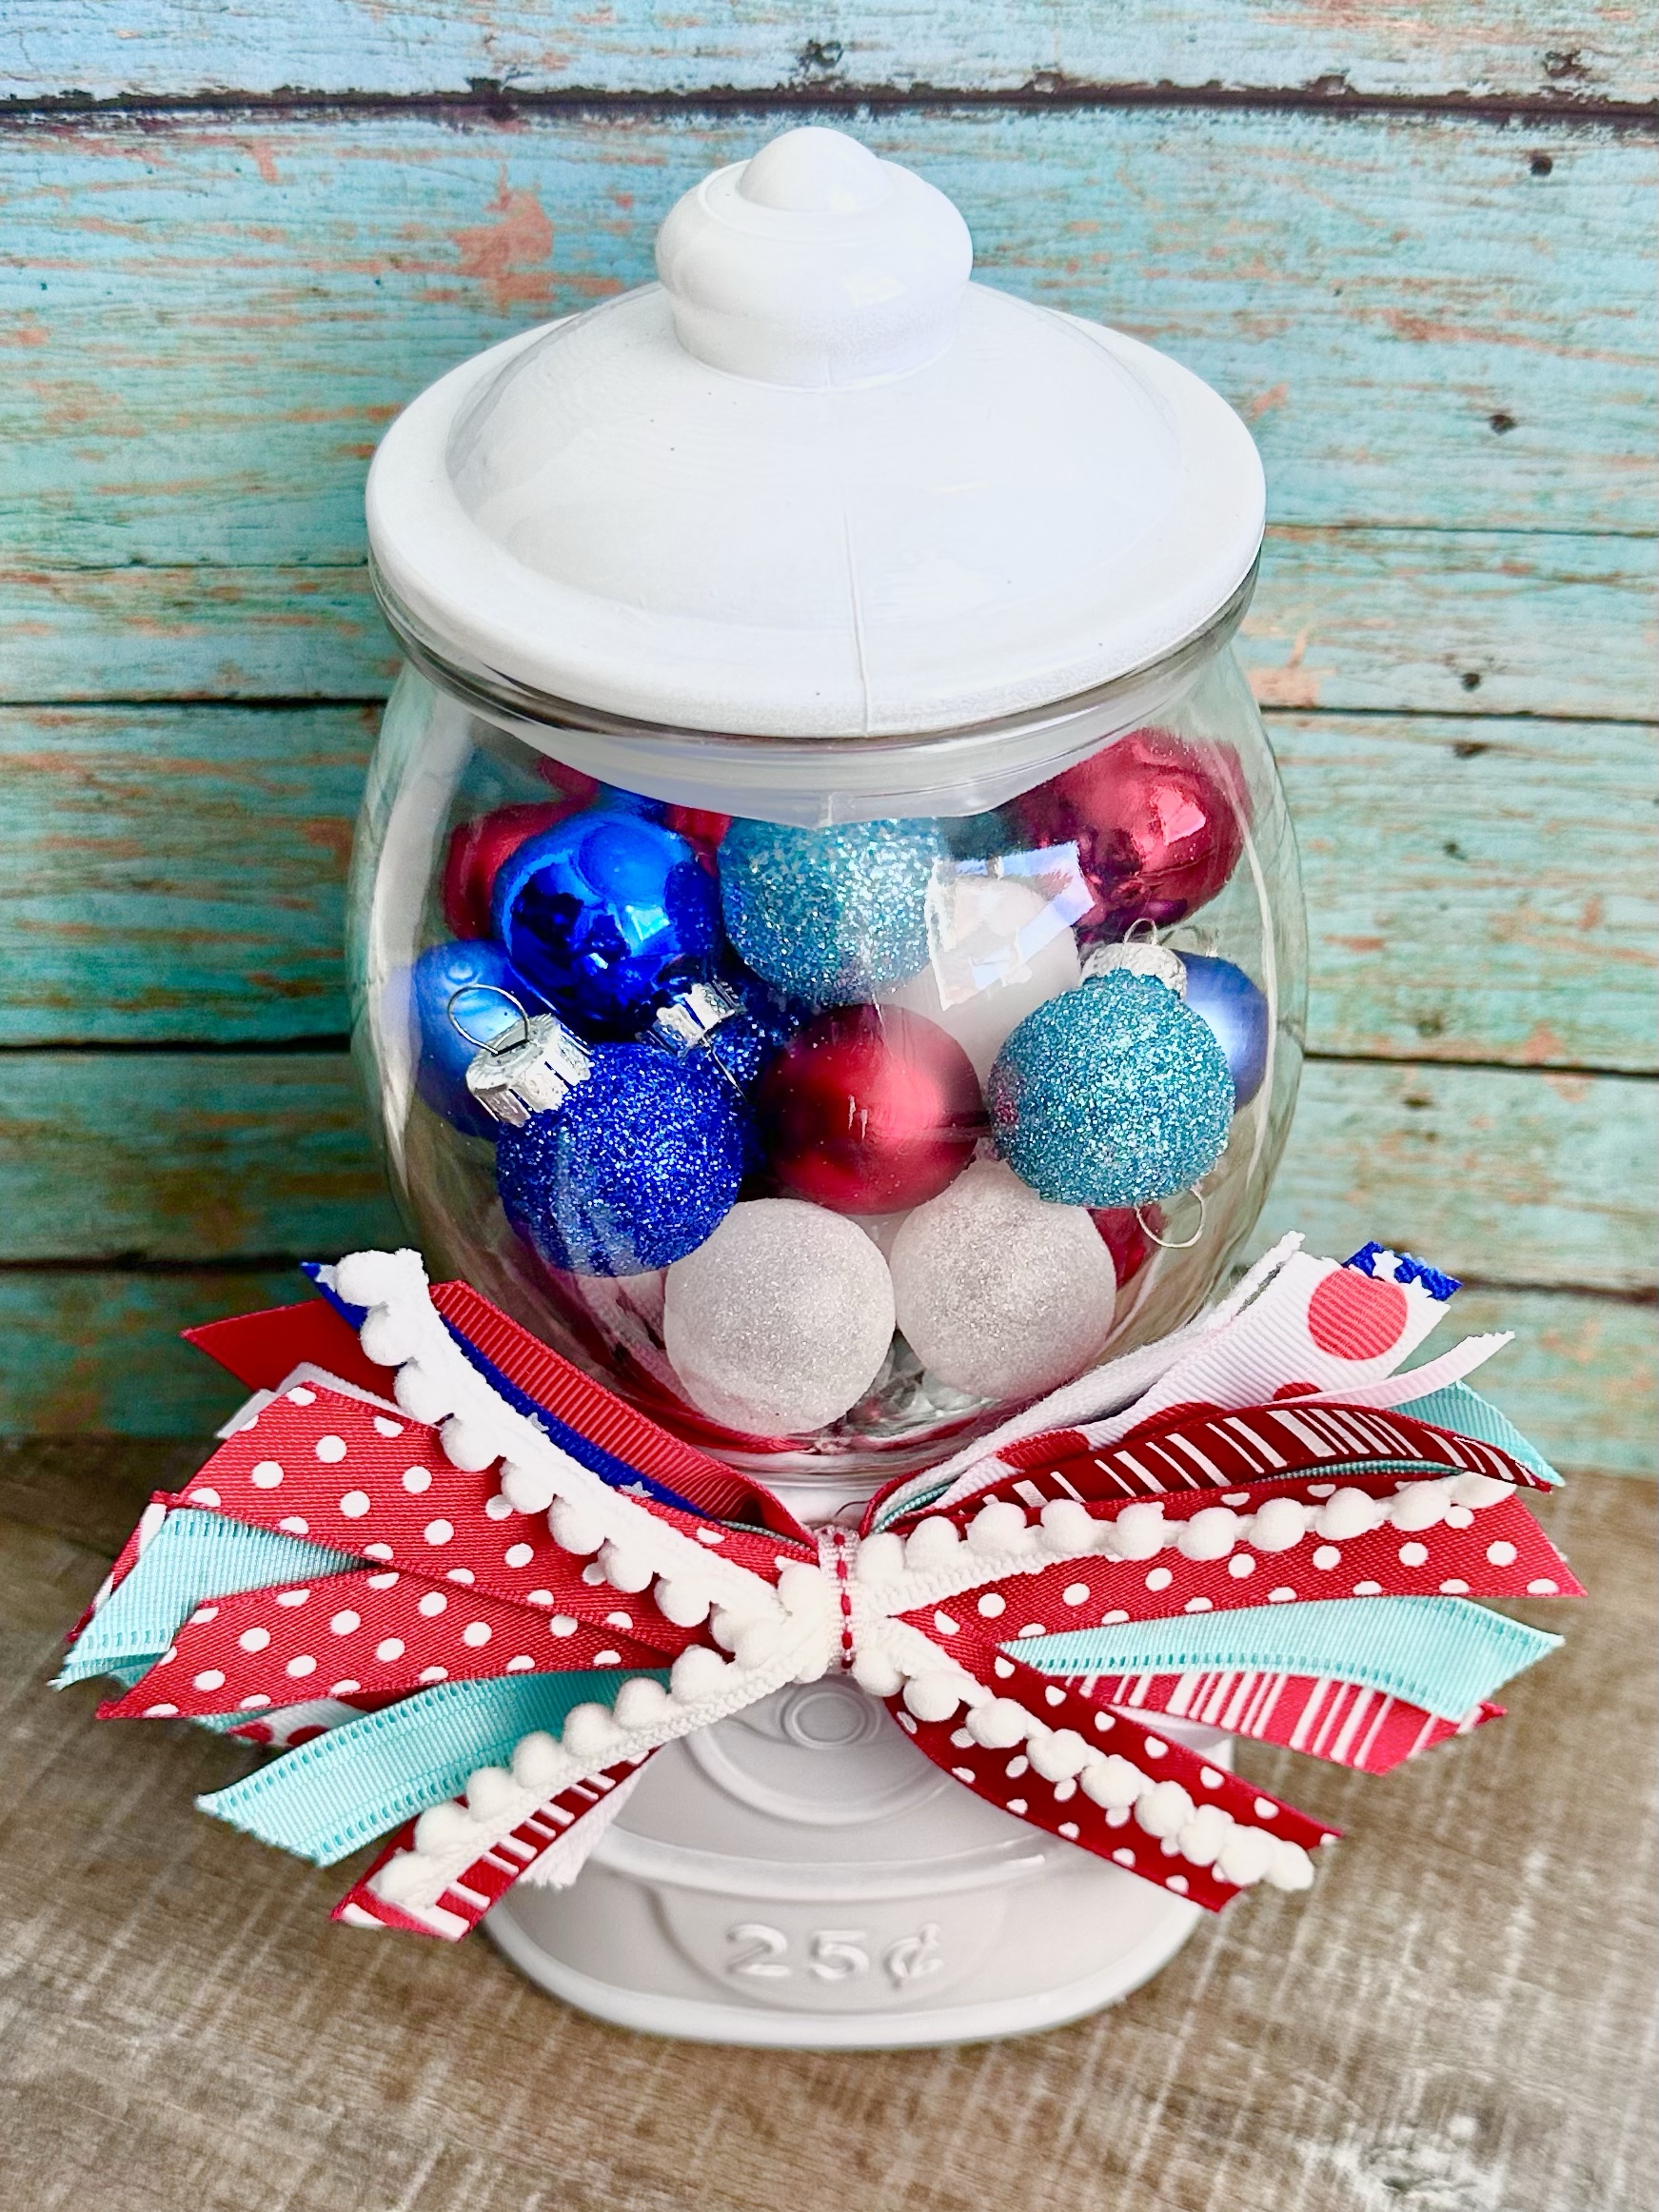
And here it is! A simple, fun way to add a little holiday cheer!
I’ve seen similar Gumball Machine Canisters at Hobby Lobby. If you can’t find a gumball machine canister, I’ve also seen some cute empty snow globes in the craft stores that would work great for this project.
This was a really fun and quick project to create – I don’t know why I waited so long to make it! 😉
I also created another project using these mini ornaments. You can see it in this post.
Disclosure: Some of the links on my site are affiliate links, meaning, at no additional cost to you, I will earn a small commission if you click through and make a purchase. As an Amazon Associate I earn from qualifying purchases.