We’ve been traveling in the amazingly beautiful country of Scotland! I’ll be back soon with more crafty posts and I’ll be sure to share a post or two about our trip. 😊
Disclosure: Some of the links on my site are affiliate links, meaning, at no additional cost to you, I will earn a small commission if you click through and make a purchase. As an Amazon Associate I earn from qualifying purchases.
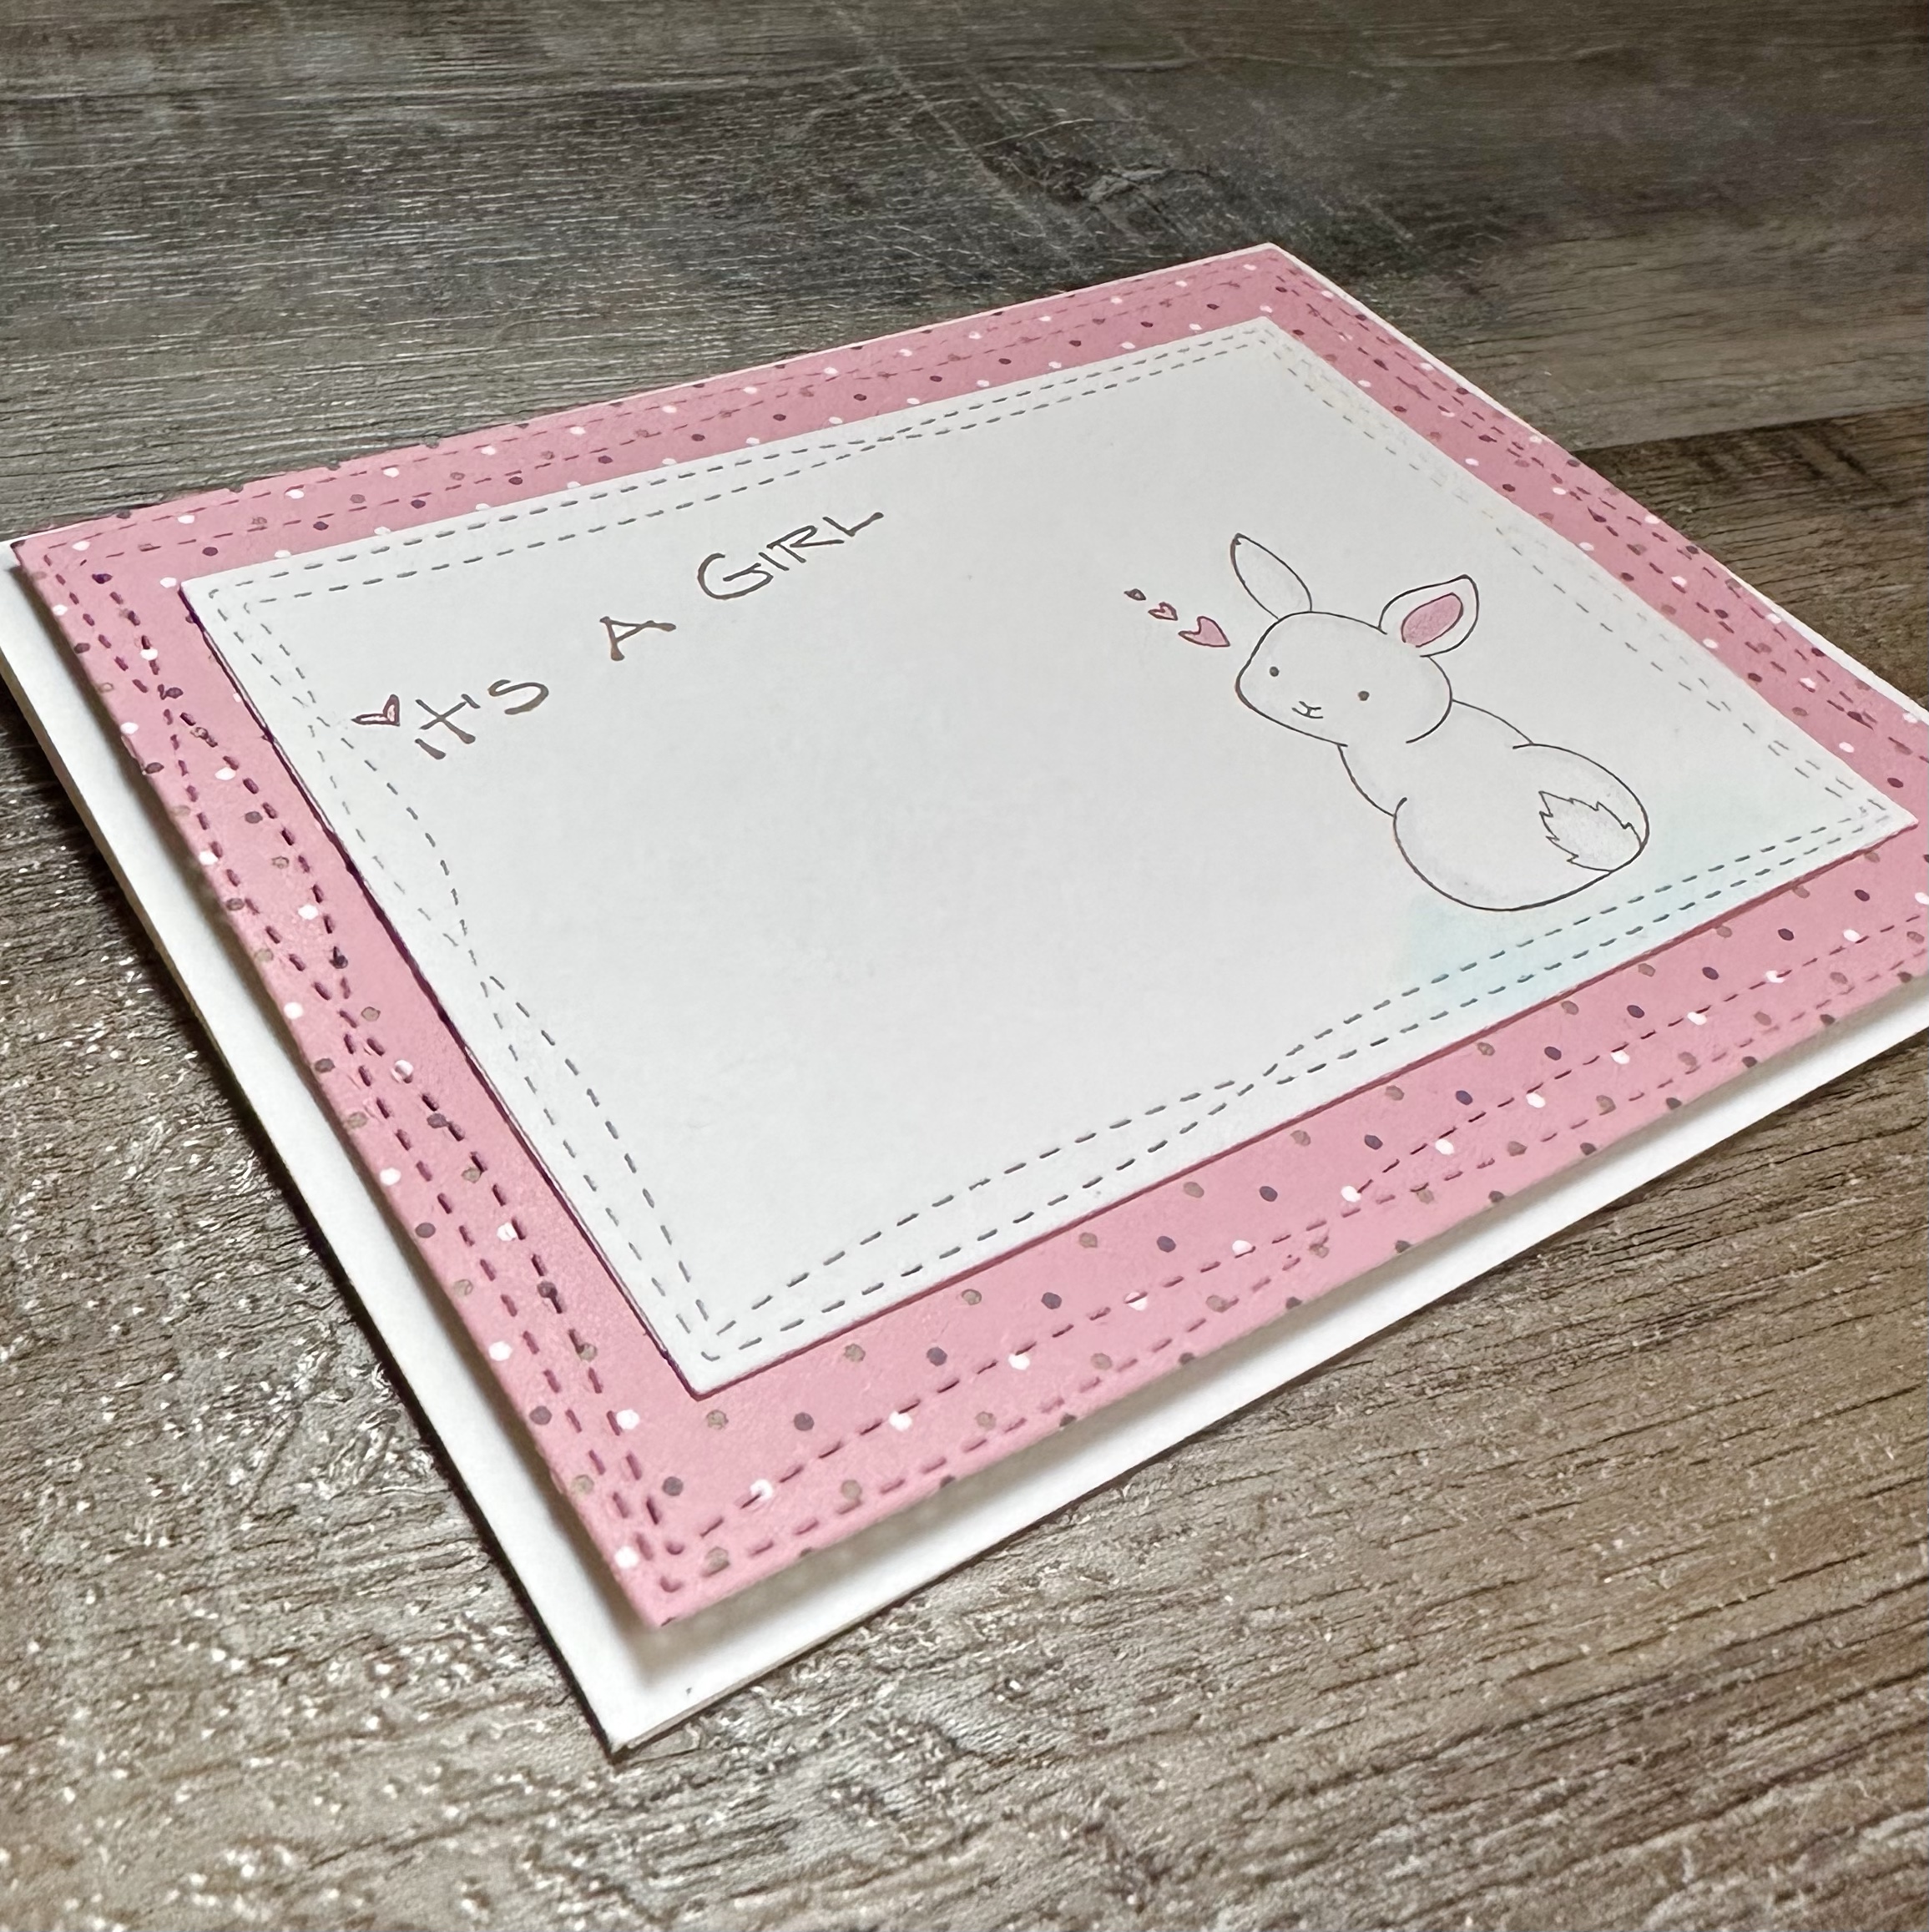
You might remember this cute little bunny that was on my Happy Easter Card in this post. I thought she would also make the sweetest New Baby Card. 💕
Disclosure: Some of the links on my site are affiliate links, meaning, at no additional cost to you, I will earn a small commission if you click through and make a purchase. As an Amazon Associate I earn from qualifying purchases.
I stamped the bunny and sentiment with Memento Rich Cocoa ink on white card stock. I added color to the ear and hearts with a pink Copic marker. Using the Wonky Stitched Rectangle STAX Die-namics from My Favorite Things, I die cut around the stamped images. I added color under the bunny to ground it with a pale blue Copic marker. Using the same die set, I die cut a piece from patterned paper and attached my stamped piece to it. I attached the entire piece to a white card with foam tape.
This is a clean and simple card that is super easy to make – and it only takes a few minutes to put together. By simply changing the color scheme and sentiment you can easily make a card for a new baby boy. This little bunny would also make a great “thinking of you” card – the little hearts are just perfect!
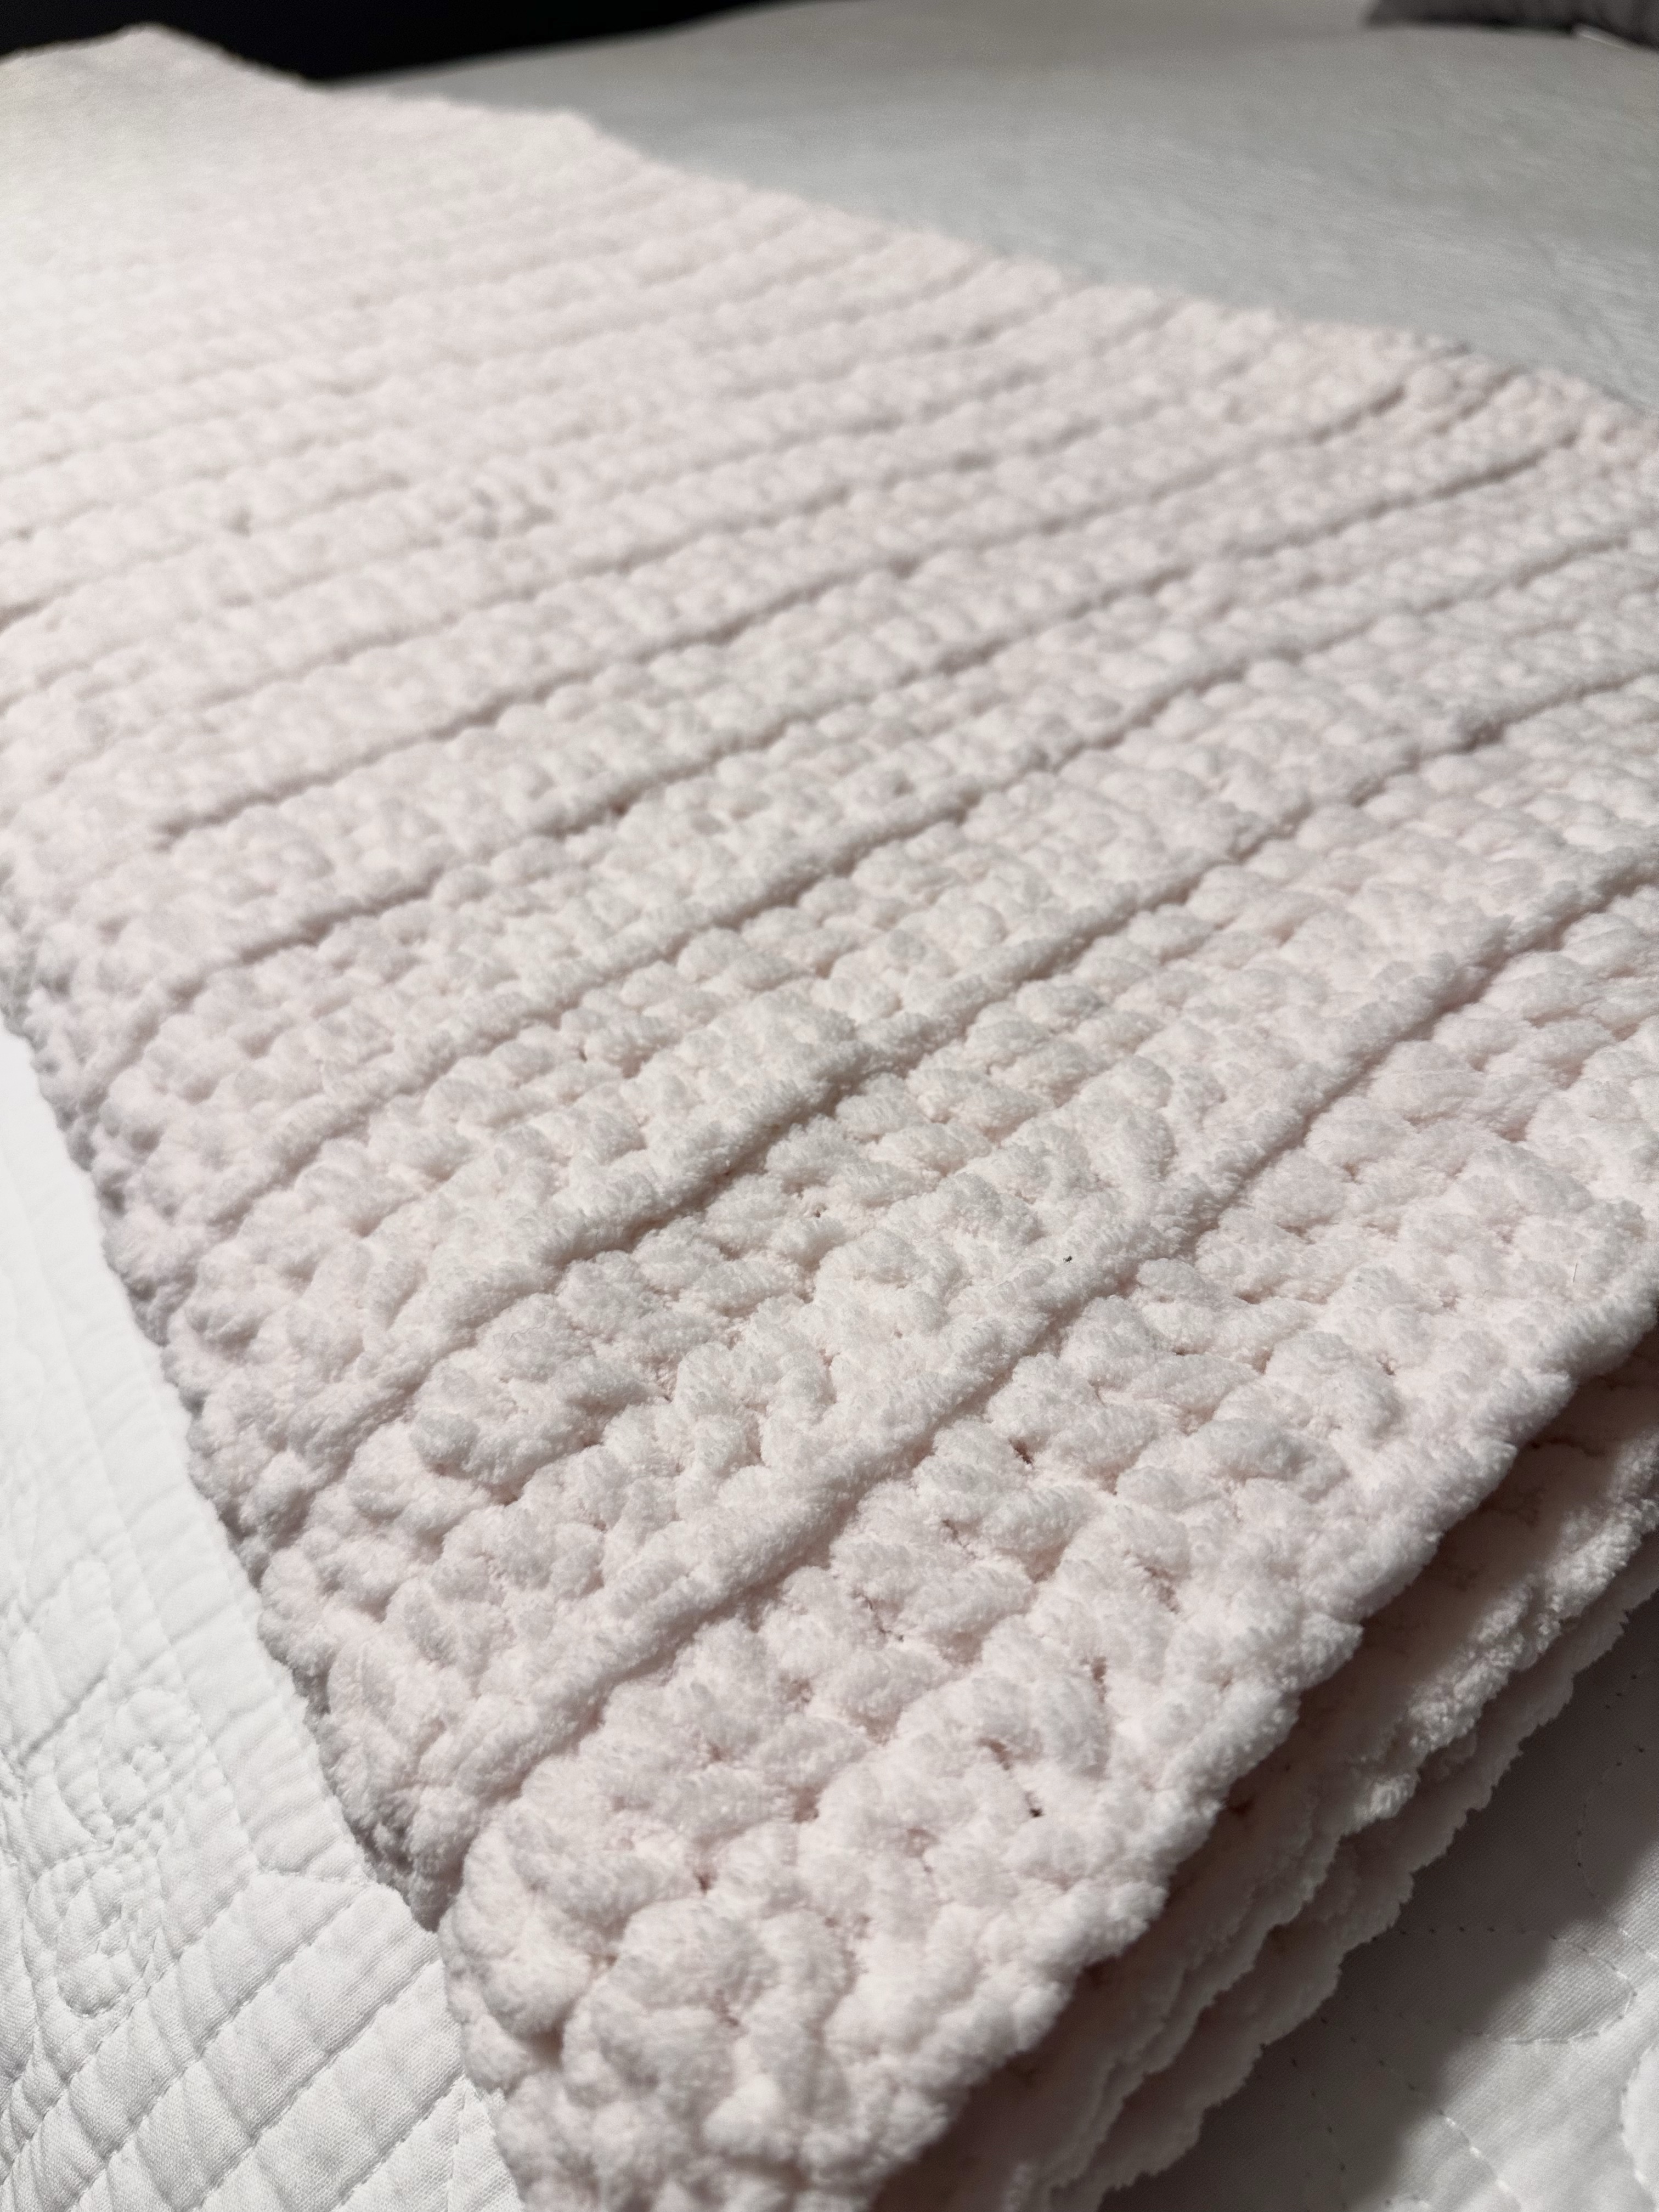
I’ve been working on this Crochet Chunky Throw Blanket off and on for a while and I finally finished it!! I am so happy with the way it turned out and it was super simple to make. 🙂
Disclosure: Some of the links on my site are affiliate links, meaning, at no additional cost to you, I will earn a small commission if you click through and make a purchase. As an Amazon Associate I earn from qualifying purchases.
To make my blanket, I started with 150 foundation double crochet stitches. Then I chained 2 – which counts as the first stitch of the next row – and turned my work. I skipped the first stitch and worked a double crochet in the back loop of each stitch across. Each row is just a repeat of that – chain 2 (counts as first stitch), turn, skip first double crochet, double crochet in the back loop of each stitch across. Continue the pattern until desired size.
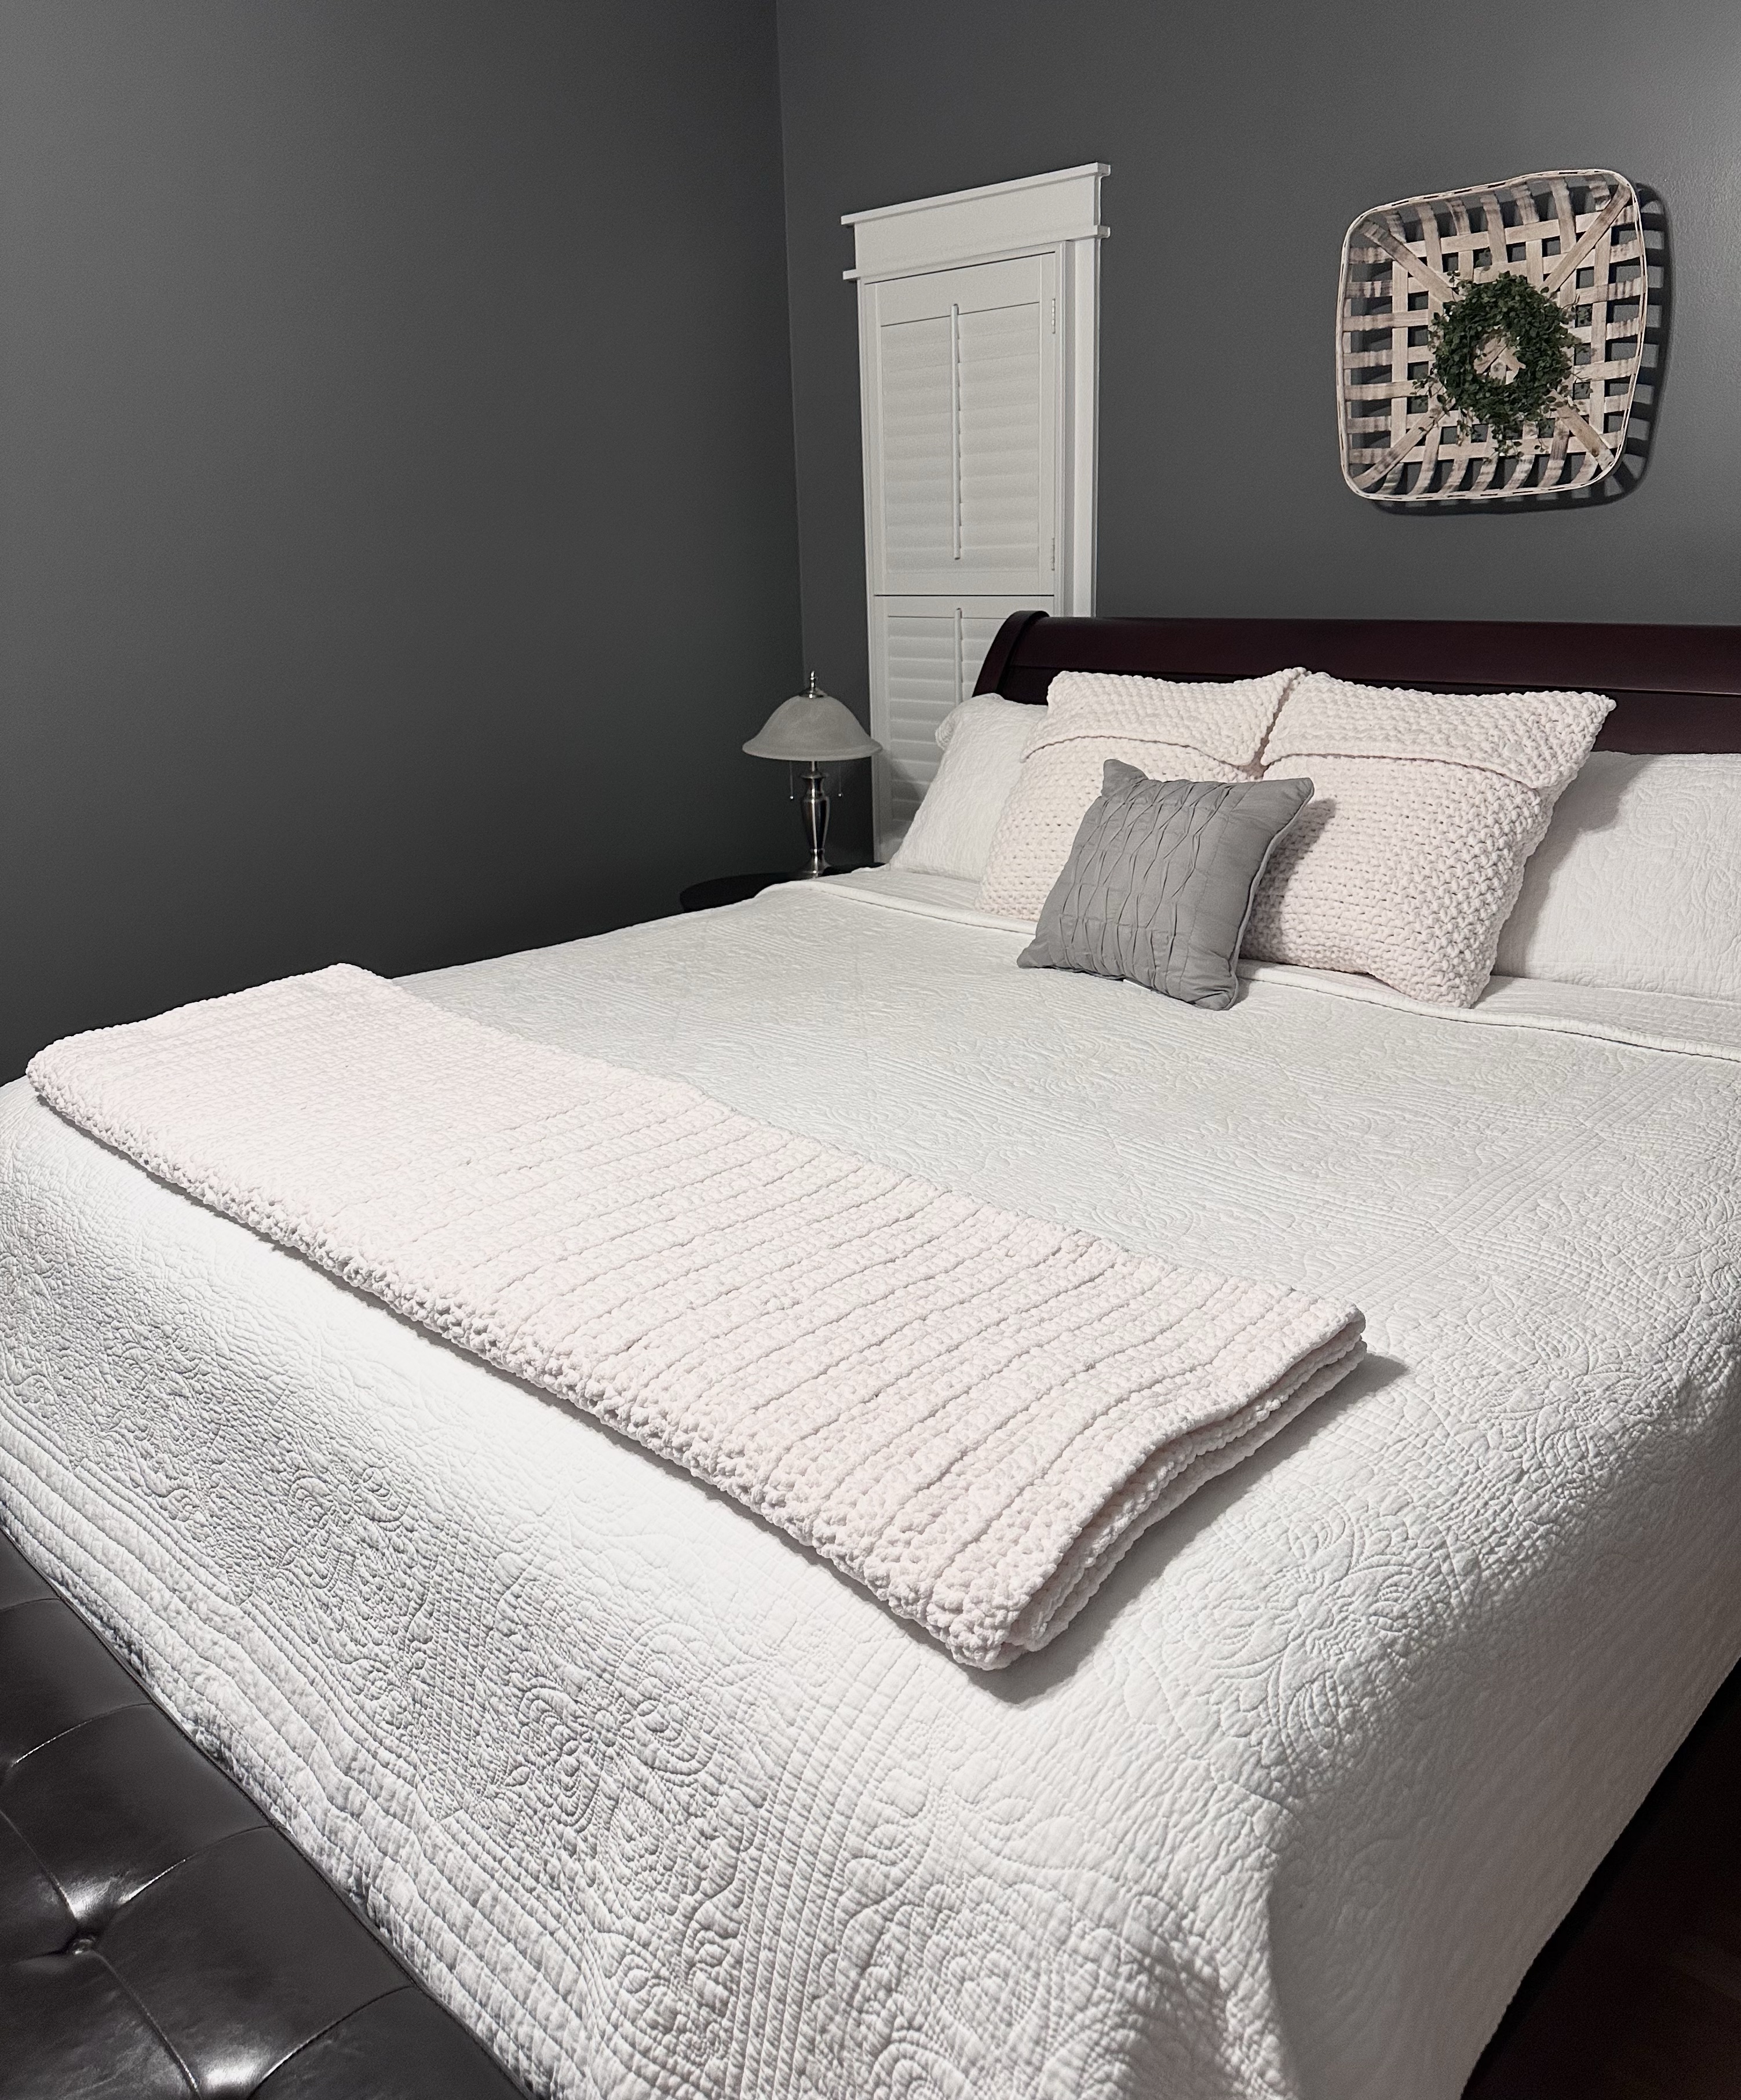
My throw measures about 72 inches wide and 62 inches long. I used seven (10.5 ounce) skeins of Bernat Blanket yarn to make my throw. The best thing about this simple pattern is that you can make your throw any size you want! Just make your foundation double crochet row the width you want and continue adding rows until it’s the length you want.
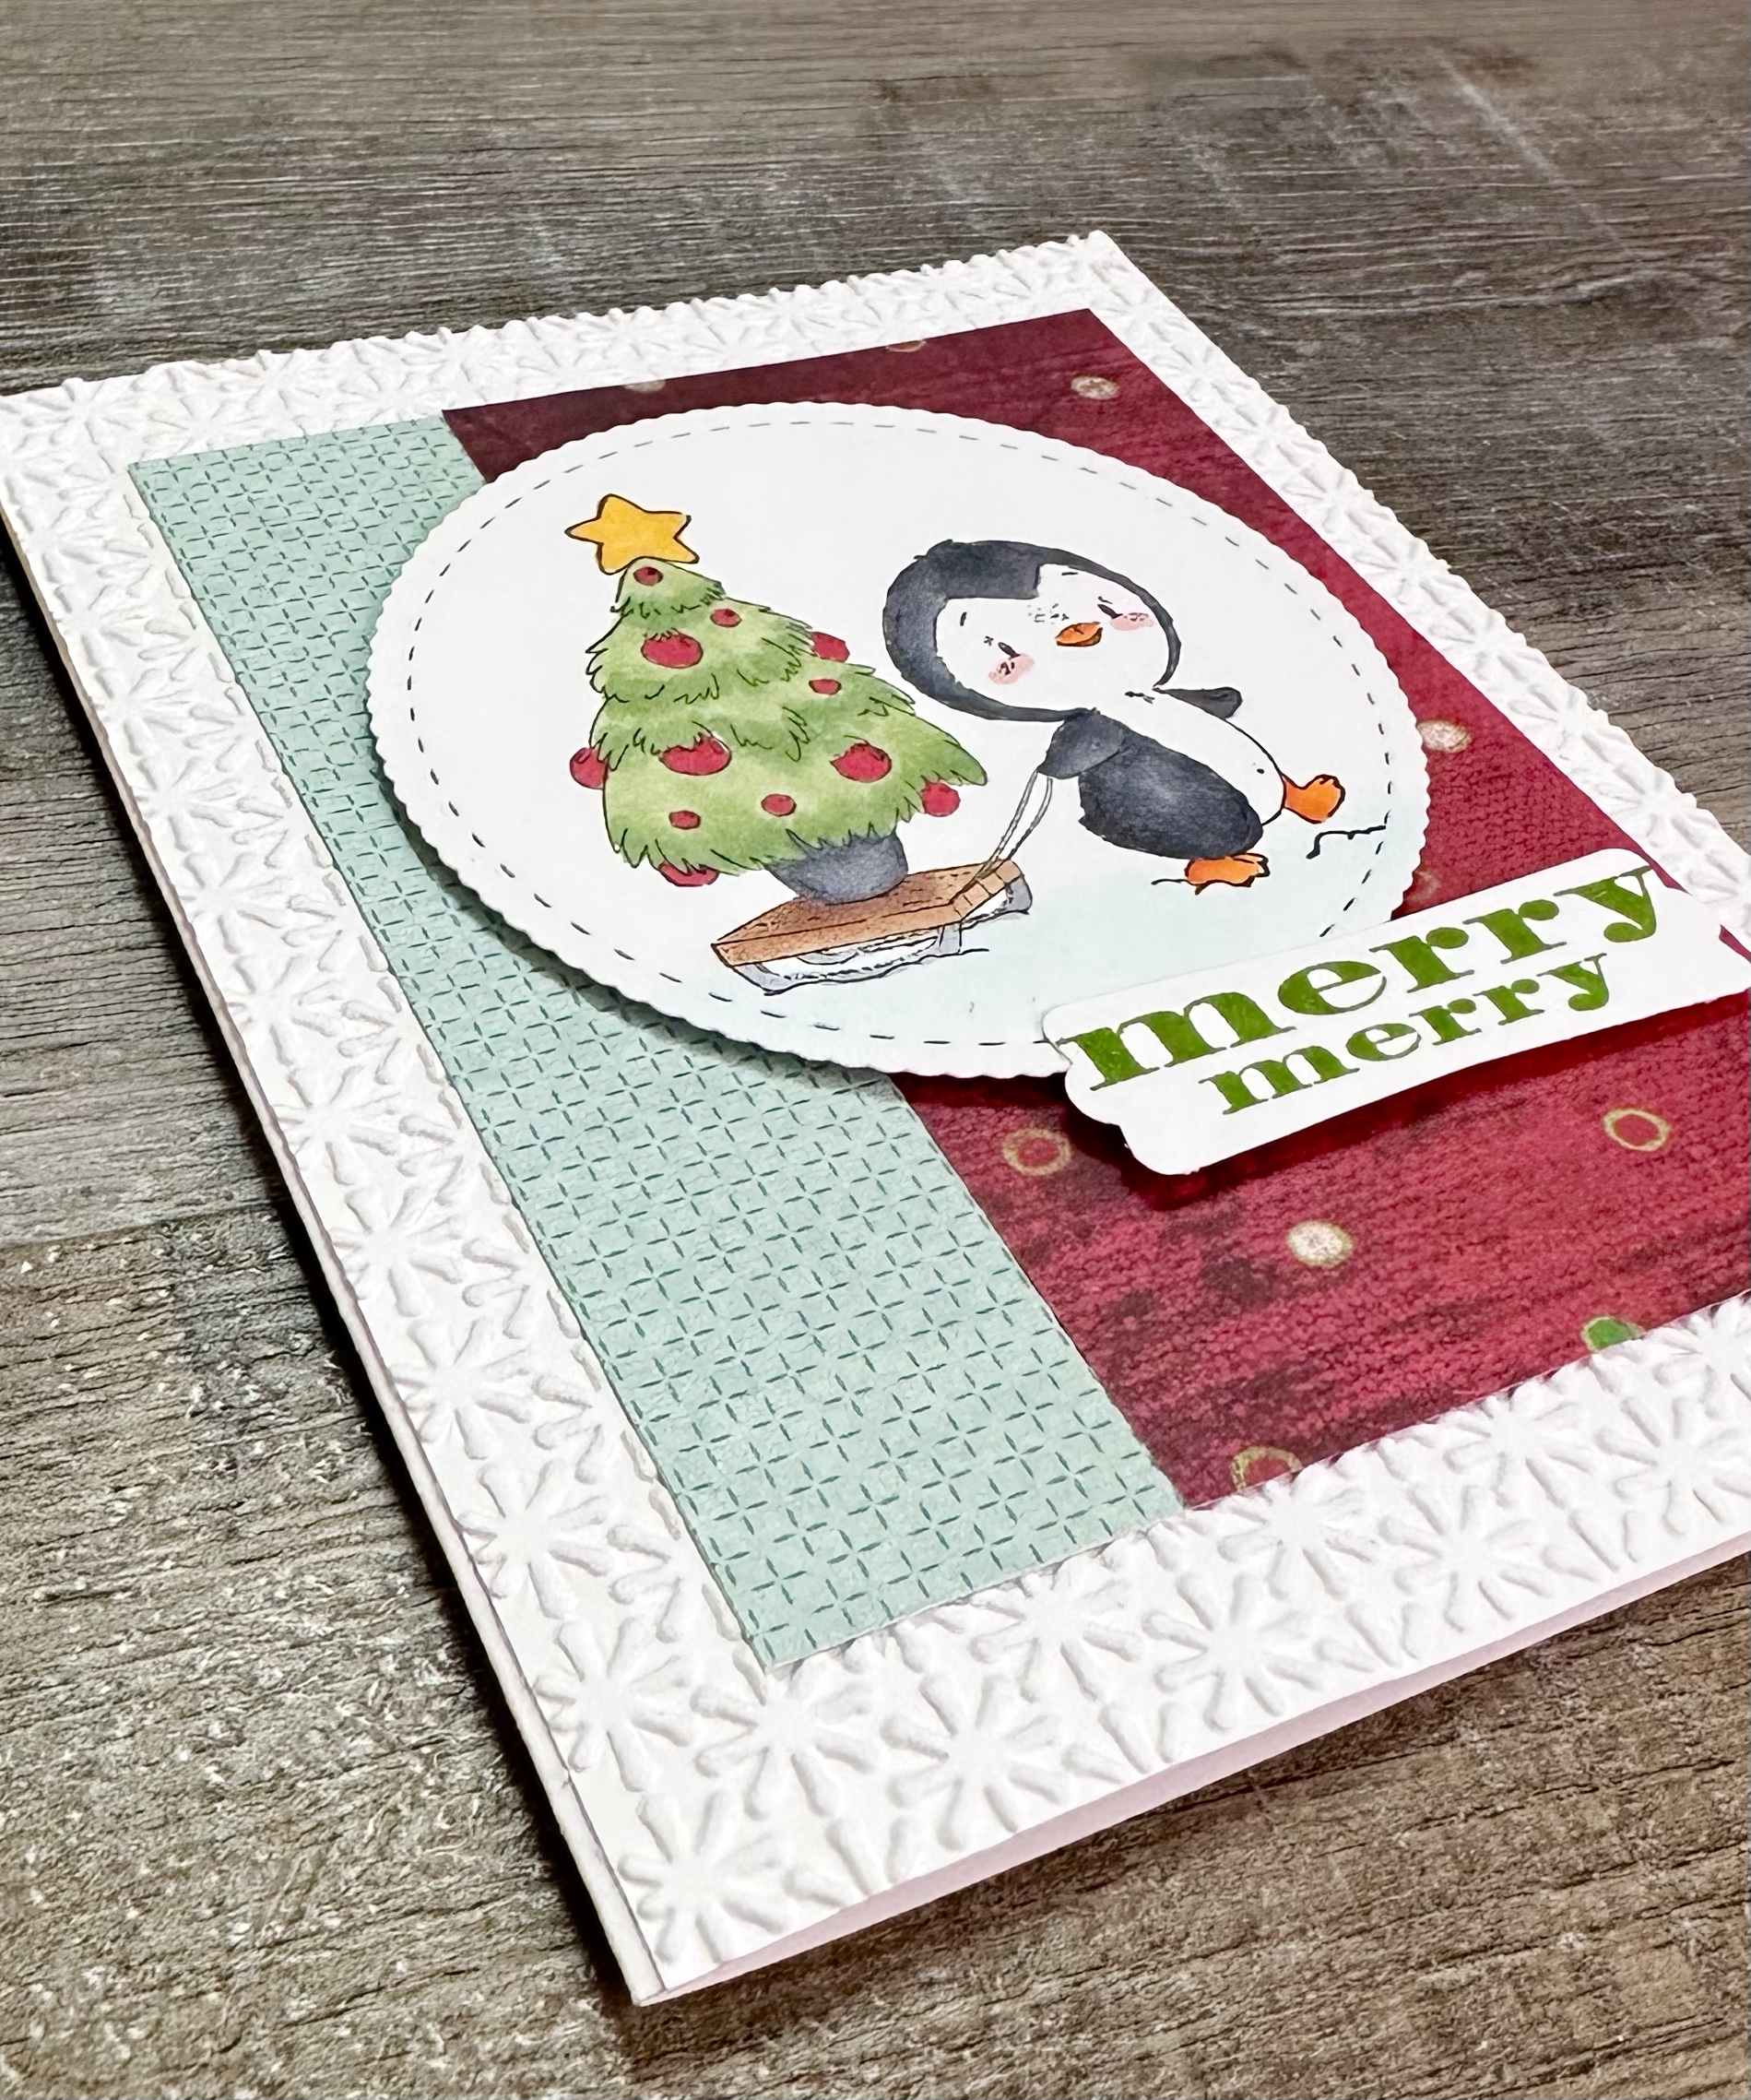
It’s time to share my inspiration for a monthly Christmas card. 🎄 I’m creating a new design each month and making a few cards in that design so I’m ready to send them all out in December. You can find other cards for this year in these posts – January and February.
Disclosure: Some of the links on my site are affiliate links, meaning, at no additional cost to you, I will earn a small commission if you click through and make a purchase. As an Amazon Associate I earn from qualifying purchases.
I embossed a piece of white card stock and attached it to a white card. This particular embossing folder is no longer available, but you can find some great ones at Taylored Expressions – or use your favorite one from your collection. I attached 2 different patterned papers to the card and then attached the penguin image with foam tape. I stamped “Merry Merry” with green ink on white card stock and punched it with a label punch. I attached it to the card, overlapping the circle, with foam tape. I’m not sure where the stamp is from (I’ve had it forever and there’s no label on it 🤷🏼♀️) and the punch is an old one from Stampin’ Up. You can use your favorite sentiment and punch or die to make the sentiment for your card. Or you can use the “Oh What Fun!” stamp that is part of the penguin stamp set.
Are you joining me in creating a stash of Christmas cards throughout the year? I would love to see your creations! 🎄
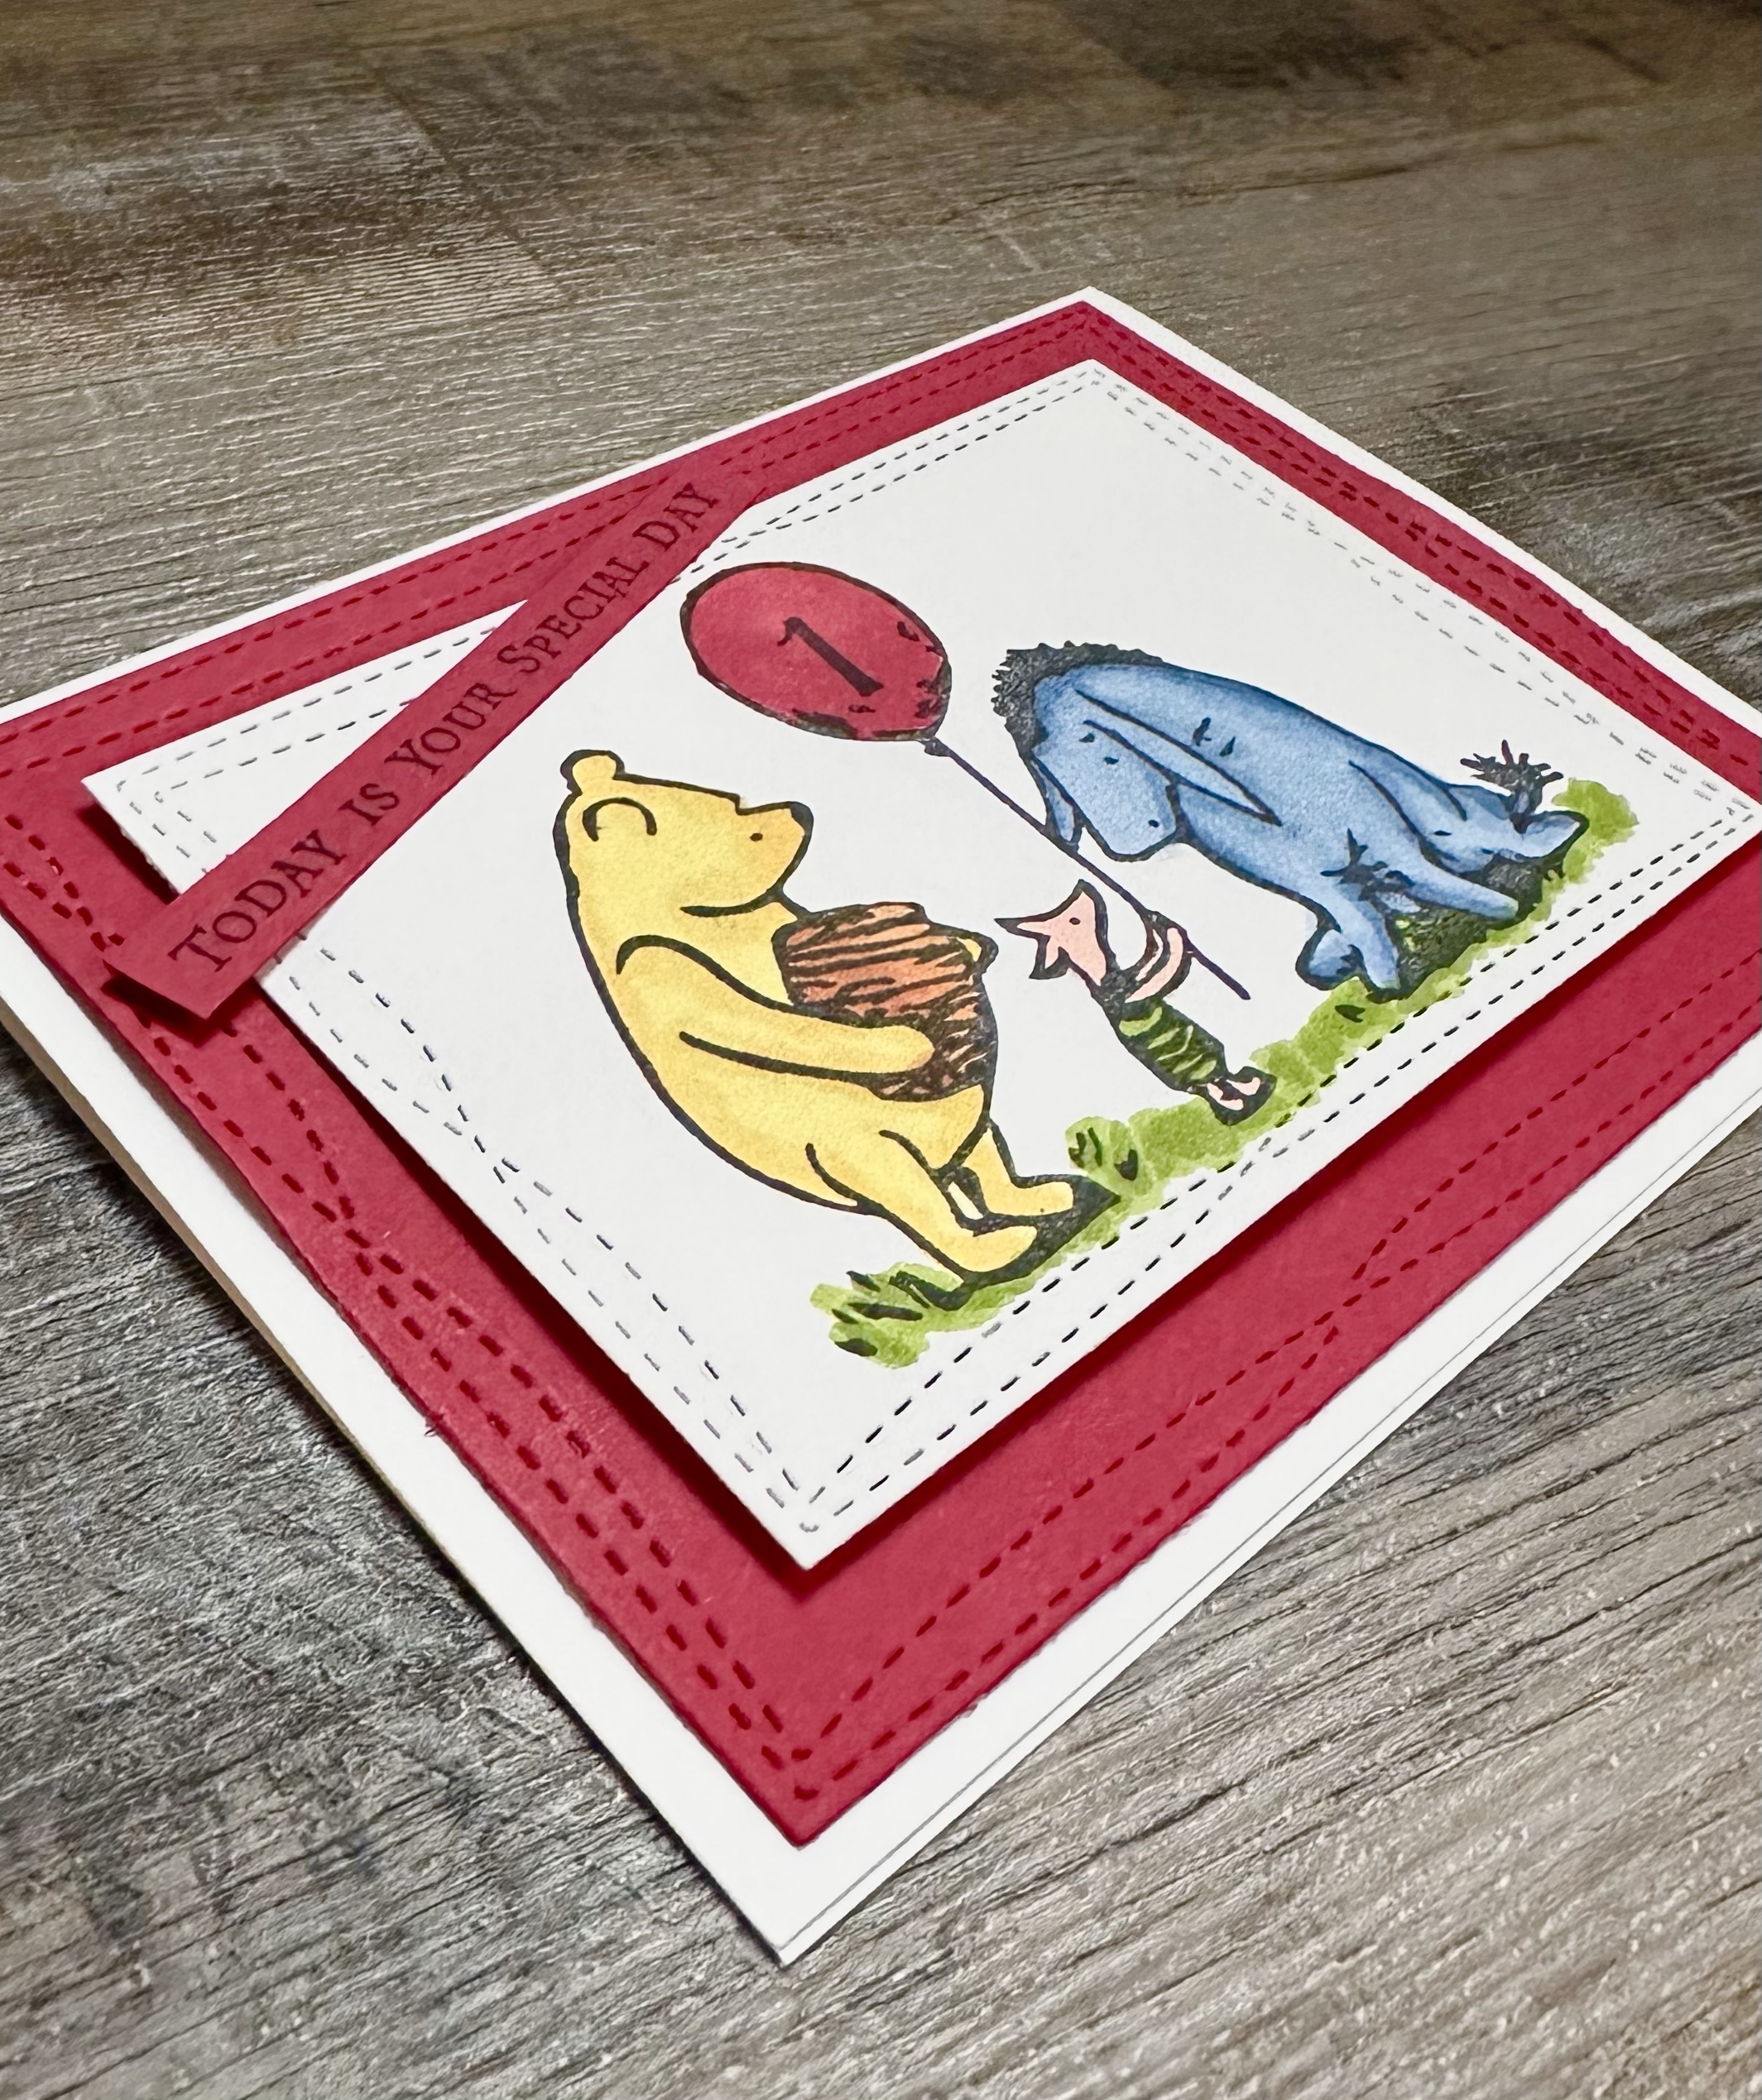
So this adorable little guy turned one last month and you can see he was very excited about it! 💙💙💙 Of course I had to make him a special 1st birthday card – and what could be better than a card with Pooh and his friends? 🎈
Disclosure: Some of the links on my site are affiliate links, meaning, at no additional cost to you, I will earn a small commission if you click through and make a purchase. As an Amazon Associate I earn from qualifying purchases.
The stamp set I used is called Winnie the Pooh: Special Like You from Unity Stamp Company. The sentiment stamp I used is discontinued, but you can use any of your favorite birthday or celebration sentiment stamps from your collection – or you could even leave the sentiment strip off.
I stamped the image of Pooh and his friends with Memento Tuxedo Black ink on white card stock and colored it with Copic markers. Then I stamped the number “1” on the balloon with the same black ink. Using the Wonky Stitched Rectangle STAX Die-namics from My Favorite Things Stamps, I die cut around the image. Using the same die set, I also die cut a piece of red card stock. I stamped the sentiment with black ink on a strip of red card stock.
To make the card, I attached the red die cut piece to a white card. I attached the stamped image to the card with foam tape and then attached the sentiment strip at an angle over the stamped piece.
If you love Winnie the Pooh as much as I do, you should check out all the Pooh stamp sets at Unity Stamp Company. You are sure to find one or two (or ten!) sets that you’ll like! 😉
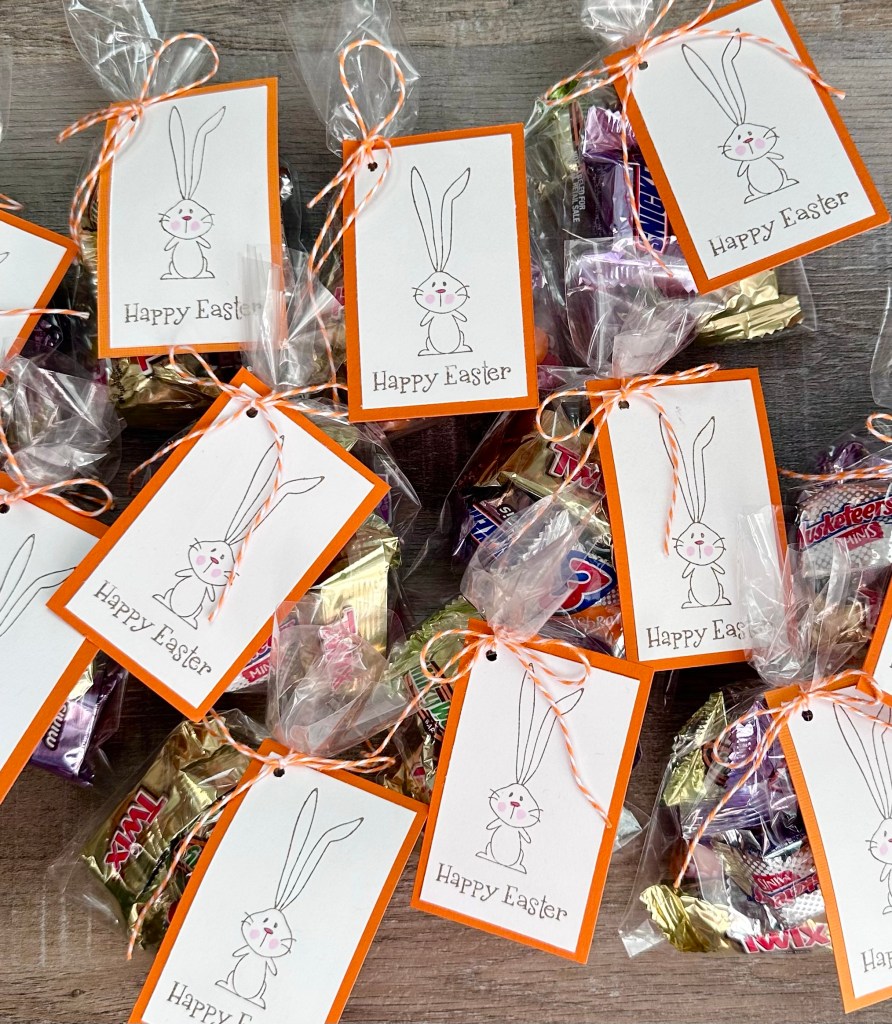
Do you have any little bunnies that you want to treat this Easter? I have a quick and easy Happy Easter tag you can attach to a small bag of goodies. They take just a few minutes to make! 🐰
Disclosure: Some of the links on my site are affiliate links, meaning, at no additional cost to you, I will earn a small commission if you click through and make a purchase. As an Amazon Associate I earn from qualifying purchases.
You’ll need some card stock, your favorite Easter stamps, and some baker’s twine. My little bunny is an old stamp from Inkadinkado that I’ve had forever, but I found there are still a few available here on Amazon! You can also use your favorite bunny stamp from your collection. My “Happy Easter” stamp is discontinued, but here is a similar one.
These are such simple little tags, but I think they make giving treats just a bit more fun! Pull out your favorite Easter or Spring stamps and make some cute tags for all your little bunnies. 🐰
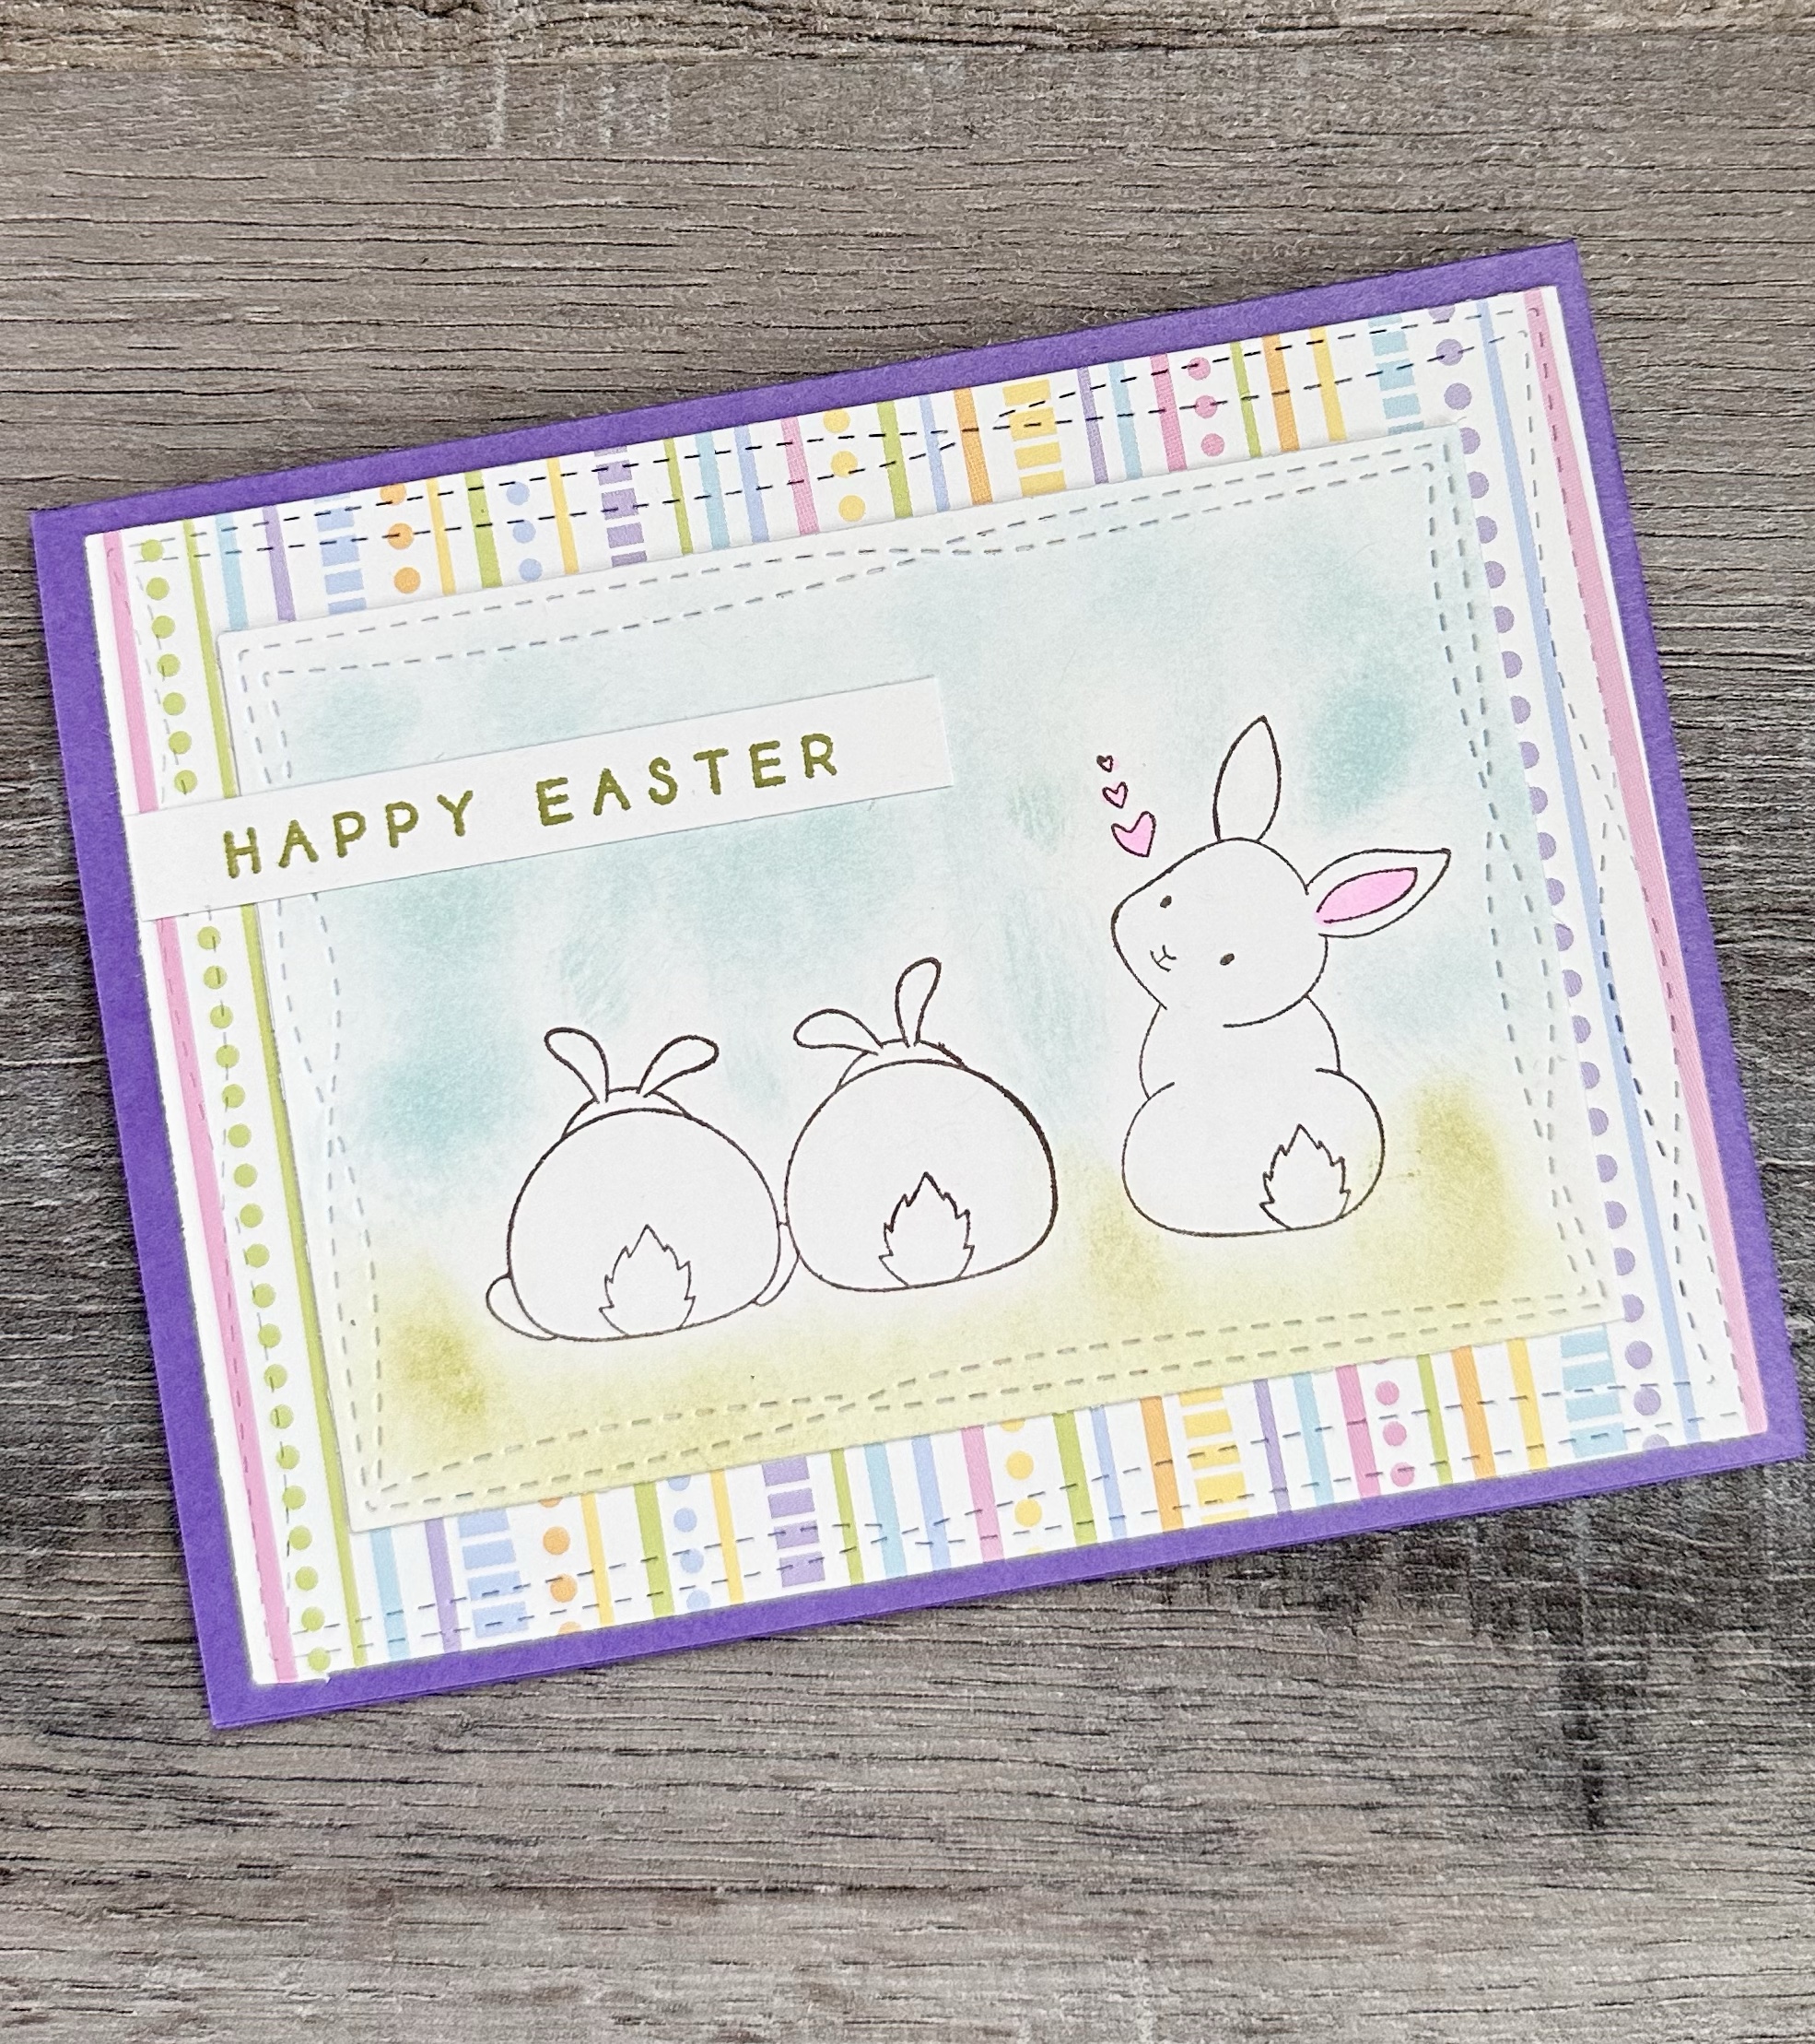
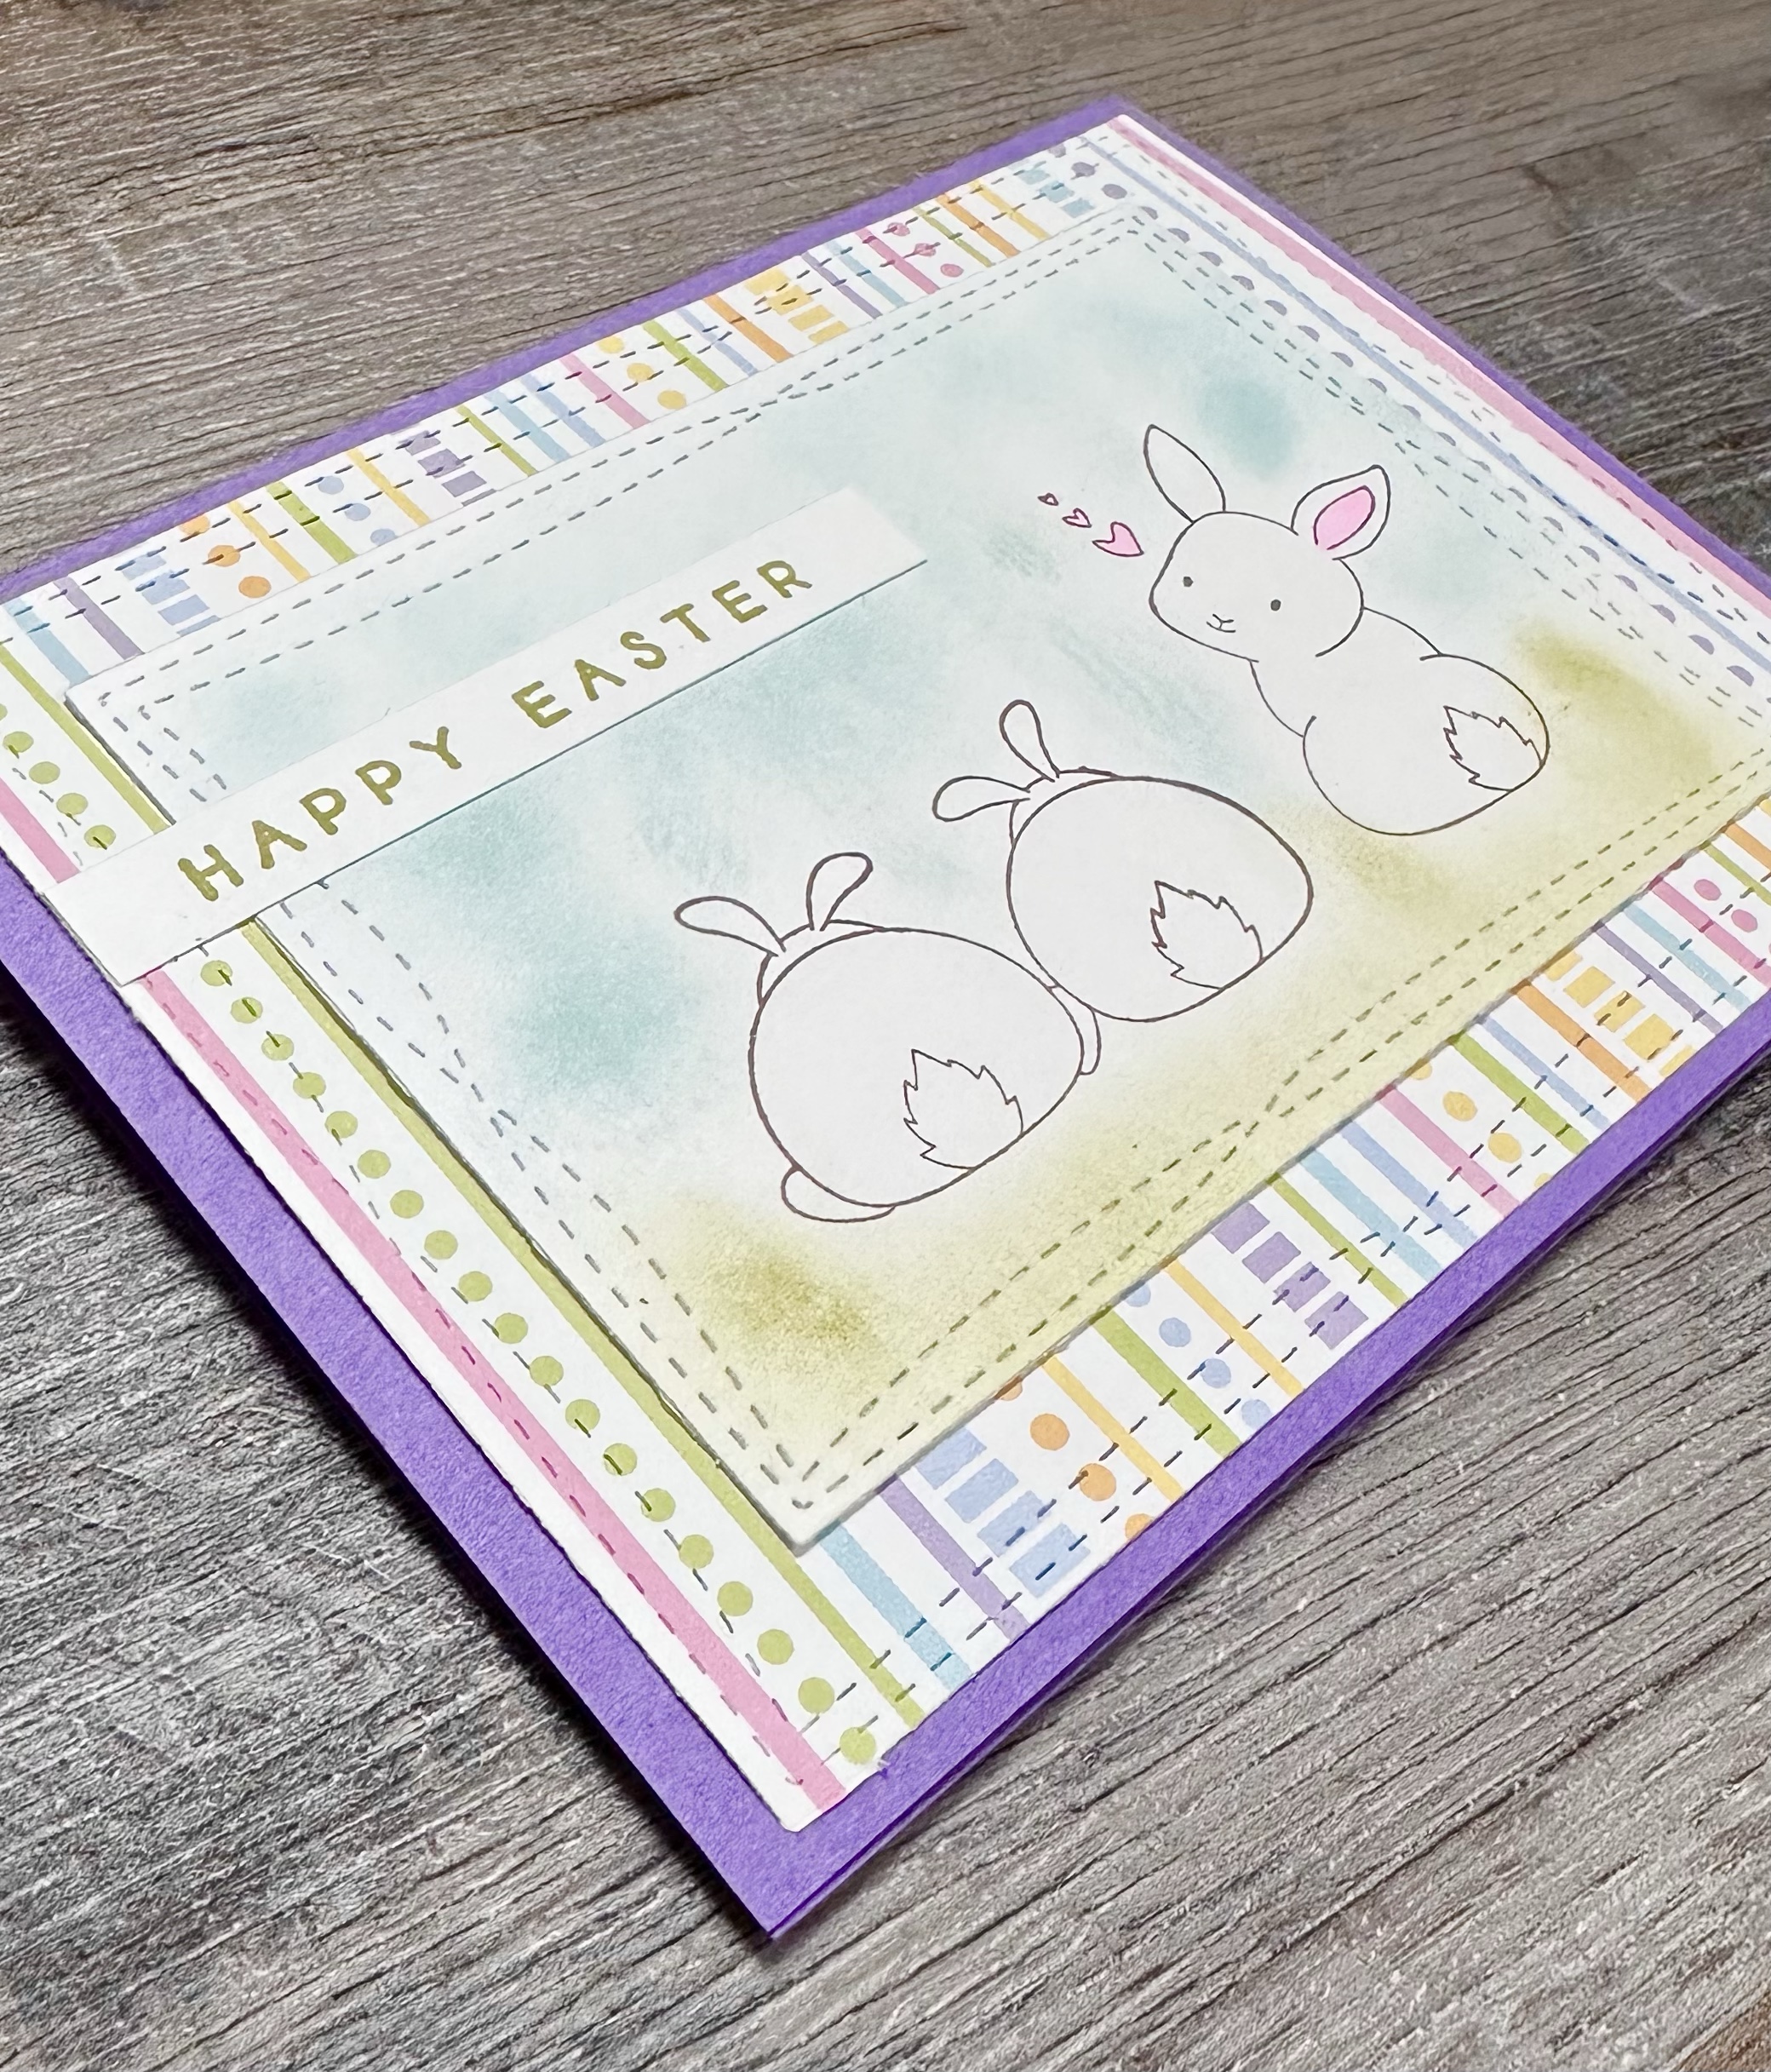
You know how much I love Unity Stamp Company! They’ve done it again with this sweet Oh Hello Spring stamp set. 🙂 Aren’t these little bunnies cute?!?! The set also includes 2 sentiment stamps and a tiny little carrot – perfect for all your Spring cards.
Disclosure: Some of the links on my site are affiliate links, meaning, at no additional cost to you, I will earn a small commission if you click through and make a purchase. As an Amazon Associate I earn from qualifying purchases.
To make the card, I stamped the bunnies with Memento Tuxedo Black ink on white card stock. I colored the ear and tiny hearts with a pink Copic marker. I applied the background around the bunnies using the Bitty Blender Brushes from Taylored Expressions with green and blue ink. Then I die cut the image with the Wonky Stitched Rectangle STAX Die-namics from My Favorite Things Stamps. I used the same die set to cut a piece of patterned paper and attached it to a purple card. I attached the stamped piece over the patterned paper. I stamped the sentiment with green ink on a strip of white card stock and attached it to the card.
This was a fun, quick and easy card to make! You can’t go wrong with cute bunnies! 😉
If you see any of these cute little frames with the wood bead hanger at Dollar Tree you need to grab them! They measure 6 by 6 inches and with a little creativity, you can turn them into something really cute!
Disclosure: Some of the links on my site are affiliate links, meaning, at no additional cost to you, I will earn a small commission if you click through and make a purchase. As an Amazon Associate I earn from qualifying purchases.
I found these wood egg and bunny cutouts at Hobby Lobby – they came in packages of 10. You may be able to find something similar at Dollar Tree also. My polka dot patterned paper is from Unity Stamp Company and the colors are perfect for Spring.
I trimmed a piece of pink card stock to fit inside my frame and used Matte Mod Podge with a foam brush to adhere it to the frame. I also applied a thin coat of Mod Podge over the top of the card stock to add a little sheen to it.
I traced the egg cutout on the back of 3 different colors of polka dot paper and cut them out. I used Mod Podge to adhere the paper to the wood eggs and then applied a thin coat over the top. I did the same thing with the bunny cutout and light brown gingham patterned paper.
Using my hot glue gun, I glued 2 of the eggs inside the frame and glued the 3rd one on top. I glued the the bunny to the left edge of the frame and glued on a white pom pom for his tail.
To finish it off, I added a small ribbon bow (made the Re-fabbed way) to the upper right corner of the frame.
It turned out really cute! It didn’t take long to make and it’s a fun little addition to my Easter decor.
This frame can be altered for any holiday, to match your decor, or it would look cute in a nursery or child’s room. You’re only limited by your imagination! 😊
Keep watching your local Dollar Tree and grab the frames when you see them! 😊
Do you know about 3amgracedesigns? They have the best crochet patterns and have a line called Kawaii Cuddlers that includes all sorts of great things from numbers and letters to food, animals, vehicles, and so much more
Disclosure: Some of the links on my site are affiliate links, meaning, at no additional cost to you, I will earn a small commission if you click through and make a purchase. As an Amazon Associate I earn from qualifying purchases.
I made this tractor for a very special little boy who just turned one. It was fun to make and the pattern was easy to follow. You can add safety eyes in place of the crocheted circle eyes if you’re making it for an older child.
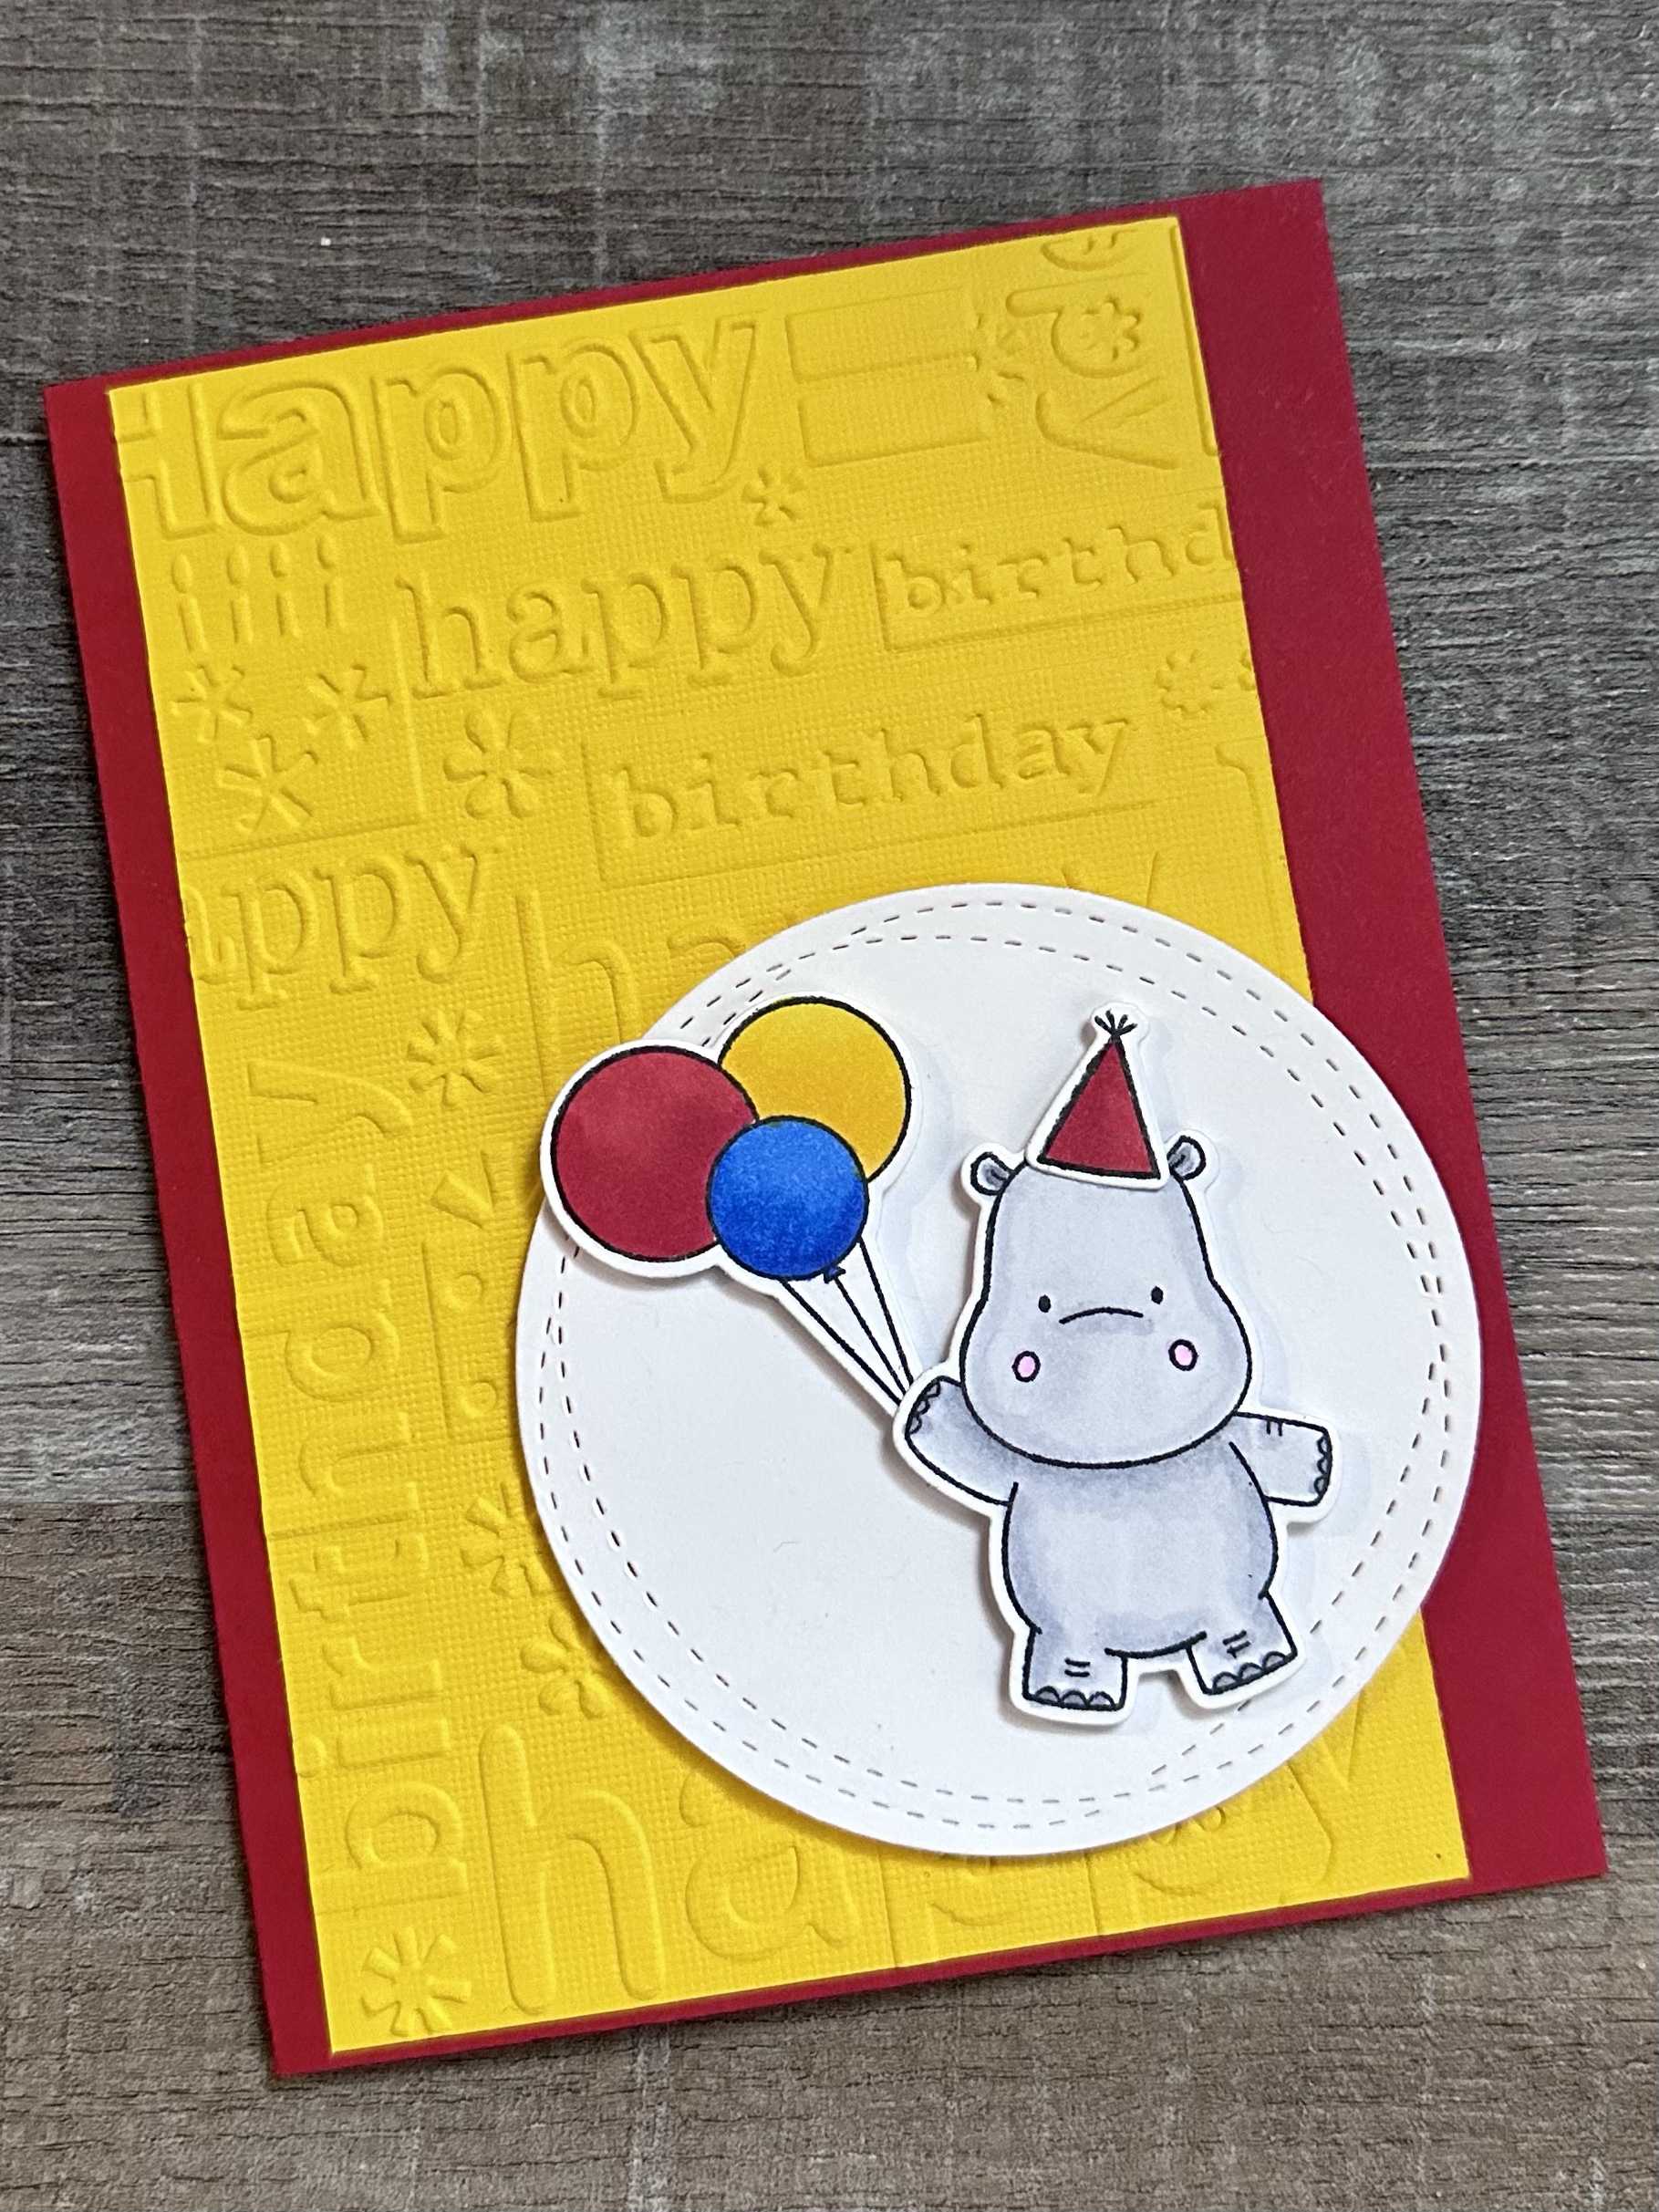
The Happy Hippos stamp set from My Favorite Things makes the cutest birthday cards! I made this card for a special 7 year old, but this set is great for any age. It makes such happy cards. 🙂
Disclosure: Some of the links on my site are affiliate links, meaning, at no additional cost to you, I will earn a small commission if you click through and make a purchase. As an Amazon Associate I earn from qualifying purchases.
The bright colors on this card make it so fun! But you can color the images in pastel colors for a great card, too. There are several other hippo, birthday images, and sentiments in this set for making the perfect card for anyone on your birthday list. 🎁
Disclosure: Some of the links on my site are affiliate links, meaning, at no additional cost to you, I will earn a small commission if you click through and make a purchase. As an Amazon Associate I earn from qualifying purchases.