Little Halloween Treat Bags

Hi friends,

You still have time to make up some Little Halloween Treat Bags for those special trick or treaters. 🎃 Pull out your favorite Halloween stamps and make some quick little tags to attach to small clear treat bags filled with yummy goodies.

Disclosure: Some of the links on my site are affiliate links, meaning, at no additional cost to you, I will earn a small commission if you click through and make a purchase. As an Amazon Associate I earn from qualifying purchases.

My adorable candy corn stamp is from the 31 stamp set from Unity Stamp Company. The set has 13 little Halloween stamps that are perfect for making tags. I’m sure you have some cute Halloween images in your stash that will work.

I stamped the image with Memento Tuxedo Black ink on white card stock, colored it with Copic markers, and punched it out with a circle punch. I attached the stamped image to a larger decorative circle punched from green card stock. (This is a similar punch.)

I used my Crop-A-Dile to punch a small hole in the tag. I tied the tags to small clear treat bags filled with treats using orange and white baker’s twine.
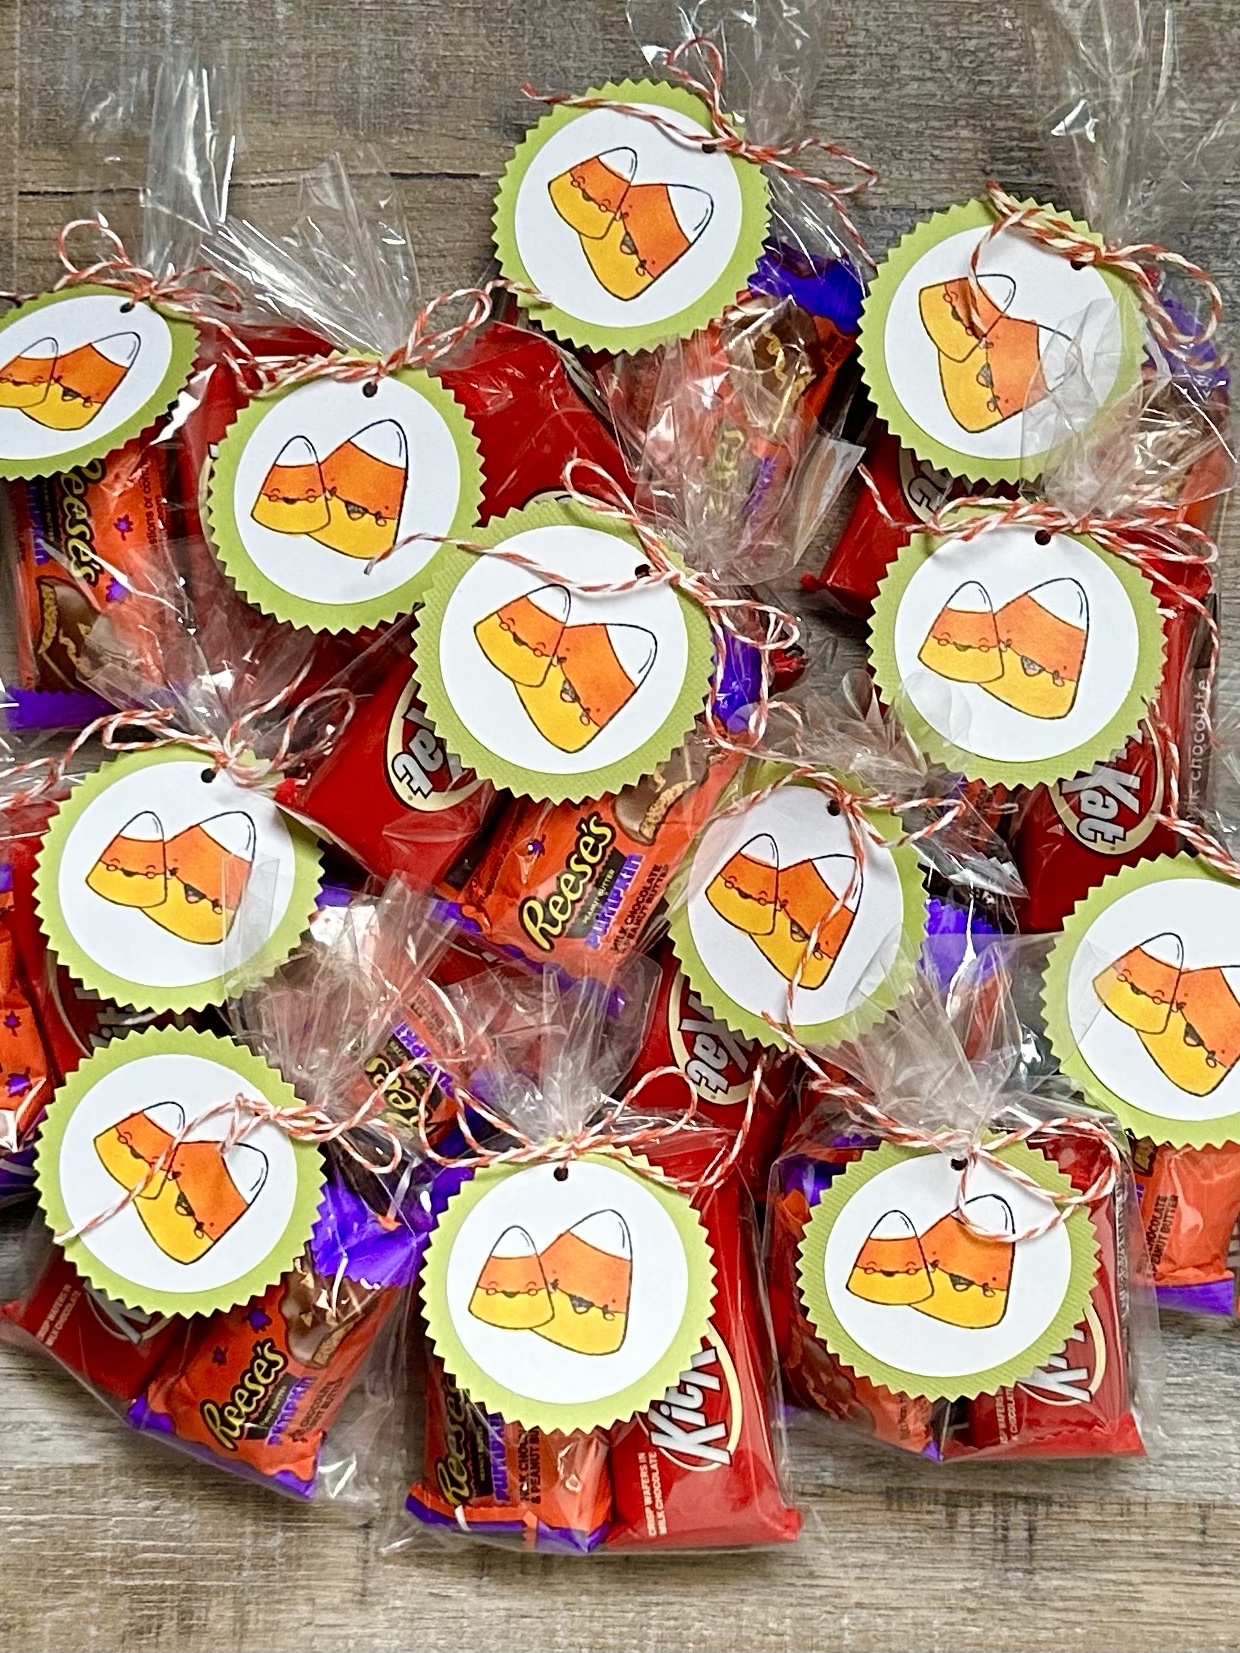
These fun little tags are so quick and easy to make! You can also make cute tags using stamps for any season – Thanksgiving, Christmas, Easter, or Birthdays. Any smaller images you have would work great for making tags. 🙂

Anita

Posted in Fall, Gifts, Stamping | Tagged , , | Leave a comment

Trick or Treat – Pooh & Piglet Card

Hi friends,

I couldn’t resist making another Halloween card using this adorable Winnie the Pooh: Trick or Treat stamp set from Unity Stamp Company! 🎃 You can find my first card using these cuties in this post.

Disclosure: Some of the links on my site are affiliate links, meaning, at no additional cost to you, I will earn a small commission if you click through and make a purchase. As an Amazon Associate I earn from qualifying purchases.

I stamped Pooh & Piglet with Memento Tuxedo Black ink on white card stock, colored them with Copic markers, and cut them out.

Using the Wonky Stitched Rectangle Dies from My Favorite Things, I die cut a piece of polka dot patterned paper and attached it to an orange card. Using a smaller die, I cut a wonky rectangle from white card stock. I applied black ink to the die cut piece with a Blender Brush from Taylored Expressions and attached it to the card at an angle. Then I stamped the sentiment with orange ink on white card stock, trimmed it, and attached it to the card.

Pooh & Piglet are attached to the card using foam tape. Aren’t they just the cutest?!?!?

I almost wish October would last longer so I could keep creating with these cuties! 🎃 But no worries – I have more Pooh stamps to ink up for other fun cards! 😉

Anita

Posted in Cards, Fall, Stamping | Tagged , , | Leave a comment

Happy Halloween from Pooh & Piglet

Hi friends,

What could be more fun than Winnie the Pooh & Piglet all dressed up for Halloween? 🎃

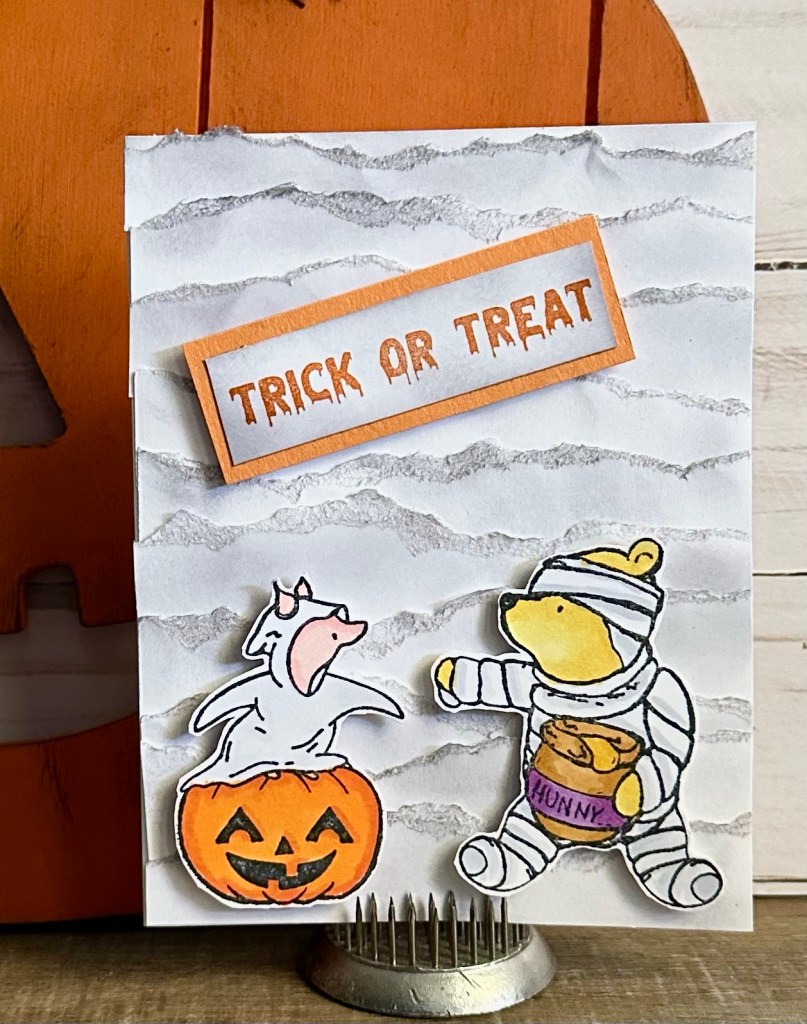
Unity Stamp Company has done it again with this adorable stamp set called Winnie the Pooh: Trick or Treat. Pooh is dressed up as a mummy – of course holding his honey pot! And Piglet is a cute little ghost perched on a Jack-O-Lantern. The set also includes 2 sentiment stamps.

Disclosure: Some of the links on my site are affiliate links, meaning, at no additional cost to you, I will earn a small commission if you click through and make a purchase. As an Amazon Associate I earn from qualifying purchases.

I stamped Pooh & Piglet with Memento Tuxedo Black ink on white card stock, colored them with Copic markers, and cut them out. (I love these detail scissors!)

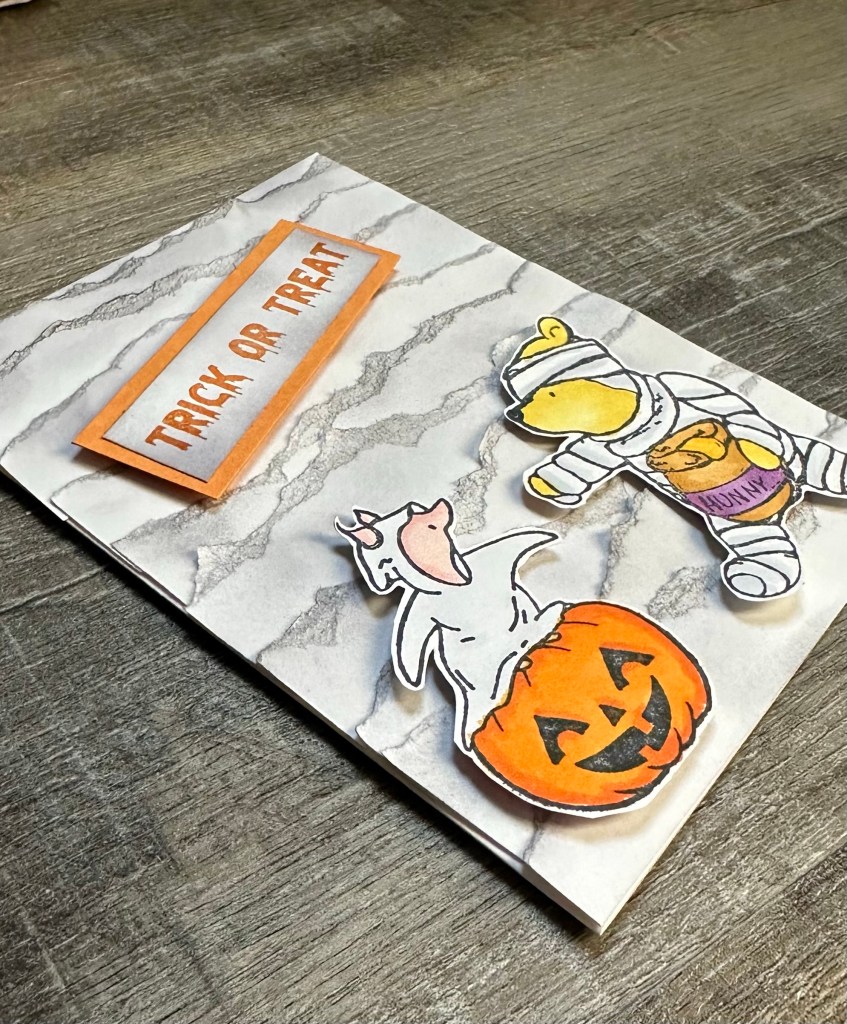
I wanted to mimic the mummy costume Pooh is wearing for my background. I tore strips of white card stock and applied dark gray ink to the edges using the Blender Brushes from Taylored Expressions. I attached the strips to a white card, overlapping them.

I stamped the sentiment with orange ink on white card stock, applied gray ink with a blender brush, and layered it to orange card stock. I added Pooh, Piglet, and the sentiment to the card using foam tape.

Pooh & Piglet are the cutest way to wish everyone a Happy Halloween! 🎃

Anita

Posted in Cards, Fall, Stamping | Tagged , , | 1 Comment

It’s Fall Y’all Crochet Dishcloth

Hi friends,

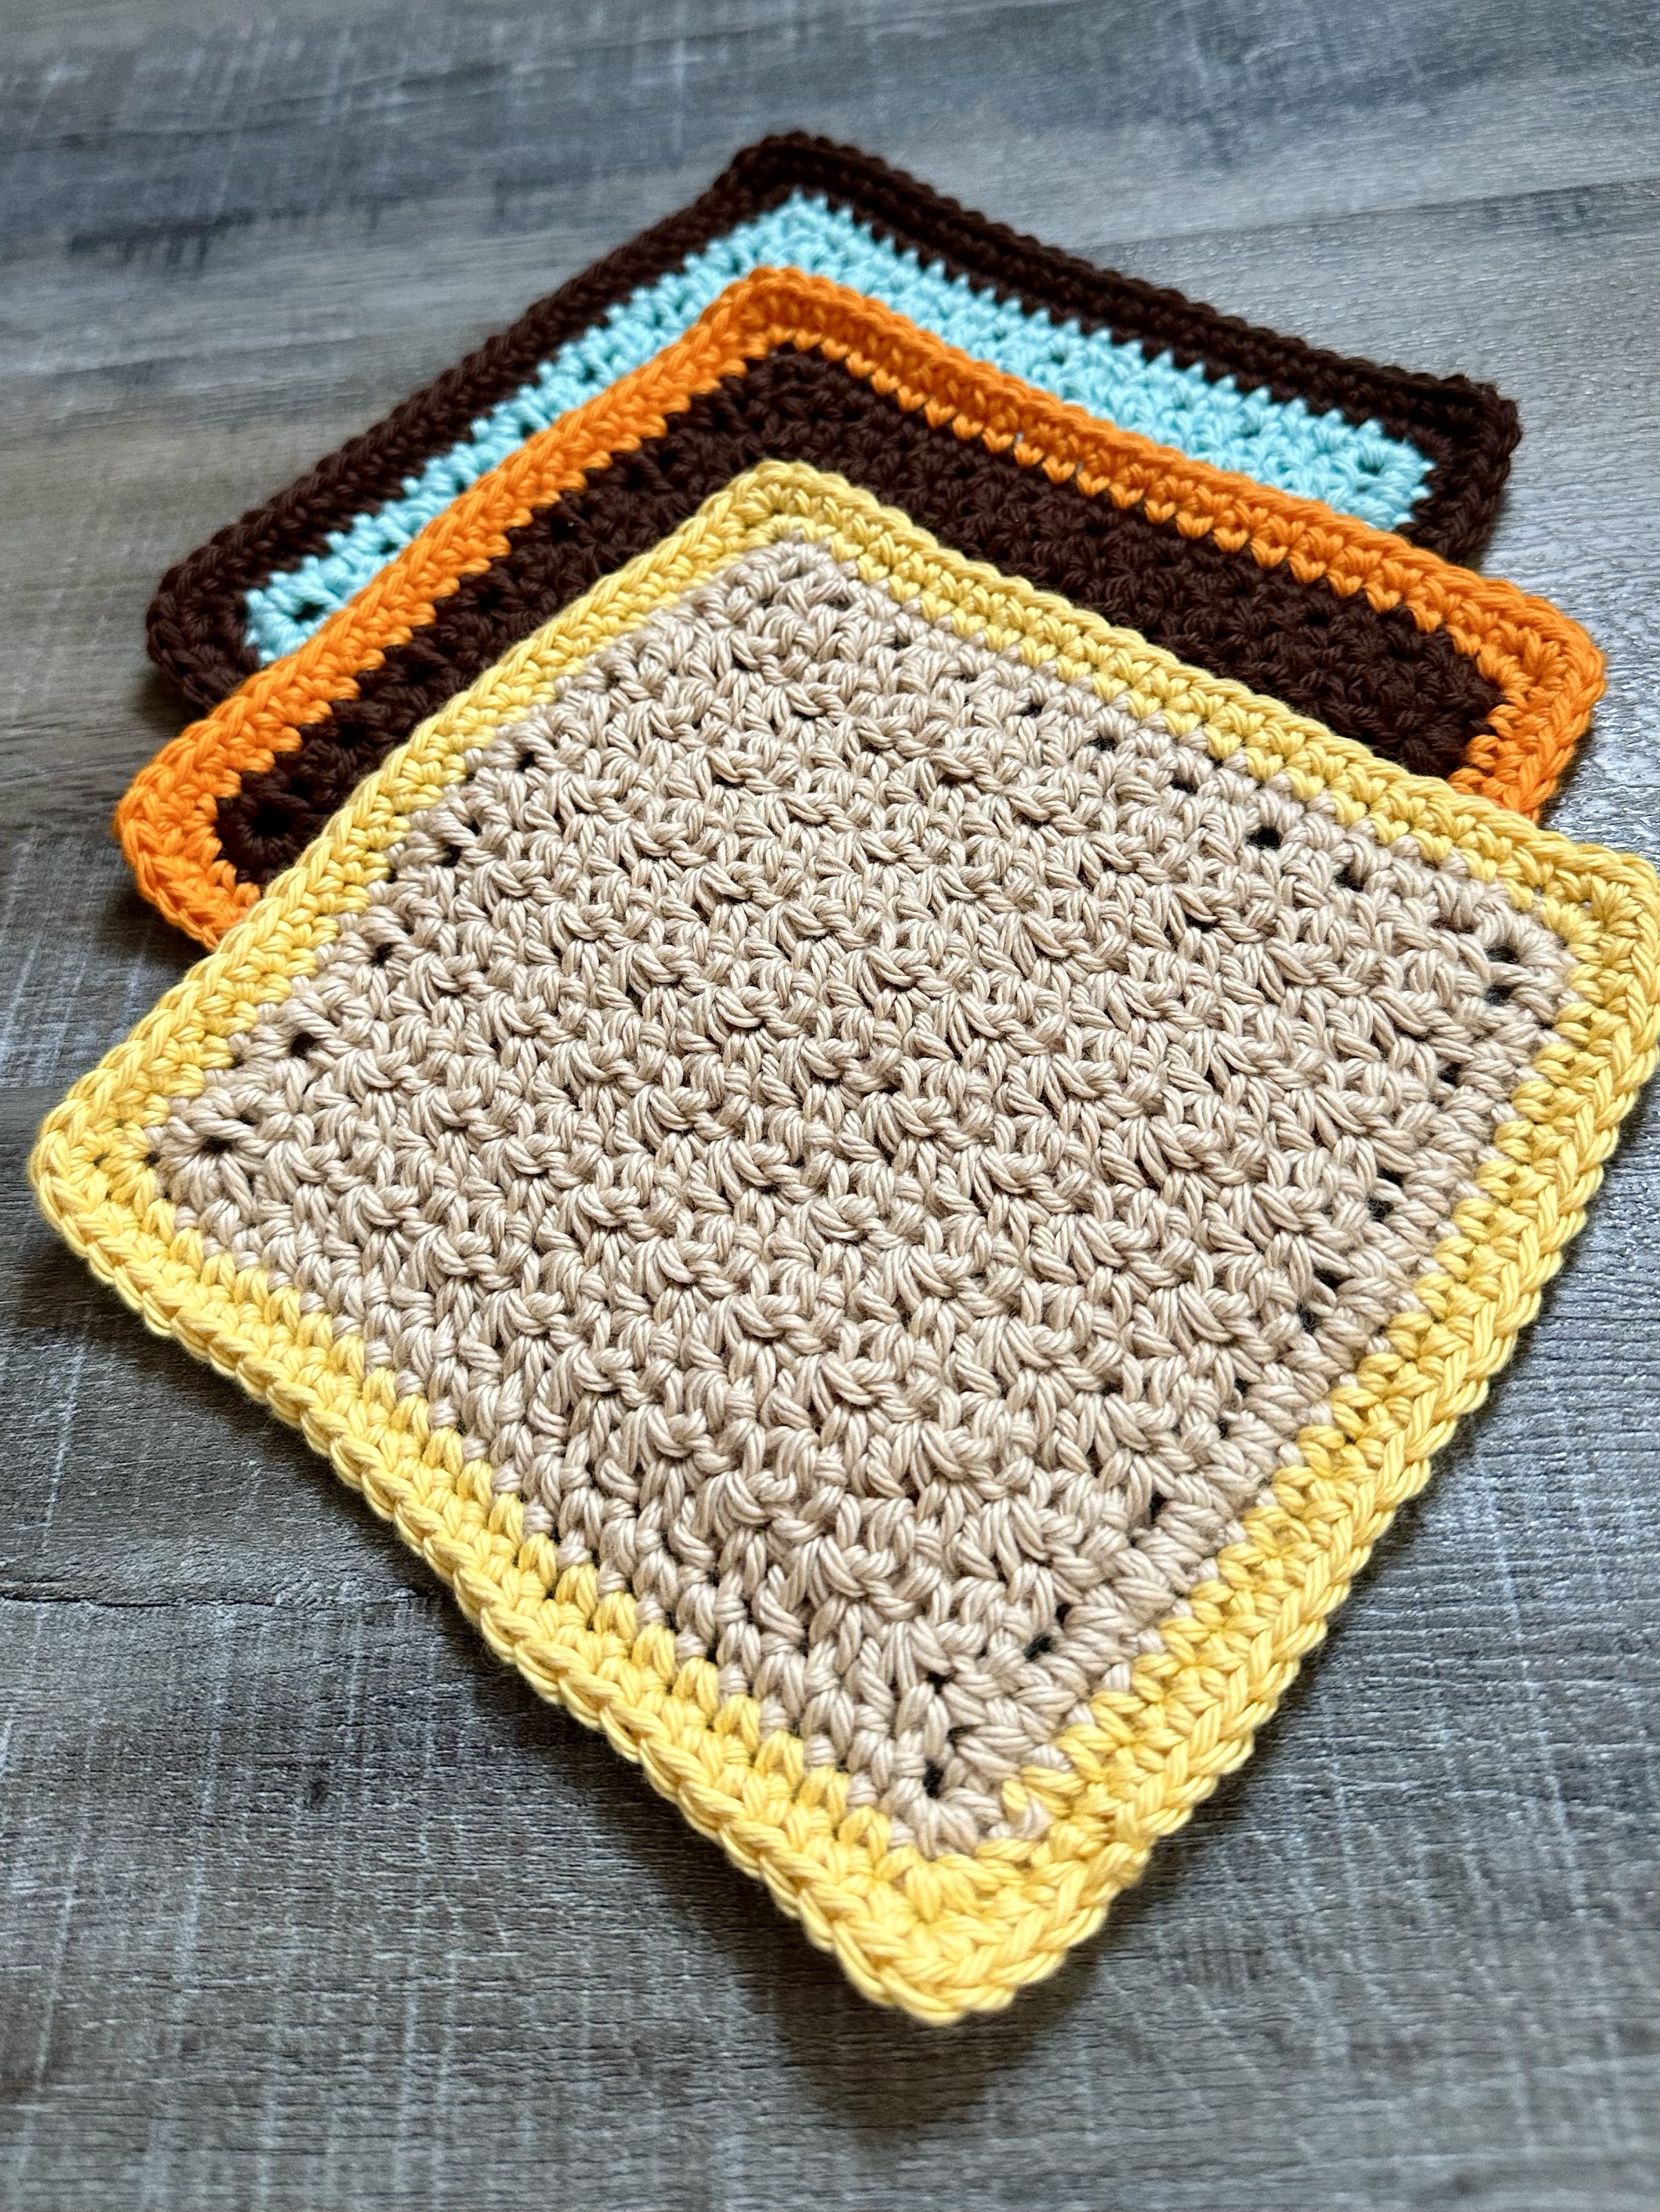
I had some cotton yarn leftover from other projects and the colors reminded me of Fall. So I created the It’s Fall Y’all Crochet Dishcloth pattern! It’s super quick and easy using simple stitches.

Disclosure: Some of the links on my site are affiliate links, meaning, at no additional cost to you, I will earn a small commission if you click through and make a purchase. As an Amazon Associate I earn from qualifying purchases.

The dishcloth is worked in the Lemon Peel stitch with a border of single crochet. Don’t let the name of the stitch scare you – it’s simply alternating single crochet and double crochet. It creates a beautiful texture!

I used I Love This Cotton yarn and an H/5mm crochet hook to stitch up my dishcloths. The simple pattern is below along with a link to a free PDF if you’d like to print it.

It’s Fall Y’all Crochet Dishcloth

100% cotton yarn – I used I Love This Cotton Yarn in Aqua, Brown, Taupe, Curry, and Glowing

H/5mm crochet hook

Stitches used in US terms:

Chain – ch

Single crochet – sc

Double crochet – dc

Slip stitch – ss

Chain 21.

Row 1: sc in 2nd ch from hook. dc in next stitch. *sc in next stitch, dc in next stitch* Repeat from * to * across. ch 1, Turn. (20 stitches)

Row 2: sc in first stitch, dc in next stitch. *sc in next stitch, dc in next stitch* Repeat from * to * across. ch 1, Turn. (20 stitches)

Repeat Row 2 until piece measures about 5 inches long.  Do not turn after last row. 

Begin working in rounds. 

Round 1: ch 1. sc evenly around, working 3 sc in each corner. Join with ss to first sc.

Change to contrasting color. 

Round 2: ch 1. sc in each stitch around, working 3 sc in each corner. Join with ss to first sc. 

Round 3: ch 1. sc in each stitch around, working 3 sc in each corner. Join with ss to first sc. 

Fasten off and weave in ends. 

Finished size is approximately 6.5 by 7 inches. 

Here’s the link to the free PDF…

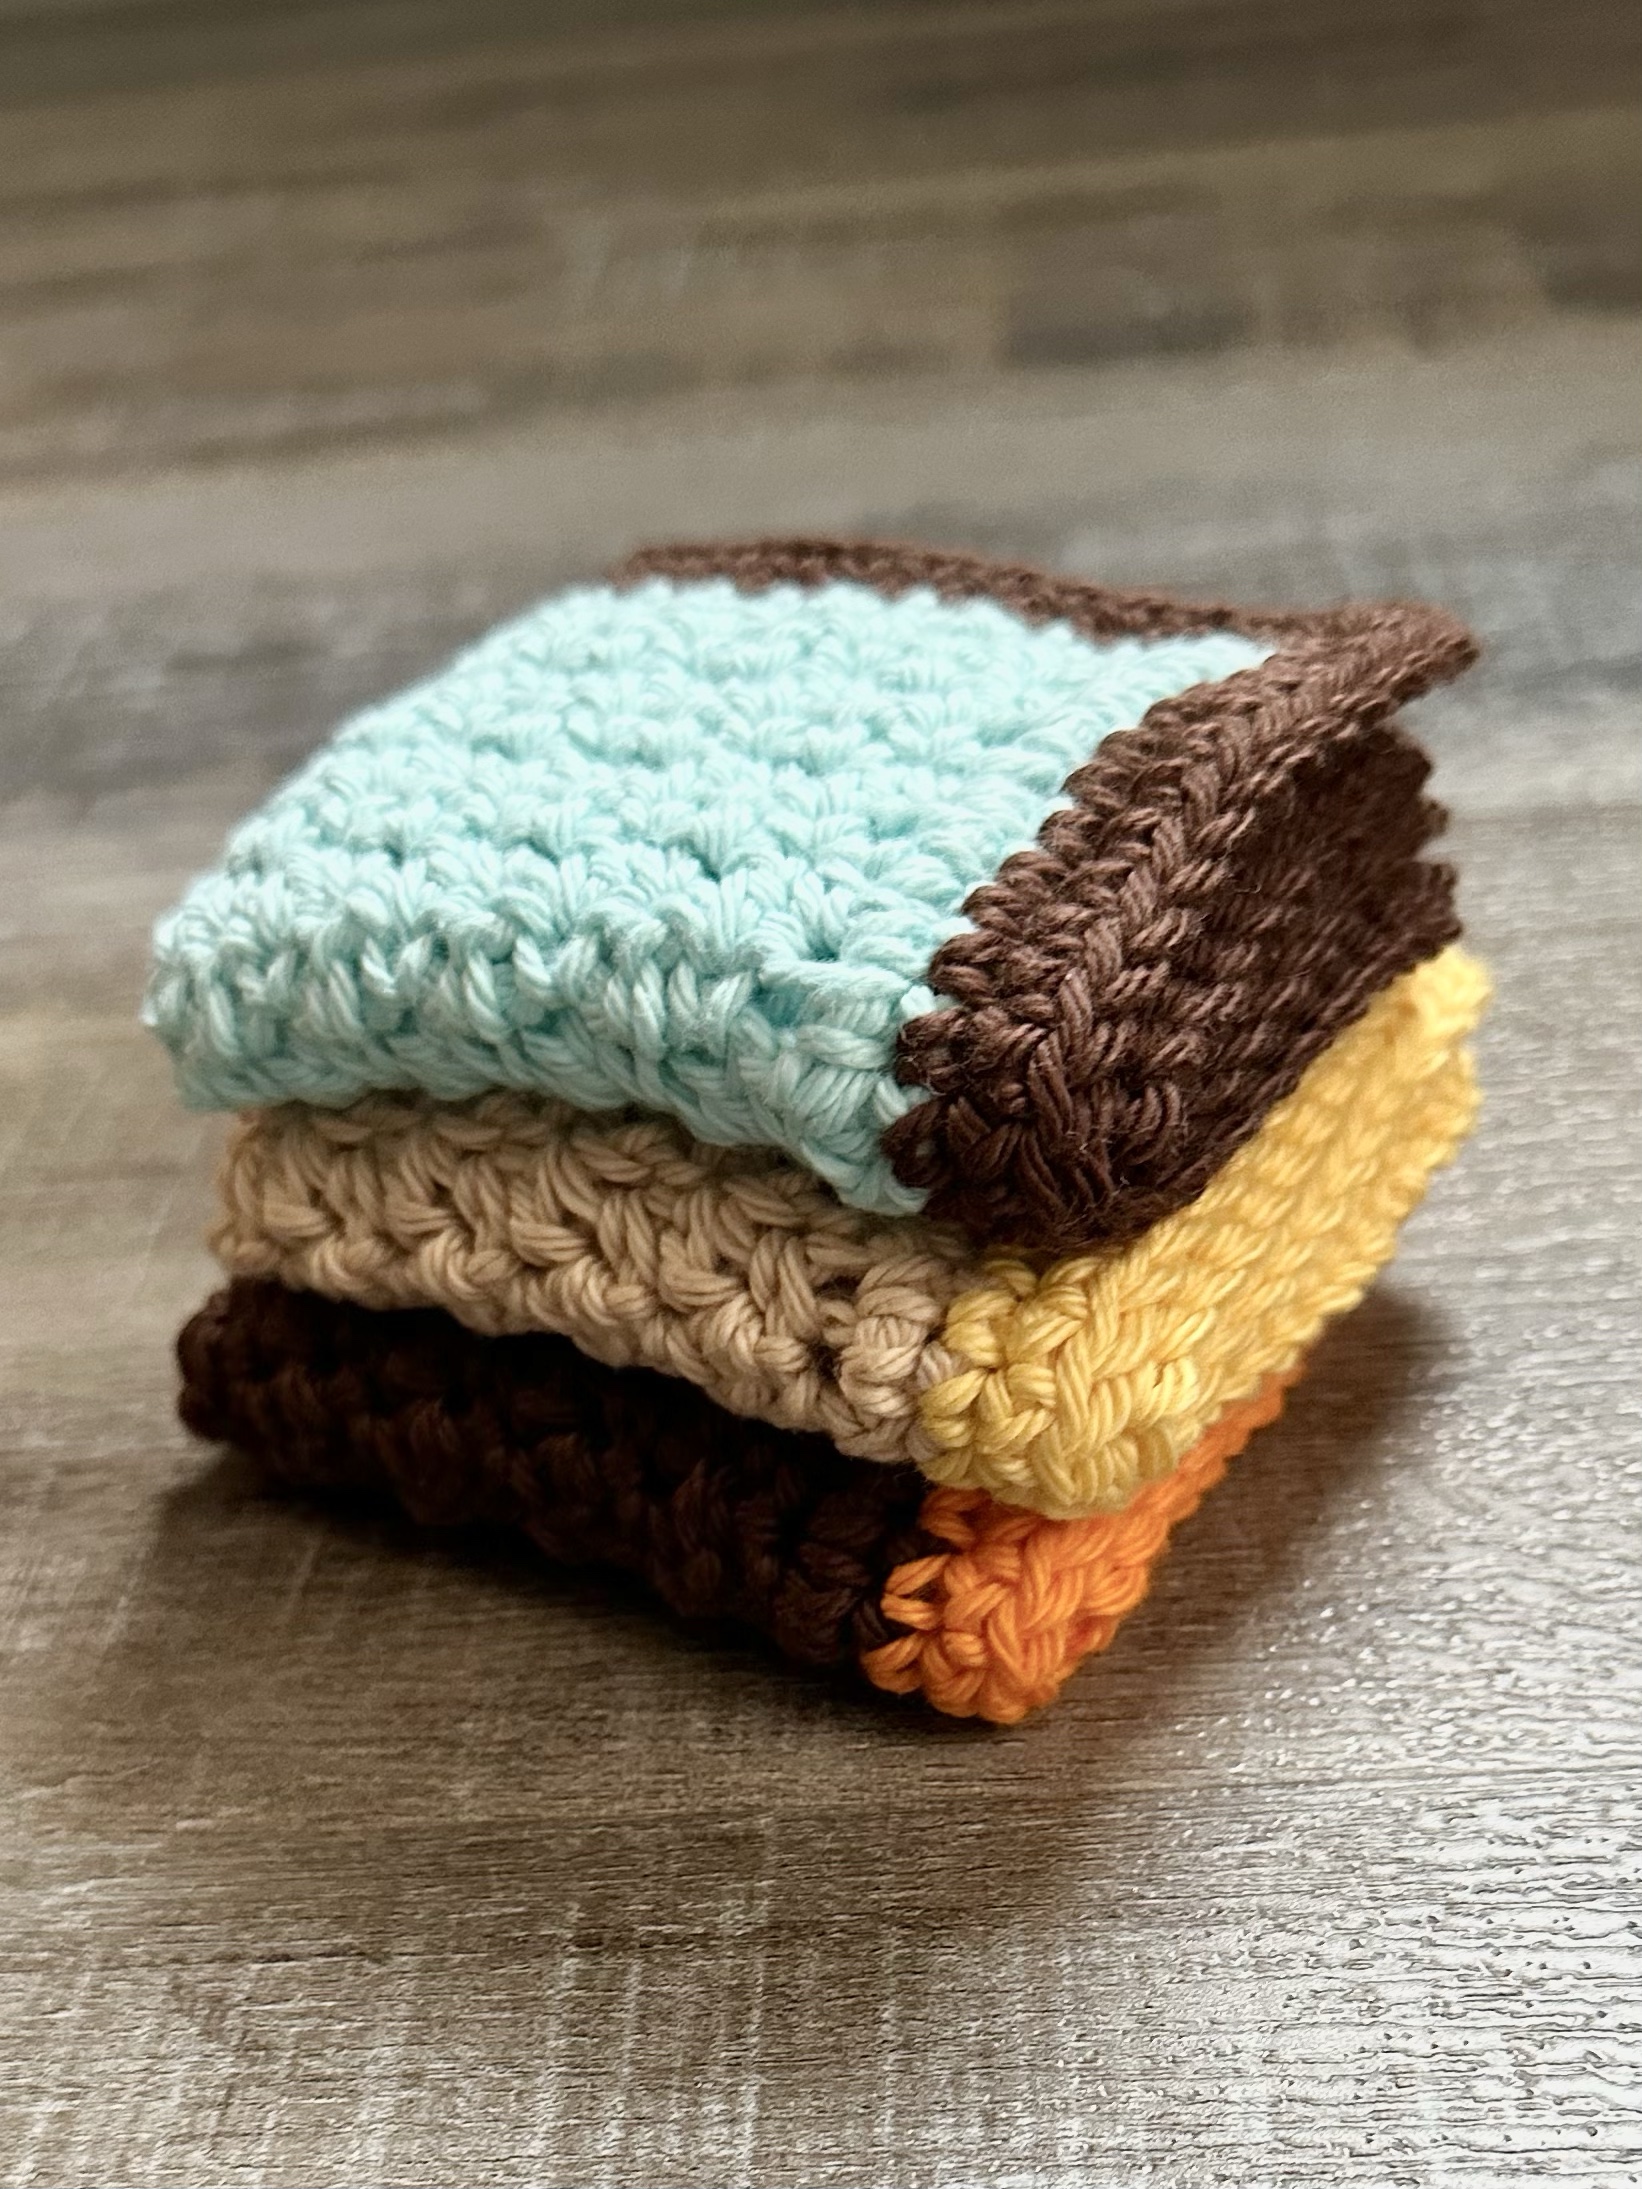
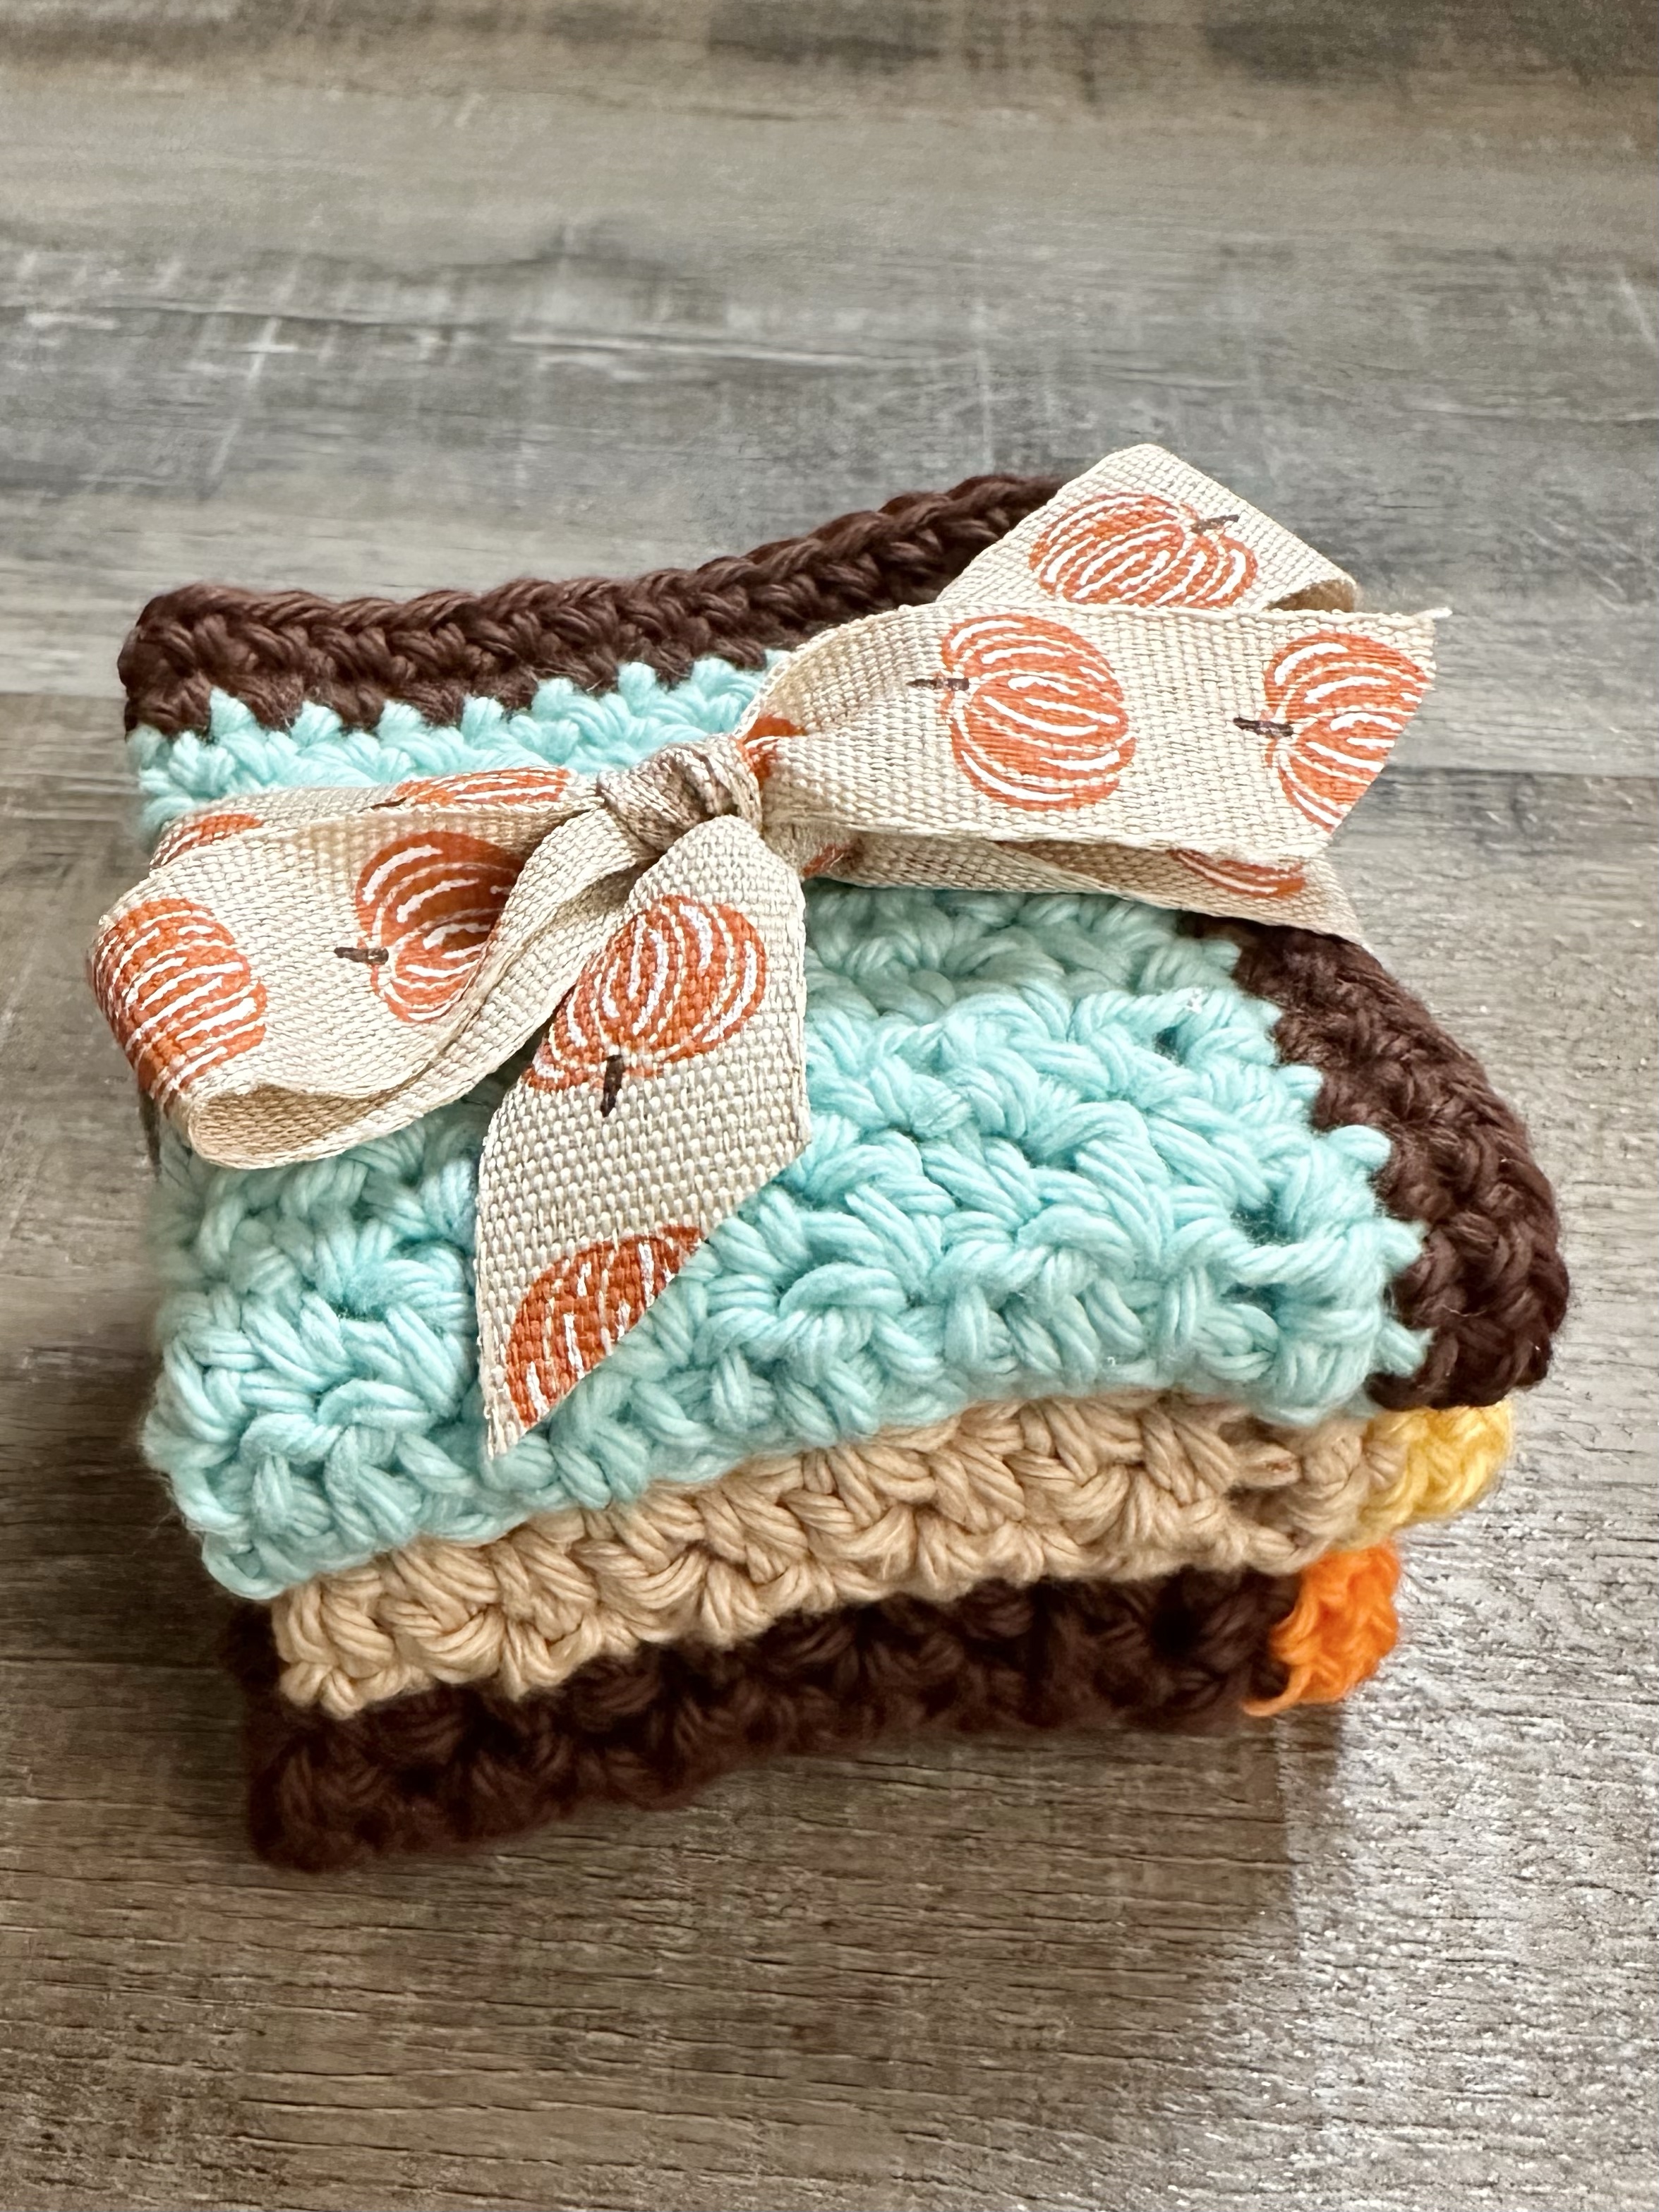
The It’s Fall Y’all Crochet Dishcloth would make a fun little hostess gift. Just stack 3 together and tie with a cute Fall ribbon. You can also use these as spa washcloths since they are made with cotton yarn. They would be a great addition to a spa themed gift basket – and of course you can make them in any color you’d like. 🙂

Anita

Posted in Crochet, Fall, Gifts | Tagged , , | Leave a comment

October Crochet Infinity Scarf

Hi friends,

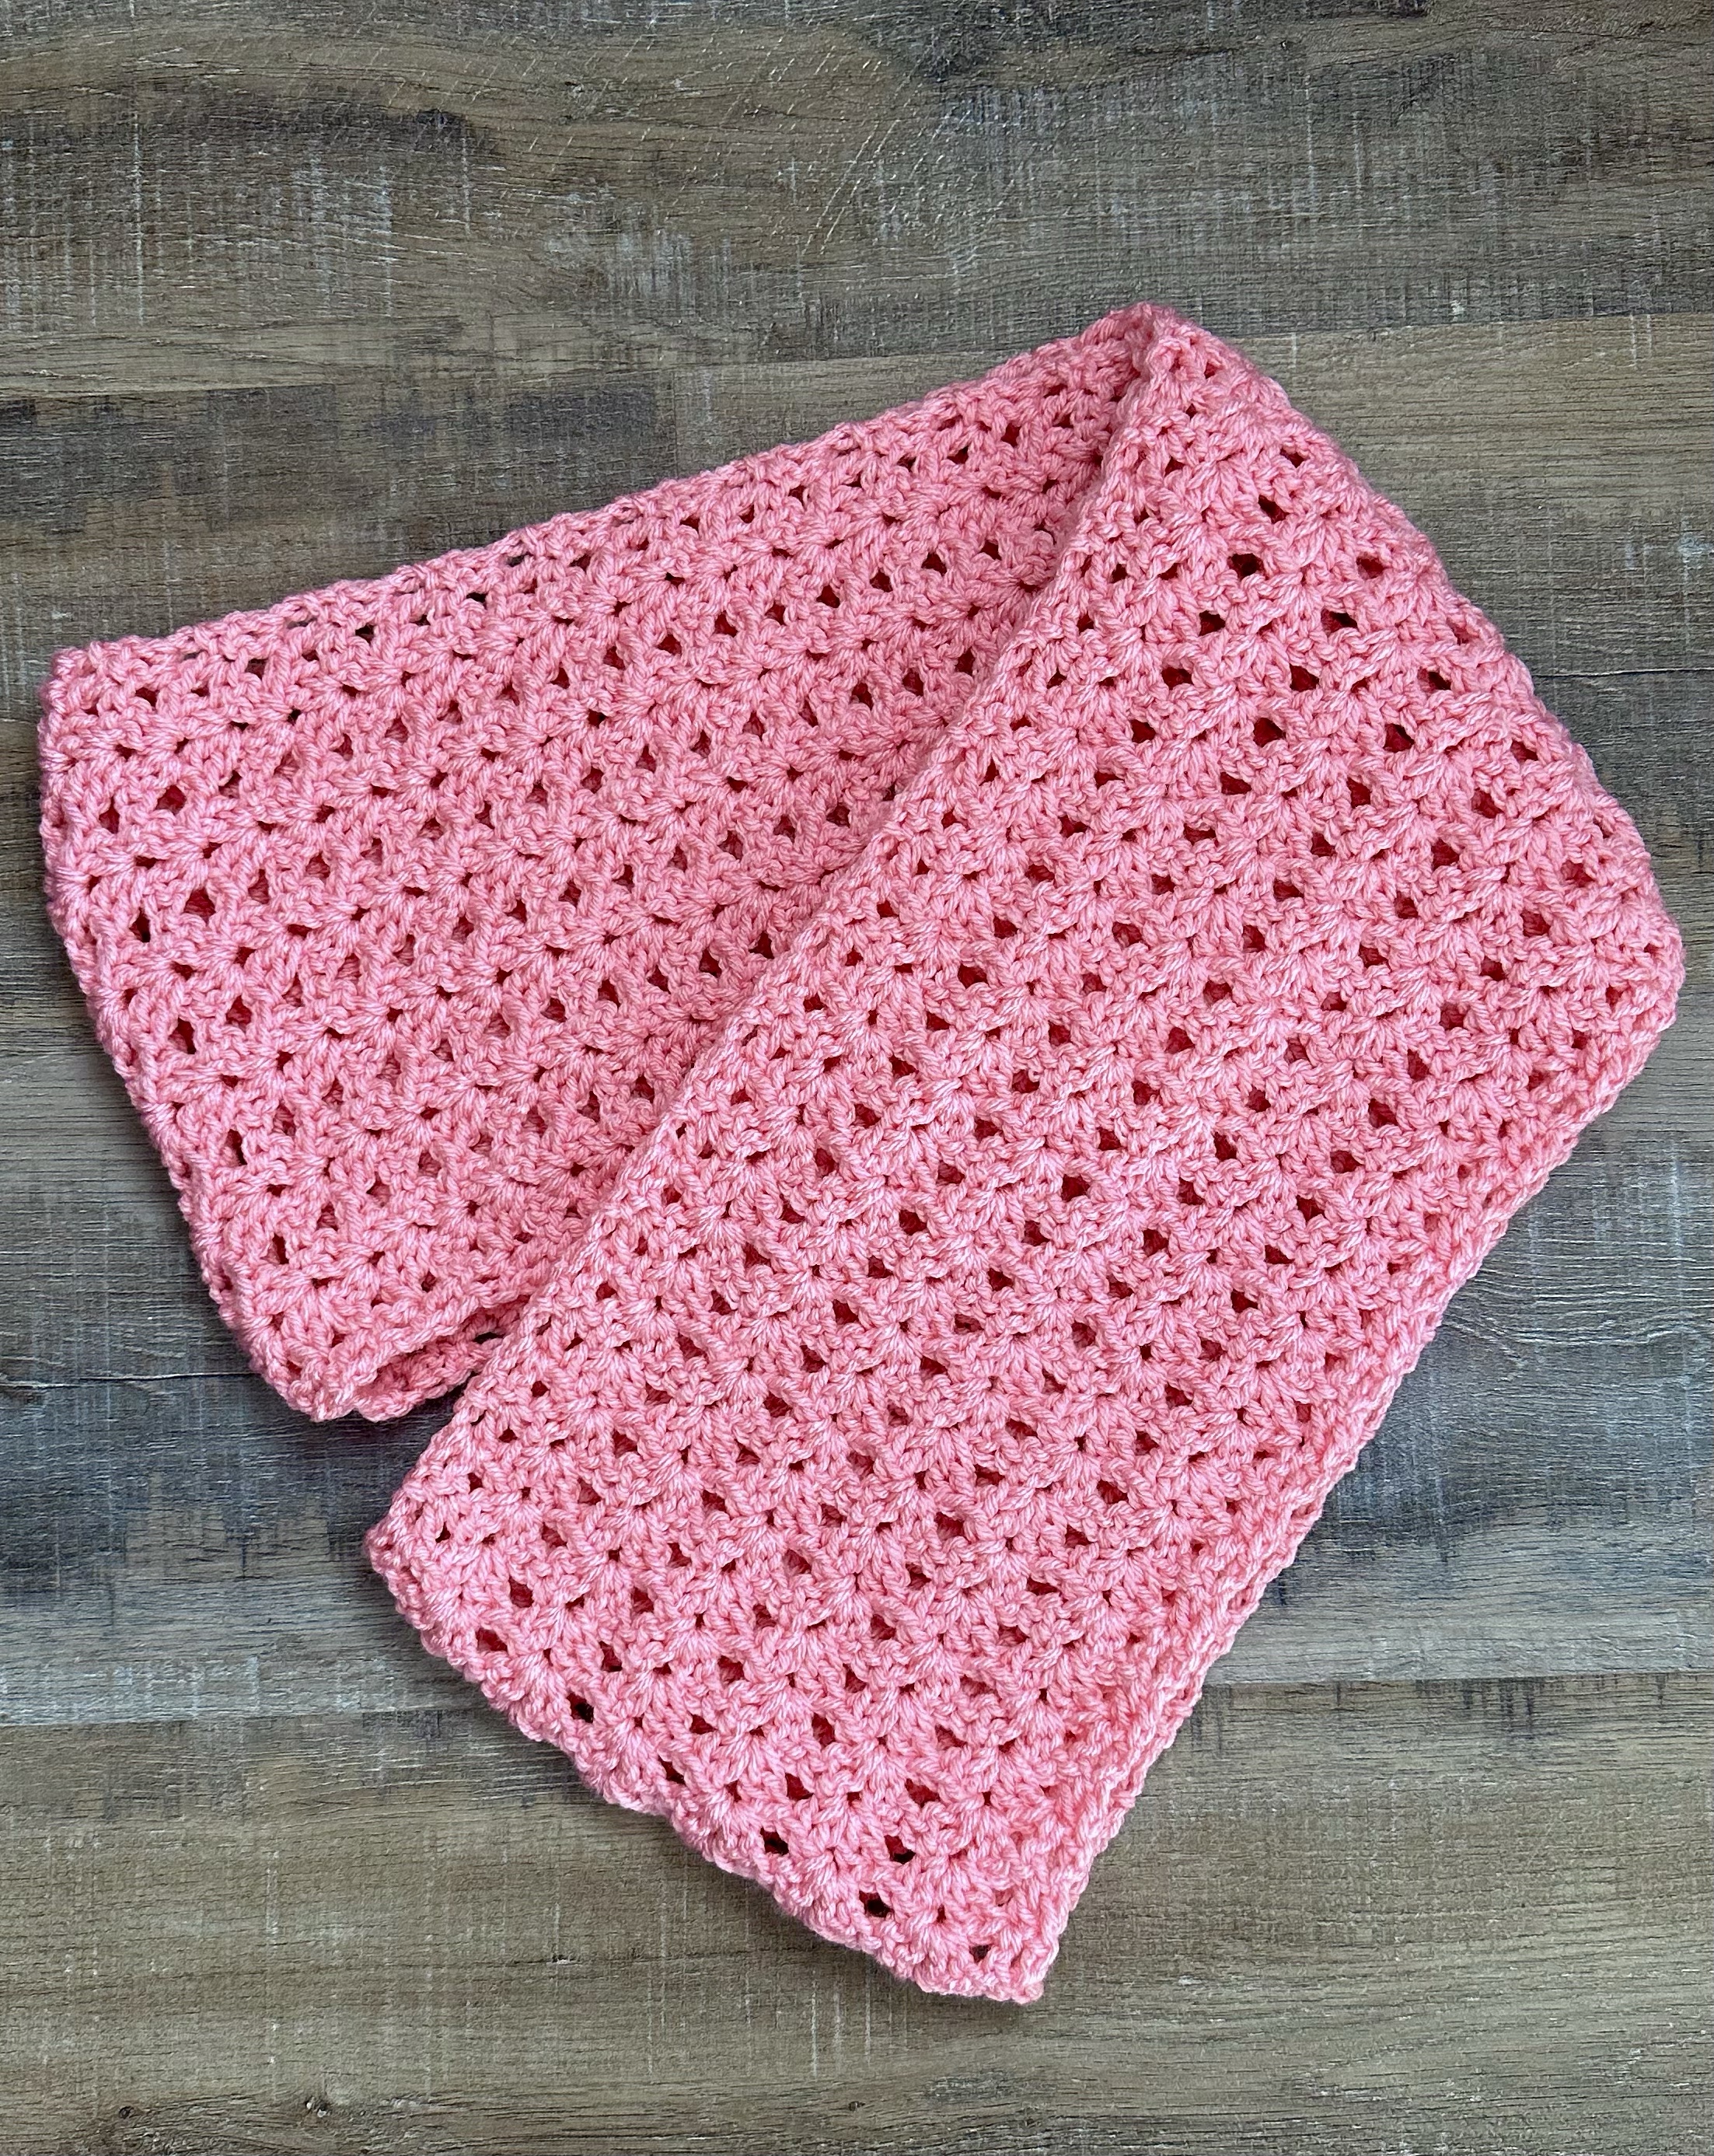
In October we wear Pink! As you probably know, October is Breast Cancer Awareness Month and pink is the color associated with it. I designed the October Crochet Infinity Scarf in honor of all those women who have fought and will fight against this horrible disease and especially for my family and friends who have bravely waged their battles.💕

If you are a woman over 40, I encourage you to schedule a mammogram. It doesn’t take long, it’s not too uncomfortable, and it could save your life. I just had mine – now it’s your turn!💕

Disclosure: Some of the links on my site are affiliate links, meaning, at no additional cost to you, I will earn a small commission if you click through and make a purchase. As an Amazon Associate I earn from qualifying purchases.

The scarf is stitched up using worsted weight yarn and an I/5.5mm hook. I used I Love This Yarn in Pink for my scarf. It’s an easy pattern using double crochet, chain stitch, and a little single crochet. You can find the pattern below and also a link to a free PDF if you’d like to easily print it.

I started the scarf with a row of Foundation Single Crochet. This is a great tutorial for learning this stitch if you need it.

October Crochet Infinity Scarf

Worsted weight yarn (about 7 ounces) – I used I Love This Yarn in Pink

I/5.5mm crochet hook

Stitches used in US terms:

Chain – ch

Foundation single crochet – fsc

Single crochet – sc

Double crochet – dc

Special Stitch: Double V-stitch (2 dc, ch 1, 2 dc) in same stitch – dv-stitch

Slip stitch – ss

Note: chain 2 at beginning of rows counts as a double crochet. 

Row 1: work 34 fsc. Turn. (34 stitches) OR ch 35, sc in 2nd ch from hook and each ch across (34 stitches)

Row 2: ch 2 (counts as 1st dc). Skip 1st stitch, dc in next stitch. Skip next 2 stitches, work dv-stitch in next stitch. *Skip next 4 stitches, work dv-stitch.* Repeat from * to *  5 times. Skip next 2 stitches, dc in last 2 stitches. Turn. (6 dv-stitches with 2 dc at each end.)

Row 3: ch 2 (counts as 1st dc). Skip 1st stitch, dc in next stitch. Work dv-stitch in ch 1 space of each dv-stitch from previous row across. dc in last 2 stitches. Turn. (6 dv-stitches with 2 dc at each end.)

Repeat Row 3 until scarf measures about 60 inches. 

Last row: ch 1. sc in each stitch and ch 1 space across. (34 stitches)

Fold scarf in half and ss ends together. 

Fasten off and weave in ends. 

Here’s the link to the free PDF…

This is a great pattern for beginners as well as seasoned crocheters. And if Pink is not your color, you can make it in any color you choose. It would also make a great gift! 💕

Anita

Posted in Crochet, Gifts | Tagged , | Leave a comment

Spice Jar Pumpkins

Hi friends,

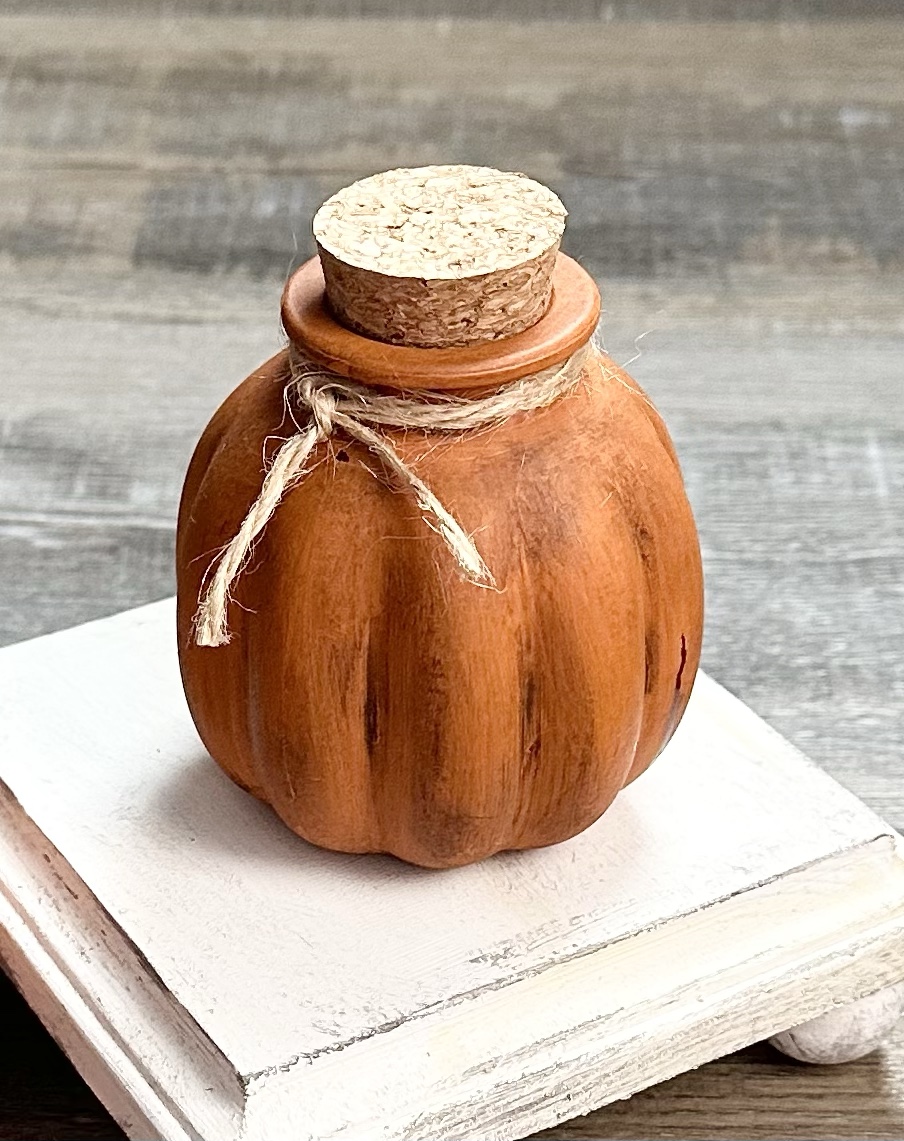
Have you seen these little spice jars in the Target Dollar Spot? They come in a pack of 2 for only $3.00! As soon as I saw them I thought they looked just like pumpkins. 😊

Disclosure: Some of the links on my site are affiliate links, meaning, at no additional cost to you, I will earn a small commission if you click through and make a purchase. As an Amazon Associate I earn from qualifying purchases.

I decided to add a little chalk paint and twine to make them look even more like pumpkins!

First I removed the cork, then washed and thoroughly dried the jars. I applied 3 coats of orange chalk paint (this is similar to what I used) with a foam brush, making sure to let it dry between coats. Then I applied a thin coat of antique wax and wiped the excess off with a paper towel. This step helps the texture of the jar to show up. To finish off my pumpkins, I tied some natural jute twine around the top and popped the cork back in.

Such a fun little Fall project. If you can’t find these particular jars, keep a lookout while you’re out shopping. You might be able to find other fun jars that will work just as well. (You can find all the info for making the Farmhouse Mini Wood Riser pictured above in this post.)

You can also use these cute little jars without painting them. They would be so cute filled with Fall candies and tied with twine. These would be great favors on your Thanksgiving table. 🦃

Anita

Posted in Decor, Fall | Tagged , | Leave a comment

Happy Birthday To You!

Hi friends,

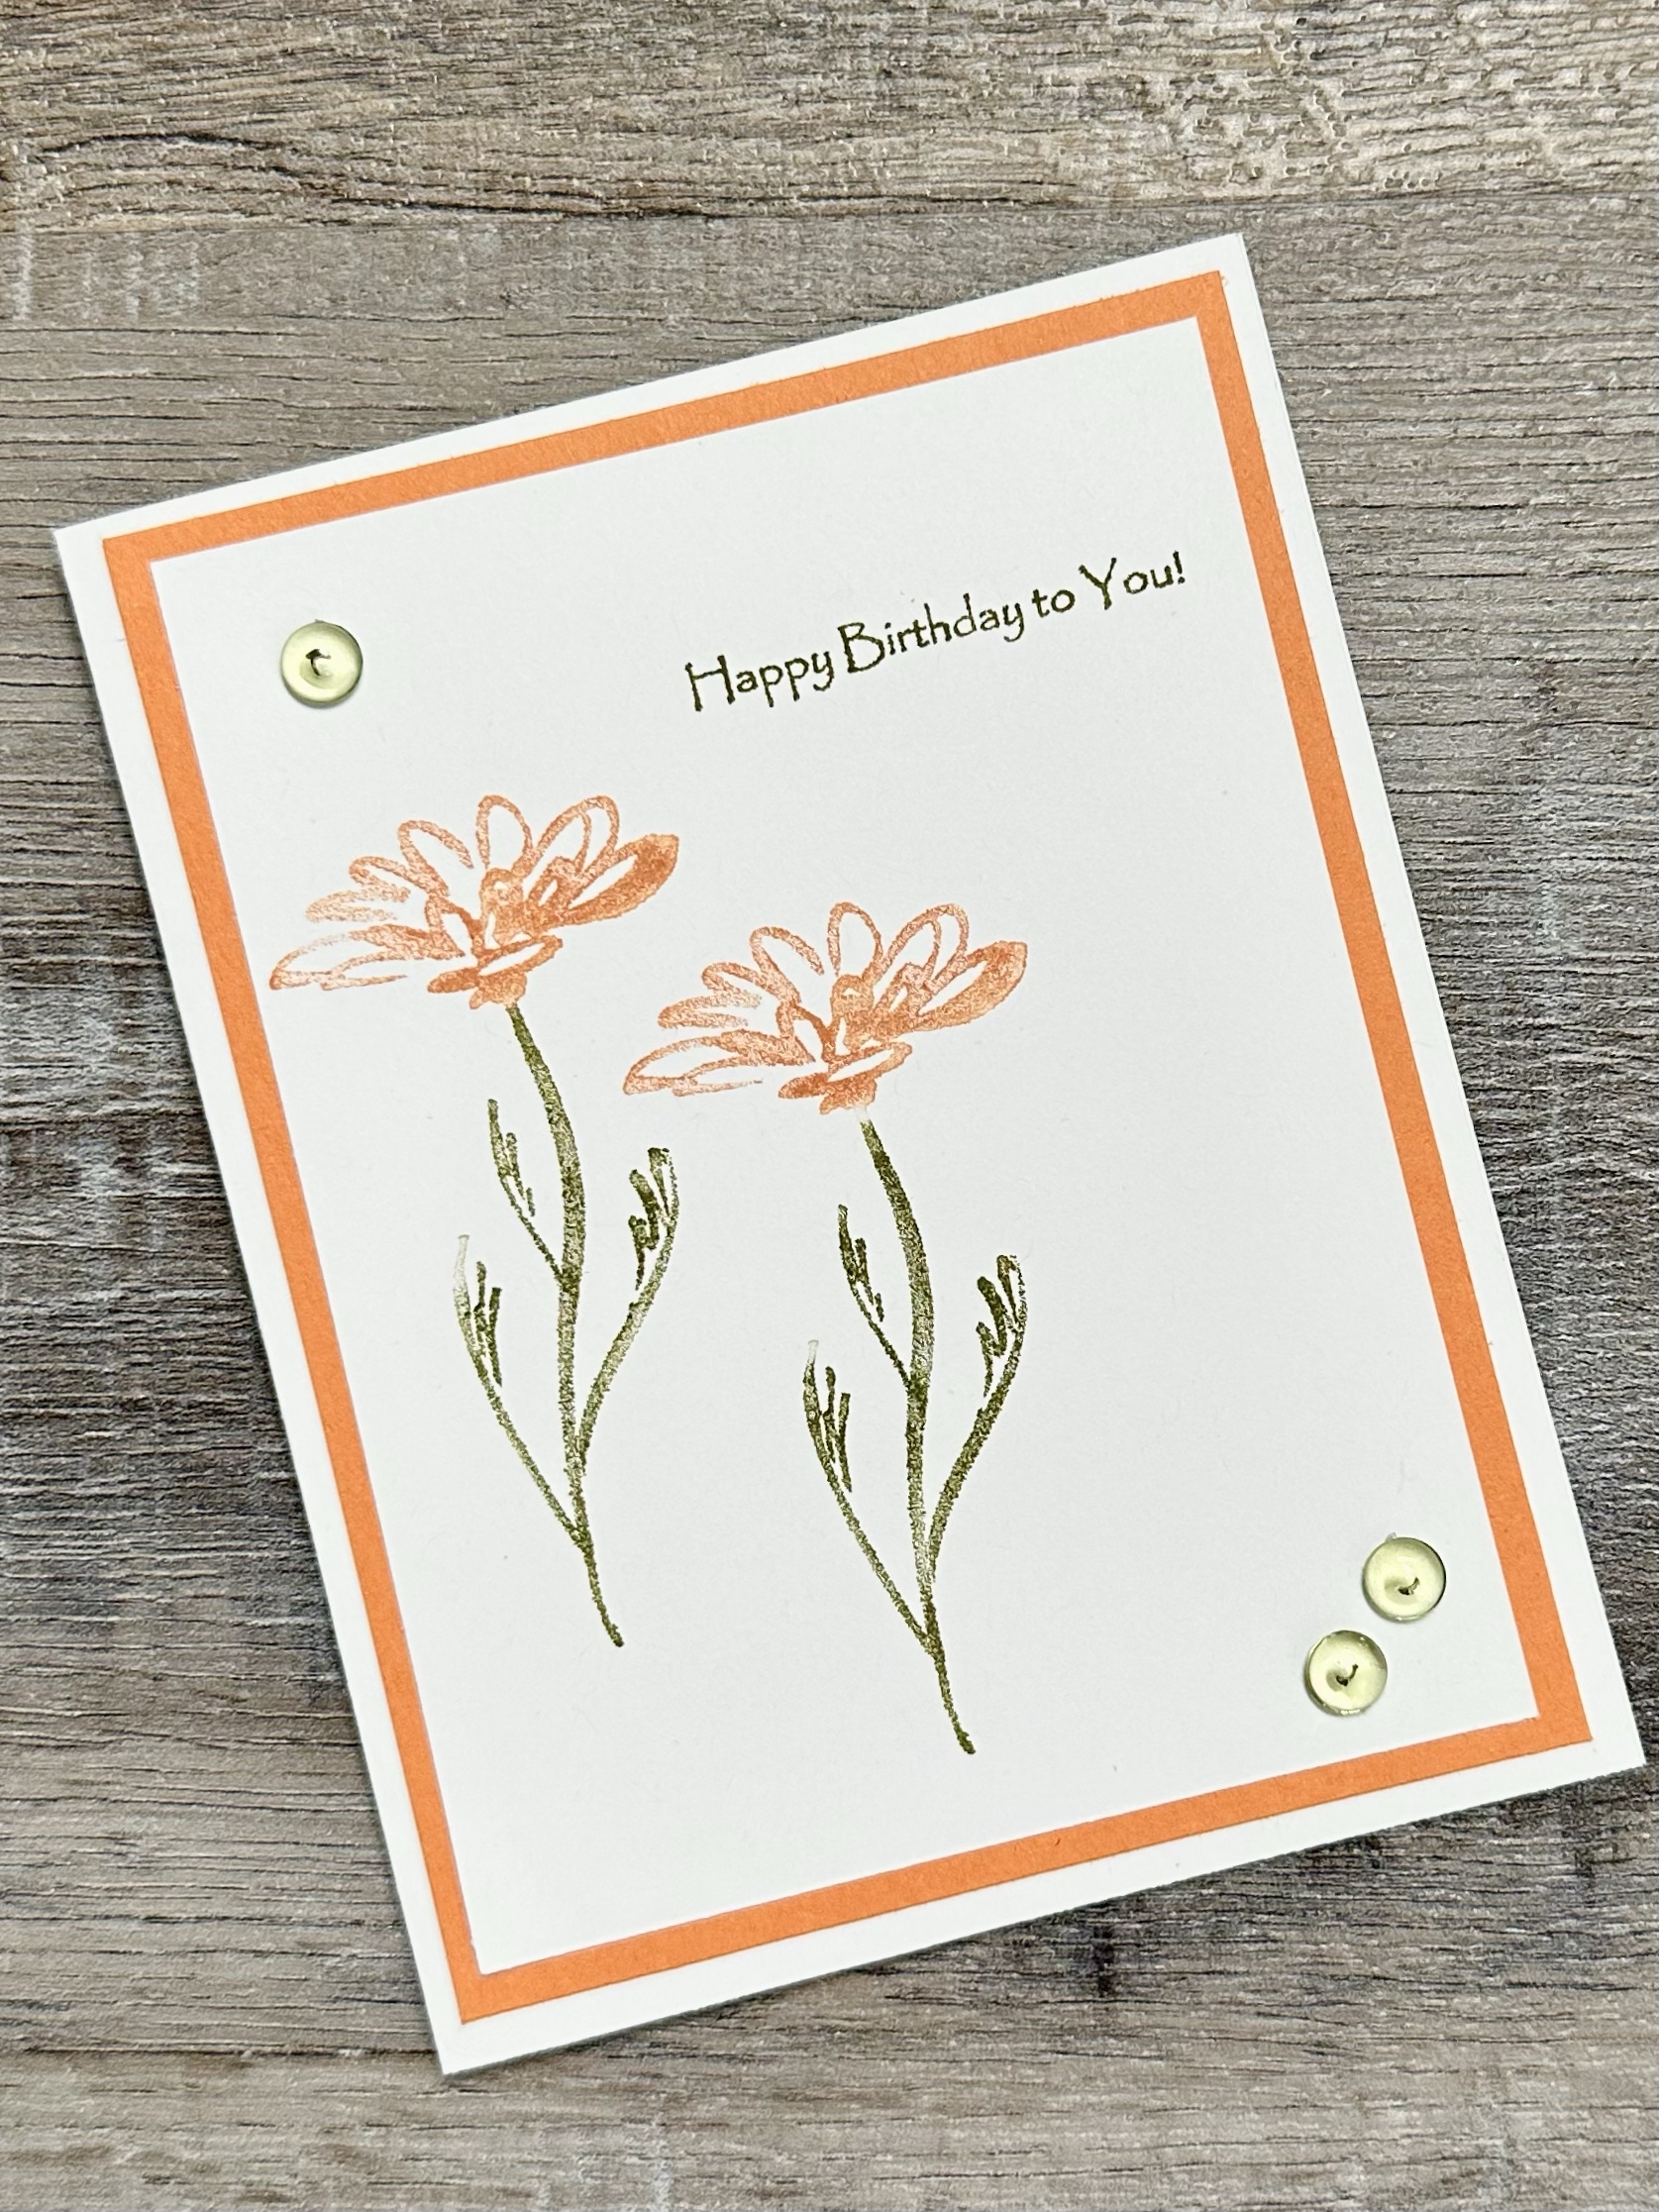
Sometimes less is more! I love everything about this clean and simple card. The Fall colors, the simple layout, and the Dew Drops to finish it off are just perfect!

Disclosure: Some of the links on my site are affiliate links, meaning, at no additional cost to you, I will earn a small commission if you click through and make a purchase. As an Amazon Associate I earn from qualifying purchases.

The flower stamp is a very old stamp from Hero Arts. Don’t forget to look through your older stamps and show them some love now and then. 😉 Any simple flower stamp you have will work on a card like this. This Real Poppy stamp from Heart Arts would be pretty on this type of card.

I colored directly onto my stamp with water-based Tombow Dual Brush Markers to ink up my stamp. Any brand of water-based markers will work – but make sure they are water-based. You can also use your die ink cubes to apply color to your stamp.

I stamped my flower twice on white card stock, re-inking the stamp before stamping each flower. I stamped my sentiment onto the card stock, using the same green marker to ink up my stamp. (I’ve had this birthday stamp in my craft room a long time 🙂 Use your favorite birthday sentiment stamp.) I layered the stamped panel to matching orange card stock and attached it to a white card. Then I added 3 green Dew Drops to finish the card.

This is my favorite adhesive for card making (refills are here). For adding small embellishments like the Dew Drops, I like this glue that dries clear.

Of course this card can be made in any color. It’s such a simple layout, but makes a beautiful card!

Anita

Posted in Cards, Stamping | Tagged , | Leave a comment

Oversized Crochet Candy Corn-Inspired Potholder

Hi friends,

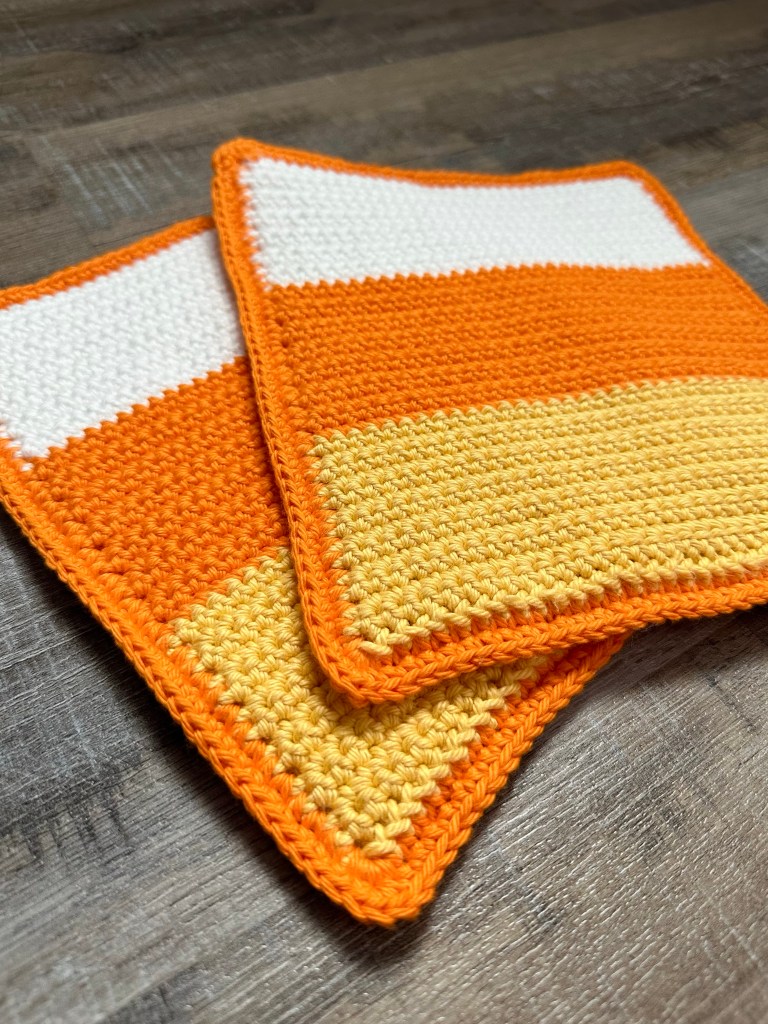
Sometimes you just need a simple, back to basics project to work on. And that’s just what the Oversized Crochet Candy Corn-Inspired Potholder is! It’s stitched up in single crochet and can work as a potholder as well as a hotpad to protect your counter or table from a hot dish. It’s a great beginner project!

Disclosure: Some of the links on my site are affiliate links, meaning, at no additional cost to you, I will earn a small commission if you click through and make a purchase. As an Amazon Associate I earn from qualifying purchases.

I used I Love This Cotton yarn in Curry, Glowing, and White with an F/3.75 crochet hook to stitch up my potholders. I chose colors to mimic candy corn since it’s the season 😉 but of course you can make your potholders in any color combo or even just one color. Just be sure to use 100% cotton yarn so it can withstand the heat.

You can find the easy pattern below along with a link to a free PDF if you want to print it. You can also click the Pinterest button below to save it to your crochet board.

Oversized Crochet Candy Corn-Inspired Potholder 

I Love This Cotton yarn in Curry, Glowing, and White 

F/3.75 crochet hook

Foundation Single Crochet – fsc

Single Crochet – sc

Chain – ch

Make 2

Row 1: work 34 fsc with Curry. Turn. (34 stitches)

Rows 2-14: ch 1. sc in each stitch across. Turn. (34 stitches)

Change to Glowing. 

Rows 15-28: ch 1. sc in each stitch across. Turn. (34 stitches)

Change to White. 

Rows 29-42: ch 1. sc in each stitch across. Turn. (34 stitches)

Fasten off and weave in ends. 

Place one piece on top of the other, matching colors. Attach Glowing to top left corner of White with a slip stitch. 

Round 1: sc evenly around through both layers, working 3 sc in each corner. Join with ss to first sc. 

Round 2: ch 1. sc in each stitch around, working 3 sc in each corner. Join with ss to first sc. 

Fasten off and weave in ends. 

Finished potholder measures approximately 9 by 8.25 inches. 

Here’s the link to the free PDF…

I hope this pattern will inspire you when you just want to stitch up something simple. 🙂

Anita

Posted in Crochet, Fall | Tagged , | 1 Comment

A Trio of Wood Pumpkins

Hi friends,

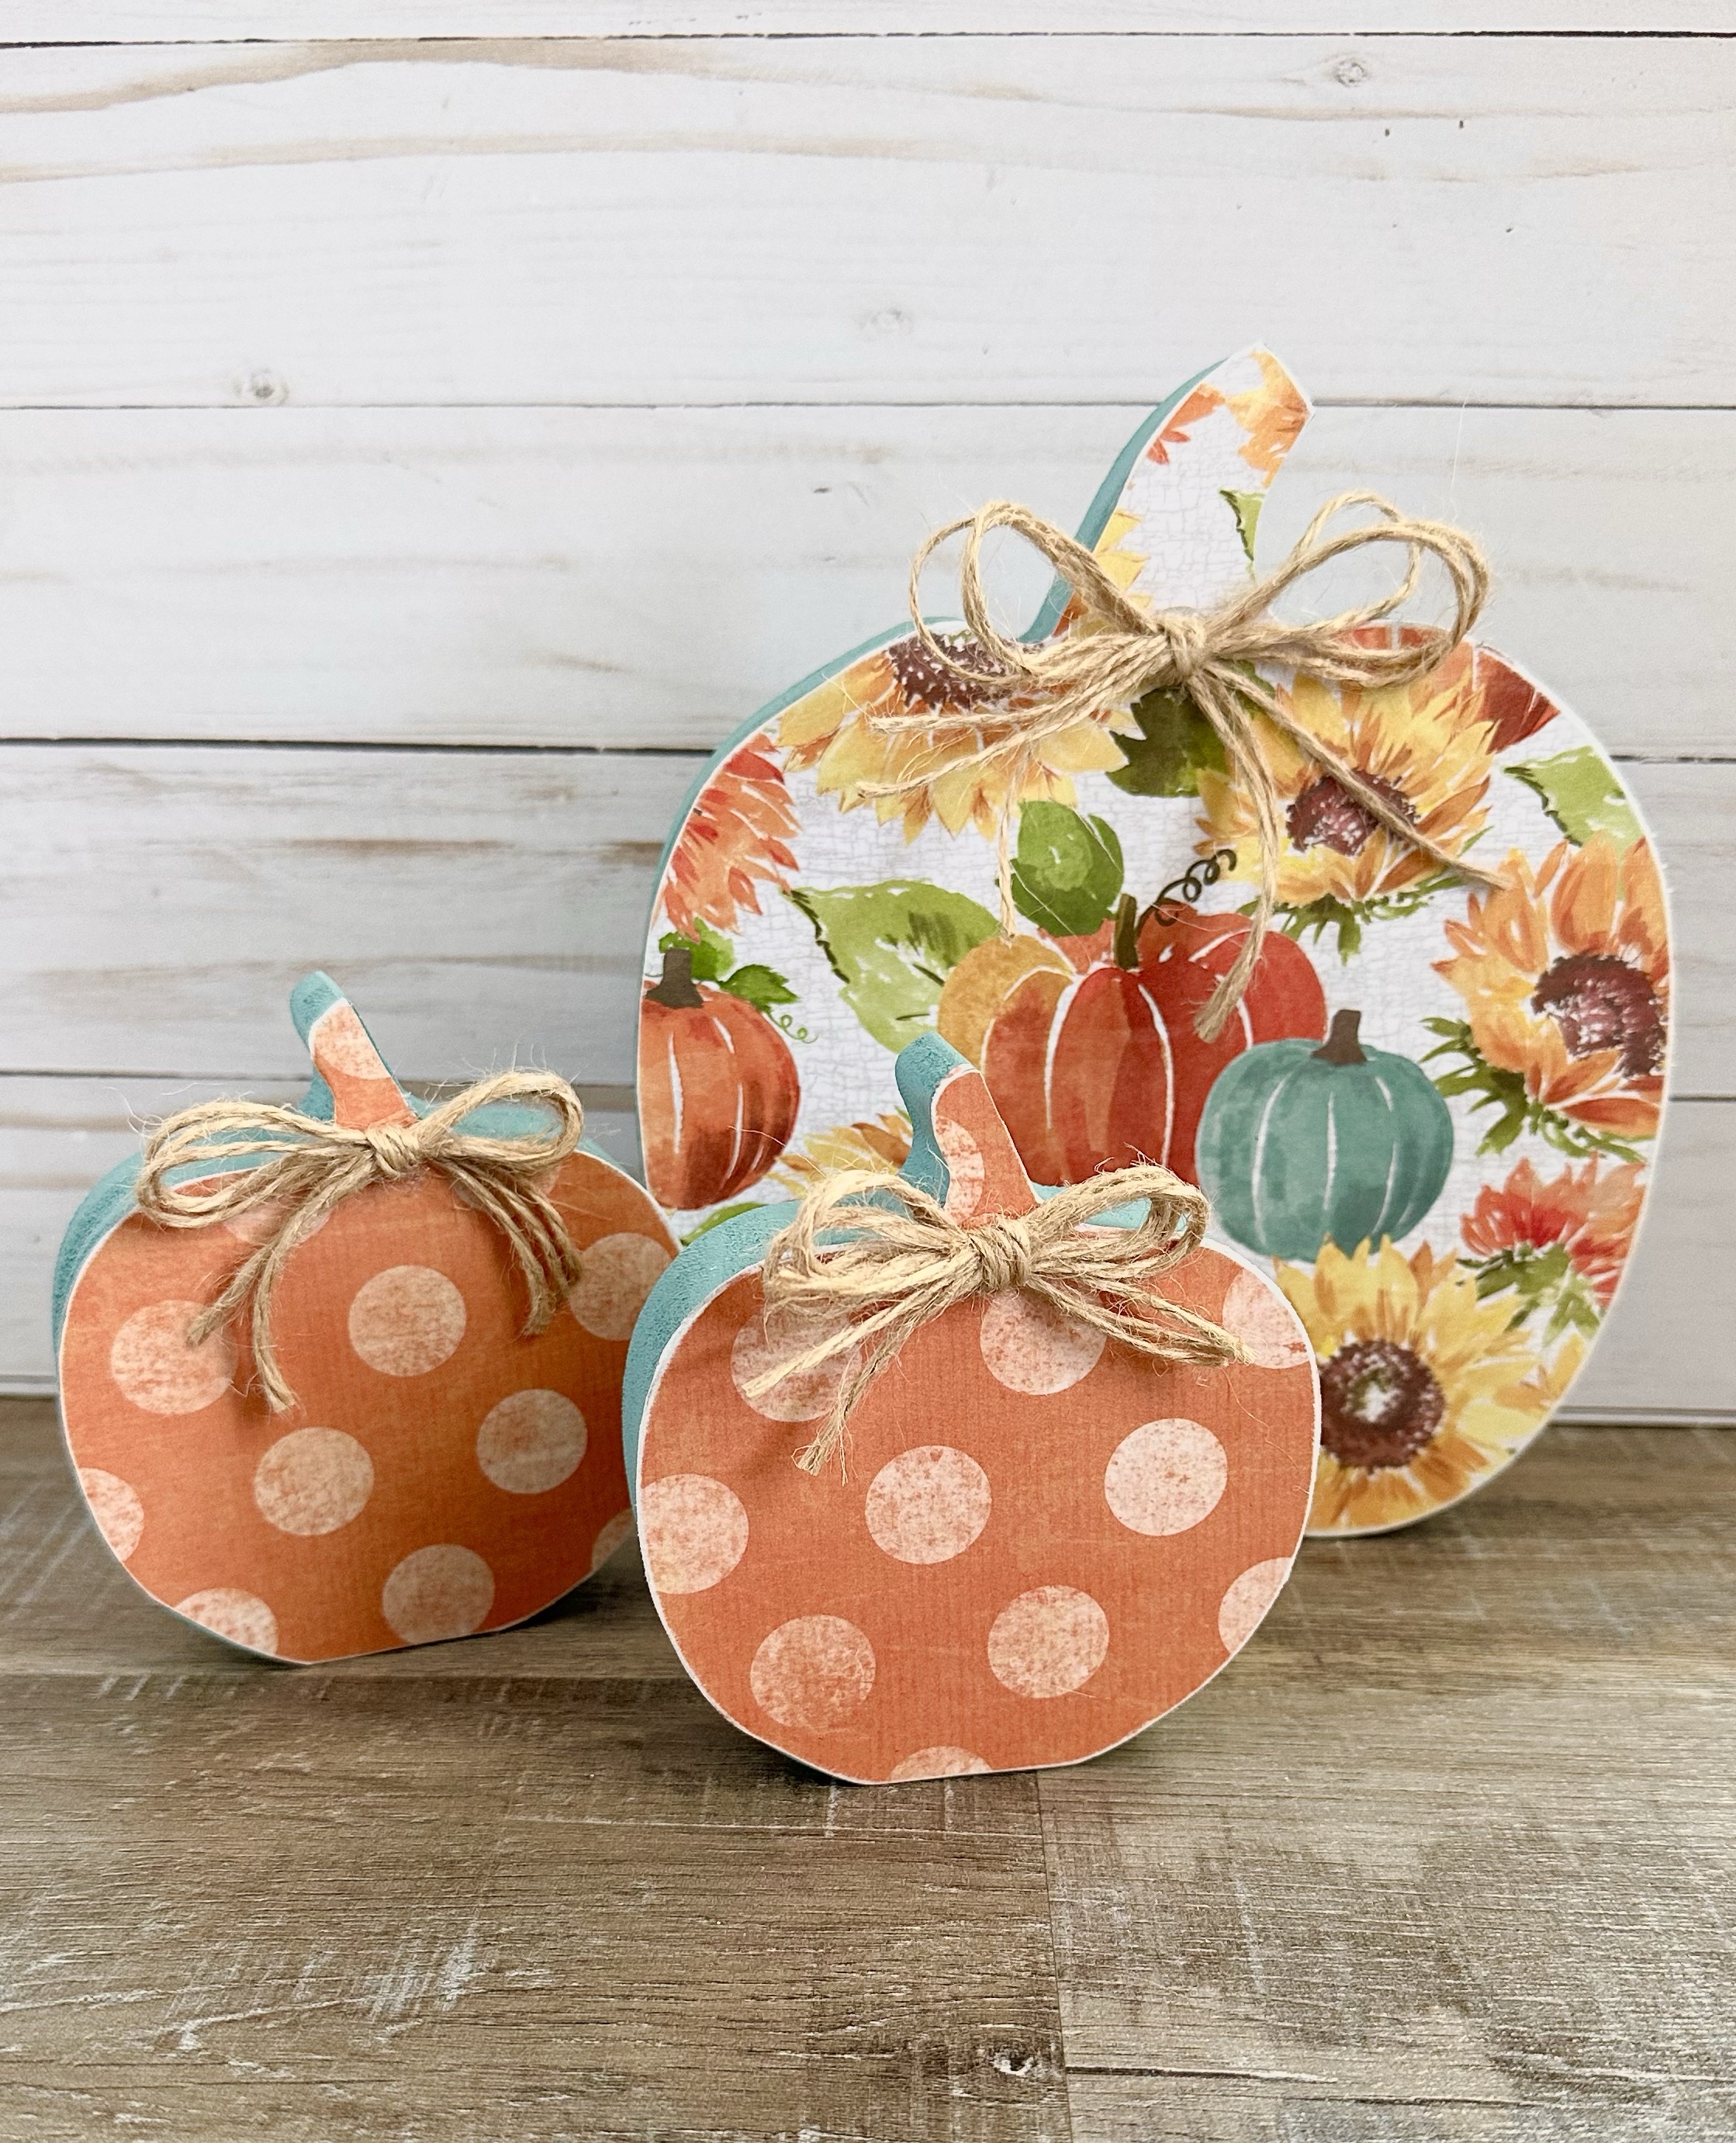
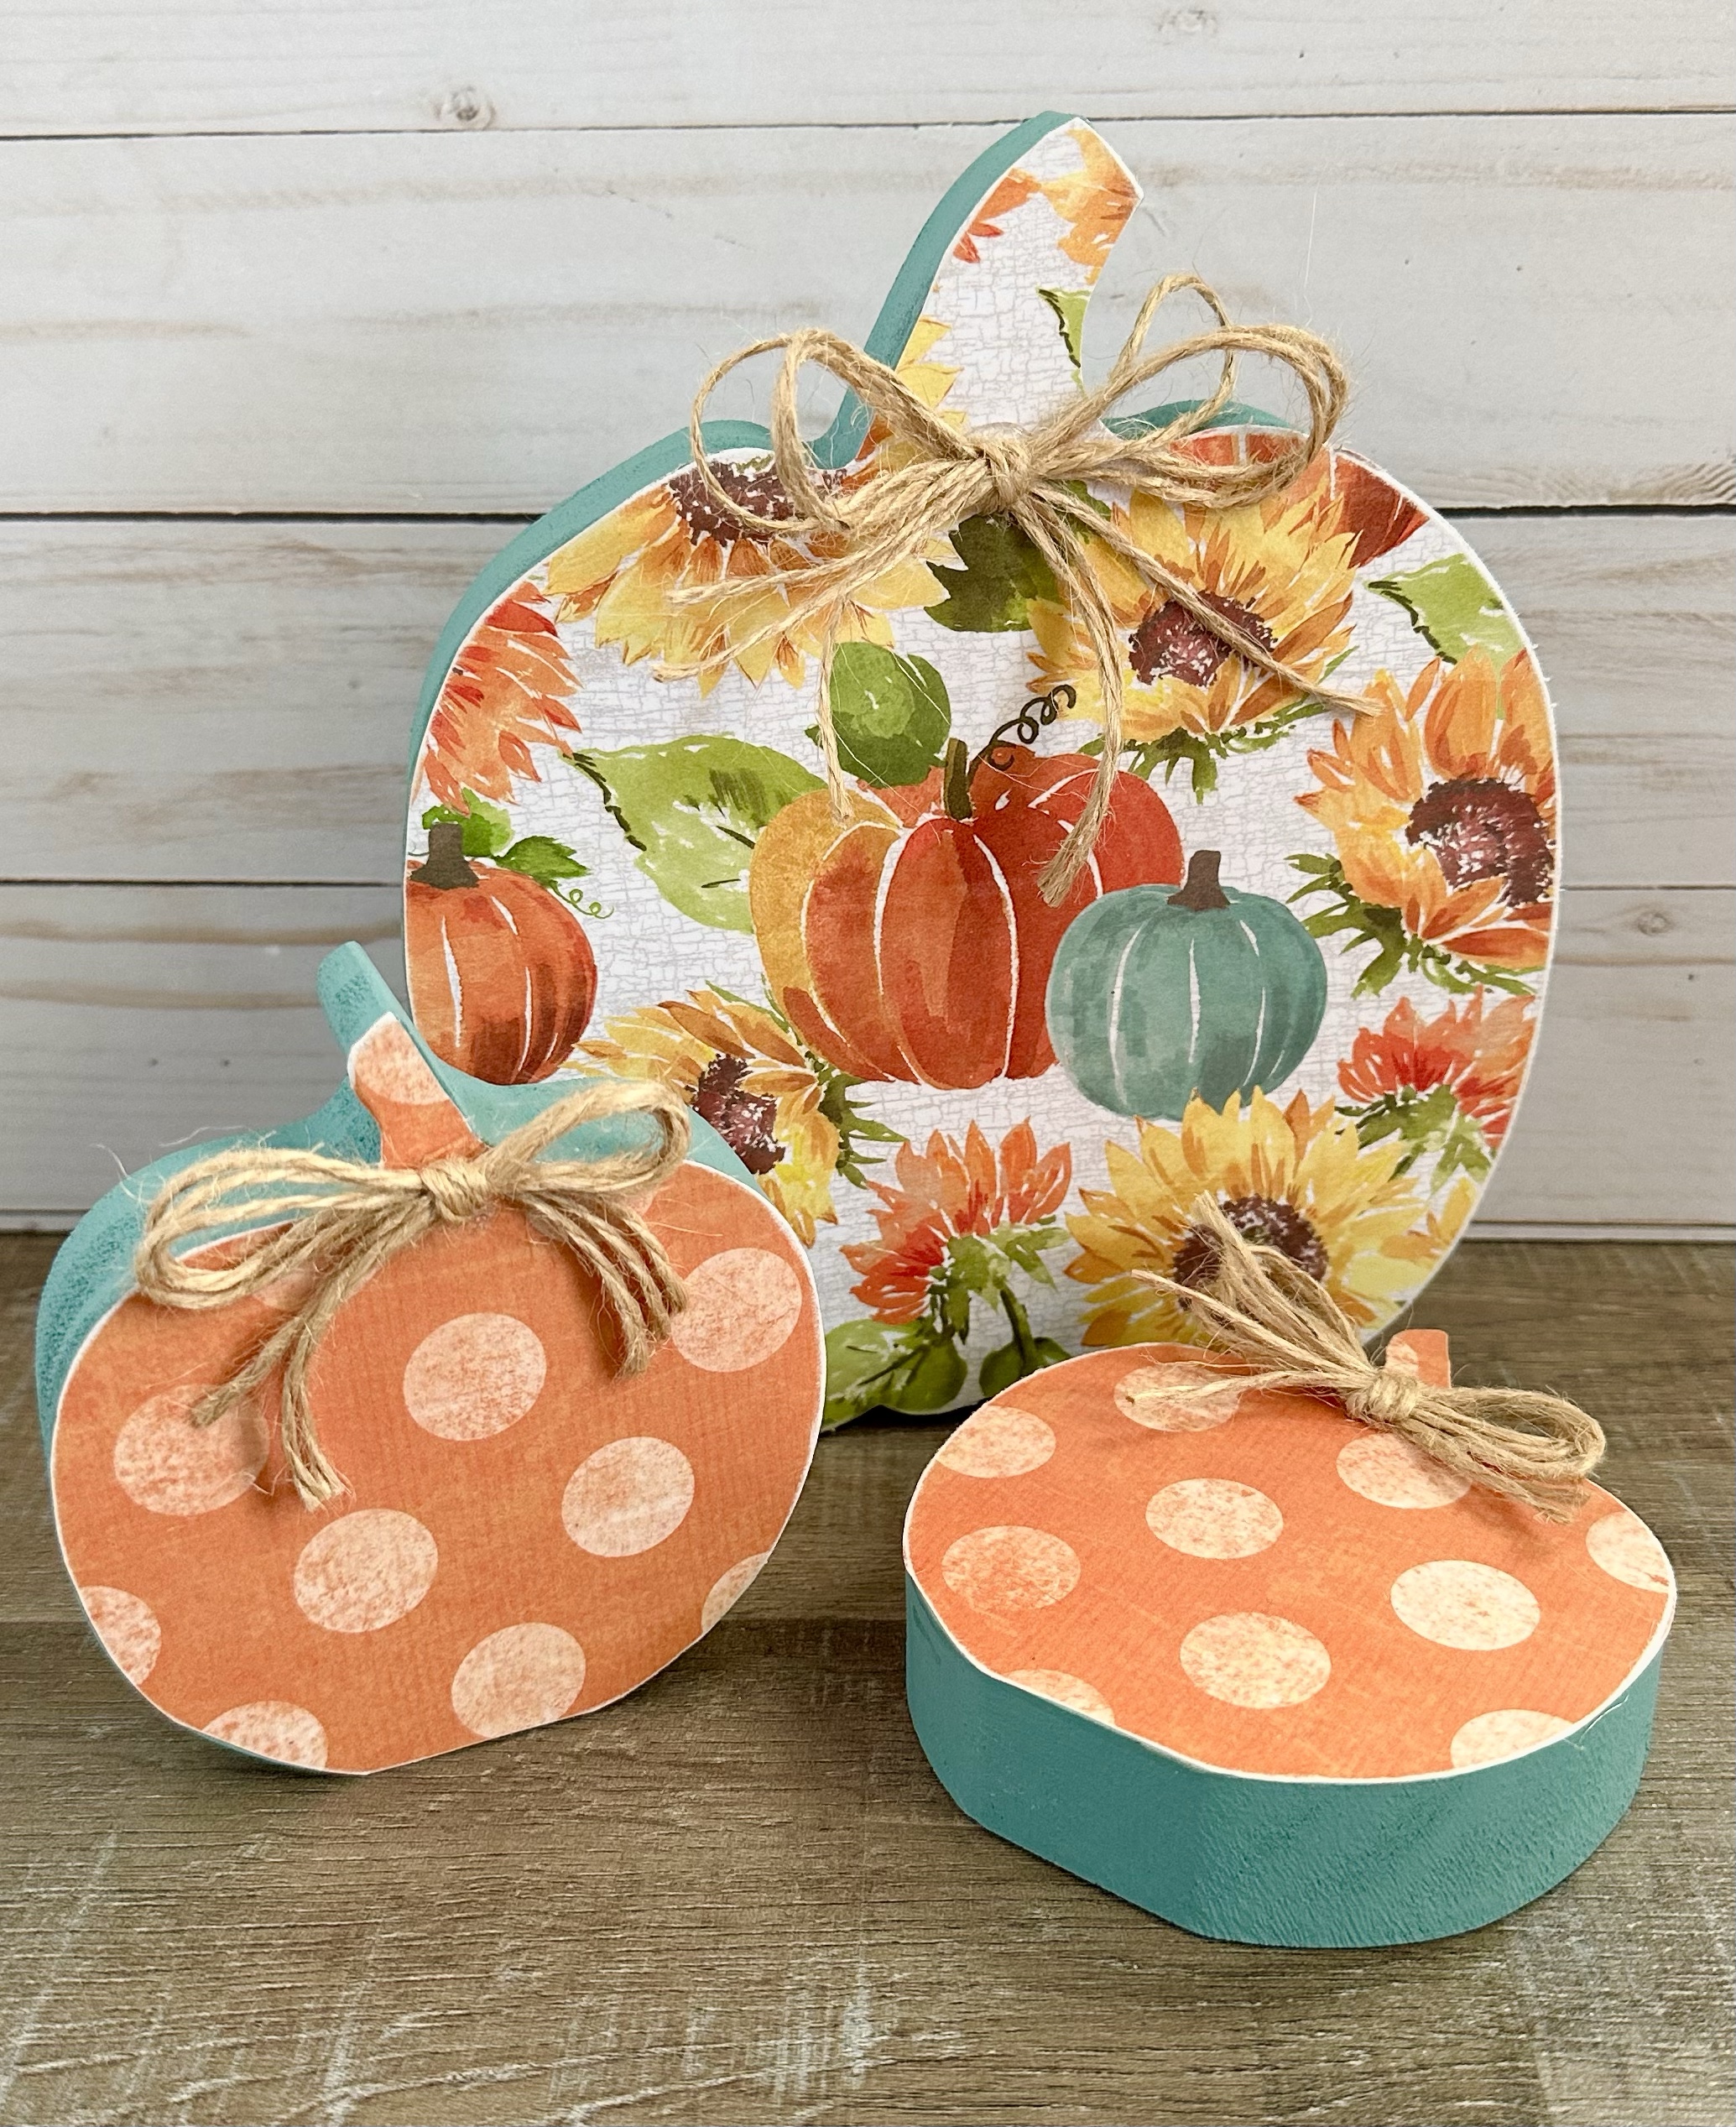
Fall is my favorite! 🍂🍁🍂 And you can never have too many pumpkins to celebrate the season. 😉 This Trio of Wood Pumpkins is fun and easy to make and will add a bit of Fall color to your decor.

Disclosure: Some of the links on my site are affiliate links, meaning, at no additional cost to you, I will earn a small commission if you click through and make a purchase. As an Amazon Associate I earn from qualifying purchases.

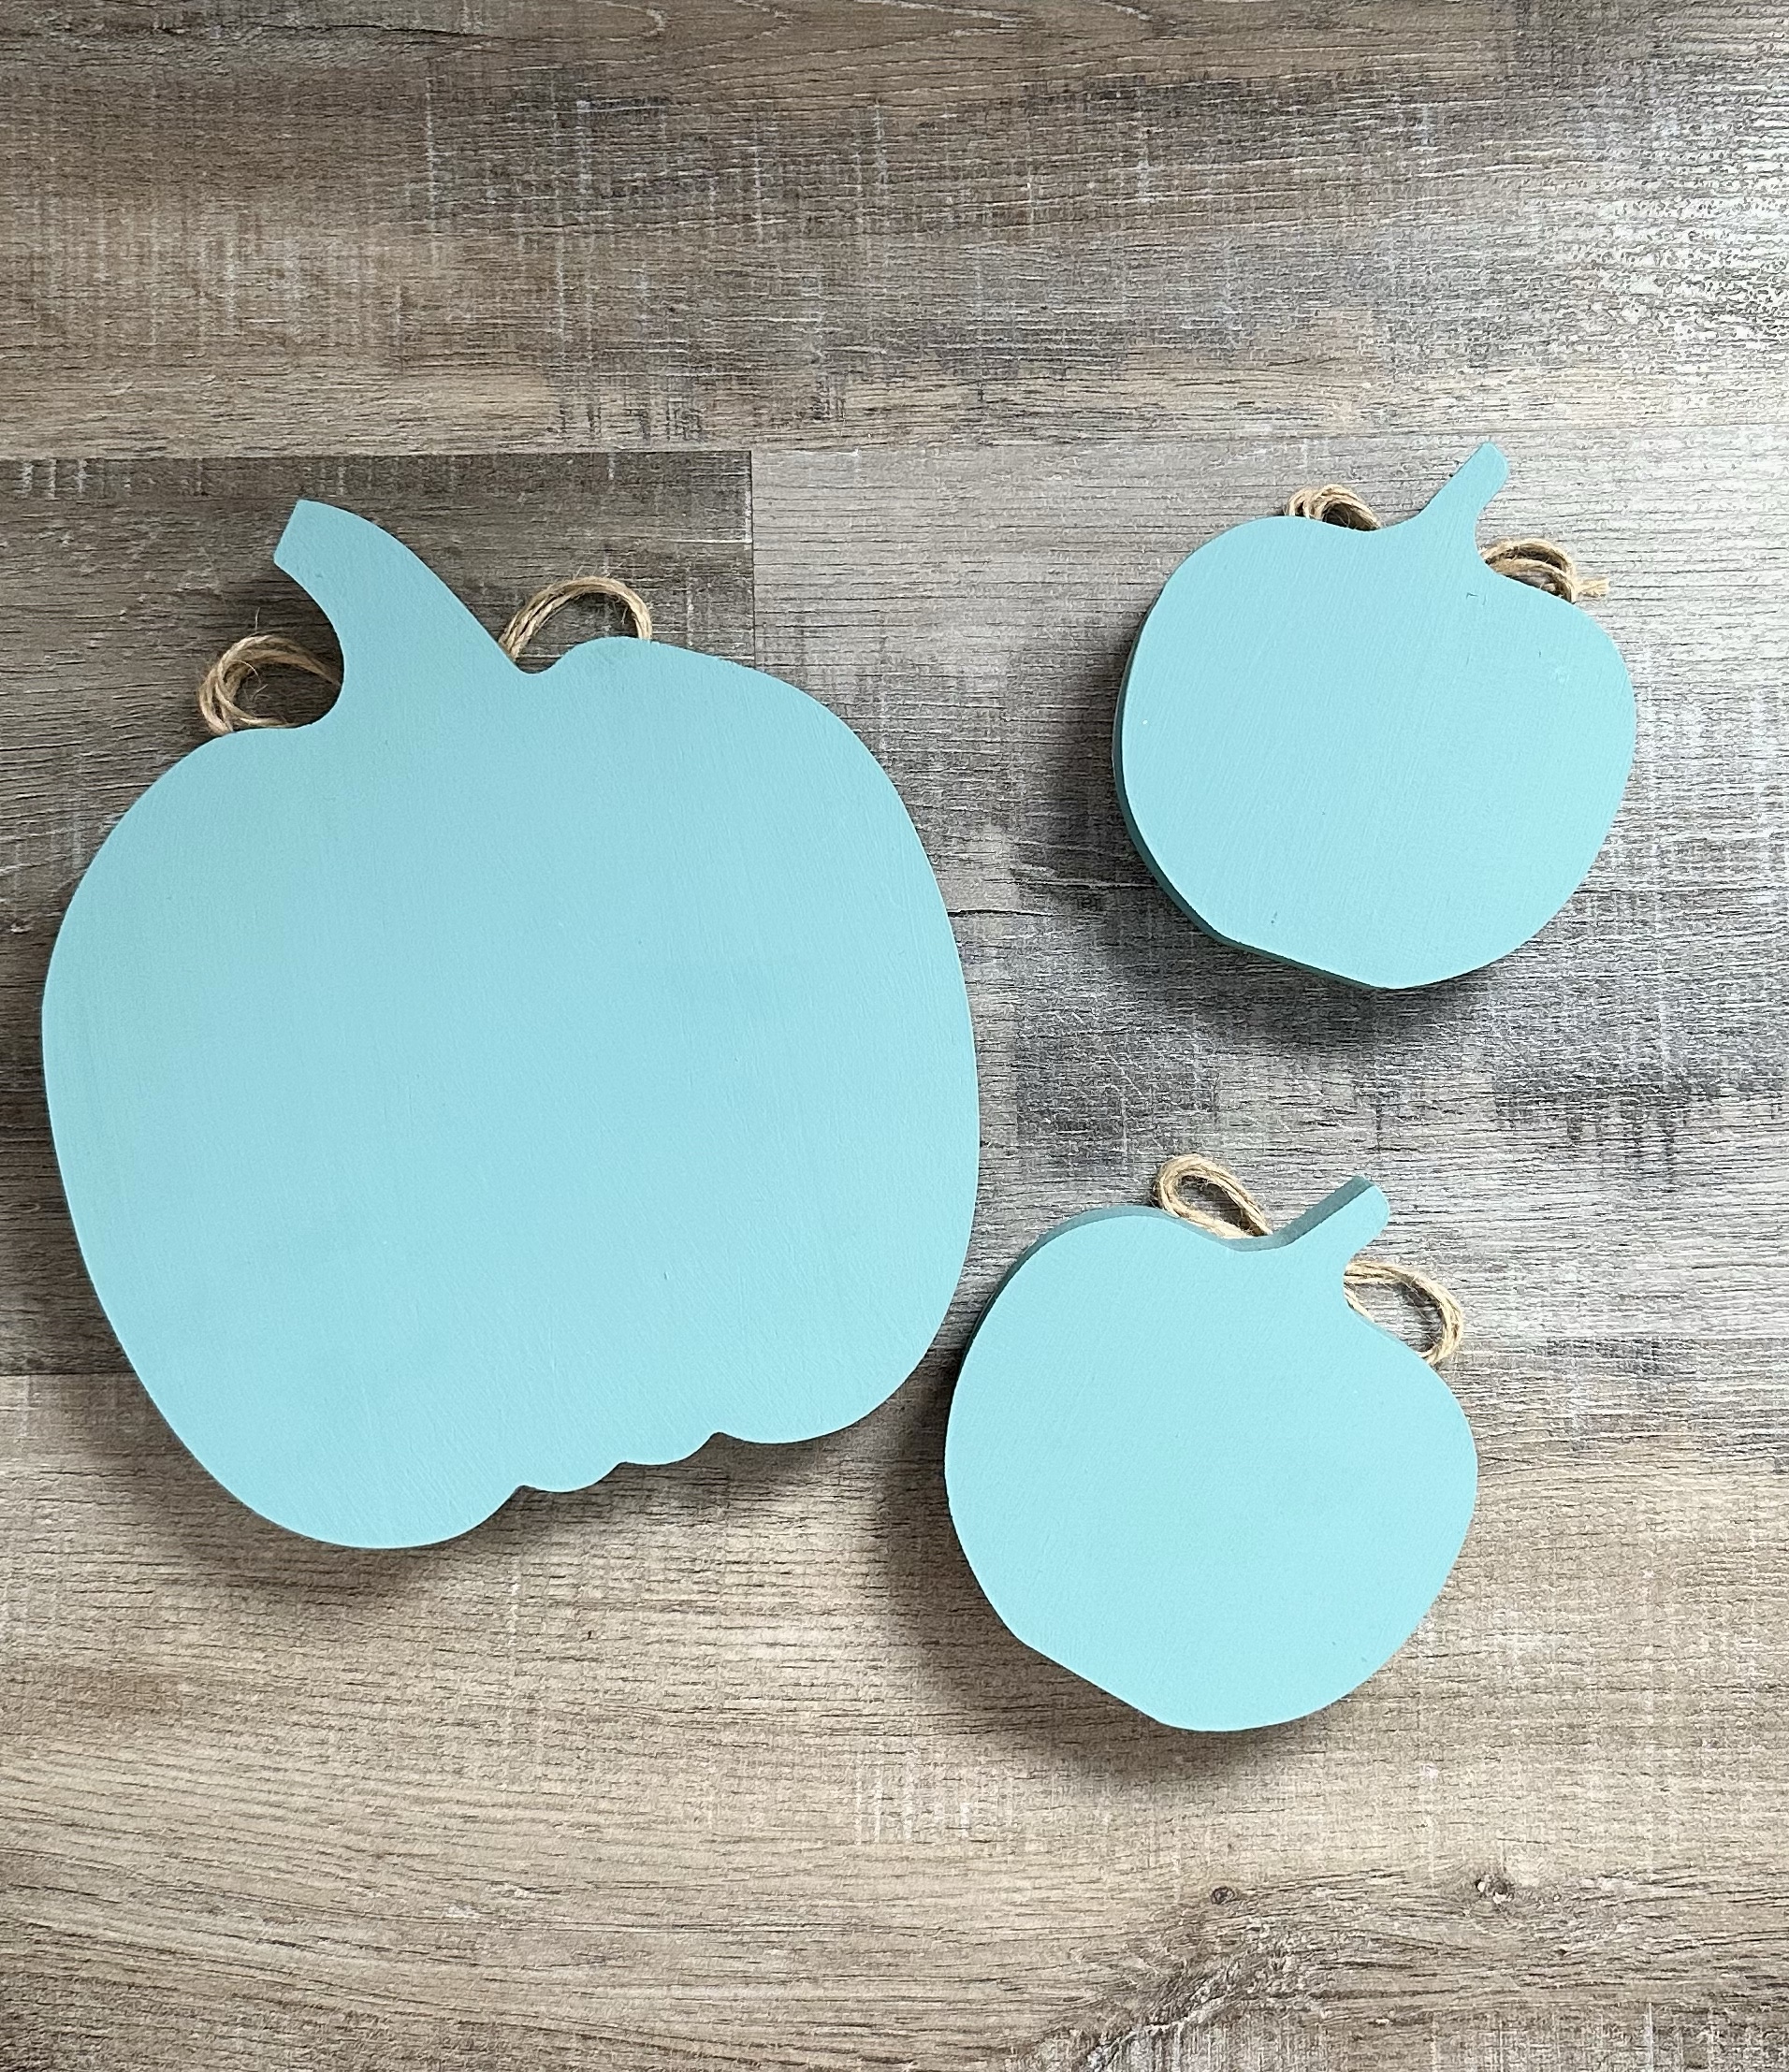
I found my chunky wood pumpkins in the craft aisle at Target. They are about 1-inch thick. The large pumpkin is about 6-inches tall plus the stem and the small ones are about 3.25-inches tall plus the stem. You’ll need some pretty Fall scrapbook paper, paint that coordinates with the paper, Mod Podge, and natural jute twine. I found my scrapbook paper at Hobby Lobby and my paint is Plaid FolkArt in the color Cascade also from Hobby Lobby.

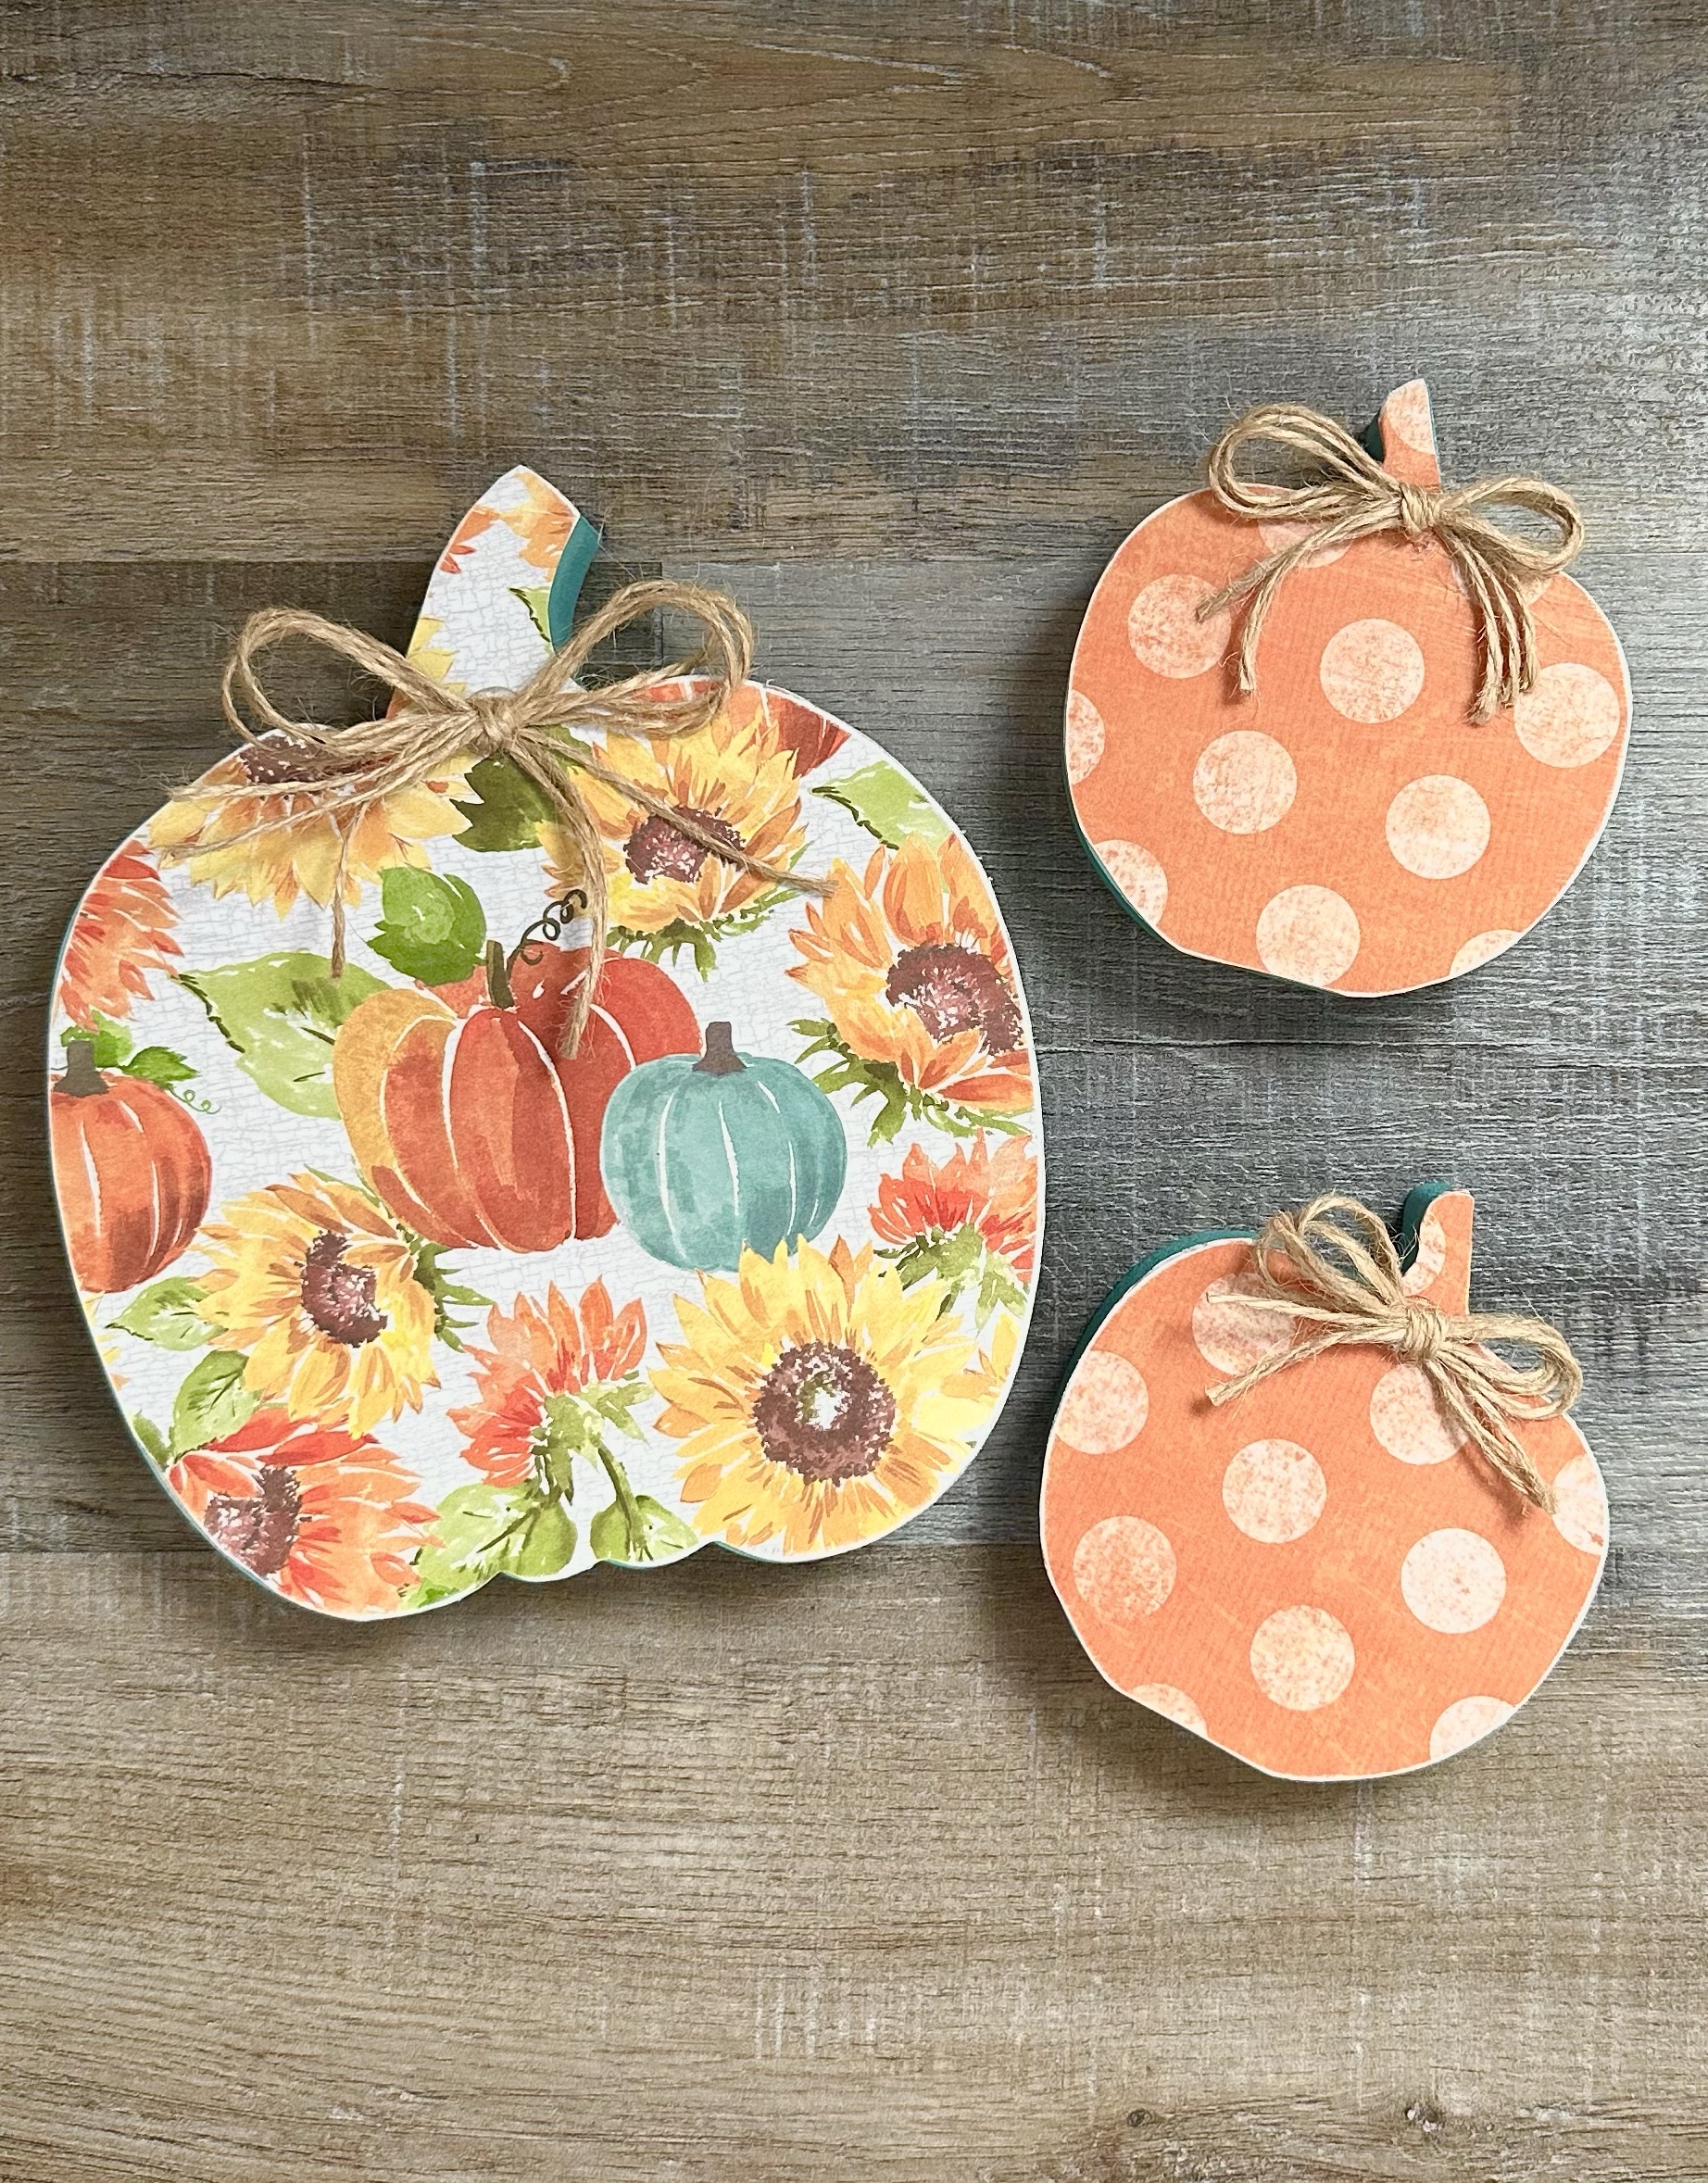
Trace the pumpkins onto the back of the scrapbook paper and cut out. (I love these Cutter Bee Scissors.) Be sure the stem is facing the opposite way you want the finished pumpkin to be!

Using a foam brush, apply 2 coats of paint to the back and sides of the pumpkin letting it dry between coats. Once dry, turn the pumpkin over and apply a thin coat of Mod Podge using another foam brush to the front of the pumpkin and apply the scrapbook paper cutout – smoothing out any wrinkles or bubbles. Once dry, apply another thin layer of Mod Podge over the top of the paper.

I tied 3 lengths of natural jute twine together into a bow and hot glued the bow to the front of my pumpkins.

I’m so happy with the way they turned out! The Fall colors are perfect and the patterned paper adds a little bit of whimsy. 😊

Anita

Posted in Decor, Fall | Tagged , | 1 Comment

A Merry Little Christmas – September Christmas Card

Hi friends,

It’s time for September’s Christmas card since the month is almost over! 😳

You can find the other Christmas cards I’ve made each month so far this year in these posts… January, February, March, April, May, June, July, and August.

Disclosure: Some of the links on my site are affiliate links, meaning, at no additional cost to you, I will earn a small commission if you click through and make a purchase. As an Amazon Associate I earn from qualifying purchases.

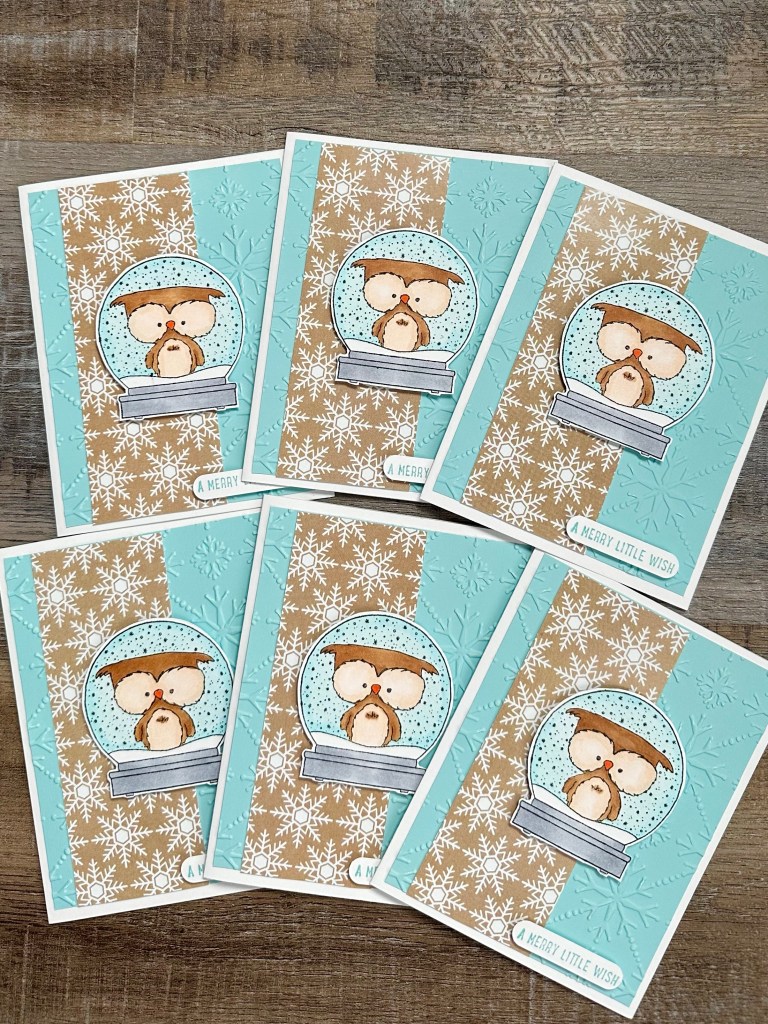
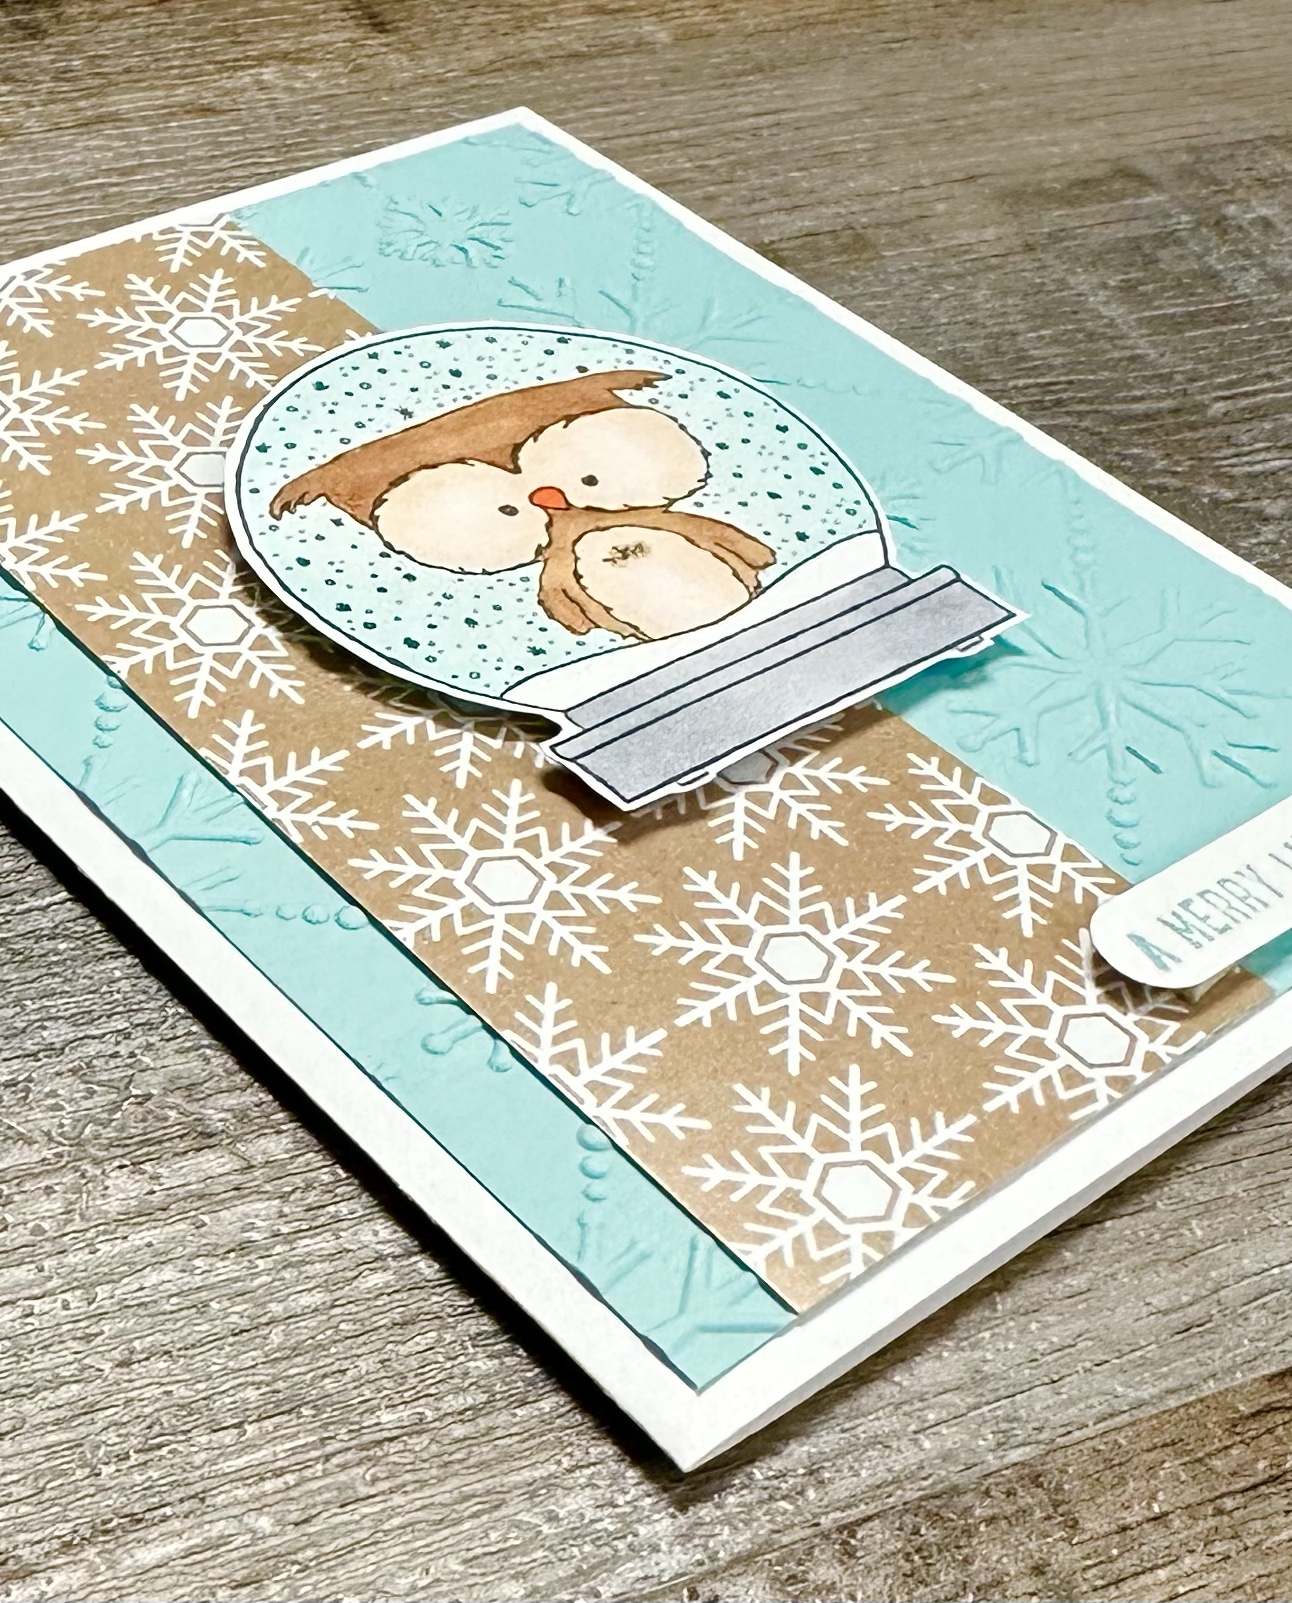
I used the stamp set Shakin’ Things Up from Unity Stamp Company to make my cards. If you like this little owl, you can find several other stamp sets featuring him over at Unity Stamp Company.

I stamped the owl with Memento Tuxedo Black ink on white card stock. I colored the image with Copic markers and then cut it out. I embossed a piece of blue card stock with a snowflake embossing folder (this is a similar one) and attached it to a white card. I attached a strip of brown snowflake patterned paper (also from Unity) to the card. I attached the owl image to the card with foam tape. I stamped the sentiment with blue ink on white card stock, punched it with a label punch, and attached it to the card with foam tape. The label punch I used is discontinued, but I like this set of Banner Dies that would work great for your sentiment!

I would love to hear if you are making a few Christmas cards each month! I think it’s going to make the holiday season a little bit easier for me this year. 🎄 🙂

Anita

Posted in Cards, Christmas, Stamping | Tagged , , | 3 Comments