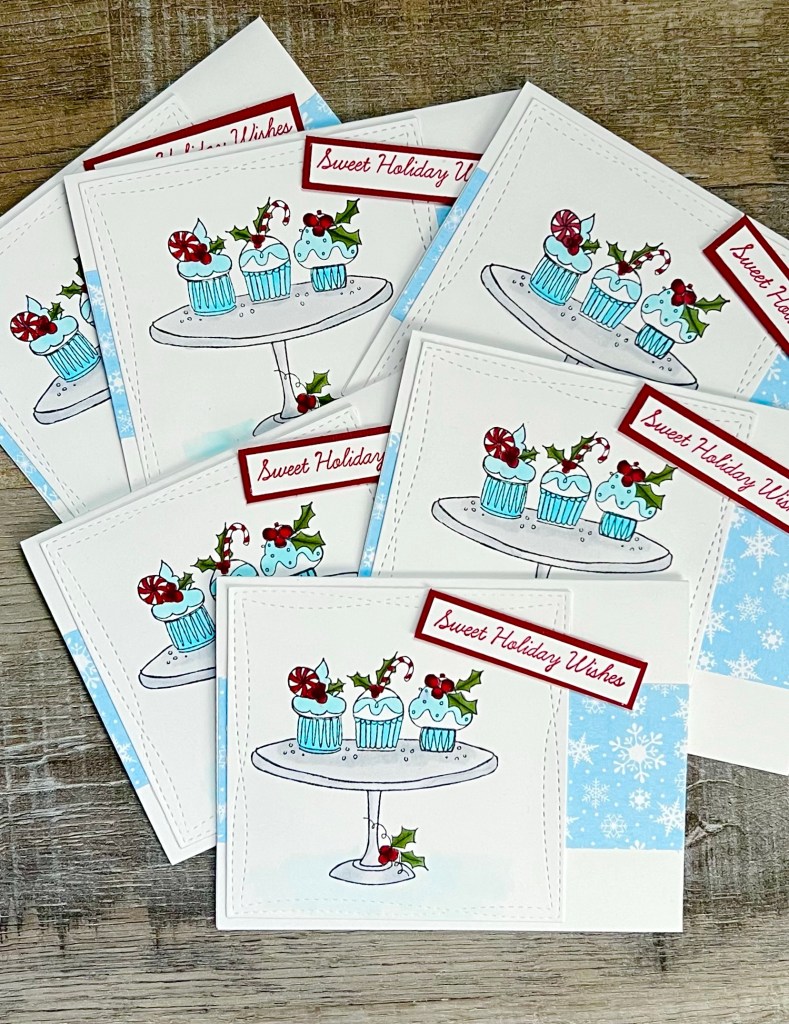
I’m building my Christmas card stash by creating a new card design each month and making a few cards. Have you joined in with me? You can find previous months at these links – January, February, and March. It’s not too late to start building your own stash! 🙂
Disclosure: Some of the links on my site are affiliate links, meaning, at no additional cost to you, I will earn a small commission if you click through and make a purchase. As an Amazon Associate I earn from qualifying purchases.
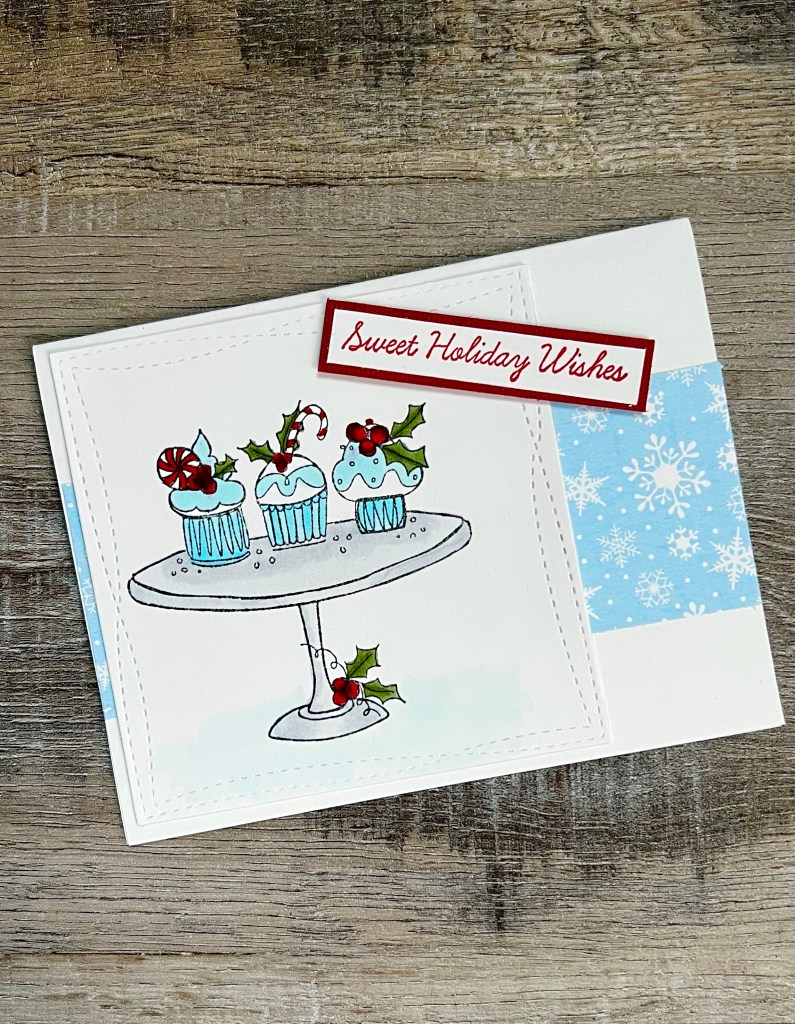
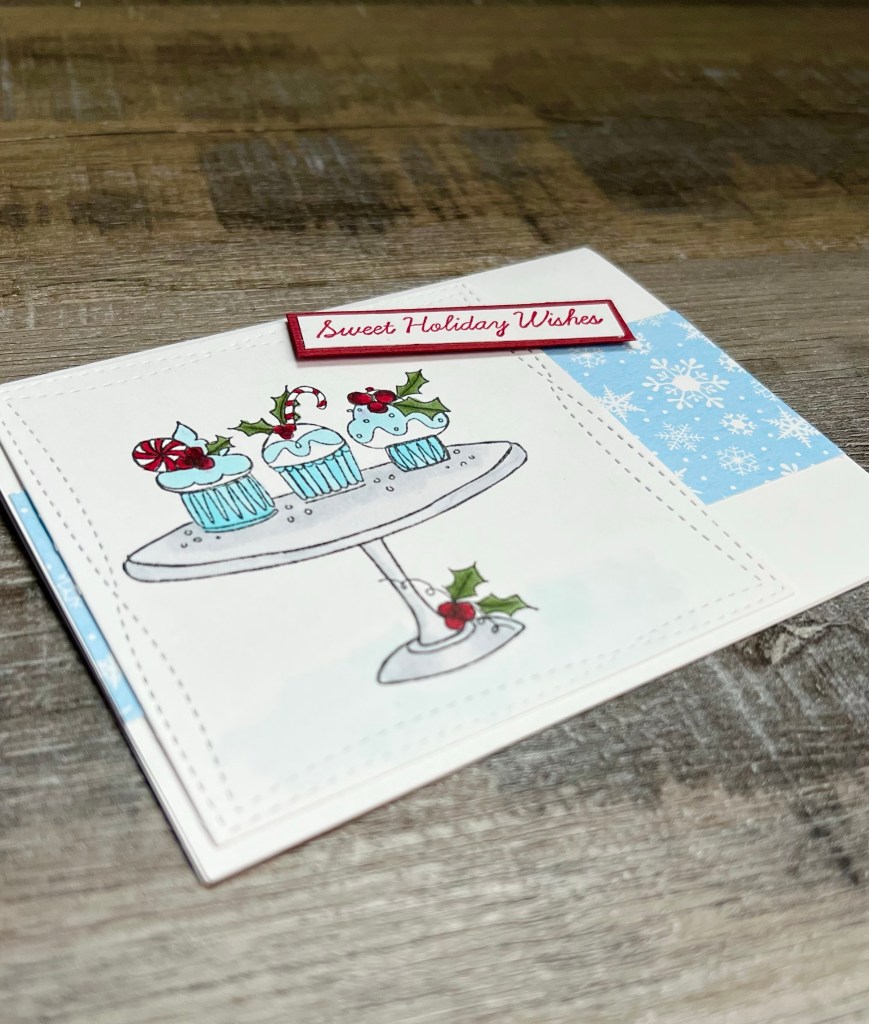
To make the card, I attached a strip of patterned paper to a white card. I attached the cupcake image to the card and then added the sentiment using foam tape.
This would be a great Christmas card to give along with some sweet treats for the holidays. I’ll be back next month with another new Christmas card design.
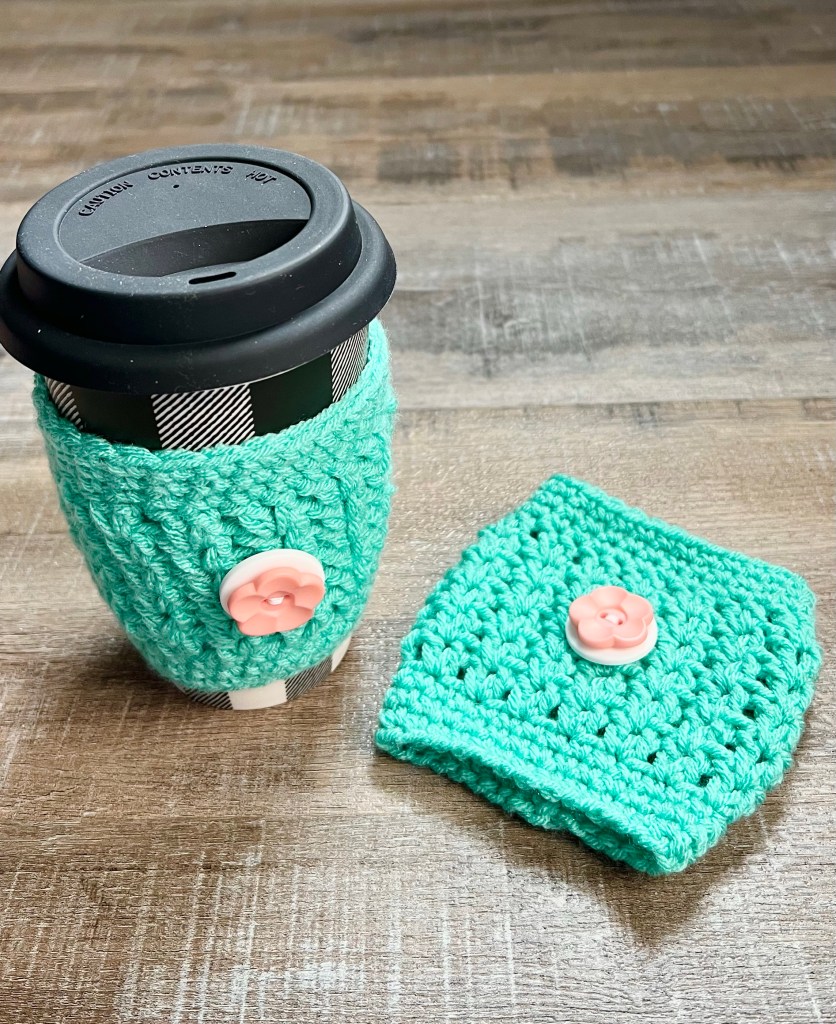
It’s the perfect time to add a little color to your Springtime makes! This super easy Crochet Spring Cup Cozy works up quickly and you can make it in all your favorite Spring colors.
Disclosure: Some of the links on my site are affiliate links, meaning, at no additional cost to you, I will earn a small commission if you click through and make a purchase. As an Amazon Associate I earn from qualifying purchases.
I used Yarn Bee Soft & Sleek yarn in Aqua with a G/4.5mm hook to stitch up my cozy. You’ll find the free pattern below along with a link to a free PDF for easy printing. I layered a pink flower button over a white button to add a little pop of color to the cozy and to make it a little more “Spring-y”. This is totally optional. 🙂
Easy Crochet Spring Cup Cozy
Worsted weight yarn (size 4) – I used Yarn Bee Soft & Sleek in Aqua
G/4mm hook
Stitches used in US terms:
Chain – ch
Slip Stitch – ss
Single Crochet – sc
Double Crochet – dc
Note: chains at beginning of rounds do not count as stitches.
Chain 28 and join to first chain with ss to form a ring.
Rounds 1-3: ch 1. sc in each stitch around. Join with ss to first sc. (28 stitches)
Round 4: ch 2. Work 2 dc in same stitch as ss. *skip next stitch, 2 dc in next stitch* Repeat from * to * around. Skip last stitch. Join with ss to first dc. (14 v-stitches)
Rounds 5-9: ch 2. Work 2 dc in each v-stitch of the row below (in the space between the 2 dc) Join with ss to first dc. (14 v-stitches)
Rounds 10-12: ch 1. sc in each stitch around. Join with ss to first sc. (28 stitches)
Ok y’all…I have the perfect dessert for all of your Summer gatherings! Paula Deen’s Banana Pudding is full of so much goodness – everyone will love it! 🍌
Disclosure: Some of the links on my site are affiliate links, meaning, at no additional cost to you, I will earn a small commission if you click through and make a purchase. As an Amazon Associate I earn from qualifying purchases.
You can find her recipe here. It is so easy to make. My friend Chereé asked me to make it for our Easter lunch and it doesn’t take long to put together. The only thing I did differently from the recipe was to use Banana Cream instant pudding instead of French Vanilla instant pudding. It added an extra punch of banana flavor. Thanks for the suggestion Chereé! 😊
Here’s a picture before we served it. It looks so yummy! And I may have taste tested a tiny bit of the pudding left in the bowl after putting it together in my serving dish. 😋
You can make this yummy dessert the day before and store it covered in the fridge. It will be so good for graduation parties, family reunions, and backyard BBQs. It’s Paula Deen’s Banana Pudding so you know it will be amazing! 😋
Sadly we all need to send sympathy cards now and then. Although they can be hard to make, they mean so much to those who receive them. Today’s With Sympathy Card is easy and quick to make whenever you might need one.
Disclosure: Some of the links on my site are affiliate links, meaning, at no additional cost to you, I will earn a small commission if you click through and make a purchase. As an Amazon Associate I earn from qualifying purchases.
To make the card, I inked my swoop stamp with dark blue ink and stamped it 3 times starting at the bottom of a panel of white card stock without reinking between stamping to get the monochromatic tones. Then I stamped my flower over the swoops with brown ink. I layered the stamped panel to navy card stock and attached it to a white card.
This card layout can easily be used for any occasion by simply changing the sentiment. You can also stamp the swoops in different colors instead monochromatic tones – bright colors for birthdays, earth tones for Fall cards, or pastels for Spring cards. So many options!
Disclosure: Some of the links on my site are affiliate links, meaning, at no additional cost to you, I will earn a small commission if you click through and make a purchase. As an Amazon Associate I earn from qualifying purchases.
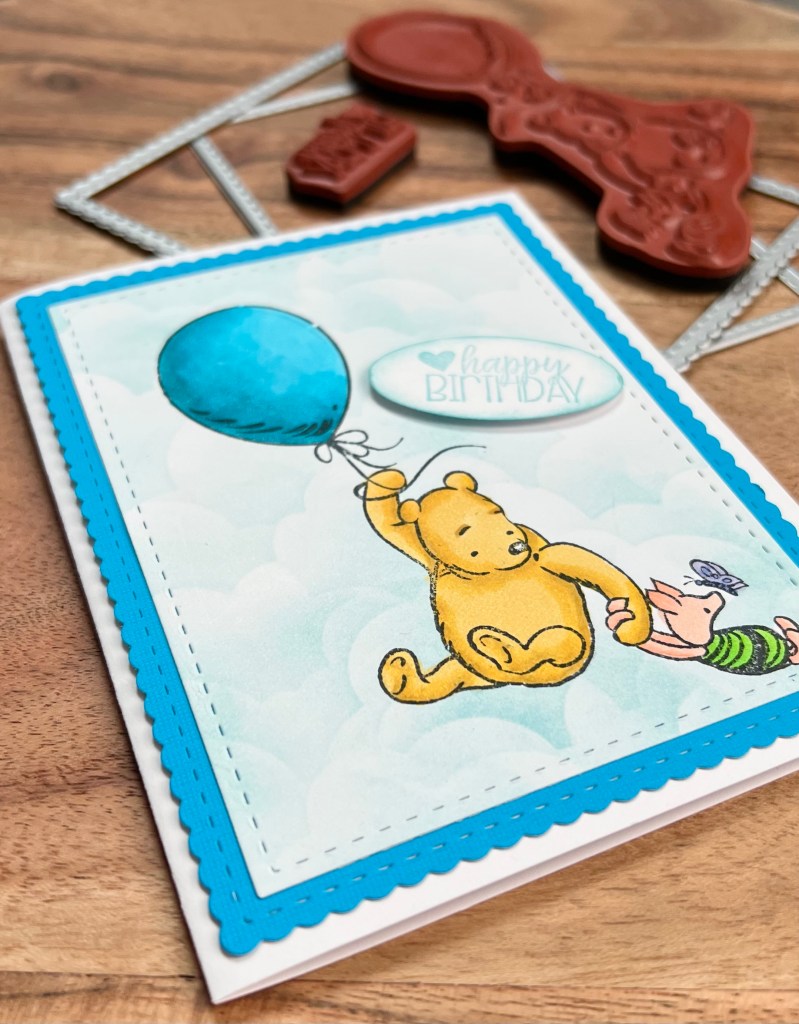
I stamped the image with Memento Tuxedo Black ink on white card stock and colored it with Copic markers – Y26, Y19, and Y21 for Pooh and R01, R02, YG07 and YG05 for Piglet. I used blues to match my card stock for the balloon. I masked the image and used a cloud stencil with blue ink and these Blender Brushes to create the sky.
Mother’s Day in the United States is coming up on May 8th. Plenty of time to create something special for your favorite mom! I’ve put together a few ideas to get your creative juices flowing. 🙂 Click on each of the pictures below to get all the details for each project.
Disclosure: Some of the links on my site are affiliate links, meaning, at no additional cost to you, I will earn a small commission if you click through and make a purchase. As an Amazon Associate I earn from qualifying purchases.
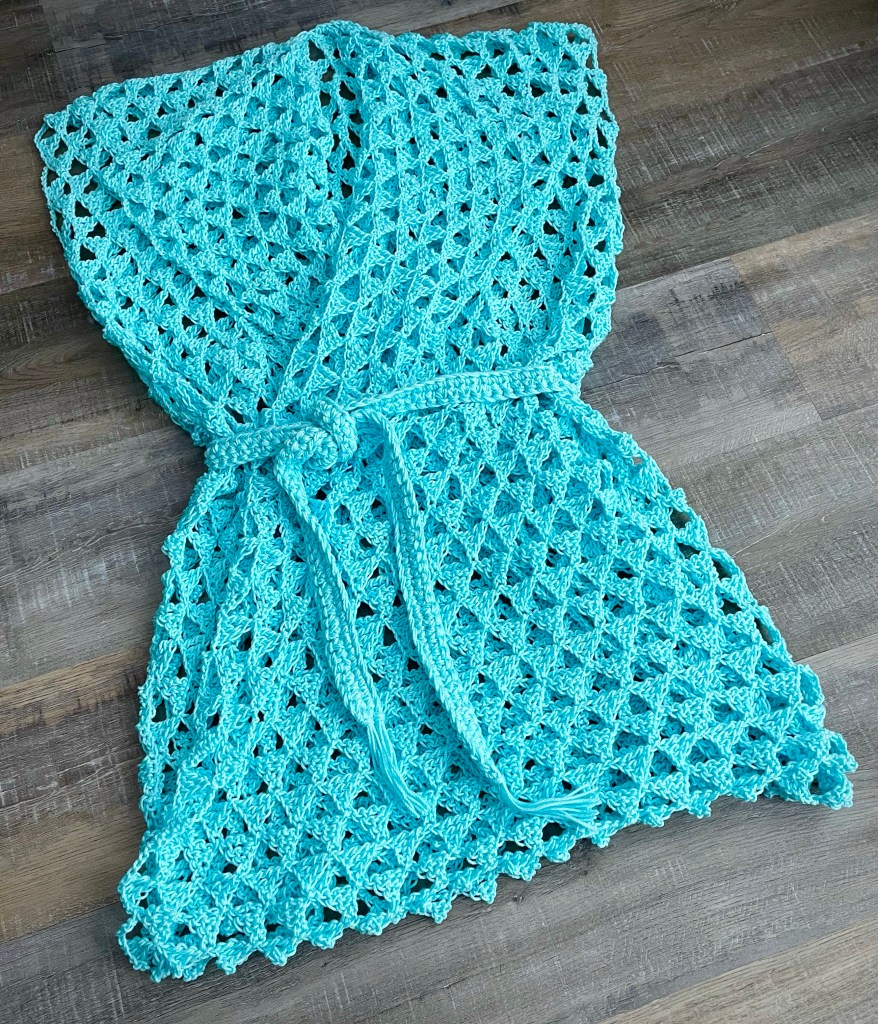
Does mom like to hang out at the pool or go to the beach? This Beach Cardi Coverup is super fun to crochet and you can make it in her favorite color! And it works up faster than you might think.
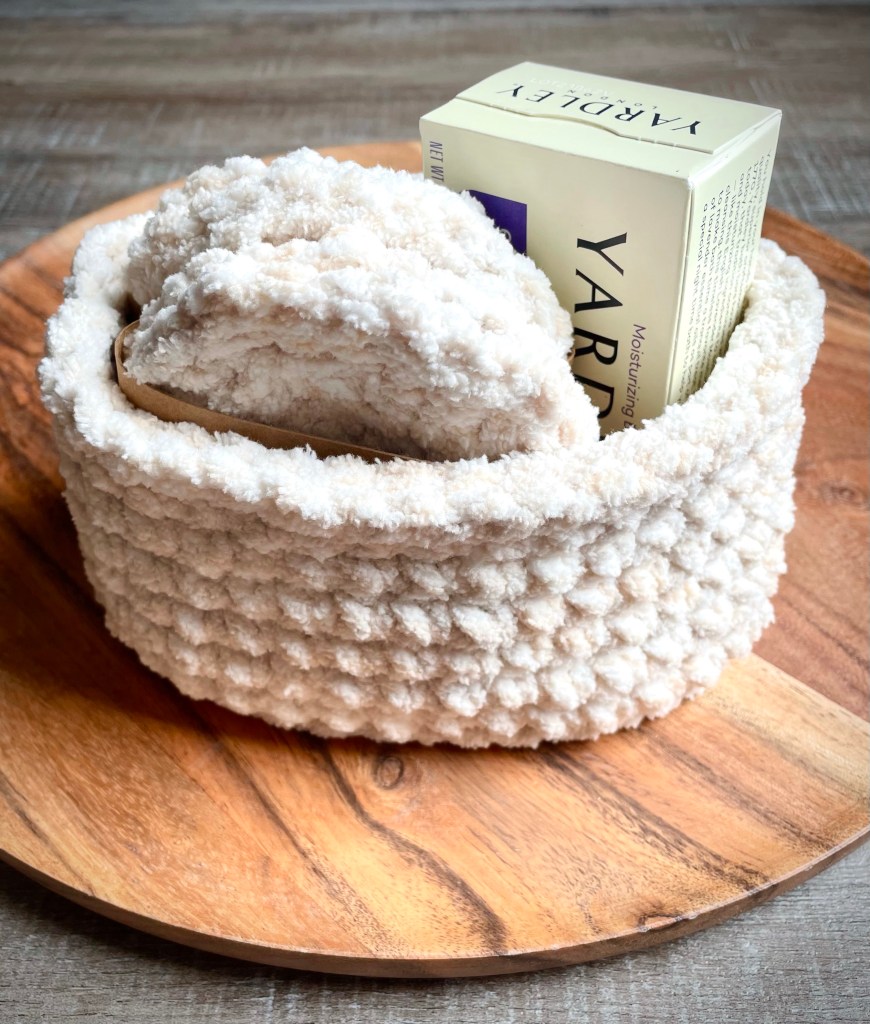
Giving mom a gift card or a cute pair of earrings? This Crochet Snowball Mini Gift Bag is the perfect size to tuck a small gift in – and you can make it in any color.
It’s always fun to get new dishcloths for your kitchen! These Crochet Bobble Dishcloths are fun and easy to make. The other great thing about these is that because they are made of soft cotton yarn they can also be used as Spa Cloths. Add her favorite body wash to make a personal gift.
Farmhouse Mini Wood Risers are a cute addition to mom’s decor. These are simple to make and you can paint or stain them in any color. Add her favorite candle or mini succulent pot for a fun gift.
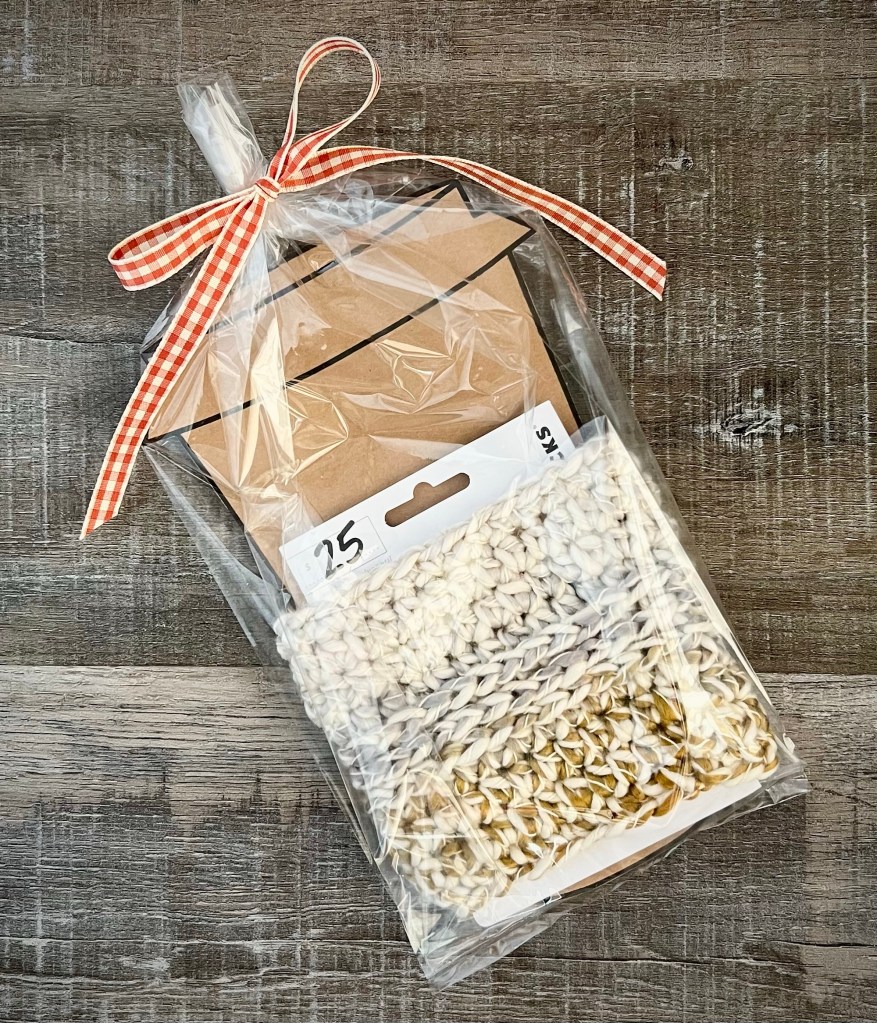
Is mom a coffee drinker? This Crochet Fall Cup Cozy is super quick to make with bulky yarn. Add a gift card to her favorite coffee shop and tie it up in a cellophane bag for a cute gift. Of course, you can use any color bulky yarn to stitch up your cup cozy.
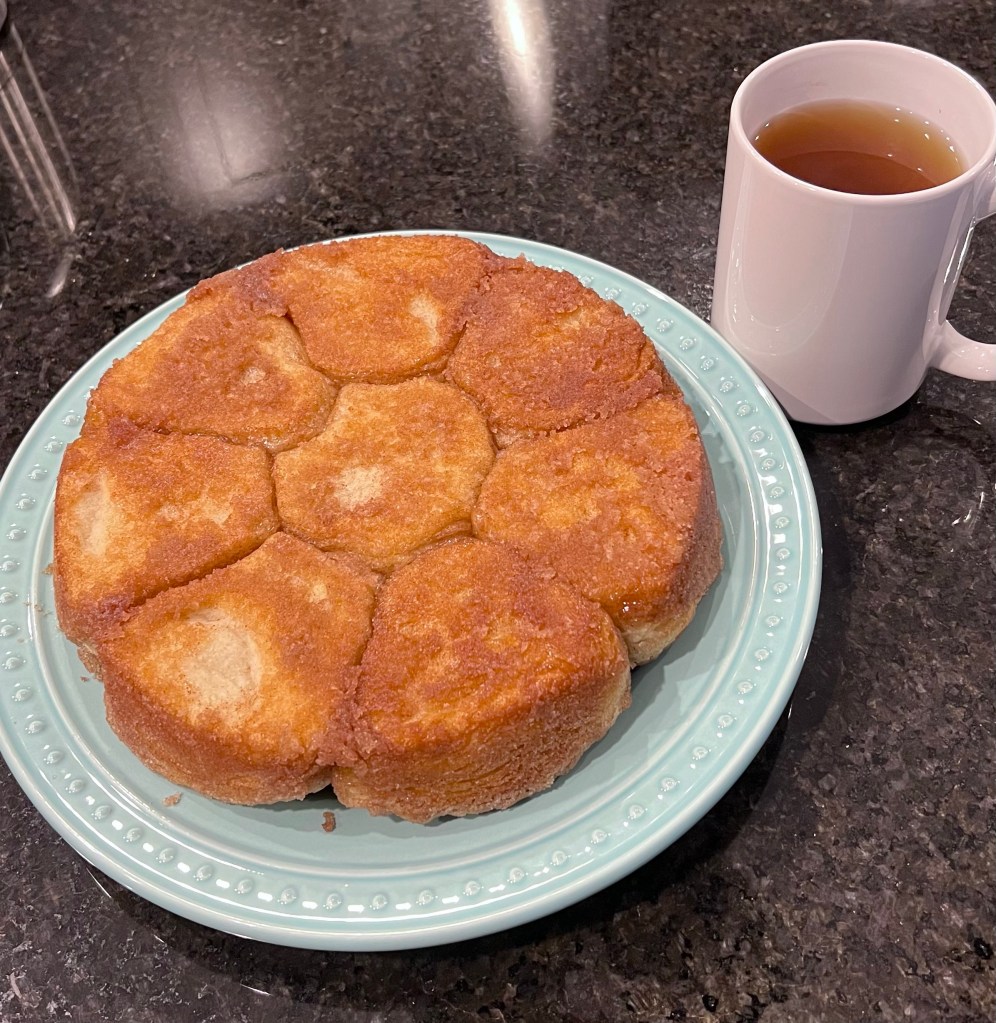
How about a special breakfast for mom? These Easy Flaky Cinnamon Biscuits are so easy to make and are so good with a hot cup of coffee or tea.
Of course you’ll need a card for mom! I know the sentiment on the card below is for a sympathy card, but change it to “Happy Mother’s Day” and it will make a beautiful Mother’s Day card.
Here’s another card that will make mom’s day special!
I hope I’ve given you a few ideas to help spark your creativity. And to all the moms out there, Happy Mother’s Day! 🙂
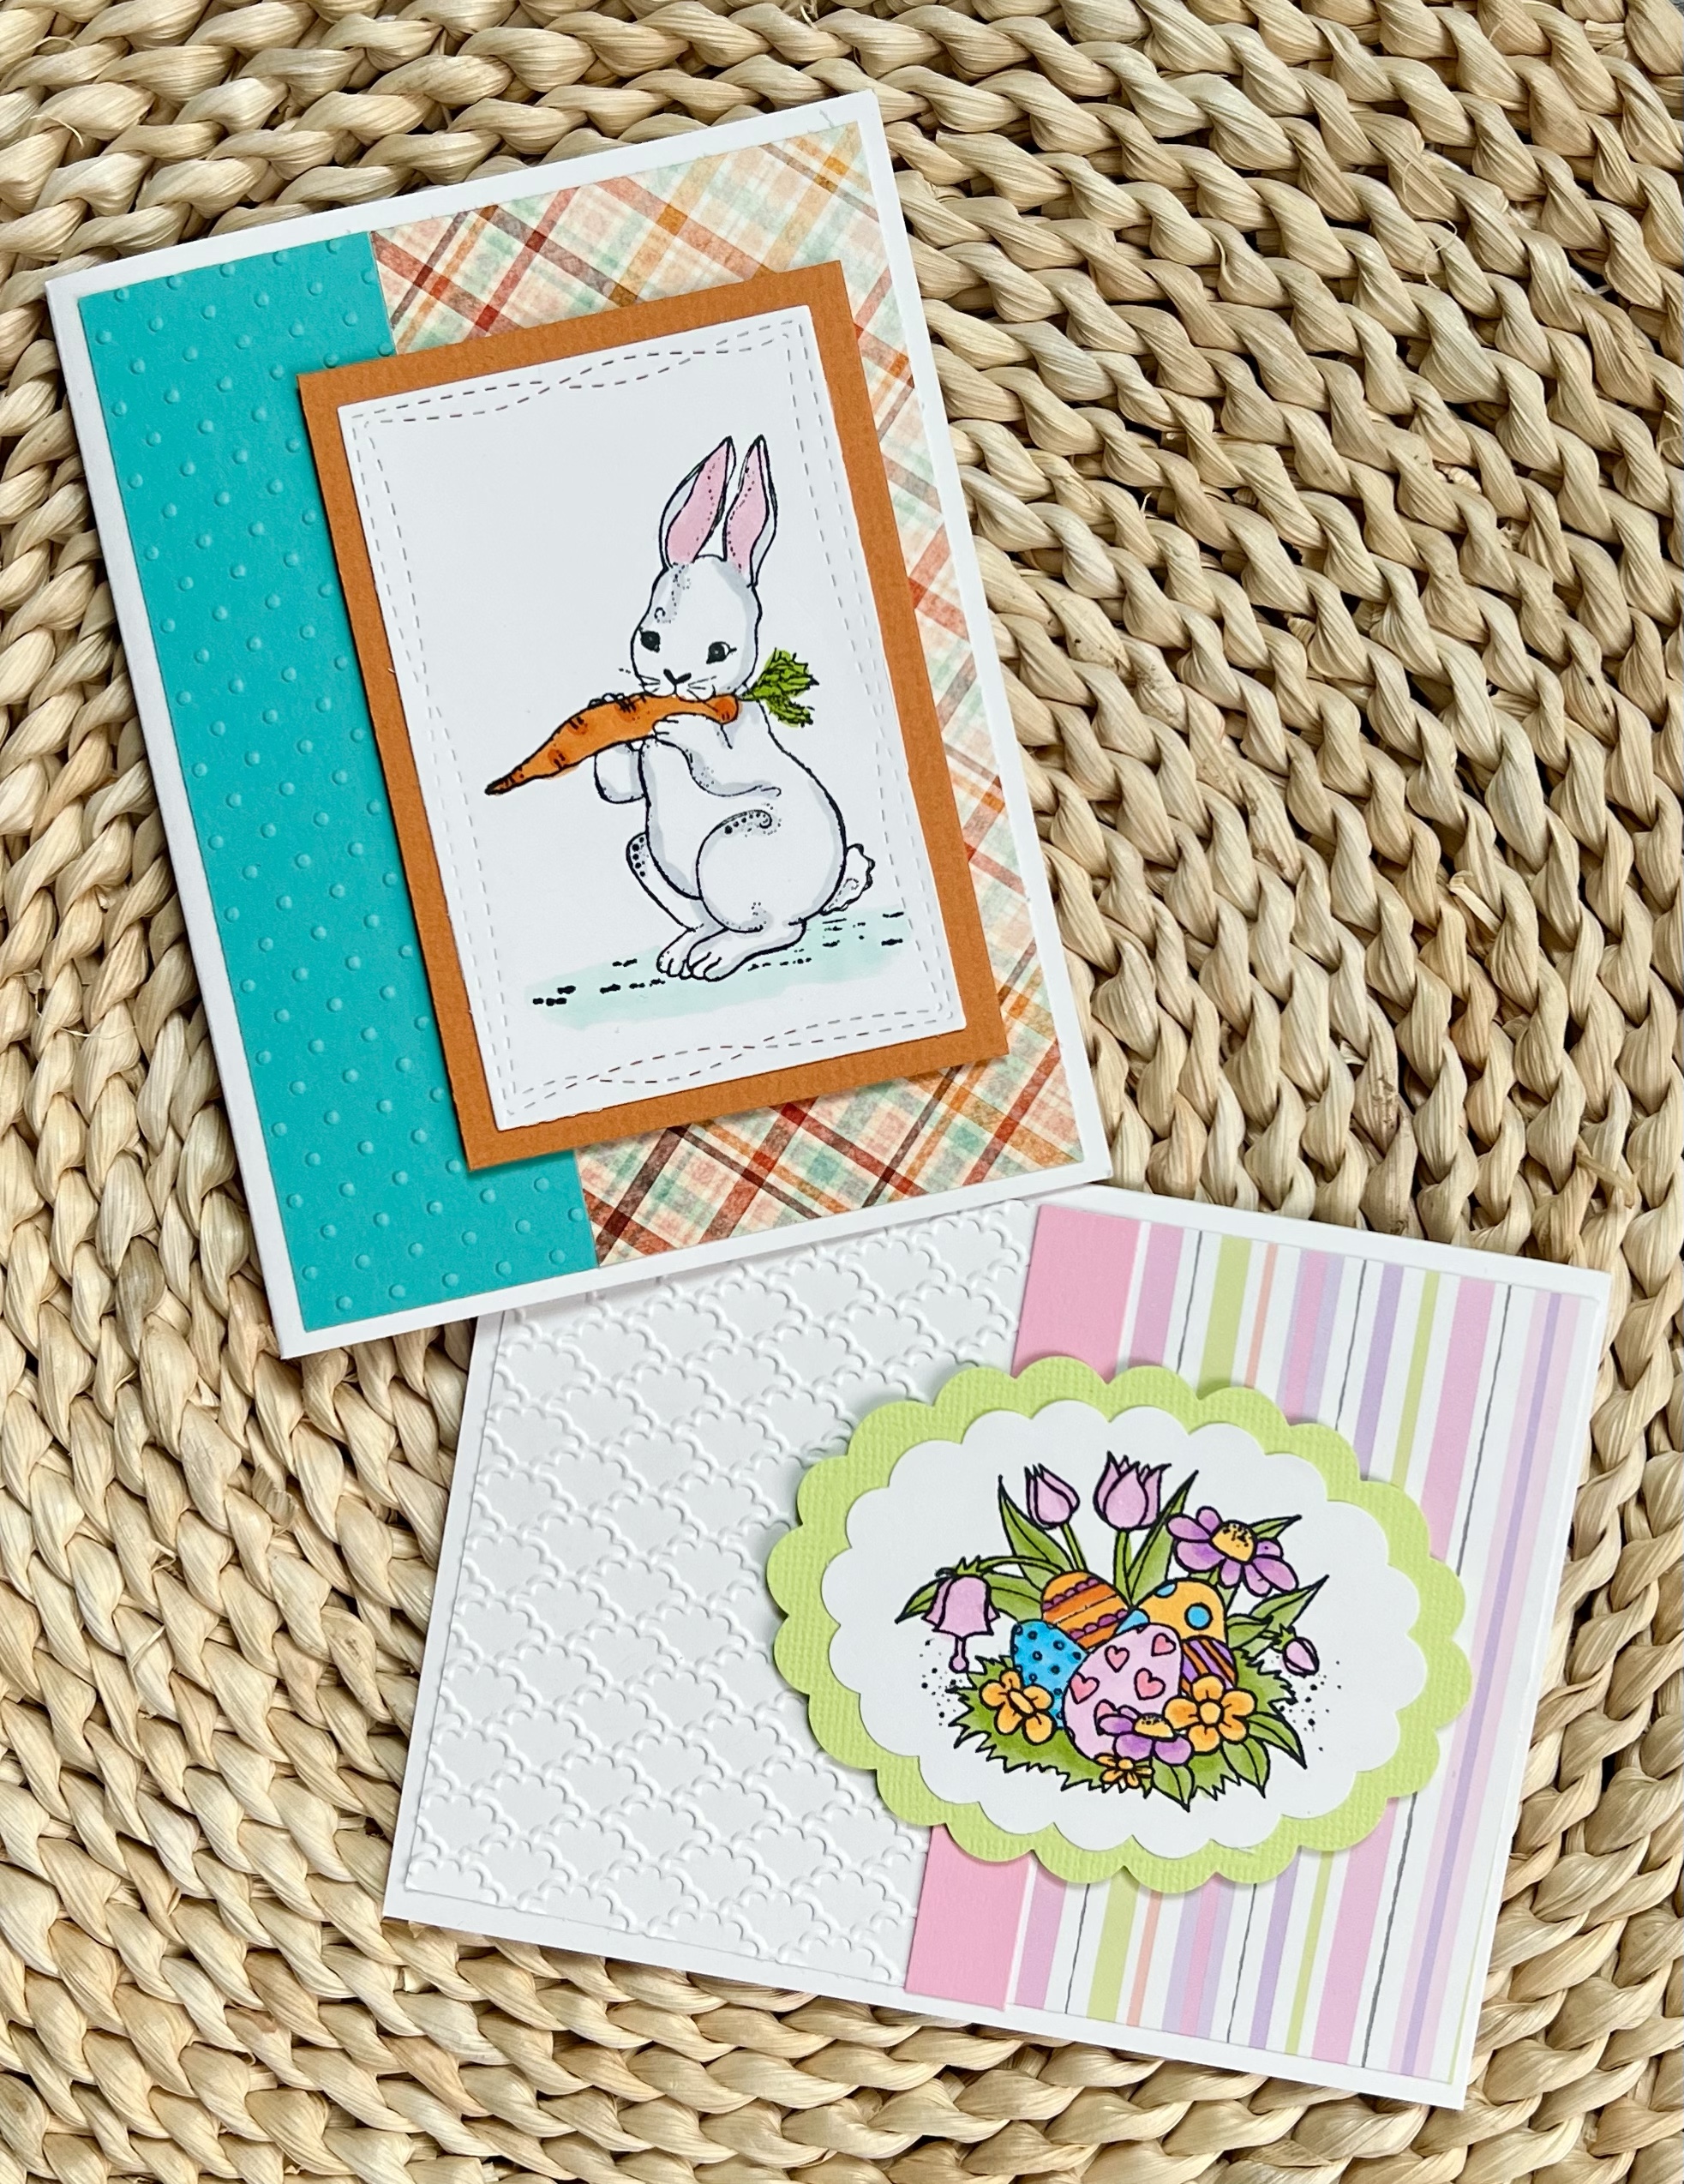
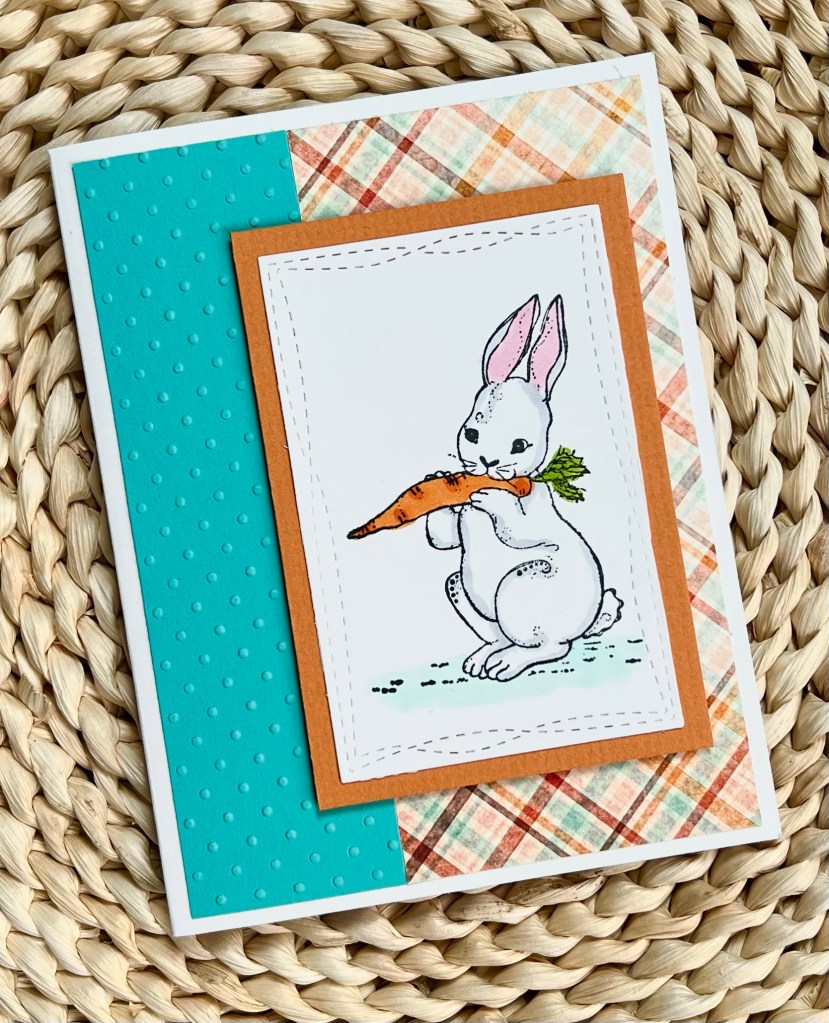
I love making cards for all the holidays, but sometimes they sneak up on me! Thankfully you can make some really cute cards quickly with just a few supplies! I have 2 Quick and Easy Easter Cards to share with you today. 🐰
Disclosure: Some of the links on my site are affiliate links, meaning, at no additional cost to you, I will earn a small commission if you click through and make a purchase. As an Amazon Associate I earn from qualifying purchases.
Both of these cards are made using the same basic layout – one is vertical and the other is horizontal. Here’s what you’ll need…
To make the cards, I stamped the images with Memento Tuxedo Black ink on white card stock and colored them with Copic markers. I die cut the images and layered them to coordinating card stock. I embossed a piece of solid card stock and attached it to one side of a white card. I attached a piece of patterned paper next to the embossed card stock. On the Easter egg card I also added a strip of pink card stock where the 2 papers met. I attached the stamped images to the cards using foam tape.
The cards came together super fast and this layout is perfect for using up some of those paper scraps you’ve been saving. 😉 I love this layout because you can use it for any card you might need to make – just use your favorite image with any color combo you can imagine!
I found this cute mini tobacco basket at Hobby Lobby in the seasonal department. It measures about 6-inches square and includes the twine tied on the corner for hanging. It also came in a white painted version.
Disclosure: Some of the links on my site are affiliate links, meaning, at no additional cost to you, I will earn a small commission if you click through and make a purchase. As an Amazon Associate I earn from qualifying purchases.
The rest of my supplies also came from Hobby Lobby’s seasonal department. The cute bunny cutout came in a package of 12 – 6 with straight ears and 6 with one bent ear – including the white pom poms for the tails. You can see other Easter crafts I made with the bunny cutouts here and here. The mini Easter eggs and the Easter grass were just the extra touch I needed.
I painted my bunny cutout white acrylic paint and then lightly dry brushed it with brown paint. I attached the white pom pom tail with my hot glue gun. I used foam tape to attach the bunny to the basket.
Using my hot glue gun, I attached some of the Easter grass to the sides of the basket. Be careful not to burn your fingers! These silicone finger protectors from Dollar Tree might help with that. 😉 Then I used hot glue to add the mini Easter eggs.
This is a fun and quick craft that will add a little whimsy to your Easter decor. 🐰
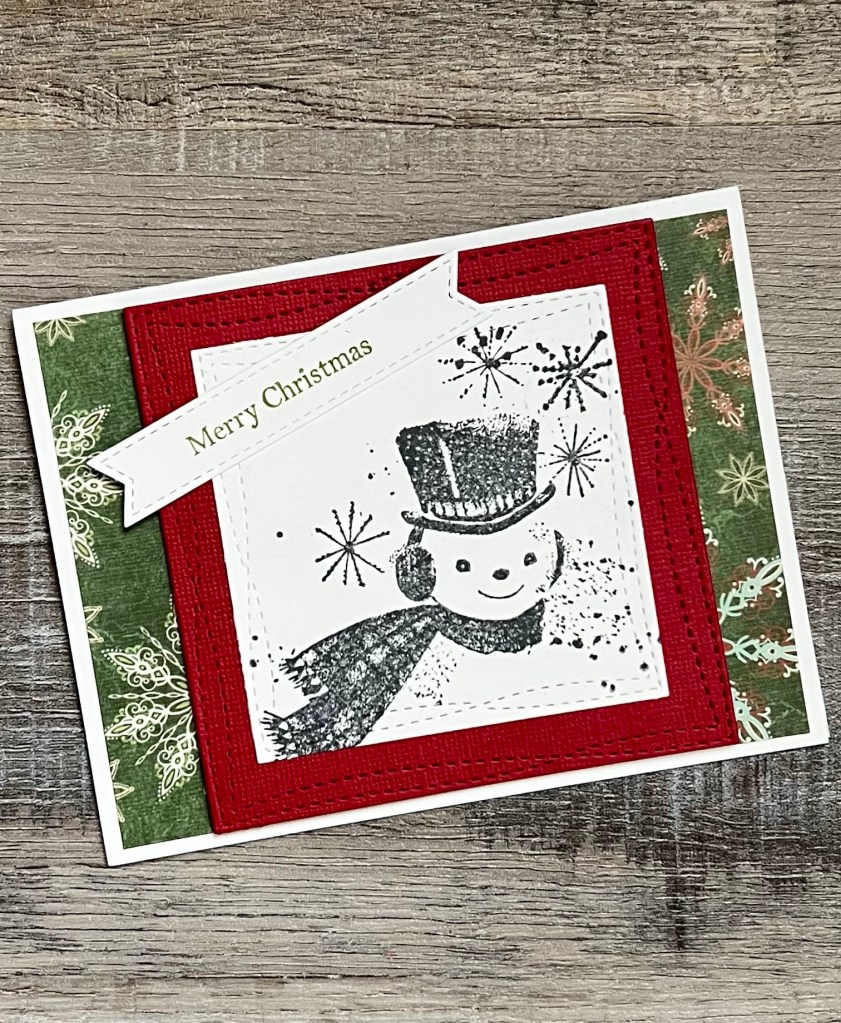
I almost didn’t make it, but I managed to design a Christmas card for March! I’m trying to create a new design each month and make a few of each design to have ready for sending in November. This month’s card is super quick and easy – and I love the vintage feel of this cute snowman. 🙂
Disclosure: Some of the links on my site are affiliate links, meaning, at no additional cost to you, I will earn a small commission if you click through and make a purchase. As an Amazon Associate I earn from qualifying purchases.
If you’re interested, this is my favorite adhesive to use when attaching card stock and paper layers on my cards. You can find refills here.
This is such a simple card to make, but I just love the way it turned out! If you want to see the other Christmas cards I’ve made so far this year, you can find January here and February here.
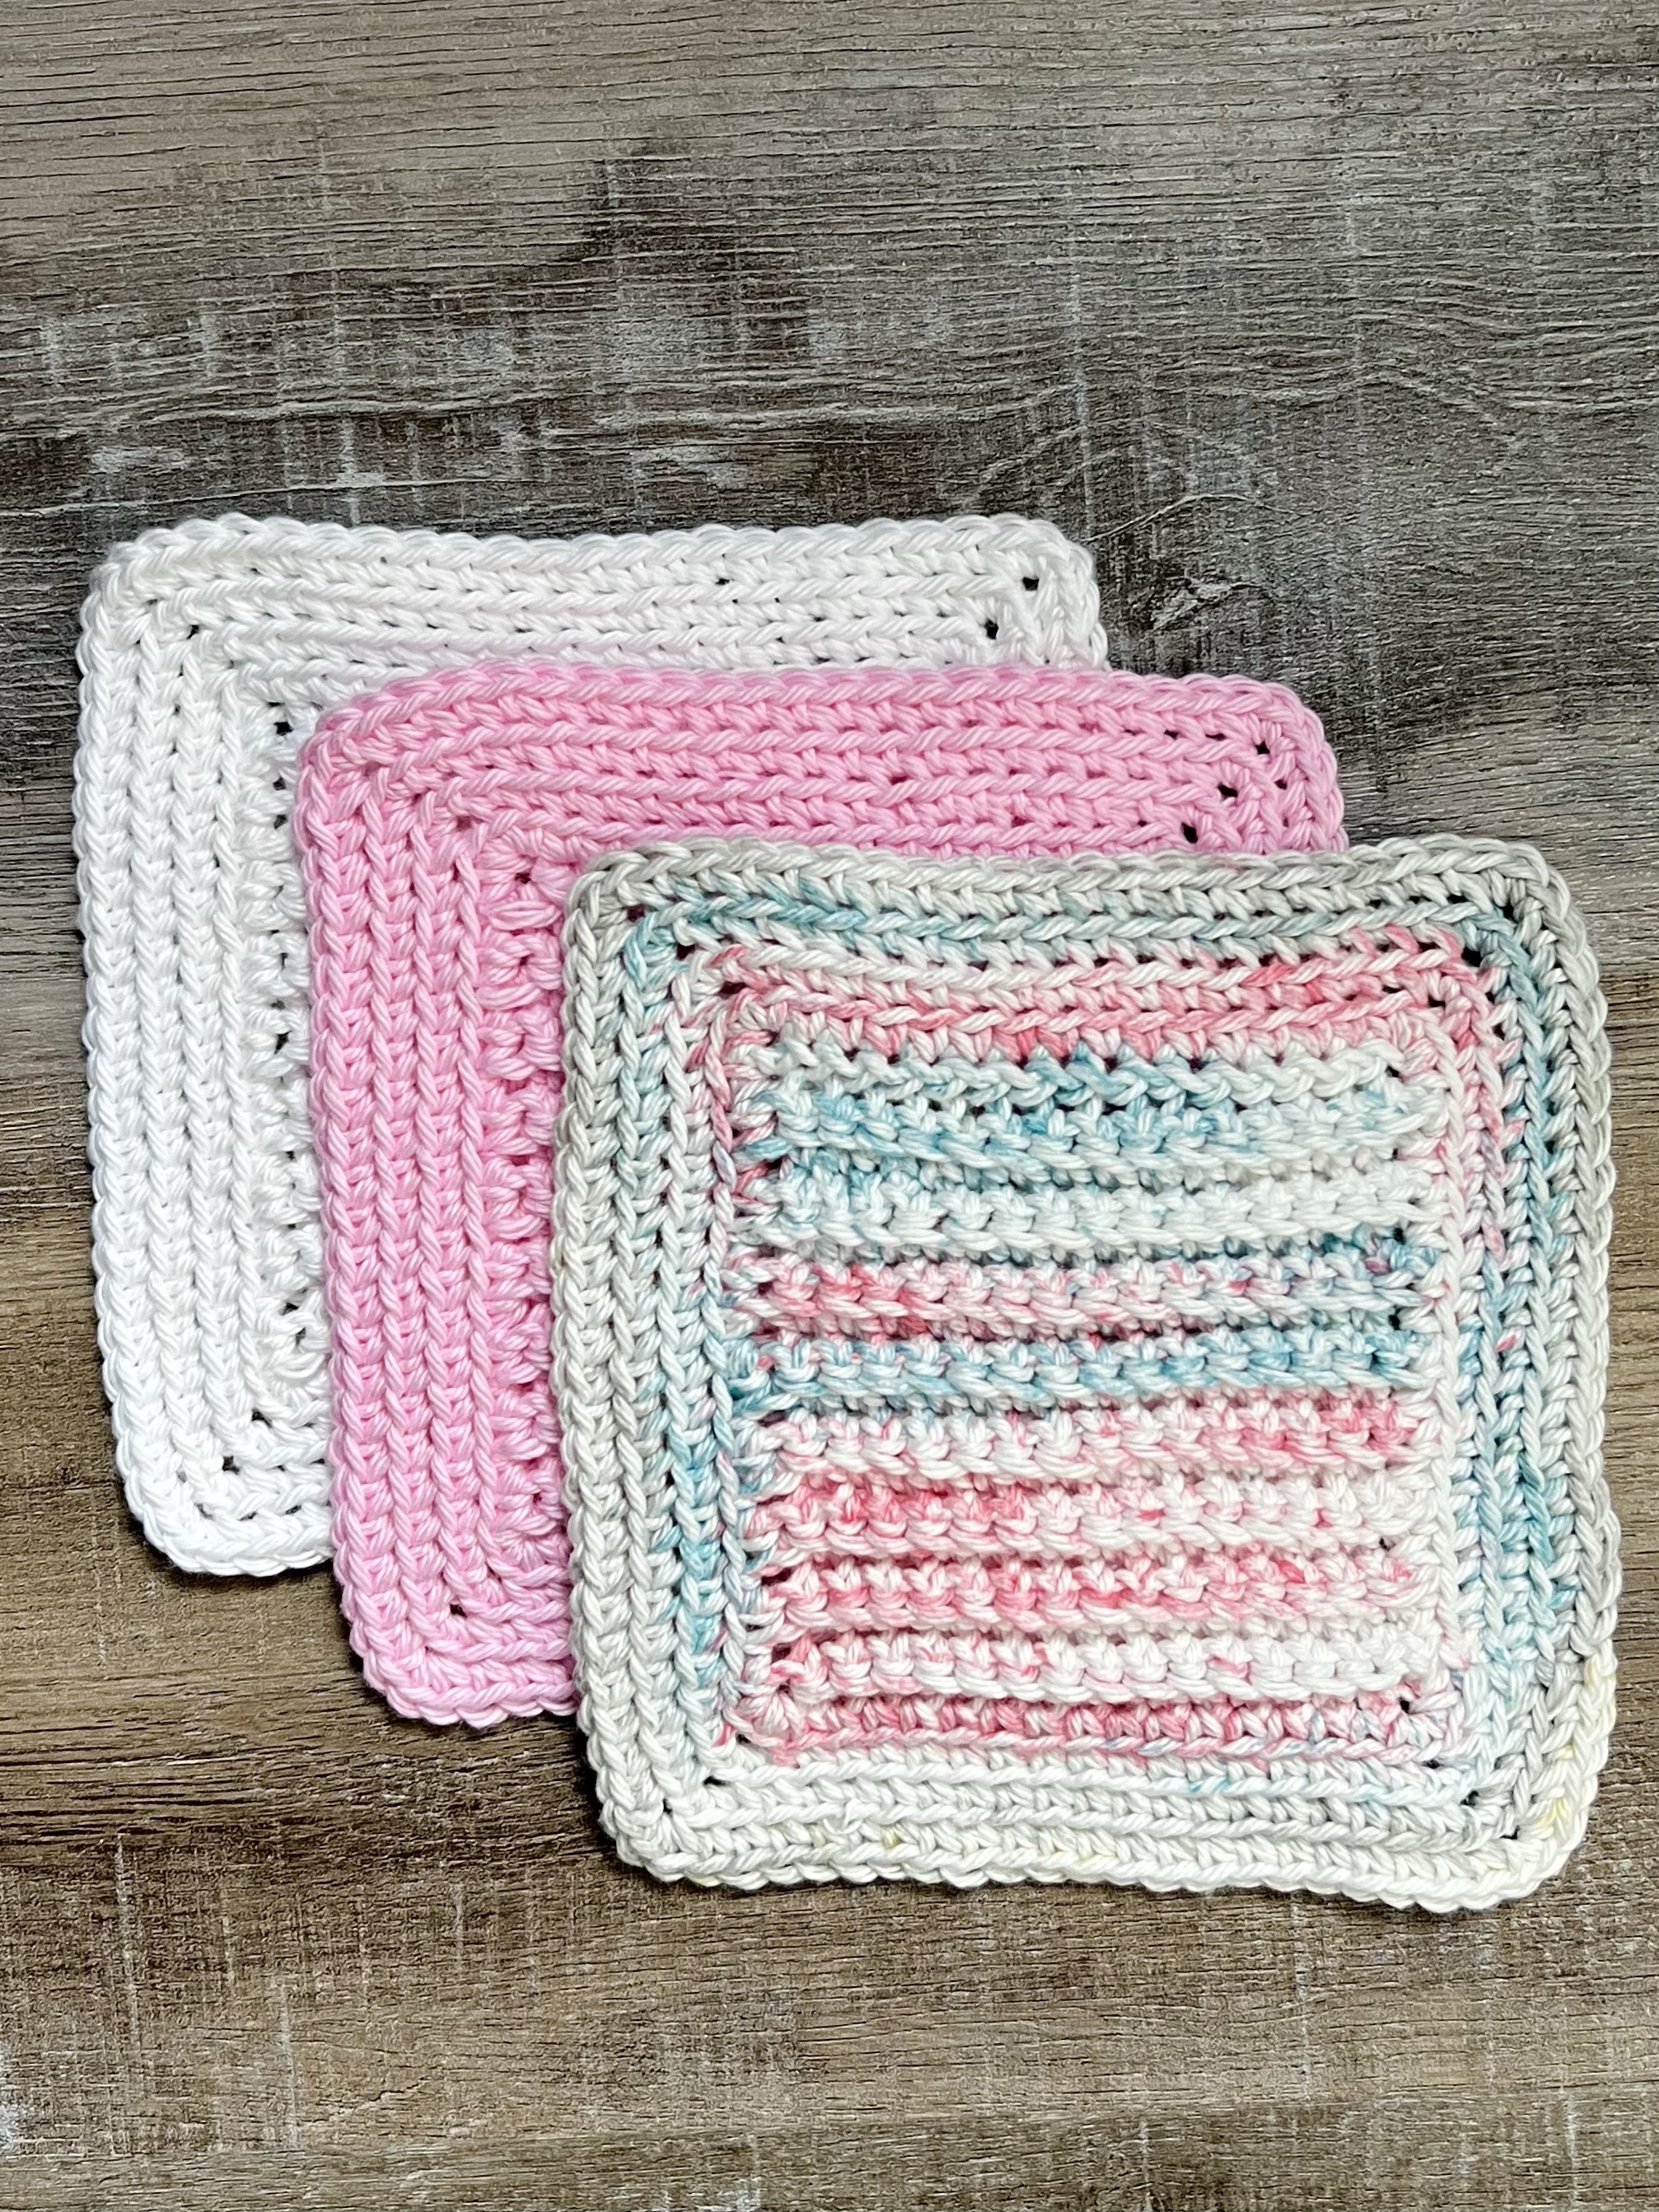
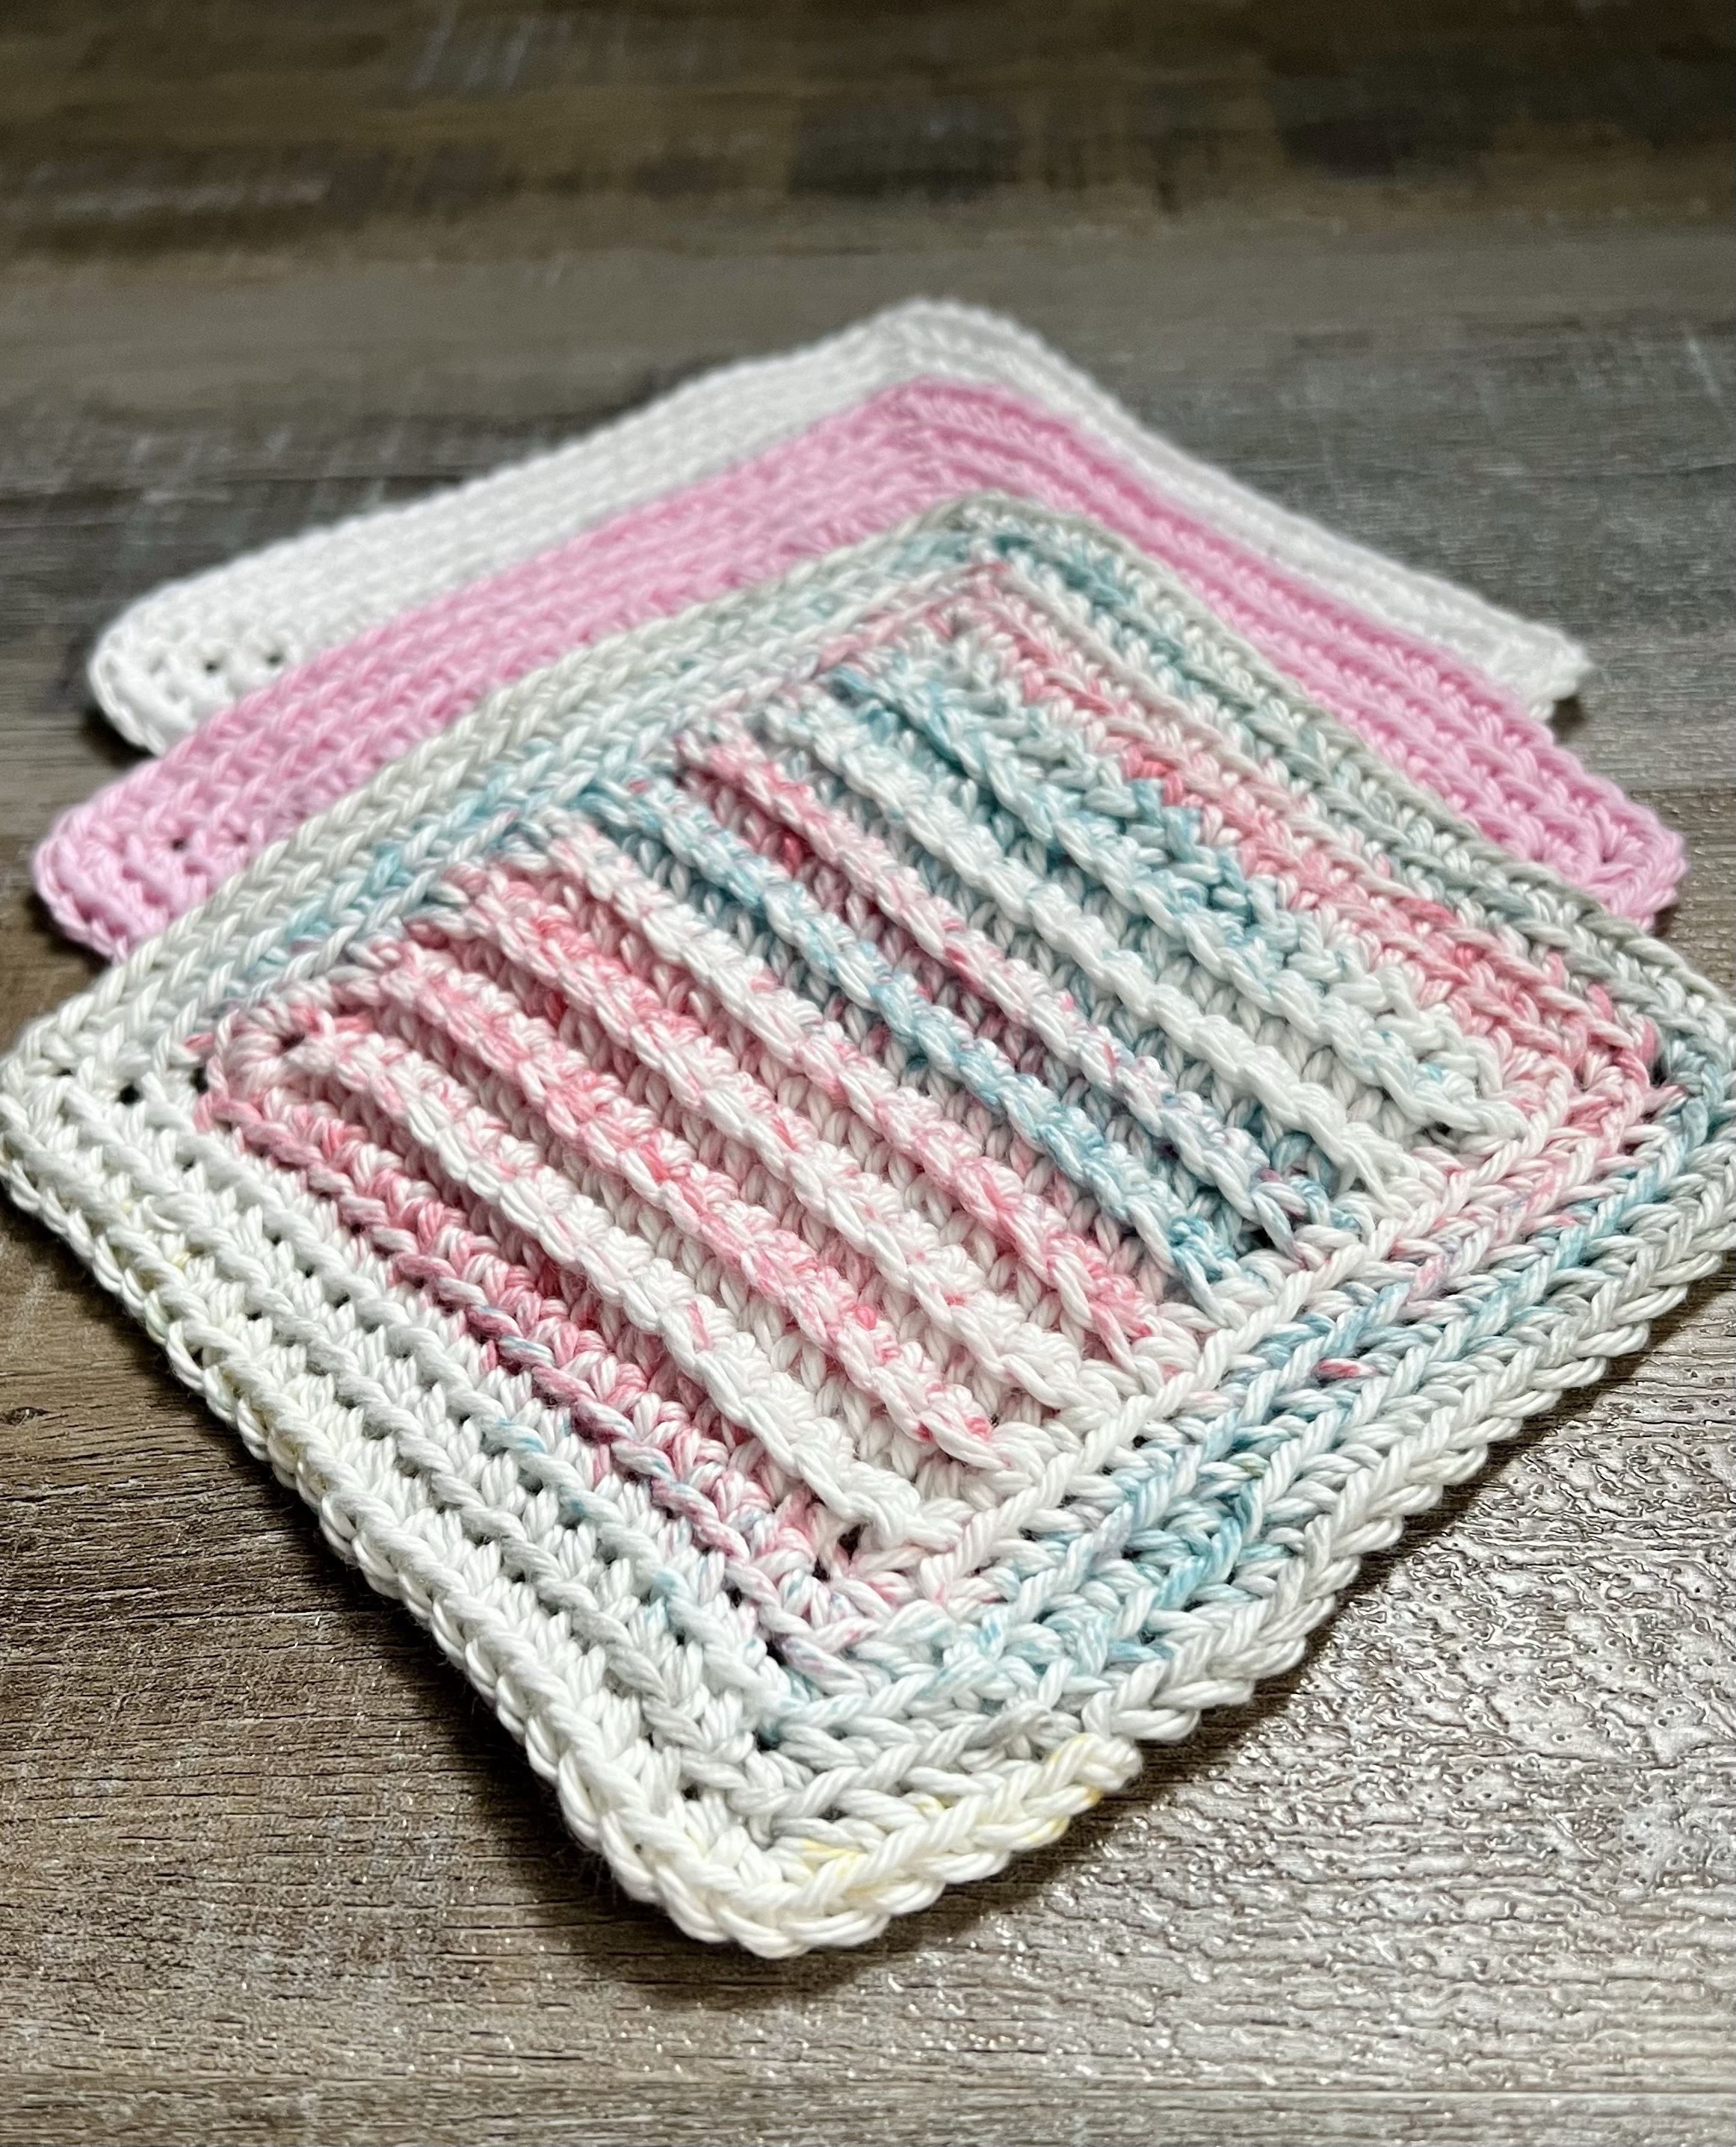
Spring is finally here! It’s a great time to make yourself some new Crochet Spring Spa Cloths in pretty Spring colors. Or gift some to someone who can use a little pampering. 😊 They are a great project for beginners and work up really quickly.
Disclosure: Some of the links on my site are affiliate links, meaning, at no additional cost to you, I will earn a small commission if you click through and make a purchase. As an Amazon Associate I earn from qualifying purchases.
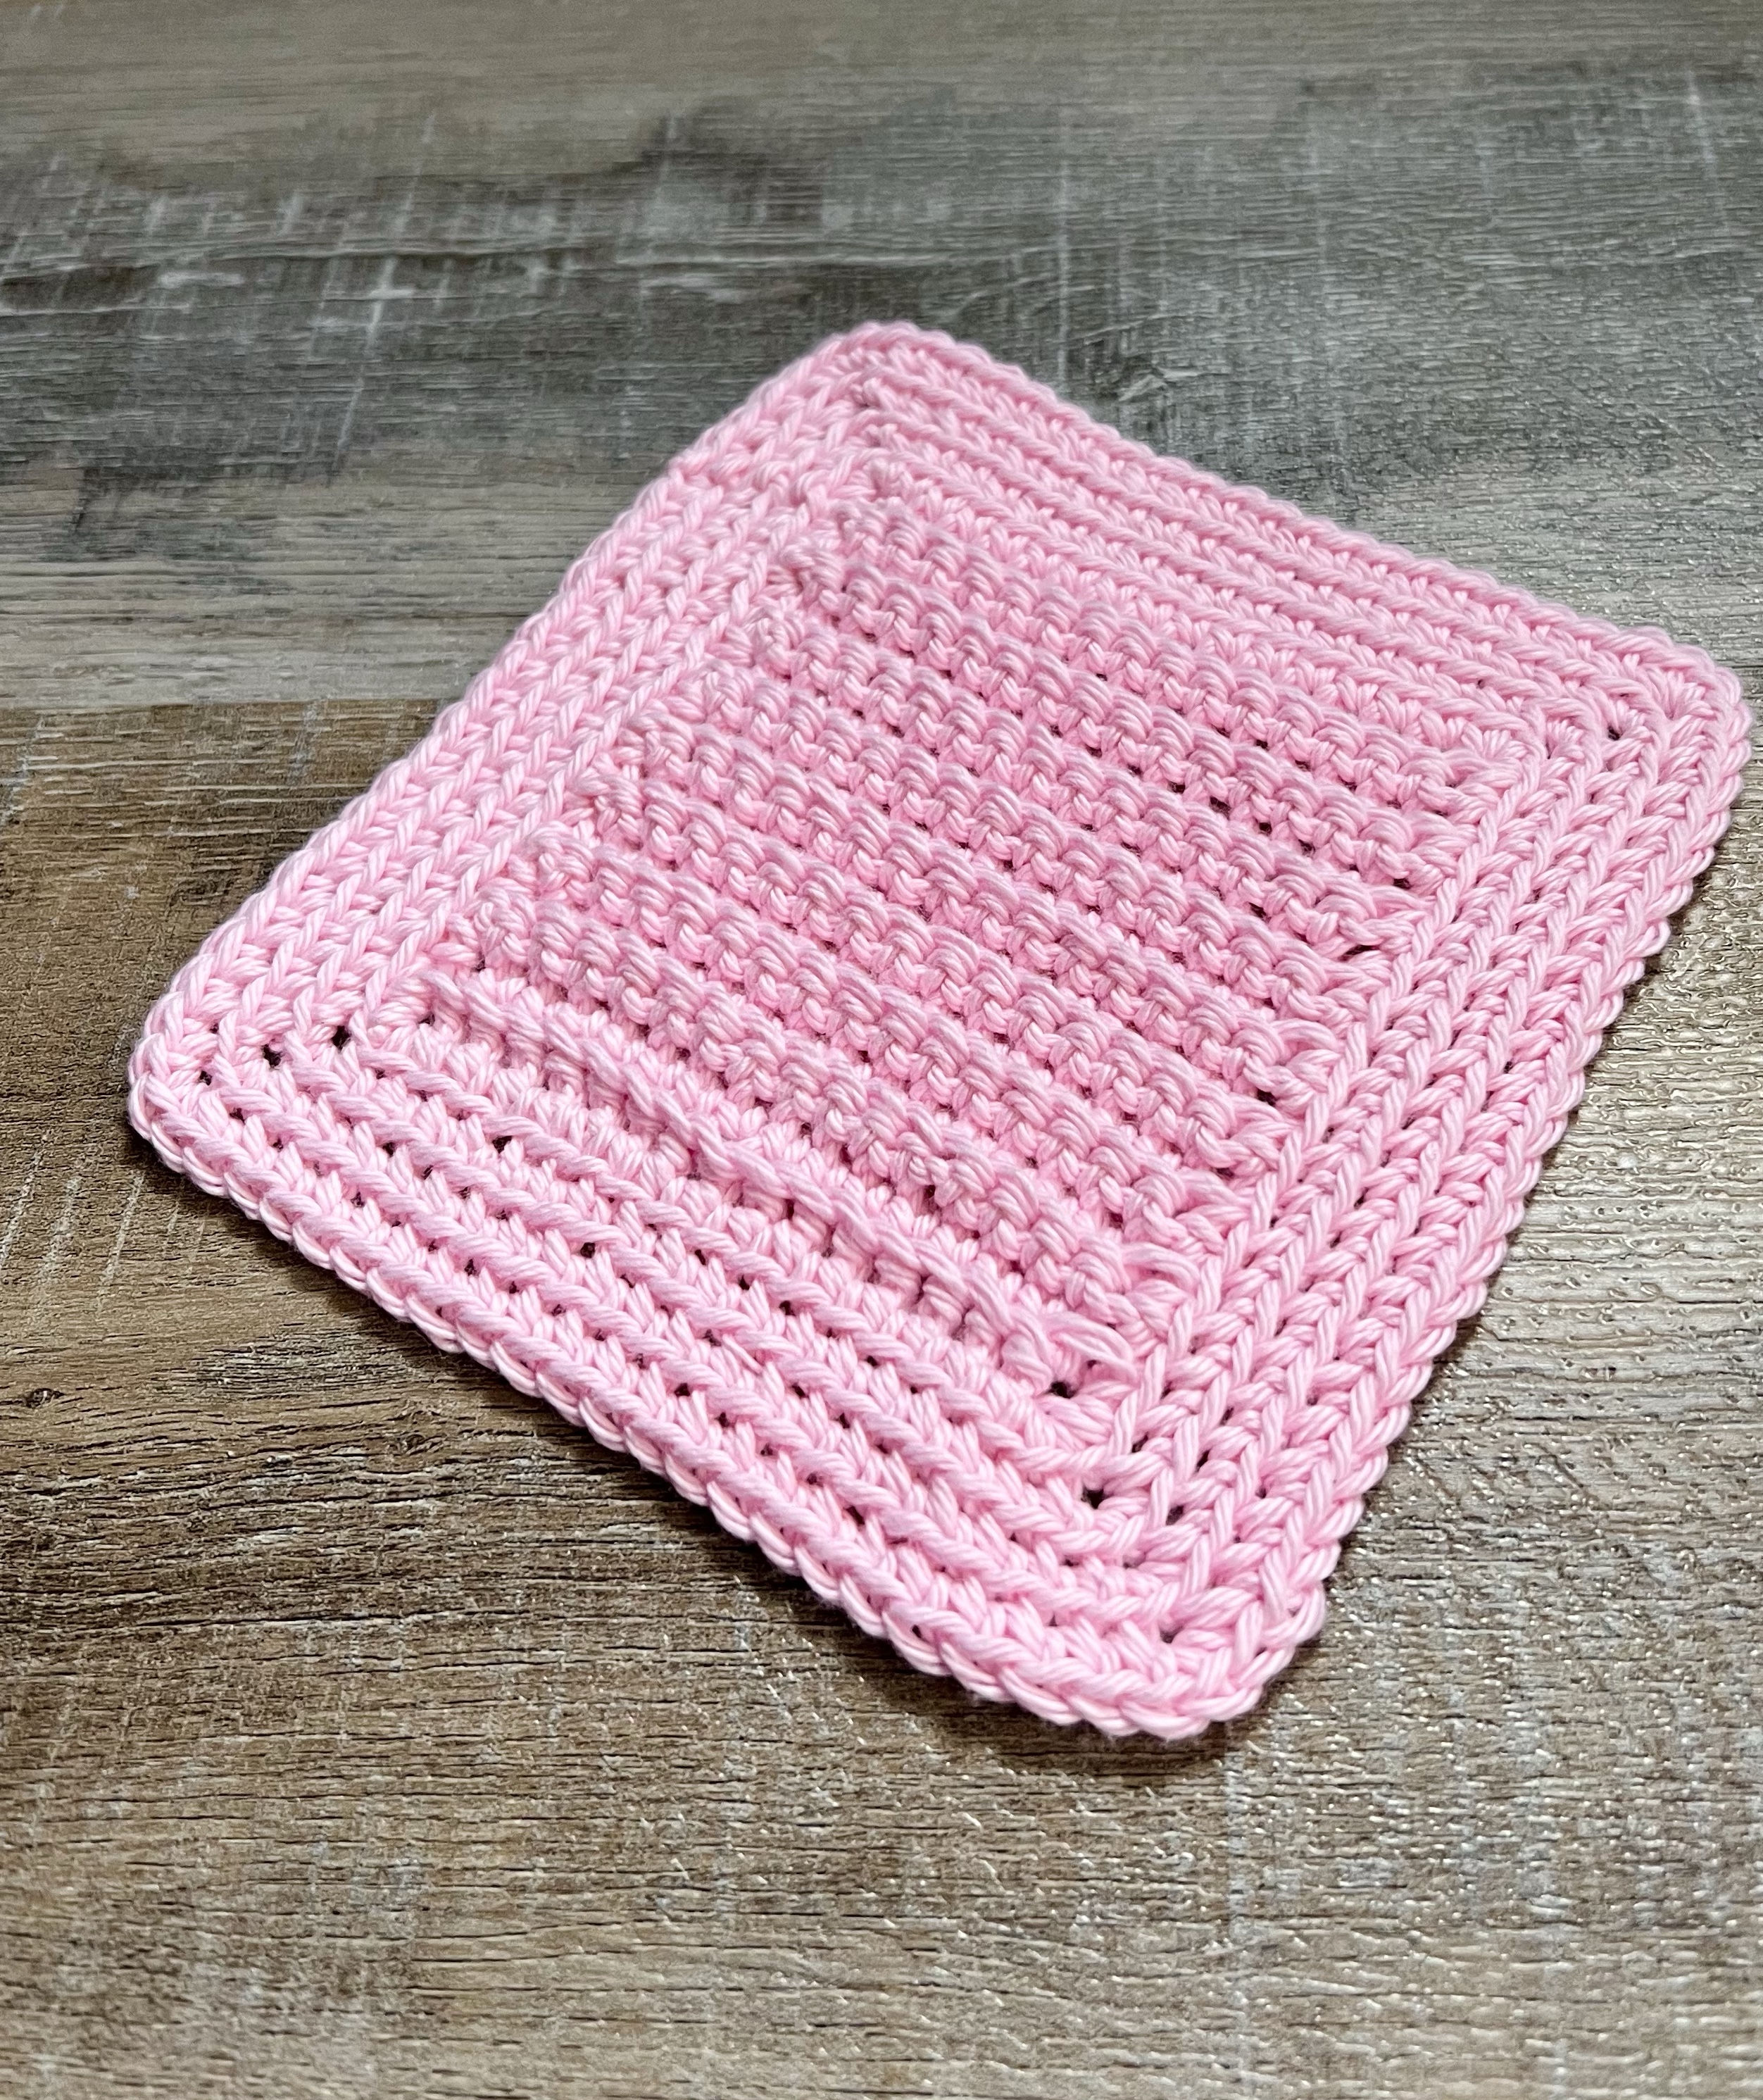
I used I Love This Cotton yarn in White, Pink, and Waterlily with an H/5mm hook to stitch up my spa cloths. I think Waterlily is discontinued, but there are other pretty options to choose from.
You can find the pattern below along with a link to a free PDF if you’d like to easily print it.
Crochet Spring Spa Cloth
I Love This Cotton yarn
H/5mm hook
Stitches used in US terms:
Foundation Single Crochet – fsc
Chain – ch
Single Crochet – sc
Back Loop only – blo
Slip Stitch – ss
Row 1: work 16 fsc. Turn. (16 stitches)
Rows 2-18: ch 1. sc in blo of each stitch across Turn. (16 stitches)
Do not turn after Row 18
Begin working in Rounds.
Round 1: ch 1. sc evenly around, working 3 sc in each corner. Join with ss to first sc.
Rounds 2-4: ch 1. sc in blo of each stitch, working 3 sc in each corner. Join with ss to first sc.
Finished spa cloth measures about 6.5 inches square.
These Crochet Spring Spa Cloths can also be used as pretty dishcloths in your kitchen since they are made from cotton. You can give your dishes the “spa treatment”. 😉
Disclosure: Some of the links on my site are affiliate links, meaning, at no additional cost to you, I will earn a small commission if you click through and make a purchase. As an Amazon Associate I earn from qualifying purchases.