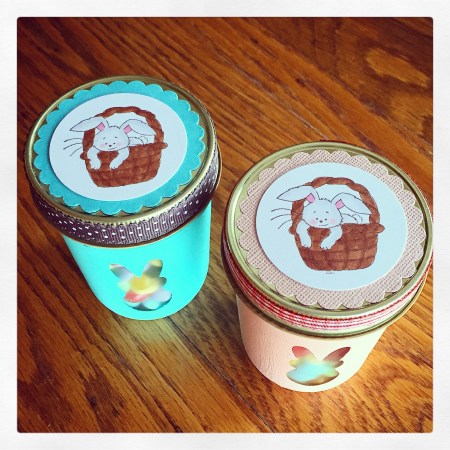
Did you see these fun Easter Treat Jars in this post? So cute the way the yummy treats peek out through the bunny window. A simple jar lid just wouldn’t be enough – they needed to have something special to top them off so I added these Easter tags to them. The stamp is from the I Love Easter set by Red Rubber Designs.
I stamped the bunny with brown ink on white card stock. He is colored with Copic markers and punched with a circle punch. I layered the image to a scalloped circle punched from card stock to match the jar and then attached it to the jar lid. I finished the lid by attaching a coordinating ribbon around the rim.
These cute little jars make a fun Easter treat for anyone who thinks they might be a little too old for the typical Easter basket – and there’s still time to get them done before Easter! 😉
All you need are some smooth jars, chalky finish paint (I used Craft Smart brand from Michaels), and contact paper (any kind will do).
I cut the bunnies from contact paper and attached them to the jars, making sure the edges were pressed down firmly. You can easily trace a bunny shape (search Pinterest or Goggle for patterns) on the back of the contact paper and then cut it out. Or use a bunny die with your die cutting machine – I used the smallest one from my set by Amuse Studio (sadly the set is discontinued 😦 )
Then simply paint the jars with 2 coats of chalky finish paint, making sure to let the paint dry thoroughly between coats. Once the paint is dry, carefully peel the bunny sticker from the jar. I used the tip of my exacto knife to get it started. I finished the jars with 2 light coats of a matte sealer spray. You can also use sandpaper to distress the jars before sealing if you’d like.
Now just fill your jars with your favorite treats! I’ve filled mine with a mixture of jelly beans and M&Ms. I still have to add something to perk up the jar lids – stay tuned and I’ll share those with you soon 🙂
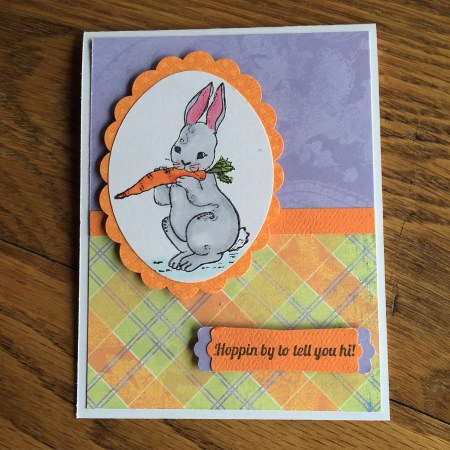
Here’s a clean and simple card that comes together in just minutes. This cute little bunny is from the Hunny Bunny set by Unity Stamp Company. This card makes a fun, whimsical Easter card, but could be used as a “thinking of you” or birthday card. This little guy would also make a cute baby card.
I stamped the bunny with black ink on white card stock. He is colored with Copic markers and punched with an oval punch. The image is then layered to a scalloped oval punched from orange patterned paper.
To make the card base, I attached 2 different patterned papers to a white card and covered the seam with a strip of orange card stock. I stamped the sentiment with black ink on orange card stock and punched it out with the label punch from Stampin’ Up. I punched the label a second time from purple card stock, cut it in half, and attached it to the orange label with the ends peeking out. Both the label and the bunny are attached to the card with pop dots.
I used the largest bunny from the die set by Amuse Studio to cut my bunnies from patterned paper to match the Bunny Silhouette Canvases. The die set is discontinued, but you can also search “printable bunny templates” on Pinterest or Google to find similar patterns (like this one) you can trace onto your patterned paper and cut out by hand.
I glued a 1-inch pom pom for each fluffy bunny tail. I attached the bunnies to orange and white twine using clear tape on the back of their ears. Here’s a little closer picture of the garland…
And here’s a picture of my Spring mantle…
I hope Spring has finally hopped into your neck of the woods!
A long title for for a simple, tasty way to prepare chicken thighs. Chicken thighs go on sale all the time so they make a thrifty way to feed your family. The recipe for these yummy thighs can be found here on Laughing Spatula. I am so happy that I found this recipe via Pinterest – we eat these every few weeks!
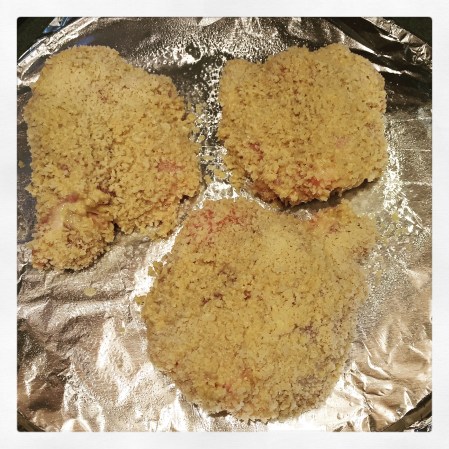
Since I was only cooking for 2, I cut the recipe in half and just made 3 thighs. You can easily increase the recipe if you need to make more than 6-8 thighs (which is what the recipe calls for). Here are the thighs all ready to pop into the oven.
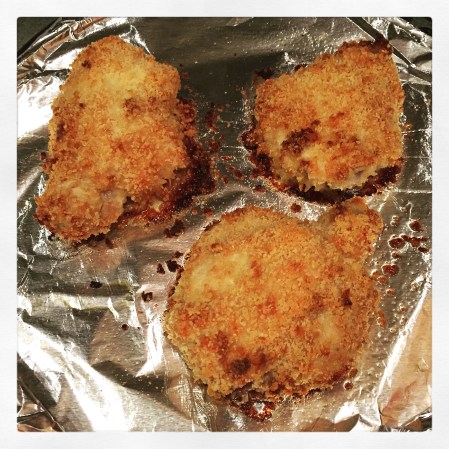
And here they are after 25 minutes in the oven.
Add your favorite sides and dessert and you have a yummy meal that is sure to please your family.
I found these white plastic Easter eggs at Hobby Lobby – 12 for 99 cents, but they were 40% off – what a deal! They are the kind that you can fill with candy. Because they are white, they are much easier to cover with paint. The moss was in the floral department.
My local Michael’s had 2 ounce bottles of chalky finish paint by Craft Smart in several different colors for $1.99 – so great to not have to buy an 8 ounce jar!
Open the eggs up to make them easier to paint. I used the chalky finish paint in turquoise and deep peach to paint a dozen eggs in each color. I painted the eggs with 2 coats, letting it dry thoroughly between coats.
Then using an old toothbrush, I splattered the eggs with rich brown to give them a speckled look.
After the eggs had completely dried, I sprayed them with 2 light coats of a matte sealer spray.
And here’s how they look with a little moss in my hurricanes.
With a little imagination, you can reuse items you already have to change your decor for the seasons.
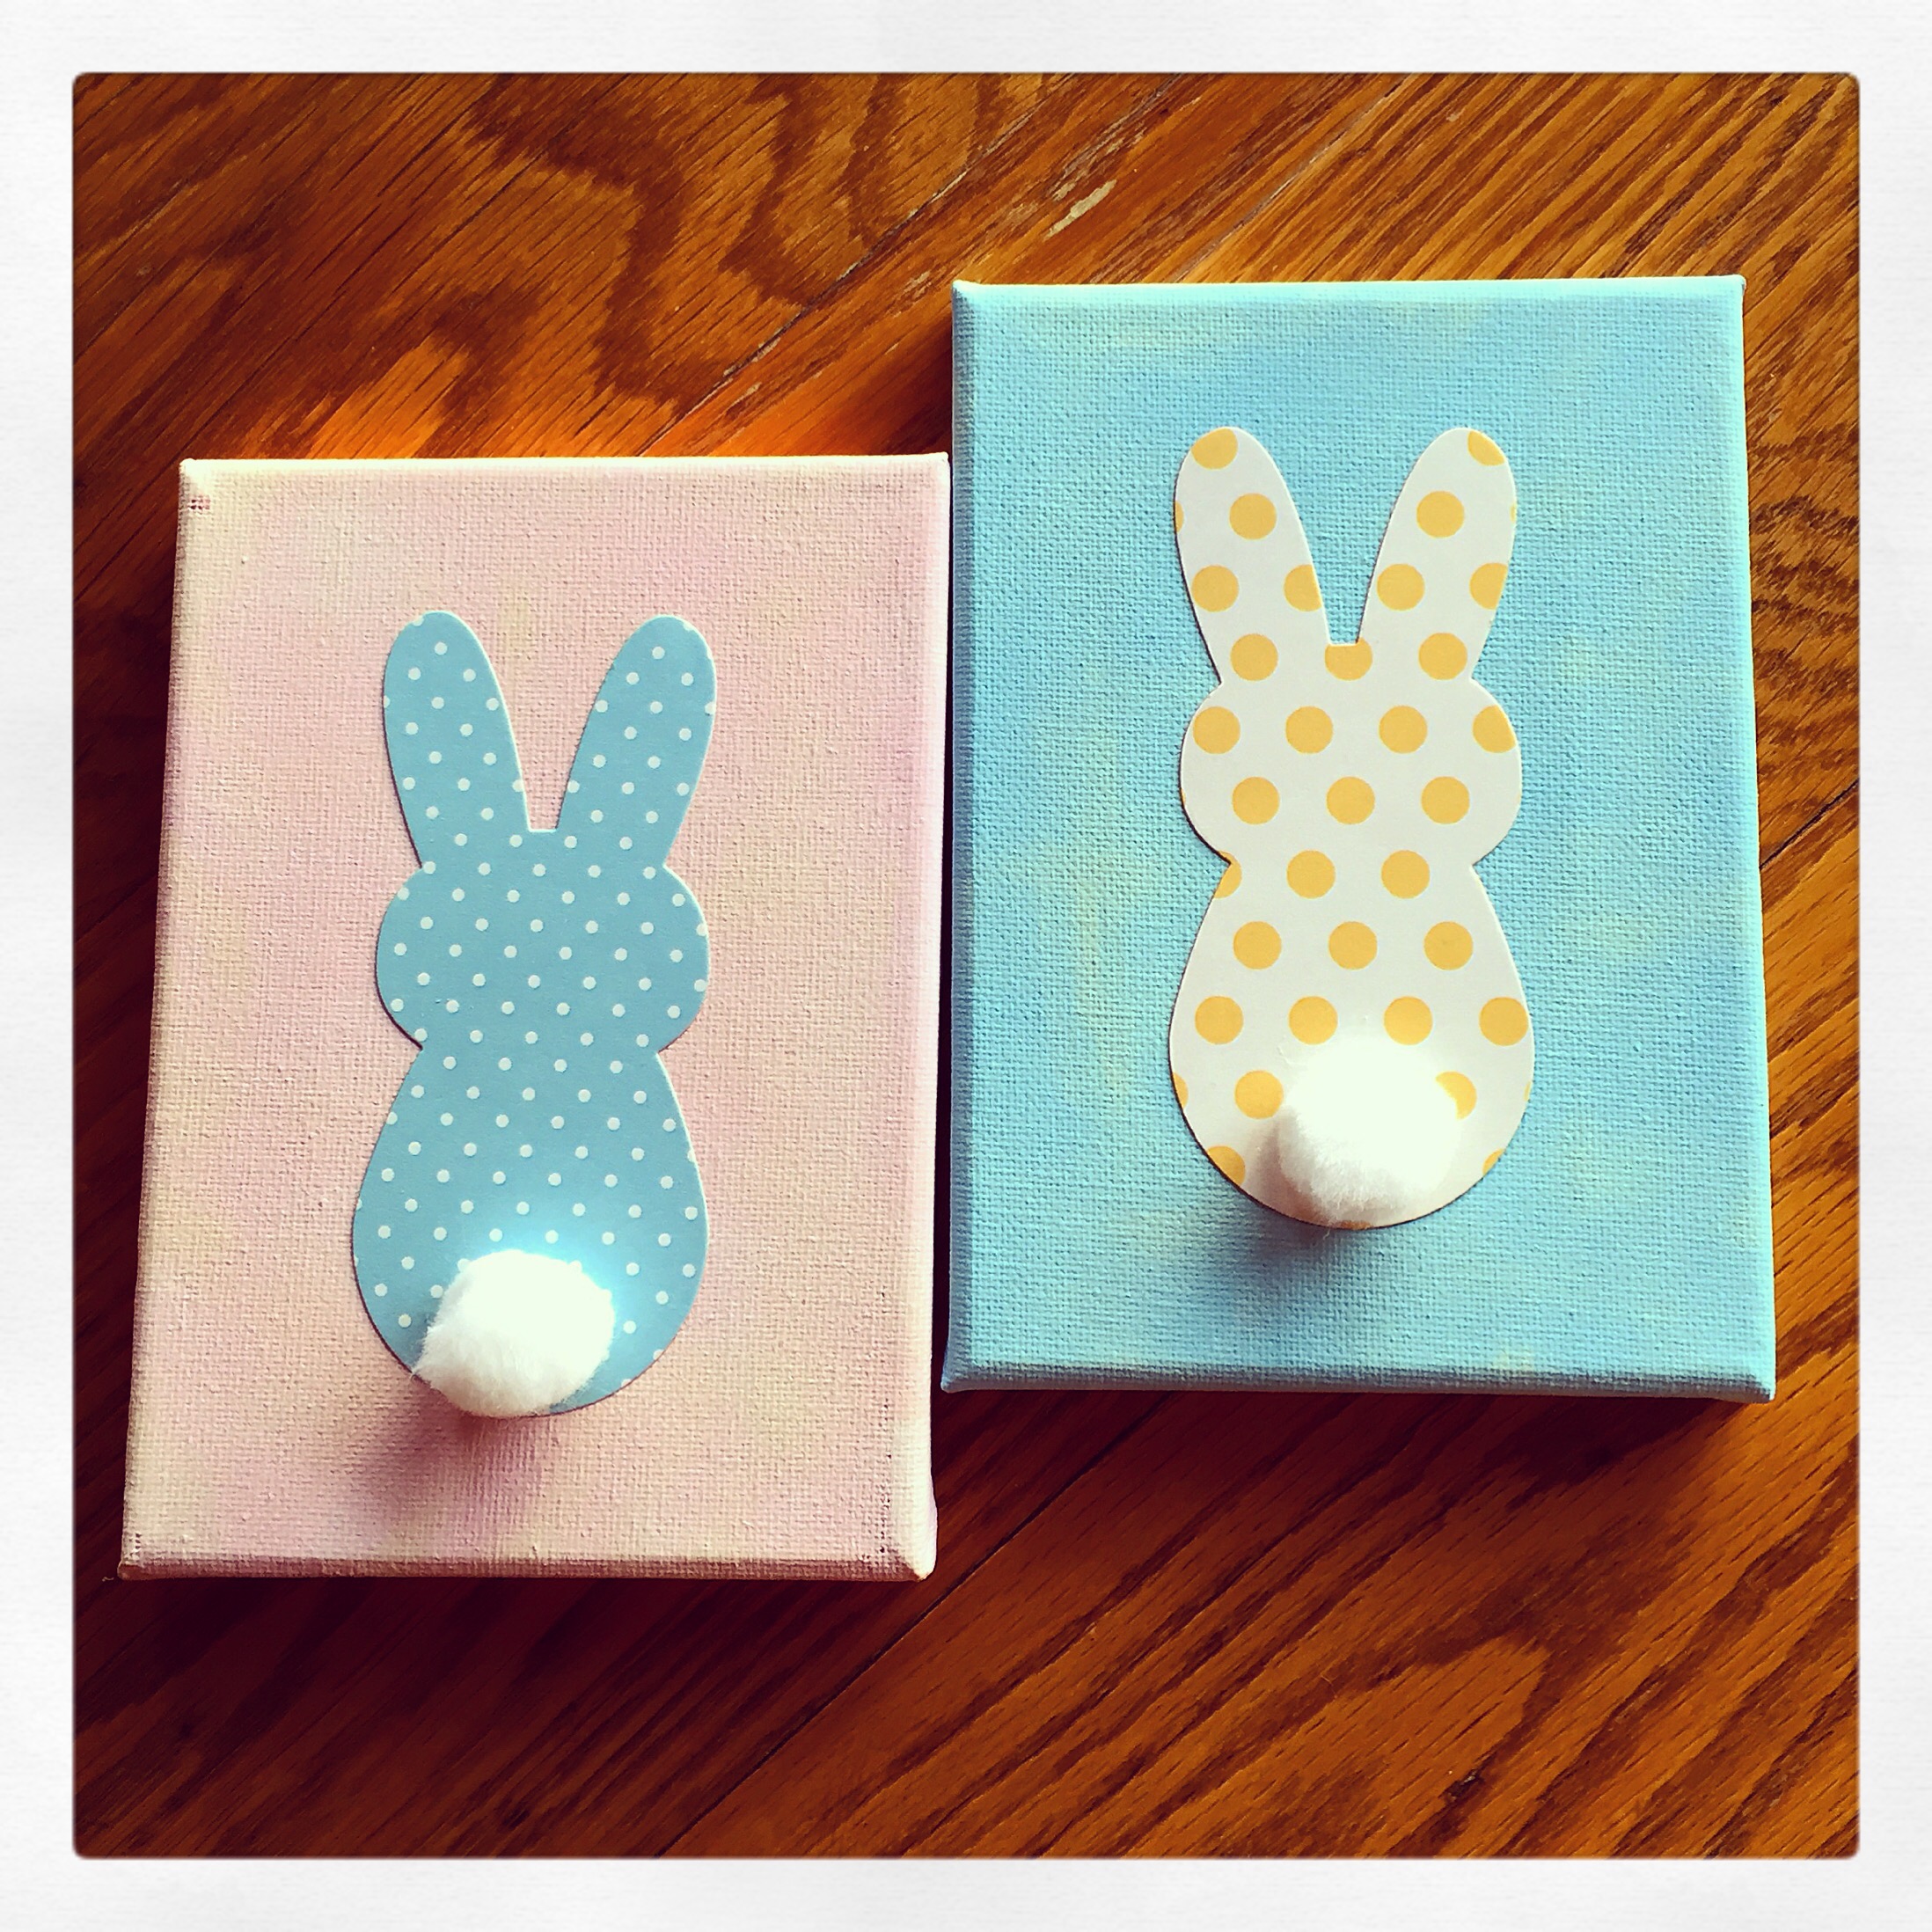
Bunnies bring a little whimsy to spring and Easter. Here’s a fun way to add some cuteness to your Easter decor. All you need are a 5 x 7 white canvas, a little paint, some patterned paper, and a fluffy pom pom for a tail.
Start by painting the canvas. I found that a foam brush worked well for this. I chose to use light blue and light pink acrylic paint, but use whatever color strikes your fancy! I painted 2 coats, letting the paint dry between coats. I then dry brushed a little cream colored paint onto the canvas to add a little depth. It’s a bit hard to see in the picture, but I think it added a little something to the project.
I used the largest bunny from the die set by Amuse Studio to cut out my bunnies from patterned paper. Unfortunately, the die set is discontinued :(. You can search “printable bunny templates” on Pinterest or Google to find similar patterns (like this one) you can trace onto your patterned paper and cut out by hand. I attached a bunny to each canvas and then glued on a 1-inch pom pom for his fluffy tail.
Simple, easy, and cute…use your favorite colors and patterns to make some for your home!
I don’t use my slow cooker nearly enough! I’m not sure why… Taking a few minutes in the morning (or even the night before) to brown some meat and chop some vegetables can make the rest of a busy day just a little less stressful by knowing that dinner will be ready when you are.
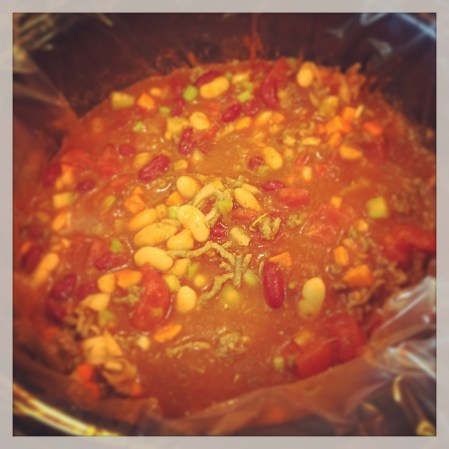
I found this recipe for Pasta e Fagioli soup on Pinterest. It takes less than 15 minutes of prep time and you can cook it on low in your slow cooker for up to 8 hours. Perfect for a busy day of work or running errands. Pair it with a piece of Italian bread and you have a hearty dinner that will fill you up.
Just a little tip – I like to use these slow cooker liners to make clean up a breeze.
Waiting for the hamburger to finish browning so I can add all this to my slow cooker…
All set to cover and turn on low for the day…
I didn’t have any ditalini pasta in my pantry, so I used rotini instead – still delicious! And here it is ready to eat…
This recipe makes a big pot of soup, so save the extra for a quick lunch or freeze it for another dinner on a hectic day.
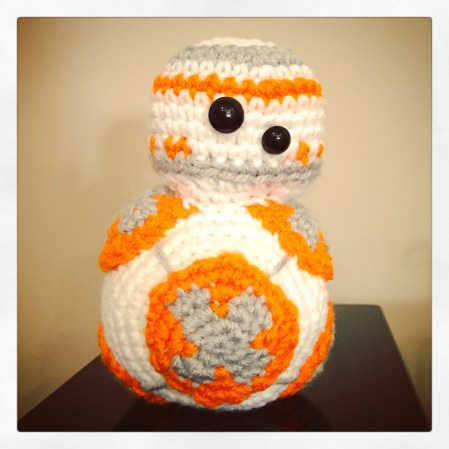
Oh…It’s a Robot!! These words were uttered by a very cute 3 year old girl as she was scrolling through my pictures. 🙂
To be a bit more precise, it’s BB-8 from Star Wars in crochet form. The free pattern is found here on Ravelry. He works up quickly and is sure to make the day of your favorite Star Wars fan.
A good friend asked me to make him for her and she squealed with delight when I gave him to her! It makes me so happy when the things I make bring joy to others. 🙂
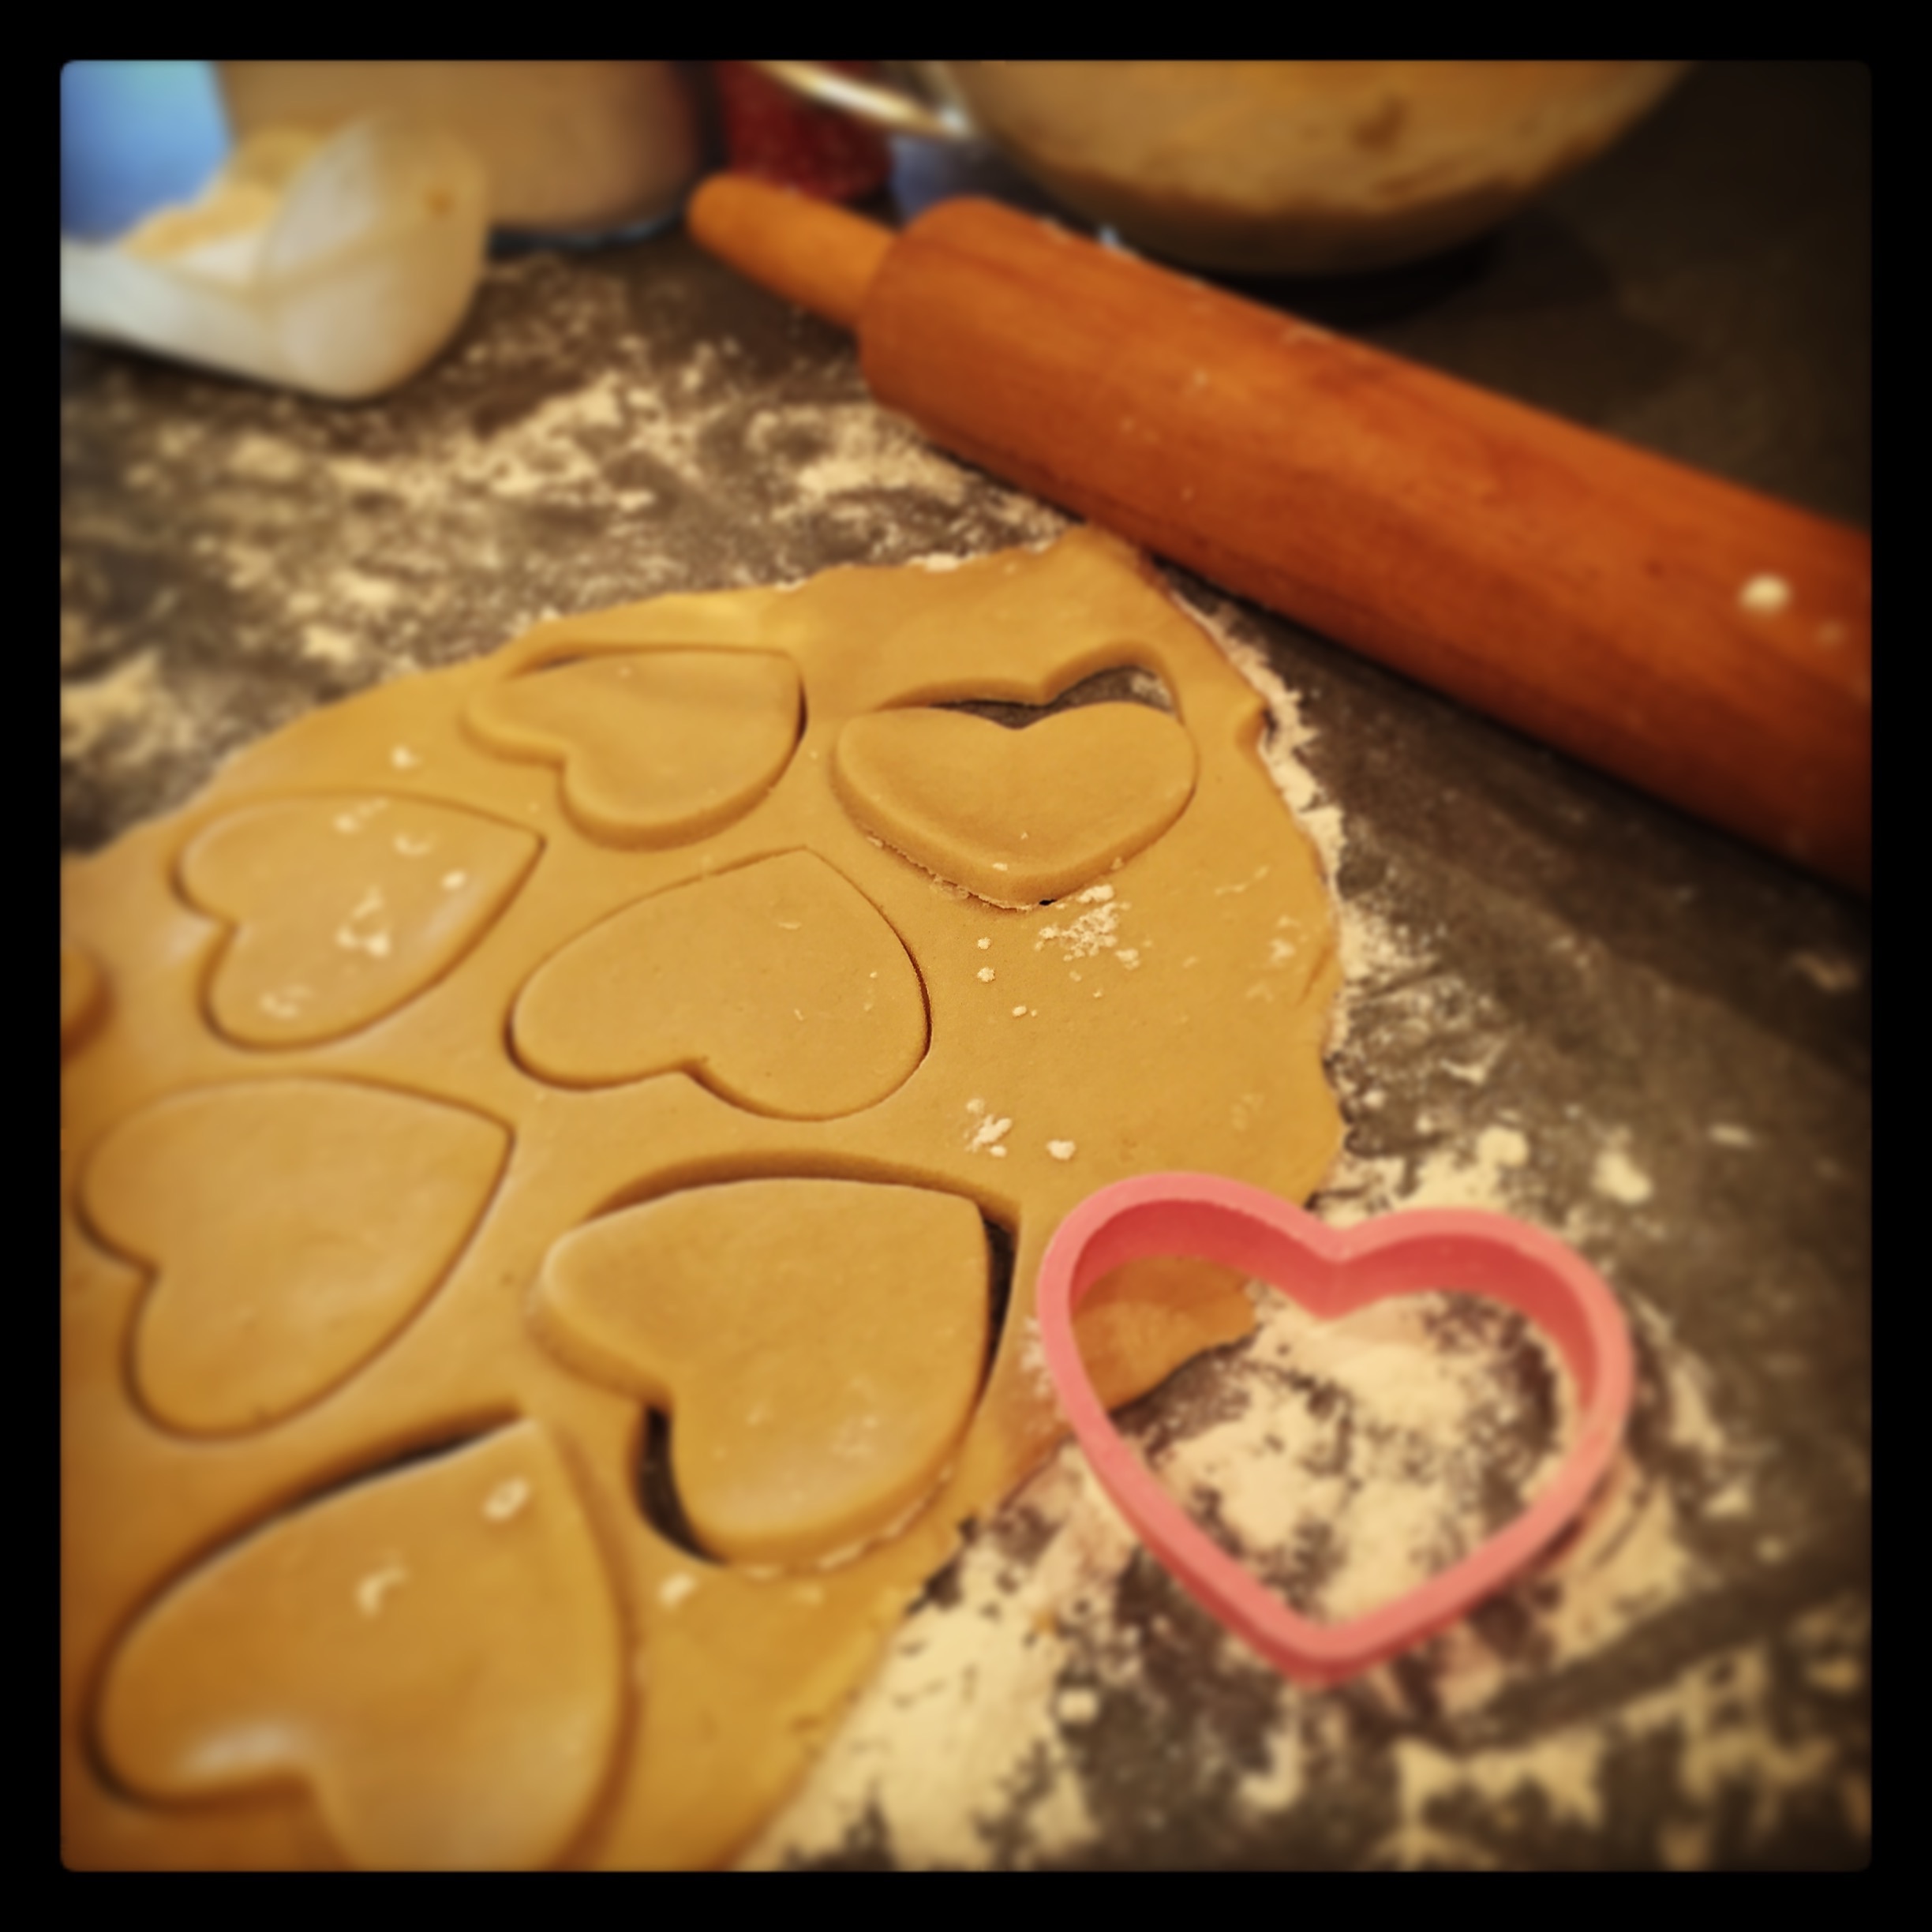
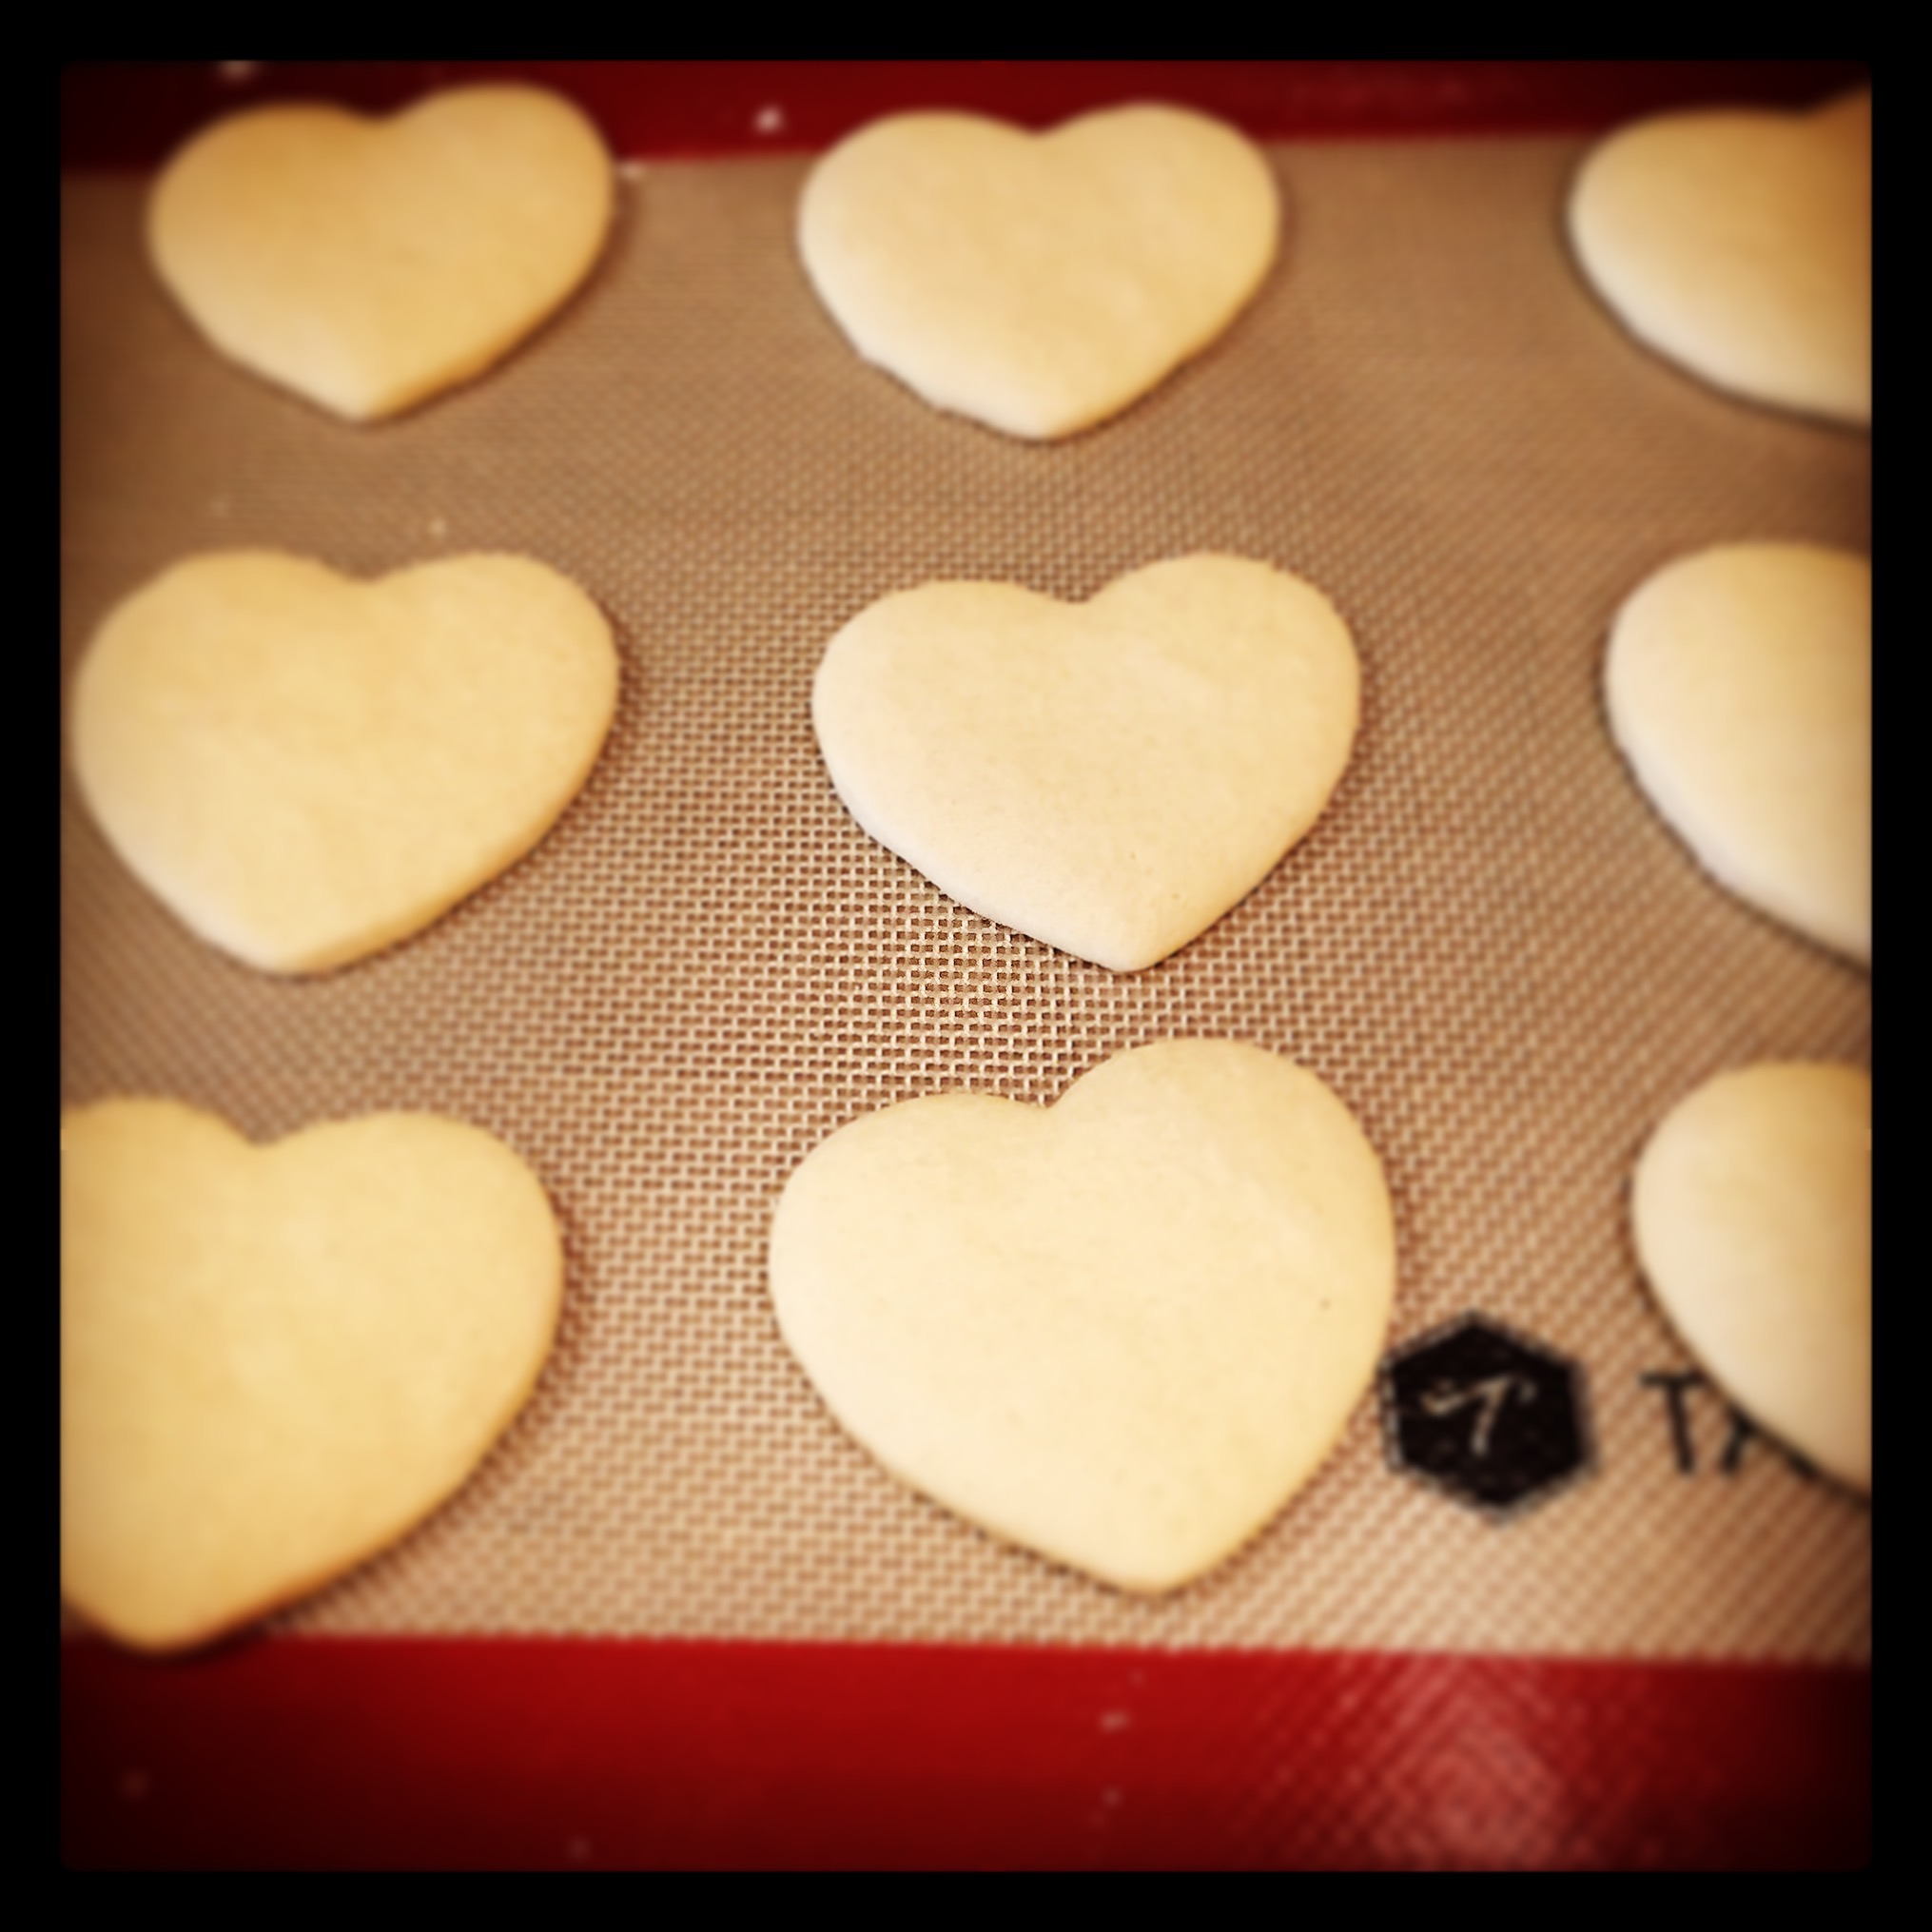
These are the most yummy sugar cookies! They are soft, light, and just wonderful with homemade buttercream icing and sprinkles!
As you can see by the photos, I made these for Valentine’s Day, but you can change the shape of your cookie cutter for any holiday (Easter is coming!) – or just use a round cookie cutter and make them any time. 🙂
Mix together and add to creamed mixture. Mix well. Cover dough and chill for at least 8 hours or overnight.
Preheat oven to 400°. Roll dough to 1/4-inch thickness on a floured surface and cut out with cookie cutter. Bake on an ungreased baking sheet or non-stick baking mat 6 to 8 minutes. Cookies will be pale in color. Let cool completely on cooling rack before icing.
Buttercream Icing
1/2 cup (1 stick) butter, softened
1 teaspoon vanilla
1 lb powdered sugar (or more if needed)
2 to 4 tablespoons milk
food coloring if desired
Cream butter with vanilla untilsmooth. Slowly add powdered sugar, mixing well. Add milk as needed to make icing spreadable. Add food coloring if desired. Make sure icing is not too thin; add more powdered sugar if needed.
I added a little red food coloring to make the icing light pink for my Valentine cookies. I topped them off with sprinkles and some of them with dark chocolate hearts – because you can never have enough chocolate. 🙂
This is a great recipe to make with your little ones – let them decorate their own cookies just the way they like them!
Disclosure: Some of the links on my site are affiliate links, meaning, at no additional cost to you, I will earn a small commission if you click through and make a purchase. As an Amazon Associate I earn from qualifying purchases.