For Your Shower – Bridal Shower Card

My oldest goddaughter had the wedding of her dreams in December. It was such a magical night filled with wonderful memories! But before the wedding came the fun of showering the bride-to-be with all the things she would need to set up her new home. 

This is the card I made for her on one of her special days. 

The stamp, punches, and embossing folder are all from Stampin’ Up. I used the Fancy Fan embossing folder to emboss a panel of plum card stock and a heart punched from white card stock. The plum panel is layered to a slightly larger strip of white card stock. The sentiment is stamped with plum ink on white card stock, punched with the word window punch, and layered to a label punched from plum card stock. 

I attached a piece of gray patterned paper to a white card. The plum panel is attached over the patterned paper. The heart is attached with foam tape and the label is attached to the heart with foam tape. 

I finished the card with a crocheted flower topped with a bow made from sheer plum ribbon. I found the flower in a package with several other crocheted flowers at Hobby Lobby. I know, I can’t believe I didn’t crochet it myself (gasp!) but there was so much going on and I just didn’t have the time! 

Thanks for stopping by,

Anita
Posted in Cards, Uncategorized | 2 Comments

Chocolate Chip Banana Bread with Peanut Butter Icing

Do you have bananas that are just a little too ripe to eat? Seems like we always end up with one or two from the bunch that ripen up before we can eat them. So I’ve been storing them in the freezer to use for baking or in smoothies. You don’t even have to peel them – just stick them in the freezer until you’re ready to use them. If you’re using the banana in a smoothie, pop it in the microwave for a few seconds, peel, and add to your blender. If using them in baking, let them come to room temperature (it won’t take long) and peel – they will be quite mushy which is just what you want for baking!

I found this recipe for Chocolate Chip Banana Bread with Peanut Butter Icing here via Pinterest. I mean chocolate, banana, peanut butter…all together in one tasty bread!! Of course I had to try it!

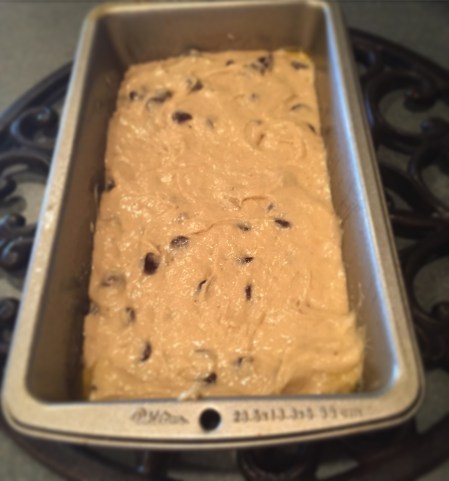
All mixed up and ready to go…

IMG_5911

Golden brown and fresh from the oven…

IMG_5912

Look at that yummy peanut butter icing…

IMG_5913

Sliced and ready to serve…

IMG_5914

I cut the slices thick and then cut each one in half – but of course you don’t have to do that, you can just eat a whole slice. 🙂

This is a great twist on the traditional banana bread recipe…and you probably have everything you need to make it in your kitchen!

Thanks for stopping by,

Anita


Posted in Recipes, Uncategorized | Leave a comment

Nope. Not Today. 

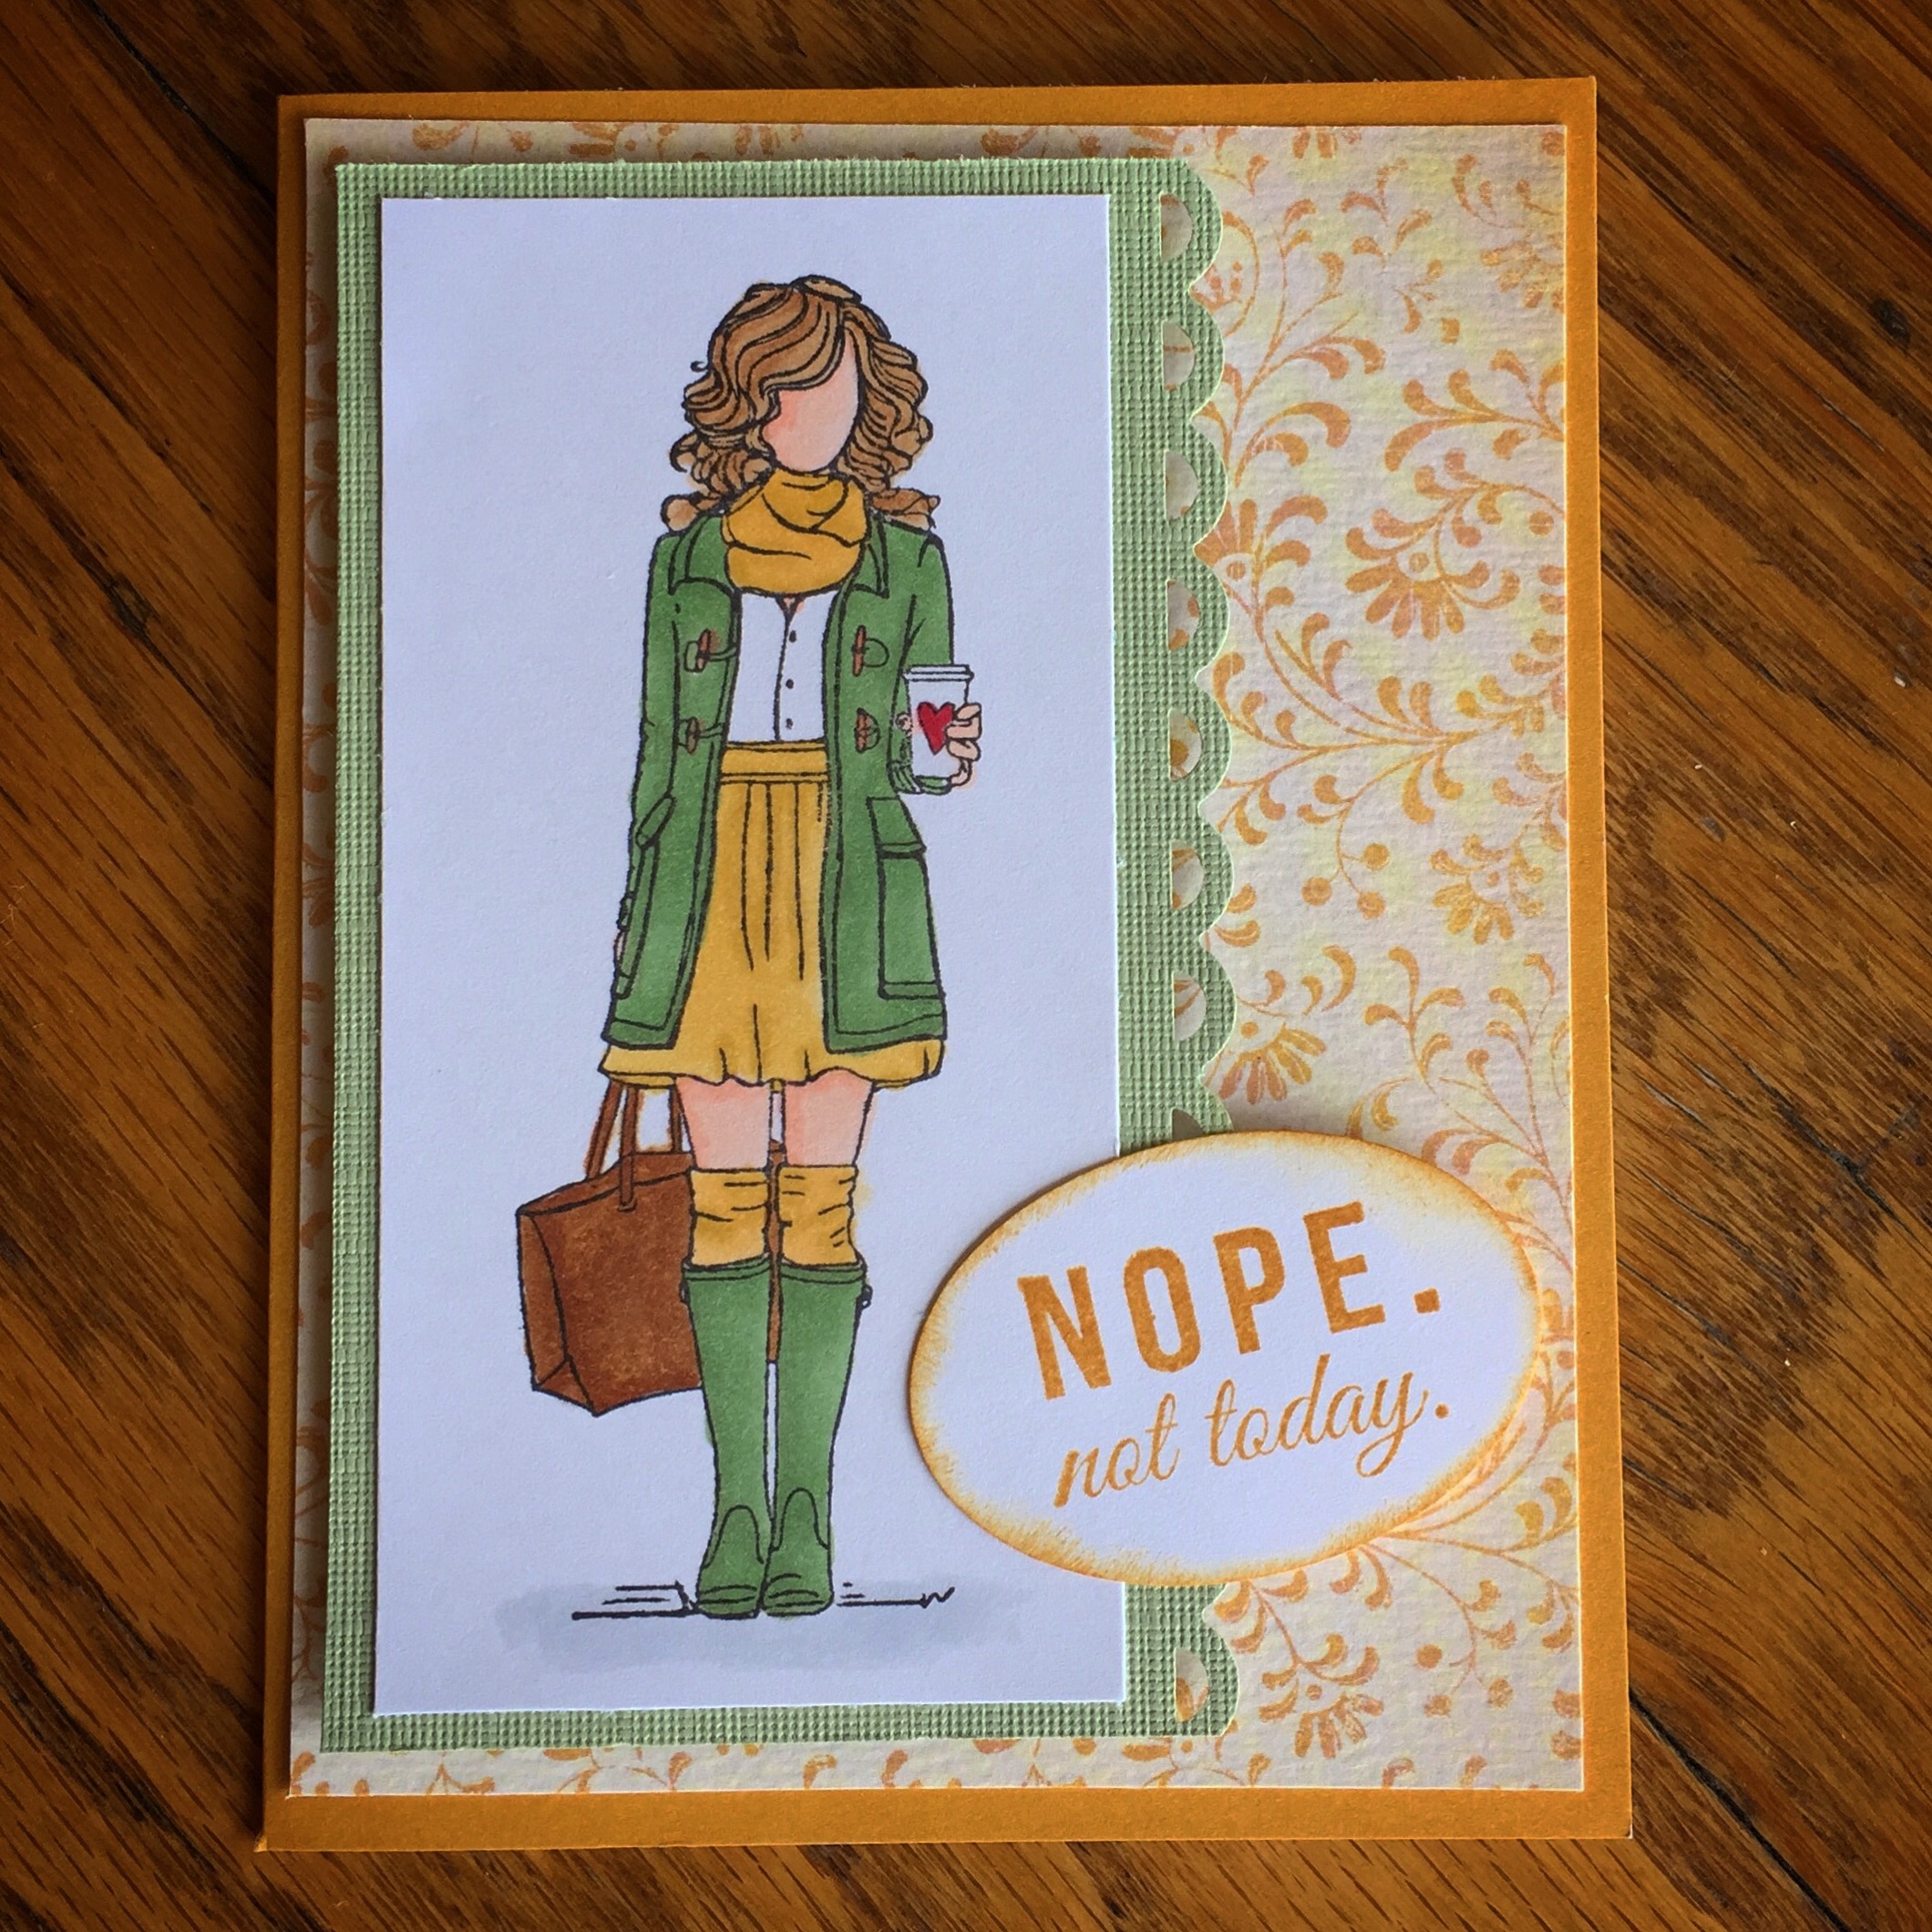
Here’s a card I made using the “Tricia Girl” set from Unity Stamp Company. I love that she’s just a little sassy. She’s not going to let things get her down…Nope. Not Today.

Tricia Girl is stamped with black ink on white card stock and colored with Copic markers. I used the Apron Lace border punch by Fiskars to punch the edge of sage card stock and layered the stamped image on top. I attached a panel of patterned paper to a mustard card. The image is attached to the card with foam tape. The sentiment is stamped with mustard ink on white card stock. I punched it out with an oval punch and inked the edges with mustard ink. It is also attached with foam tape.

…Nope. Not Today. Need to think this way a little more often :).

Thanks for stopping by,

Anita


Posted in Cards, Uncategorized | Leave a comment

Savory Crescent Chicken Squares

Chicken things. That’s what we called them when we were kids. As in “Hey Mom, can you make those chicken things for dinner?” I’ve seen different takes on this recipe over the years, but this is the one that my Mom got from a friend… well, let’s just say a long time ago. 😉

Savory Crescent Chicken Squares

  • 3 ounces cream cheese – softened
  • 3 Tbsp melted margarine (or butter)
  • 1 to 1 1/2 cups cooked shredded chicken (or 2 cans chicken)
  • 1/4 tsp salt
  • 1/8 tsp pepper
  • 2 Tbsp milk
  • 1 Tbsp finely chopped onion
  • 1 (8-count) can crescent rolls
  • 1/4 cup seasoned breadcrumbs (I use Italian)

Preheat oven to 350° F. Blend cream cheese with 2 Tbsp melted margarine until smooth. Add chicken, salt, pepper, milk, and onion. Mix well. Separate dough into 4 squares, pressing perforations to seal. Put 1/4 of the chicken mixture in the center of each square. Pull the corners up over chicken mixture and pinch together to seal. Brush tops with remaining margarine. Sprinkle with breadcrumbs. Place on a baking sheet. Bake 20 to 25 minutes until golden brown.

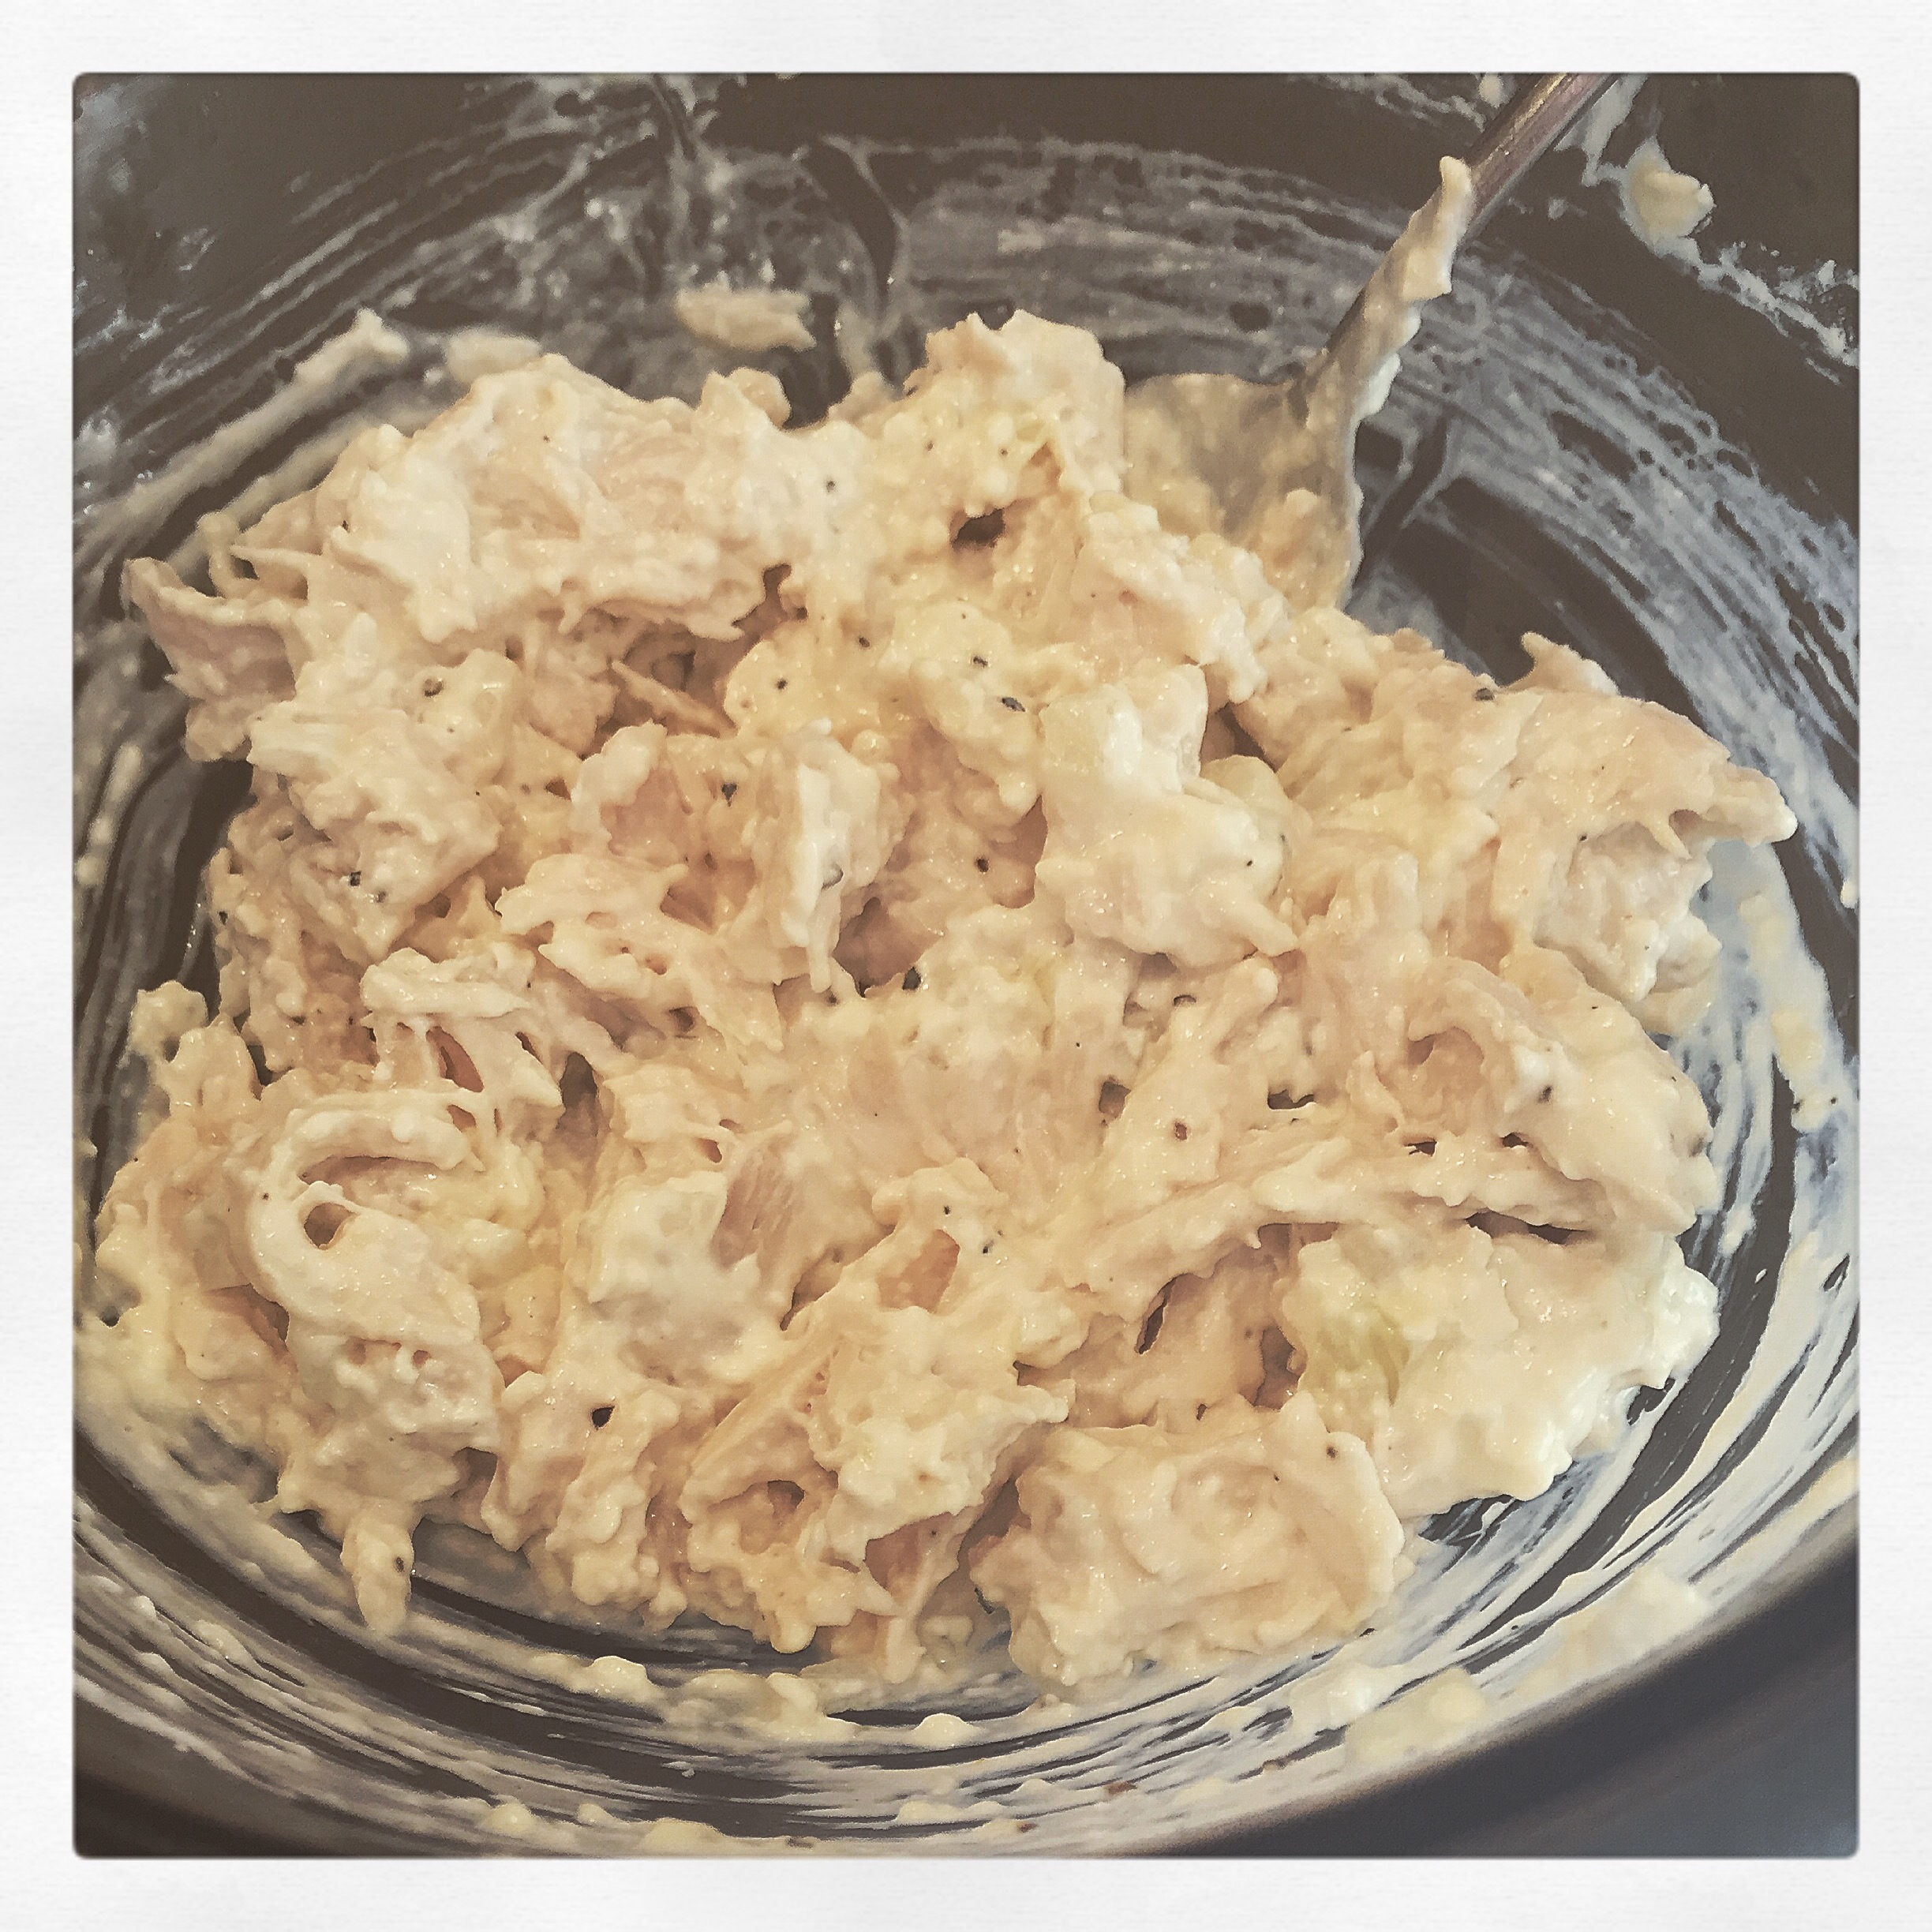
Here’s what the filling looks like…


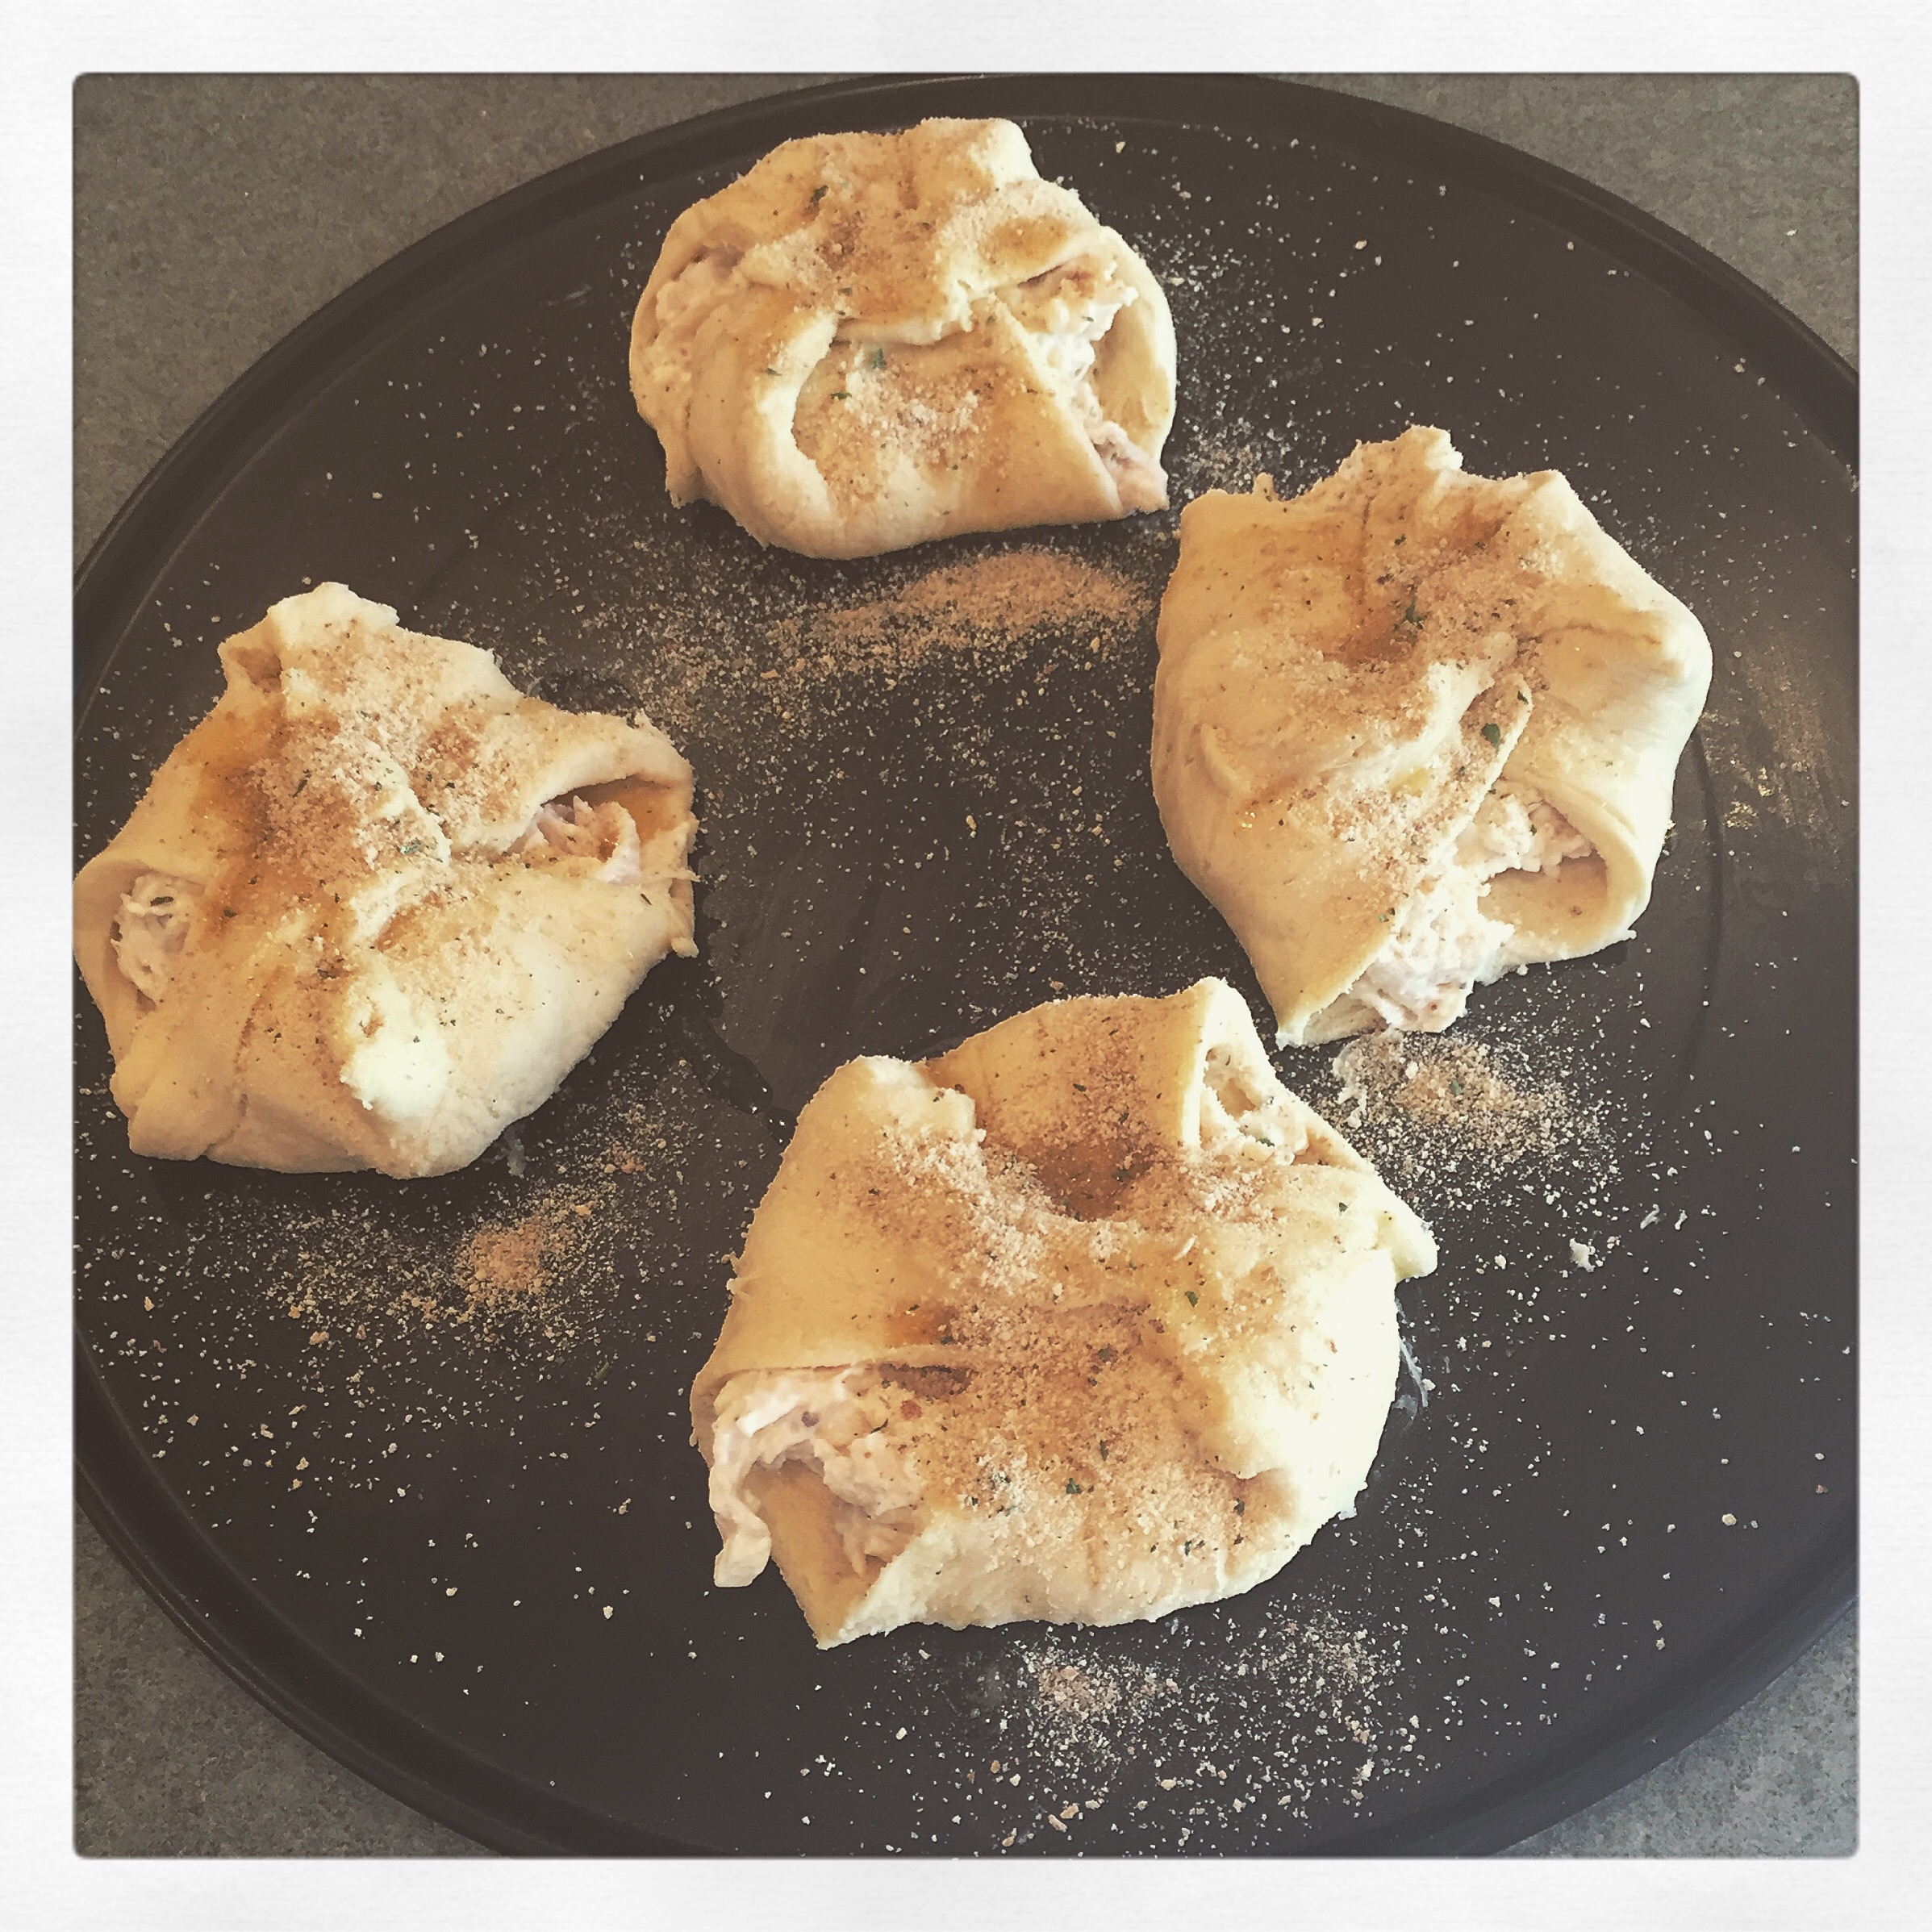
All ready to put in the oven…


Golden brown and ready to eat…


I prefer to cook fresh chicken breast rather than using canned chicken. Simply boil your chicken in water to cover for about 20 minutes or until no longer pink. Cool and shred.  One chicken breast will usually be enough to yield the amount of cooked chicken you will need. But if you are in a hurry, they are just as tasty with canned chicken.

This is an easy recipe to double if you need more than 4 chicken squares to feed your family – or if you want extras for lunch tomorrow! I have to admit that I’ve even eaten them cold and they are still yummy. 🙂

Happy eating!

Thanks for stopping by,

Anita


Posted in Recipes, Uncategorized | Leave a comment

DIY Serving Dishes

These serving dishes are so incredibly easy to make! The possibilities are endless – just choose your favorite plates or bowls to match your decor, holiday, or season.

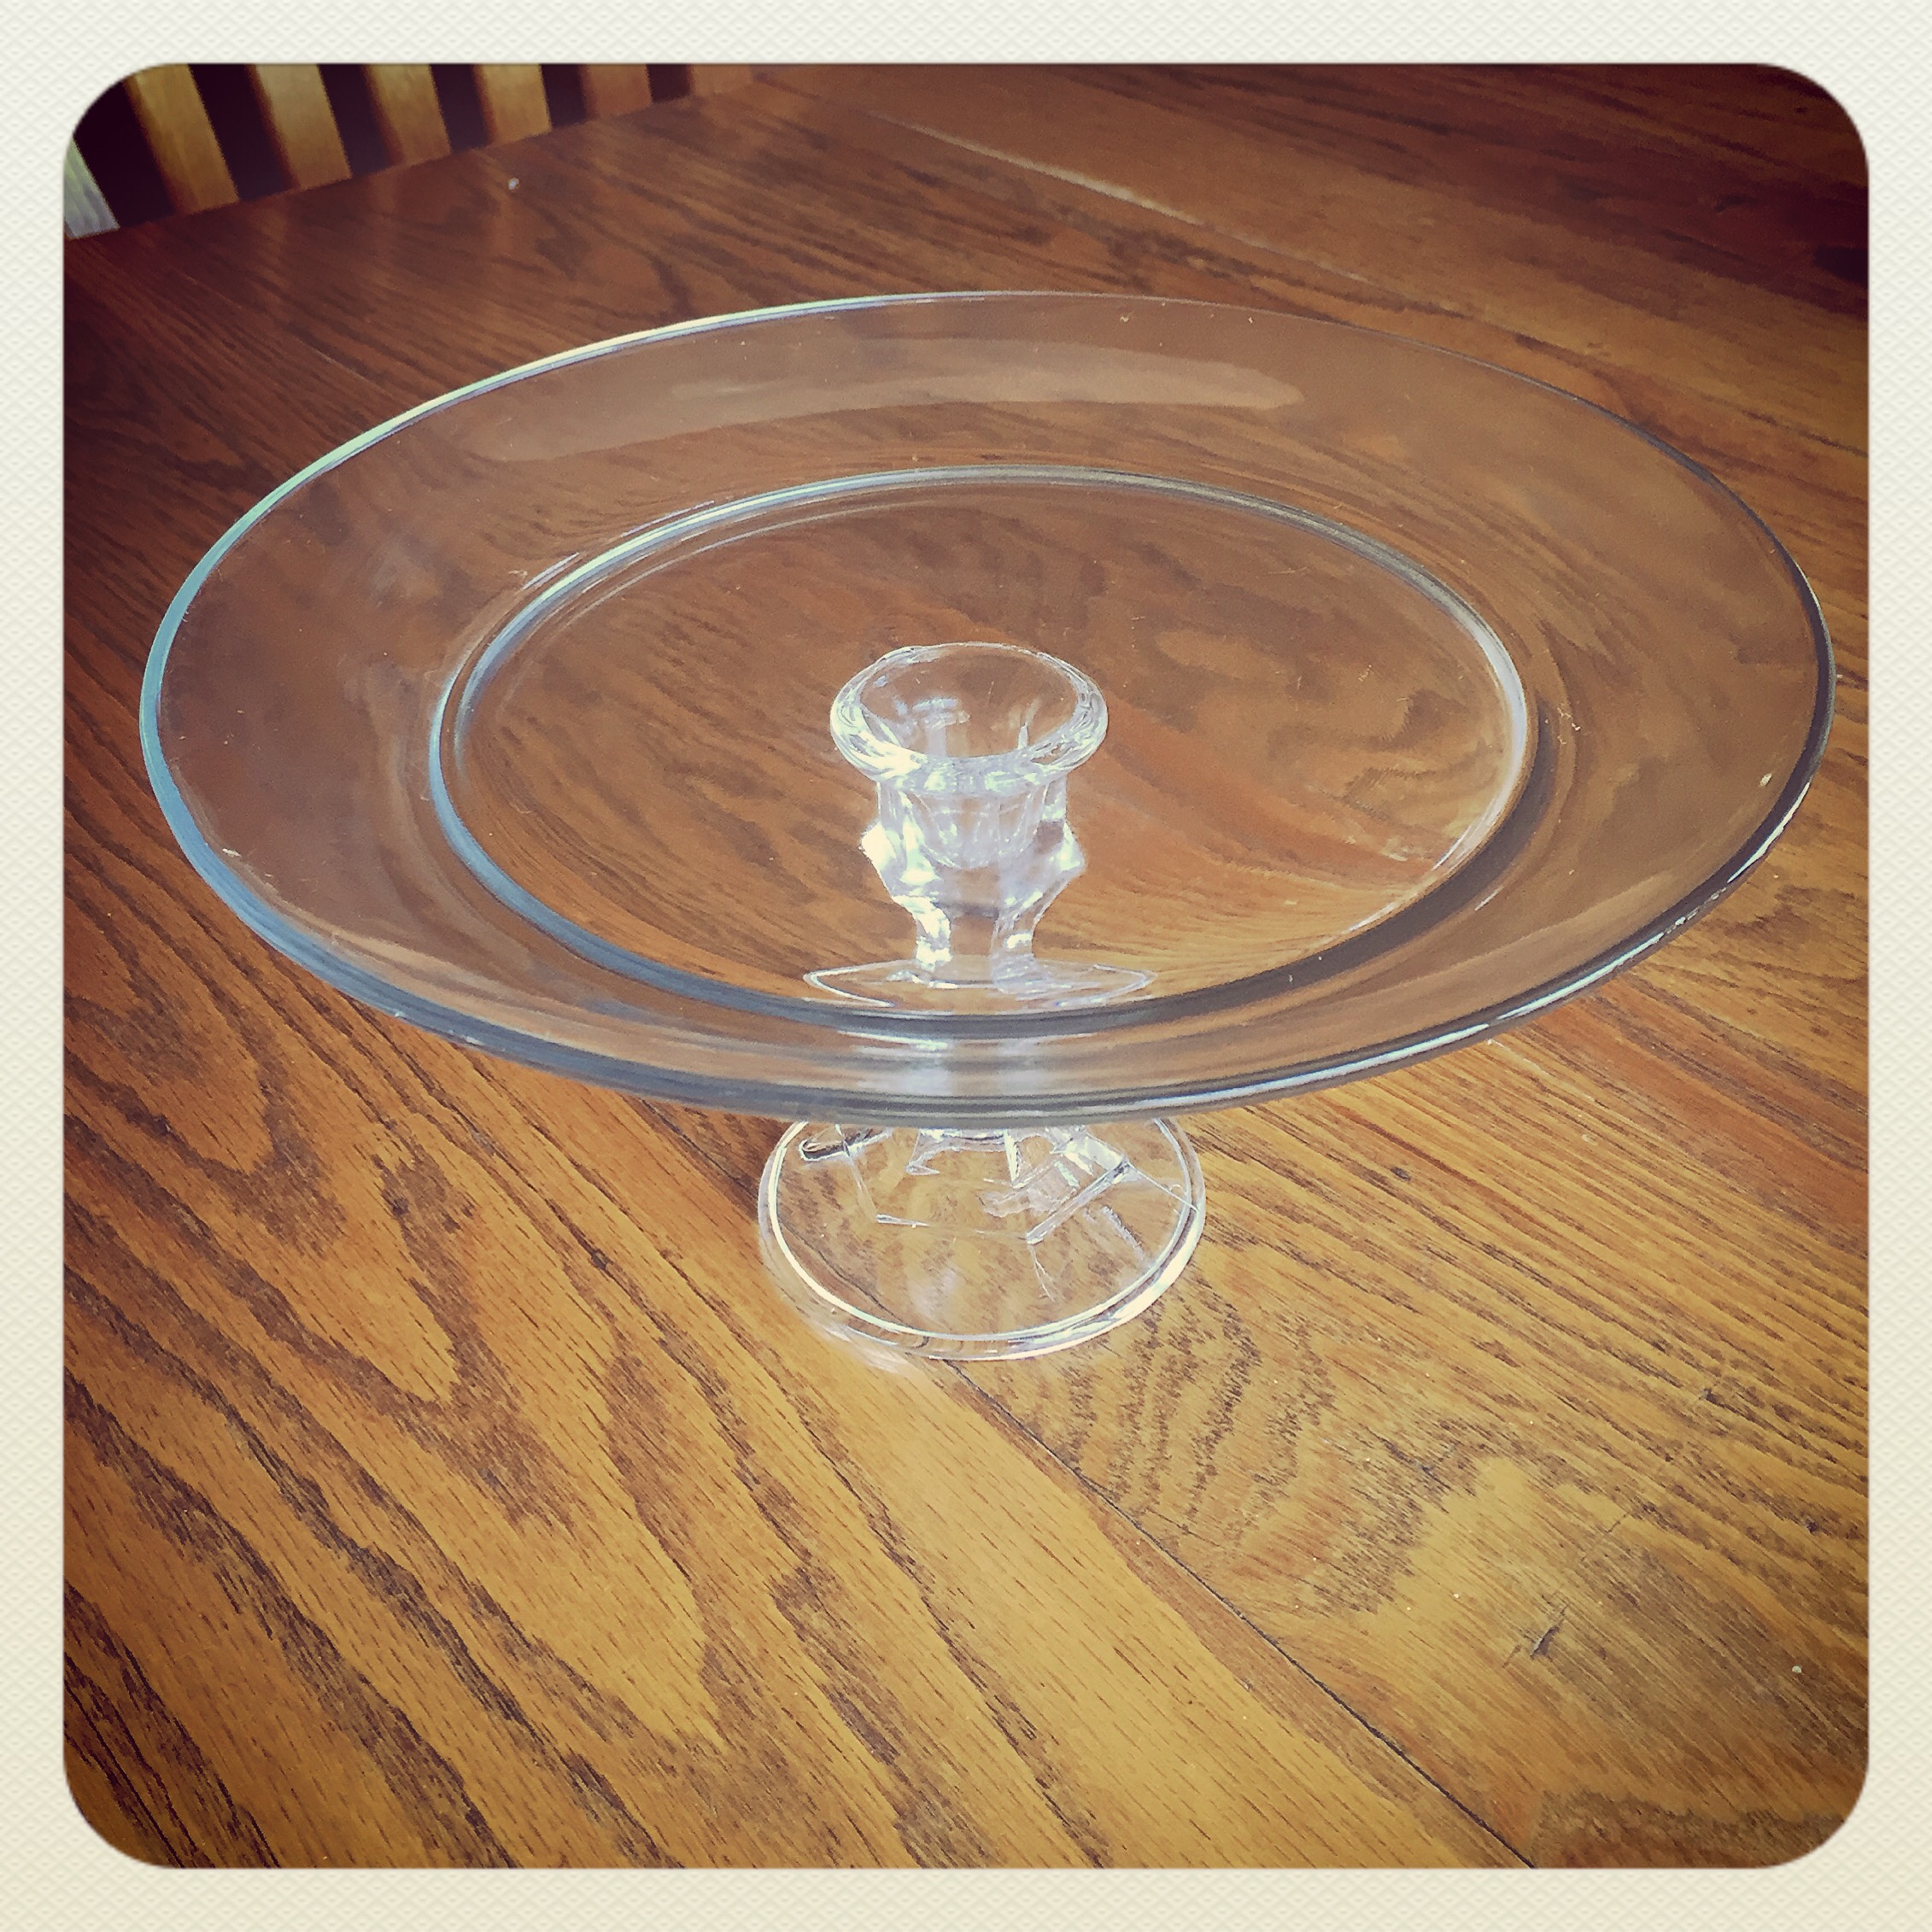
I love the vintage look of this one…

Once you’ve chosen your plates, all you need are glass candlesticks and E6000 adhesive. Make sure to get the clear adhesive – it also comes in white and black so check the package! I picked mine up at Hobby Lobby (using my coupon, of course!).

Your local dollar store is a great place to find your plates/bowls and candlesticks. I got the larger plate and the candlestick from the Dollar Tree. I found the smaller plate at Tuesday Morning for 99 cents. So including the adhesive, which I can use for so many things, I spent a little less than $6 for this project!!

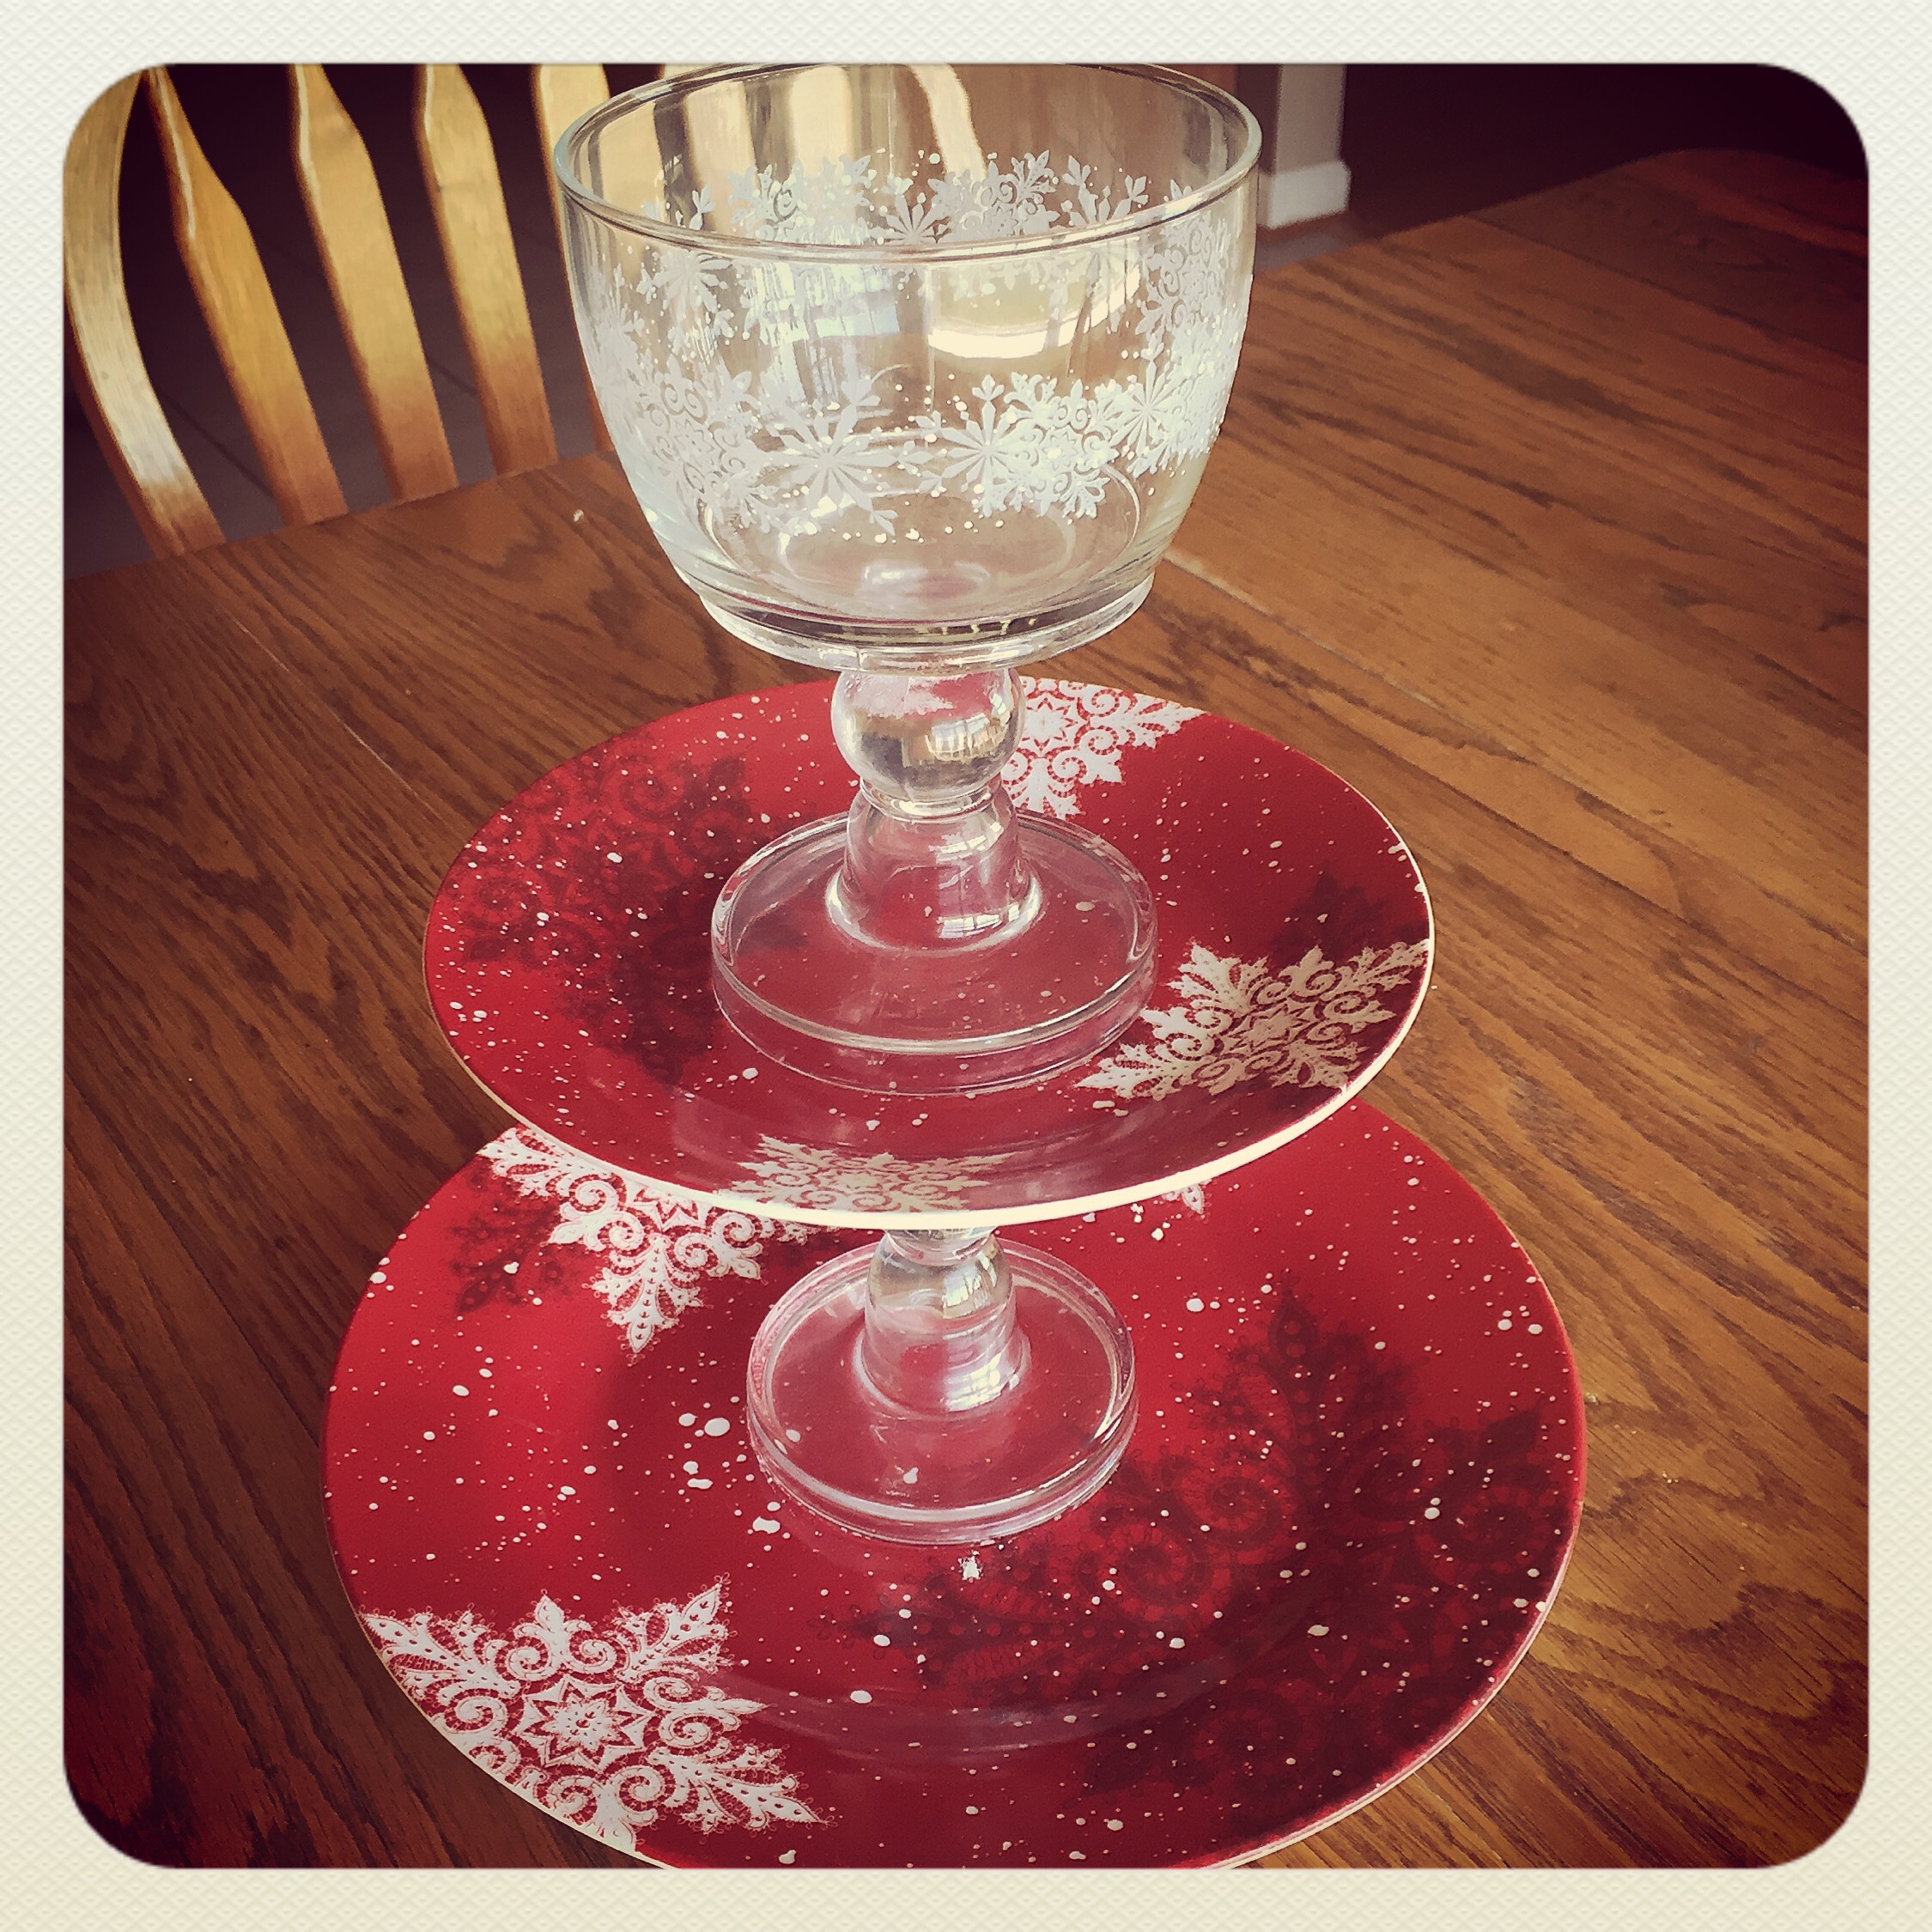
To assemble the serving dish, put a thin bead of adhesive on the bottom of the candlestick. Center it over the large plate (I just eyeballed this) and press the candlestick to the plate. Use a damp cloth to wipe up any adhesive that squeezes out. Then apply adhesive to the top of the candlestick and attach the small plate. Let dry for several hours and you have your very own, one of a kind serving piece! I always hand wash my serving dishes – I’m not sure how they would do in the dishwasher. They do hold up very well, though. I’ve had the Christmas one pictured below for several years. I even store it in a cabinet in the garage…in the Alabama heat…and it is still as good as the day I made it :).

Here are a few others that I’ve put together…

img_5872


Thrift stores and garage sales are great places to find one of a kind plates and bowls – melamine plates come in endless colors and patterns as well. You can also use different heights and styles of candlesticks to change the look. So many ways to make it your own!

Birthdays, house warming, wedding showers, Christmas…Fill these great serving dishes with treats for a fun and unique gift. Or use them in your bedroom or bath for a pretty storage option for jewelry or bath essentials.

Thanks for stopping by,

Anita

Posted in Decor, Gifts, Organization, Uncategorized | Leave a comment

What are you reading?

I’m in a book club with several wonderful ladies. This is something new for me. I have always been a reader…never without at least one book on the table next to my bed. But I’ve never been in a group before and I have to say it is so much fun getting together to discuss what we’ve read!

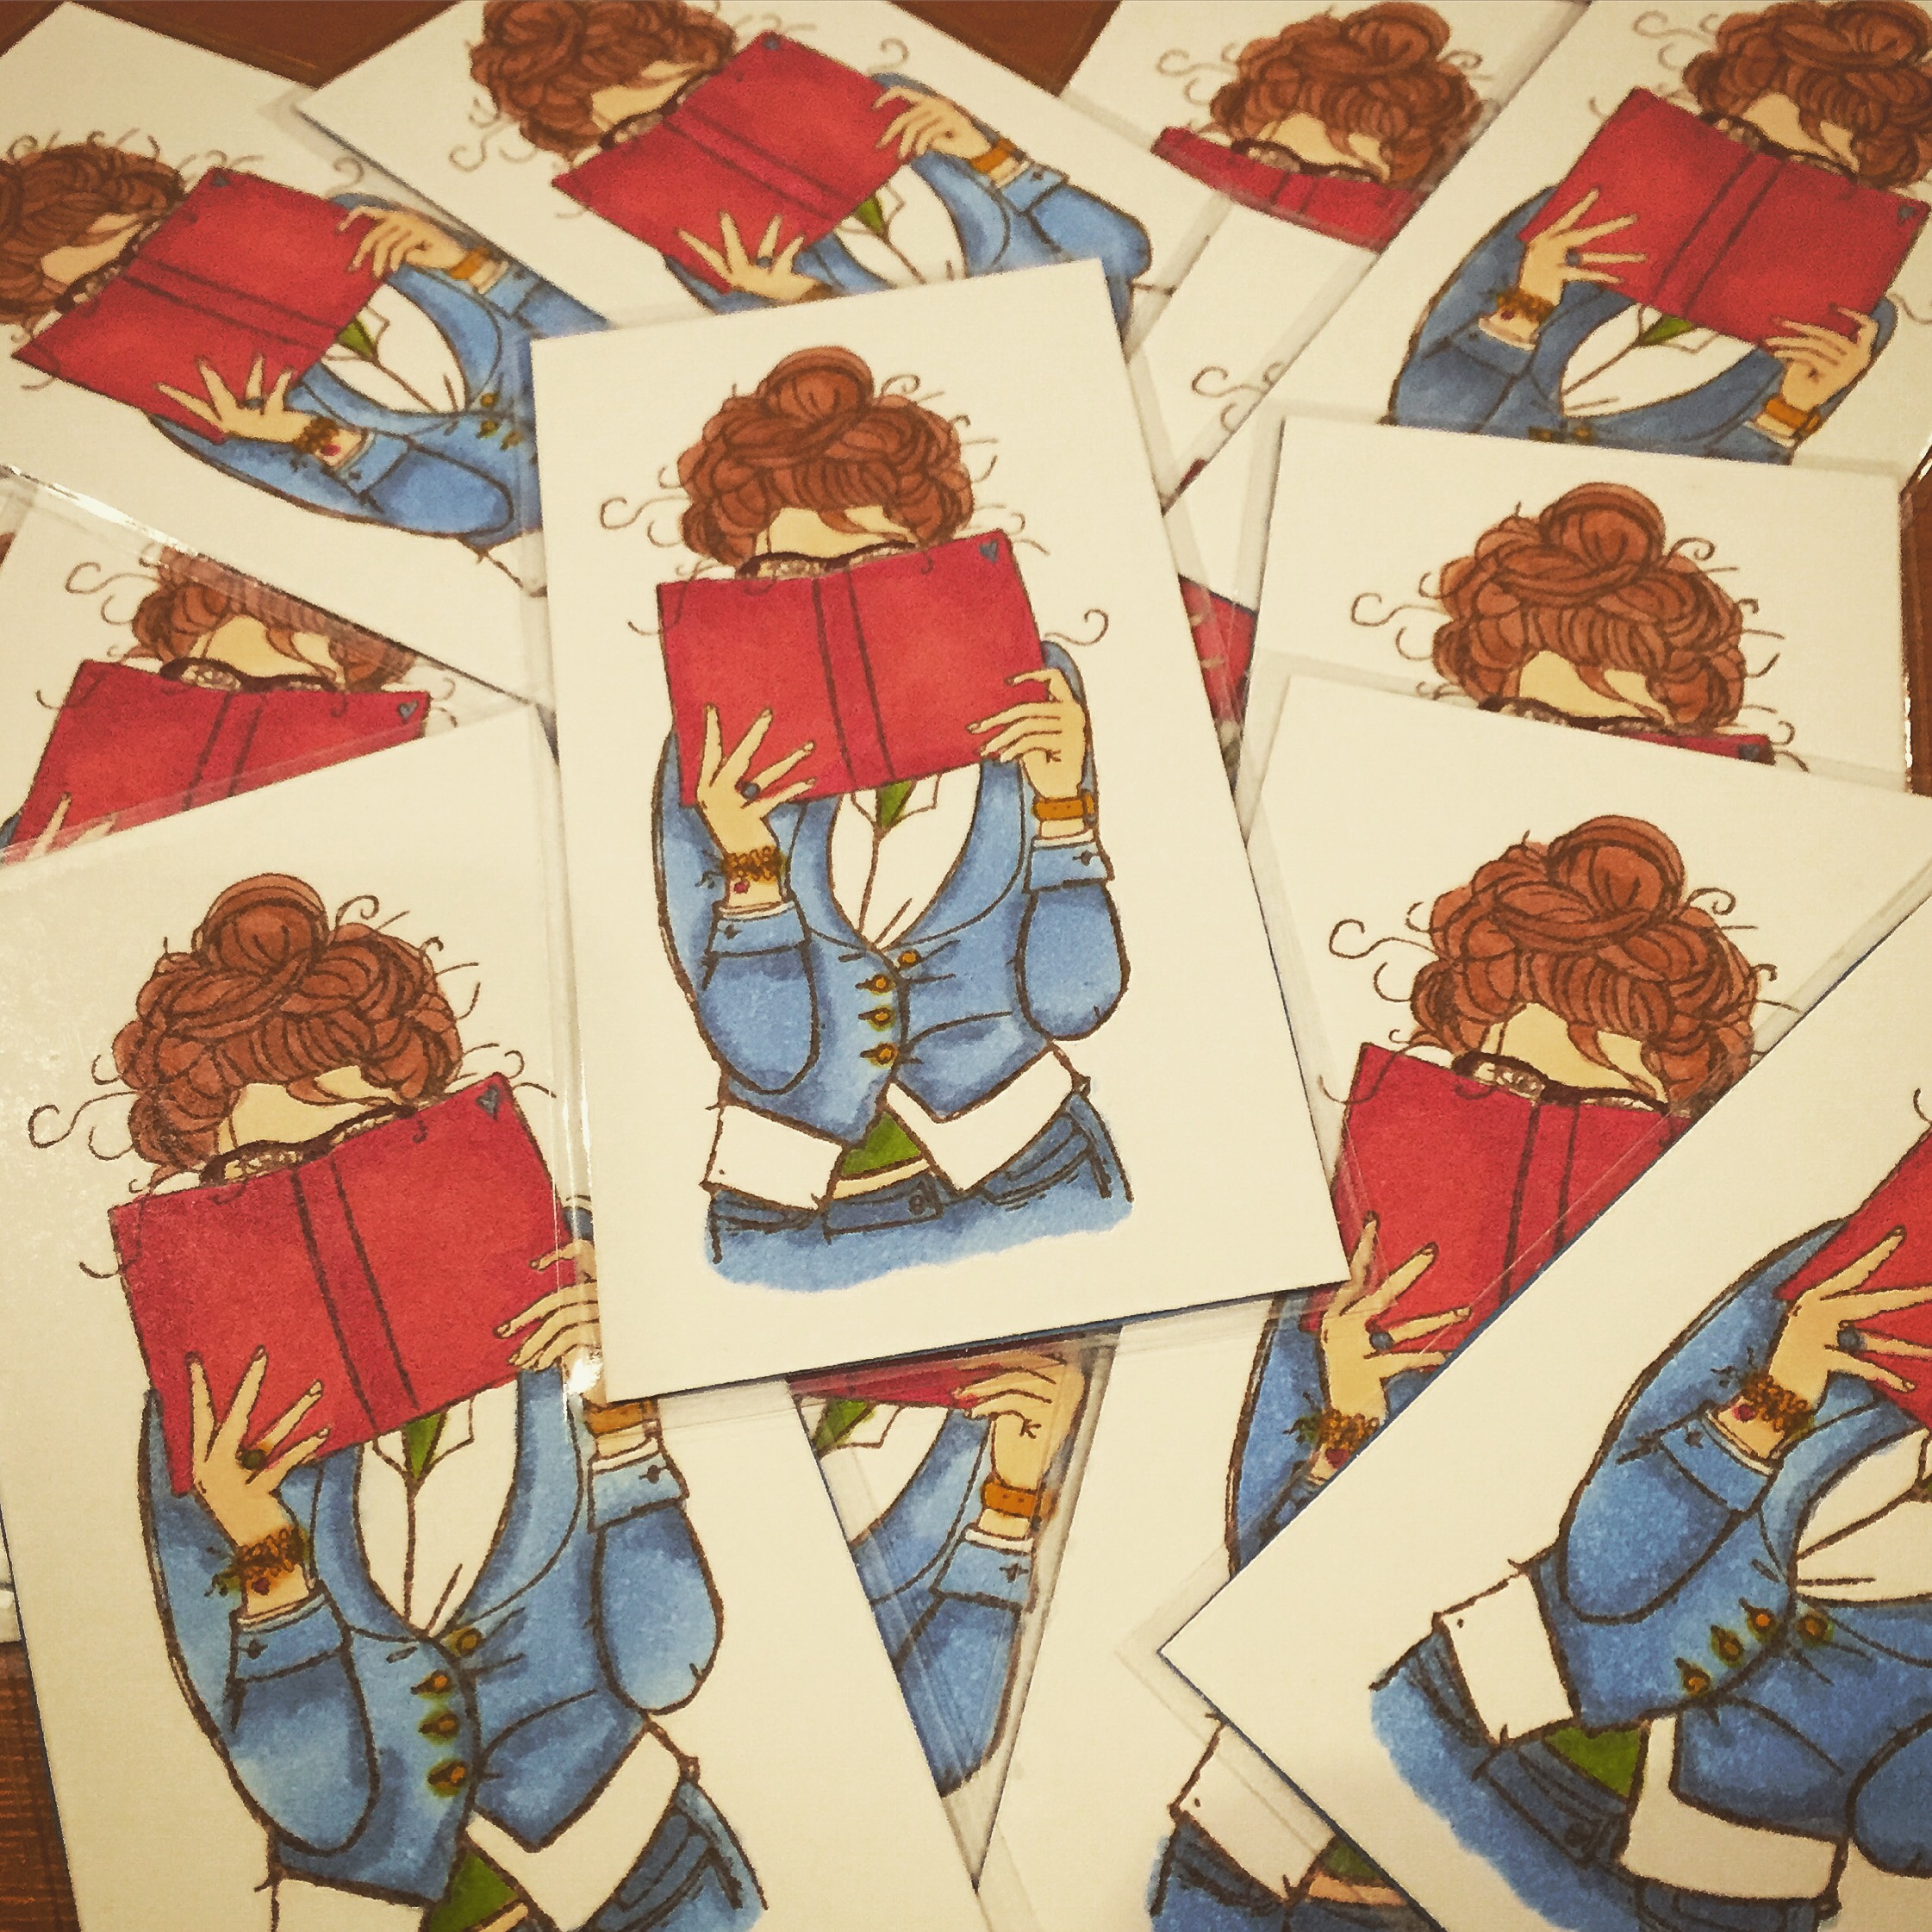
I found the perfect stamp from Unity Stamp Company to make bookmarks for my friends. The name of the stamp set is “Part of the Story”. I just love the way she is so engrossed in her book!


She is stamped with black ink on white card stock and colored with Copic markers. I trimmed the image and attached it to blue card stock trimmed to the same size for the back. 

I wanted to make sure the bookmarks would last, so I picked up some self-adhesive laminating sheets from my local office supply store and sandwiched the bookmarks between 2 sheets. Then I trimmed each image leaving about an eighth of an inch of the laminate on each side.

I hope my fellow bookworms enjoy them!

Thanks for stopping by,

Anita

Posted in Cards, Tags, Uncategorized | Leave a comment

Sprinkled With Love

A few months ago, some friends were hosting a shower to welcome a sweet baby girl to the world. They asked me if I could make a banner to decorate the table using the phrase “sprinkled with love” and sent me pictures for inspiration…this is what I came up with. 


It was super quick and easy to make. I used 4 different shades of pink card stock. The sticker letters are by The Paper Studio from Hobby Lobby. They are black with white polka dots and the largest letter is 3-inches high. 

I punched scalloped circles using my 3 1/2-inch punch and added the sticker letters. Then I punched 2 tiny holes in the top of each circle and used twine to string them together. It was just that easy!!

And here it is attached to the table…


This idea could be used in so many different ways…birthdays, graduation parties, wedding showers…just use your imagination!

Thanks for stopping by,

Anita

Posted in Cards, Decor, Tags, Uncategorized | Leave a comment

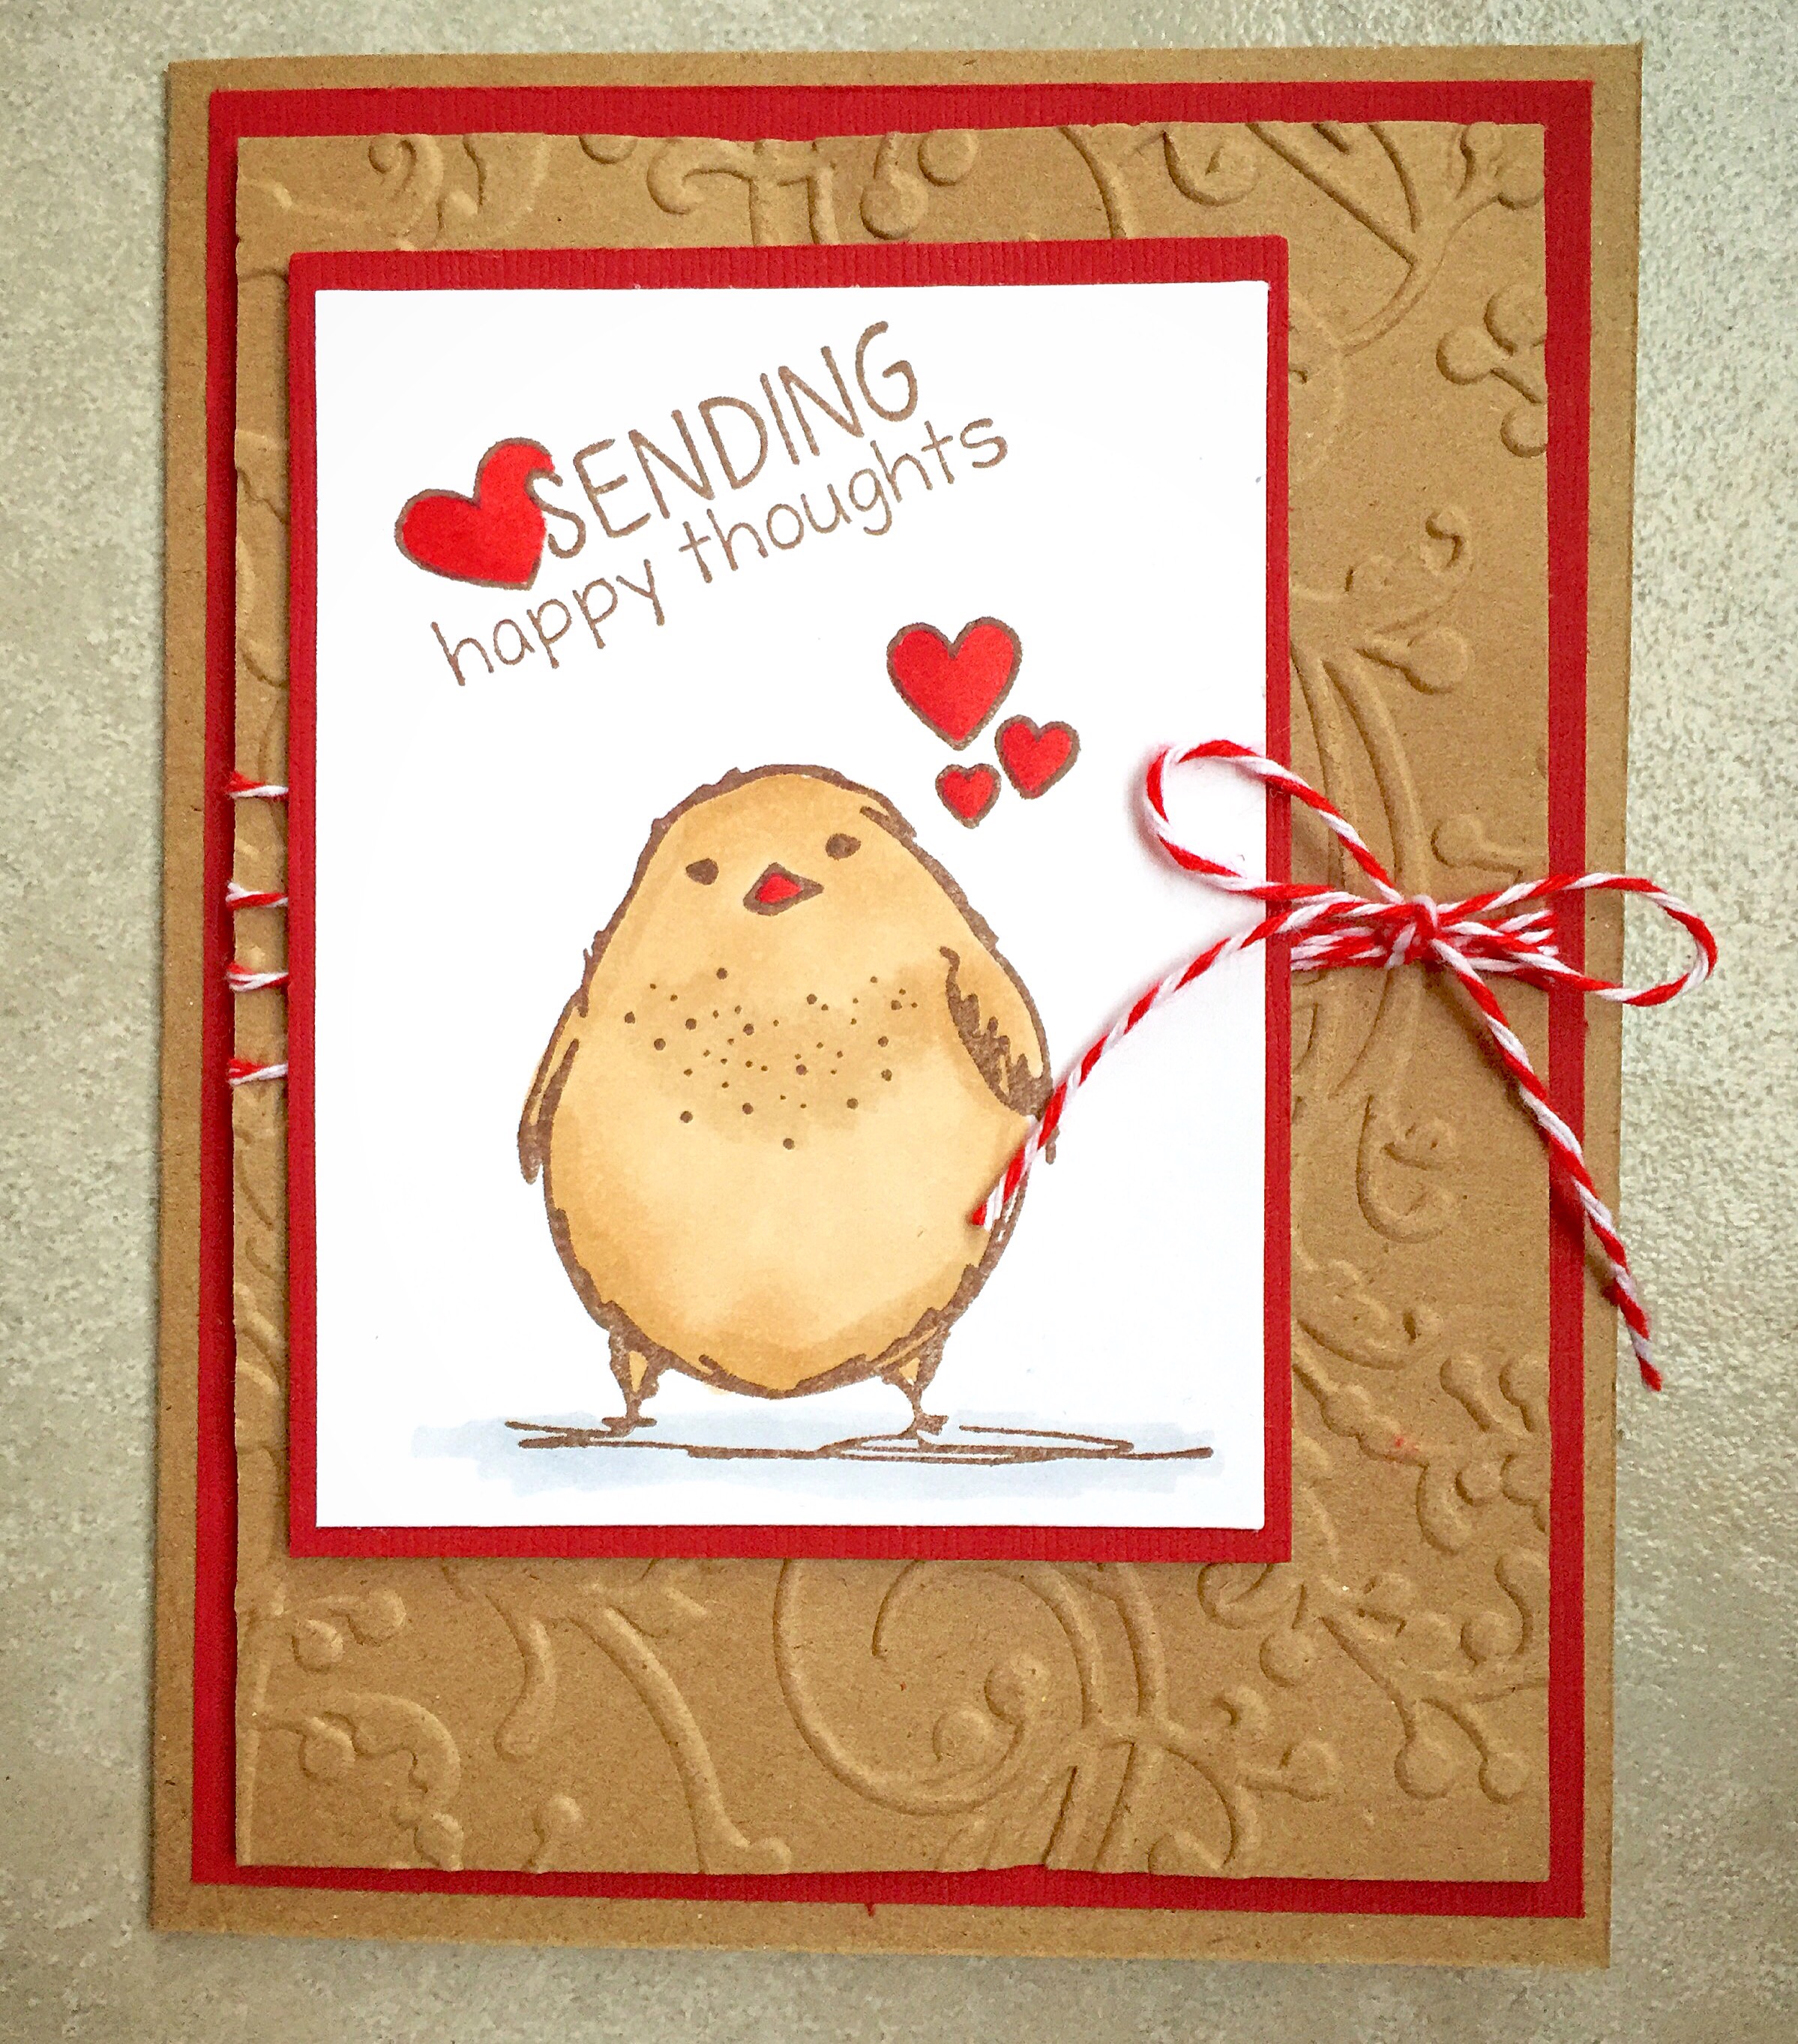
Sending Happy Thoughts

I fell in love with this sassy little bird the moment I saw him in the Swagger set on the Unity Stamp Company website! ❤️

He’s perfect for so many occasions from birthdays to “thinking of you” to Valentine’s Day to congratulations. I made this card for a dear friend’s birthday. 


I stamped the bird and sentiment with brown ink on white card stock. The image is colored with Copic markers and layered to red card stock. I embossed a panel of kraft card stock with the vine embossing folder from Sizzix. I wrapped the panel with red and white baker’s twine, tying a bow on the right side. Then the panel is layered to red card stock and attached to a kraft card. The stamped panel is attached with foam tape over the twine.

Another easy card made from the heart! ❤️

Thanks for stopping by,

Anita

Posted in Cards, Uncategorized | 2 Comments

Ink Pad Storage

On a gloomy, rainy day a few weeks ago, I finally got all of my ink pads under control!! I used these Standard Ink Pad Holders from Stamp-n-Storage. If you are in need of crafty storage, I highly recommend checking this company out. They have great specialized storage solutions for all kinds crafty goodness from papers to punches to inks to embellishments and more. They even make storage solutions that fit perfectly into IKEA shelving if you have that in your craft room.

IMG_5753

I got 2 of the Standard Ink Pad Holders and stacked one on top of the other. I also got these Kickstands to lift the ink pad holders 1 1/2-inches off my desk top. This gives you space to slide your paper trimmer or other supplies out of the way while you’re working on your current project.

I chose these ink pad holders because they fit the ink pads from Stampin’ Up, but can also store smaller pads from other manufacturers. And I have room to grow ;).  Stamp-n-Storage has several different options including holders that can also store ink refills and markers. I’m sure you can find something that will work for you. 

I really love the quality of their products and the fact that they are made specifically for craft storage. 🙂

Thanks for stopping by,

Anita

Posted in Organization, Uncategorized | Leave a comment

Chevron Baby Blanket

We have a new little friend in our lives! She was born last month and is just the most beautiful little girl! I love making blankets for new babies…this is the one I made for her.

IMG_5661

The colors are a bit unconventional for a girl, but it doesn’t always have to be pink. 🙂 And I think it will go well in the room she will be sharing with her big sister. I used this pattern from Rescued Paw Designs to get started. She also gives instructions for changing the size of the blanket if you’d like to make it smaller or larger. I made the blanket with Loops & Threads Snuggly Wuggly yarn in white and cool baby using a J hook. There are 14 ounces in each skein. I used about half a skein of each color. I started with the white yarn and crocheted 12 rows. Then changed to cool baby and crocheted 12 rows. I continued this pattern until I had 5 sections of white and 4 sections of cool baby. I then crocheted 2 rows of single crochet in cool baby around the entire blanket to finish it off.

IMG_5660

I love the texture this pattern creates by crocheting into the back loops only. I hope this blanket will keep the new little one warm and snuggly for years to come!

Thanks for stopping by,

Anita
Posted in Crochet, Gifts, Uncategorized | Leave a comment