Happy Fall Pumpkin Card

Thanksgiving is just around the corner! Where has the year gone??? There is so much going on this time of year, but I still try to make time to create Thanksgiving cards. This is a super quick and easy card that you can put together in just minutes.

IMG_0722

I stamped the pumpkin from Stampabilities on white card stock, colored it with Copic markers, and punched it out with a circle punch. I then lightly inked the edges with brown ink. I punched a scalloped circle from patterned card stock and layered the pumpkin on top. I’ve had this pumpkin stamp for several years and purchased it from Hobby Lobby. I’m not sure if it’s still available, but there are similar ones to choose from.

I stamped “happy fall” from Savvy Stamps with brown ink on white card stock and trimmed it with room to add a tiny brown button on the left. The polka dot ribbon is attached to an orange card that has the bottom corners punched with a corner rounder. The pumpkin image is attached with pop dots. The sentiment is attached to add the finishing touch. 

This clean and simple card could be used for any Fall occasion. Simply change the sentiment to happy birthday, thinking of you, or happy Thanksgiving!

Thanks for stopping by,

Anita

Posted in Cards, Fall | Leave a comment

Crochet Infinity Scarf

With the cooler weather comes one of my favorite accessories. Not only do they add warmth, but scarves also add a pop of color to all those cute Fall and Winter outfits!

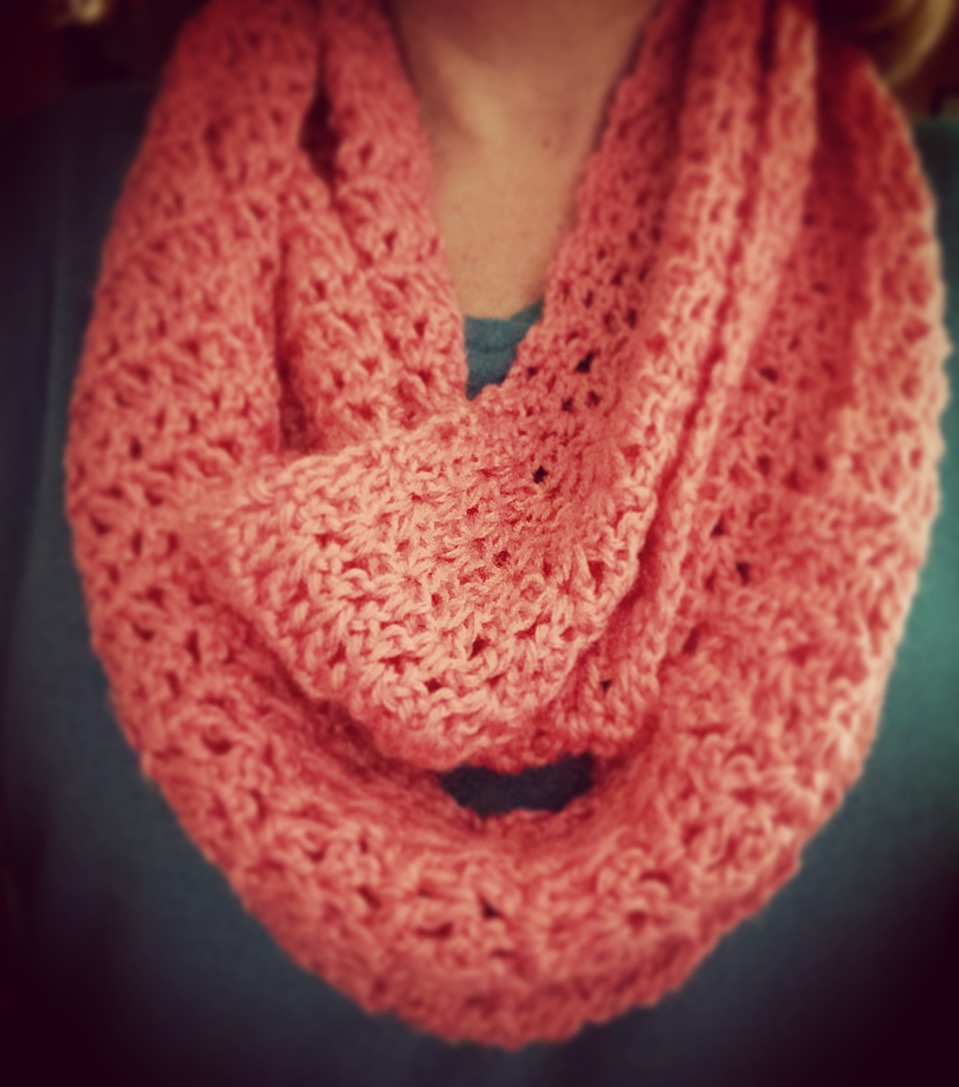
This is a simple crochet pattern using double crochet and chain stitches (V-stitch) to whip up the perfect infinity scarf in an evening. 

IMG_4839

I used Caron Simply Soft (worsted weight) yarn in Strawberry (I got my yarn at my  local craft store) with an H hook to make this scarf. Simply Soft comes in lots of colors and, because it is so soft, it drapes beautifully.

Here’s the pattern:

  • Chain 35 loosely.
  • Row 1 – Double crochet in 4th chain from hook. (3 skipped chains count as a double crochet). *Skip 2 chains. Double crochet, chain one, double crochet (V-stitch) in next chain.* Repeat from * to* across until last 4 chains. Skip 2 chains. Double crochet in final 2 chains. Turn. (9 V-stitches and 2 double crochet at each end)
  • Row 2 – Chain 3 (counts as double crochet). Skip first double crochet. Double crochet in next double crochet. Work V-stitch in chain-one space. Repeat V-stitch across to last 2 double crochet. Double crochet in last 2 double crochet. Turn.
  • Repeat Row 2 to desired length. Crochet ends together to make into infinity scarf.

I made my scarf about 70″ long so I would be able to double it once I put it on. I tested the scarf before I crocheted the ends together to make sure I got the length I wanted. 

Here’s a PDF for easy printing…

IMG_4841

This is a very versatile pattern. It would work great with a chunky yarn – just use a bigger hook. And the colors to choose from are endless! 

Infinity scarves make great inexpensive gifts and this one works up quickly and easily. So get your favorite yarn and start stitching 🙂

Thanks for stopping by,

Anita

Posted in Crochet, Gifts | 5 Comments

thankful for you

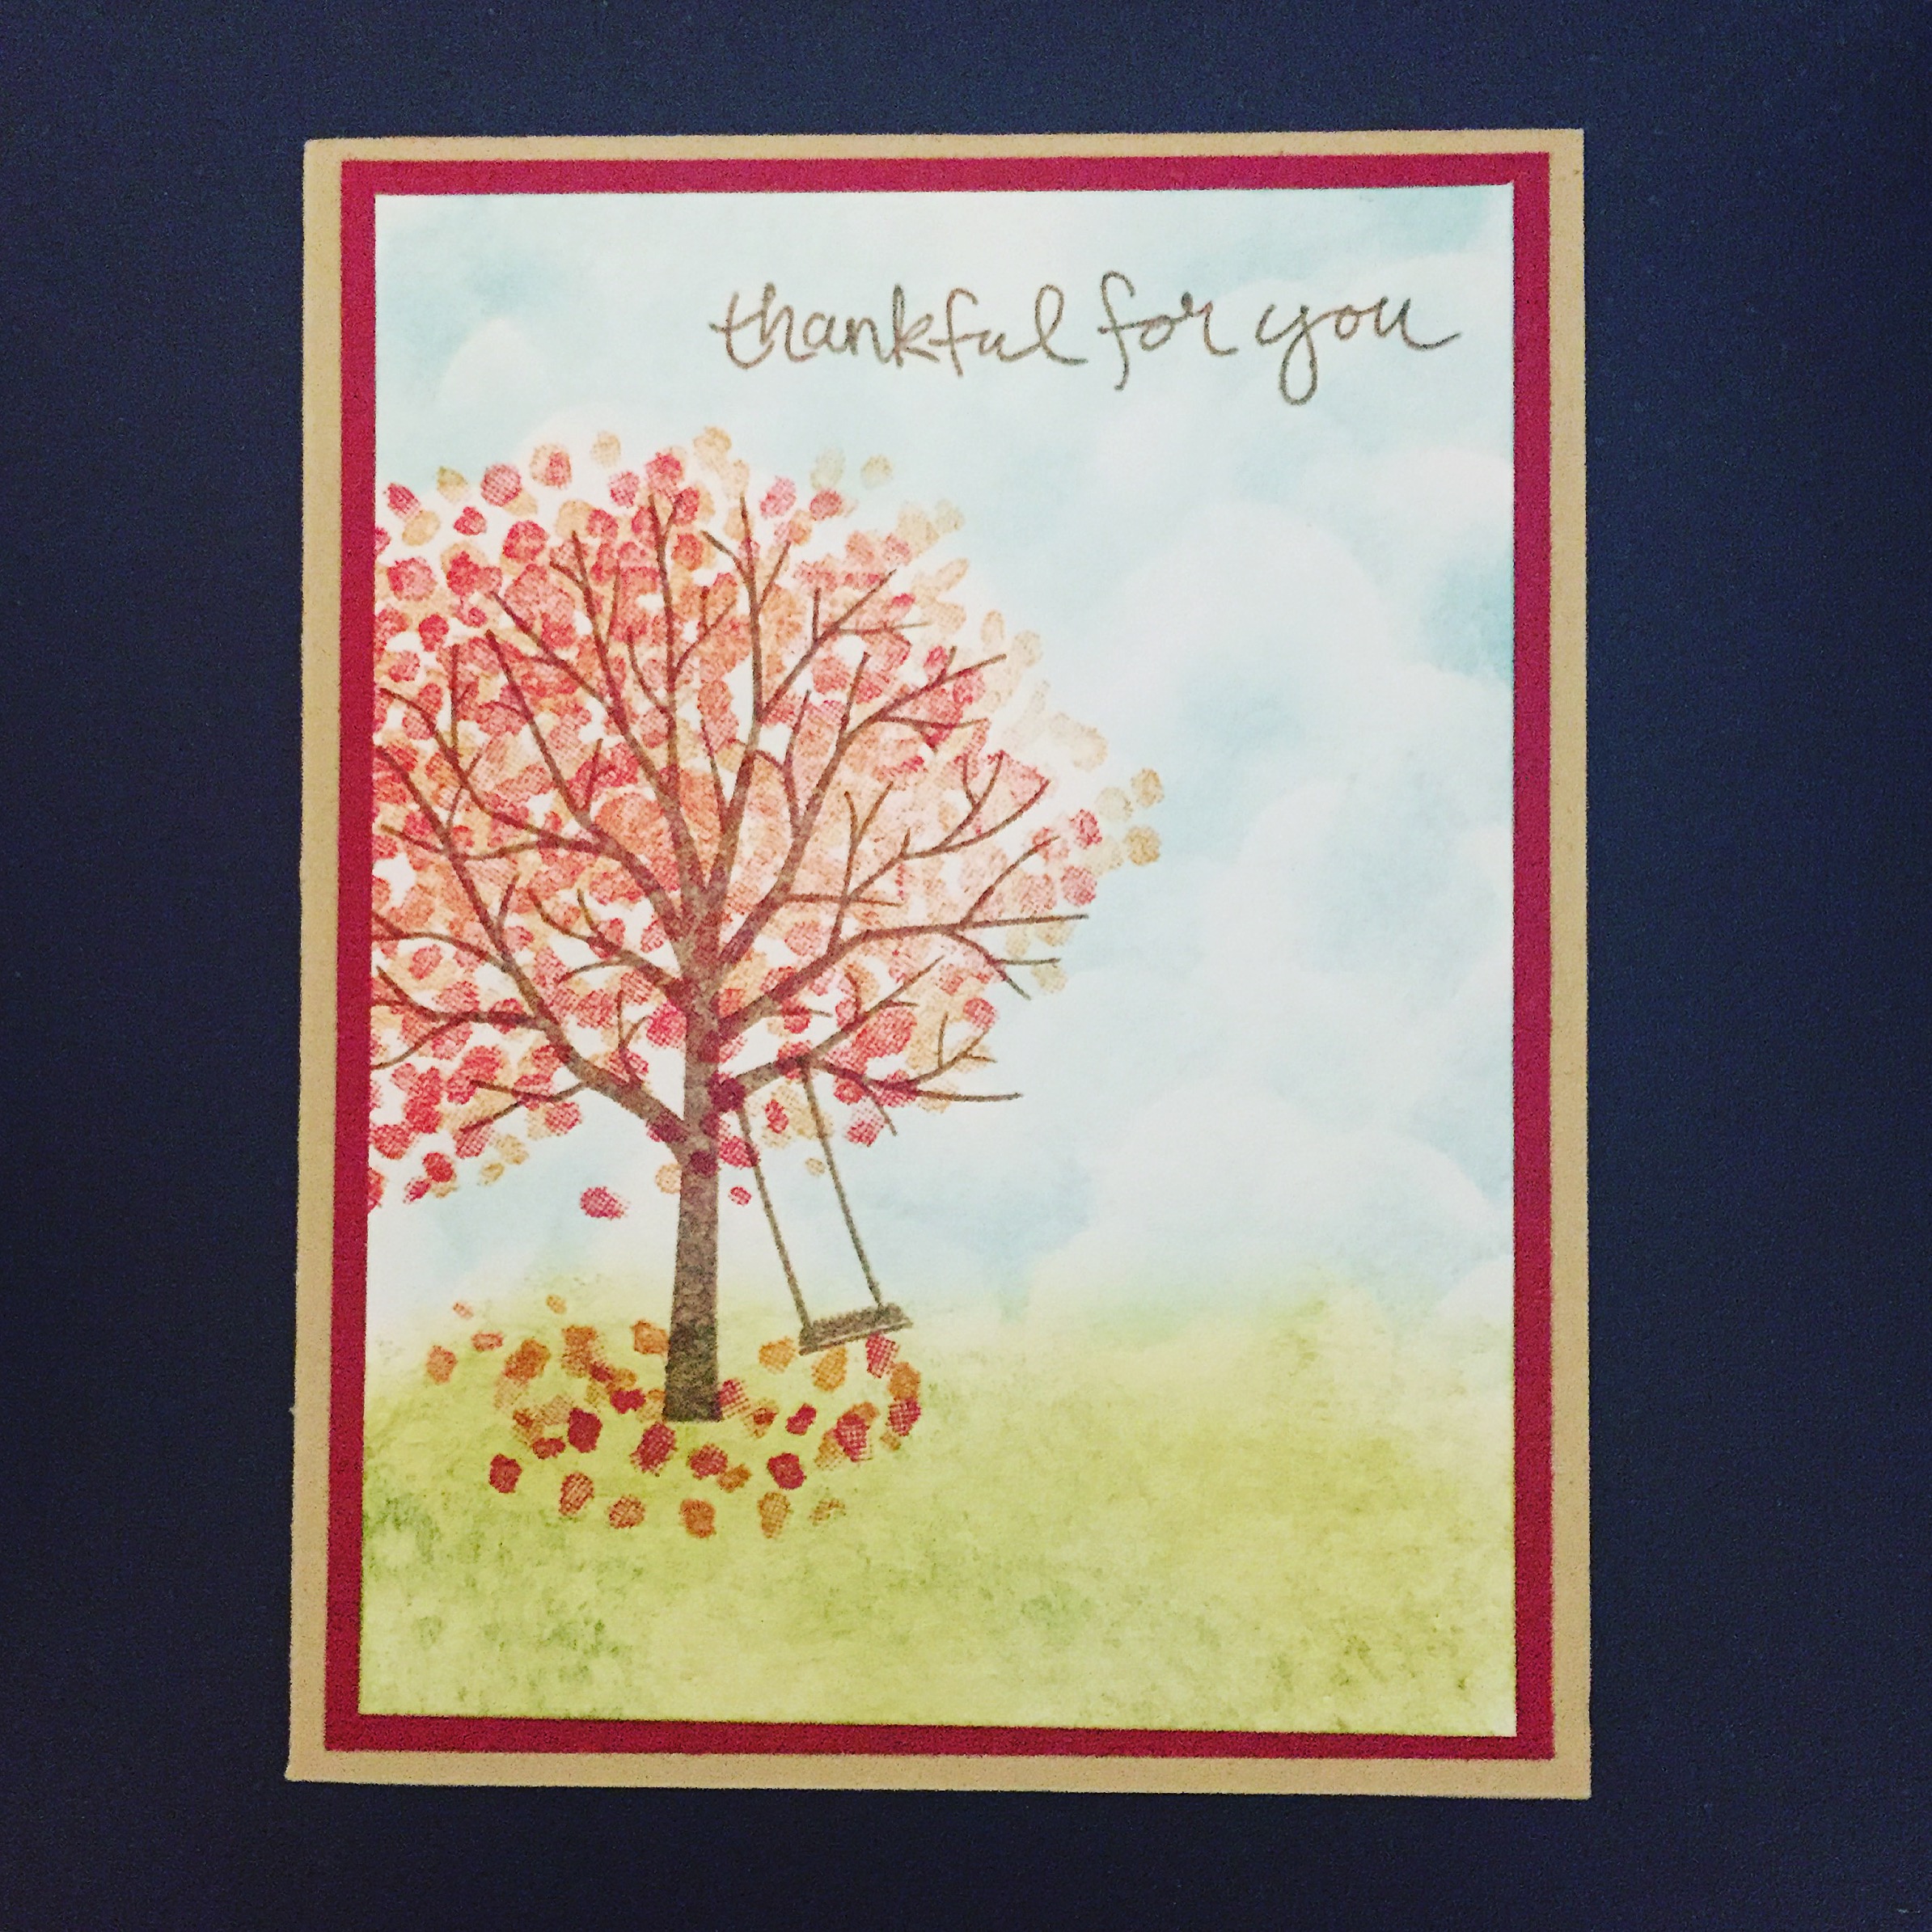
I really like this Sheltering Tree stamp set from Stampin’ Up. It’s just so versatile and can be stamped for any season. This time I stamped it with Fall colors, but here I stamped it in lovely green tones. Both cards are made with a simple stamped panel layered to coordinating card stock and then layered  onto a card.

IMG_4821

The tree is stamped with brown ink on white card stock with the branches barely coming off the left side of the panel. The leaves on the tree are stamped twice; once with terra cotta ink and once with cranberry ink. The grass is sponged with olive ink and then lightly sponged with a darker ivy color to create some dimension. The sky is sponged with light blue ink using a cloud template. (You can also punch a scalloped circle and sponge over the edge of the circle for a cloud template.) The leaves on the ground are stamped with the same terra cotta and cranberry inks. The swing is stamped with brown ink. Finally, the sentiment is stamped with brown ink. The entire panel is layered to cranberry card stock and then attached to a kraft card.

This card can be used as a thank you card, thinking of you card, or it would also make a great Thanksgiving card.

Thanks for stopping by,

Anita

Posted in Cards, Fall | Leave a comment

Simple Chili Recipe

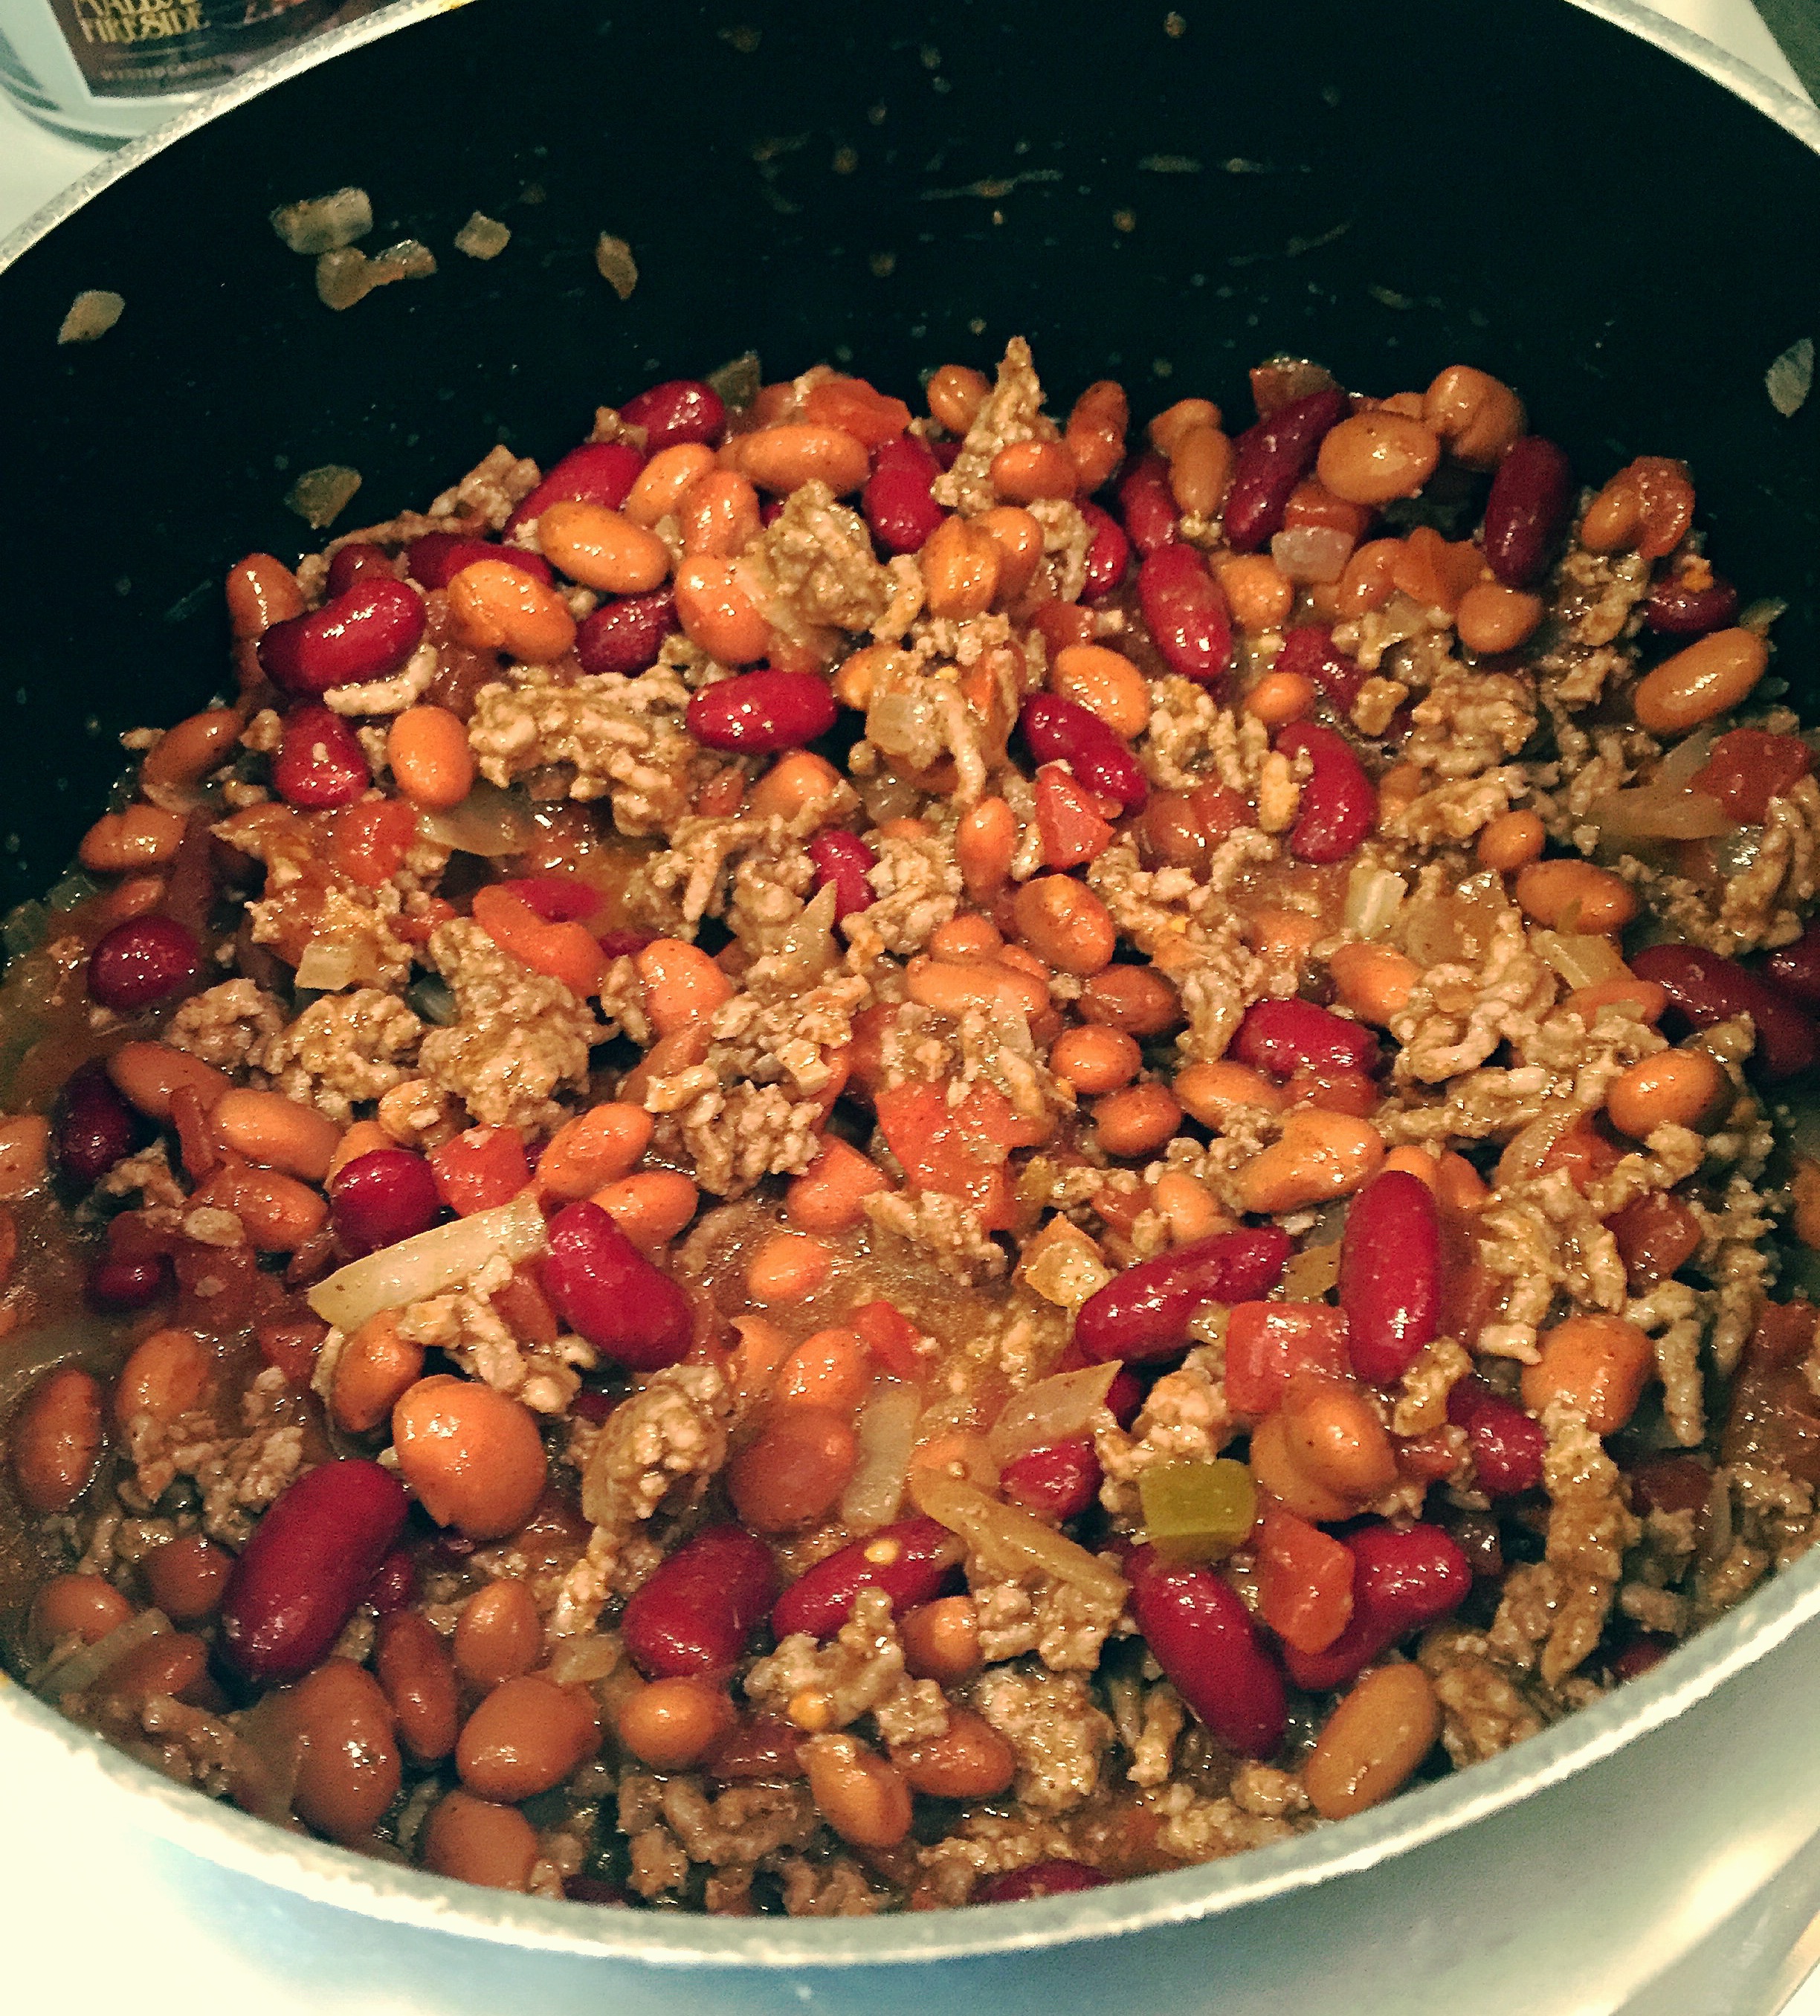
What’s better than a nice, hearty bowl of chili to warm you up on a crisp Fall day? I’ve made this chili since we were first married. It is super simple to make, freezes well, and the recipe can easily be doubled. It’s made with ground chuck and lots of beans ~ so if you’re not a bean fan it’s probably not for you 😉

IMG_4796

Here’s the recipe:

  • 1 lb ground chuck
  • 1/2 cup chopped onion
  • 2 (15.5 oz) cans chili beans
  • 1 (15.5 oz) can dark red kidney beans, drained
  • 1 (10 oz) diced tomatoes with green chilies
  • 1-2 tablespoons chili powder/seasoning (or more if you like it really spicy!)

Brown the ground chuck along with the onions; drain well. Add all ingredients to a Dutch oven and mix well. Simmer for 30 minutes. You can also add everything to your slow cooker (after browning the meat and onions) and simmer on low for 4 to 5 hours. 

That’s all there is to it! We usually add some shredded cheddar cheese or a dollop of sour cream (or both) to our individual bowls. Add some fresh, hot cornbread or corn chips on the side and you have a quick, easy weeknight meal.

Thanks for stopping by,

Anita

Posted in Recipes | Leave a comment

It’s All About The Candy Corn

Here’s one last Halloween card you can make in plenty of time to get in the mail for your special trick or treater. 🎃

I have to admit that I eat more than my share of candy corn at this time of year. 😳 There is something about its yummy sweetness that I just can’t get enough of! So when I found this stamp from Unity Stamp Company, I knew I had to have it!

IMG_4787

Here’s how I made this fun card. I stamped the image with black ink on white card stock. The image is colored with Copic markers and the edges of the panel are sponged with black ink. I layered the panel to green card stock and attached the whole panel to a black card stock strip punched with the scalloped edge punch. 

The sentiment is stamped with black ink on white card stock, punched with the oval punch, and layered to a scalloped oval punched from green card stock. Using the swirl embossing folder, I embossed an orange card stock panel and attached it to a kraft card. The stamped images are attached with pop dots. The punches are from Stampin’ Up and the embossing folder is from Cuttlebug. 

If you know someone who loves candy corn as much as I do, this is the perfect card for them!

Thanks for stopping by,

Anita
Posted in Cards, Fall | Leave a comment

Scarecrow – Now It’s Fall

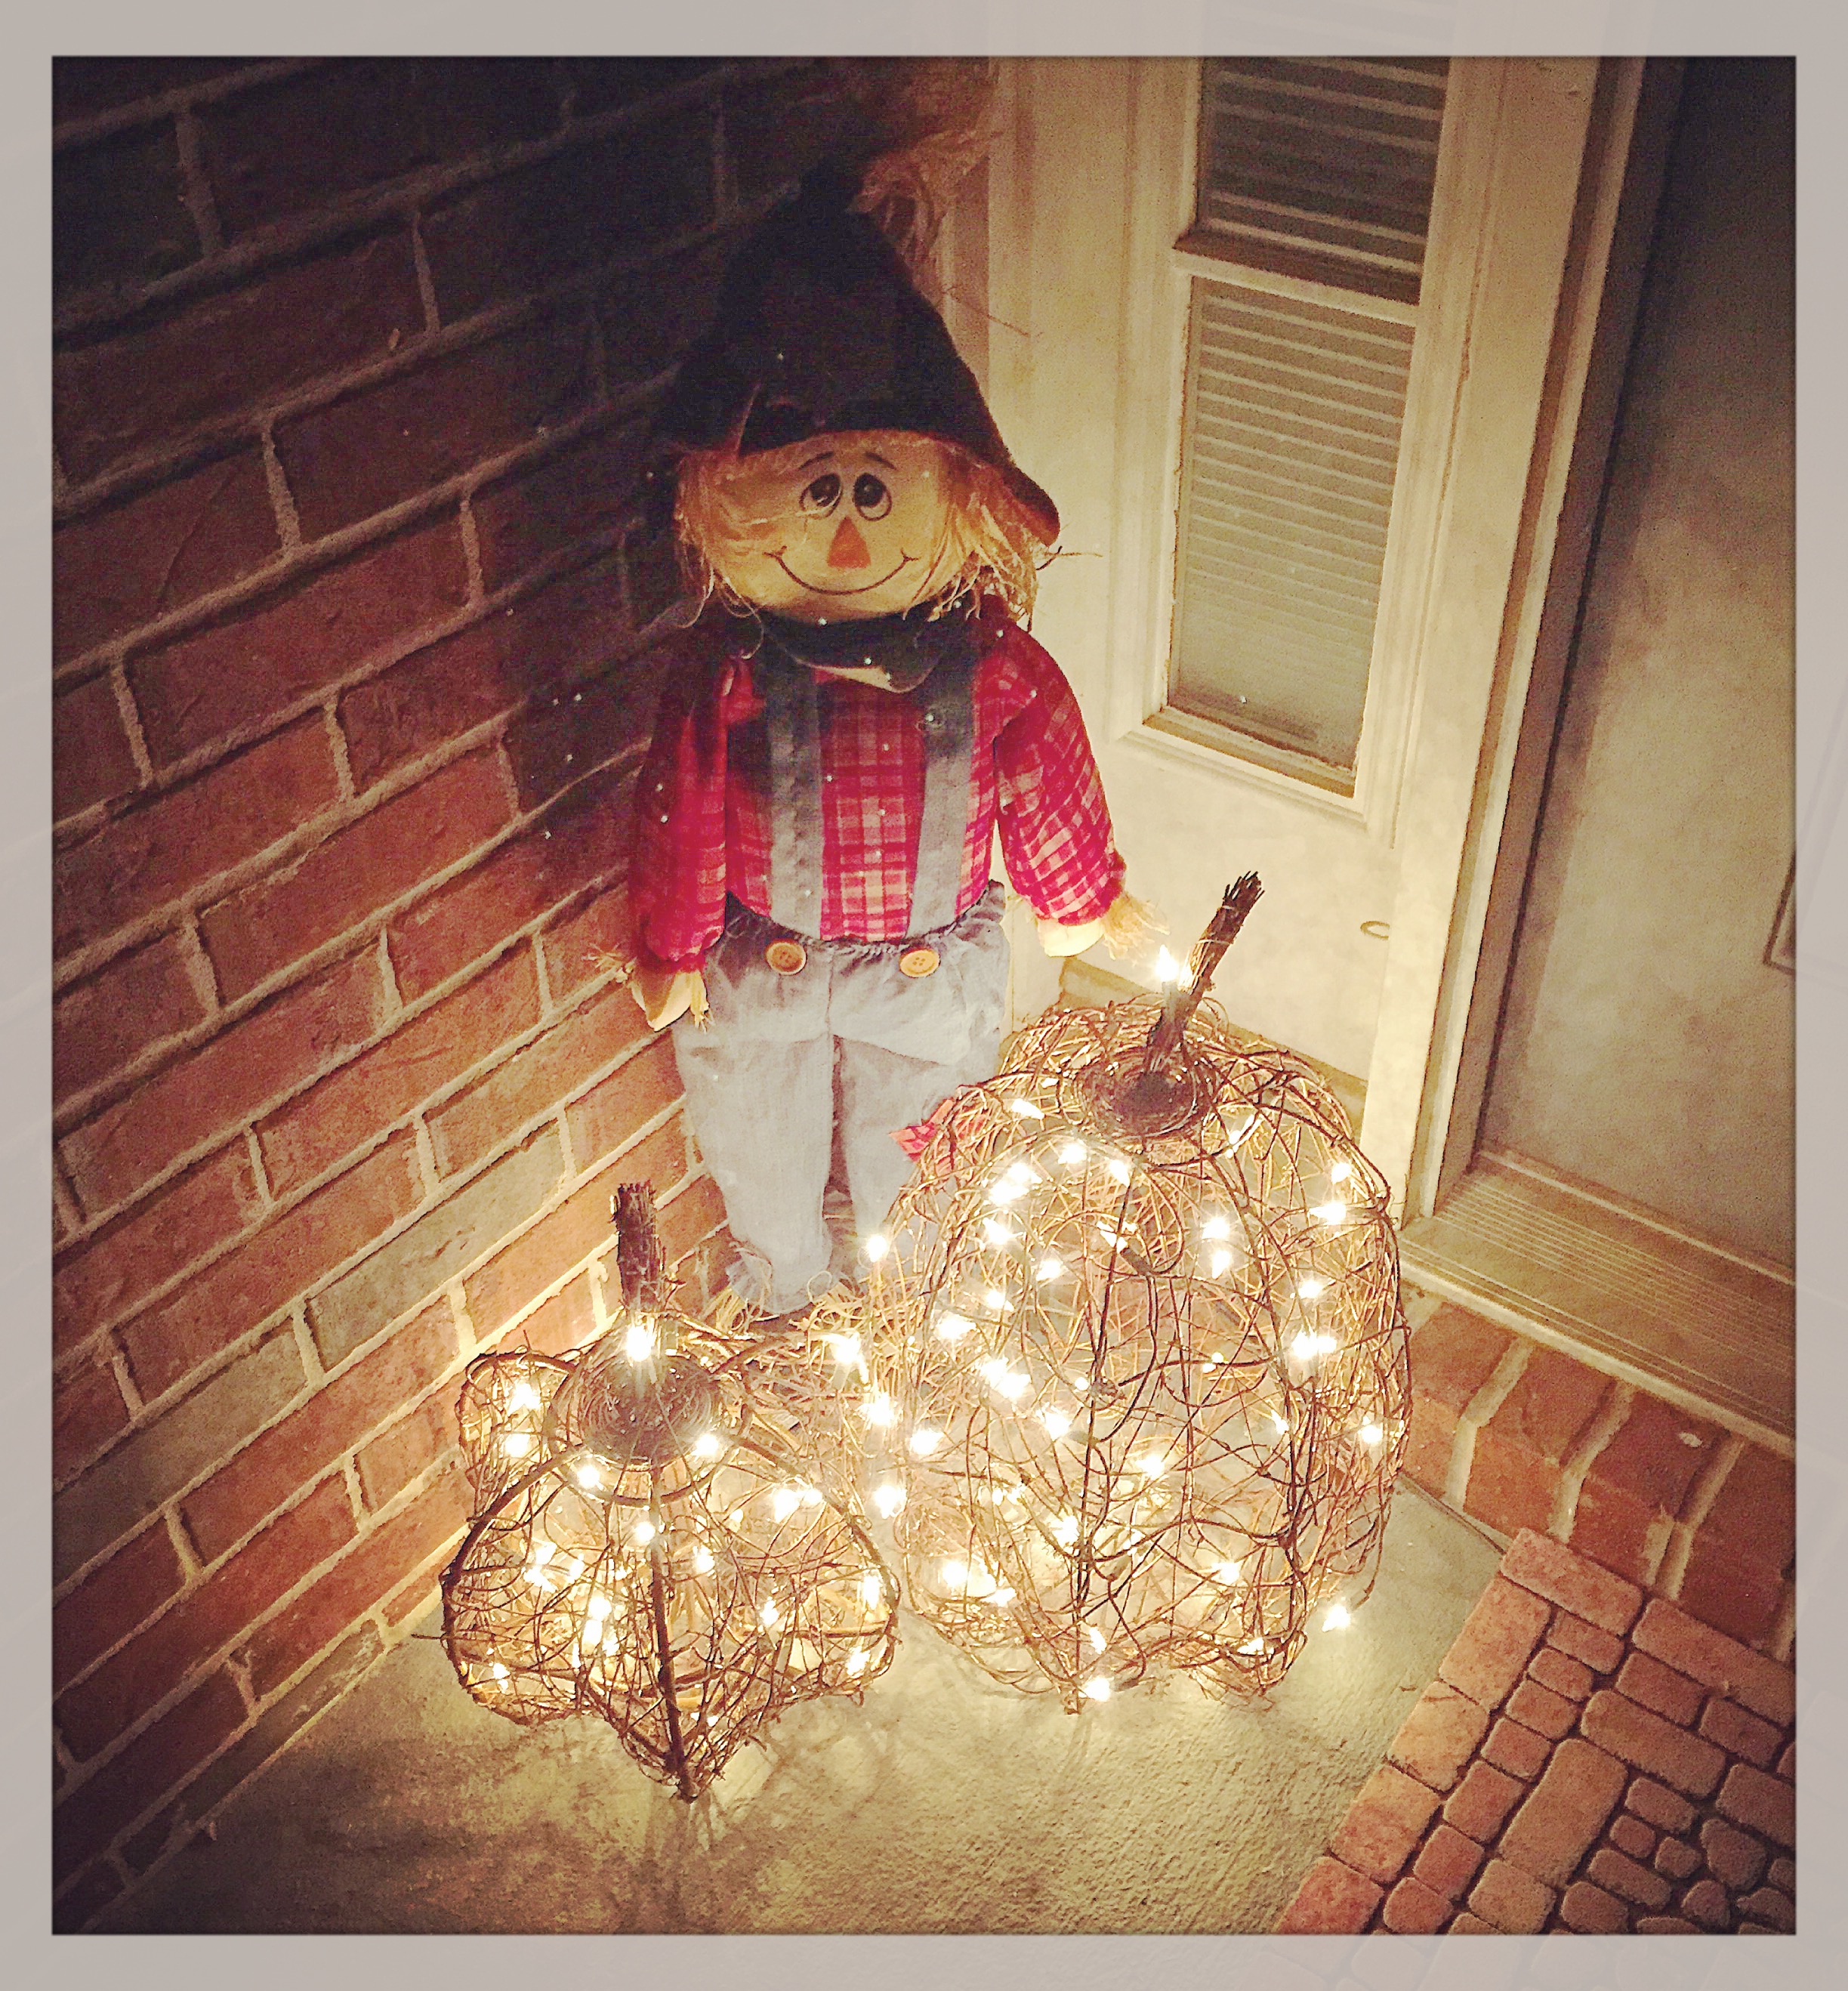
I wanted to share this cute little guy with you. I’ve had him for a couple of years and he sits on my small front porch along with these lighted grapevine pumpkins. My husband came home after I put them out and said “Now I know it’s Fall”. 😊

IMG_4837

This time of year the stores are full of Fall decor and by now it’s probably all on sale! Find the perfect thing for your porch so you can say “Now I know it’s Fall” 🍁

Thanks for stopping by,

Anita
Posted in Decor, Fall | Leave a comment

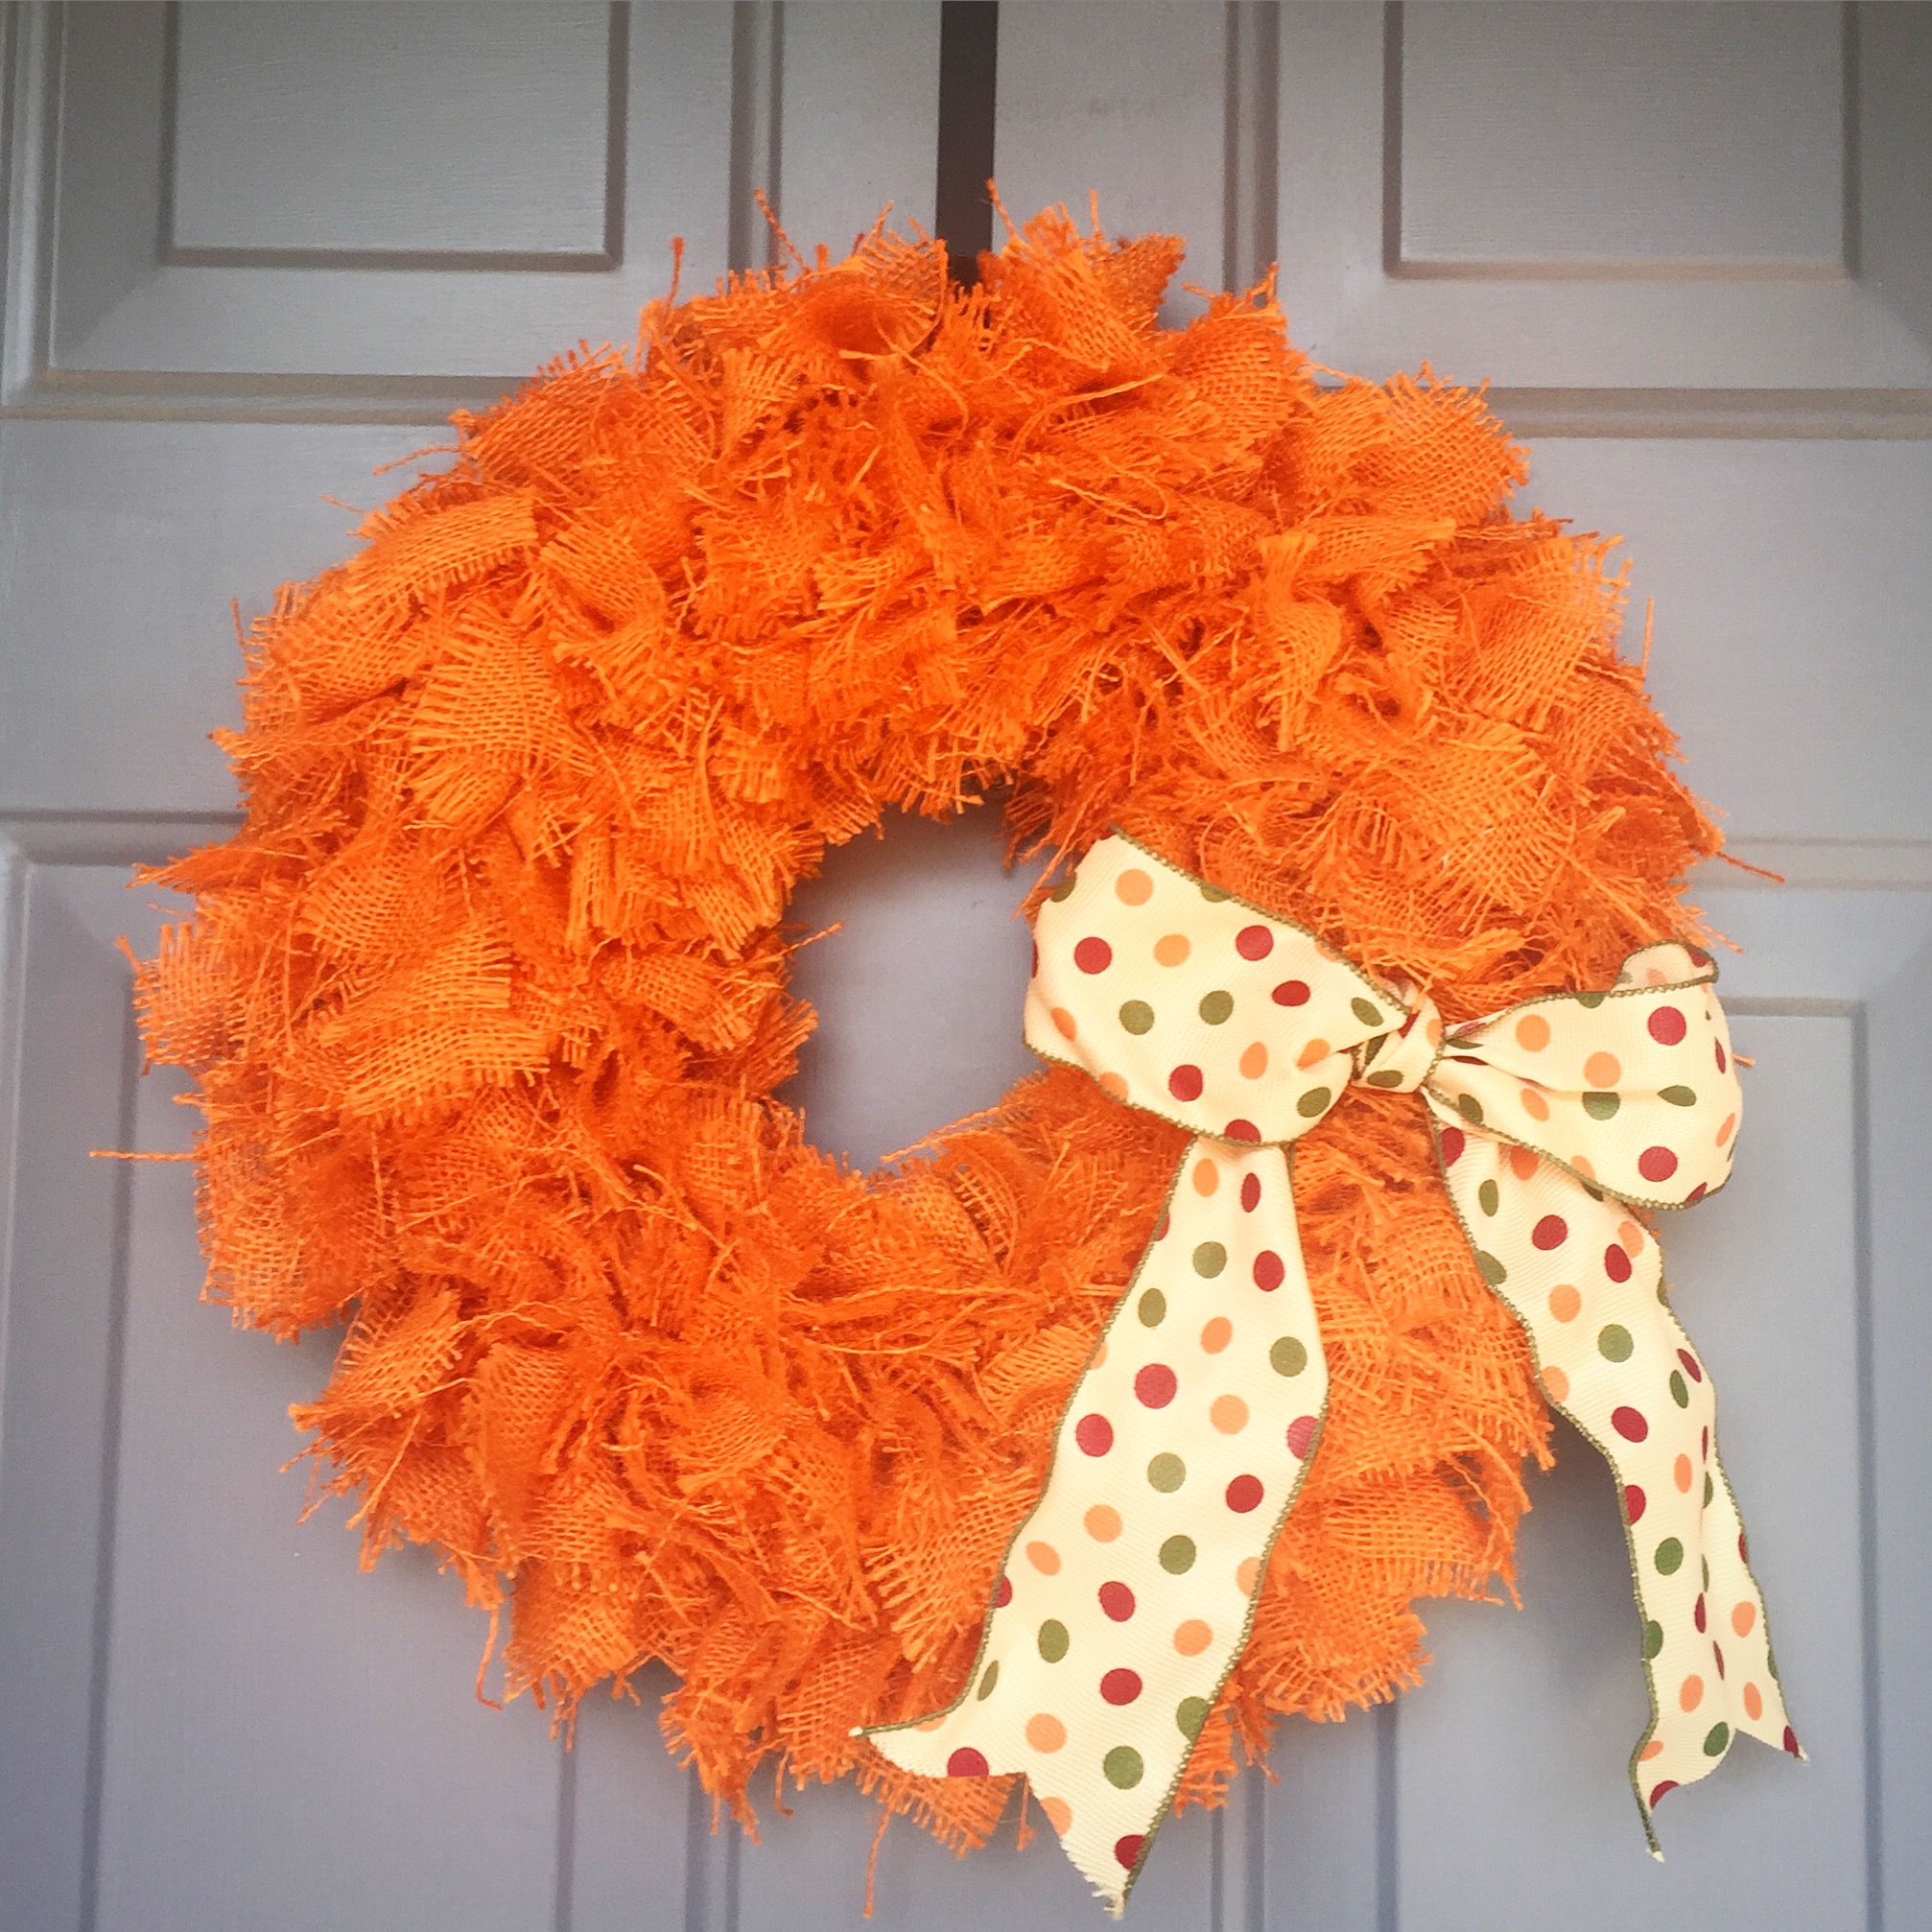
Burlap Wreath

Fall is probably my favorite time of year. I love the cooler (but not cold) days and all the beautiful colors. It’s so fun to add a little bit of Fall color to our home and this wreath does just that!

IMG_4804

This wreath is not hard to make, but it does take some time. So turn on your favorite movie and get started…

Here’s what you’ll need:

  • 2 yards orange burlap (or your favorite color)
  • 10-inch wire wreath form (like this one)
  • About 1 yard (2-1/2-inch wide) ribbon (I used wire-edged ribbon)

Cut the burlap into 8-inch x 2-inch strips. Then simply tie them with a single knot onto the wreath form as closely together as you can. Be sure to tie them on all three circles of the form. Tie a bow from the 2-1/2-inch wide ribbon and attach it to the wreath. I did this by threading some thin twine through the back of the knot on the bow and tying it around the center circle of the wreath form. You can use any kind of string or twine to do this since you won’t be able to see it. Fluff up the wreath and you’re done!

The wreath forms come in different sizes and are available at most craft stores (so use your coupons). If you go larger, keep in mind you may need more burlap to get the full fluffiness of the wreath. And there are also pre-tied bows available so you won’t have to tie your own if you’d rather not.

There are so many different colors of burlap to choose from and the choice of ribbons is endless! This wreath can easily be adapted to any decor ~ soft colors for a baby nursery or Springtime, Christmas colors, or bright, happy colors for Summer. The choice is yours! Happy tying 🙂

Thanks for stopping by,

Anita
Posted in Decor, Fall | Leave a comment

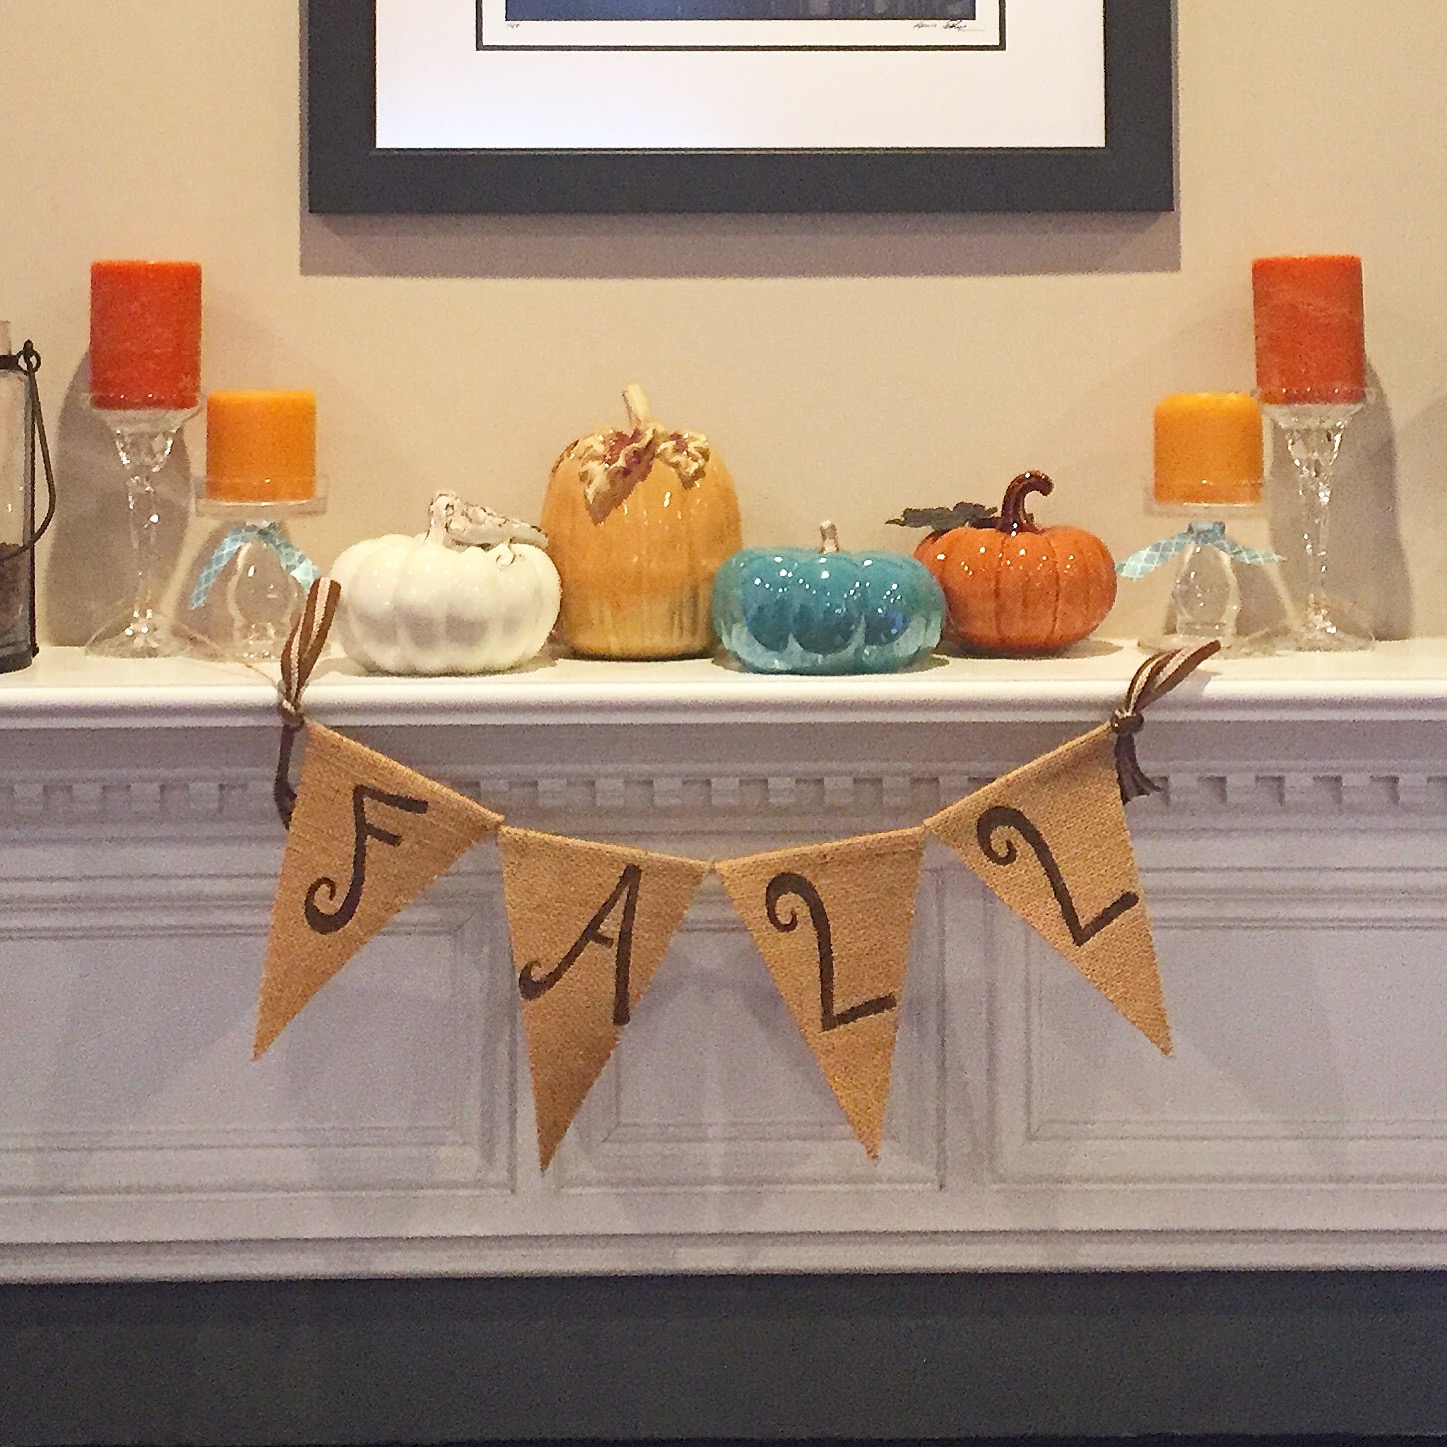
Fall Burlap Banner

I shared some Fall Subway Art here a few days ago that I use to decorate my mantel. I also made a fun “FALL” burlap banner to hang across the front of my fireplace. 

IMG_4792

I followed the instructions found here to make the pennants for the banner. The letter stencils came from Hobby Lobby and are 4 inches tall. They have several different fonts to choose from to get the look you want. 

I used regular acrylic paint and a sponge pouncer (similar to these) to stencil the letters on each pennant. The pennants are strung on twine and I knotted ribbon on each end. 

This “FALL” banner added just the right rustic touch I was looking for.  🍁🍂🍁

Thanks for stopping by,

Anita

Posted in Decor, Fall | Leave a comment

Fall Subway Art

I love to change my fireplace mantel to reflect the seasons. I’m a little behind in getting my Fall decor up due to a major renovation in our master bath that produced more dust than I could have ever imagined!! Yikes, I don’t know if I’ll ever find all of it!! 

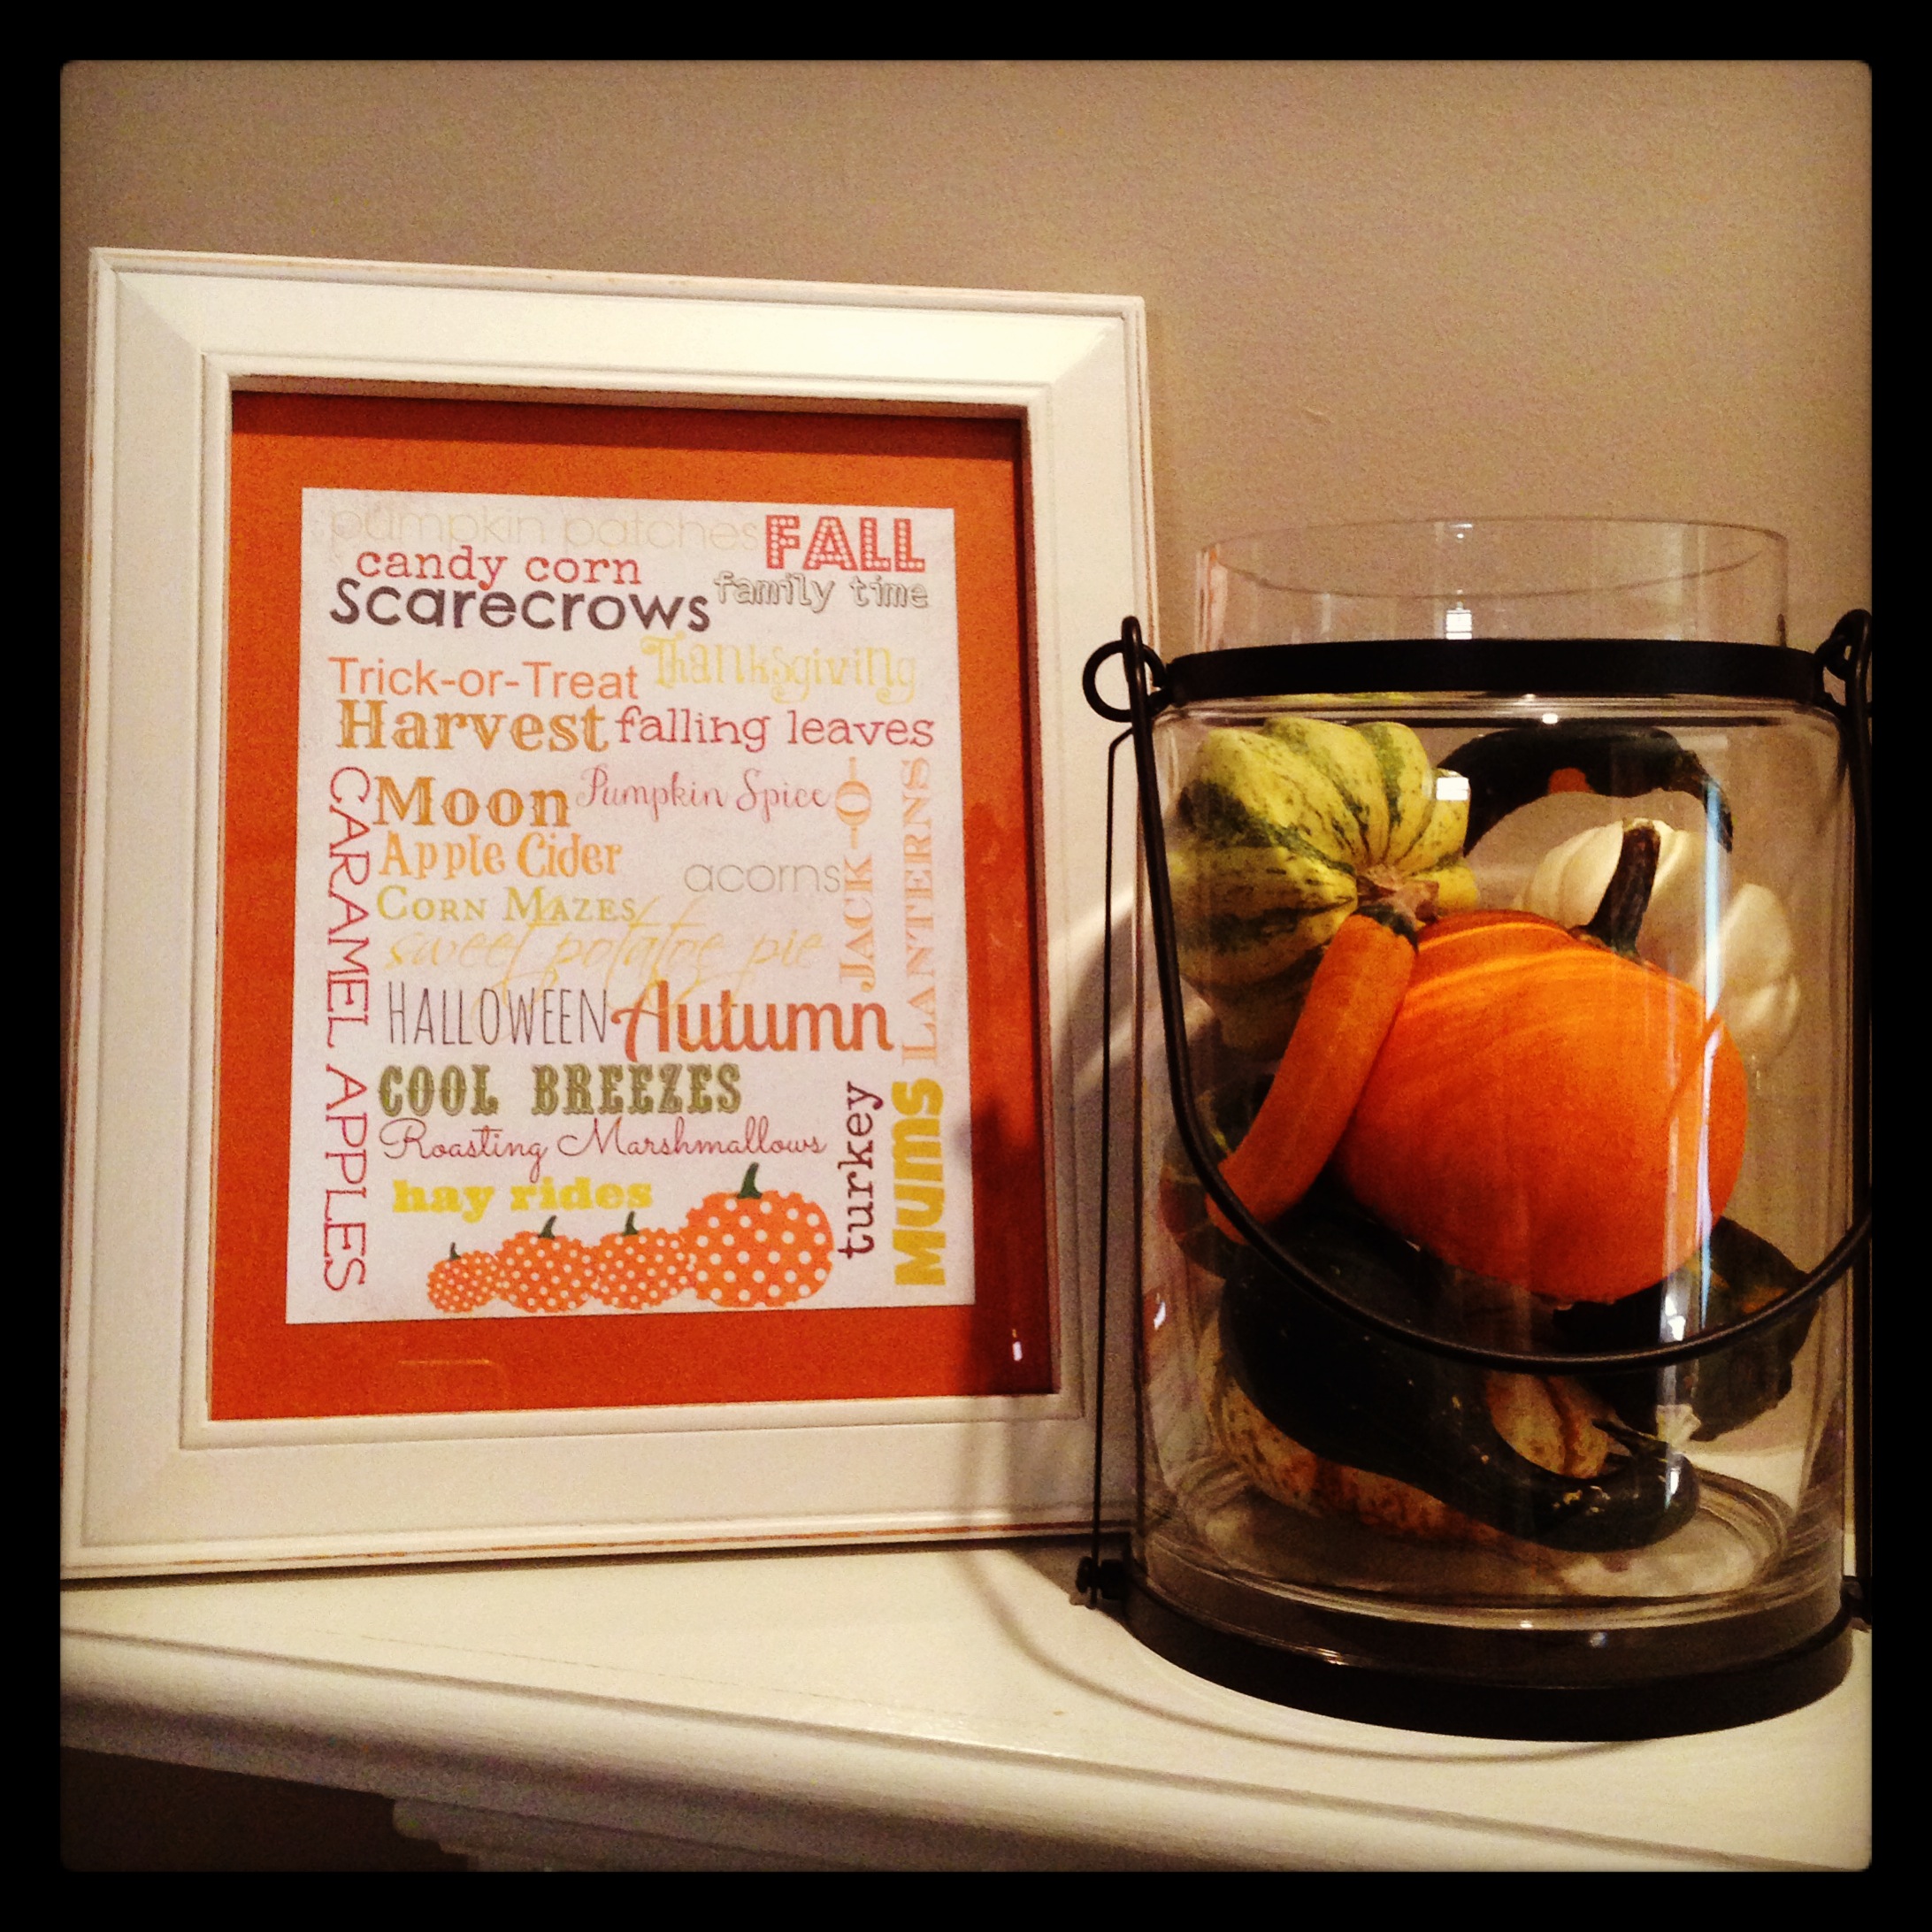
I love all the different free printable subway art that is available on Pinterest. I searched under “Fall subway art” and found this great printable. If this one doesn’t strike your fancy, just keep looking…I’m sure you’ll find the perfect one for you!

IMG_1956

I printed it on white card stock and trimmed it close. I needed to soften the white background a bit, so I used a stipple brush to lightly apply some brown ink all over the card stock. I then attached it to an 8 x 10 inch piece of orange card stock to fit in my frame. I found this great distressed white frame on clearance at Kohl’s. I use it for each season ~ just change out the subway art. I even store them all in the frame behind the one I am currently using 🙂

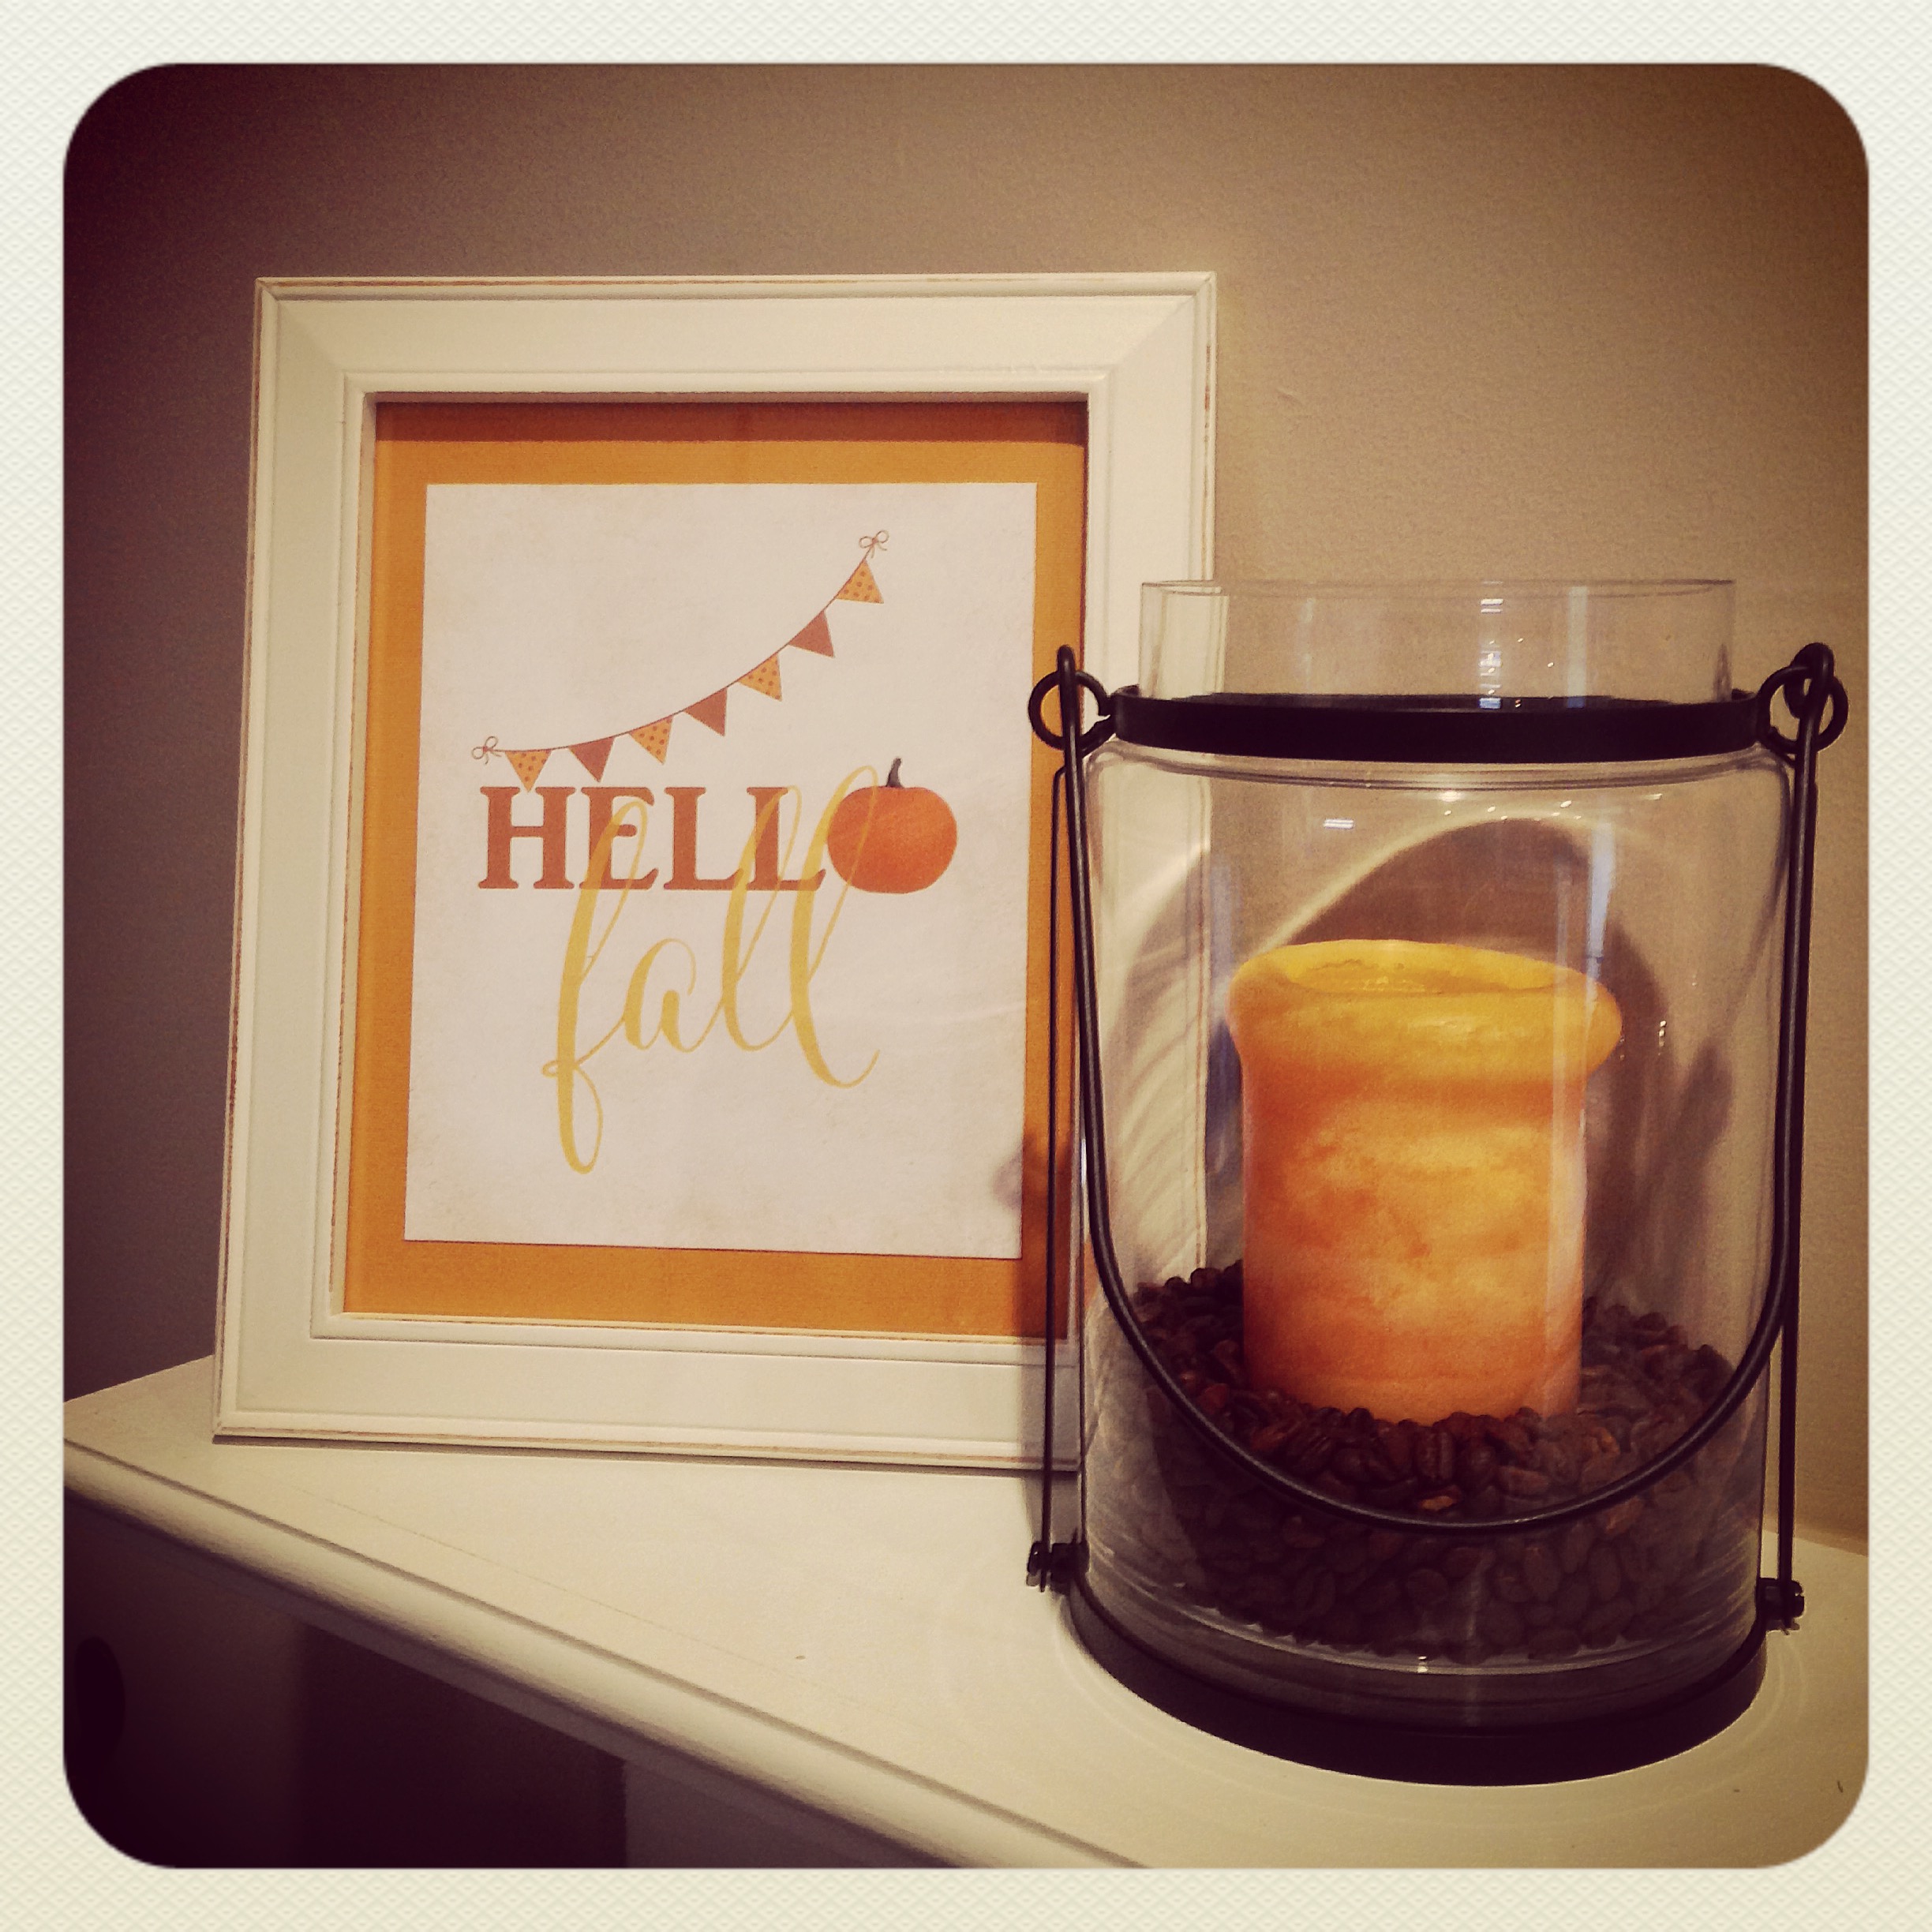
Here’s another printable I found here for Fall. There are 10 different ones to choose from on this site ~ so cute!!

IMG_4693

I picked the lantern up at Target a couple of years ago, but I recently saw the same thing at Michael’s and you can use your 40% off coupon. 🙂 Fill it with pumpkins, gourds, a candle with coffee beans, or your favorite Fall vase filler. Pair it with your subway art and you have a cute decoration for your mantel or side table.

Thanks for stopping by,

Anita

Posted in Decor, Fall | 3 Comments

Halloween Mail

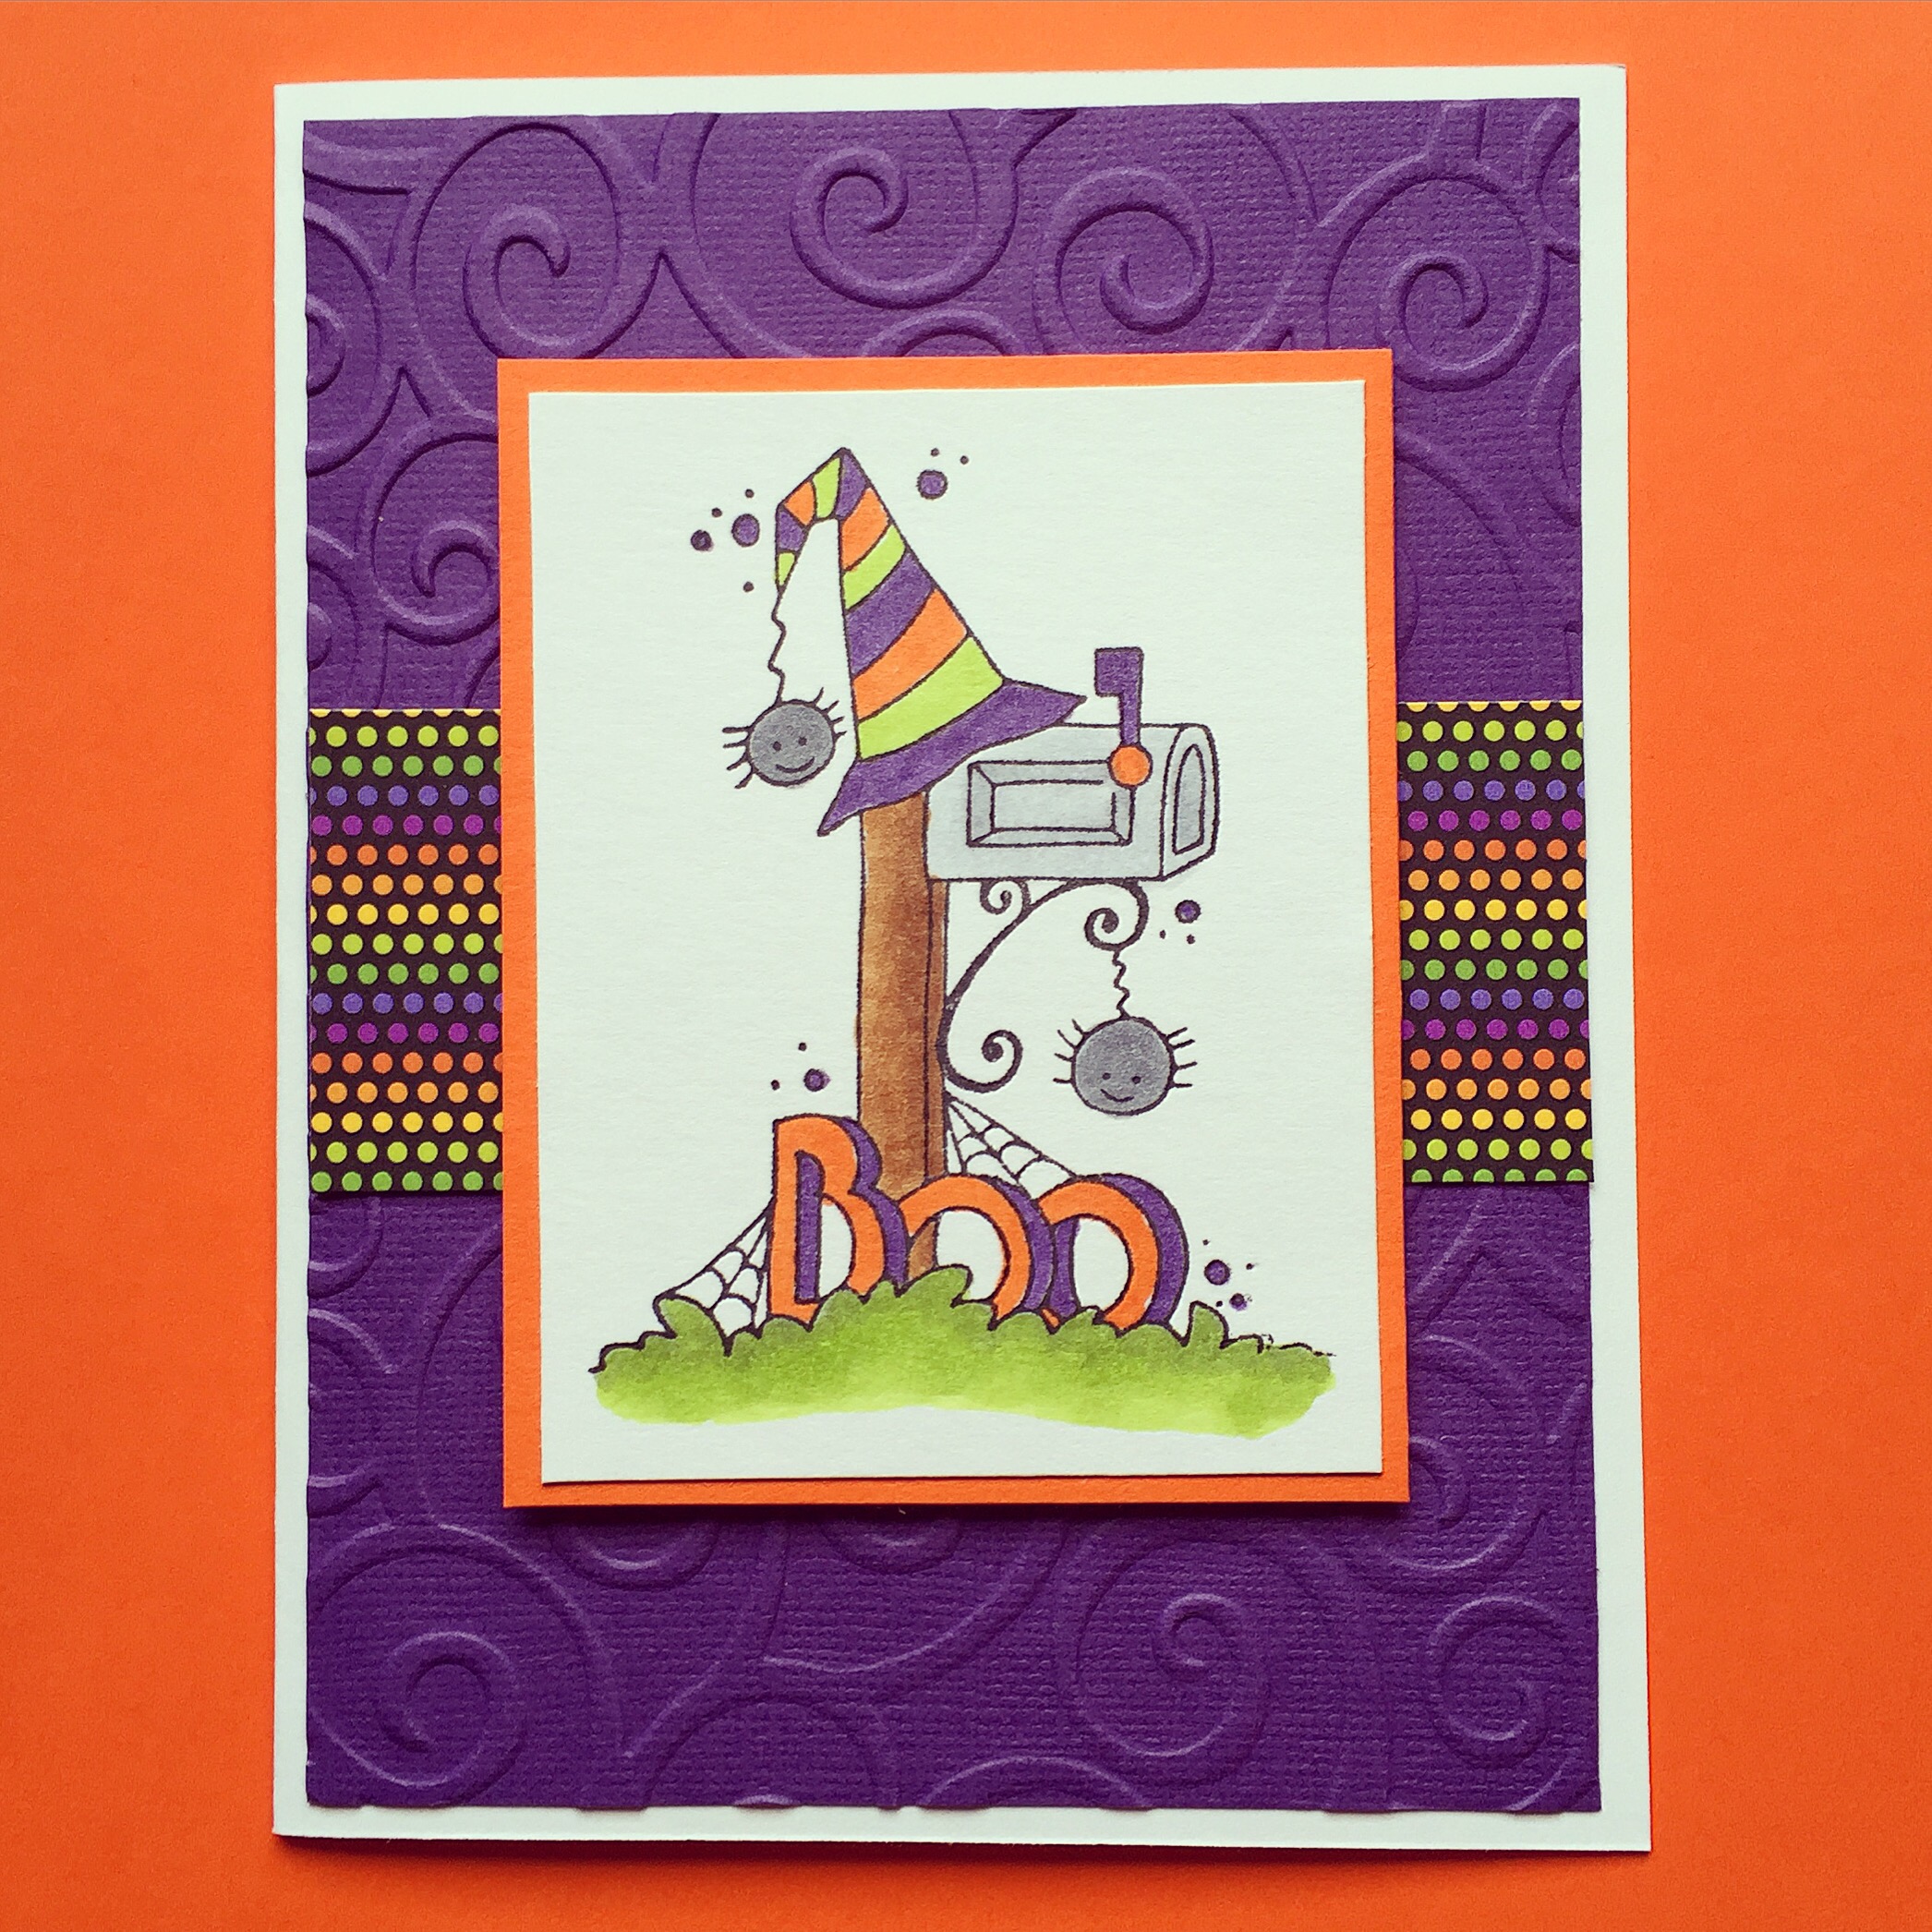
What’s more fun than going to your mailbox and finding a special card addressed to you? I found this stamp from Taylored Expressions and knew it would make the perfect card to let some special people know that I was thinking of them. 🎃

IMG_4670-0

The image is stamped on white card stock with black ink, colored with Copic markers, and layered to orange card stock. Using the swirl embossing folder from Cuttlebug, I embossed a panel of purple card stock and attached it to a white card. I added a strip of patterned paper and then attached the stamped image with pop dots. 

Make someone’s day a little special by sending a card just for them. 😊

Thanks for stopping by,

Anita


Posted in Cards, Fall | Leave a comment