Santa Card

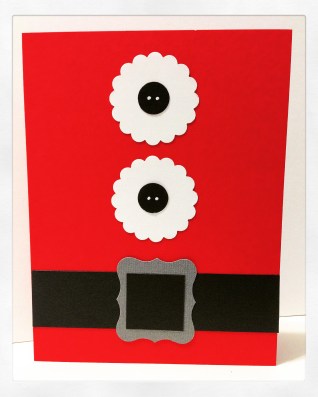
It’s 2 weeks until Christmas!!! Made with just card stock and buttons, this is a super fast card if you still need a few Christmas cards. Or if you are super-organized and have the cards mailed, gifts wrapped and under the tree, and all the cookies made, this makes a great ‘Thank You” card that you can make now and have ready! 🙂
IMG_5104

Punch 2 circles from white card stock with the scalloped circle punch and a “belt buckle” from gray card stock with the curly label punch. Both of these punches are from Stampin’ Up; there are other companies that have similar punches or dies if you can’t find these. Attach a strip of black card stock to a red card. Attach “belt buckle” to the center of the strip. Cut a square of black card stock and put in the center of the buckle. Attach the 2 scalloped circles to the card and glue a black button to the center of each circle.

And that’s it! Told you it was super fast!! 😉 Now you can get back to last minute shopping and cookie making – and for those super-organized, one more thing to cross off your list! 🙂

HO, HO, HO…

Thanks for stopping by,

Anita
 

Posted in Cards, Christmas, Uncategorized | Leave a comment

Clothespin Votive Holder

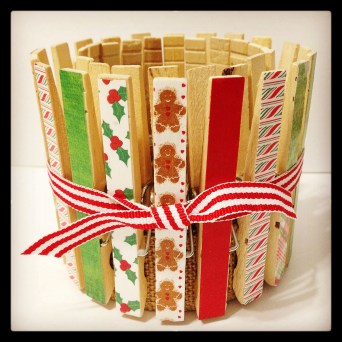
If you are on Pinterest, you’ve probably seen this cute little clothespin craft. I thought I’d share my Christmas take on it.

IMG_5102

All you need is a clean tuna can, some ribbon to go around the can, clothespins (I think I used 20), patterned paper, mod podge, and ribbon to tie around the clothespins.

Simply cut strips of patterned paper the size of the clothespins. I cut all of mine first before glueing them onto the clothespins. Using a foam brush, brush a thin layer of mod podge onto the clothespin. Attach the paper, smoothing out any bubbles. Then brush a thin layer of mod podge over the top. Set them aside to dry – it won’t take long. 

Using a strong white glue that dries clear (I like Crafter’s Pick The Ultimate), brush a thin layer around the outside of the tuna can and attach your ribbon. I used a burlap ribbon. I like to cover the can so the ribbon peeks out instead of the silver can, but you can skip this step if you want.

After the clothespins are dry, simply clip them close together on the can. Then tie a pretty ribbon around them if you’d like. I put a glass votive holder with a candle inside to finish it off. Or add a small plant or a bag of candy…

These make great teacher or neighbor gifts – the kids would have fun attaching the paper to the clothespins. And you can easily change the theme to match any holiday or decor!

Thanks for stopping by,

Anita


Posted in Christmas, Decor, Gifts, Uncategorized | 1 Comment

Snowflake Card

Christmas is just 3 weeks away!!! Do you have your cards ready to go? Here’s a quick and easy card you can put together in just minutes!

IMG_5064

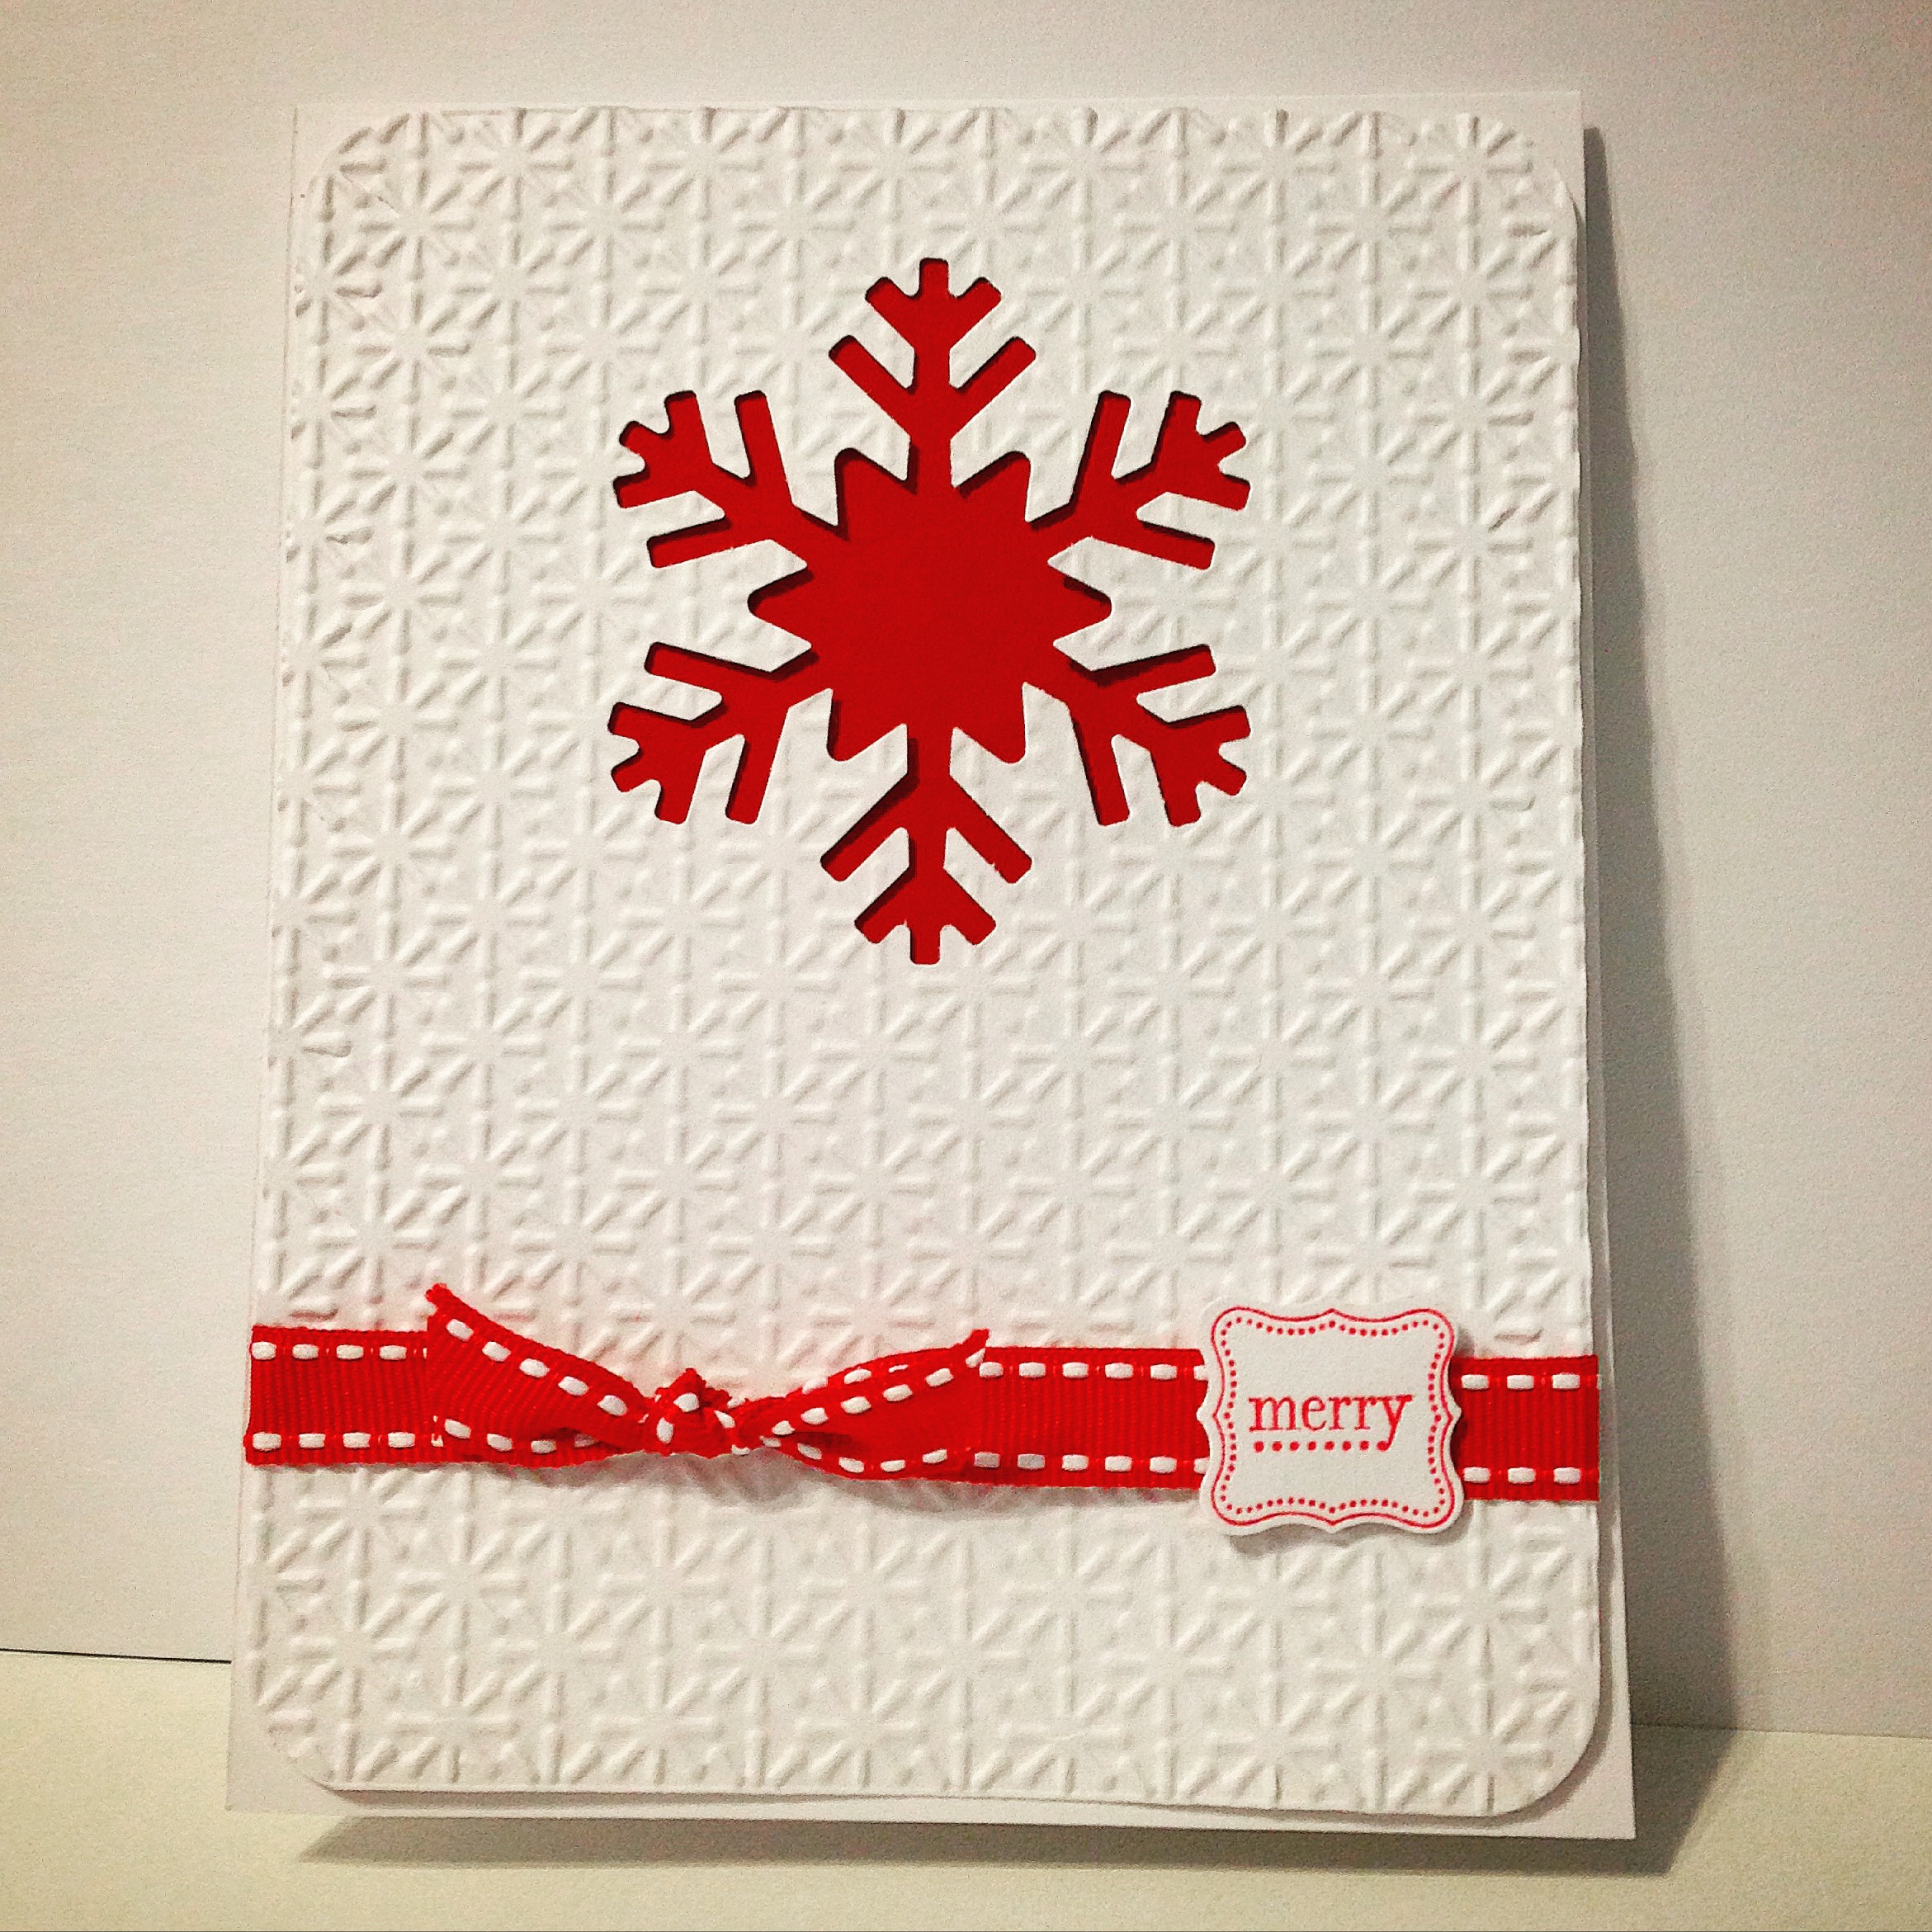
You’ll need white card stock, red card stock, and red ribbon. The embossing folder, “merry” stamp, and label punch are from Stampin’ Up. The snowflake punch is from EK Success. You’ll also need your favorite corner rounder punch. 

Emboss a panel of white card stock with the snowflake embossing folder and punch the corners with the corner rounder. Punch the snowflake from the center top of the panel. Attach a square of red card stock behind the punched area. Tie the ribbon around the panel and attach the entire panel to a white card. Stamp “merry” with red ink on white card stock and punch out. Attach to ribbon…and you’re done!

Thanks for stopping by,

Anita


Posted in Cards, Christmas, Uncategorized | Leave a comment

Happy Birthday, Dad!

Today is my Dad’s birthday. He’s celebrating in heaven and we miss him so much!

IMG_4454

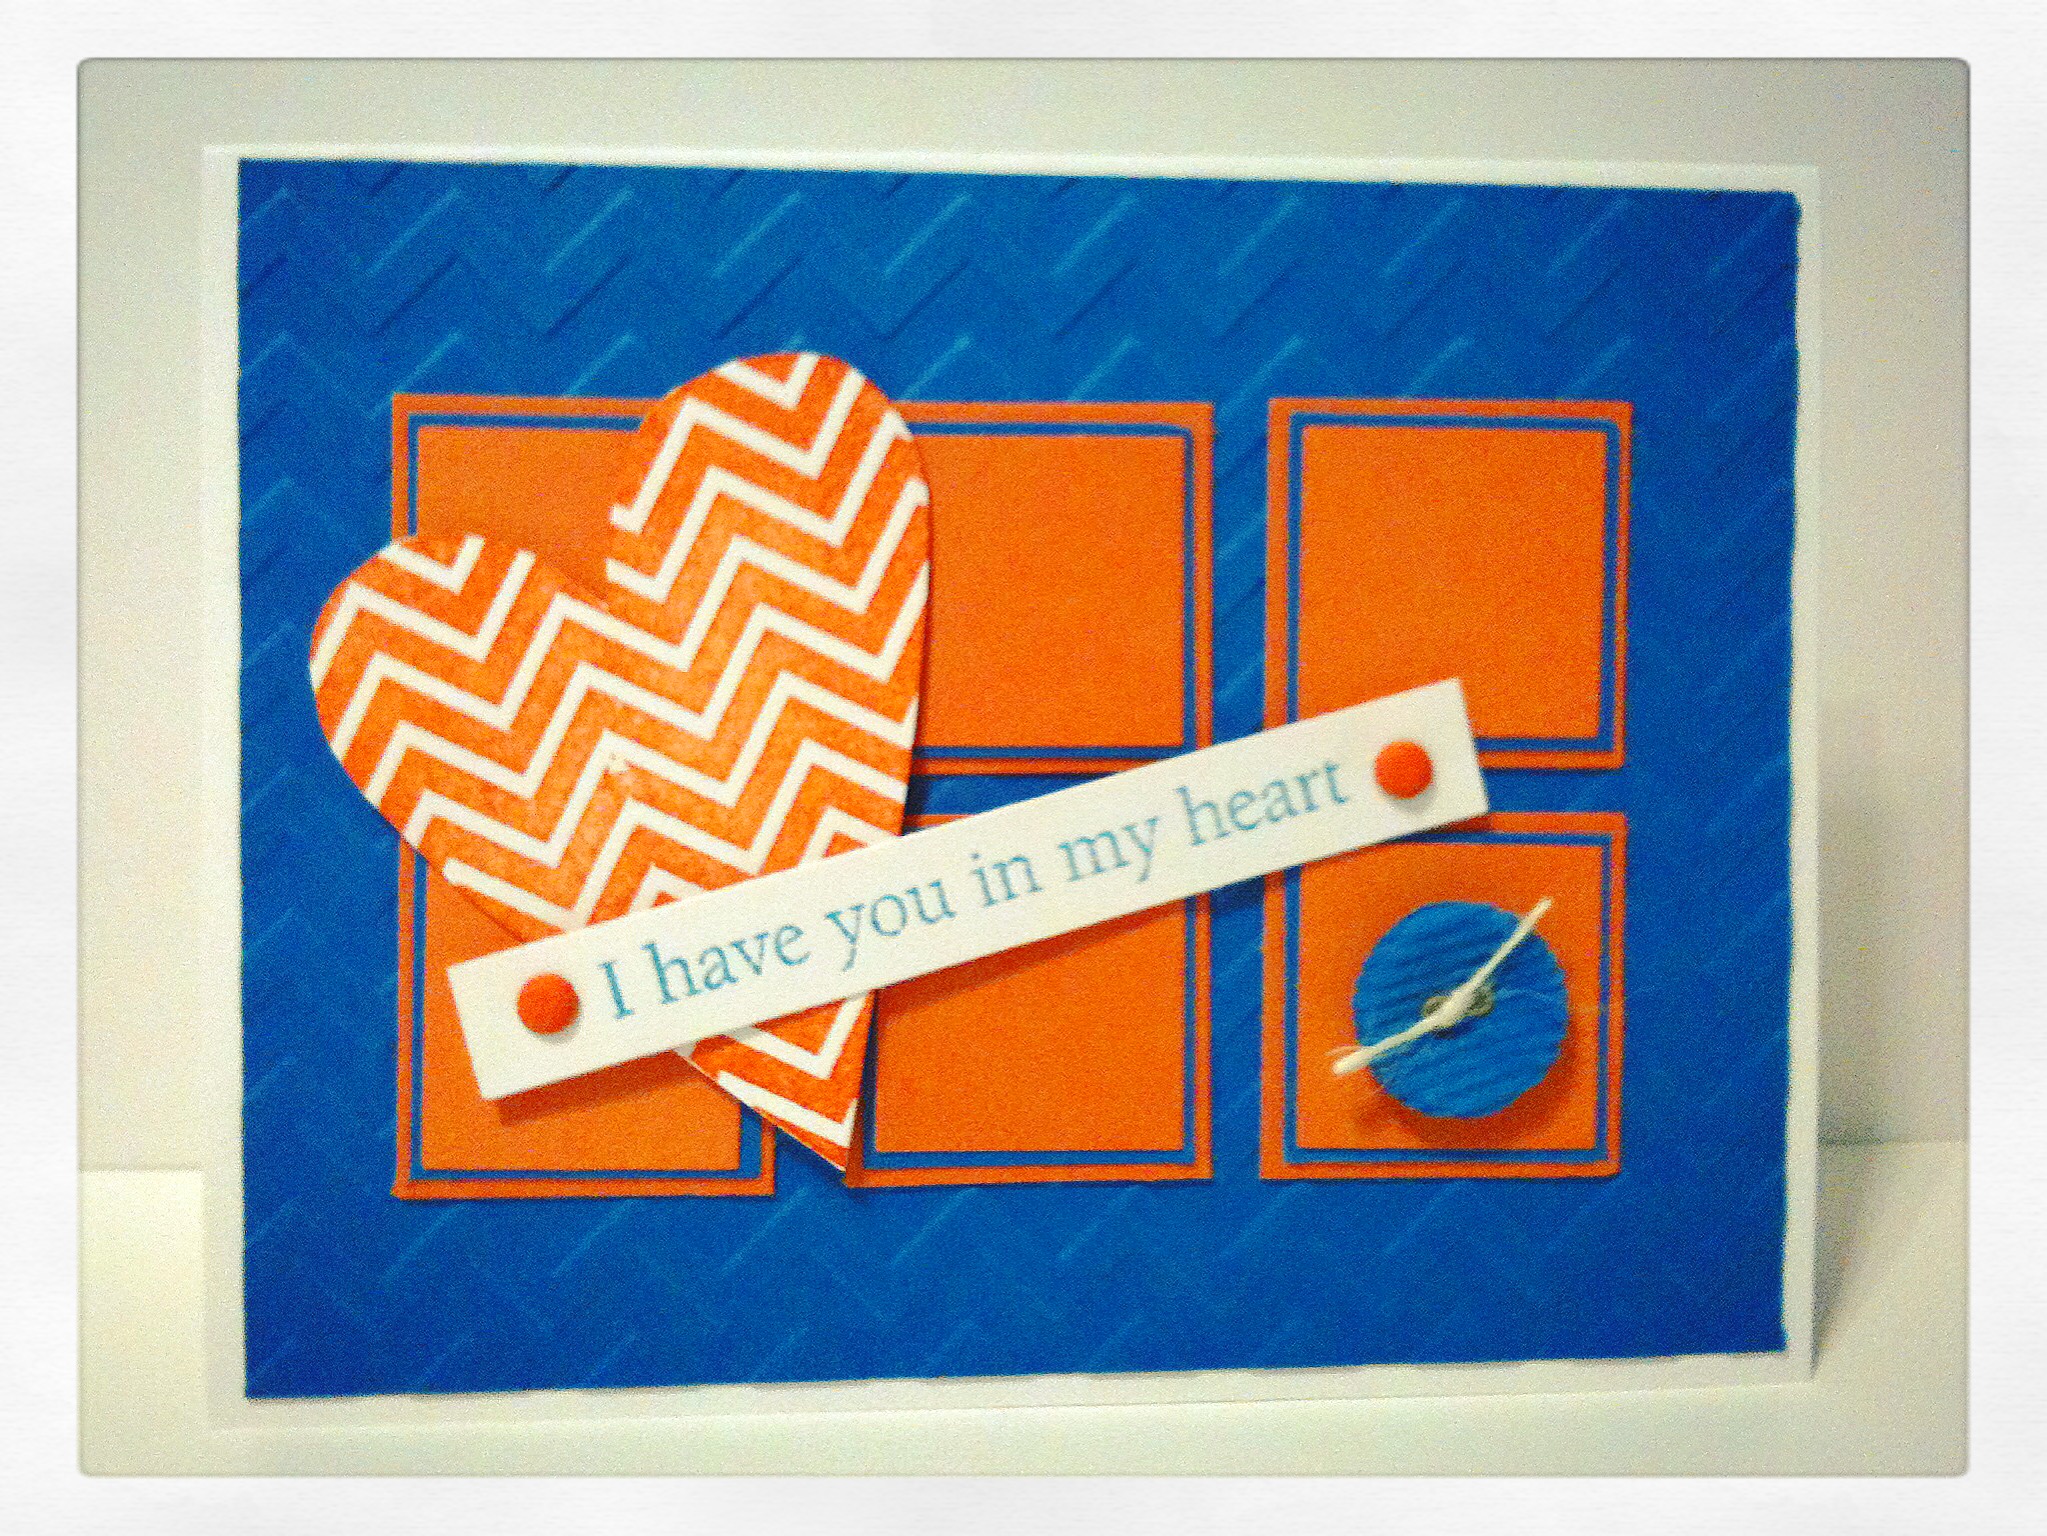
I found this card when I was looking through pictures of cards I have made. The sentiment is just perfect for today. 

IMG_5063

Happy Birthday, Dad!! I hope you’re enjoying a great big piece of hot apple pie with a big ol’ scoop of vanilla ice cream on top ~ all of it just full of real sugar! 🙂

Miss you and love you, always in my heart …❤️

Thanks for stopping by,

Anita

Posted in Uncategorized | Leave a comment

Polka Dot Christmas Tree Card

Do you participate in all the madness of Black Friday? I prefer to stay in my warm and cozy bed! Anyone who knows me will tell you that I am not a morning person!! I will never be up before the sun to go shopping 😉 I would much rather sleep in and spend the day crafting…

Now that Thanksgiving is over, it’s time to think about Christmas cards. This is a quick and easy card to make for all those special people you want to send a little Christmas cheer.

IMG_5043

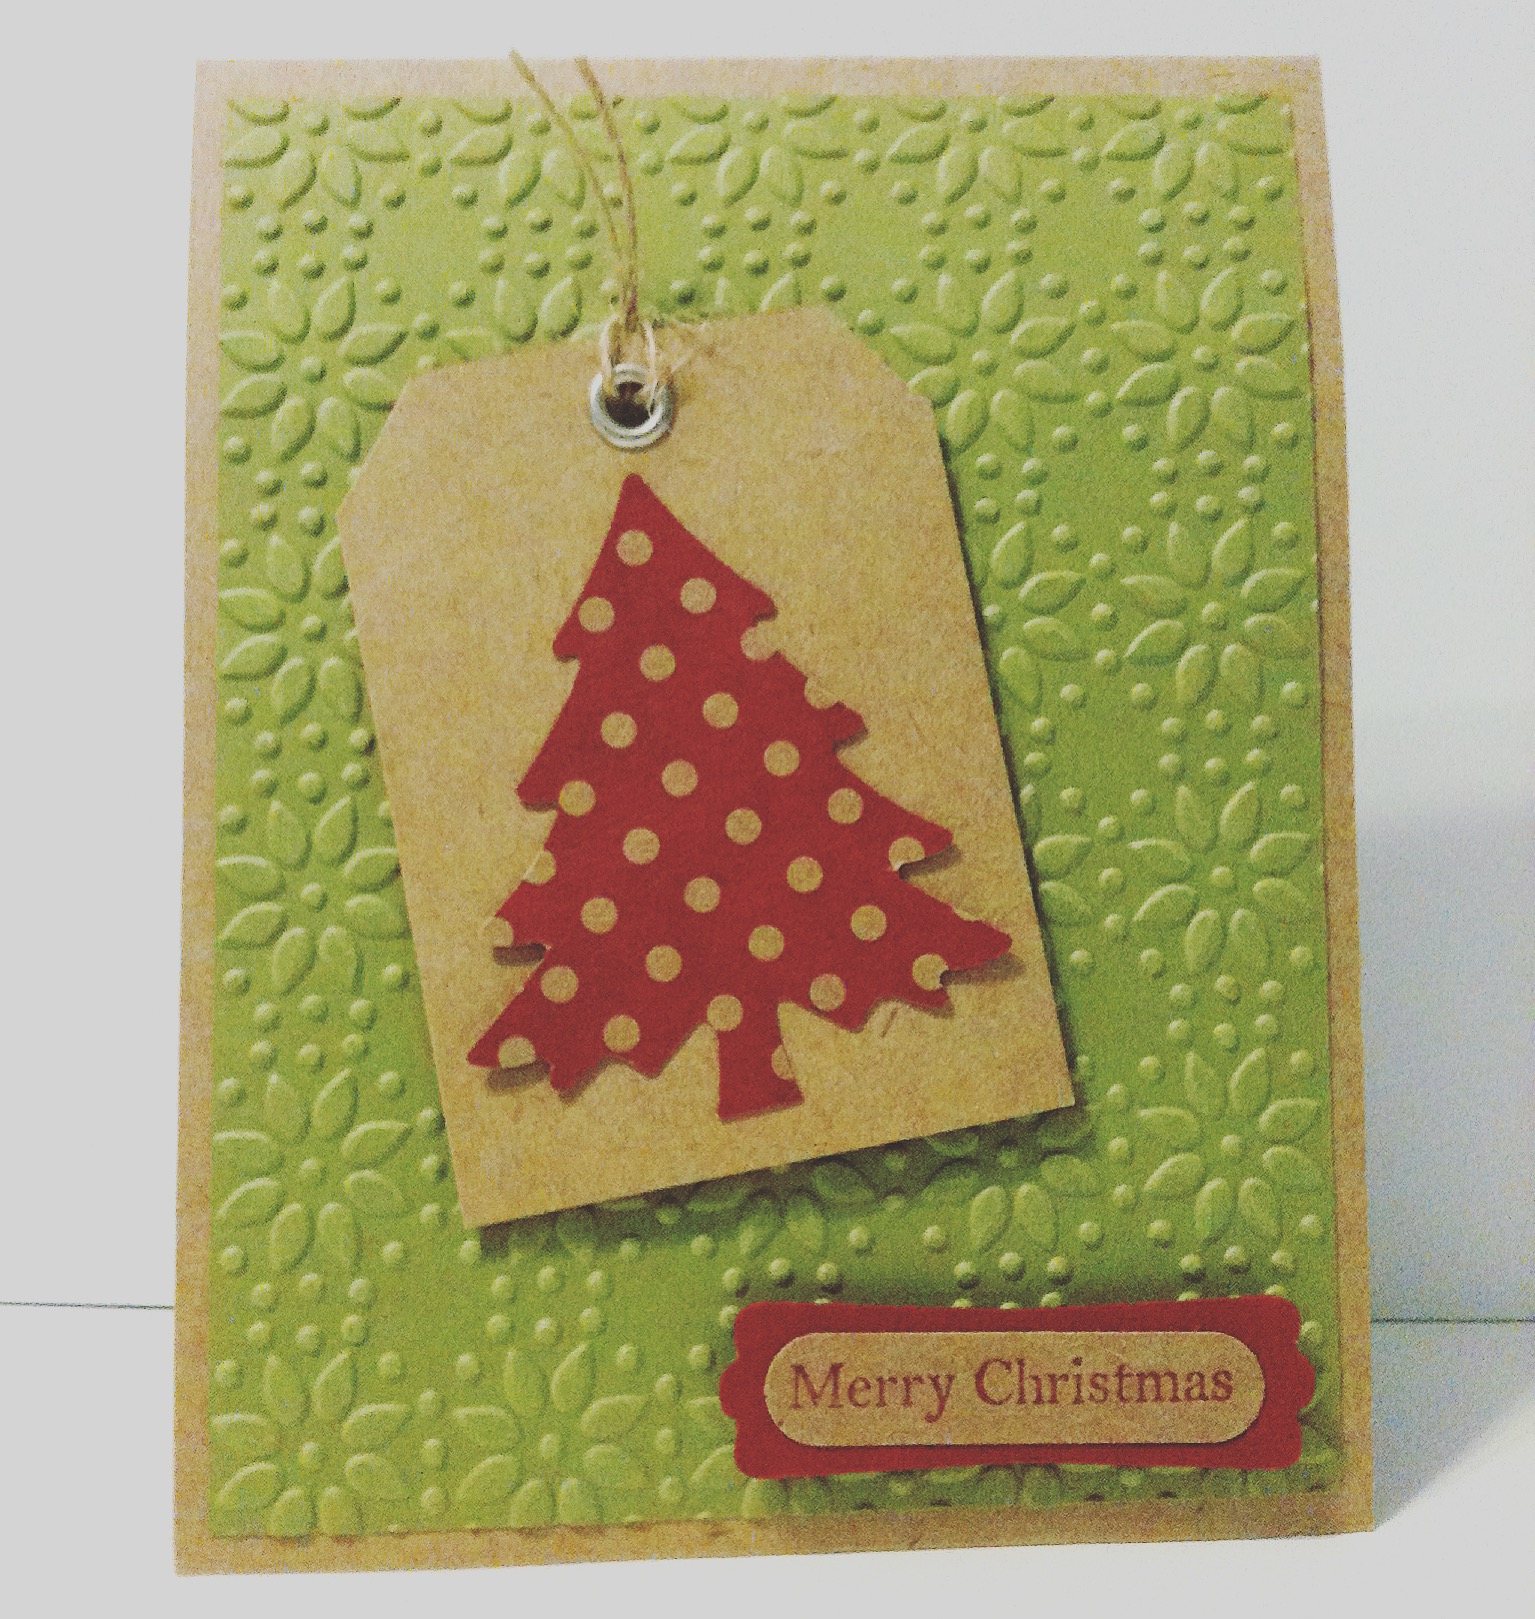
Here are the supplies you’ll need:

  • kraft cards (or card stock to make into cards)
  • kraft card stock (for the tag and sentiment)
  • red polka dot card stock (mine had kraft colored polka dots)
  • red card stock
  • silver eyelets
  • twine
  • embossing folder, word label punch, and label punch from Stampin’ Up
  • tree punch from EK Success (I found mine at Hobby Lobby)

I embossed a panel of green card stock with the poinsettia embossing folder and attached it to a kraft card. I cut a tag from kraft card stock (I used a tag I already had as a template), set a silver eyelet in the top, and tied it with a small piece of twine. I punched a tree from red polka dotted card stock and attached it to the tag. The tag is then put on the card with pop dots. I stamped Merry Christmas with red ink on kraft card stock, punched it with the word label punch, and attached it to a label punched from red card stock. The label is attached with pop dots.

This is the perfect card to create if you have a lot of Christmas cards to send. It is simple and comes together very quickly, so you can make as many as you need without taking away too much time from shopping!

Thanks for stopping by,

Anita

Posted in Cards, Christmas | Leave a comment

Glitter Ornaments

Handmade ornaments have always been special to me. My tree is filled each year with the beautiful creations from friends and those ornaments I have happened upon at craft fairs and other places. Memories are evoked by each one as I hang them on my tree. Some are simple and some more elaborate, but they are all precious to me. 

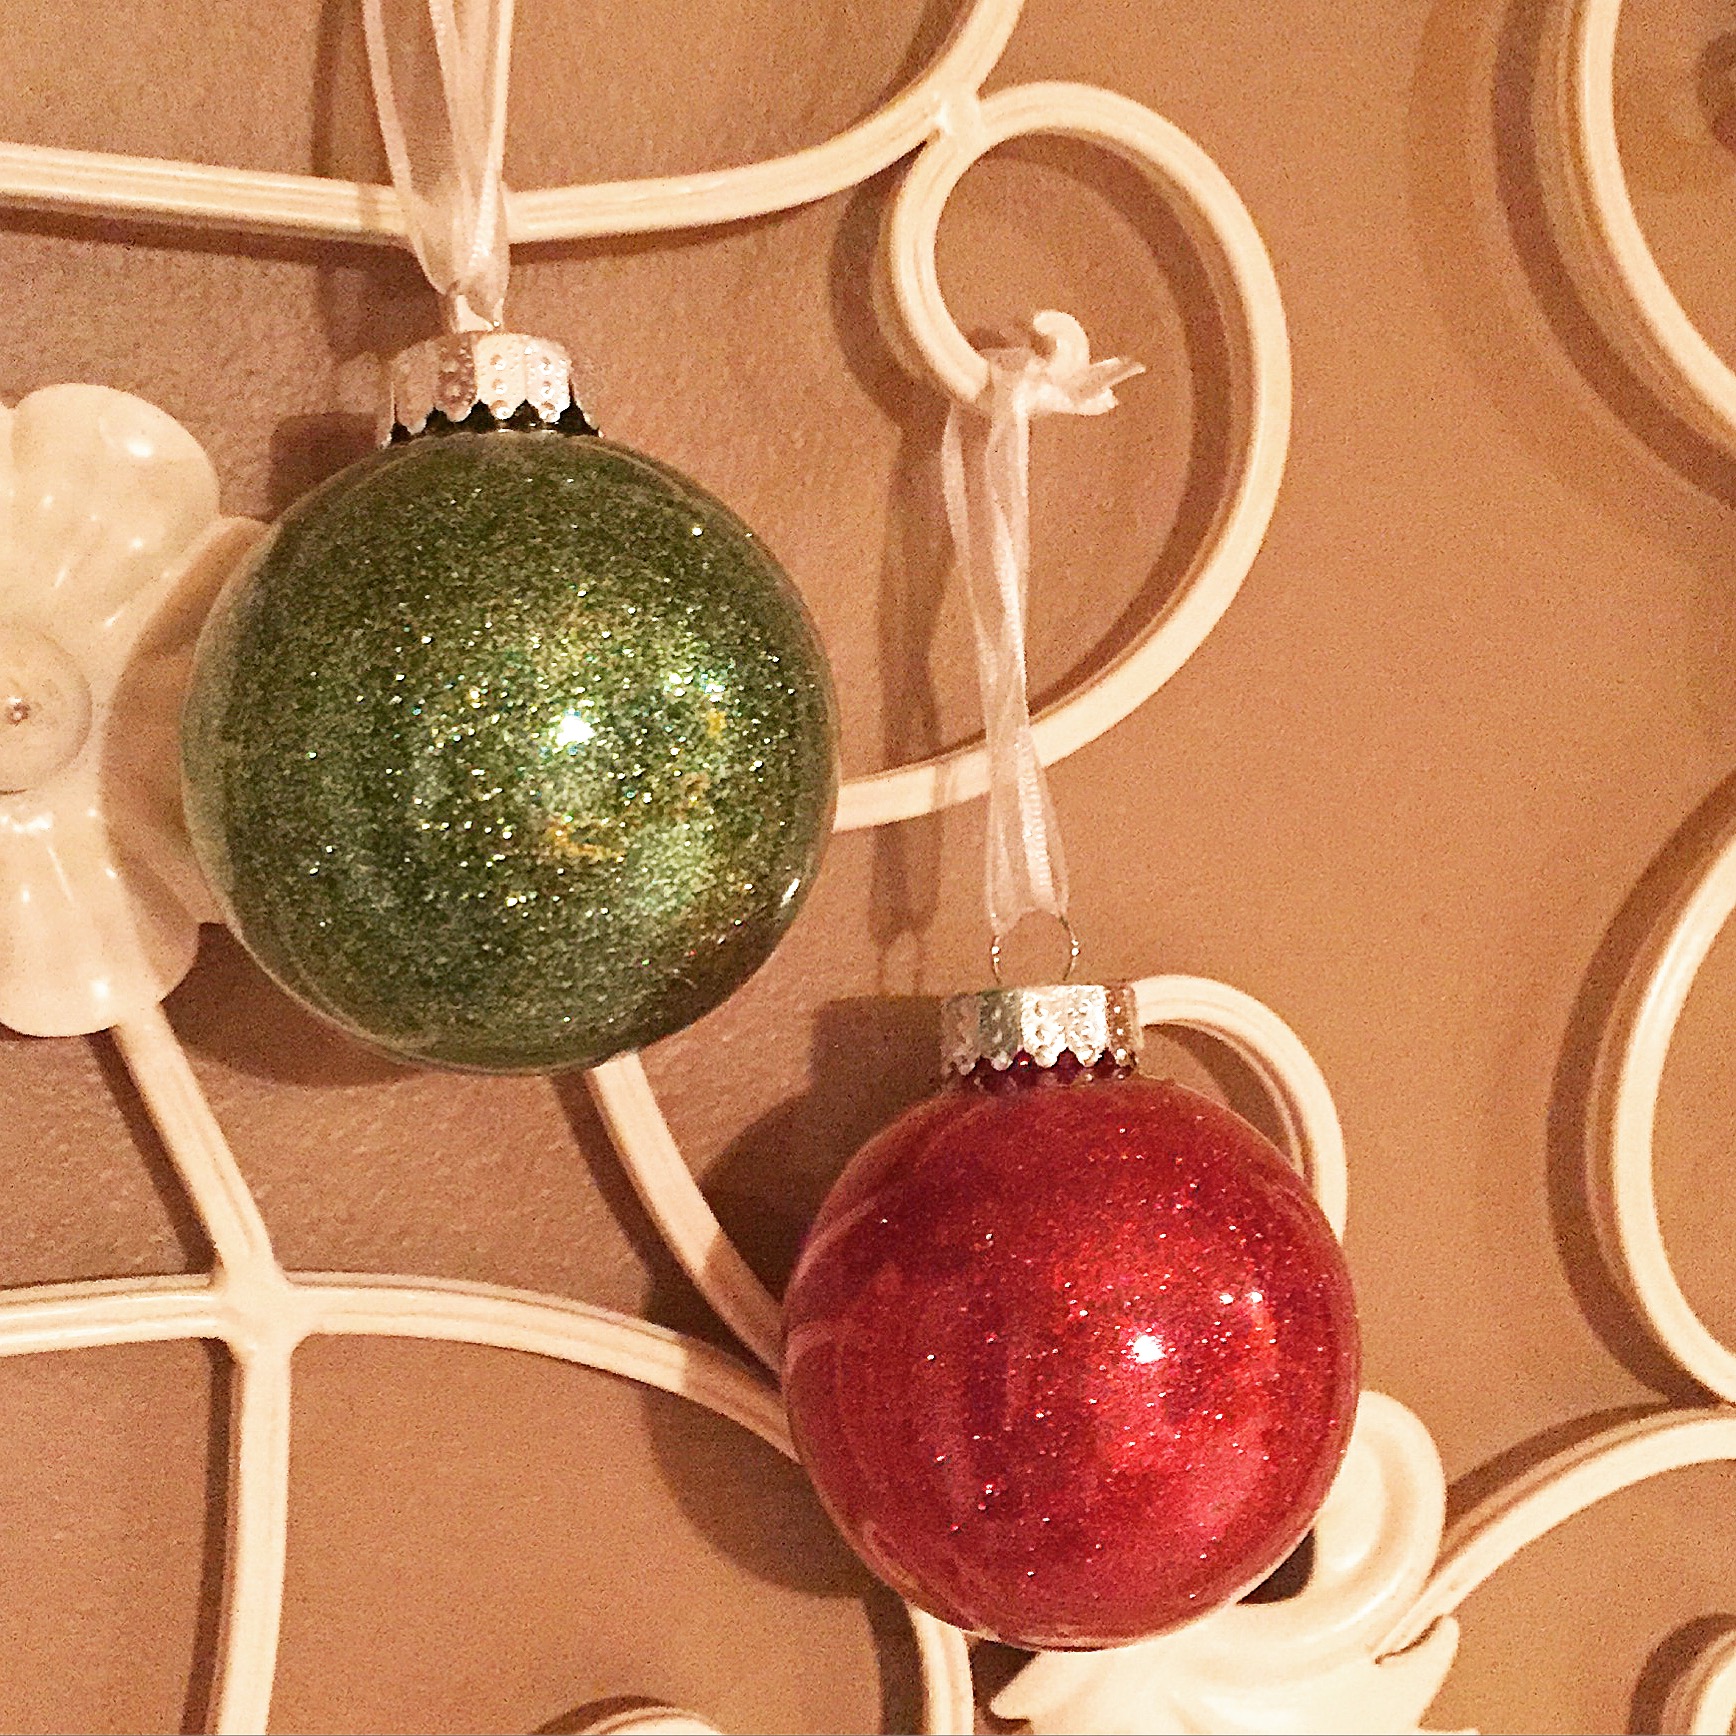
These glitter ornaments are so simple to make and will add a little touch of bling to your tree. And because the glitter is inside the ornament you won’t have sparkles all over your house!

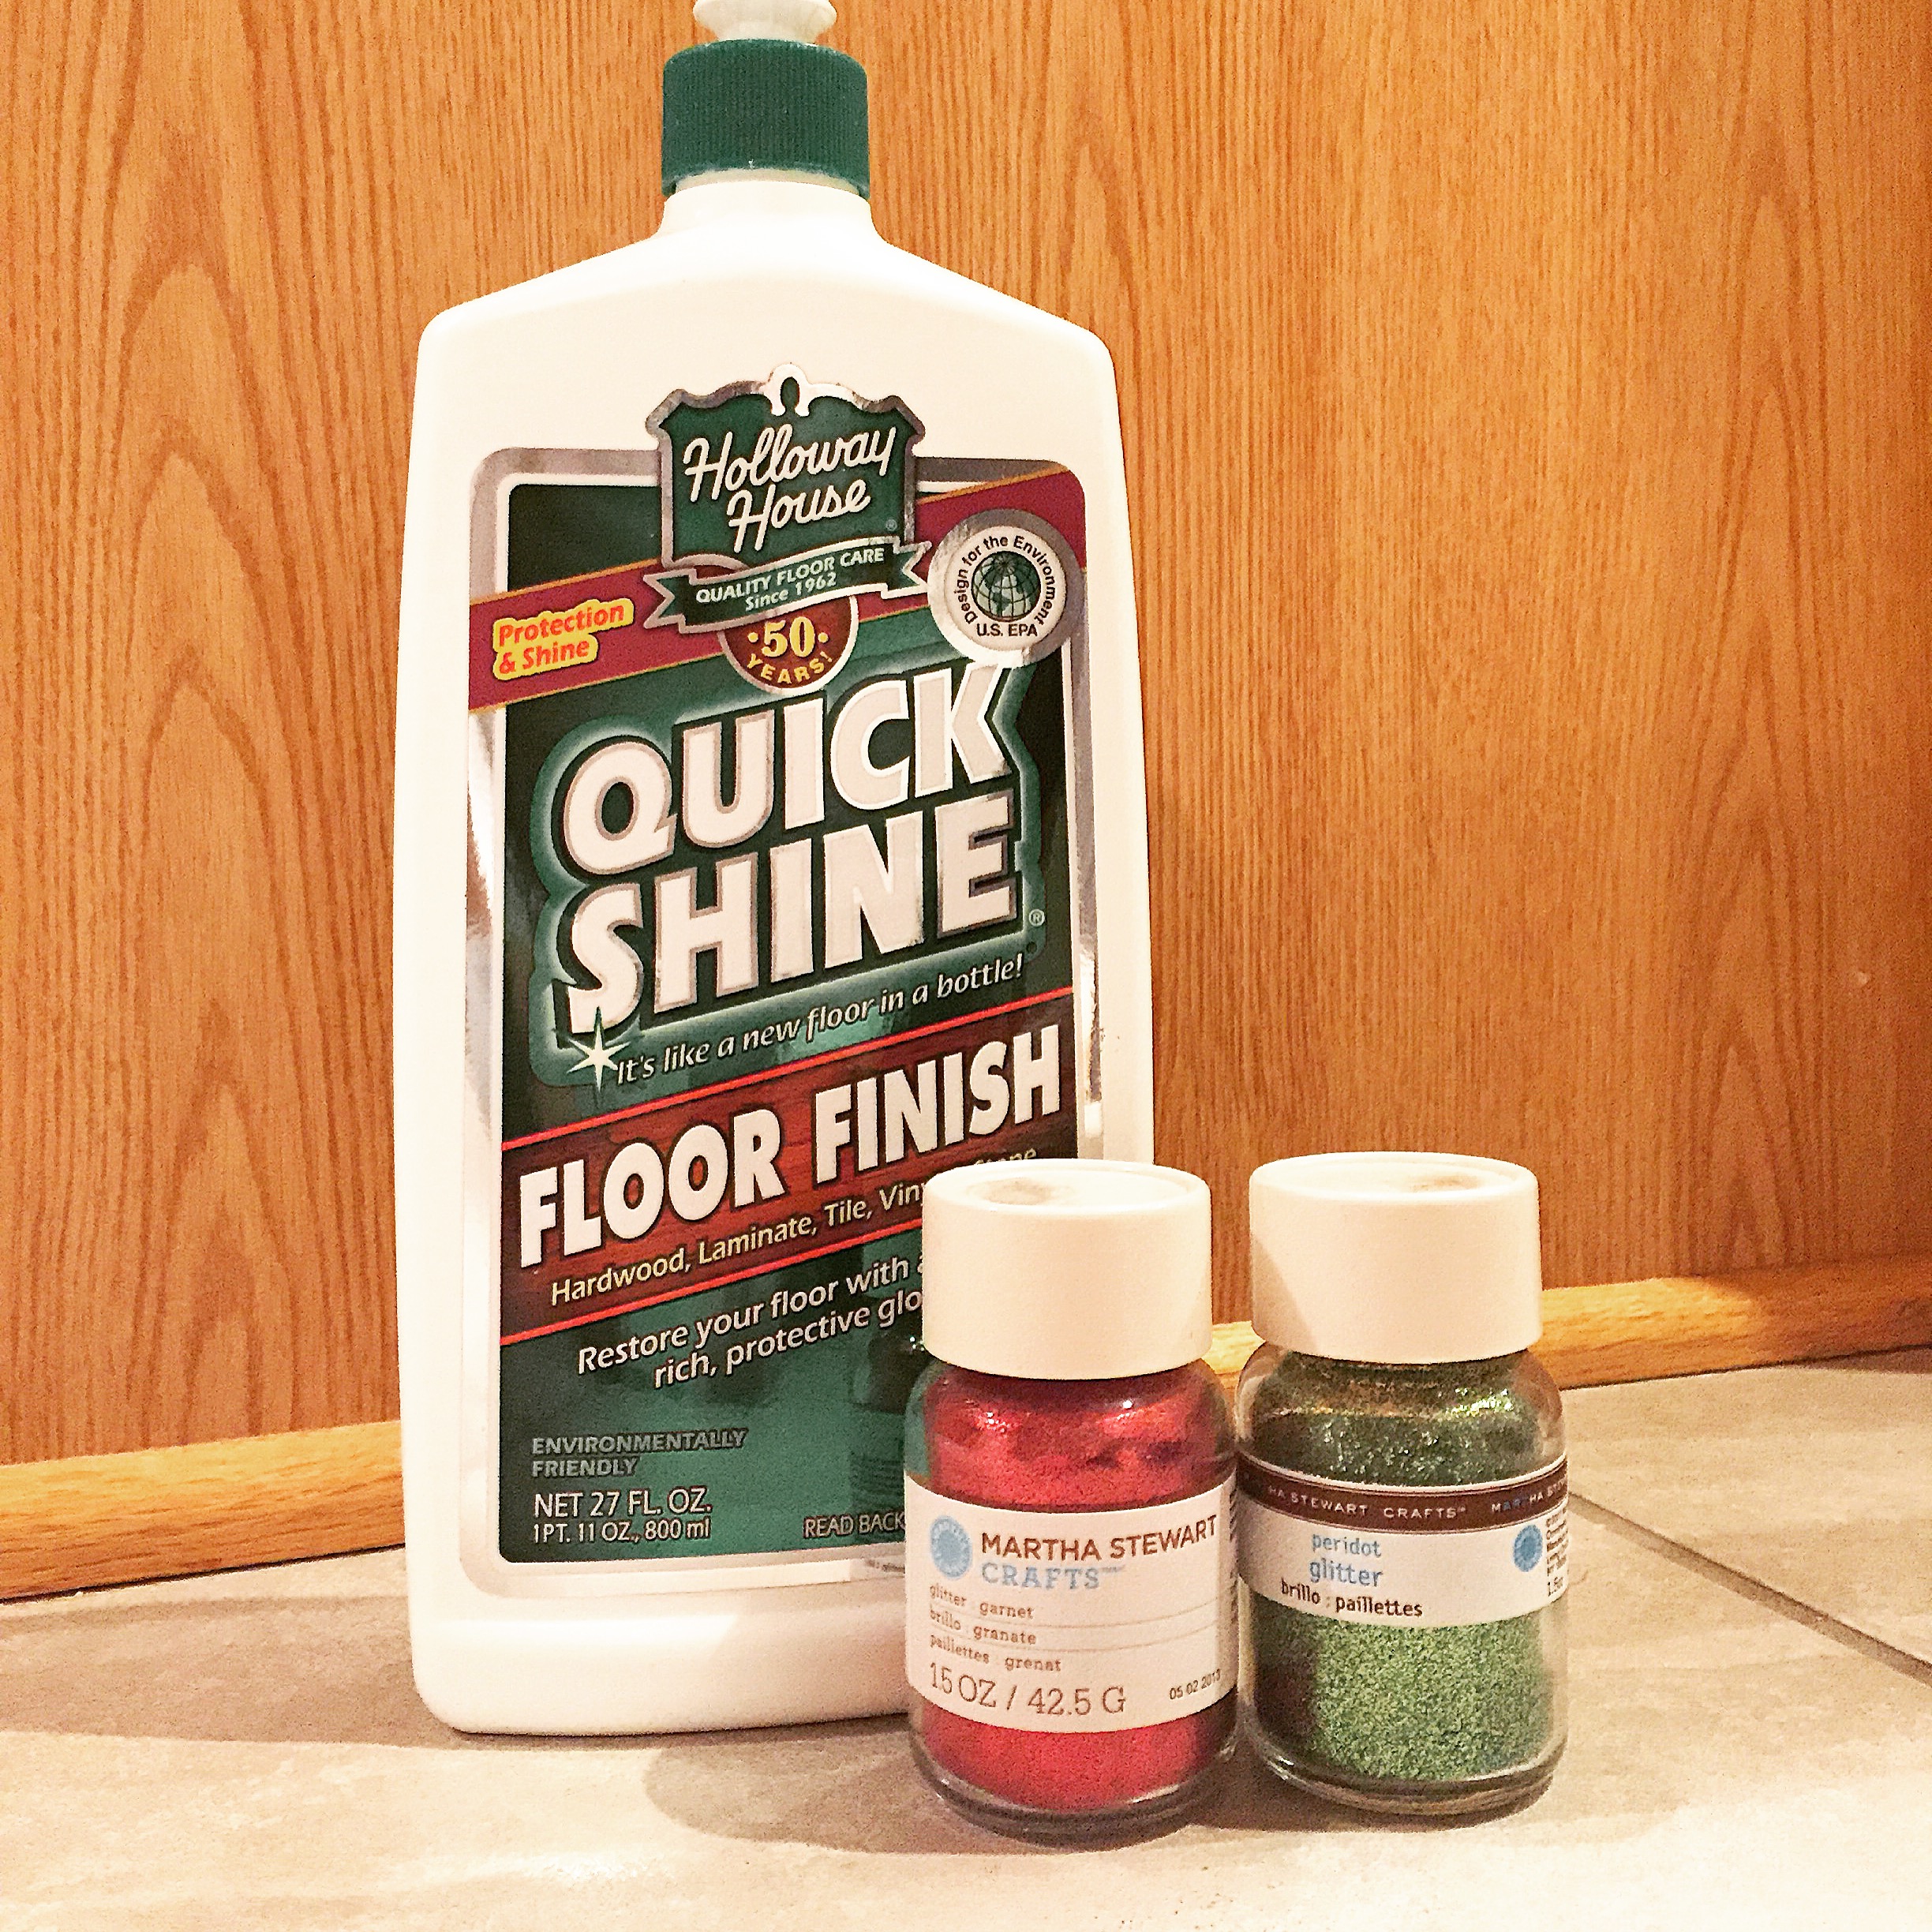
IMG_5011To make these you’ll need some clear glass ornaments and fine glitter in your choice of colors – both available at your favorite craft store. The secret to making these is clear floor wax. That’s right, floor wax! I found this brand at Target, but any brand will work. 

IMG_5012Take the metal top off the ornament and pour in some floor wax. Swish it all around to cover the entire inside of the ornament. Pour the excess back into the bottle. Using a funnel, immediately pour some glitter into the ornament and shake it until the inside is covered. Pour the excess glitter back into the jar. Then just let it dry. You might want to shake the ornament over a container after it has had a chance to dry to remove any loose glitter. Put the metal top back onto the ornament and attach a ribbon for hanging. Or leave the ribbon off and fill a bowl, hurricane, or lantern with them for a beautiful addition to your Christmas decor. 

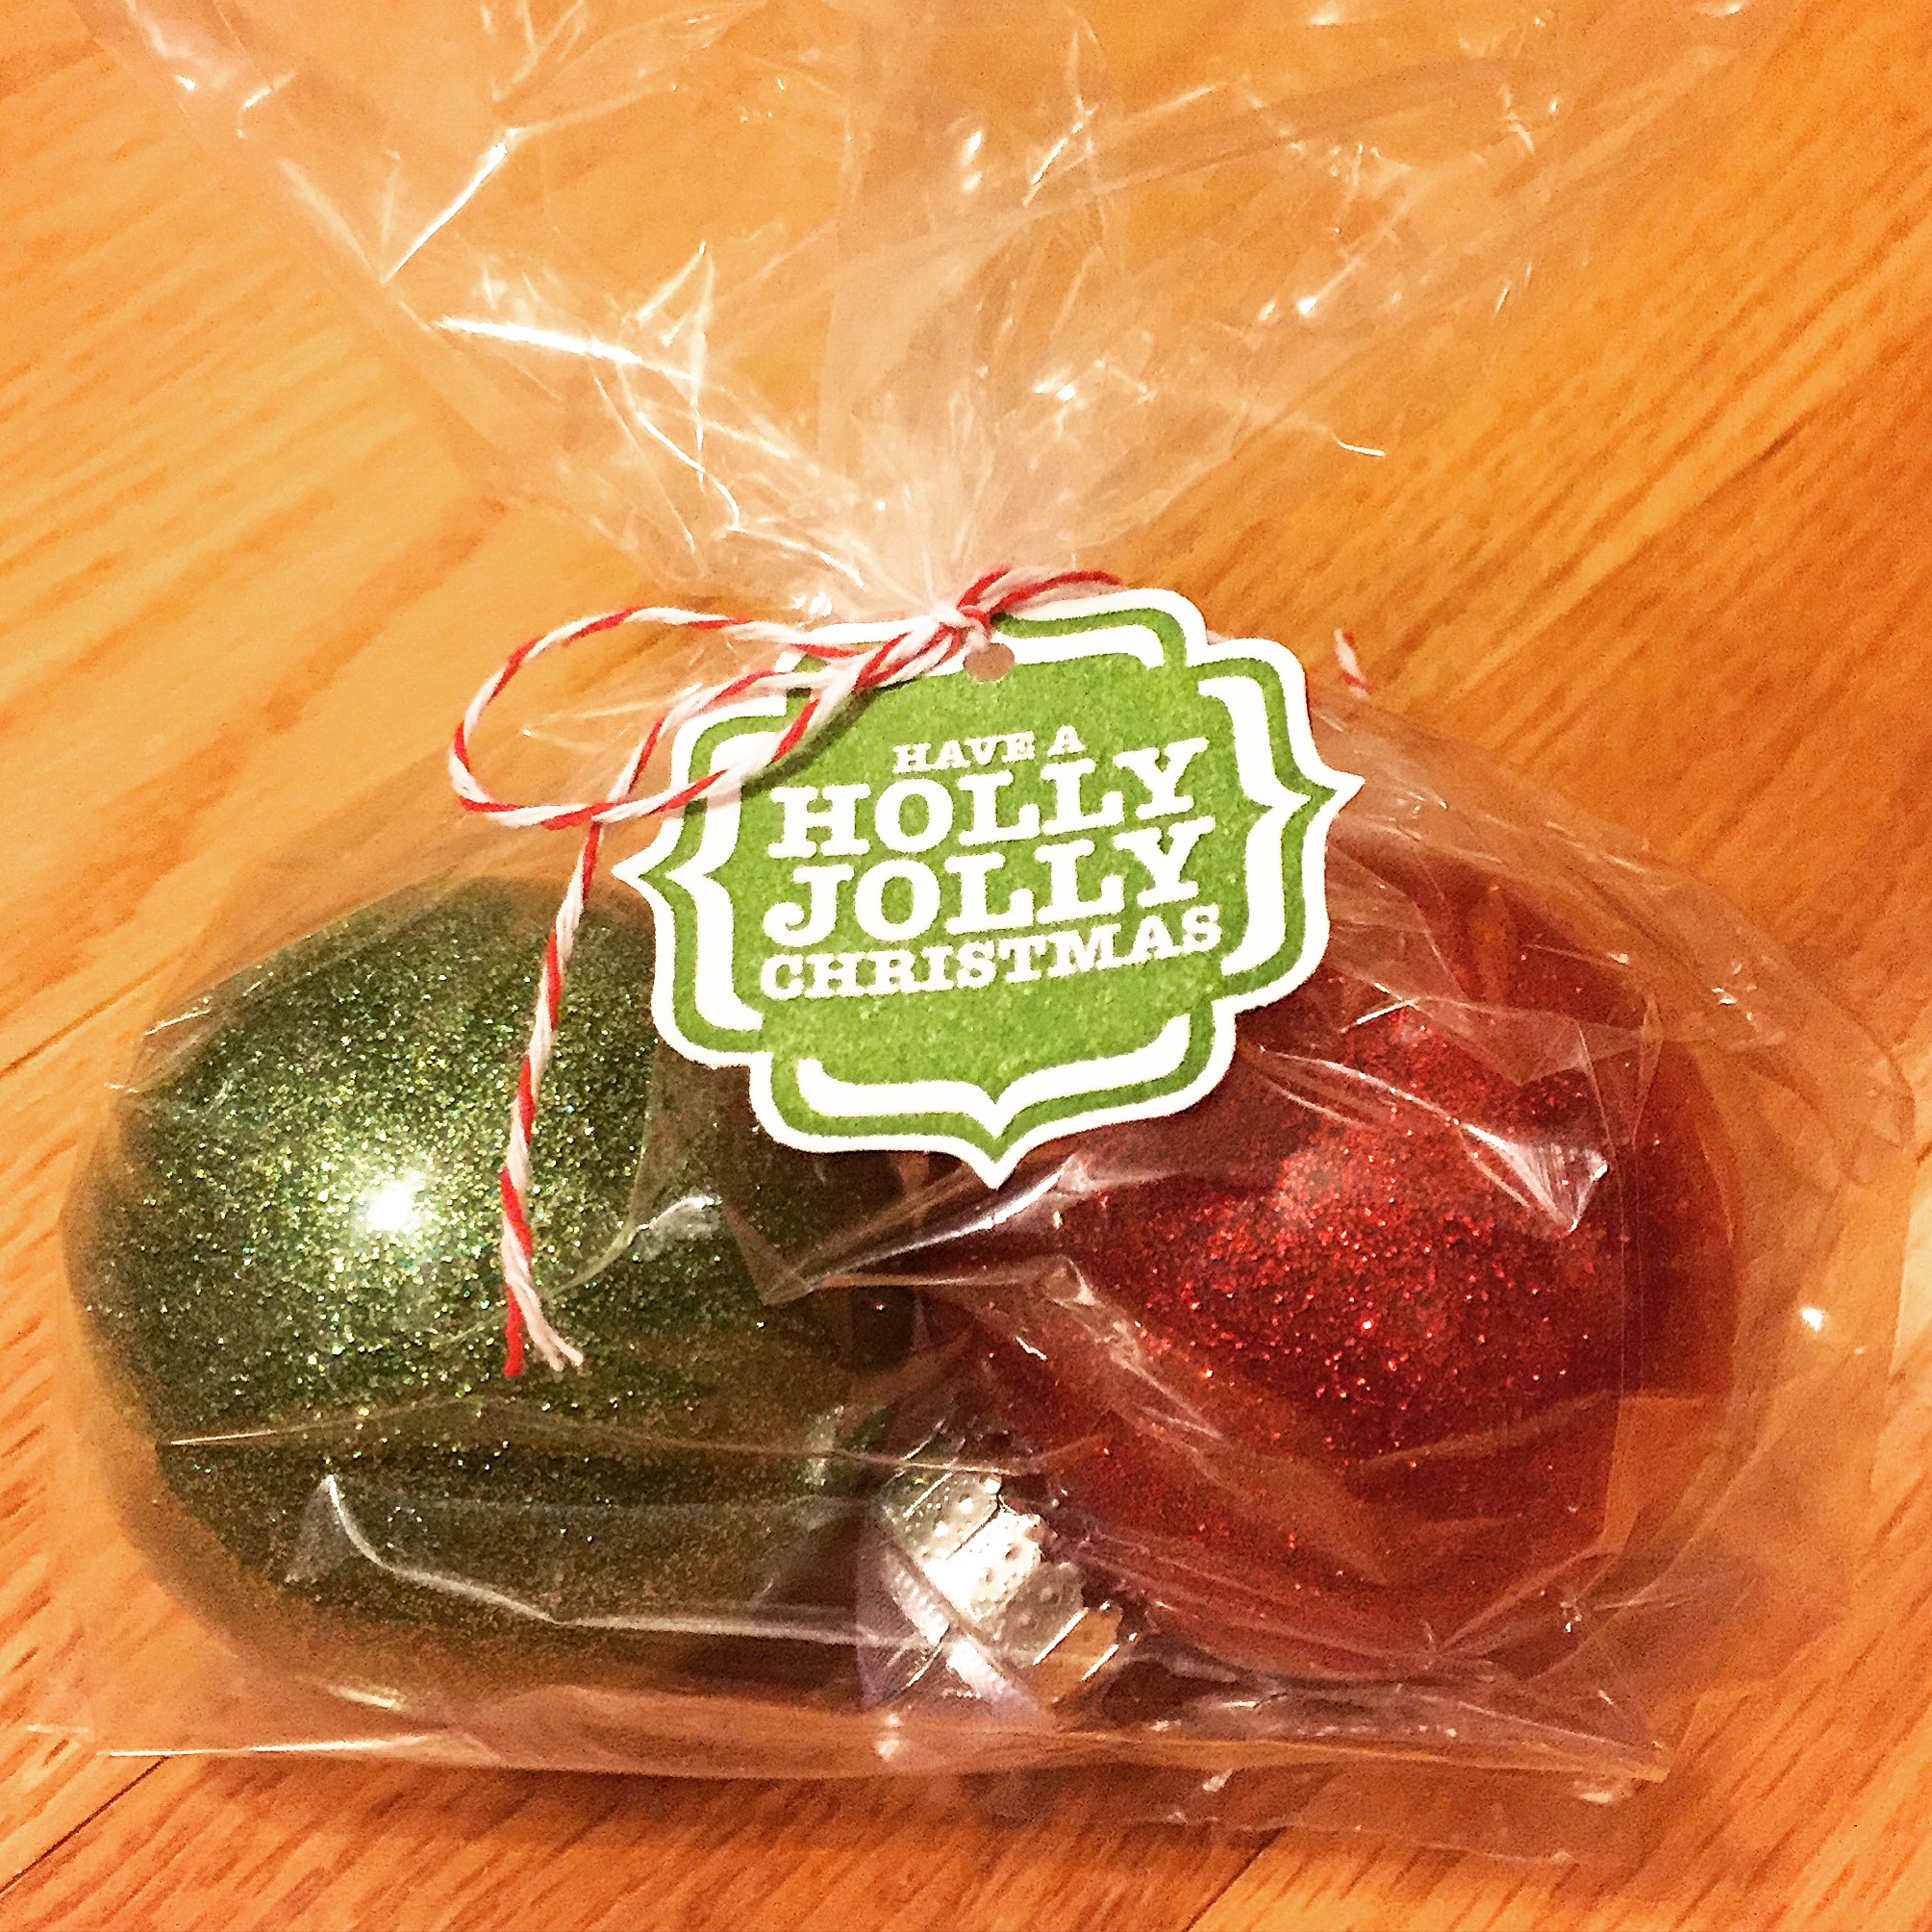
I packaged these up with a cute little tag to give as gifts. This would be a fun family project to make for teachers, neighbors, family, and friends. You could also personalize them with initials, words, or other stickers. 

IMG_5010Find your favorite colors of glitter and just have fun!

Thanks for stopping by,

Anita

Posted in Christmas, Decor, Gifts | 3 Comments

Snickerdoodles 

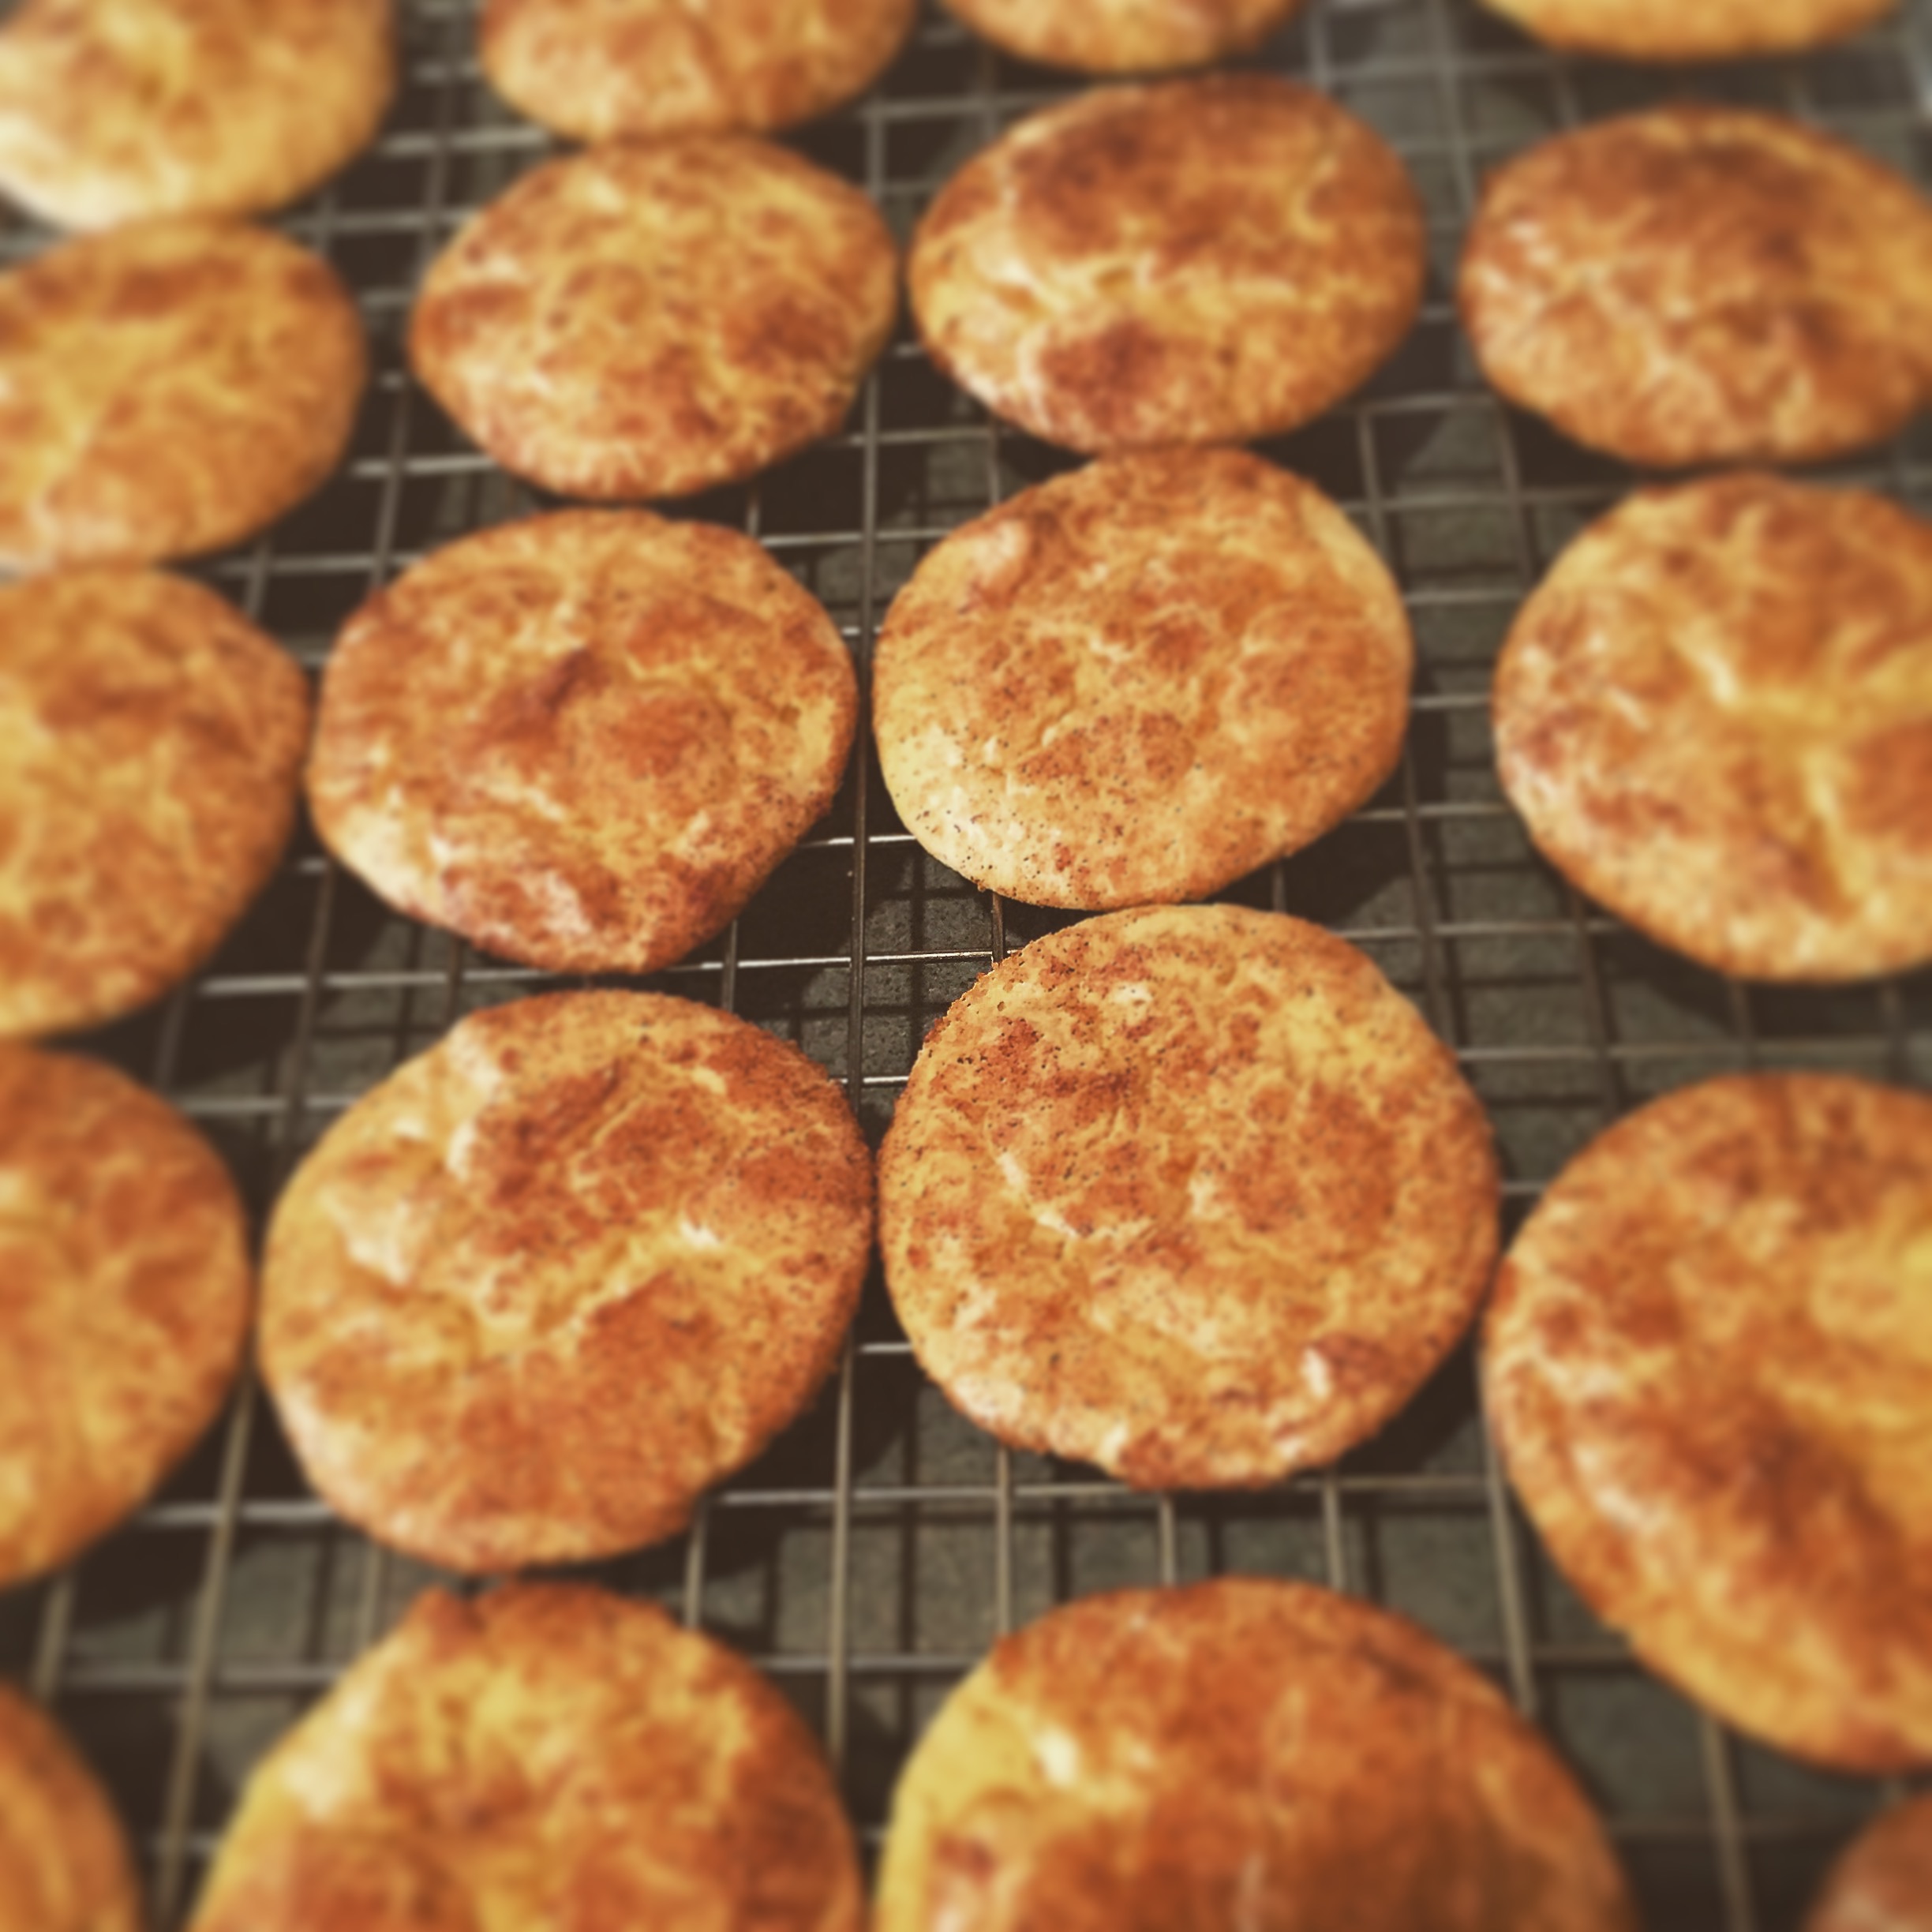
Snickerdoodles. One of the easiest cookies to make and you probably have everything you need to whip up a batch right in your kitchen!

IMG_4969

My favorite recipe is in this little booklet which also has a yummy oatmeal cookie recipe you can find here.

IMG_4303

Here’s the recipe:

  • 1 cup margarine at room temperature
  • 1  1/2 cups sugar
  • 2 eggs
  • 2 teaspoons cream of tartar
  • 1 teaspoon baking soda
  • 2  3/4 cups flour
  • 1/4 teaspoon salt
  • 3 tablespoons sugar
  • 3 teaspoons cinnamon

Preheat oven to 400°

Cream together margarine, sugar, and eggs thoroughly. Sift together flour, cream of tartar, baking soda, and salt. Add to the first mixture and blend thoroughly. Form dough into balls the size of walnuts. 

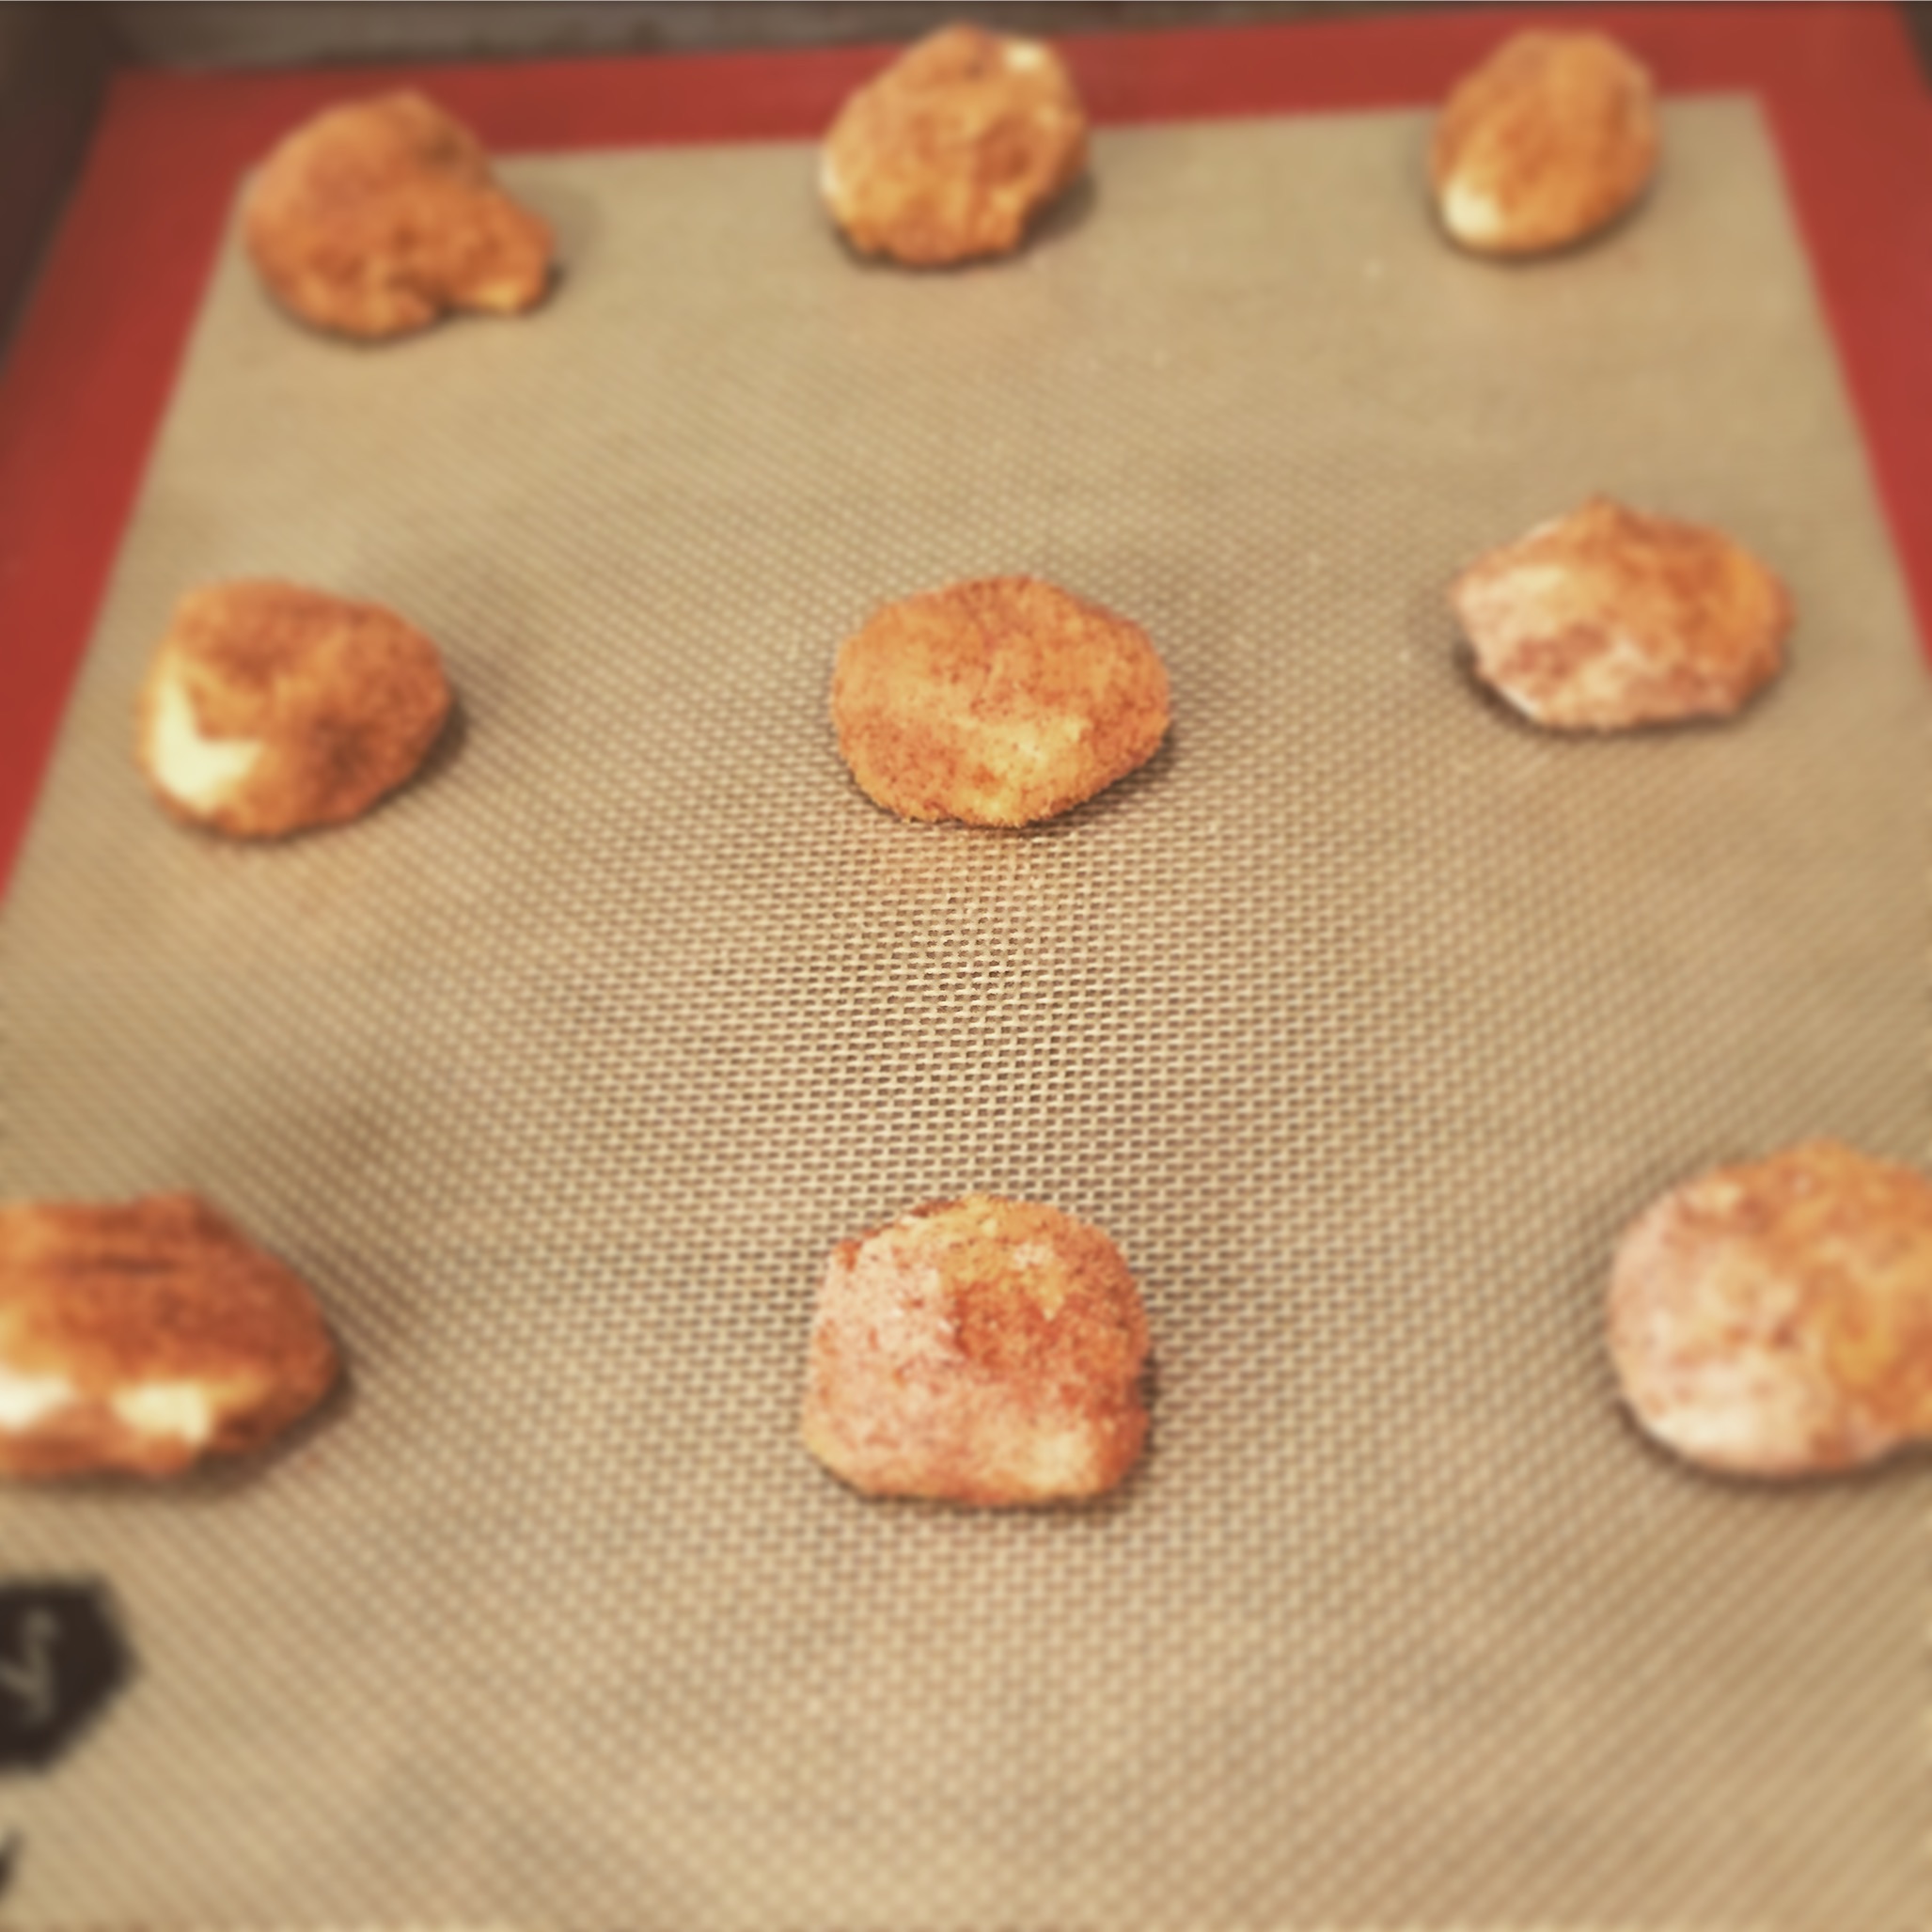
In another bowl, combine 3 tablespoons sugar and cinnamon. Roll each ball in this mixture and place on an ungreased cookie sheet allowing at least 2 inches between each ball. Bake 8 to 10 minutes.

IMG_4970

This recipe makes about 5 dozen cookies so there are plenty for everyone. So good with a cold glass of milk or a hot cup of tea or coffee! And if there are any left, they freeze well…Enjoy 🙂

Thanks for stopping by,

Anita

Posted in Recipes | Leave a comment

Dreamy Lace Baby Throw

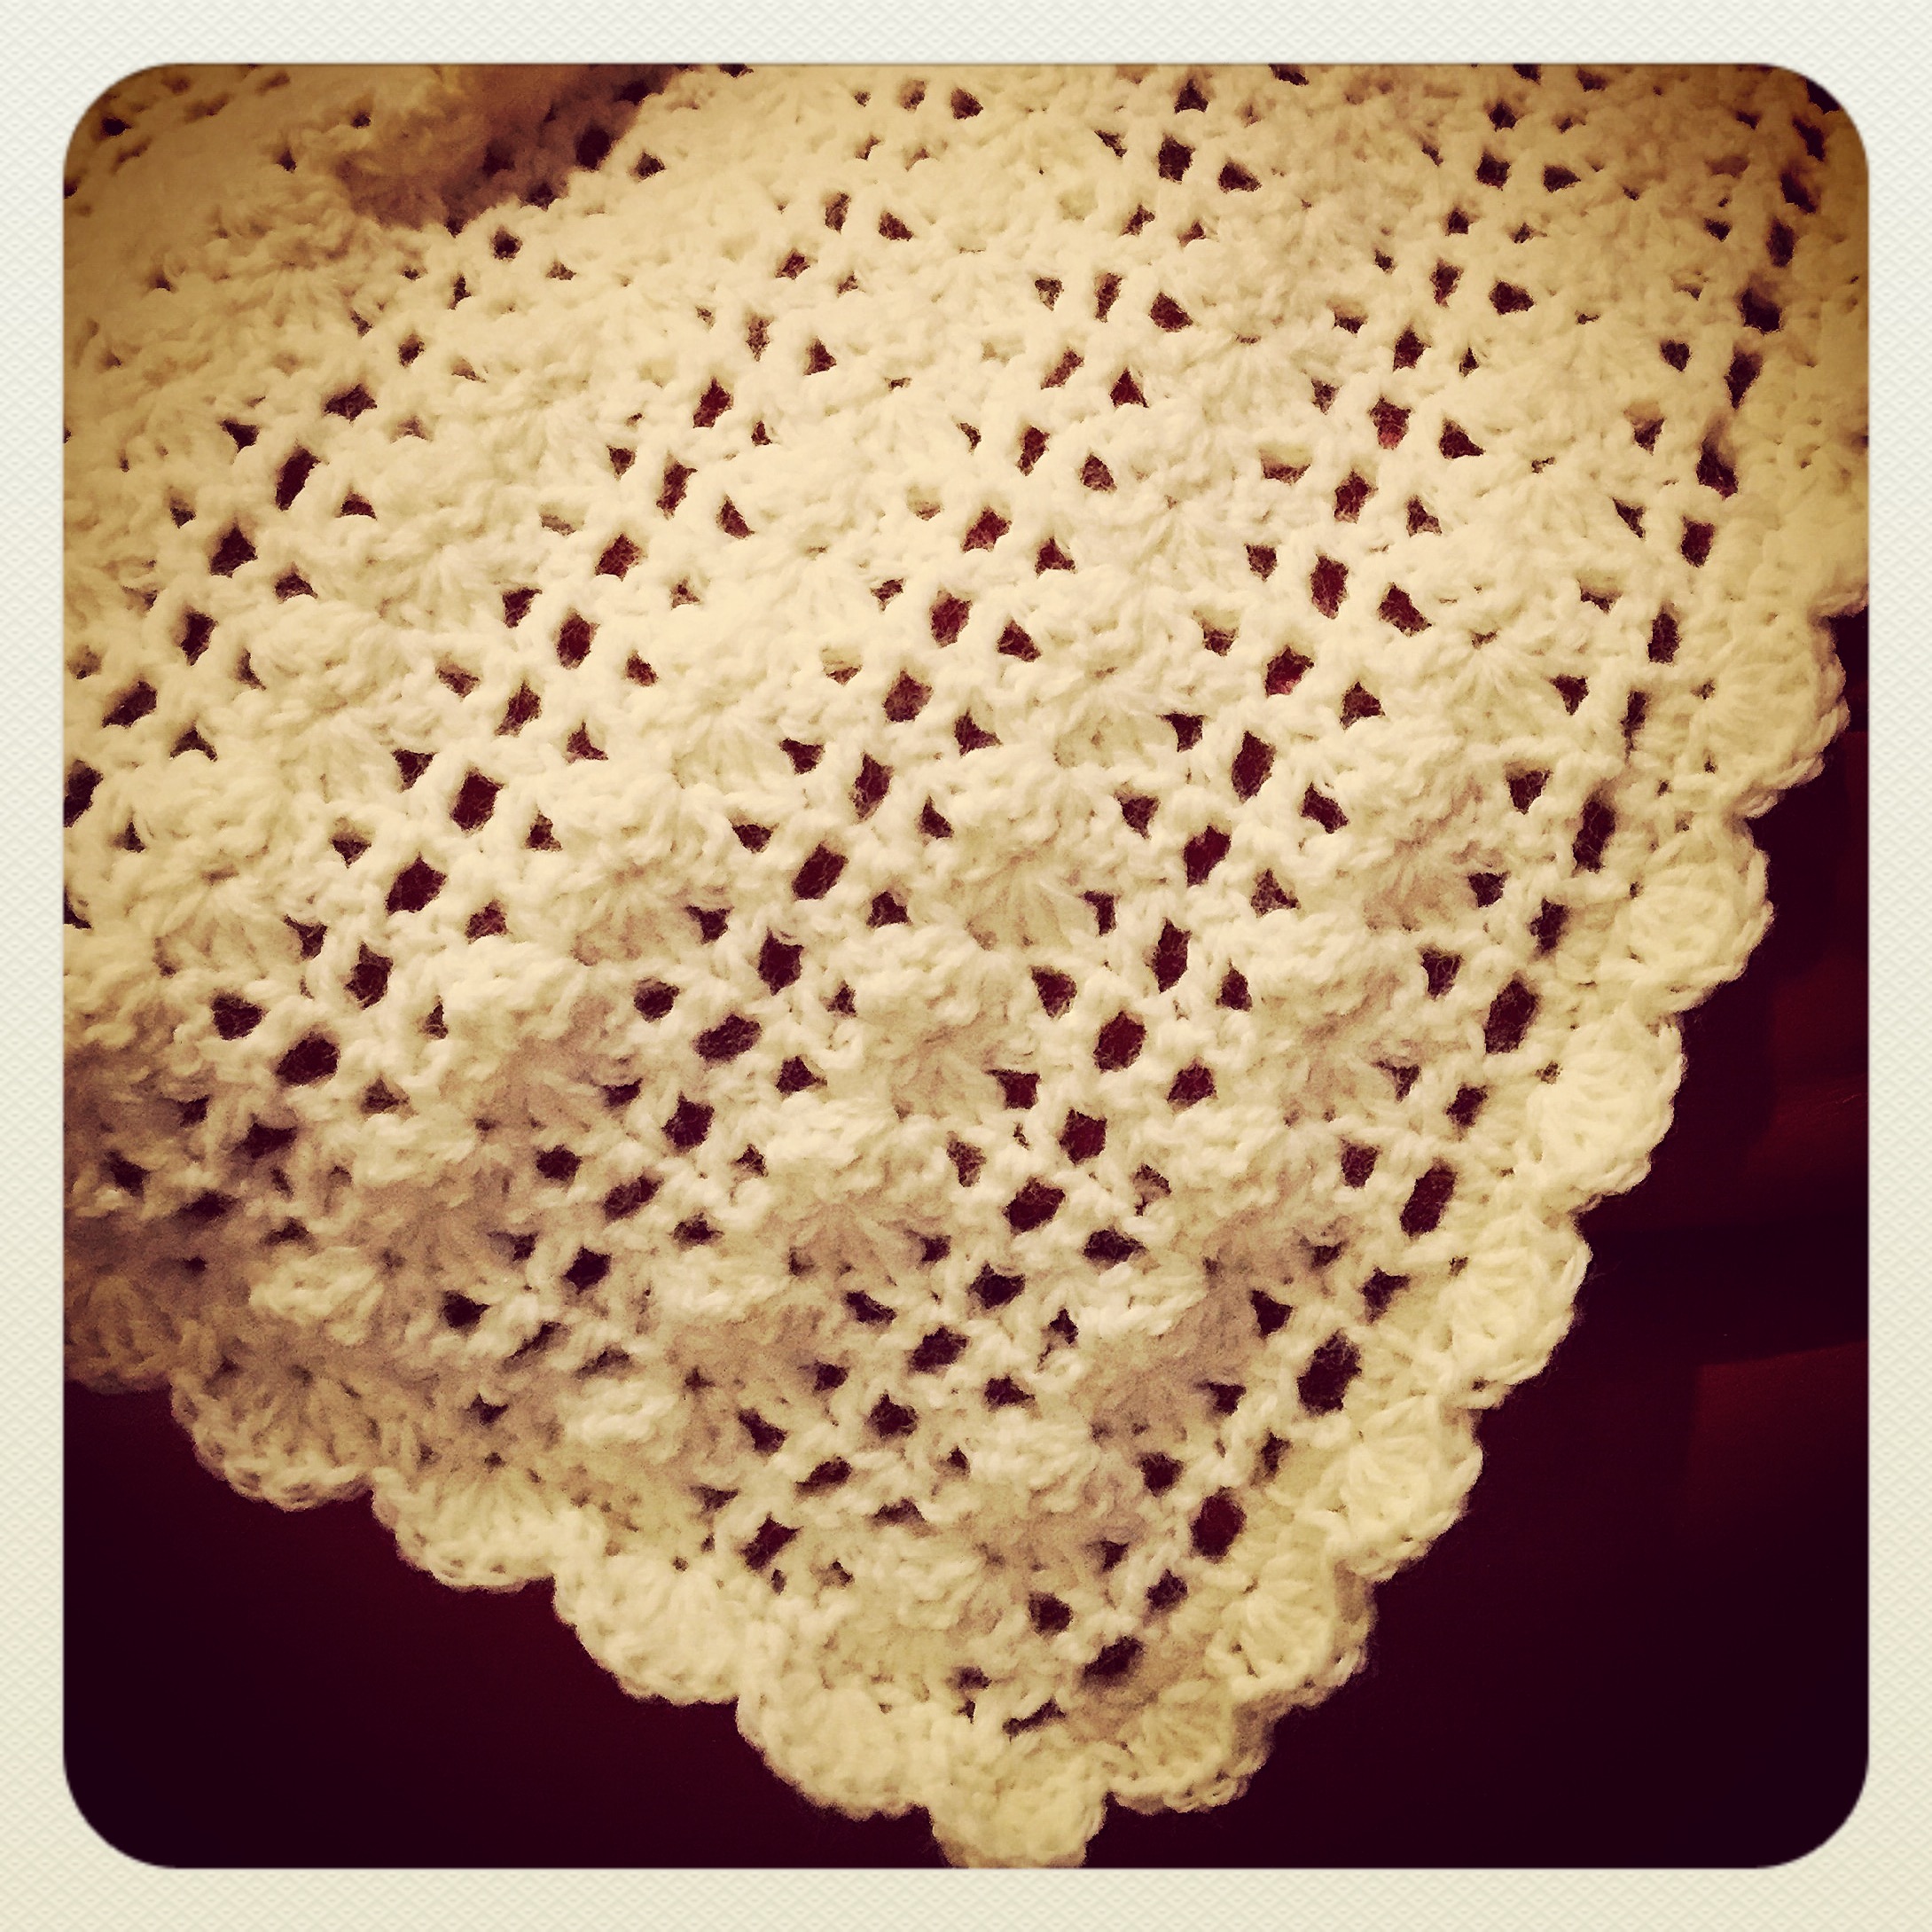
One of my favorite things to crochet is a soft, cuddly blanket for a sweet, new baby. I just finished this blanket to give to a precious little one. 

IMG_4961

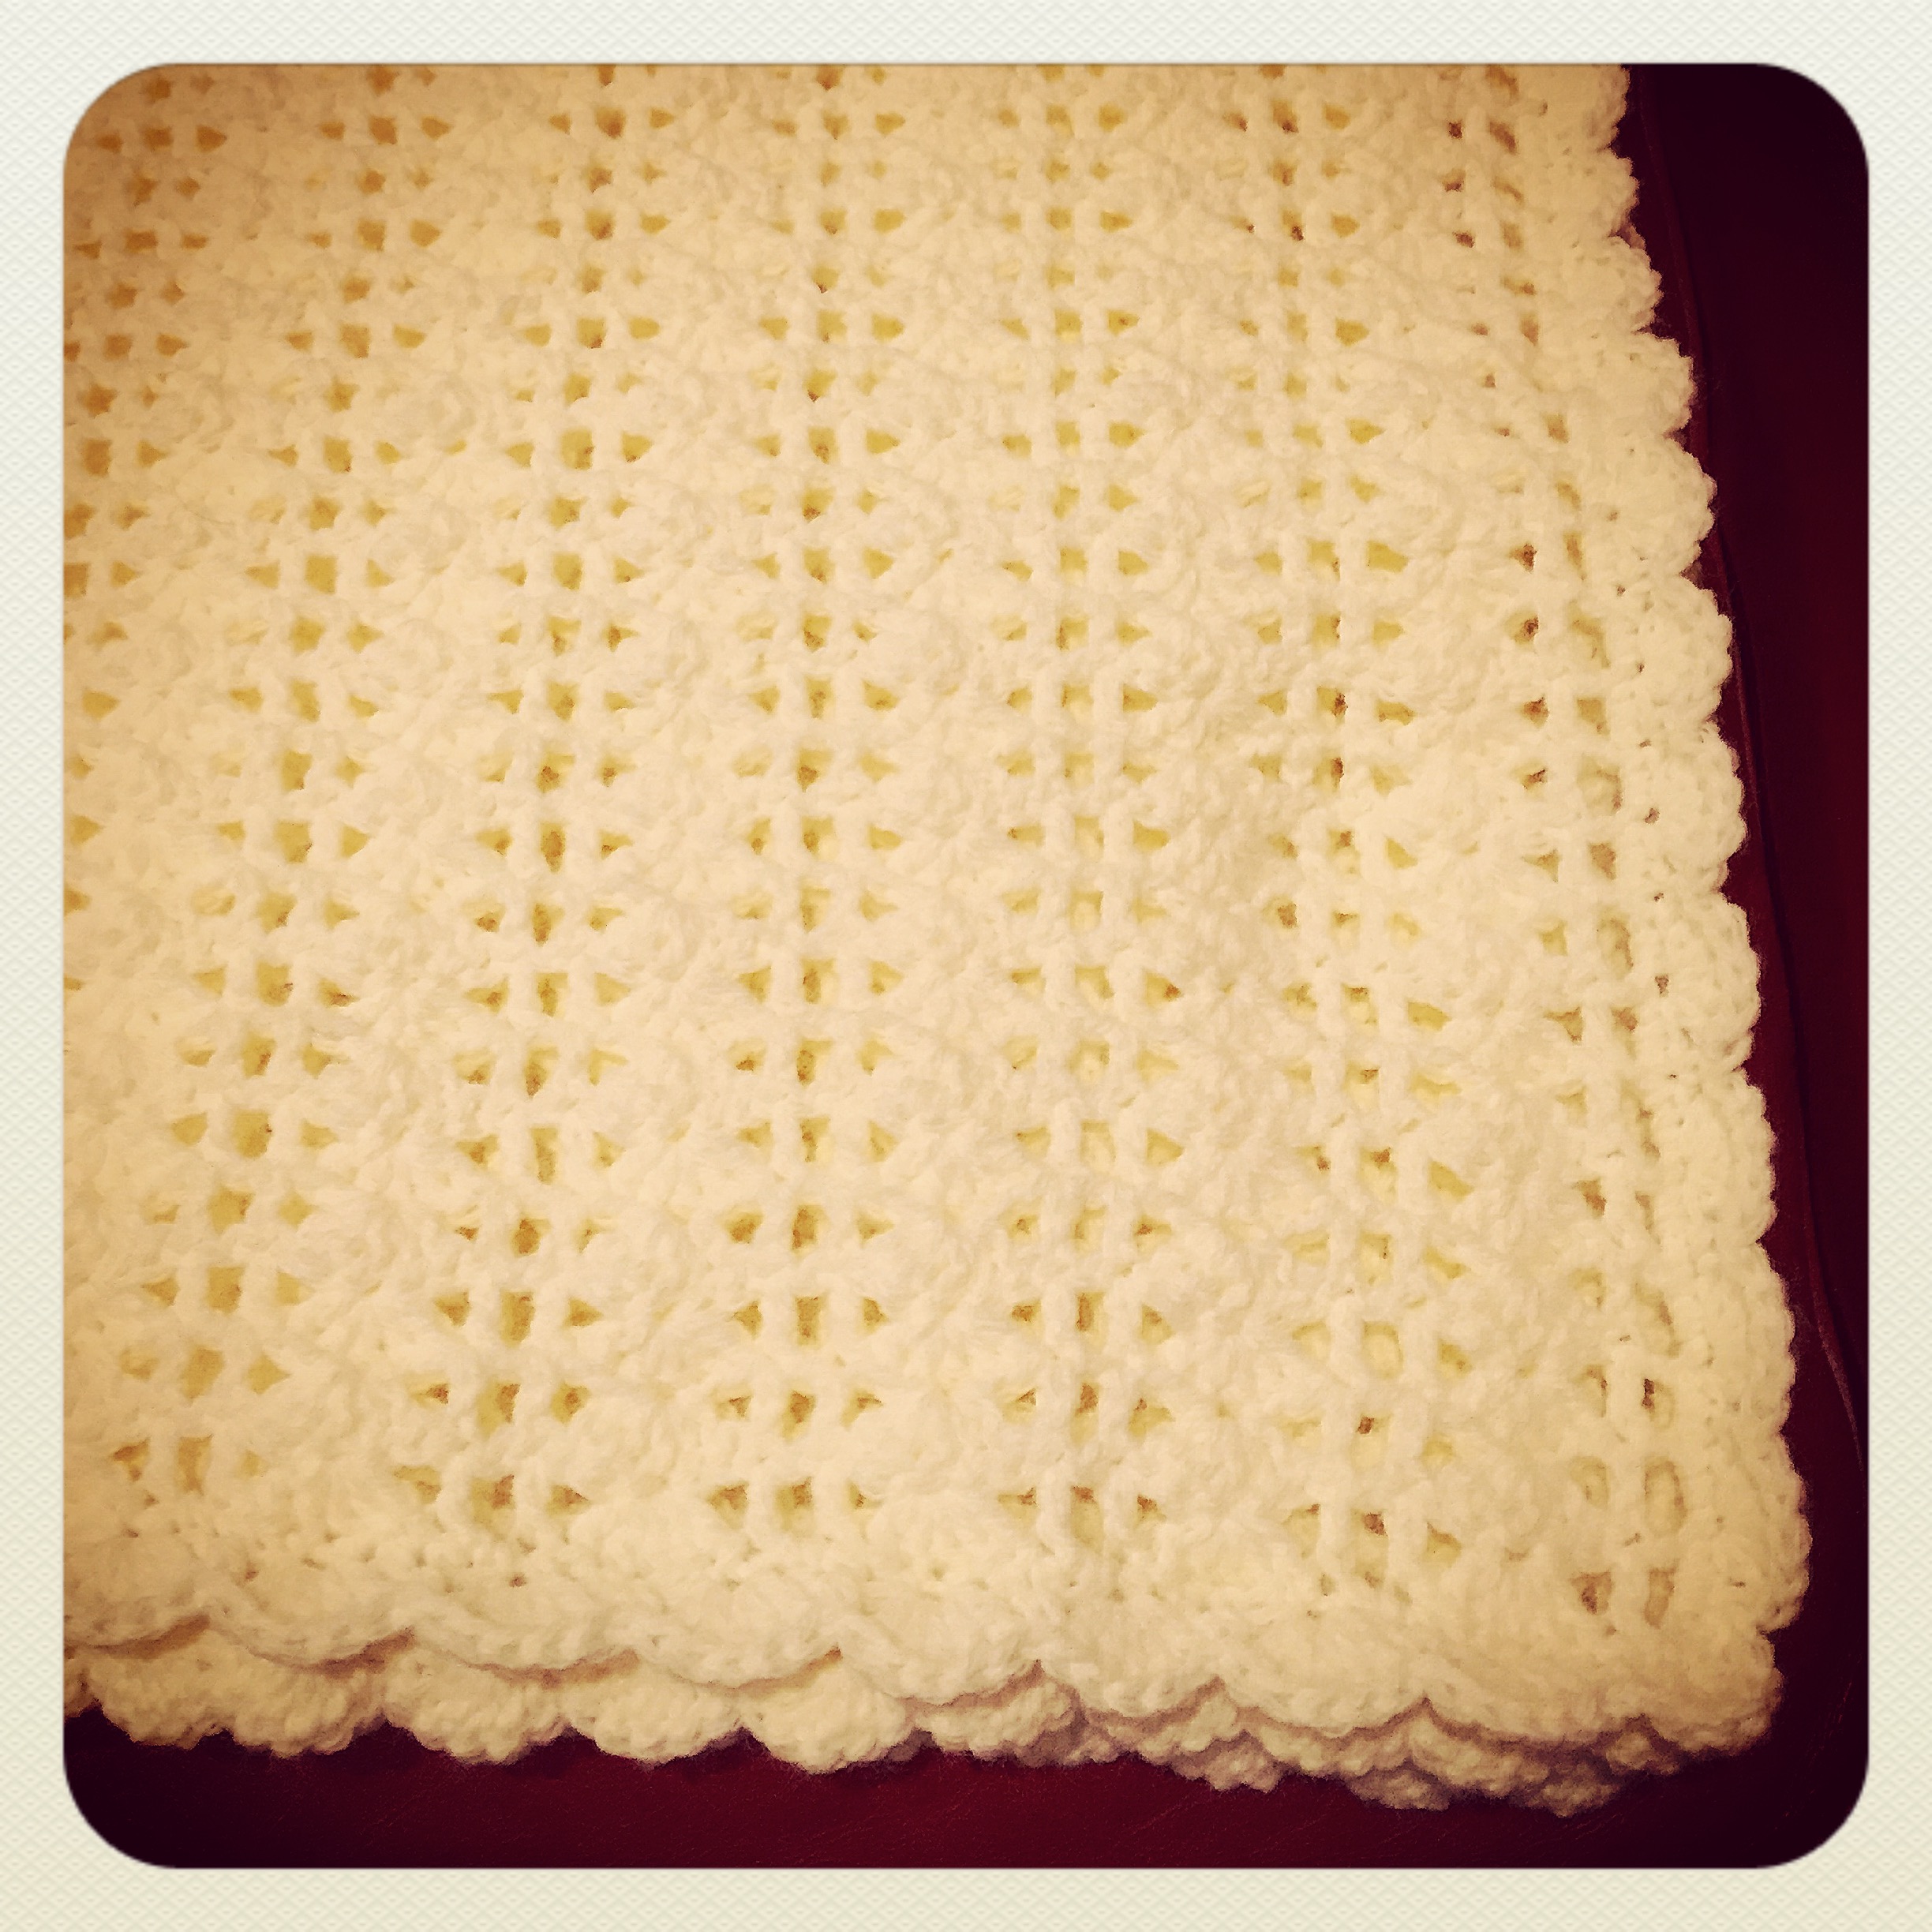
I found the pattern here on the Lion Brand website. I used the Pound of Love yarn in Antique White, but any soft worsted weight yarn will work. Once you get the pattern started it works up very quickly. I didn’t use all the yarn so I have some left to maybe make a cute hat to go with the blanket.

IMG_4960

I think this will keep the new little one snuggly and warm!

Thanks for stopping by,

Anita

Posted in Crochet, Gifts | Leave a comment

Gobble Gobble Greetings

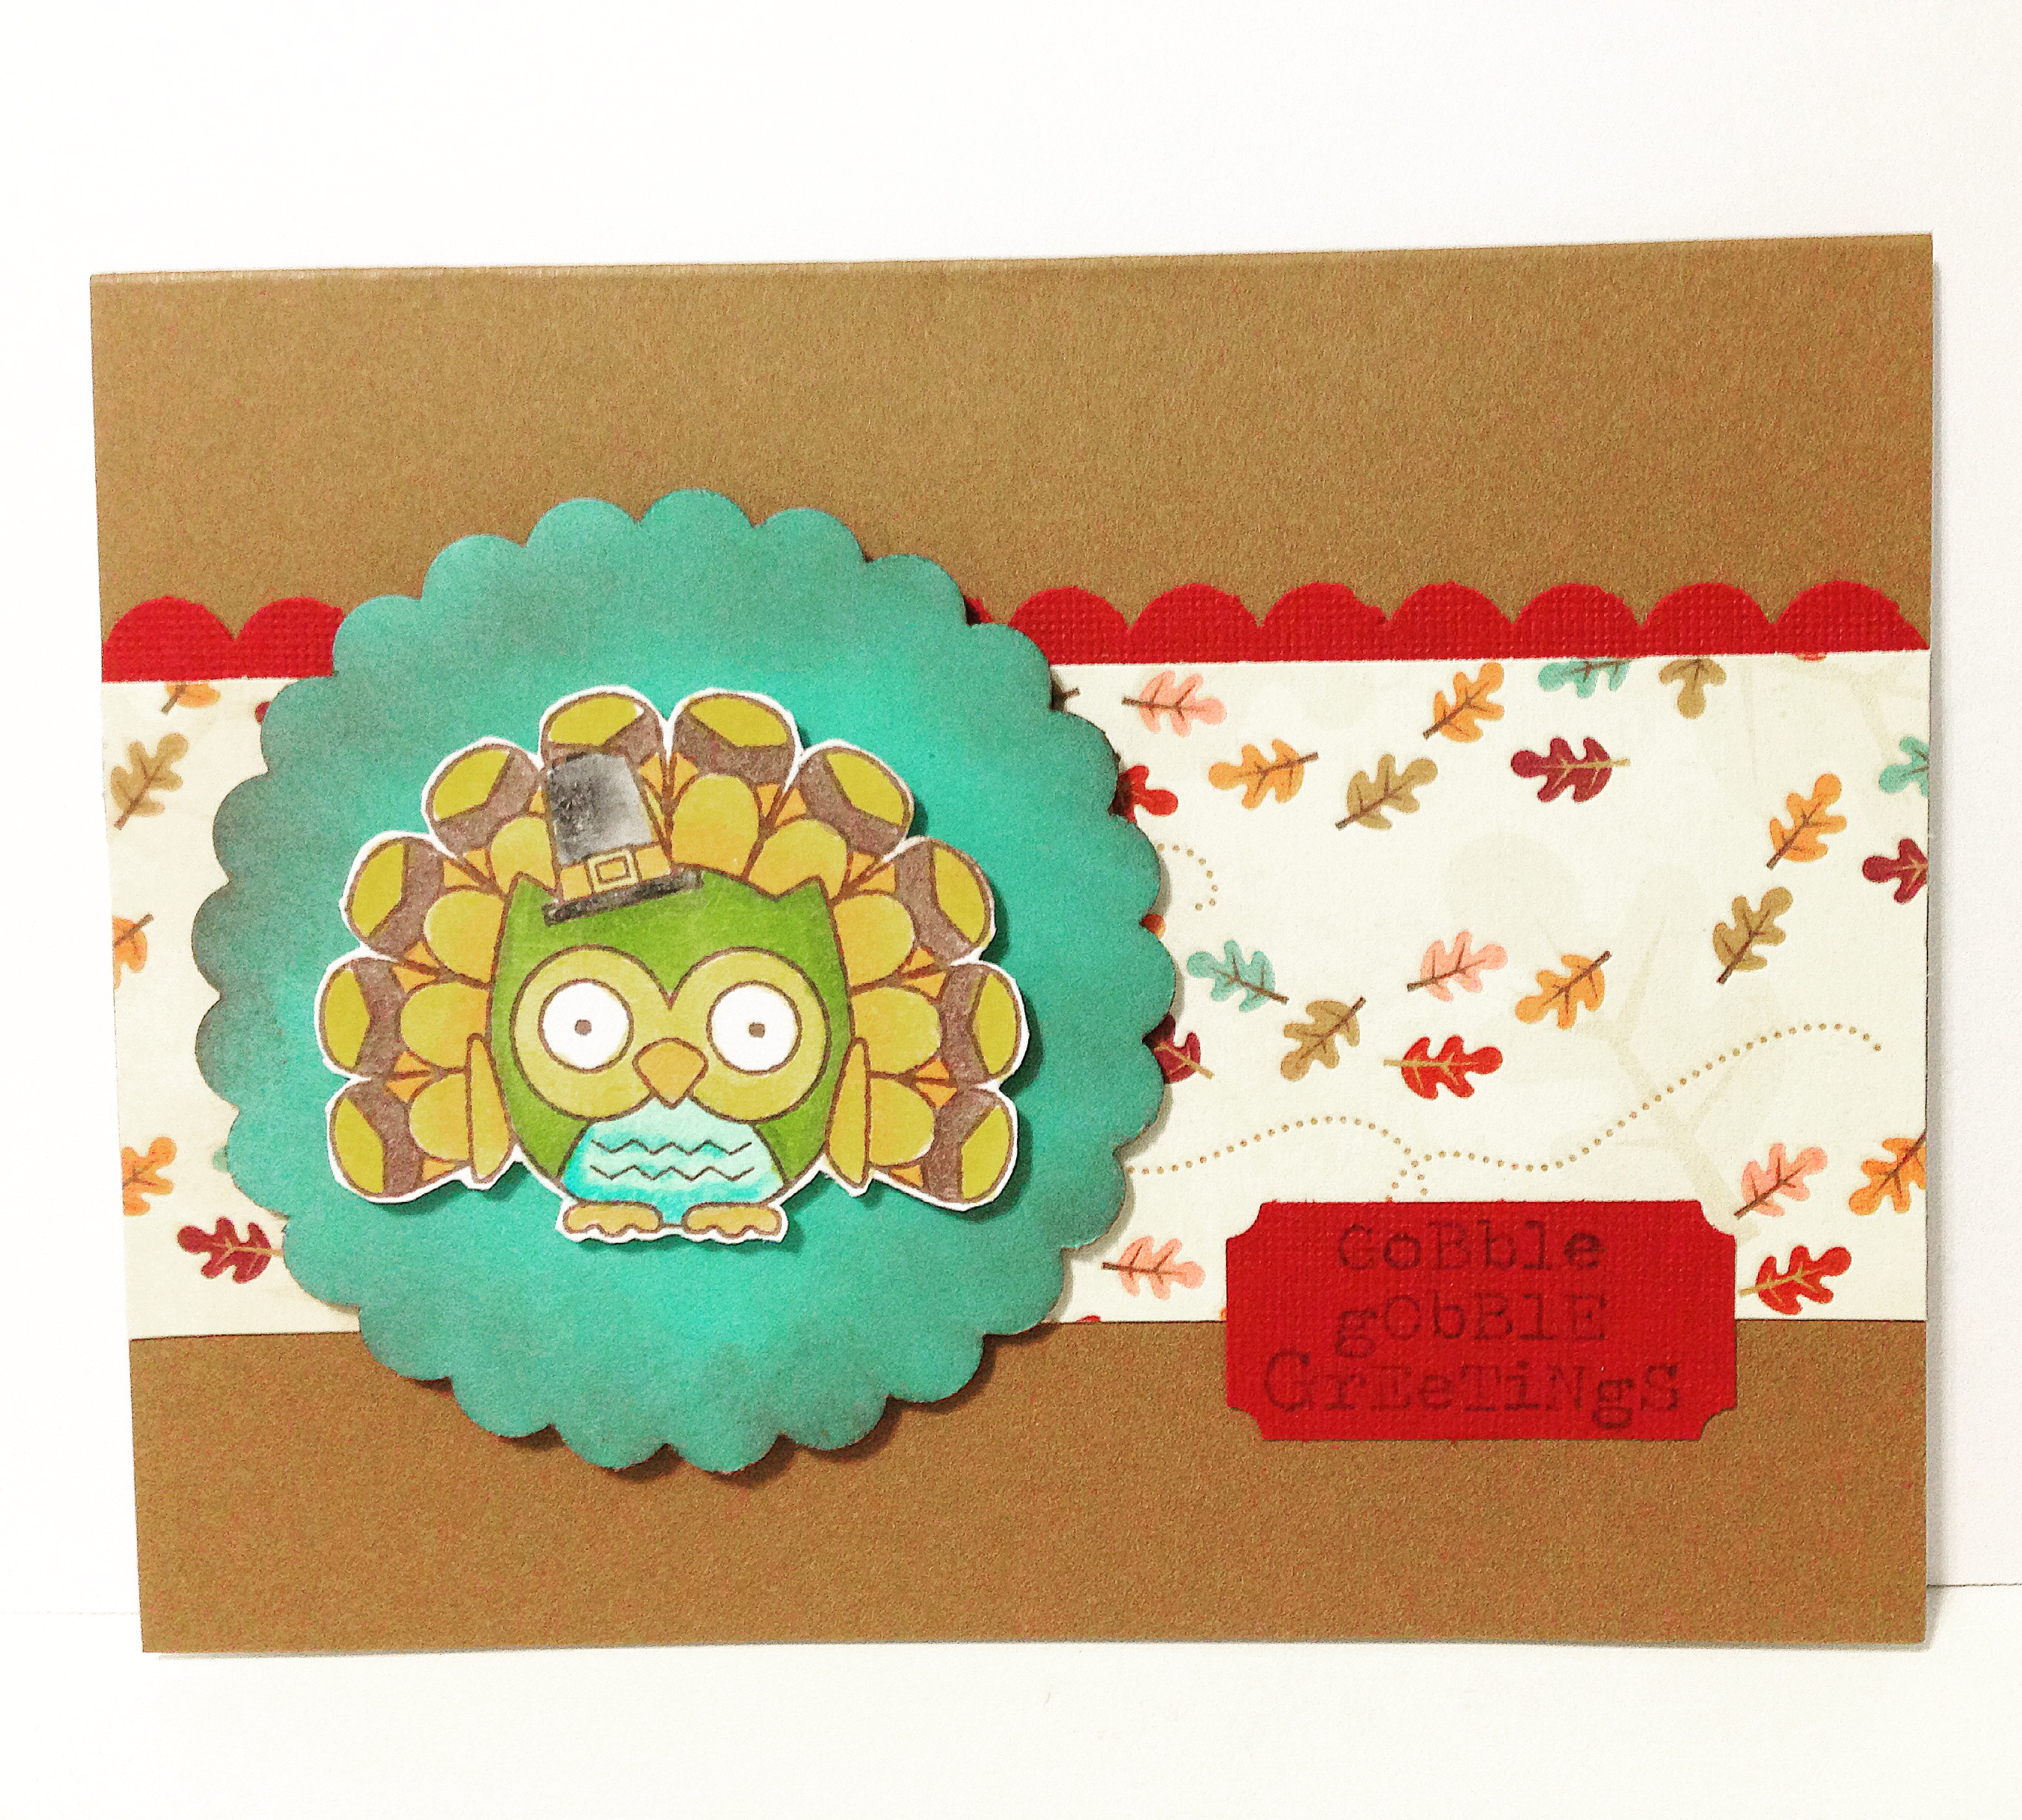
Here’s a quick and easy Thanksgiving card using the Fall Is A Hoot stamp set from Darcie’s stamps found here. These owl stamps are just too cute and they have different sets with different themes – so fun to add to your collection!

IMG_4955

Stamp the owl on white card stock with brown ink, color with markers, and cut out. Punch a scalloped circle from turquoise card stock and lightly sponge with brown ink. Attach owl to circle with pop dots. 

Punch a strip of brick colored card stock with the scalloped edger punch from Stampin’ Up and attach to a panel of leaf patterned paper. Attach panel to a kraft card. 

Stamp greeting on brick card stock with brown ink, punch with ticket punch from Stampin’ Up, and attach to card. Attach owl circle to card with pop dots and you’re done. 

Gobble Gobble…

Thanks for stopping by,

Anita

Posted in Cards, Fall | Leave a comment

Mini Pumpkin Brownie Pies

These sweet little Pumpkin Brownie Pies make the perfect Fall treat. They are great for the entire season from the beginning of October until Thanksgiving – and they fit nicely into tiny hands as an after school snack with a cold glass of milk!

They are fun and easy to make (except the part where you burn your wrist on the oven rack! 🙄) using refrigerated pie crust and your favorite brownie mix. You can find the recipe here. Crazy for Crust also included links to her recipes for homemade pie crust and brownies, but I opted to use store bought to save some time…and I had a little brownie mix leftover so I made a few plain brownie bites.

IMG_4964

Grab a mug of your favorite hot tea or coffee and enjoy a little taste of Fall!

Thanks for stopping by,

Anita

Posted in Fall, Recipes | Leave a comment