Easy Taco Soup

Cooler temps bring on thoughts of yummy soups to fill you up and warm your tummy. This is one of my favorite Taco Soup recipes that I found here on Pinterest and it also freezes well!

IMG_4601

I’ve changed it up just a little by using fresh cooked chicken instead of canned and I mixed together my own taco seasonings, using this recipe, instead of using a store bought packet. So here’s how I made this tasty soup. 

  • 1 lb fresh chicken breast
  • 15 oz can black beans, drained and rinsed
  • 15 oz can pinto beans, drained and rinsed
  • 14.5 oz can petite diced tomatoes, drained
  • 15.25 oz can sweet corn, drained
  • 10.75 oz can cream of chicken soup
  • 10 oz can green enchilada sauce
  • 14 oz can chicken broth
  • Taco seasoning: 2 tsp chili powder, 1 1/2 tsp paprika, 1 1/2 tsp cumin, 1 tsp onion powder, 3/4 tsp garlic powder, 1/2 tsp sea salt, dash cayenne pepper. Mix together well before adding to soup pot.

Cook chicken in boiling water 20 – 25 minutes until done. Cool slightly and shred. Then add all ingredients to a large soup pot and heat until warmed through.

This soup is great paired with some fresh, hot cornbread or maybe some tortilla chips with guacamole on the side. Whatever you decide, it will definitely add some comfort and warmth to your day!

Thanks for stopping by,

Anita
Posted in Recipes | Leave a comment

Pumpkin Cupcake Card

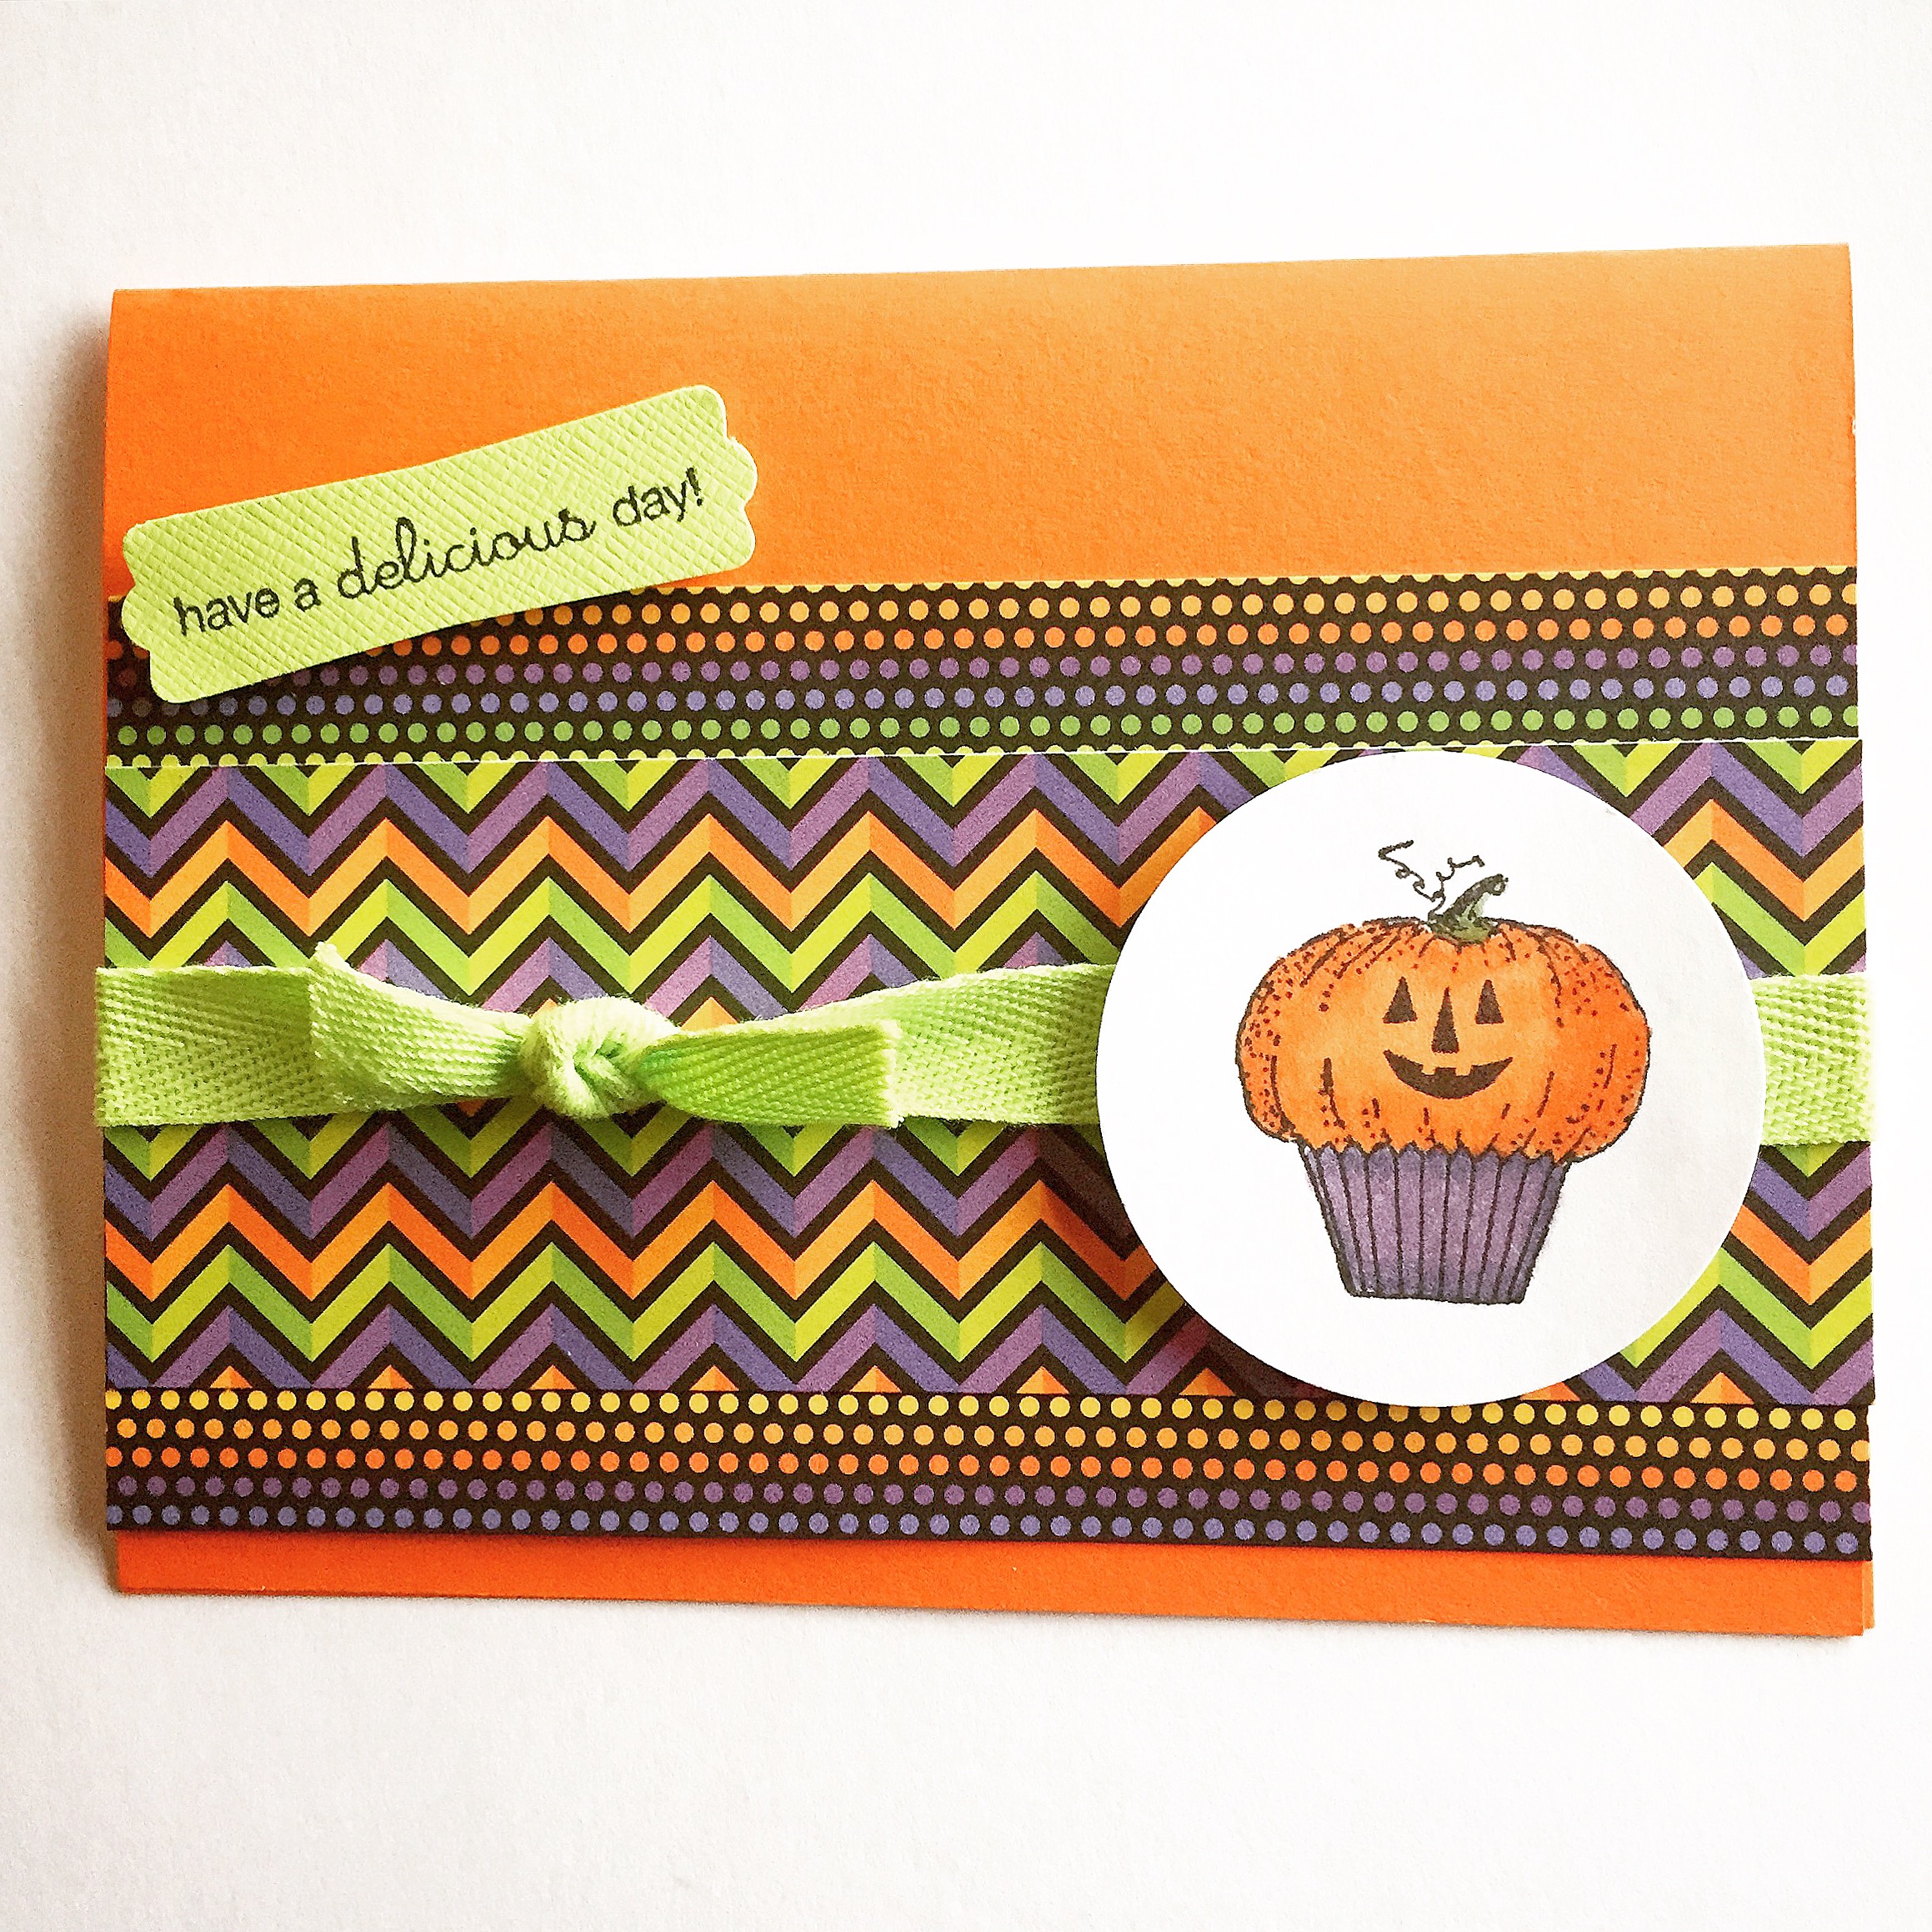
When I saw this adorable stamp by Karen Lockhart I just knew it had to come home with me! You can find your very own Pumpkin Cupcake stamp here at Pink Ink Stamp Company. The stamp “have a delicious day” is from A Muse Studio and worked perfectly for this card.

IMG_4623

The pumpkin cupcake is stamped with black ink on white card stock, colored with Copic markers, and punched with a circle punch. The sentiment is stamped with black ink on green card stock and punched with the label punch from Stampin’ Up.

To put the card together, I layered panels of 2 different patterned papers and tied a green ribbon in a simple knot over the papers. The whole panel is then attached to an orange card. The pumpkin cupcake and sentiment are both attached with pop dots.

This would be a fun card to attach to a Halloween cupcake for a special little treat 🙂

I hope you have a delicious day!

Thanks for stopping by,

Anita
Posted in Cards, Fall | Leave a comment

Cinnamon Crumb Banana Bread

I was going to a women’s fellowship for church and needed to bring a snack. Being lazy and not wanting to make a trip to the store, I started searching my “Sweets” Pinterest board for something yummy ~ and for a recipe that would use what I already had in my pantry. 

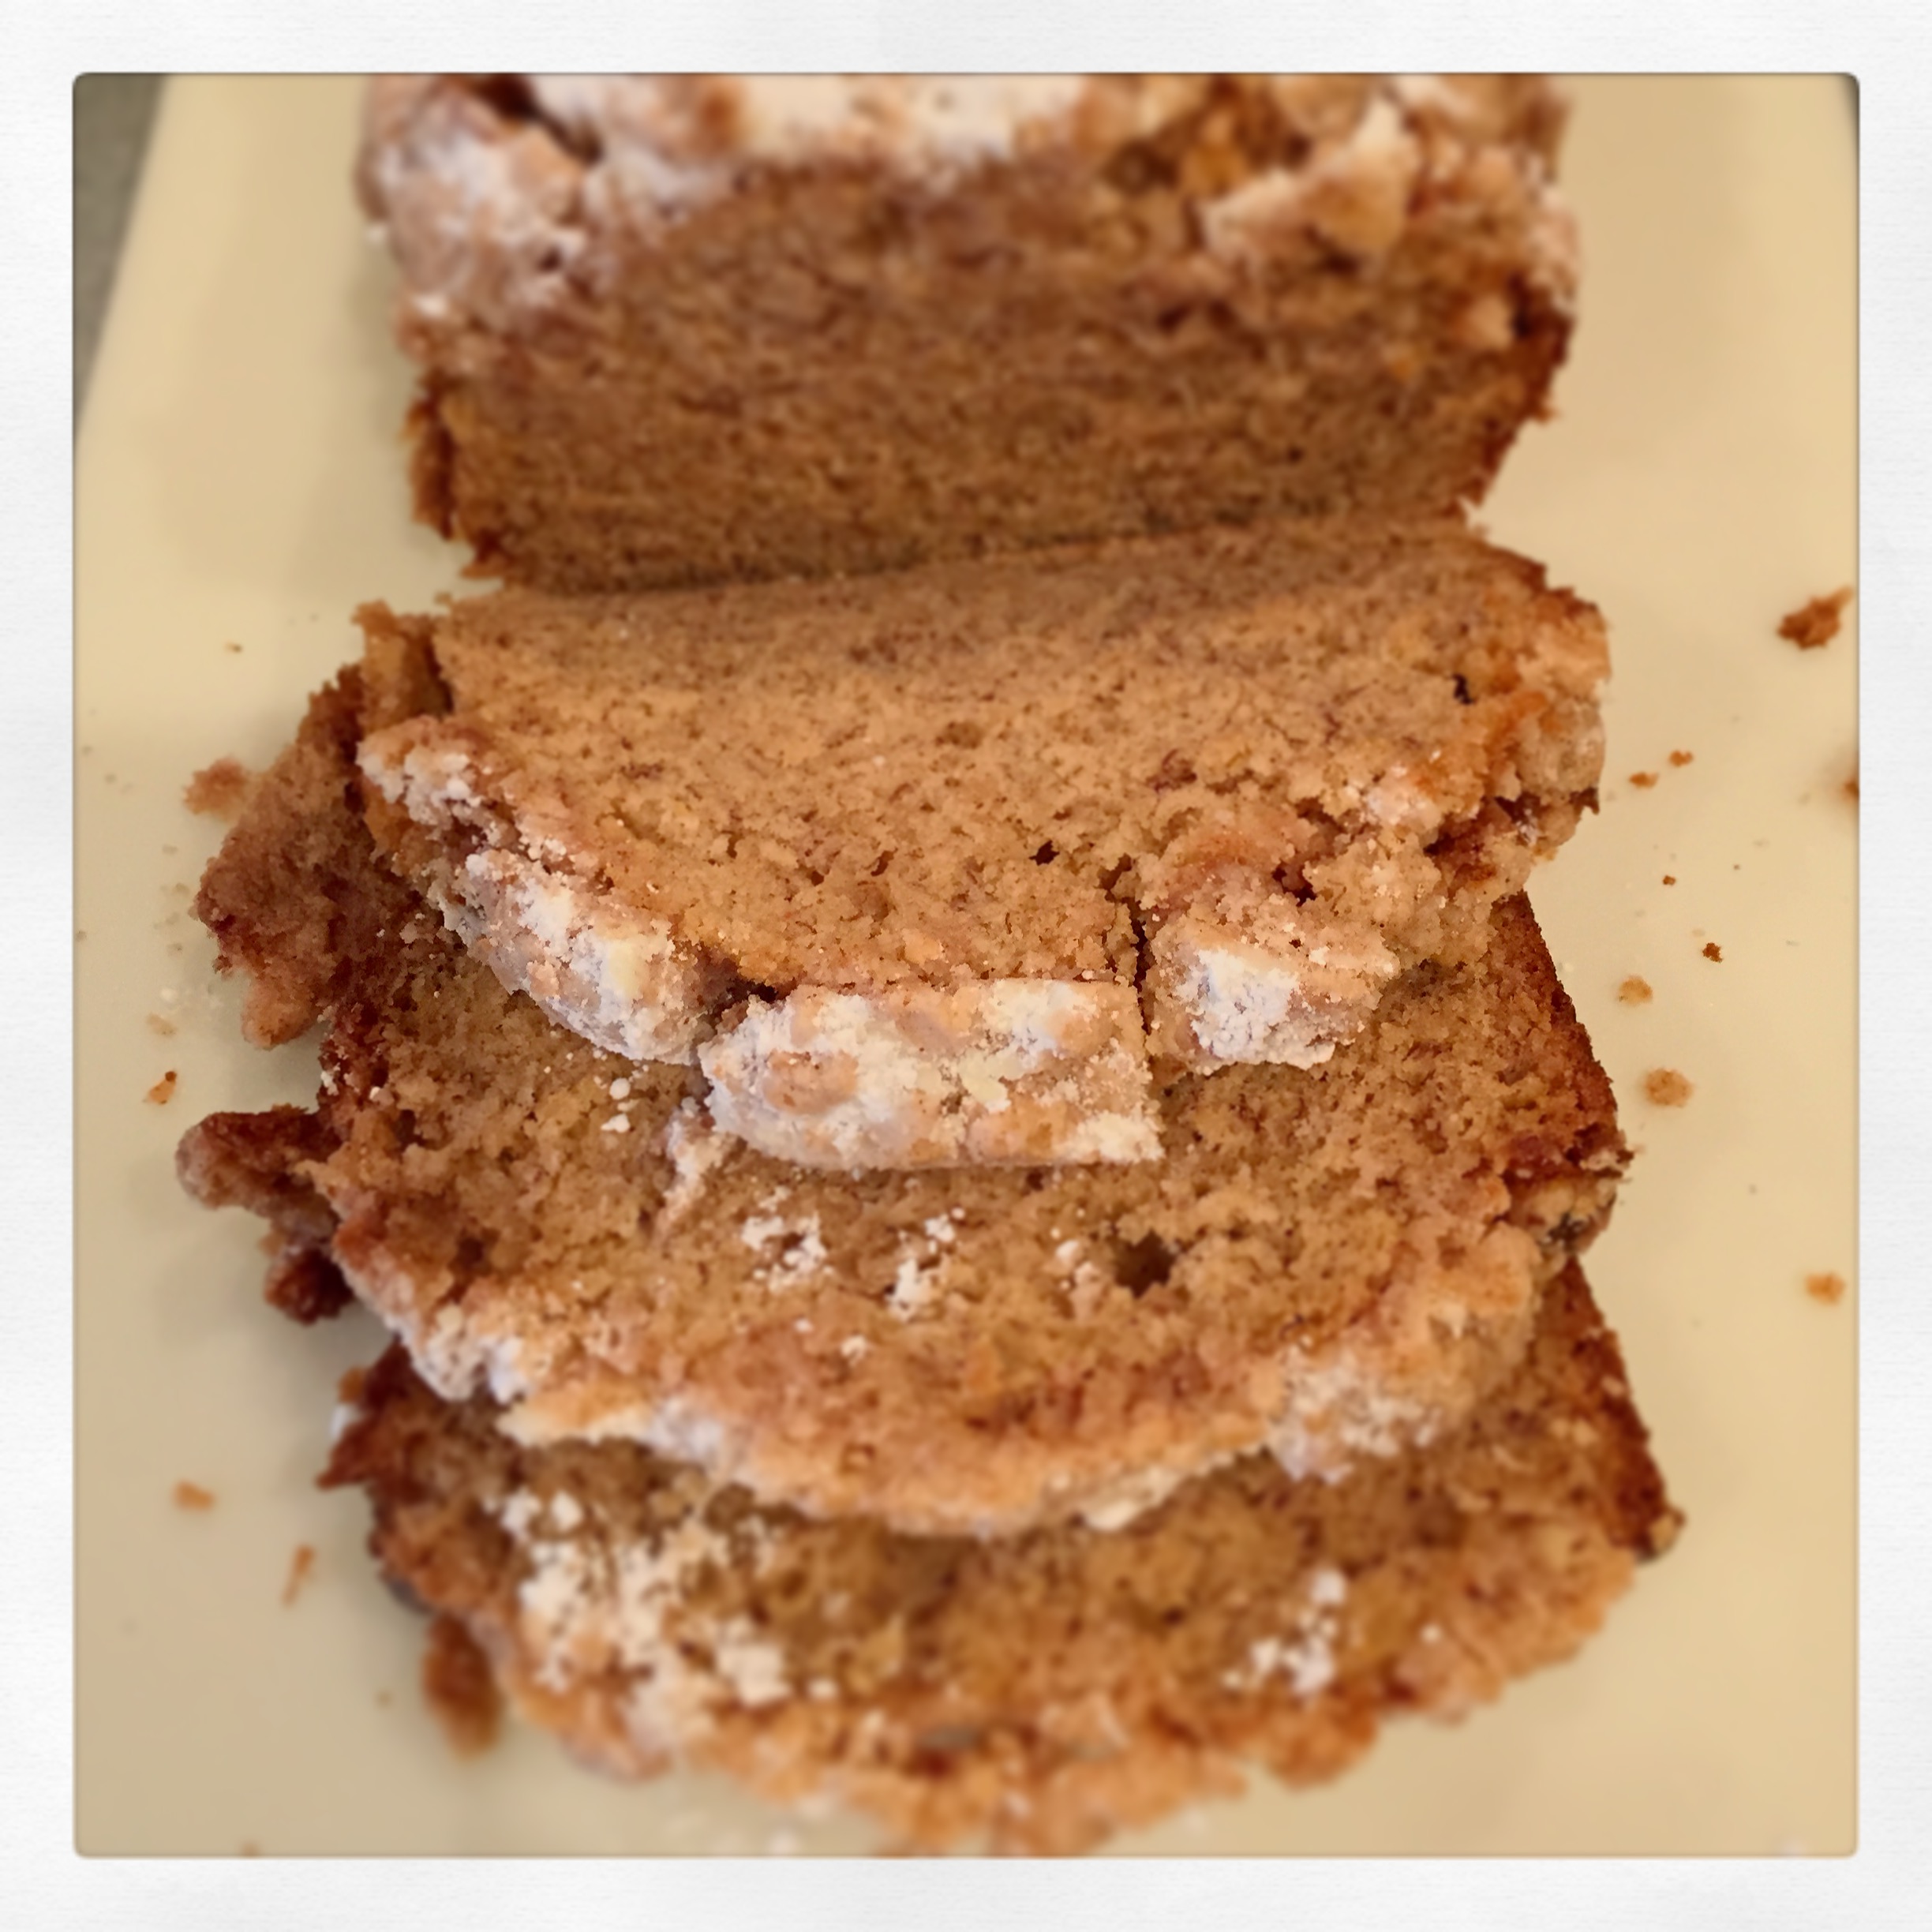
Banana bread is always a good choice when using pantry staples, but I wanted a little something more. This Cinnamon Crumb Banana Bread was just what I was looking for! You can find the recipe here. It was very moist with a yummy, crunchy crumb topping. It was super easy to make and I think the ladies enjoyed it.  

Here it is fresh out of the oven…

IMG_4614

Just a note: I didn’t have buttermilk (and of course wasn’t making a trip to the store) so I did the next best thing. I added 1/2 teaspoon vinegar to a 1/2 cup measuring cup and then filled it with milk. Mix it together and you have a substitute for the buttermilk.

After adding a dusting of powdered sugar…

IMG_4617

I love cinnamon and the next time I make this I may even add a little more to the batter and the topping 🙂

IMG_4619

Thanks for stopping by,

Anita

Posted in Recipes | 2 Comments

Pumpkin Smile

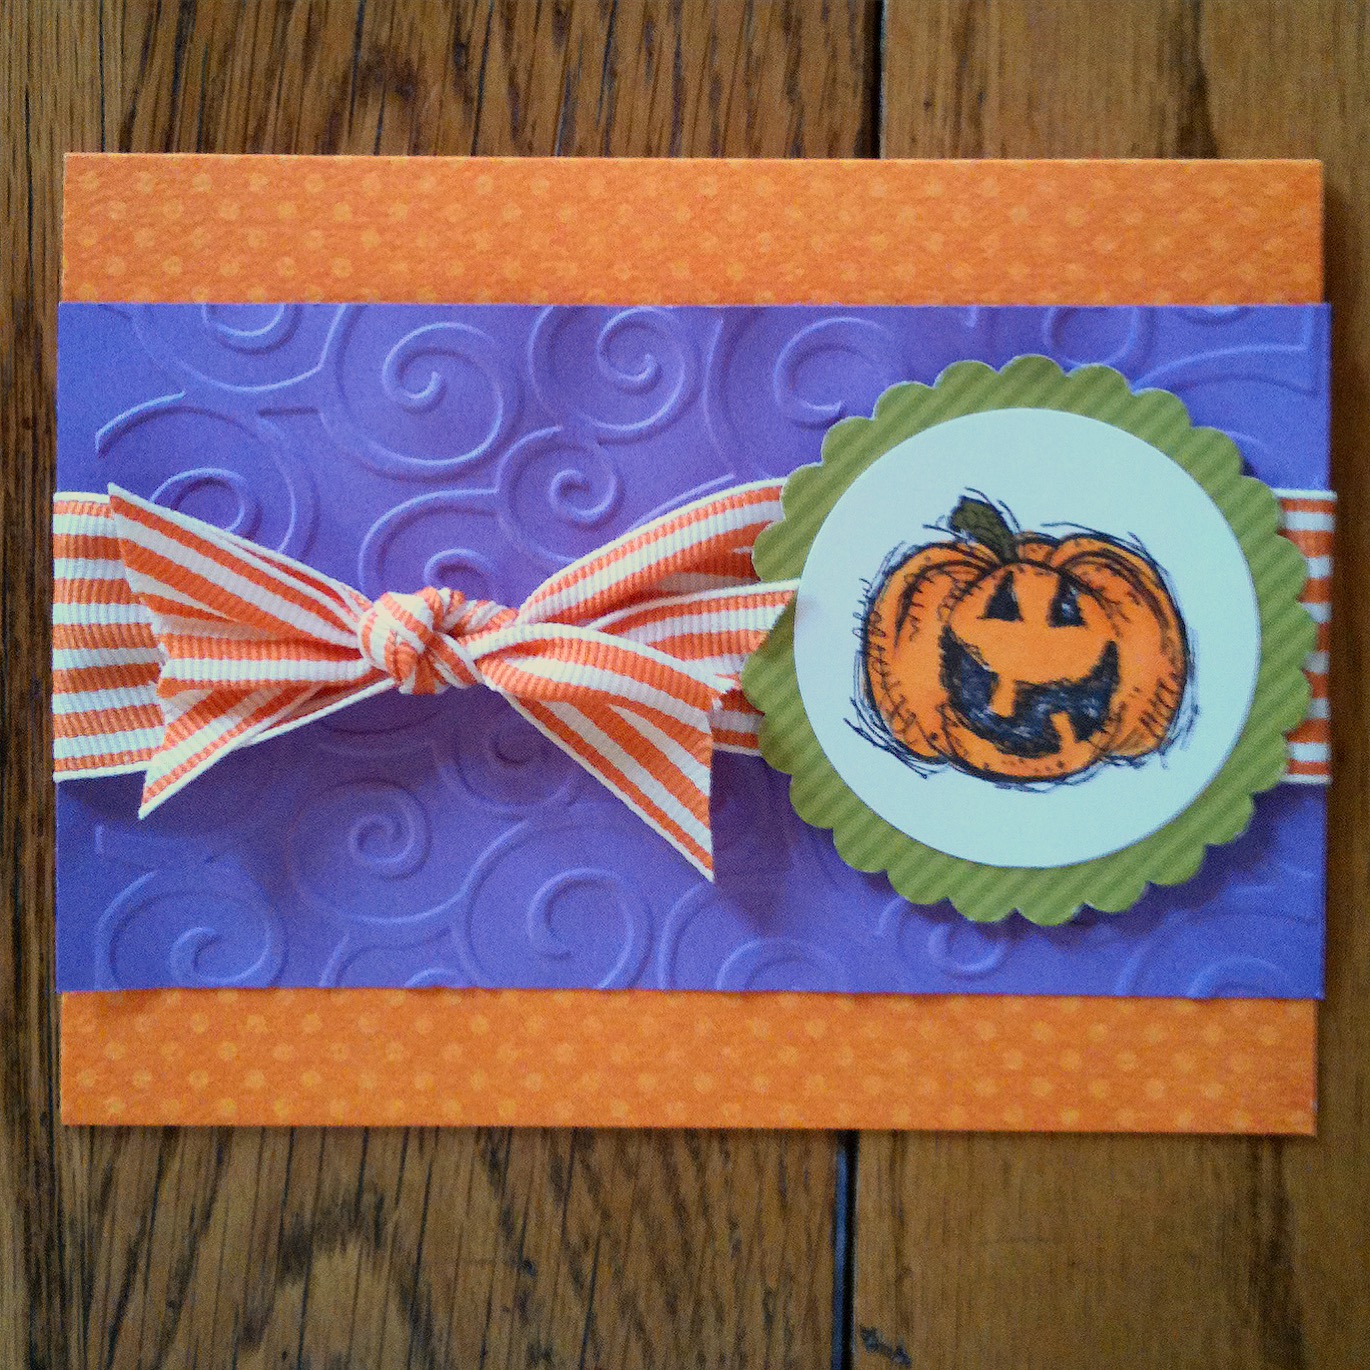
Here’s a happy little card that is sure to make the recipient smile! This cute jack-o-lantern has the sweetest grin that just says “Happy Halloween”!!

IMG_4603

The jack-o-lantern, from an older set called Autumn Harvest by Stampin’ Up, is stamped on white card stock with black ink. I colored the image with markers, punched it out with a circle punch, and layered it to a scalloped circle punched from green patterned paper. 

Using the swirl embossing folder from Cuttlebug, I embossed a panel of purple card stock, tied orange striped ribbon around the panel, and attached it to an orange polka dot card. The stamped image is then attached with pop dots over the ribbon.

This little card works up quickly…make several so you can send out lots of Halloween smiles 🙂

Thanks for stopping by,

Anita


Posted in Cards, Fall | Leave a comment

Halloween Cutie

I’m not into all the spookiness surrounding Halloween, but I do like the cuteness that can be found ~ and the candy isn’t bad either 😉

This little cutie is a from a stamp set by Inky Antics. The set includes this stamp along with a full view of her, a cute kitty, owl, and several sentiments. You can see the entire set here.

IMG_4515

She is stamped on white card stock with black ink, colored with Copic markers, and trimmed close. She is then layered to the purple circle with the pumpkin border, which is die cut from the Nestabilities S4-331 set by Spellbinders. The tiny pumpkin from Darcie’s is stamped with black ink on an orange card stock panel. The panel is layered onto patterned paper that is punched along both edges with an edge punch from Fiskars and then attached to a green card. The stamped image is attached with pop dots.

No spookiness here ~ she is certain to make you smile!

Thanks for stopping by,

Anita
Posted in Cards, Fall | Leave a comment

Candy Corn Tag

I made these little Candy Corn Treat Bags featured on this post as a fun Fall treat. Here is a sweet Candy Corn Tag to add a special touch. Super easy to make and super cute with the treat bags!

I was inspired by this post from the blog all i create to create my Candy Corn Tags. Using the Petite Pennant Punch from Stampin’ Up, just punch the pennant from white, yellow, and orange card stock. Then emboss the pieces with the swiss dot embossing folder from Cuttlebug. Trim the yellow and orange pieces and attach to the white piece to form the candy corn. Stamp “a treat for you” (stamp from A Muse Studio) with orange ink on white card stock and punch it out with the word label punch from Stampin’ Up. Punch a tiny hole in both pieces to attach some twine and tie it to the treat bag.

IMG_4511

Personalize this little tag with the name of that special person you want to give a bit of Fall cheer.

Thanks for stopping by,

Anita
Posted in Fall, Gifts, Tags | Leave a comment

friendship is a sheltering tree

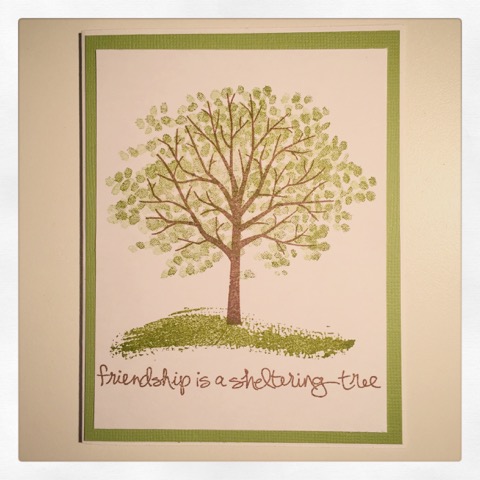
I have been blessed with some of the most amazing friends! I had lunch with one of them last week and needed to send her a thank you note for a very thoughtful gift she gave me. This set from Stampin’ Up was just perfect! 

IMG_4561

First I stamped the grass in olive ink on white card stock. The tree is then stamped with brown ink. The leaves are stamped twice; once in olive ink and a second time in celery ink. You can get the same effect by stamping once in olive ink and then stamping again without reinking your stamp. Finally, the sentiment is stamped with brown ink. I trimmed the stamped image, attached it to green card stock, and attached the panel to a white card.

It’s a simple card, but with a heartfelt sentiment. Thank you, friends, for being you!

Thanks for stopping by,

Anita
Posted in Cards | 1 Comment

Candy Corn Treat Bag

It’s not quite here yet, but I love Fall ~ the beautiful colors, caramel apples, candy corn, and after Summer in Alabama, the cooler temperatures are so welcome!

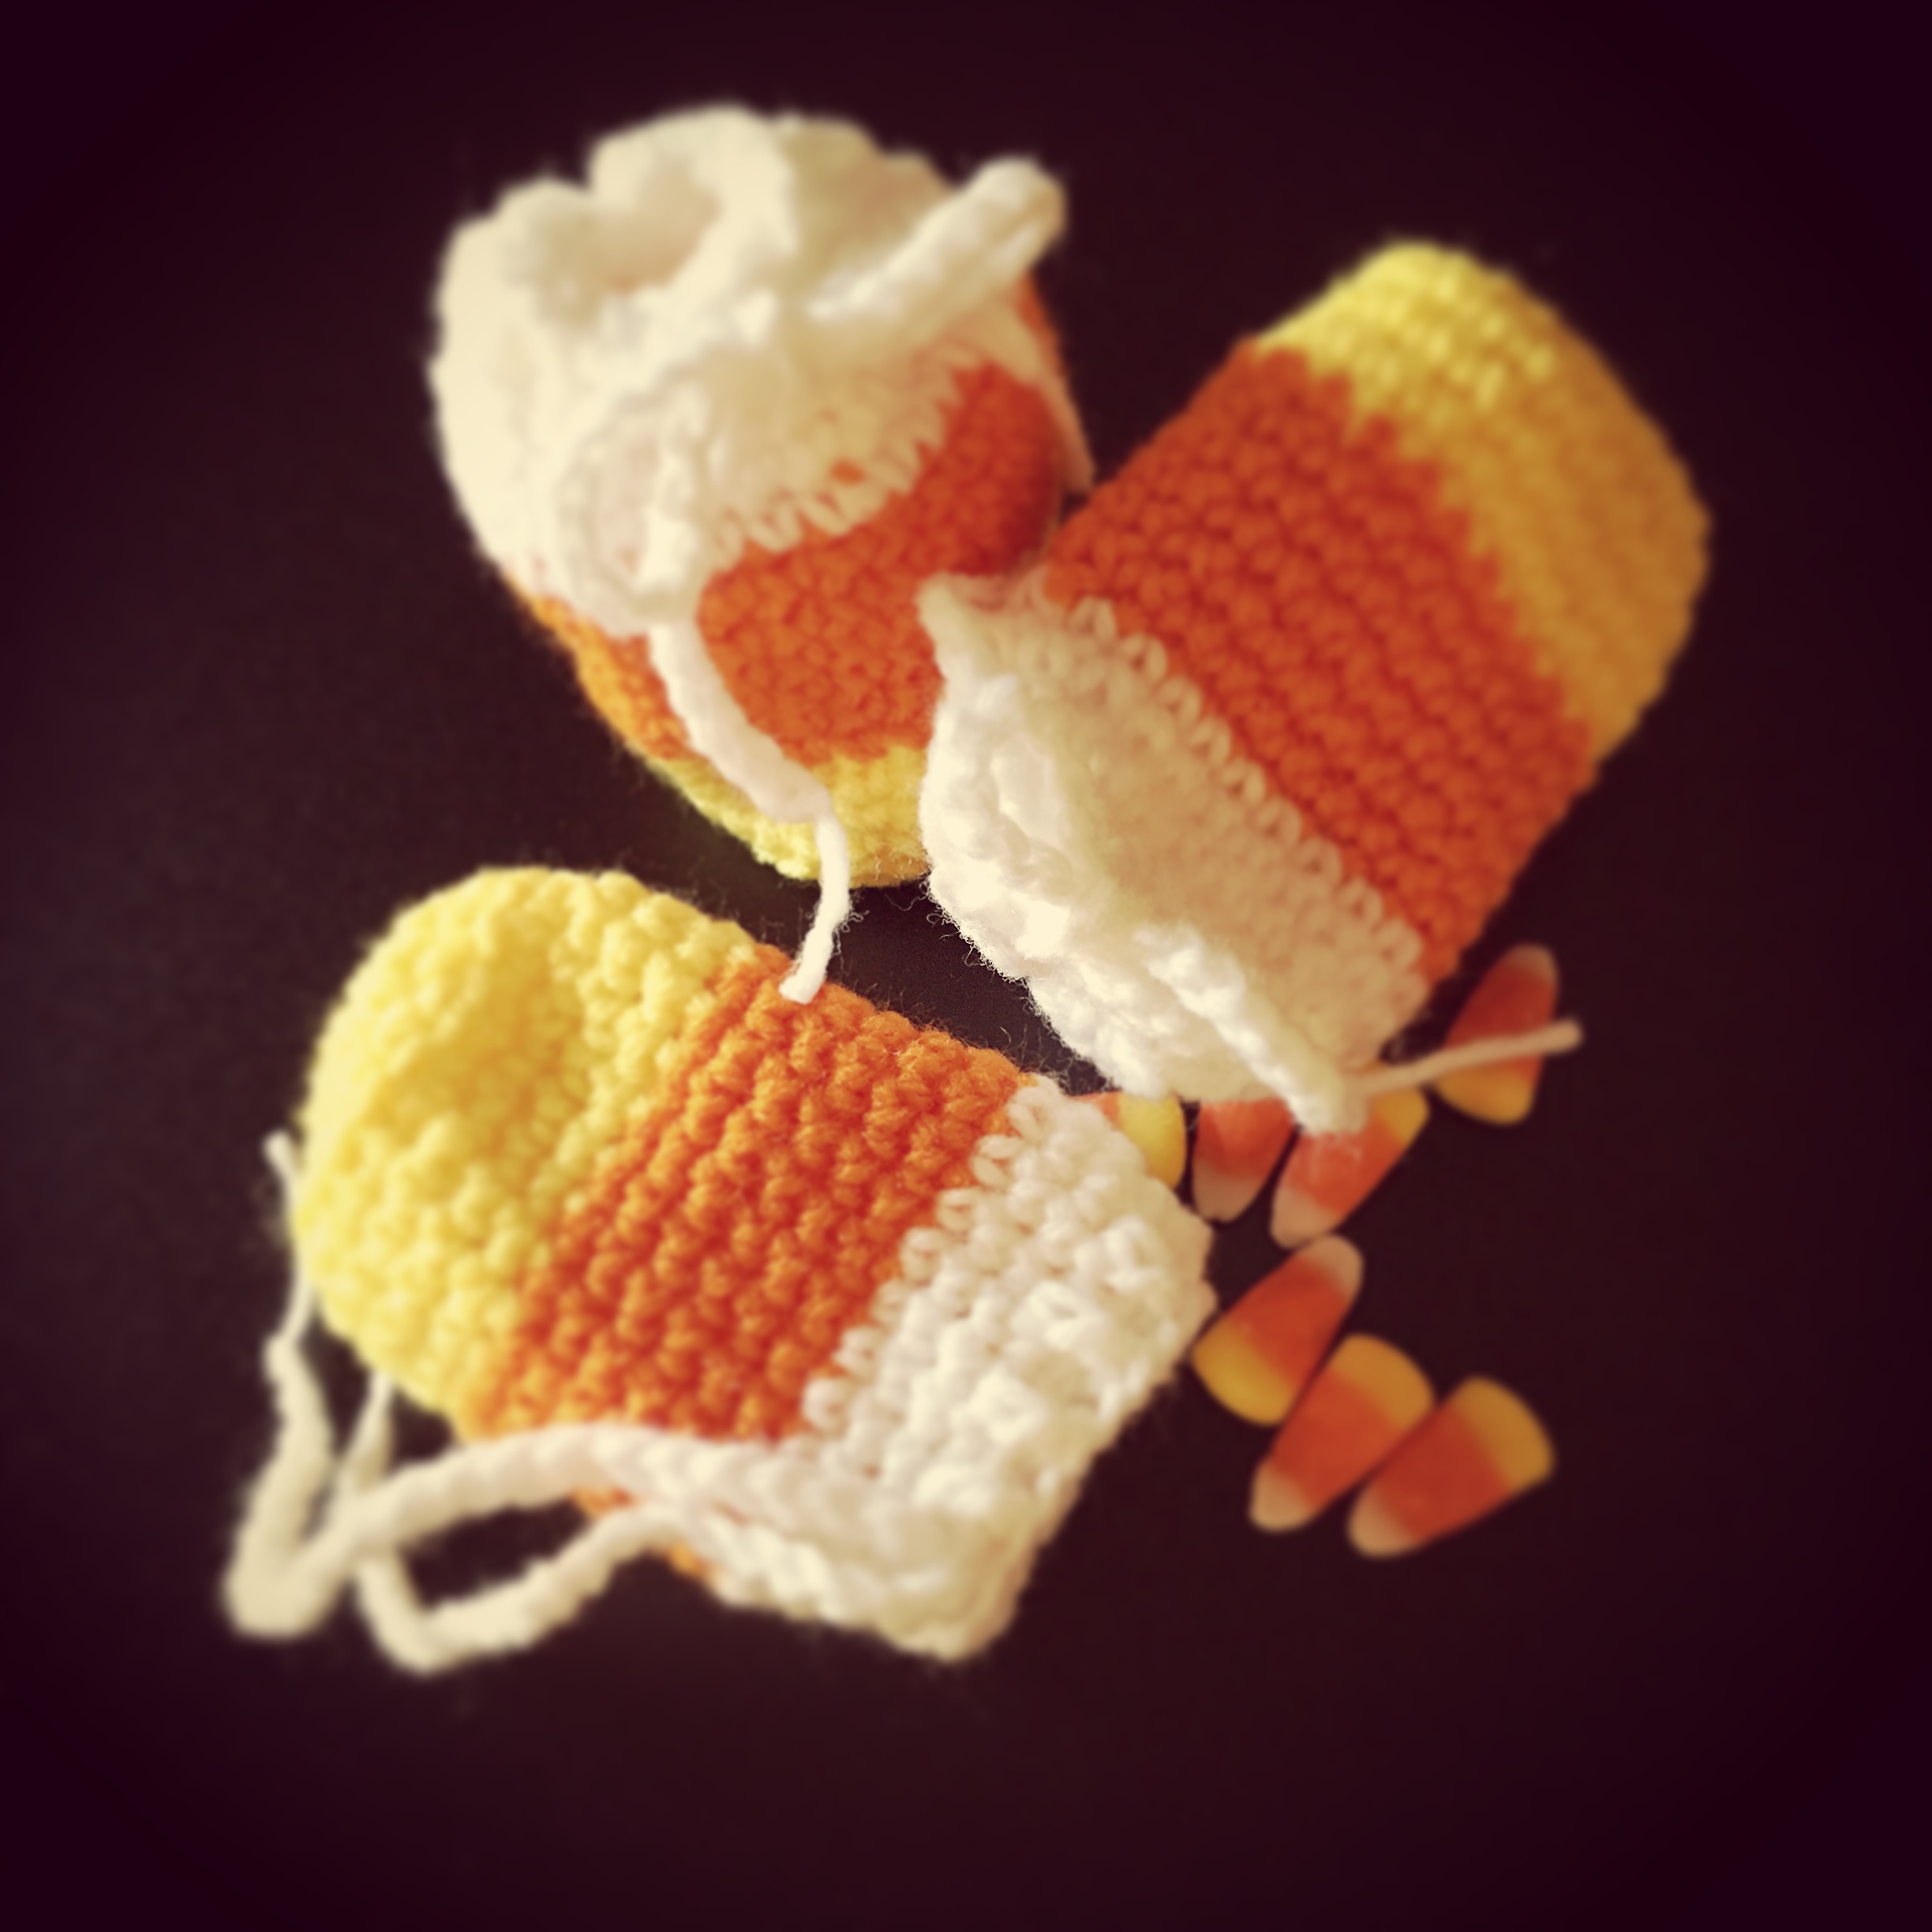
These crochet Candy Corn Treat Bags are just so cute! I found this great pattern on the Repeat Crafter Me blog. It is a super easy pattern and works up quickly. Fill these bags with candy corn (I suggest putting it in a cellophane bag first), attach a cute little tag, and you have a special treat for family, friends, neighbors, teachers, or anyone else who might need a little “happy”.

IMG_4506

I decided to make the drawstring by making a simple chain about 12 inches long. Other than that, I followed the wonderful instructions as written. These great bags don’t use much yarn, so you can make several using one skein of each color.

Fall is just around the corner! Grab your crochet hook and get started…

Thanks for stopping by,

Anita


Posted in Crochet, Fall, Gifts | 1 Comment

A New Cart for My Kitchen

Not really a crafty post, but I am so excited about this new cart in my kitchen! It’s the little things… 🙂

I have a countertop convection/toaster oven that I just love. The problem? It’s a countertop oven! It was taking up way too much space and since we won’t be remodeling our kitchen anytime soon, I had to come up with some way to get that counter space back!

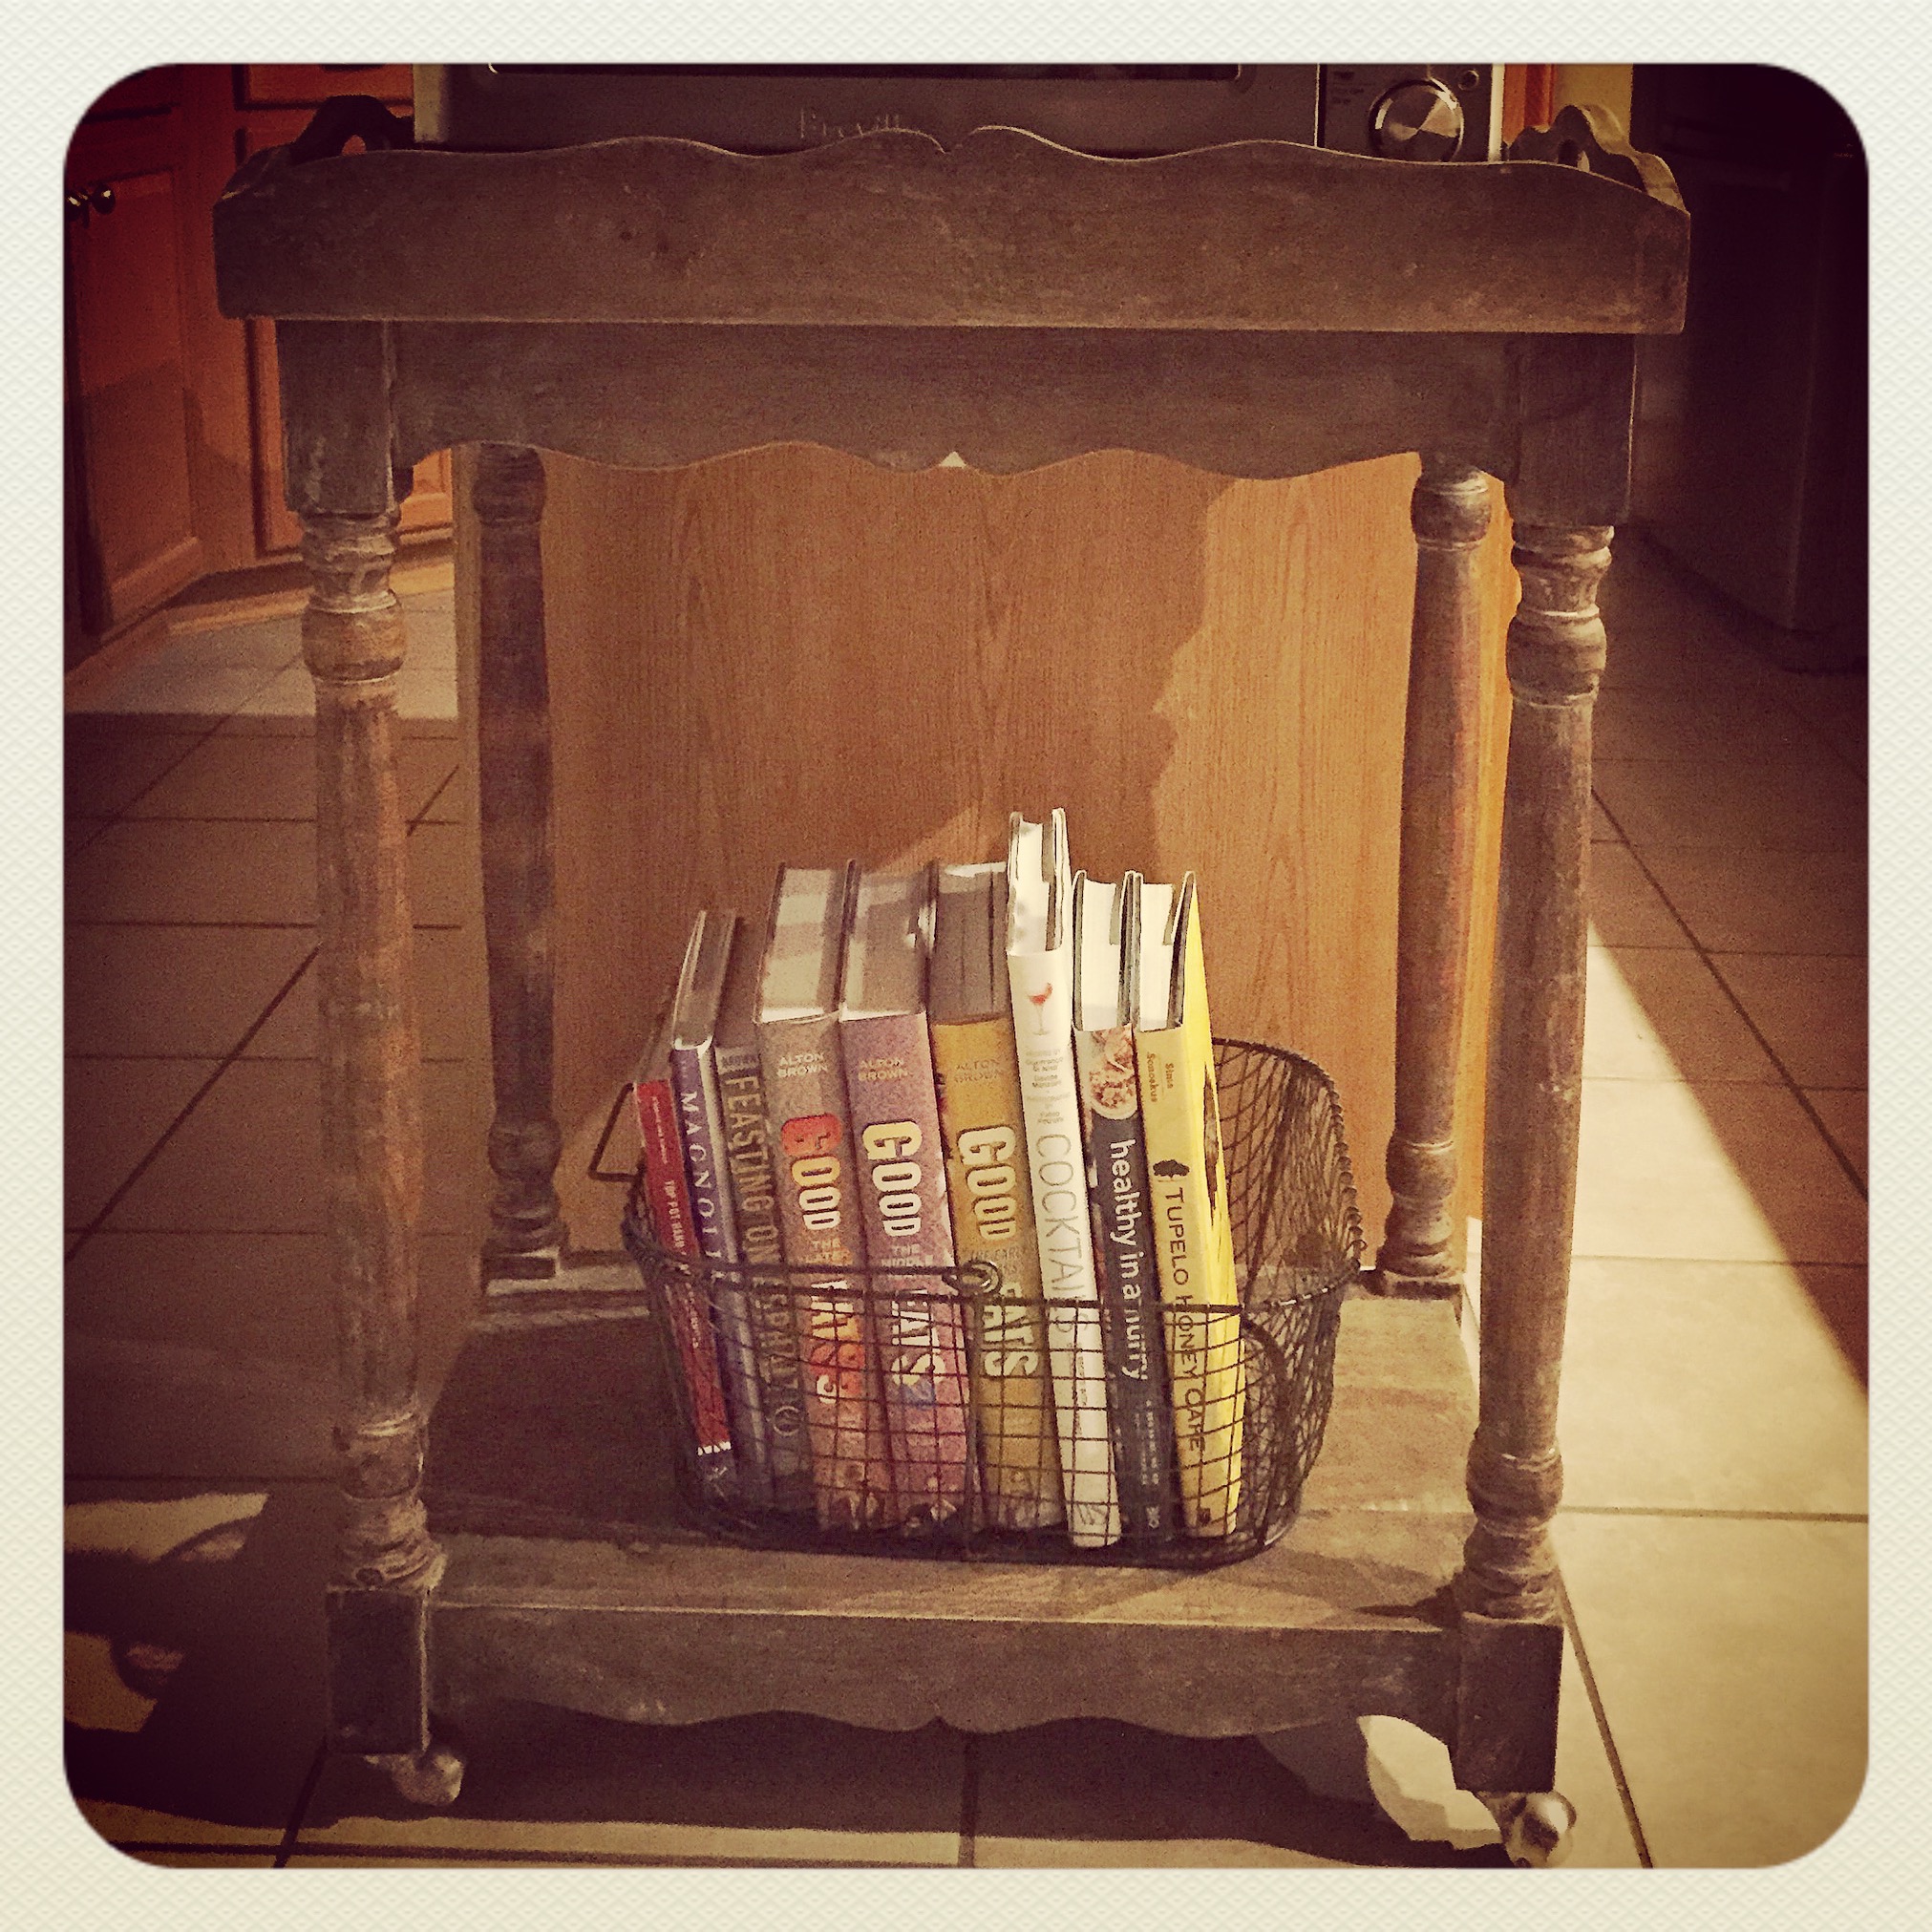
We are lucky enough to have a Nadeau furniture store nearby. They have wonderful, unique, and affordable pieces. I found this great cart that works perfectly at the end of the kitchen island and my little oven just fits.

IMG_4544

I found this cute wire basket at Hobby Lobby for 50% off to hold some of my (and my husband’s) cookbooks. 

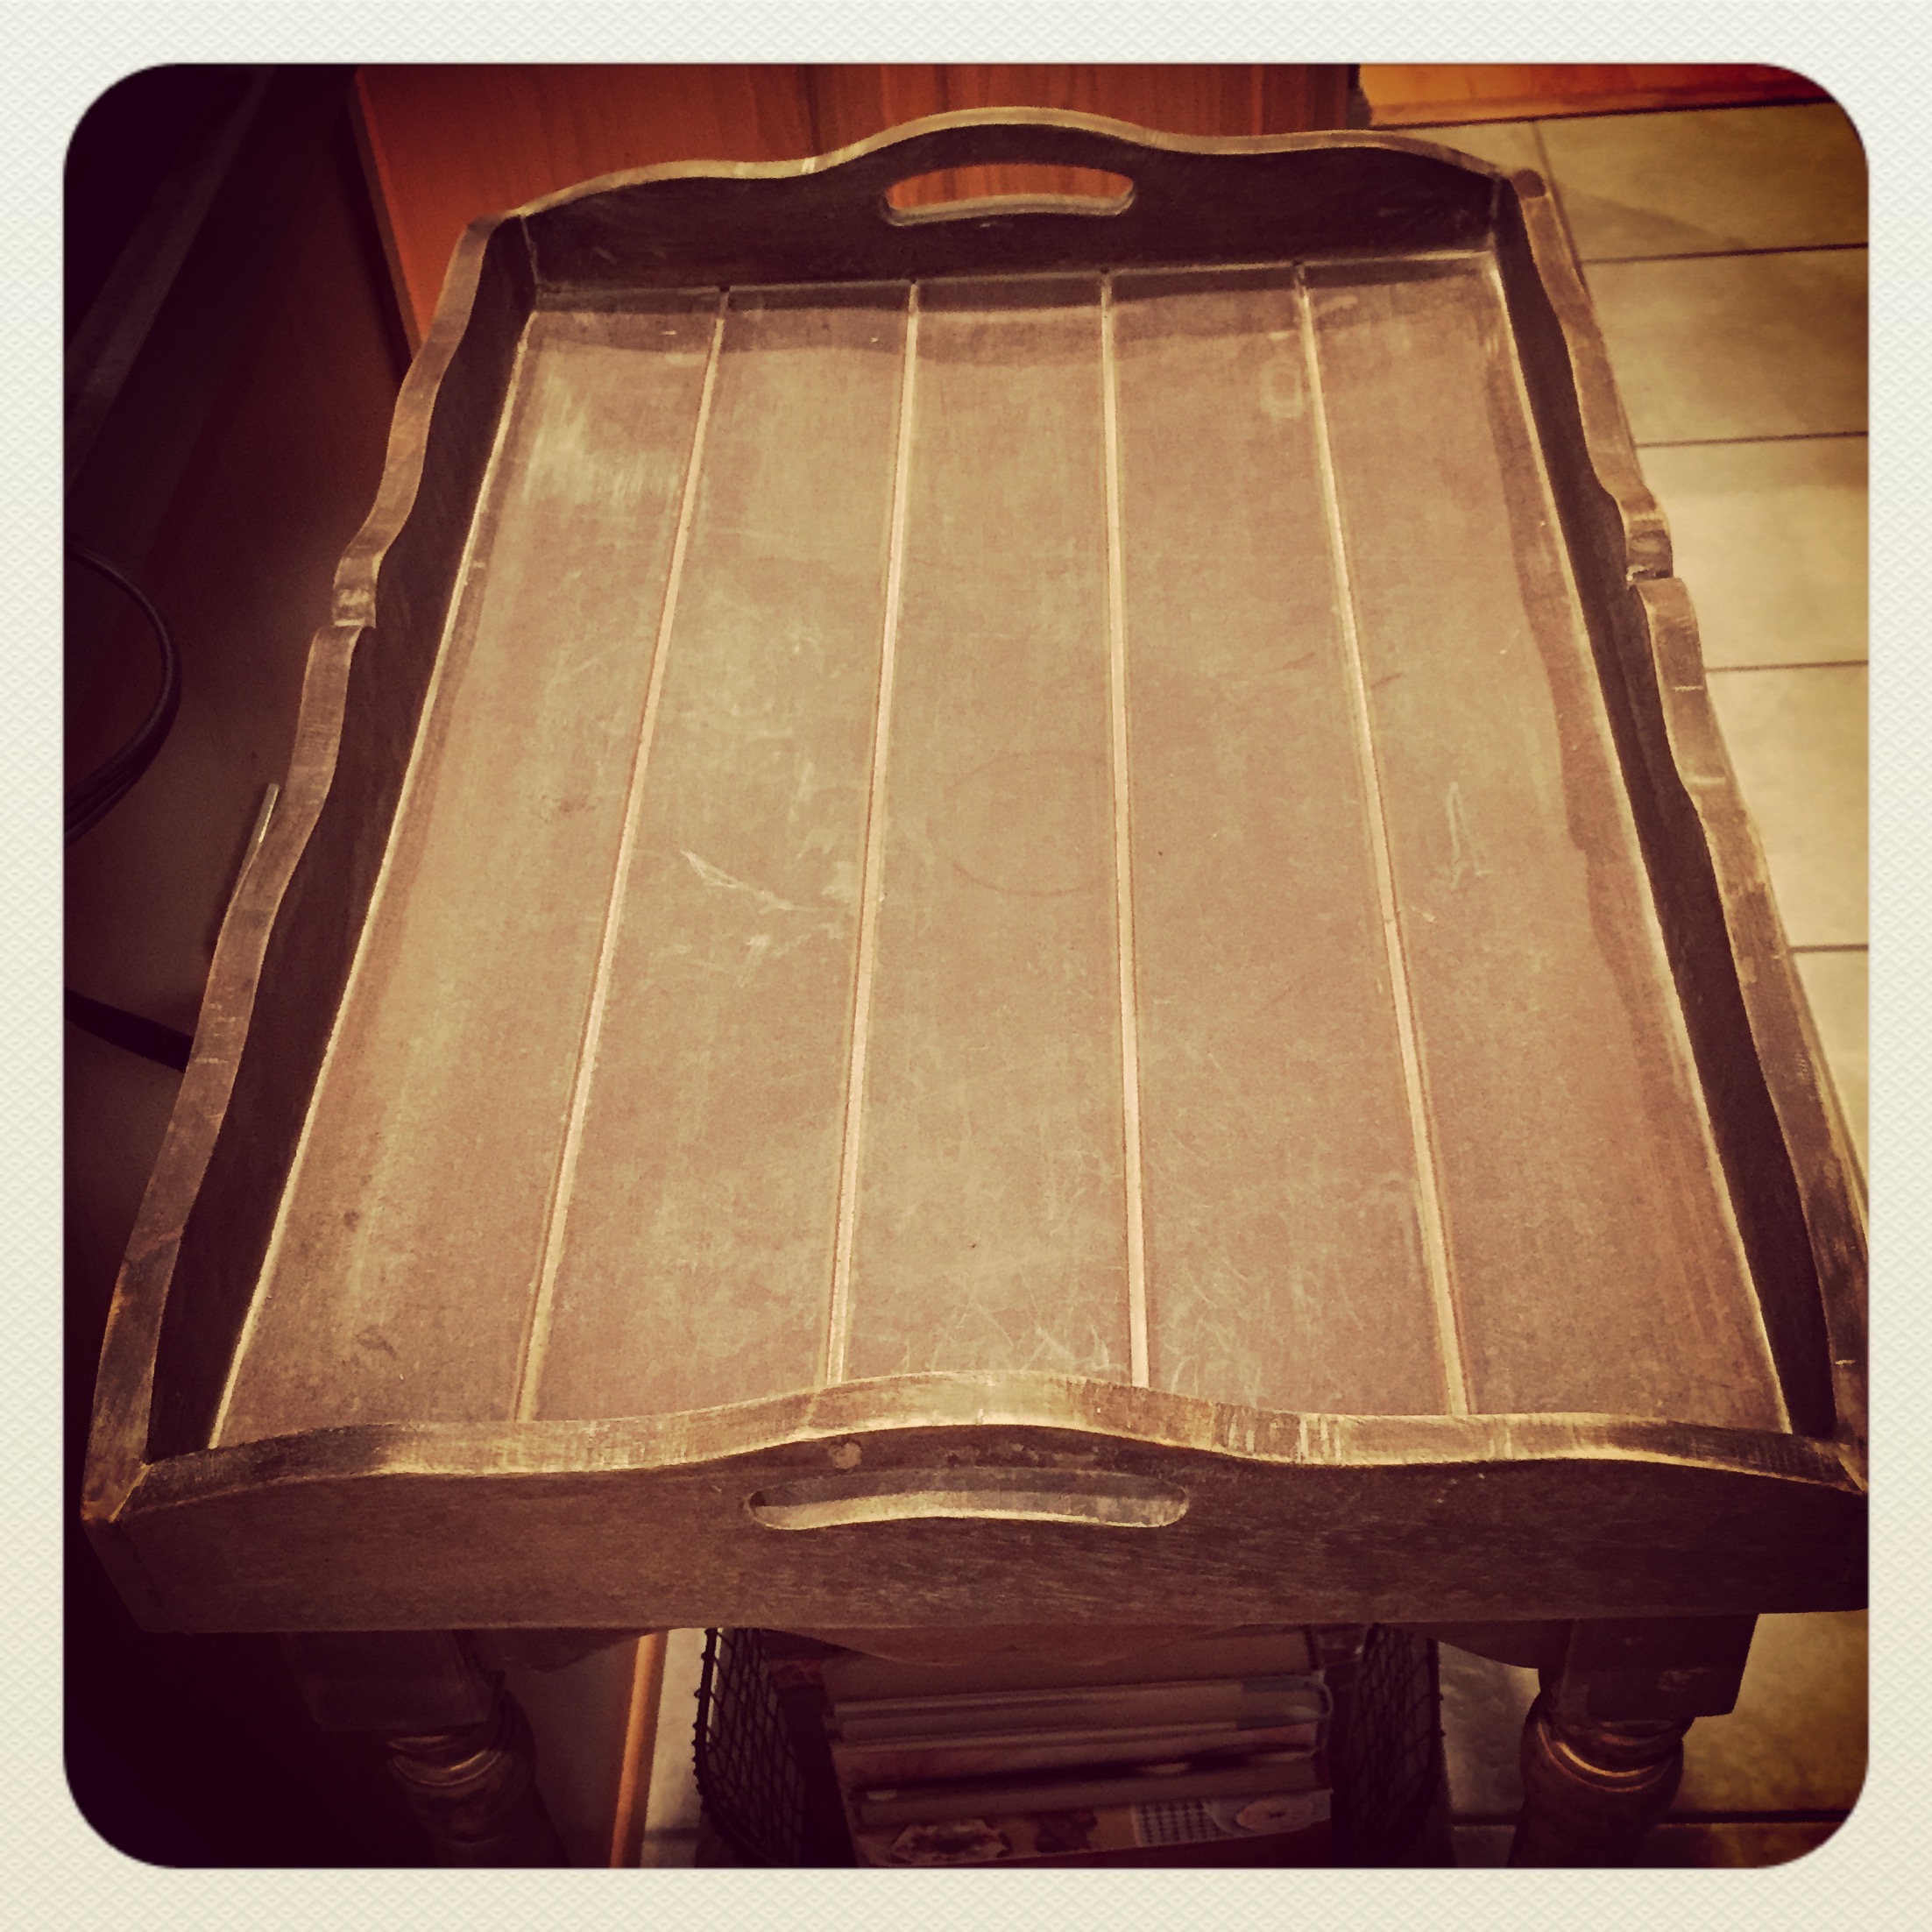
Oh, and my most favorite thing about this cart? The top is actually a serving tray!! How fun is that?!?!

IMG_4554

I still have dreams of a remodeled kitchen, but at least now I have my counter space back…

Thanks for stopping by,

Anita

Posted in Decor, Organization | 1 Comment

Storing Twine

I‘ve seen different ways to store all those pretty colors of twine, but this one seems to work best for me. It’s really inexpensive and looks cute on your craft room shelf.

Pick up some clothespins from Target or Walmart ~ you may even be able to find them at the dollar store! Wrap your twine around the clothespin, being careful to not go too far down. You want to make sure you can still pinch it open. Slip the end of your twine into the clip end of the clothespin and you’re good to go.

The fun part is finding your favorite jar, bowl, or basket to put all your twine in. Here’s what I store mine in. This bowl is bigger than it appears in the picture ~ I may have a little problem with saying “no” to new colors 😉

IMG_4470

This would also work for embroidery floss or thin ribbons. I love storage solutions that double as craft room decor!

Thanks for stopping by,

Anita


Posted in Organization | Leave a comment